Update 2019 Sept 26
Giant Update! We've been putting this off for way too long.
Table of Contents
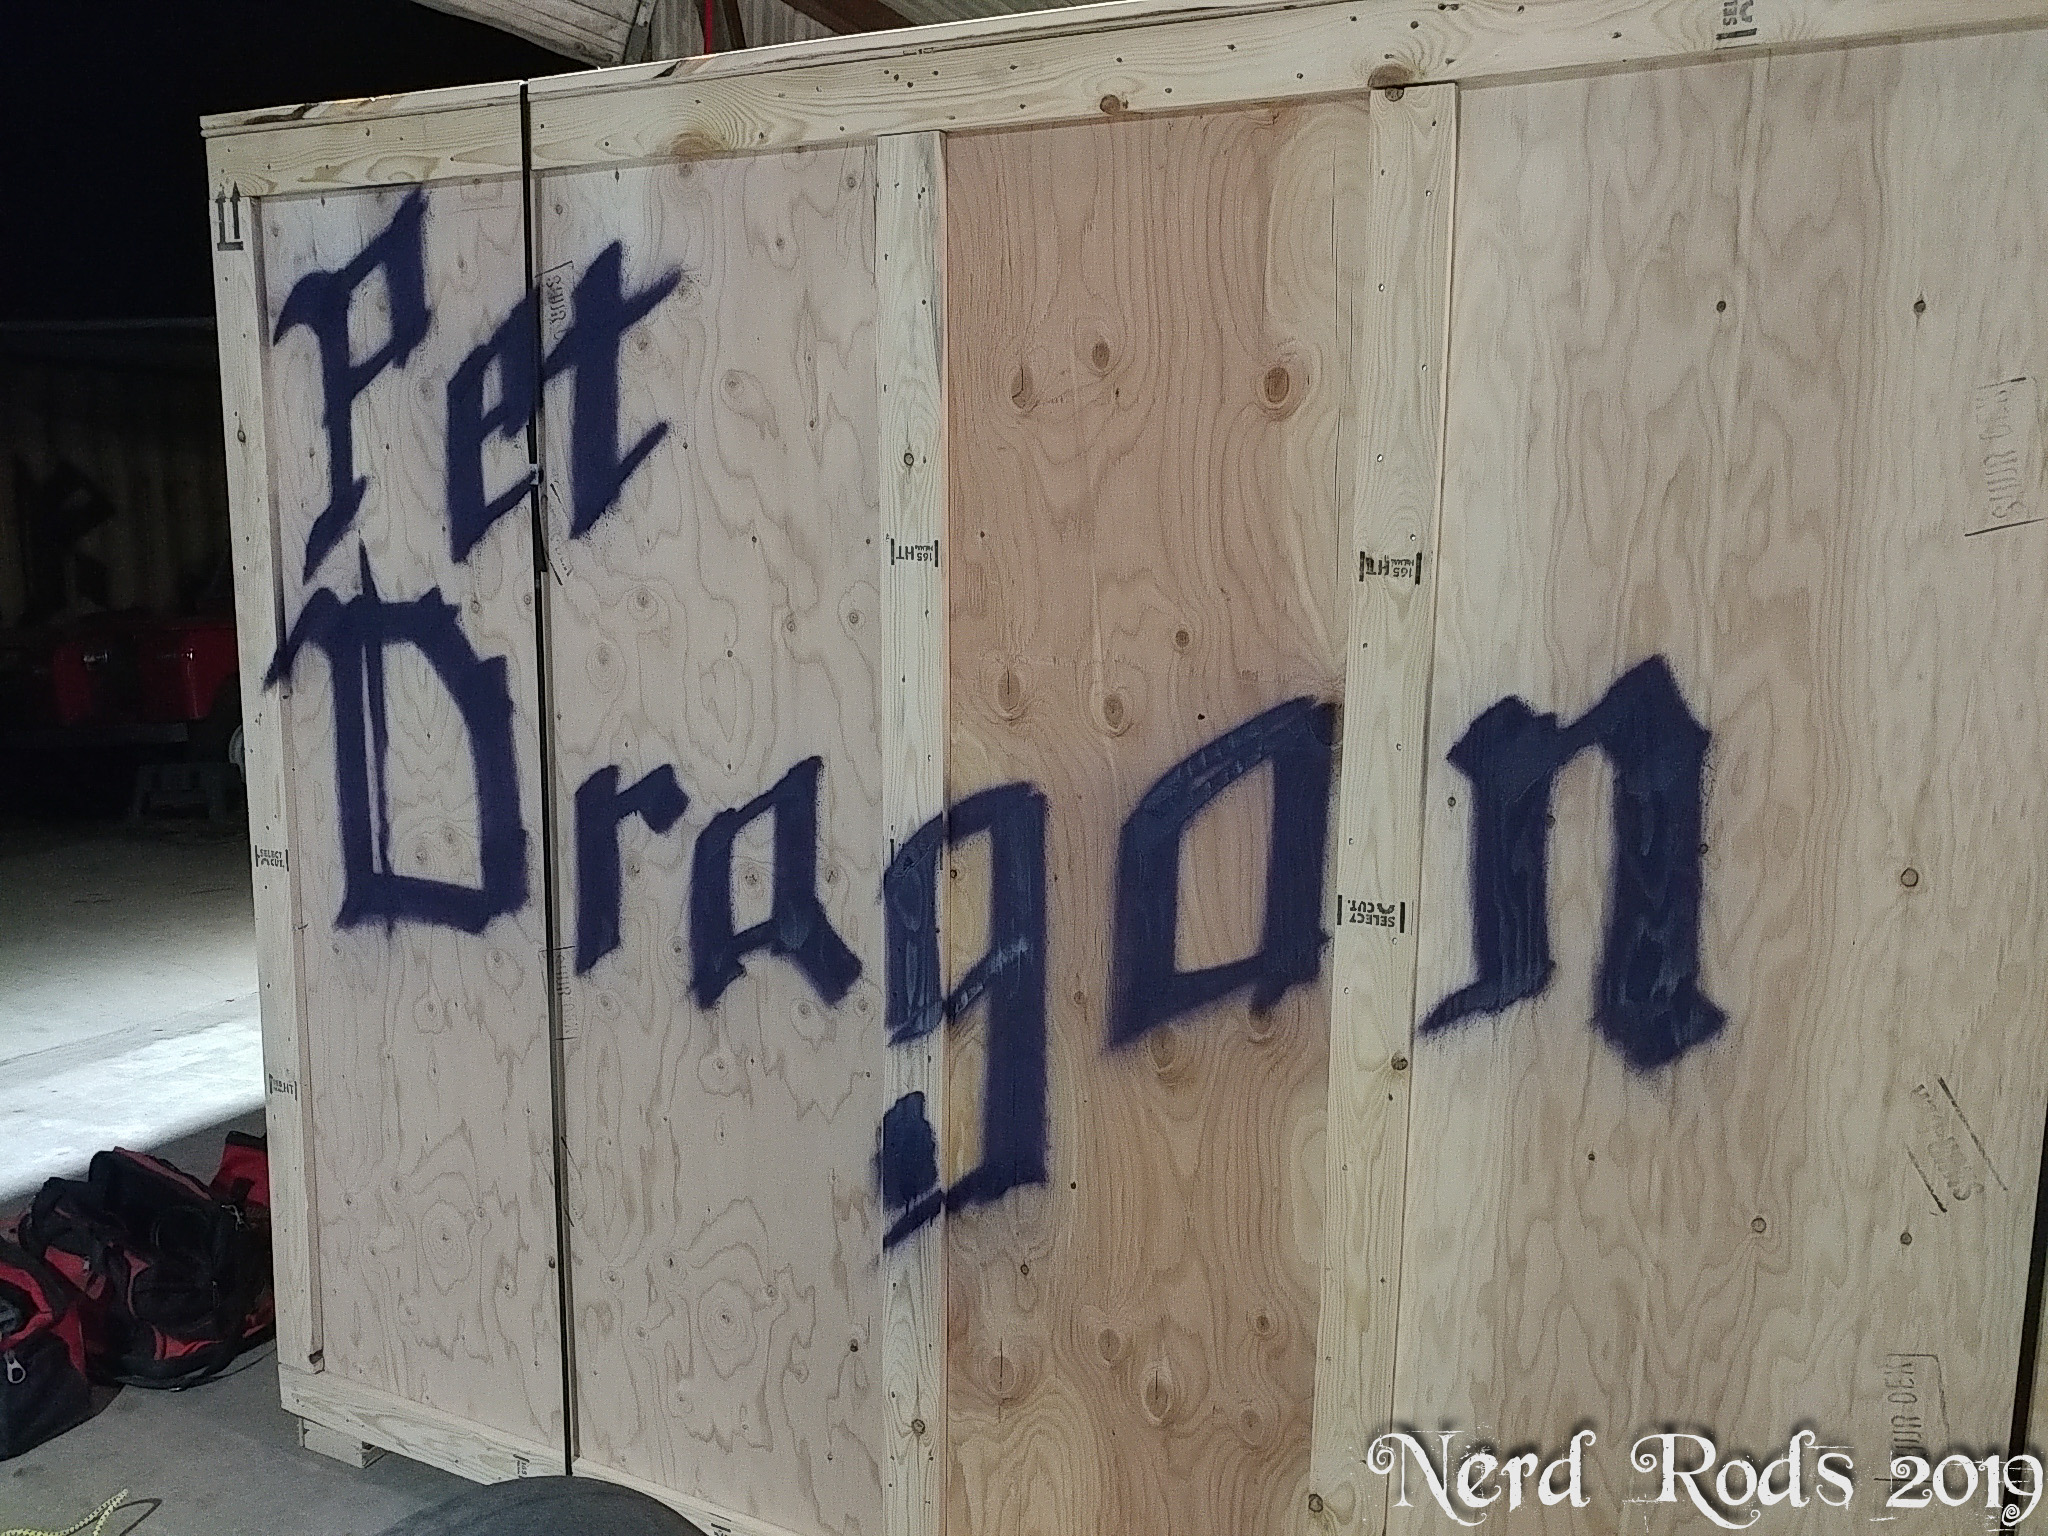
The Dragon
Wow. Well, we’re overdue for a quick recap for sure. Short version. We got a new toy!
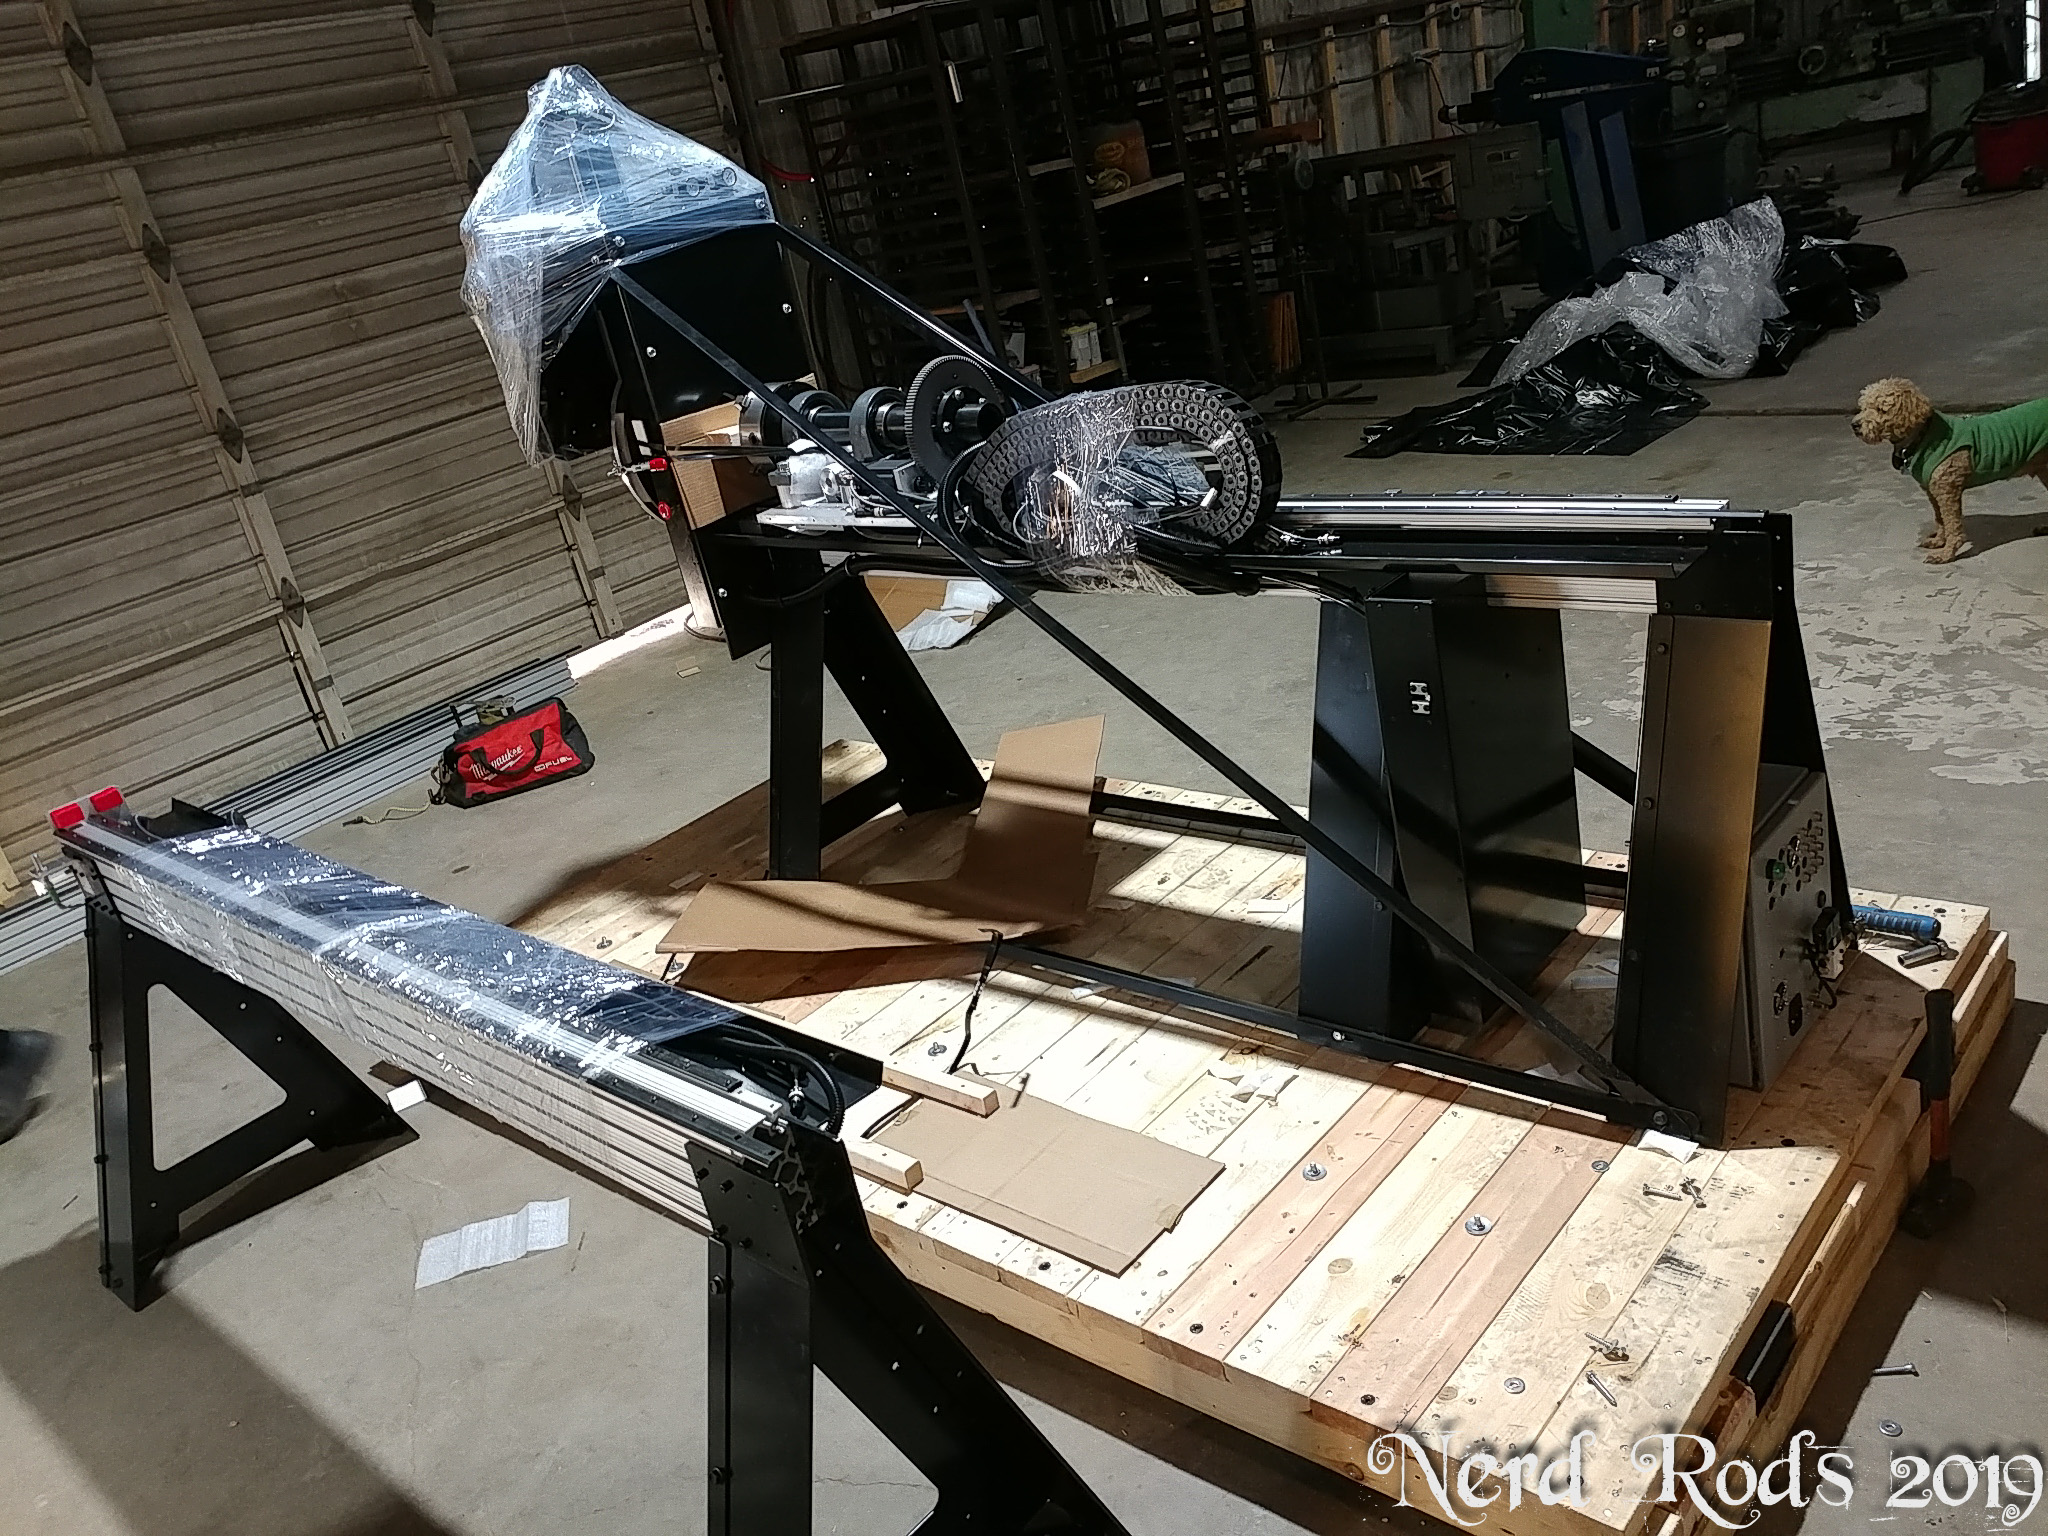
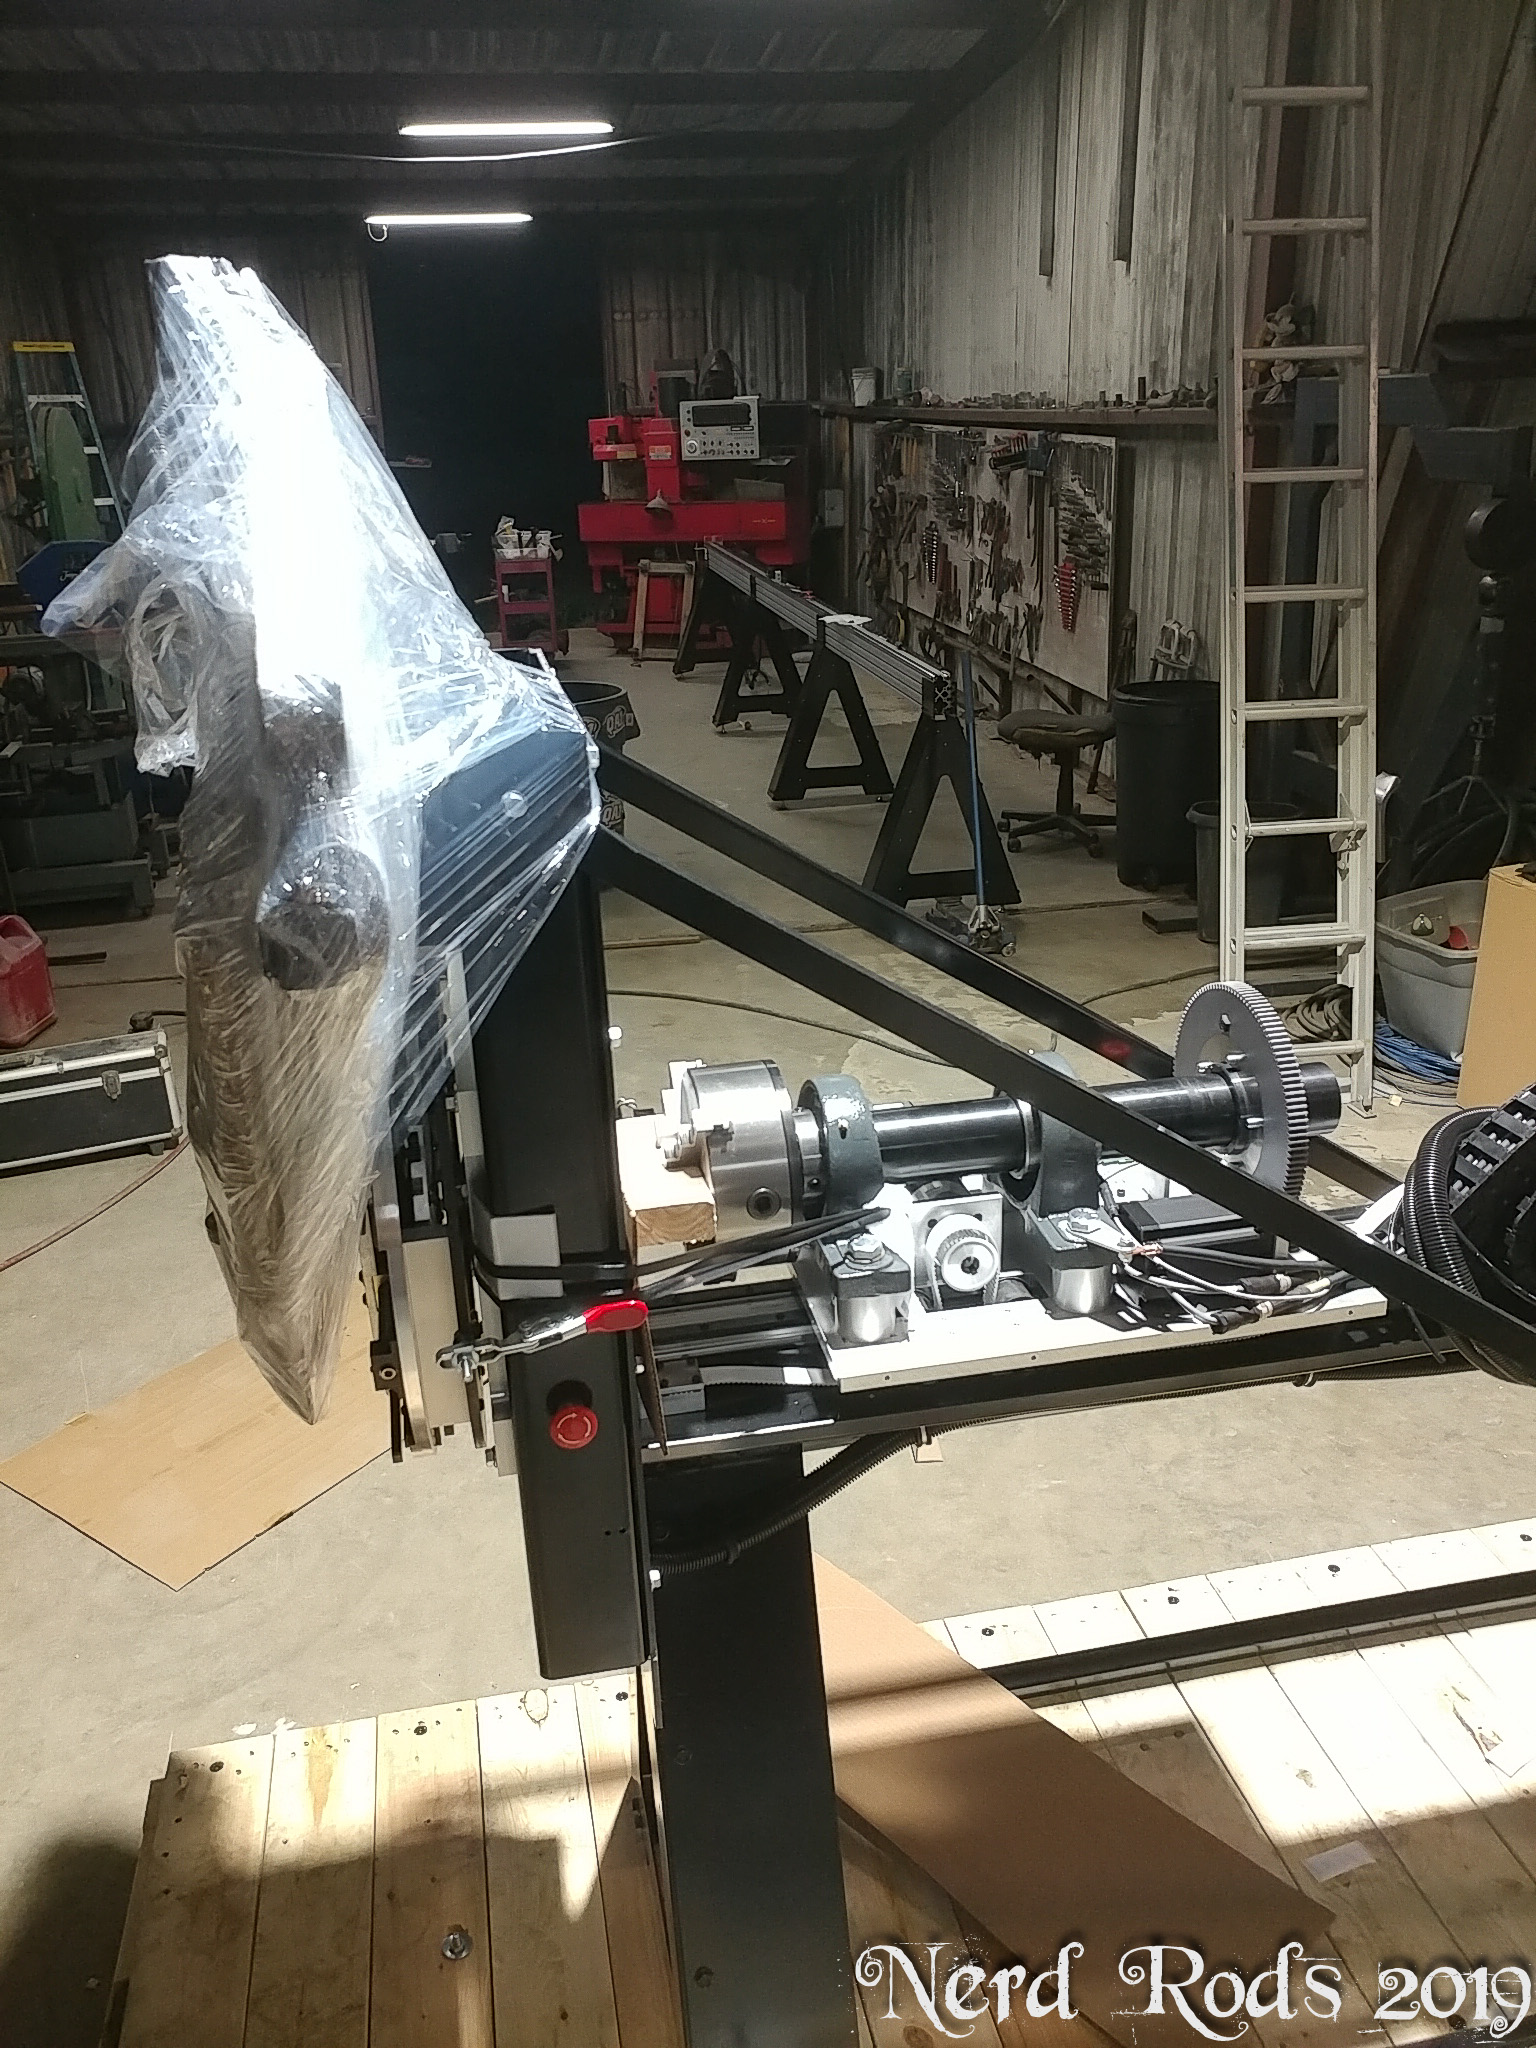
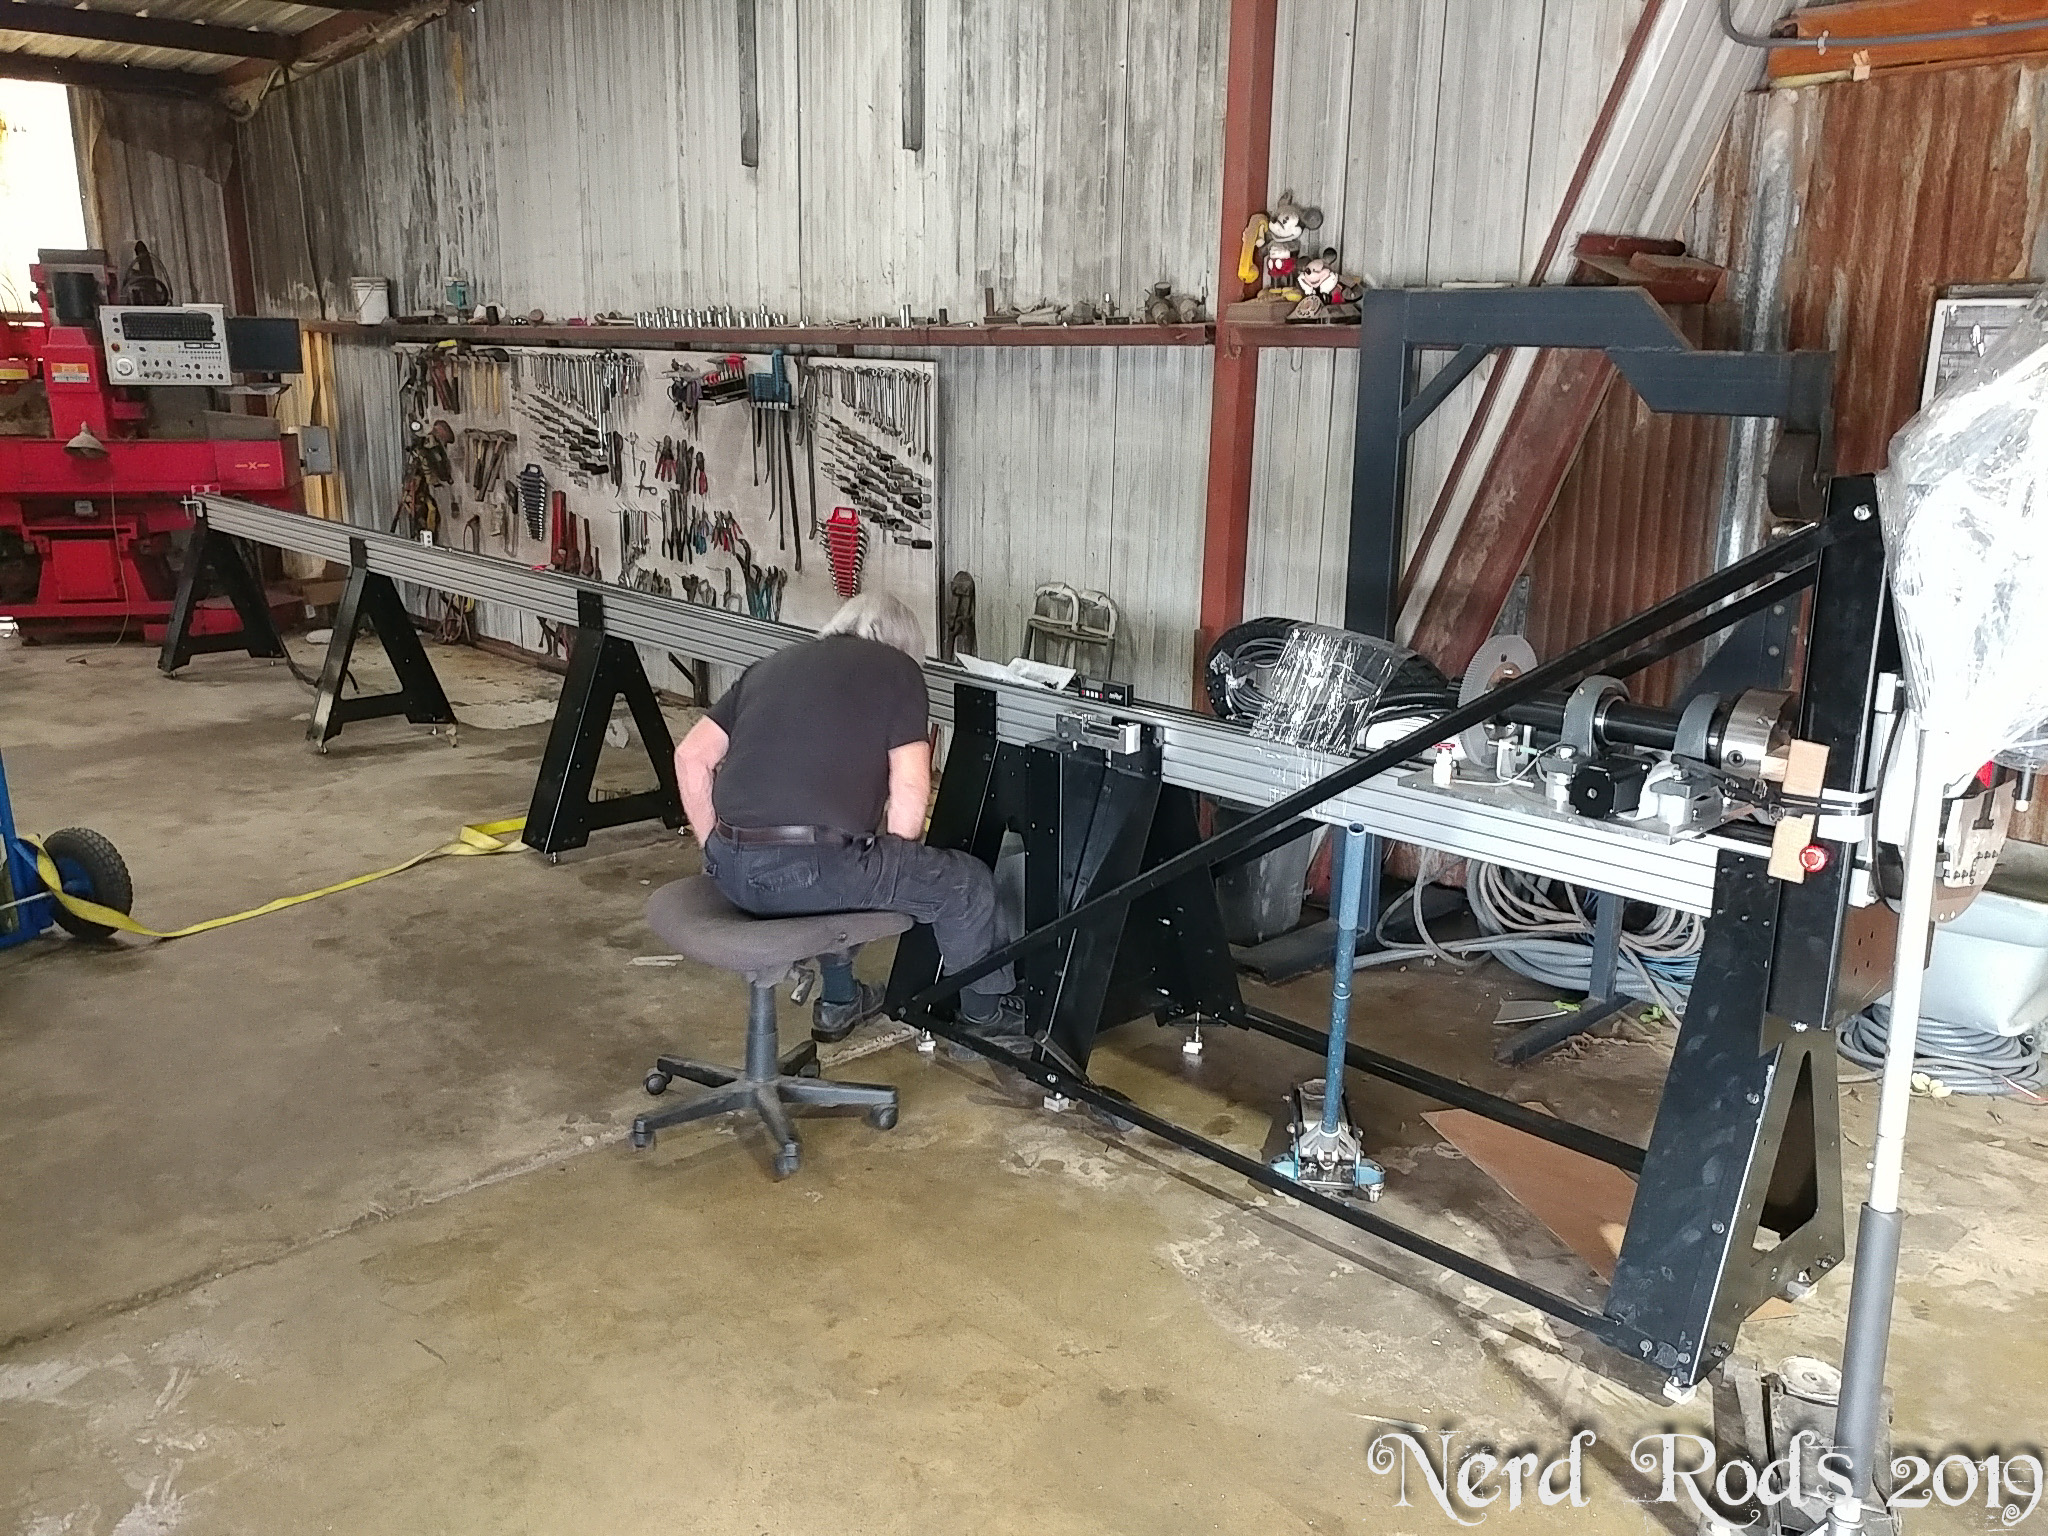
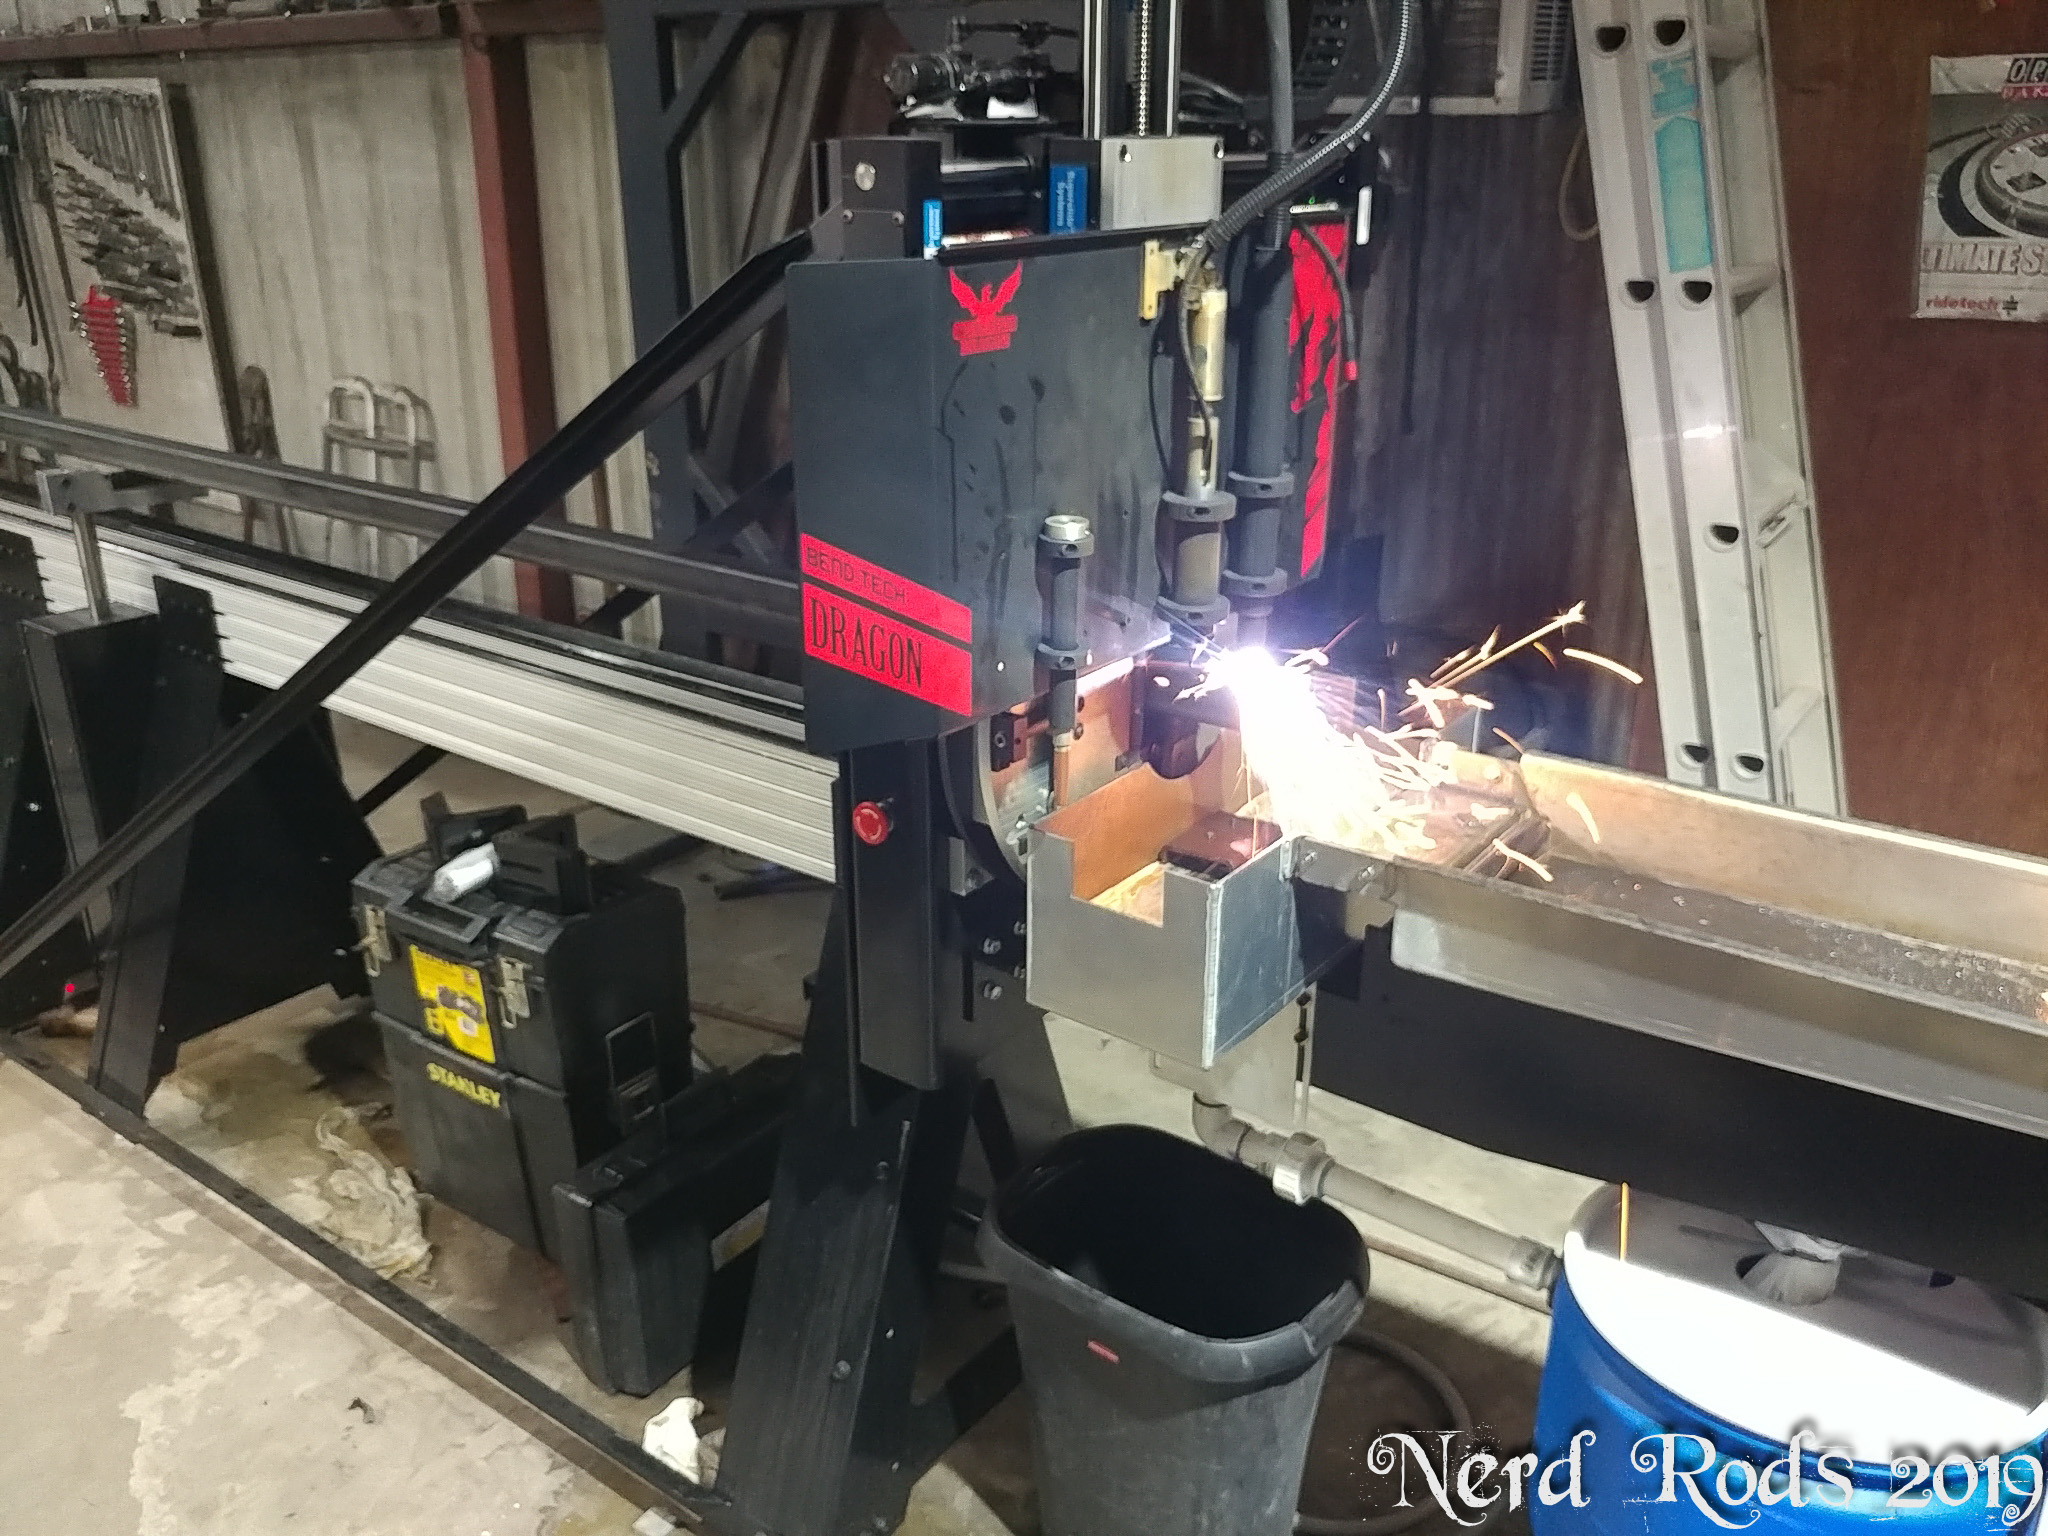
Behold the Dragon A400 CNC Tubing Plasma Cutter. With this we can now bring manufacturing into the shop for our DIY Frames. Inventory control and prototyping won’t be a problem like they have been in the past. I’ll let the video do the talking about what it can do.
We took a trip in December to pick up the beast while dropping a chassis off on the same drive. We stopped first in North Dakota to deliver a stage 4 turn key chassis then over to Wisconsin just outside of Minneapolis to pick up our Dragon and get in some training on the beast.

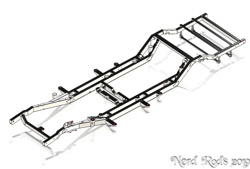
TriFive Version 8 Frame
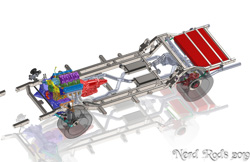
With the new equipment, we were required to redesign our frame. The Plasma is slightly different from the laser we’ve been using so we also took advantage of this forced redesign to include a few new things we’ve been thinking about after almost 5 years of building DIY frames.
- Longer shocks all around
- More room for front steering radius
- Modified rear swaybar location
- Better body mount fitment
- New Swaybar linkage
- Riv nuts for hardware mounting
- And more
Some of the CAD Photos can be found here.
Mobile Devices Click here for Photo Gallery
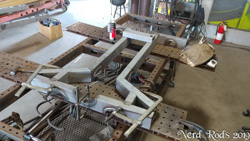
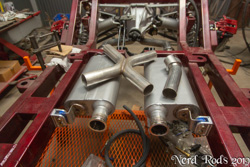
Stock Frame K Member - New Product!
A local customer came in looking for a bit of an upgrade. One thing turned into another and it got a bit out of hand. We ended up designing a K member for the stock TriFive frames that will let you install an X pipe exhaust and stiffen the frame considerably. More on that in its own page soon, but here's a short video and photo gallery. They show the installation of one kit, and the parts included in the design.
Mobile Devices Click here for Photo Gallery
A quick video showing the assembly and features of the design.
Price is $750.00, includes shipping the Continental US. Contact Us for more information.
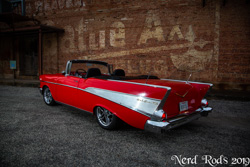
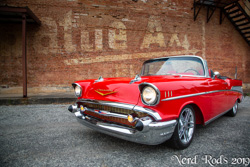
First Frame #00, 1957 Convertible Returns for Photos
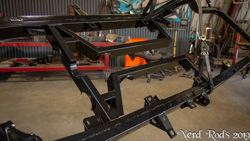
This was a fun blast from the past. Dick Pinner from Dallas owns the first DIY frame. This was the first frame built when transitioning from our traditional 'frame and jig' method to the 'self jigging' method we use today. It was a resounding success as you might have guessed, and our frame has only changed slightly since then. We’ve come up with a few upgrades since and Dick wanted to take advantage of the progress five years of R&D to improve his car a bit more.
So Dick brought his '57 to us for some suspension tuning, chassis balancing, some minor upgrades including our Ackerman Kit, and the new front swaybar linkage. We took the opportunity to snap some photos before it left as well.
Mobile Devices Click here for Photo Gallery

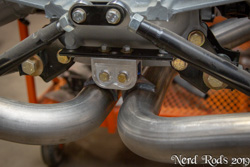
Billet Exhaust Hangers - New Product
This is something I’d been working on after building a few custom exhaust systems as well as our own systems. If you don’t have the mount straight above the tube, then you risk it rocking to the left or right and hitting the other items under the project. As we get lower, everything gets tighter under the car as well so your room to mount vertically becomes limited. Thus, we have our mount.
These are specifically designed to allow you to run pipes at strange angles and not have the pipe droop strangely because it has 2 bushings that prevent the tube from rotating in the mount. The mount is bolted to the frame with two 5/16” cap screws. You just need to tap two holes or put in two riv nuts into the frame where you plan on having the mount, then make a plate to that will reach out to the tubings location. This works especially well for us as we design in CAD and laser cut everything but regular guys can also just cut up some strap or plate, drill two big holes and hole saw the tubing hole where you need them and bolt it in.
Mobile Devices Click here for Photo Gallery
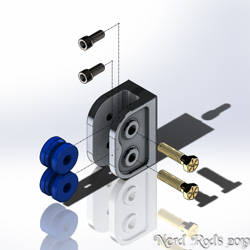
Includes one billet bracket, two stainless works exhaust bushings, two stainless 5/16” cap screws, and two 3/8’s mounting bolts. Plate for tubing not included. Contact us about purchasing. The dedicated page will be up soon.
Price is 52.88 each.
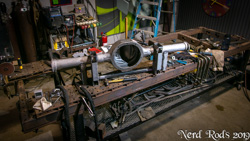
Live Axle Options - Coming Soon
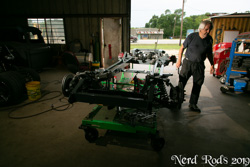
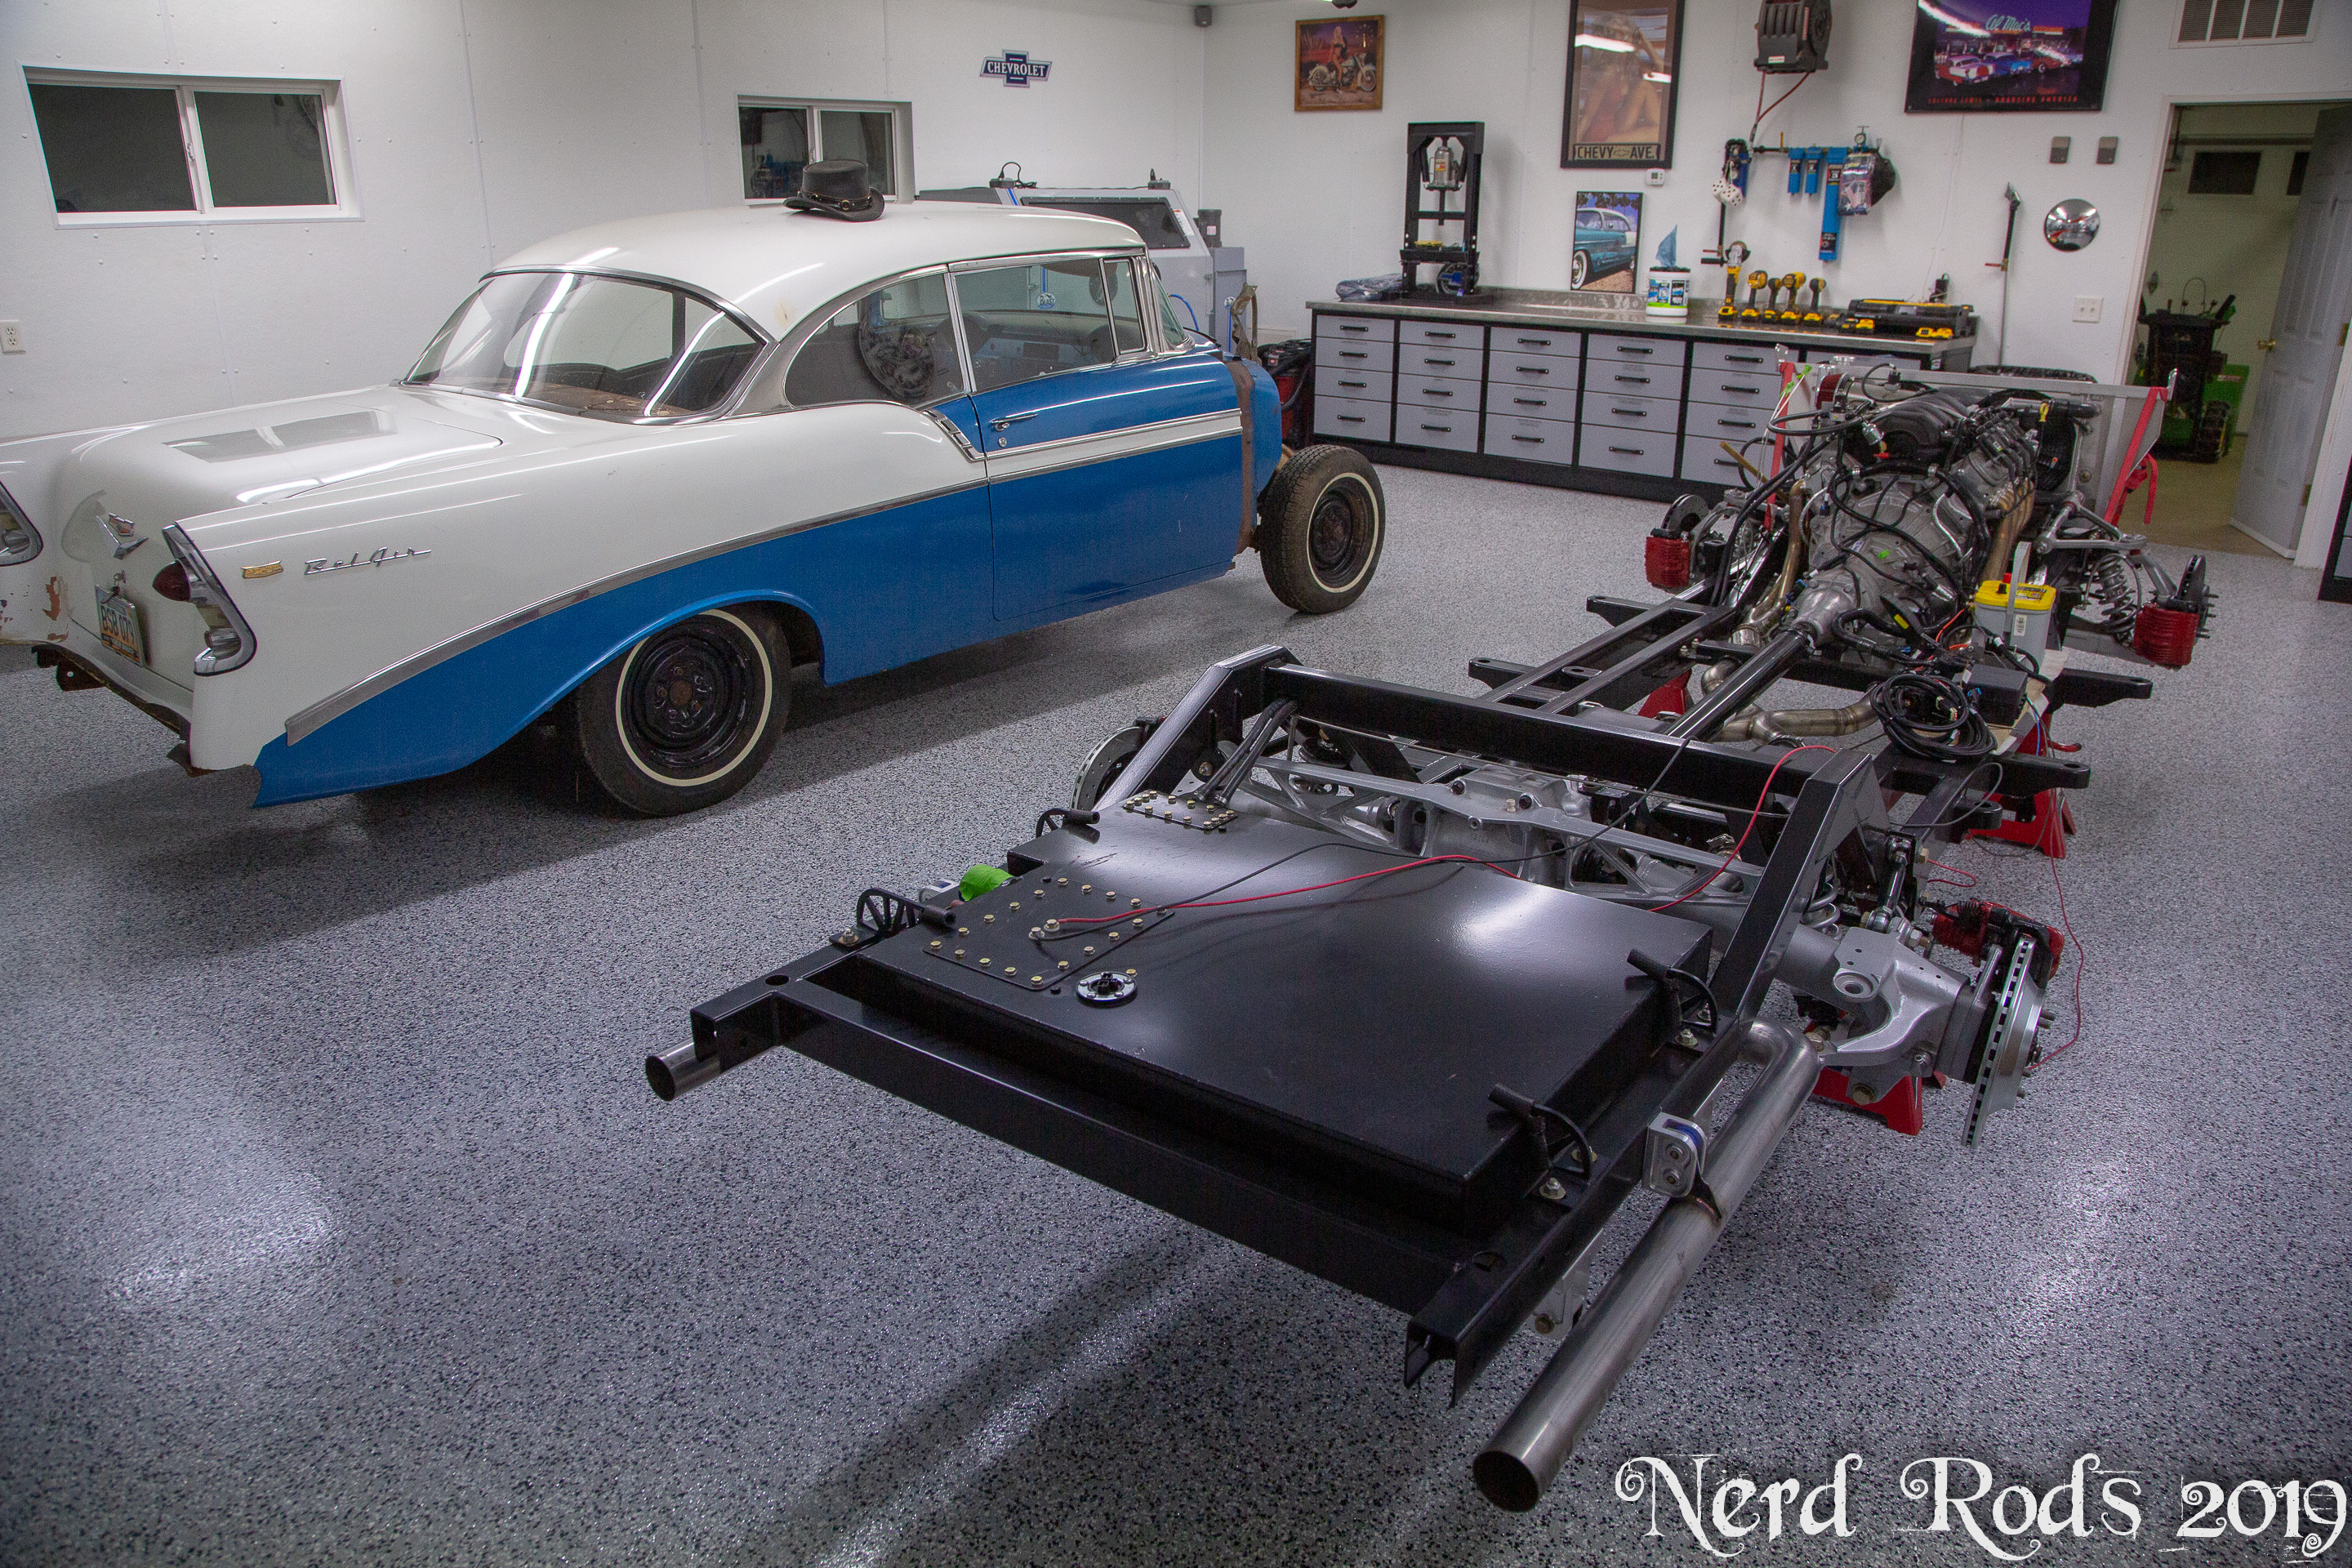
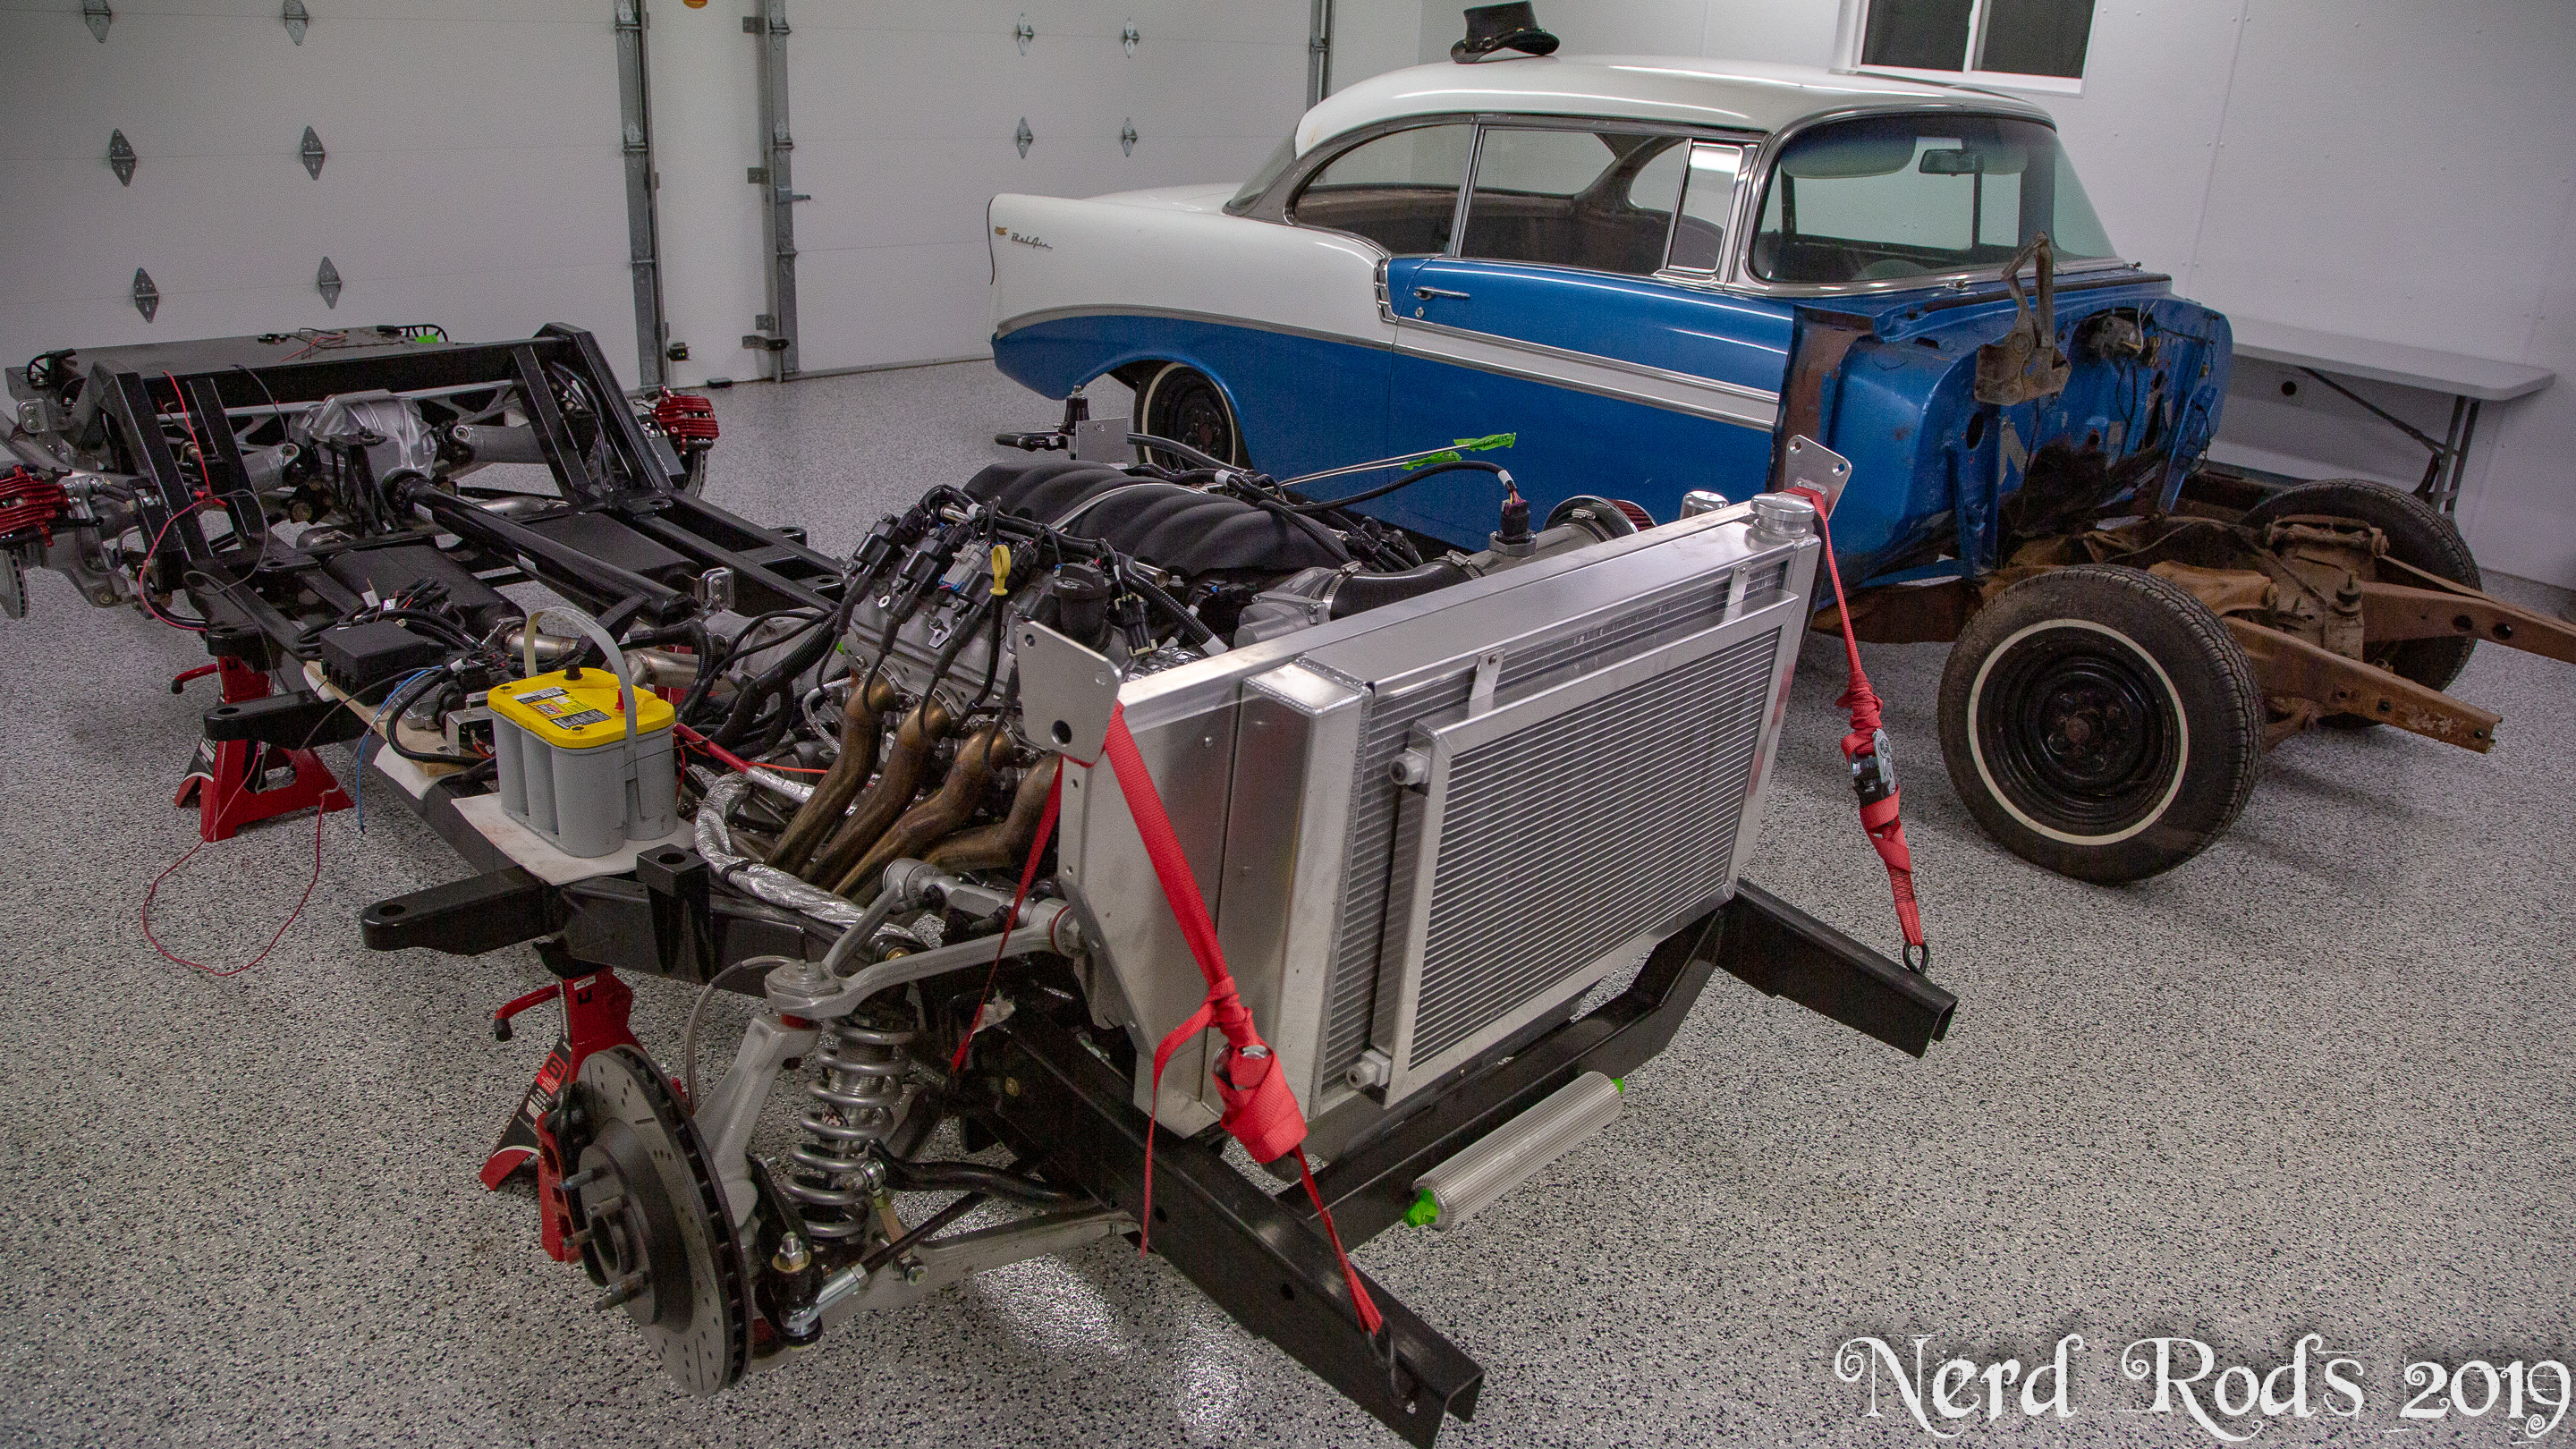
One of our customers reached out about getting something a little better down the drag strip for his '55 Chevy and its Turbo 6.0L LS engine. We’ve been thinking about doing a live axle kit for a while, so we took the opportunity for what it was and finally made it happen.
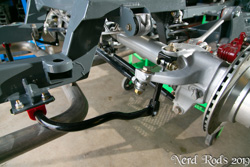
We went with a two-link ladder bar design for a really easy to set up drag car. While not as ultimately fast as a 4 bar, it will be much easier to dial in the launch on this setup, which is what the customer was mostly after as he would make most of his power at the end of the track with the turbo.
Mobile Devices Click here for Photo Gallery
We are also working on a 4 bar and 3 link kit. Price is TBD, as we still have a few options to dial in but expect a ‘weld it yourself’ axle kit to be an additional $1,700.00 to your Stage 1 Kit. We are still working on various options for exhaust routing as well.
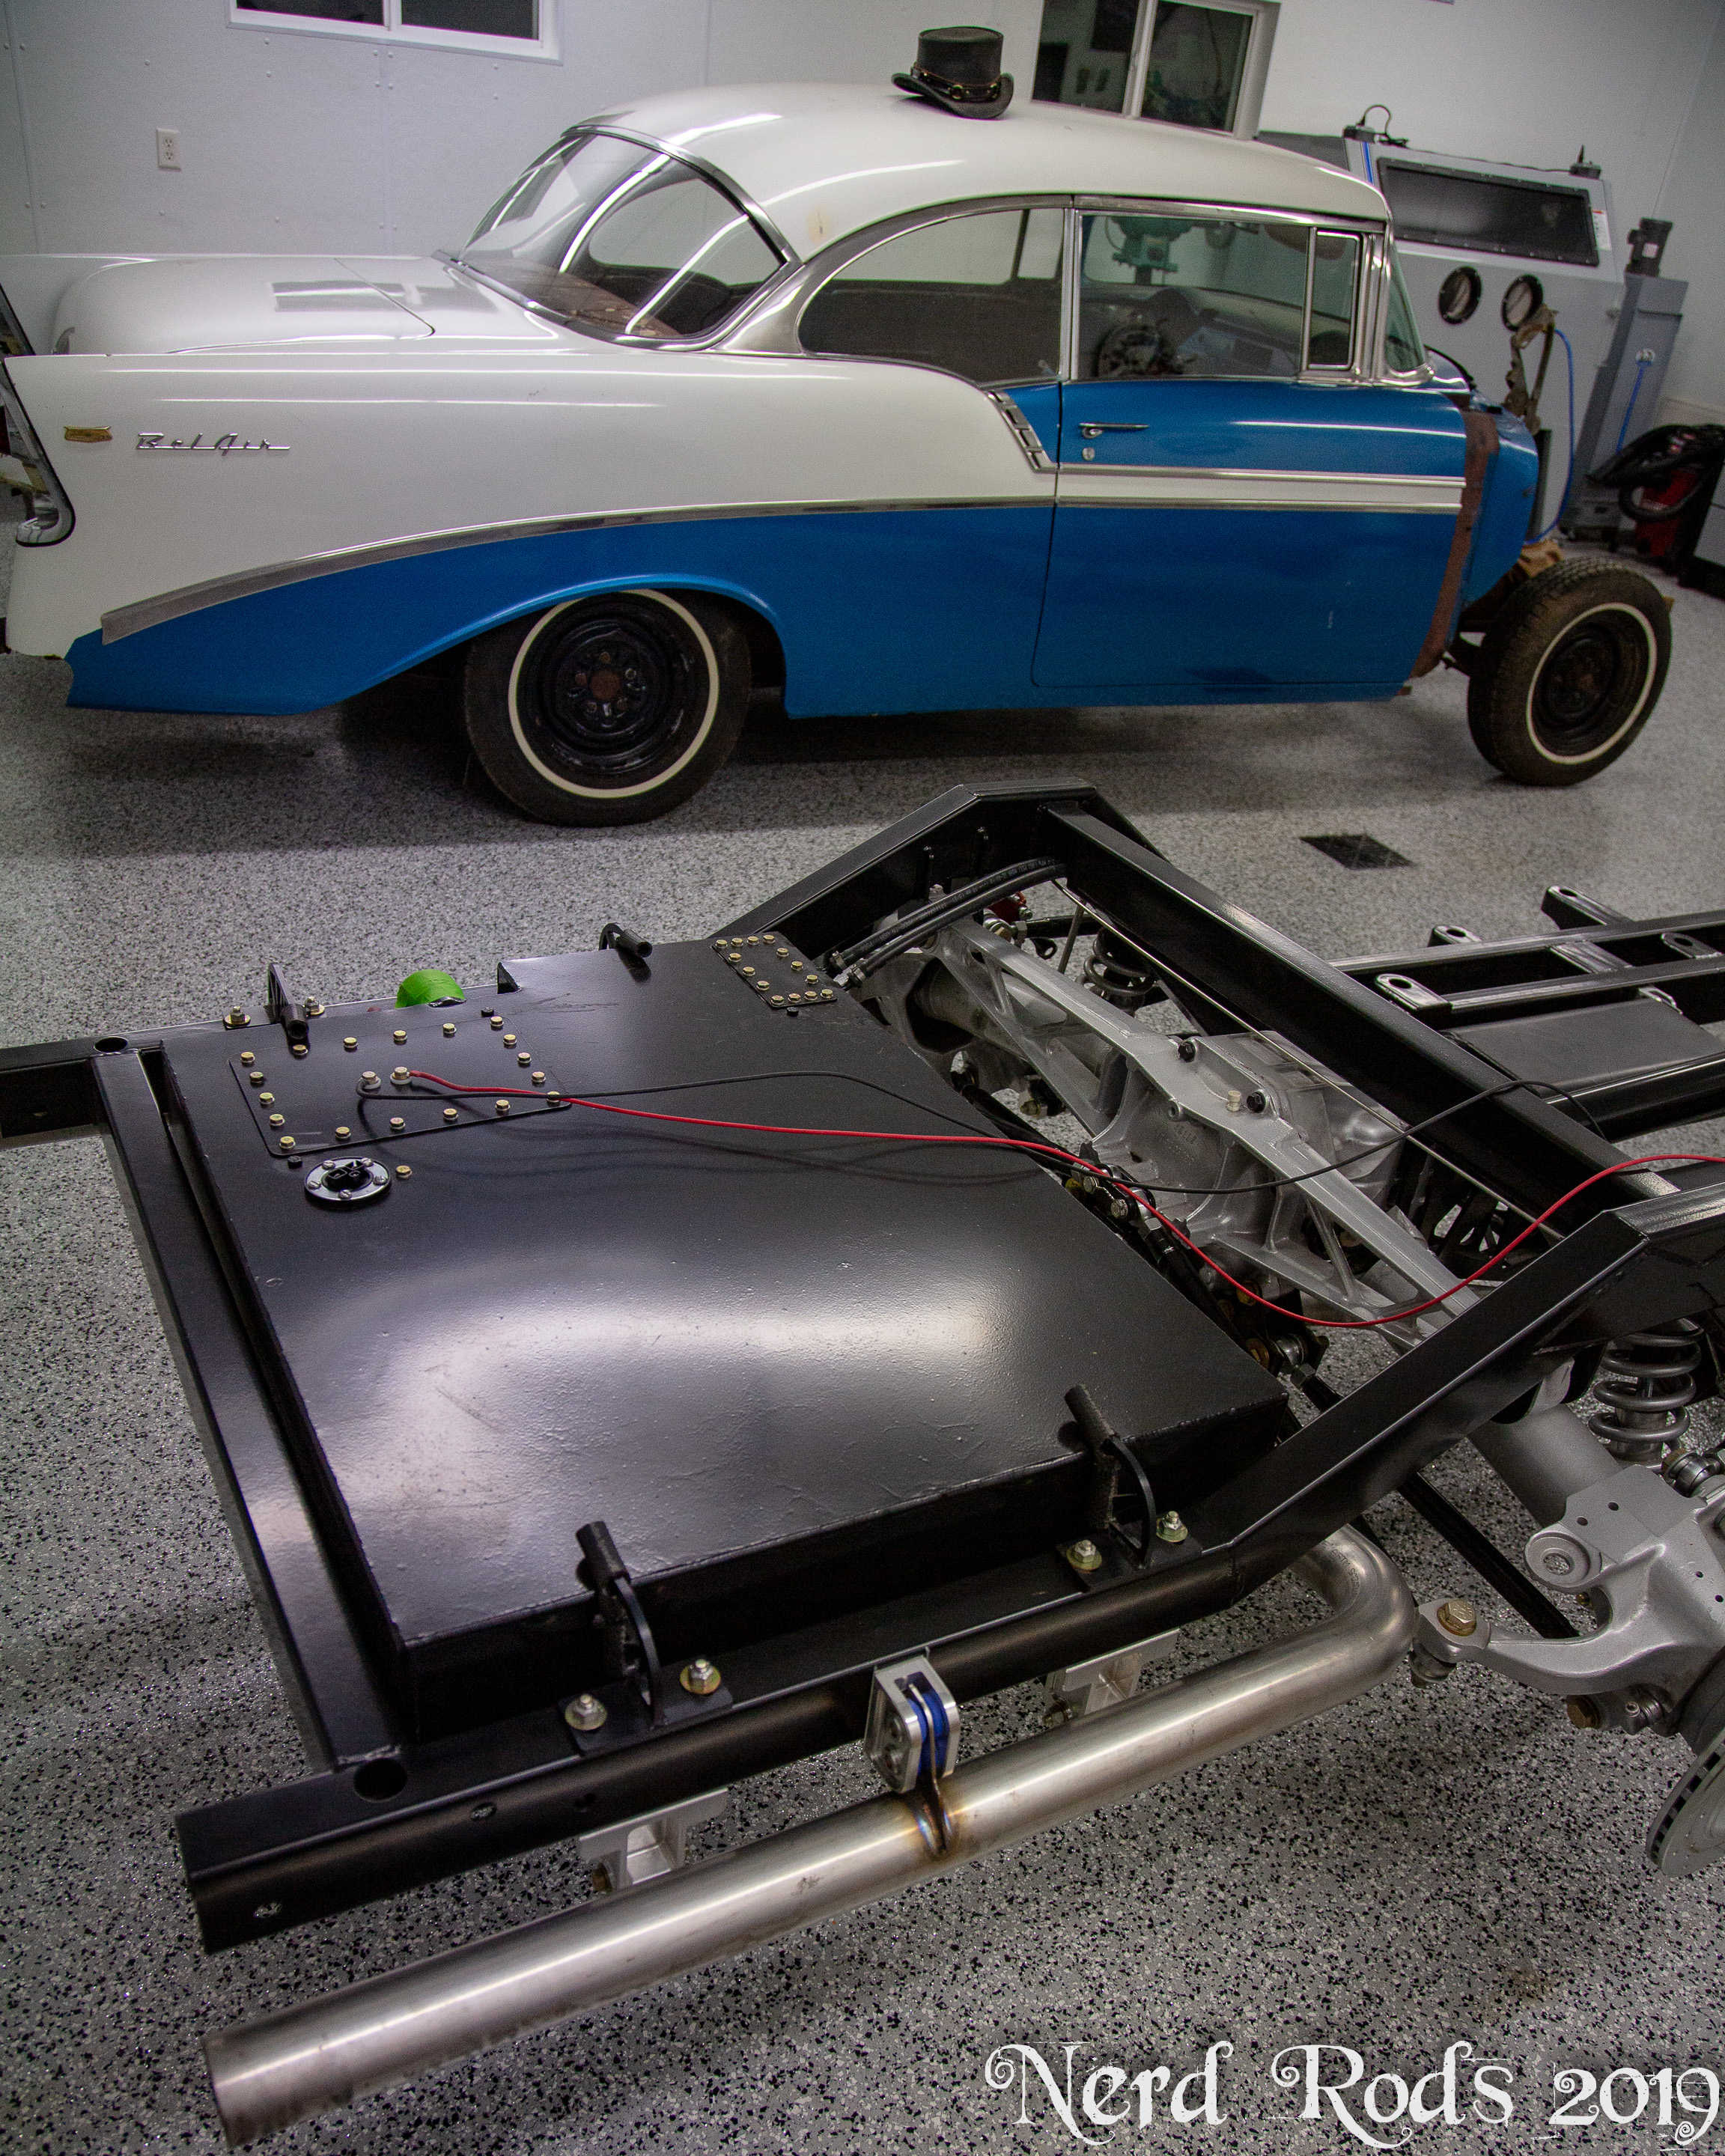
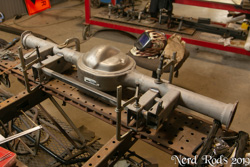
Version 8 Fuel Tank and Lid - New Product
With the new Version 8 frame design we needed to redesign several sub systems all over the frame. Due to its size, and how it influences the exhaust system, the fuel system was first on that list.
Tanks have always been a bit of a trick as they are hard to seal thanks to all the ethanol in today’s fuel. Several ideas have been tried, and worked, to various levels of success. Almost all of them take a substantial amount of time to install and seal properly. Several variations involved expensive parts driving the price up, and others just don't last if you ever have to open the tank to do anything to it.
Thus, a new design for the tank lid came to mind. A lid that seals with an O-ring instead of a custom gasket and with bolts sealed from the bottom with their own little cups.
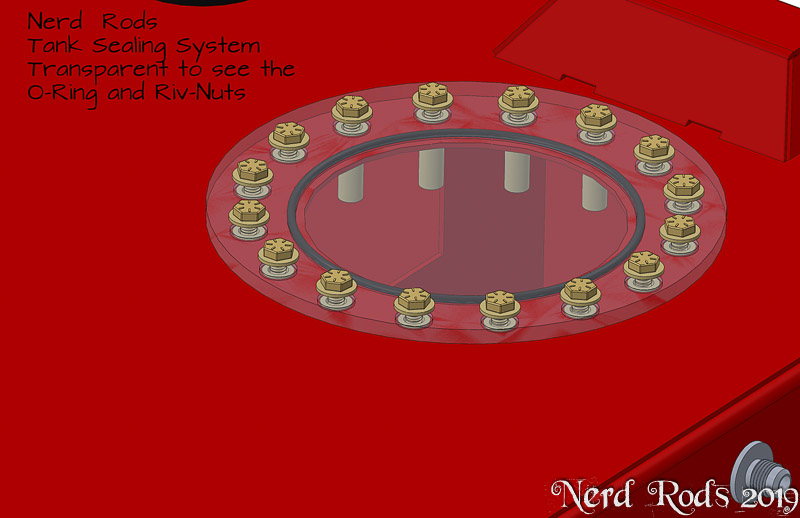
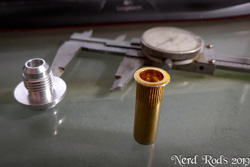
First, we employed newly discovered ‘boxed end riv-nuts’ to keep fuel from crawling up the bolt thread and out the tank. Now that we don’t need to seal around the access hole and each bolt in the cover, we can use a large but simple O-ring to seal the access hole. This finally left us with only a single custom piece to have machined and off the shelf parts to facilitate the rest of the design. With that we had the last item that had been plaguing us for years on our fuel tank.
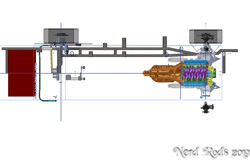
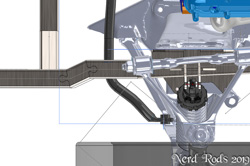
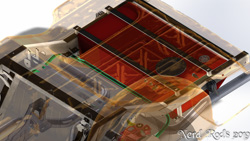
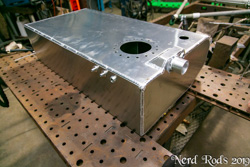
The new design is 27 Gallons total. It has built in baffling that will make welding it much easier and breaks on all metal edges that are designed to keep warpage to a minimum compared to previous designs. The pump has always had its own anti-slosh box in the tank but now it has been recessed below the rest of the floor of the tank to help facilitate flow onto its screen pickup at all time. Check out the notated photos for more info about all the details.
Mobile Devices Click here for Photo Gallery
Stage 1 DIY Tank kit with all the parts shown for the tank and its fittings will be $995.00. Ask about getting a kit when you order your frame kit to save on shipping.
Dad's Down and Dirty Update, Version 2 Truck Frame here we go
This comes with mixed feelings. We were getting so close to getting Dad’s truck on the road but then the Dragon happened. I was completely distracted with learning the new machine and redesigning the frame that Dad’s trucks just sat.
Dad’s truck had humble beginnings as a “chunk what we have together” project but quickly outgrew that. After he’d seen all the work and upgrades on the TriFive frame and we talked over all the corners cut for the “down and dirty” build idea, we both agreed that his truck should be the Beta for the Version 2 of the Task Force truck frame redesign.
So with a heavy heart we took his truck apart and sold the chassis to a new home in Arizona where it will be an awesome '55 truck over there while we get the new frame work underway. The new customer wanted another color so we stripped it down quickly and coated it the gray he asked for then sent it on its merry way.