D3, Dad's Down and Dirty
Running Total
This is the running total that we’ll keep updated, So I’ll come back and edit this as we go to reflect the build cost in real numbers. Stuff I get dealer discounts on I’ll list at retail prices as well so you’ll know what to expect in reality. I'll even put a realistic price on stuff we've just had laying around.
Body $1,045.39
$500.00 - Our "Pile" Of Parts, This is an arbitrary price for this pile of loot
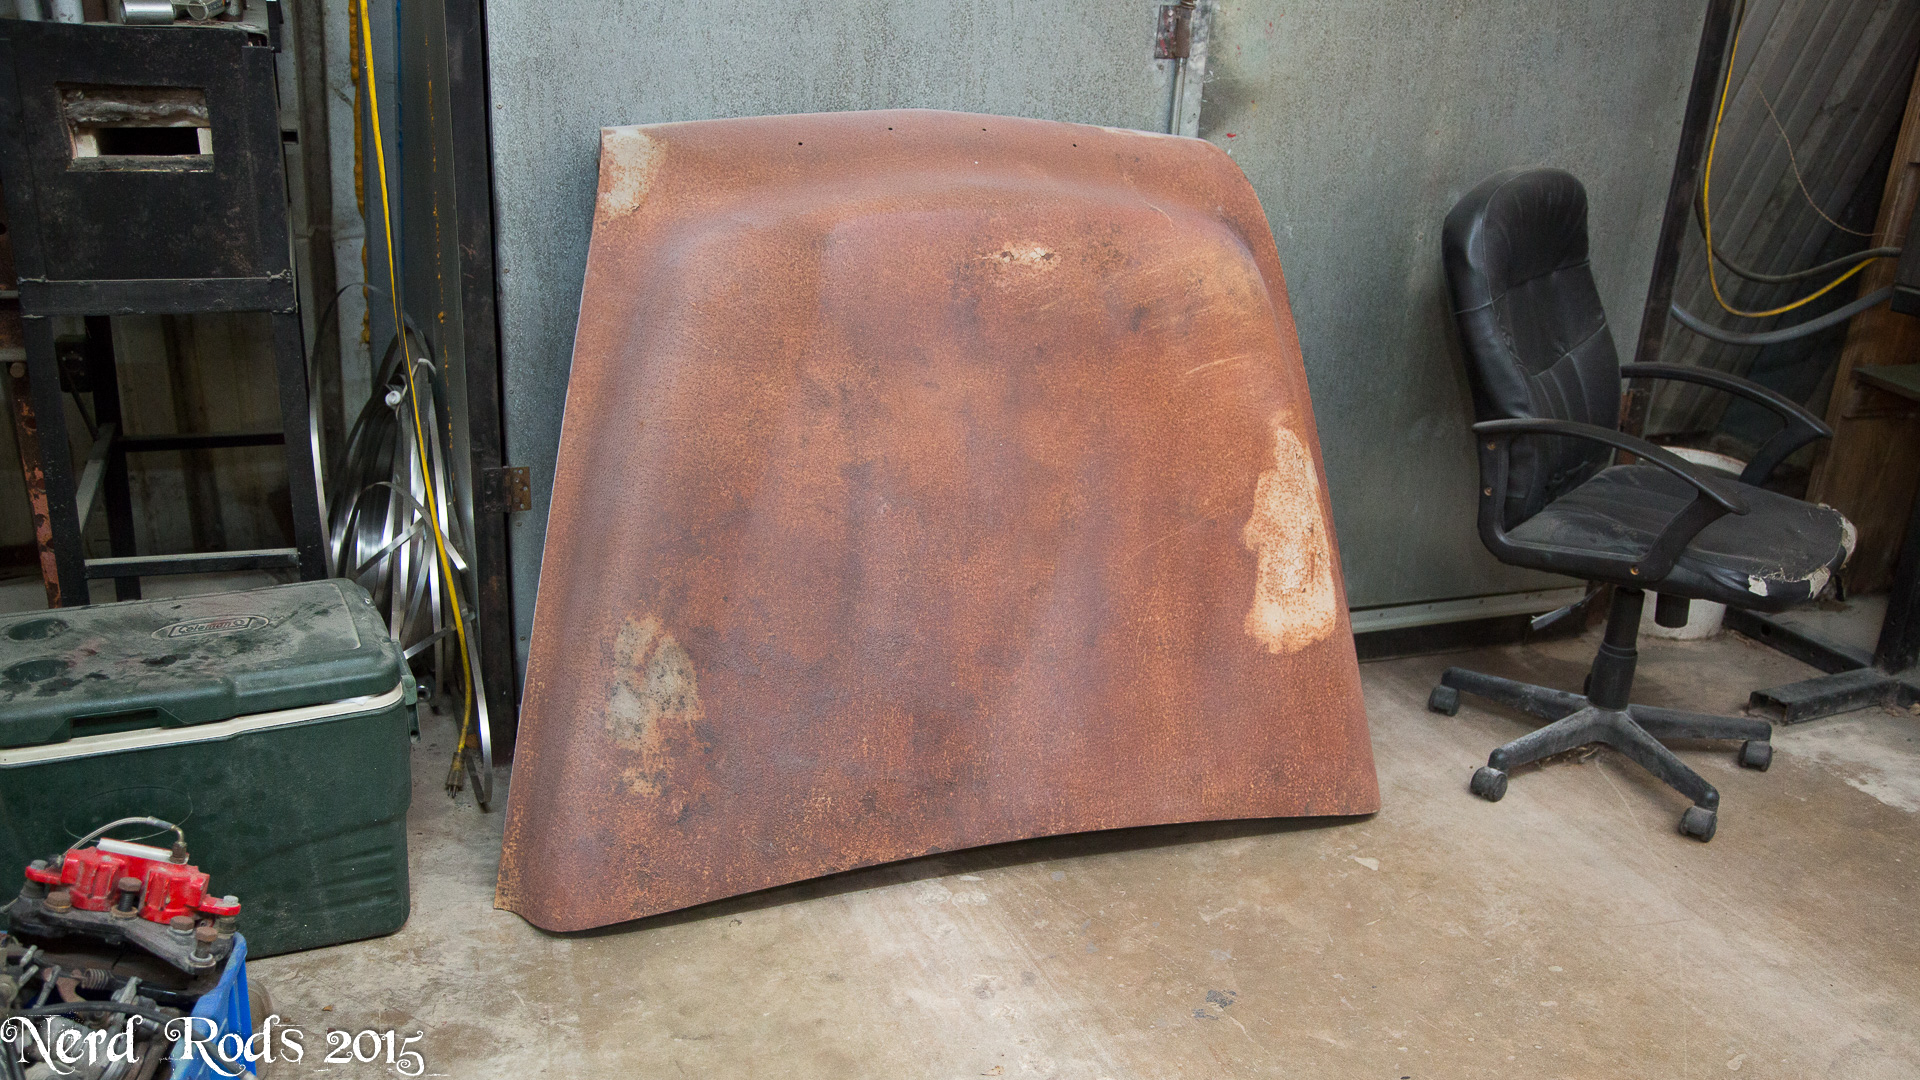
Cab, Doors, Hood, Front Fender, Bed, Rear Fenders, and Glass
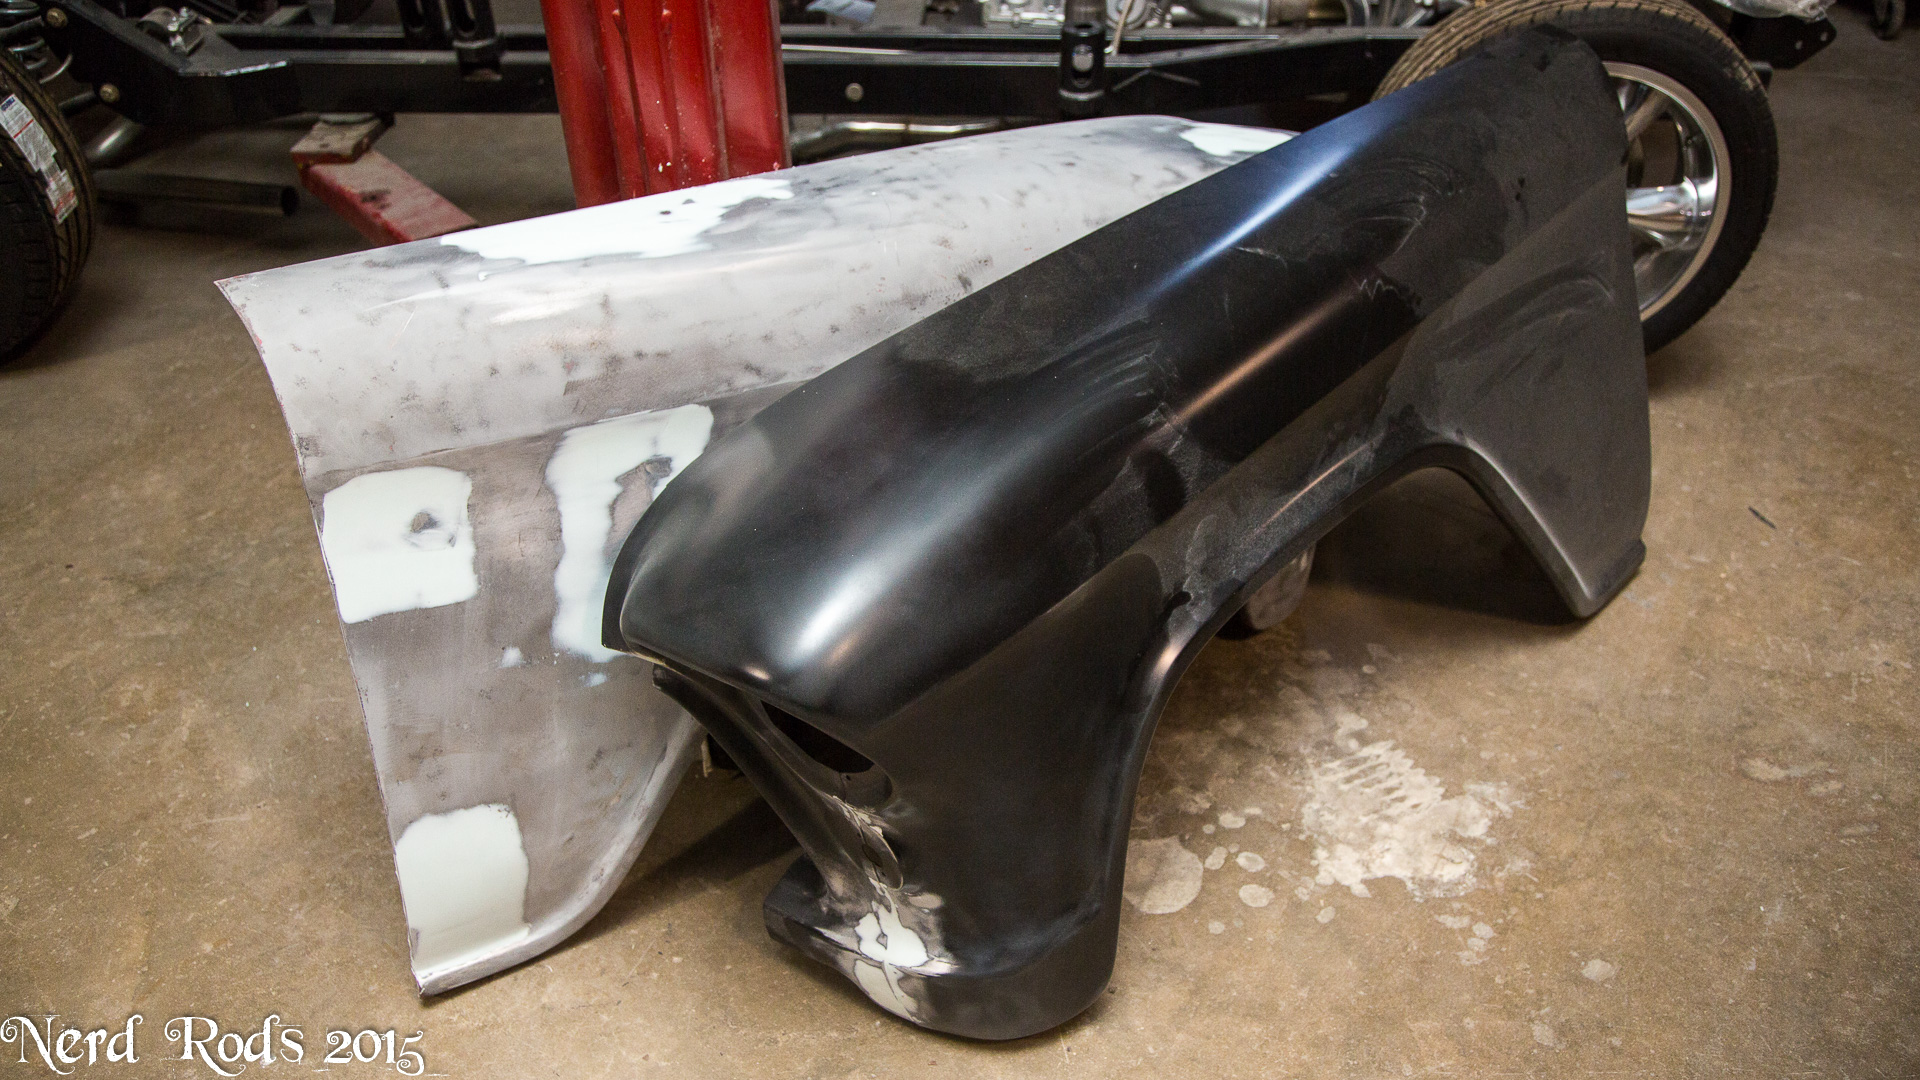
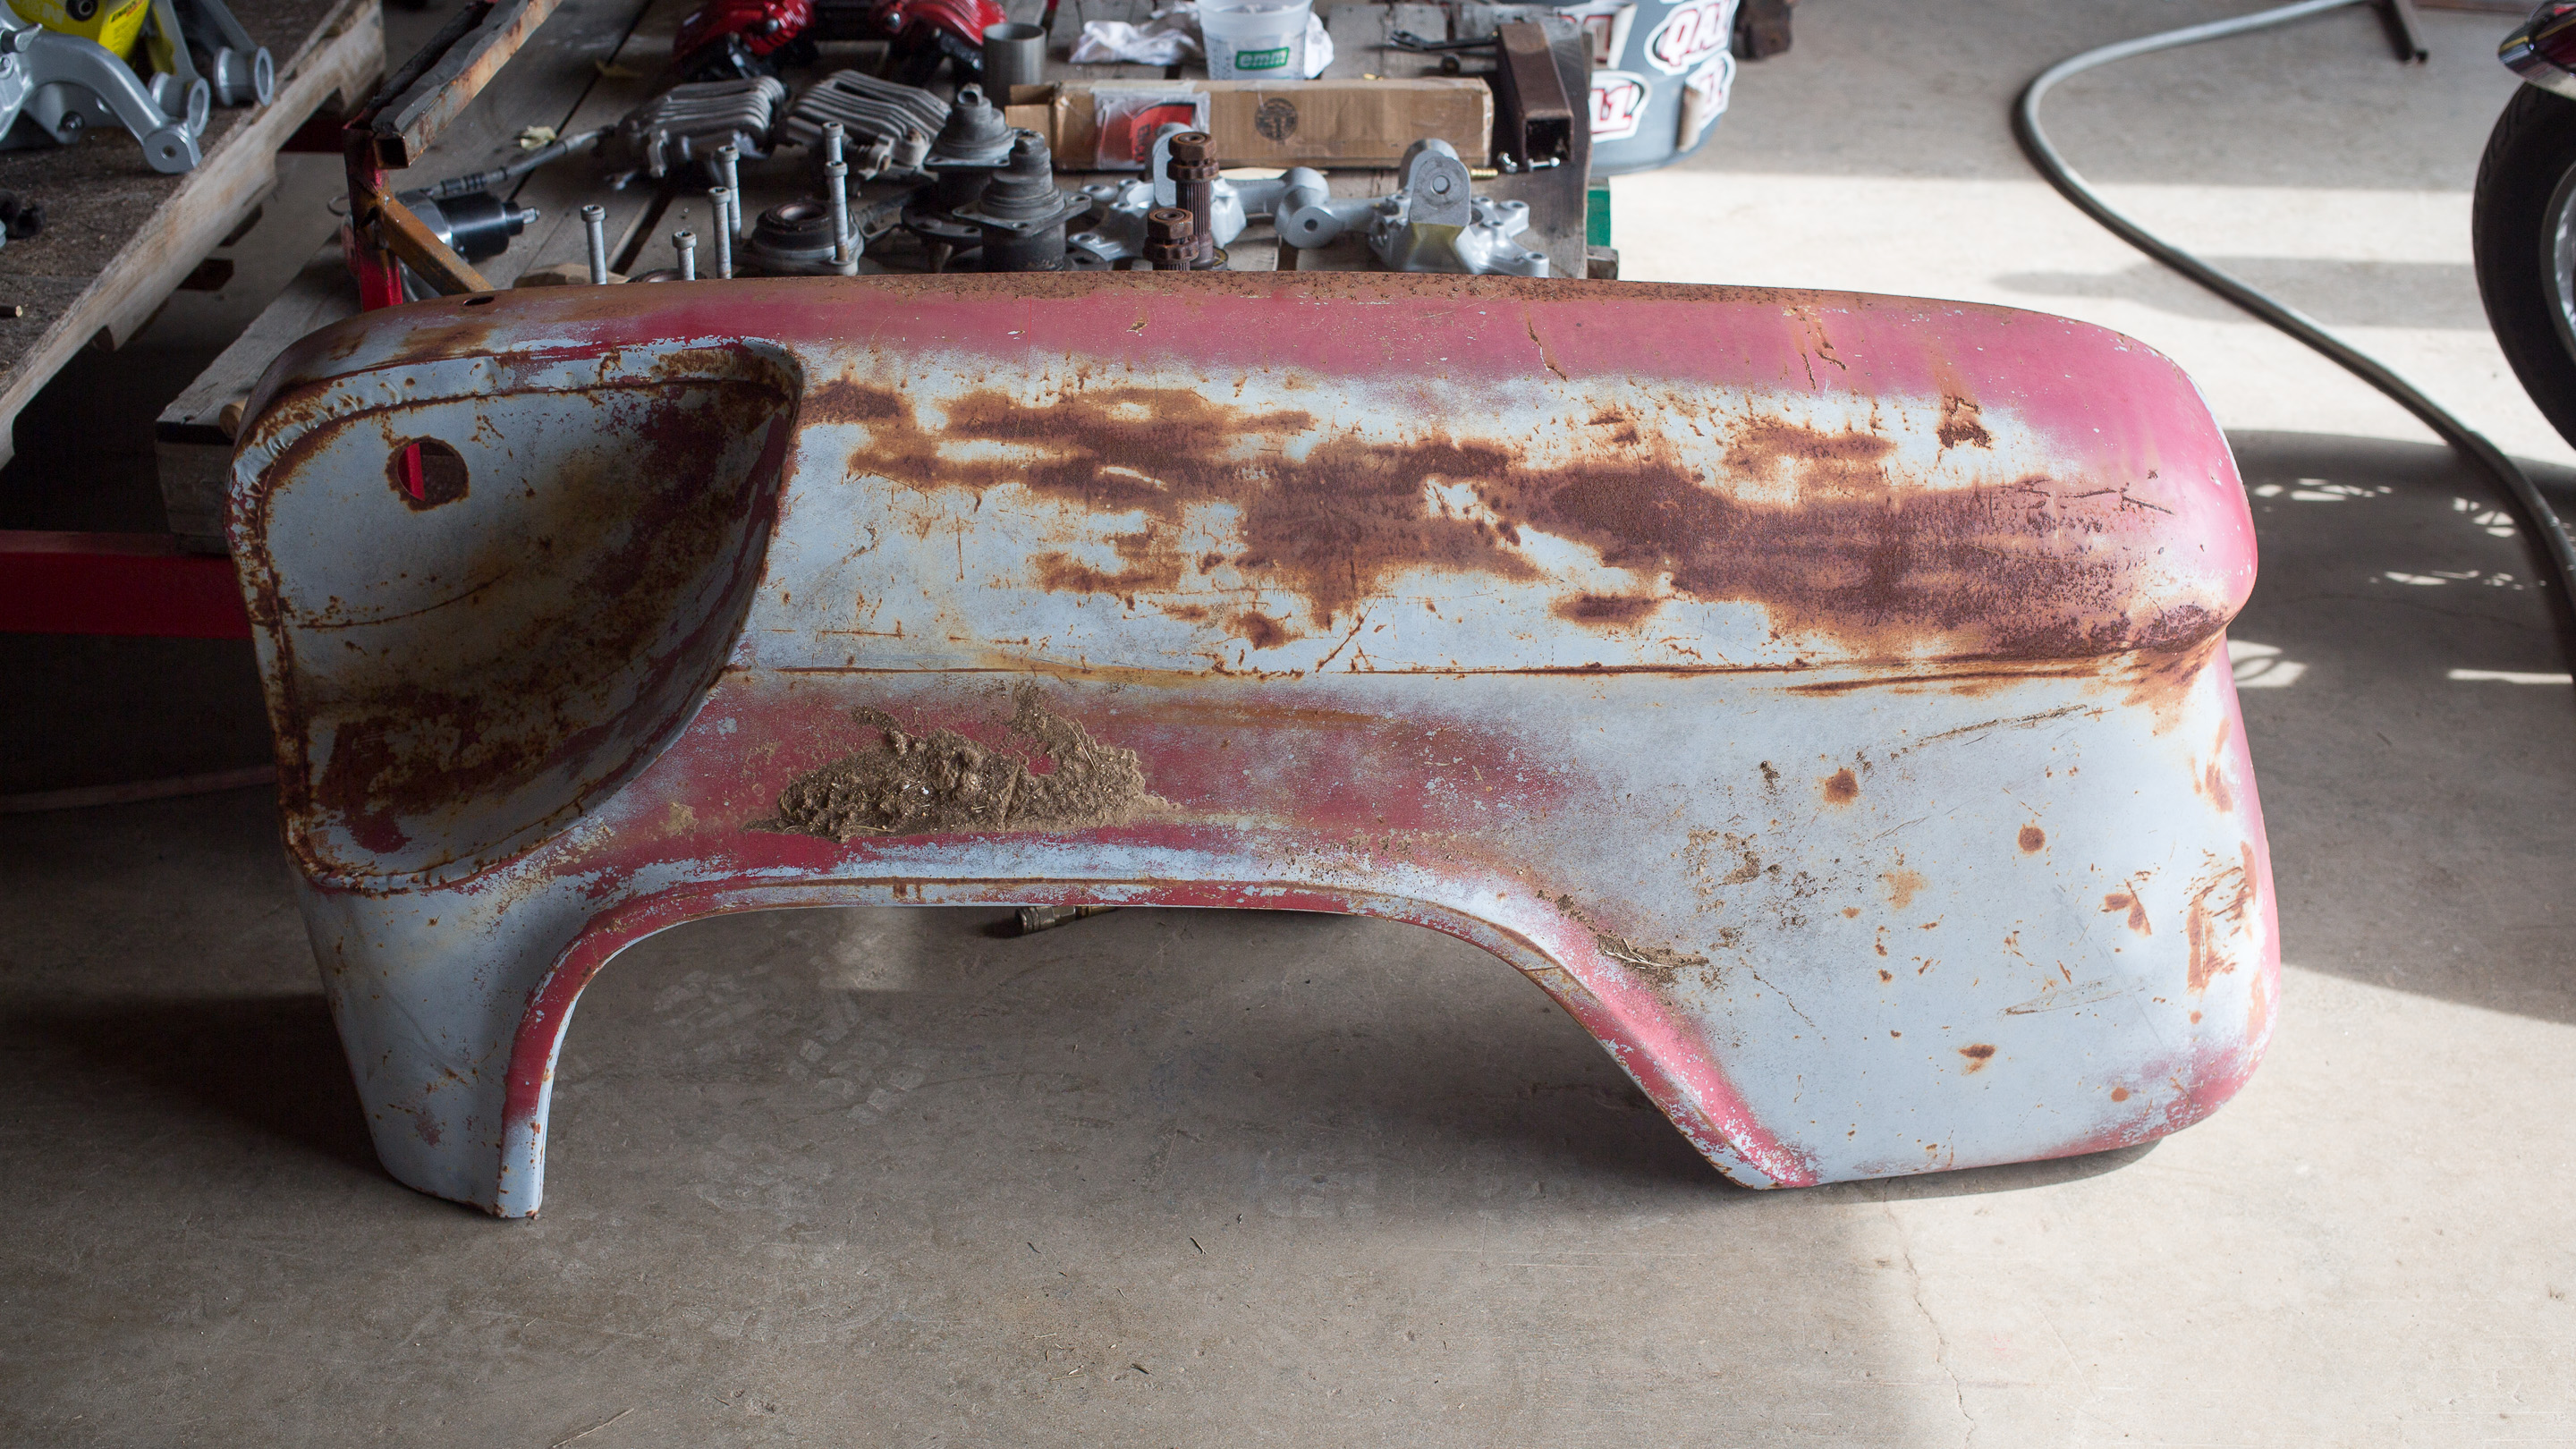
$391.49 - Front Fender, New Drivers Side
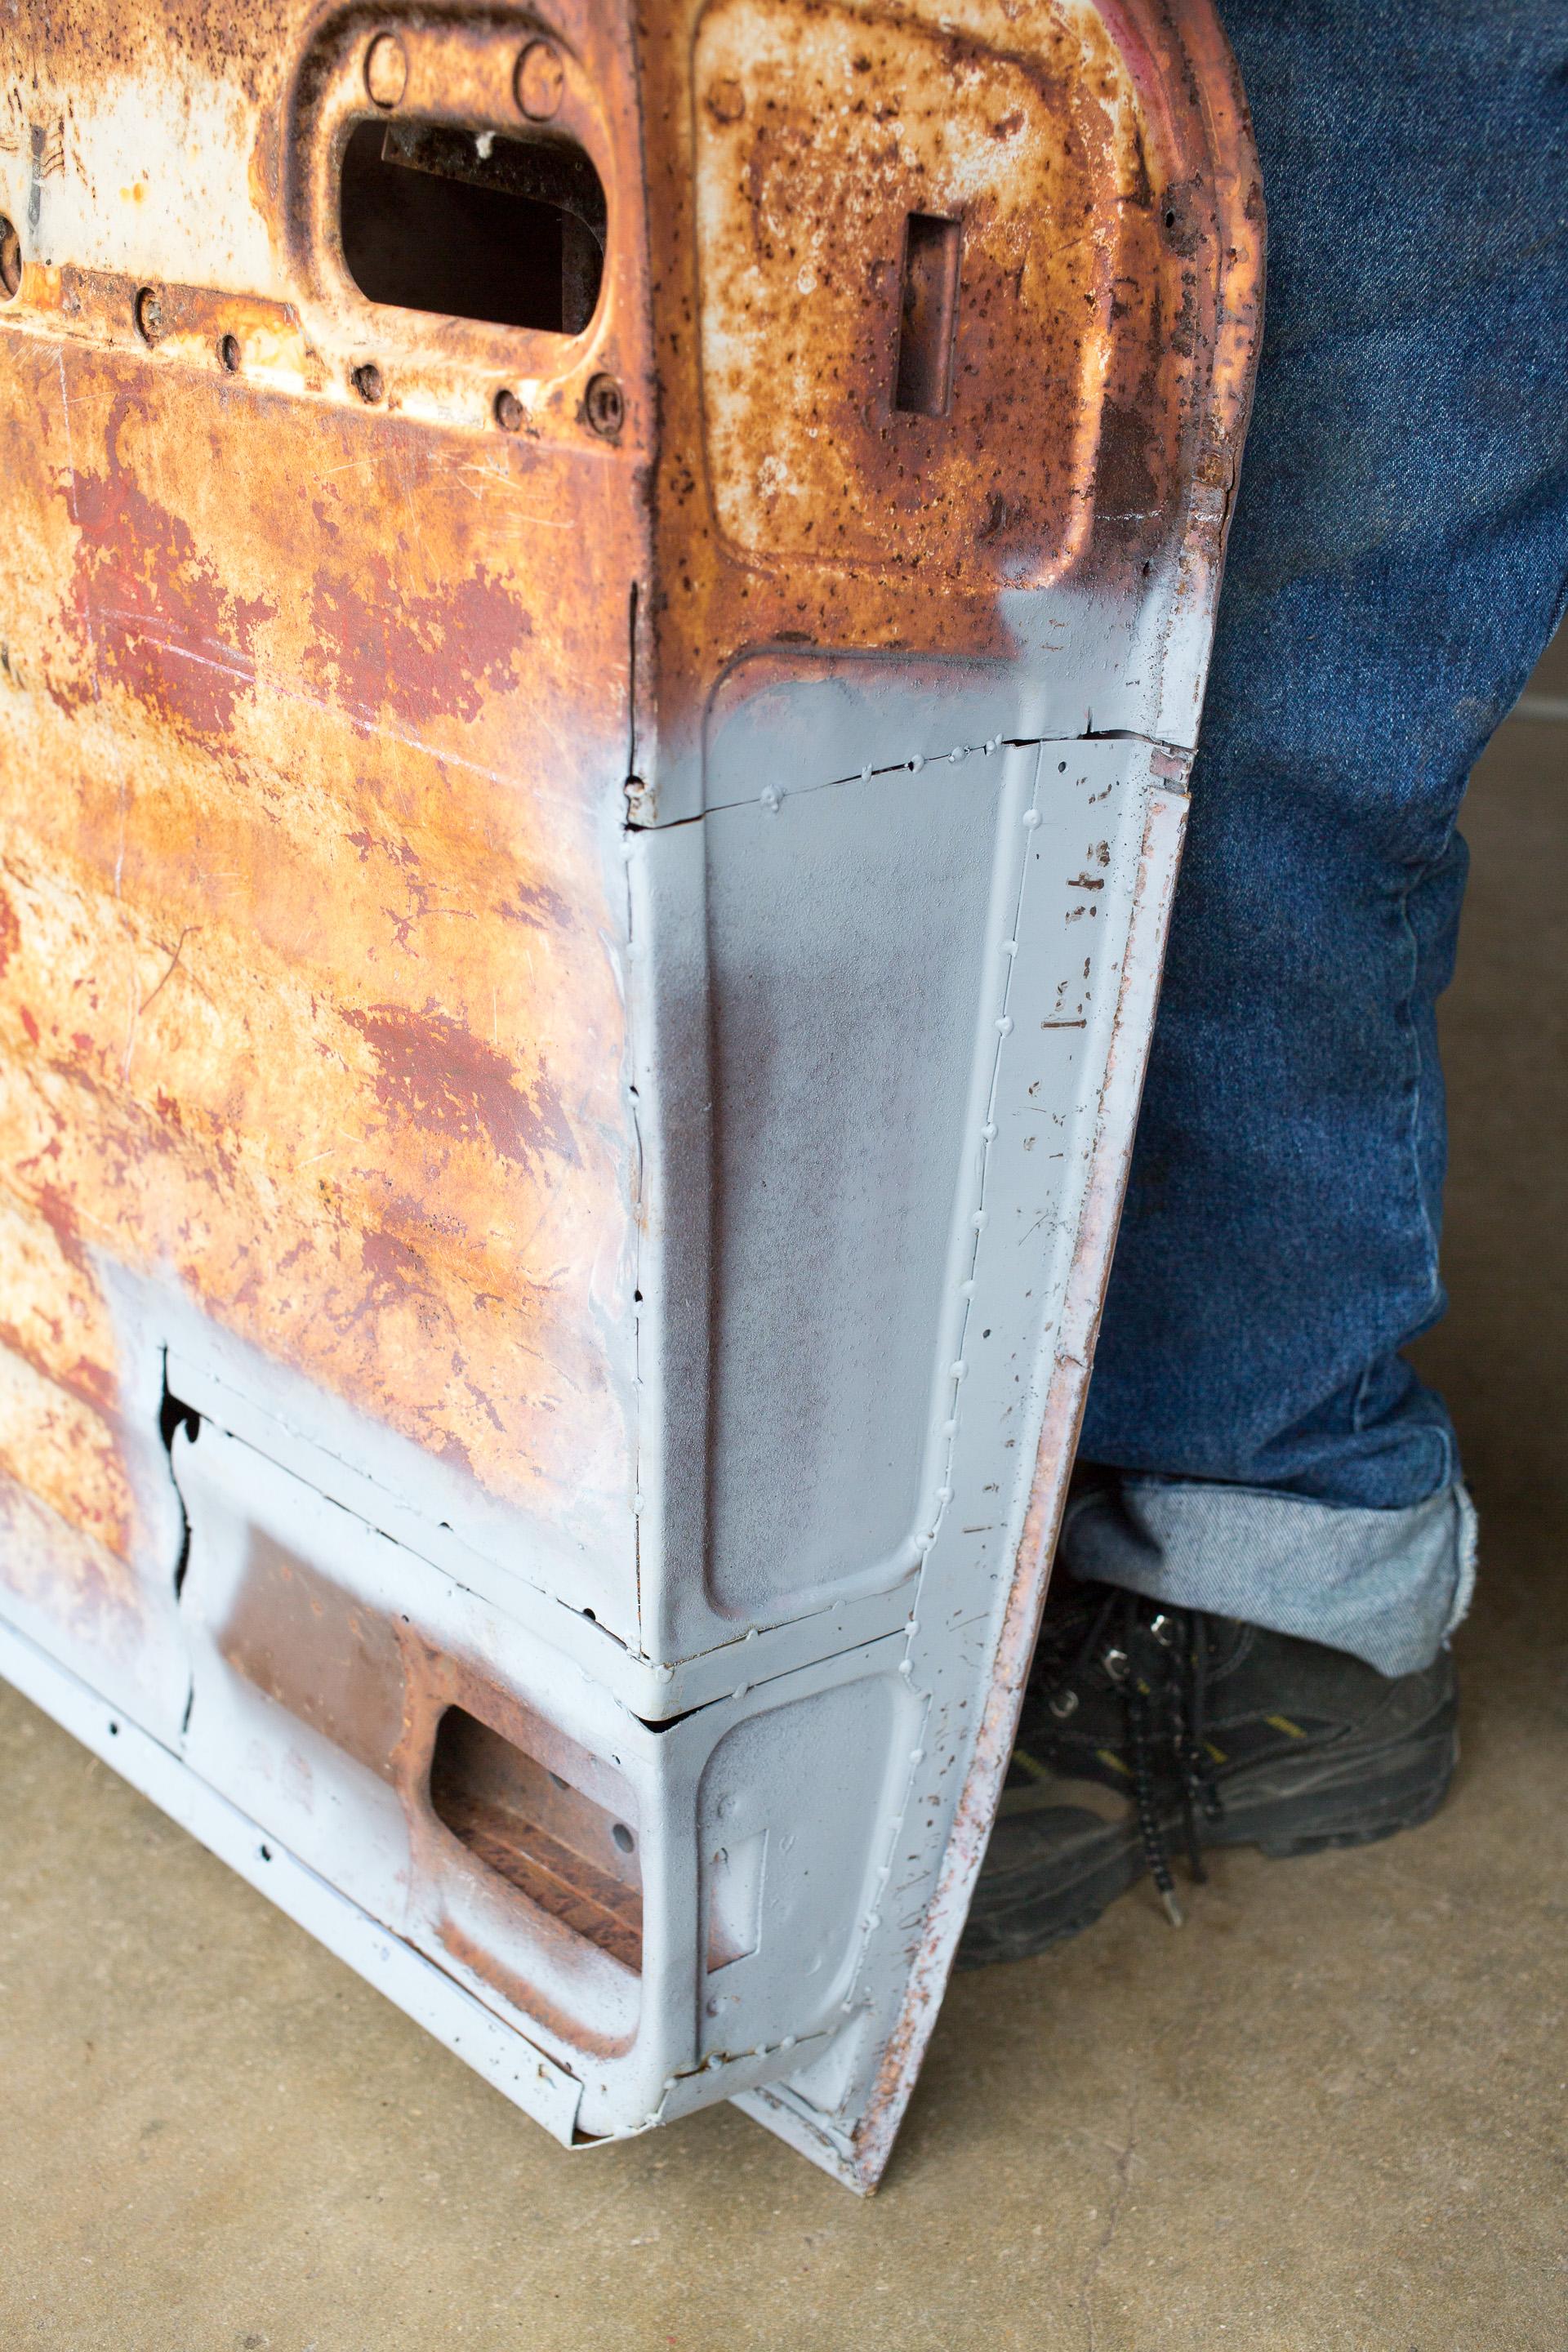
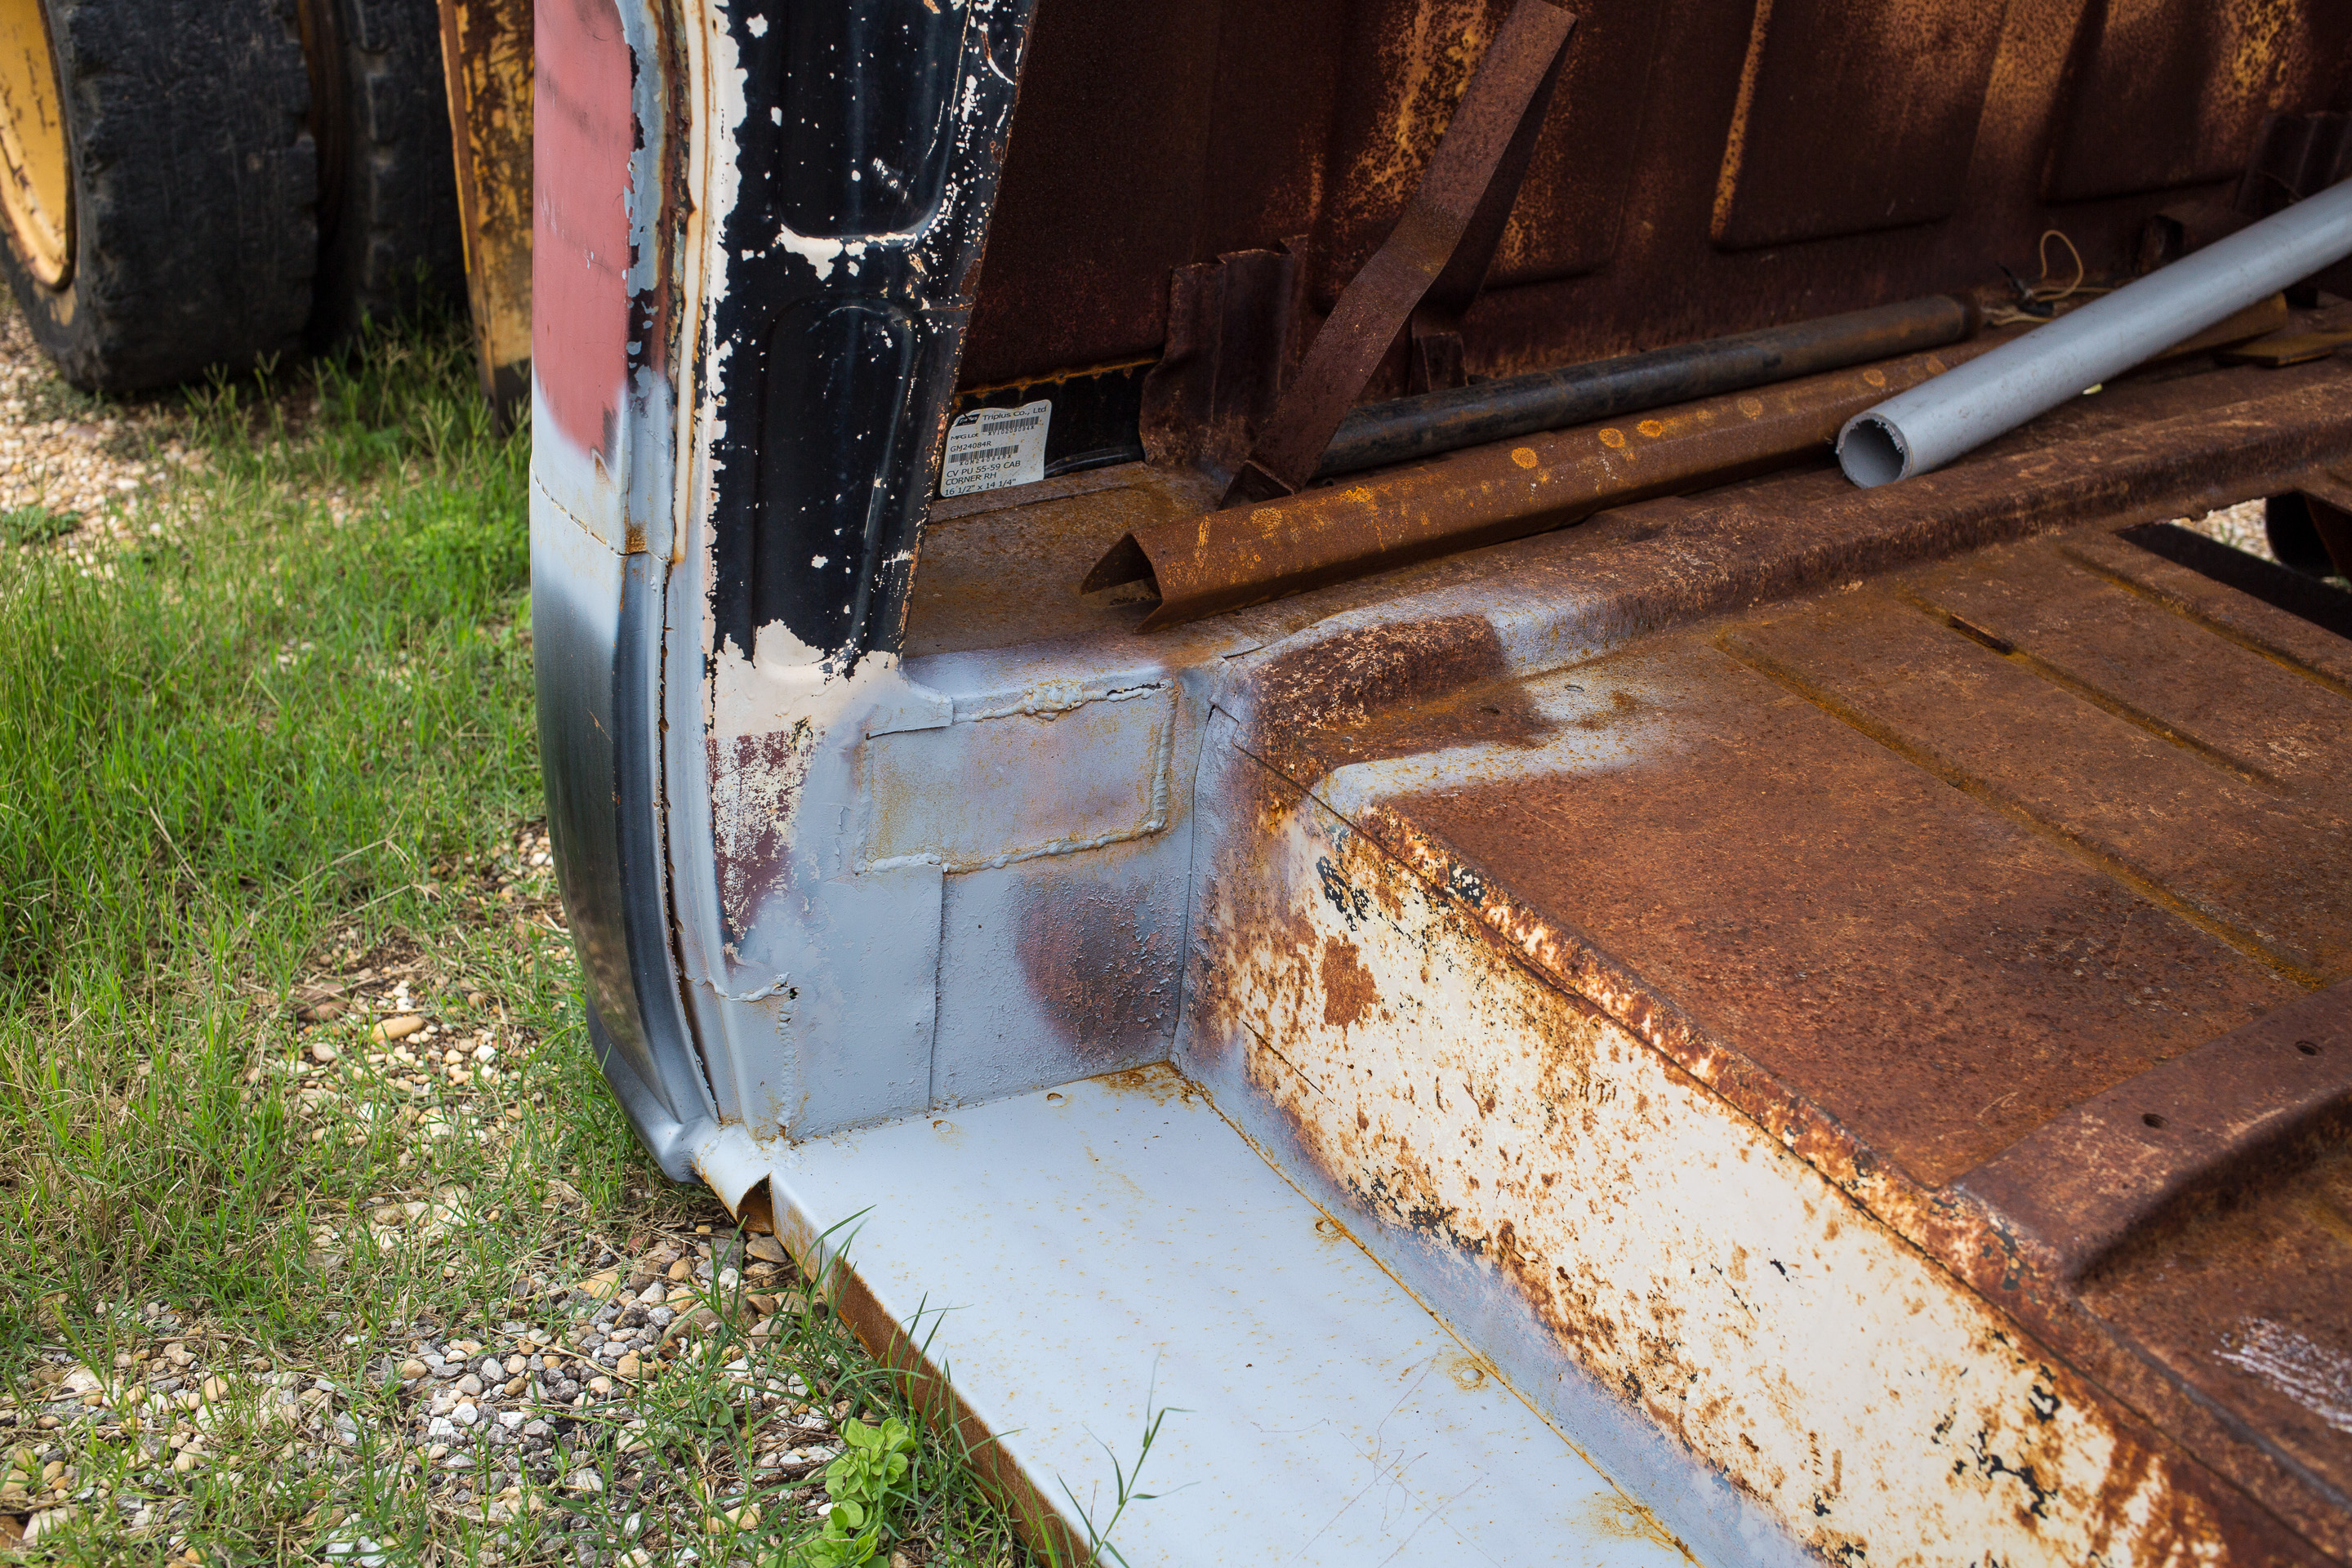
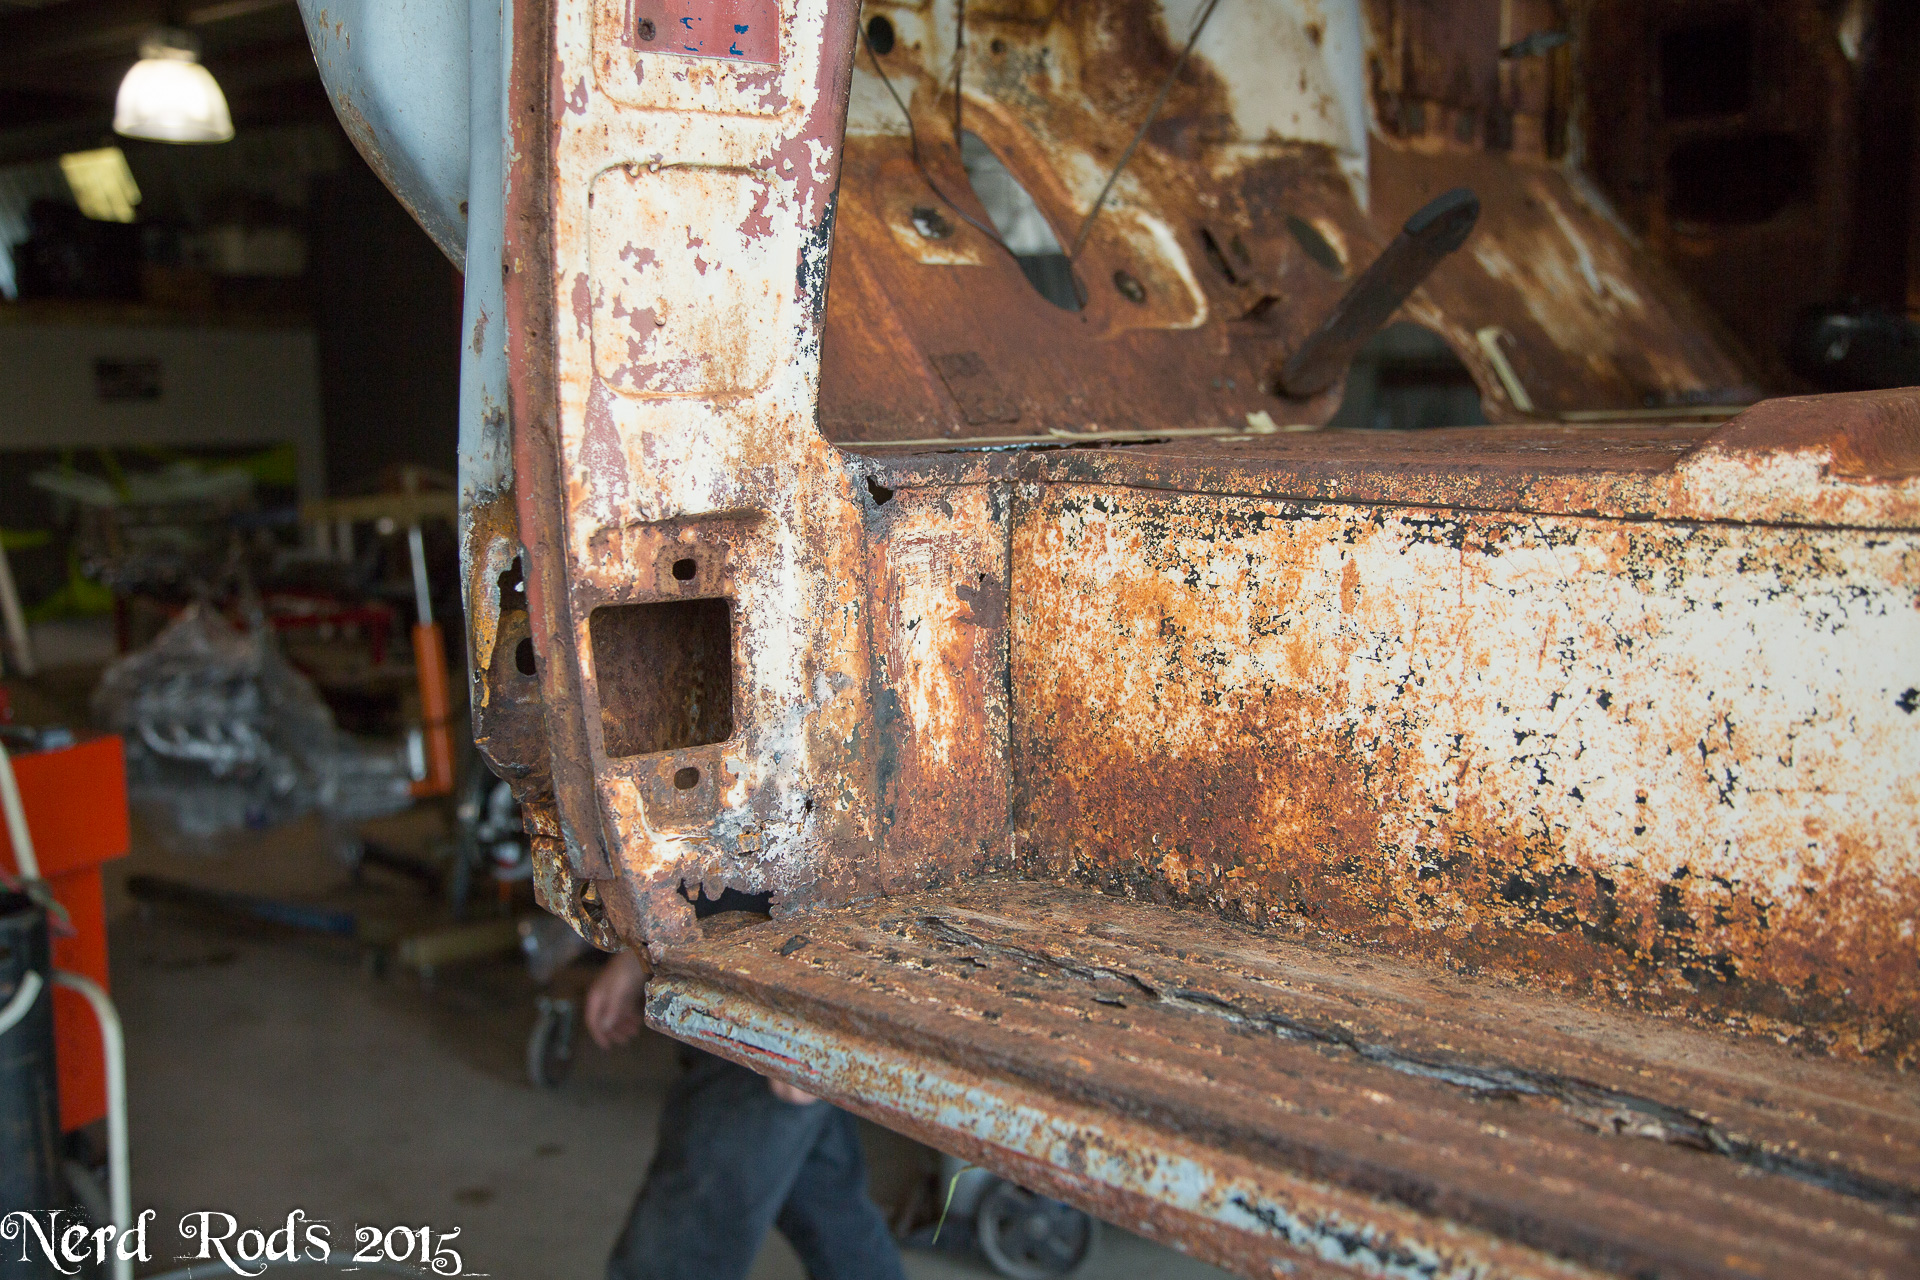
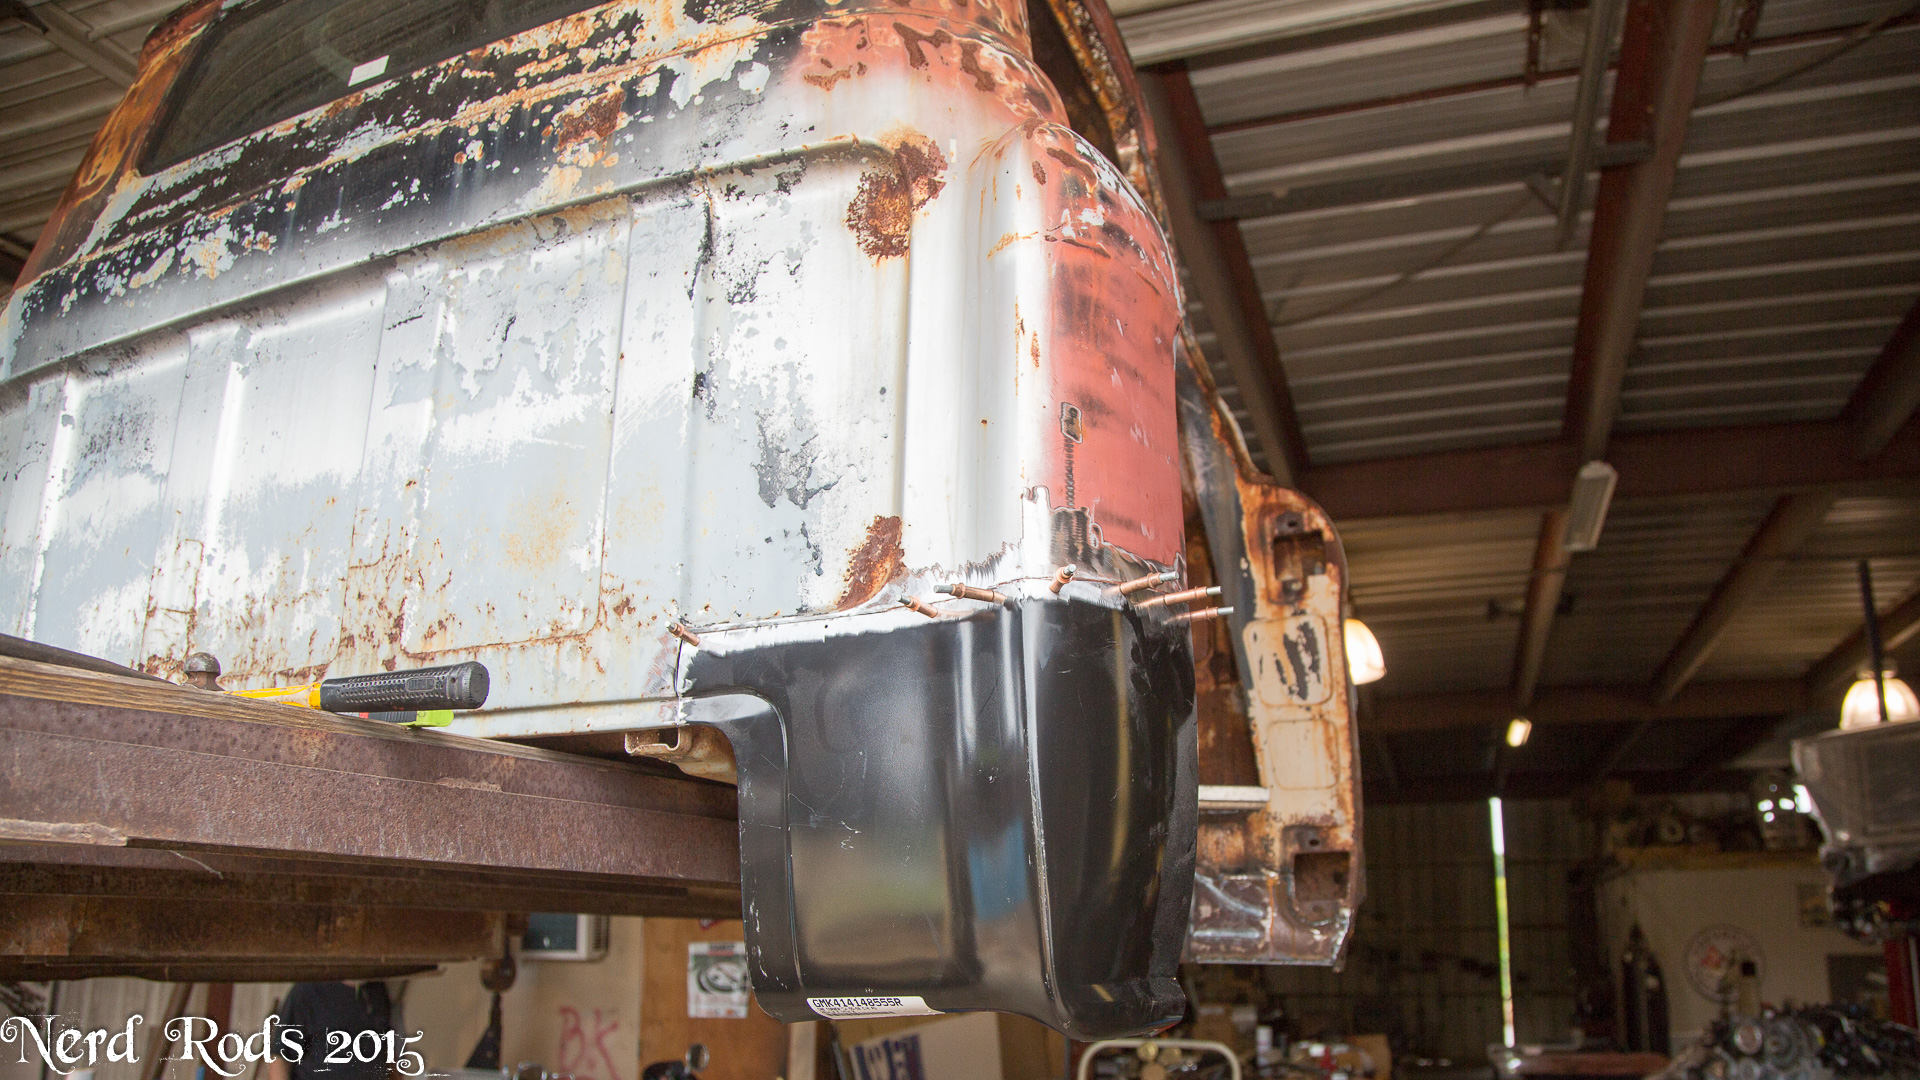
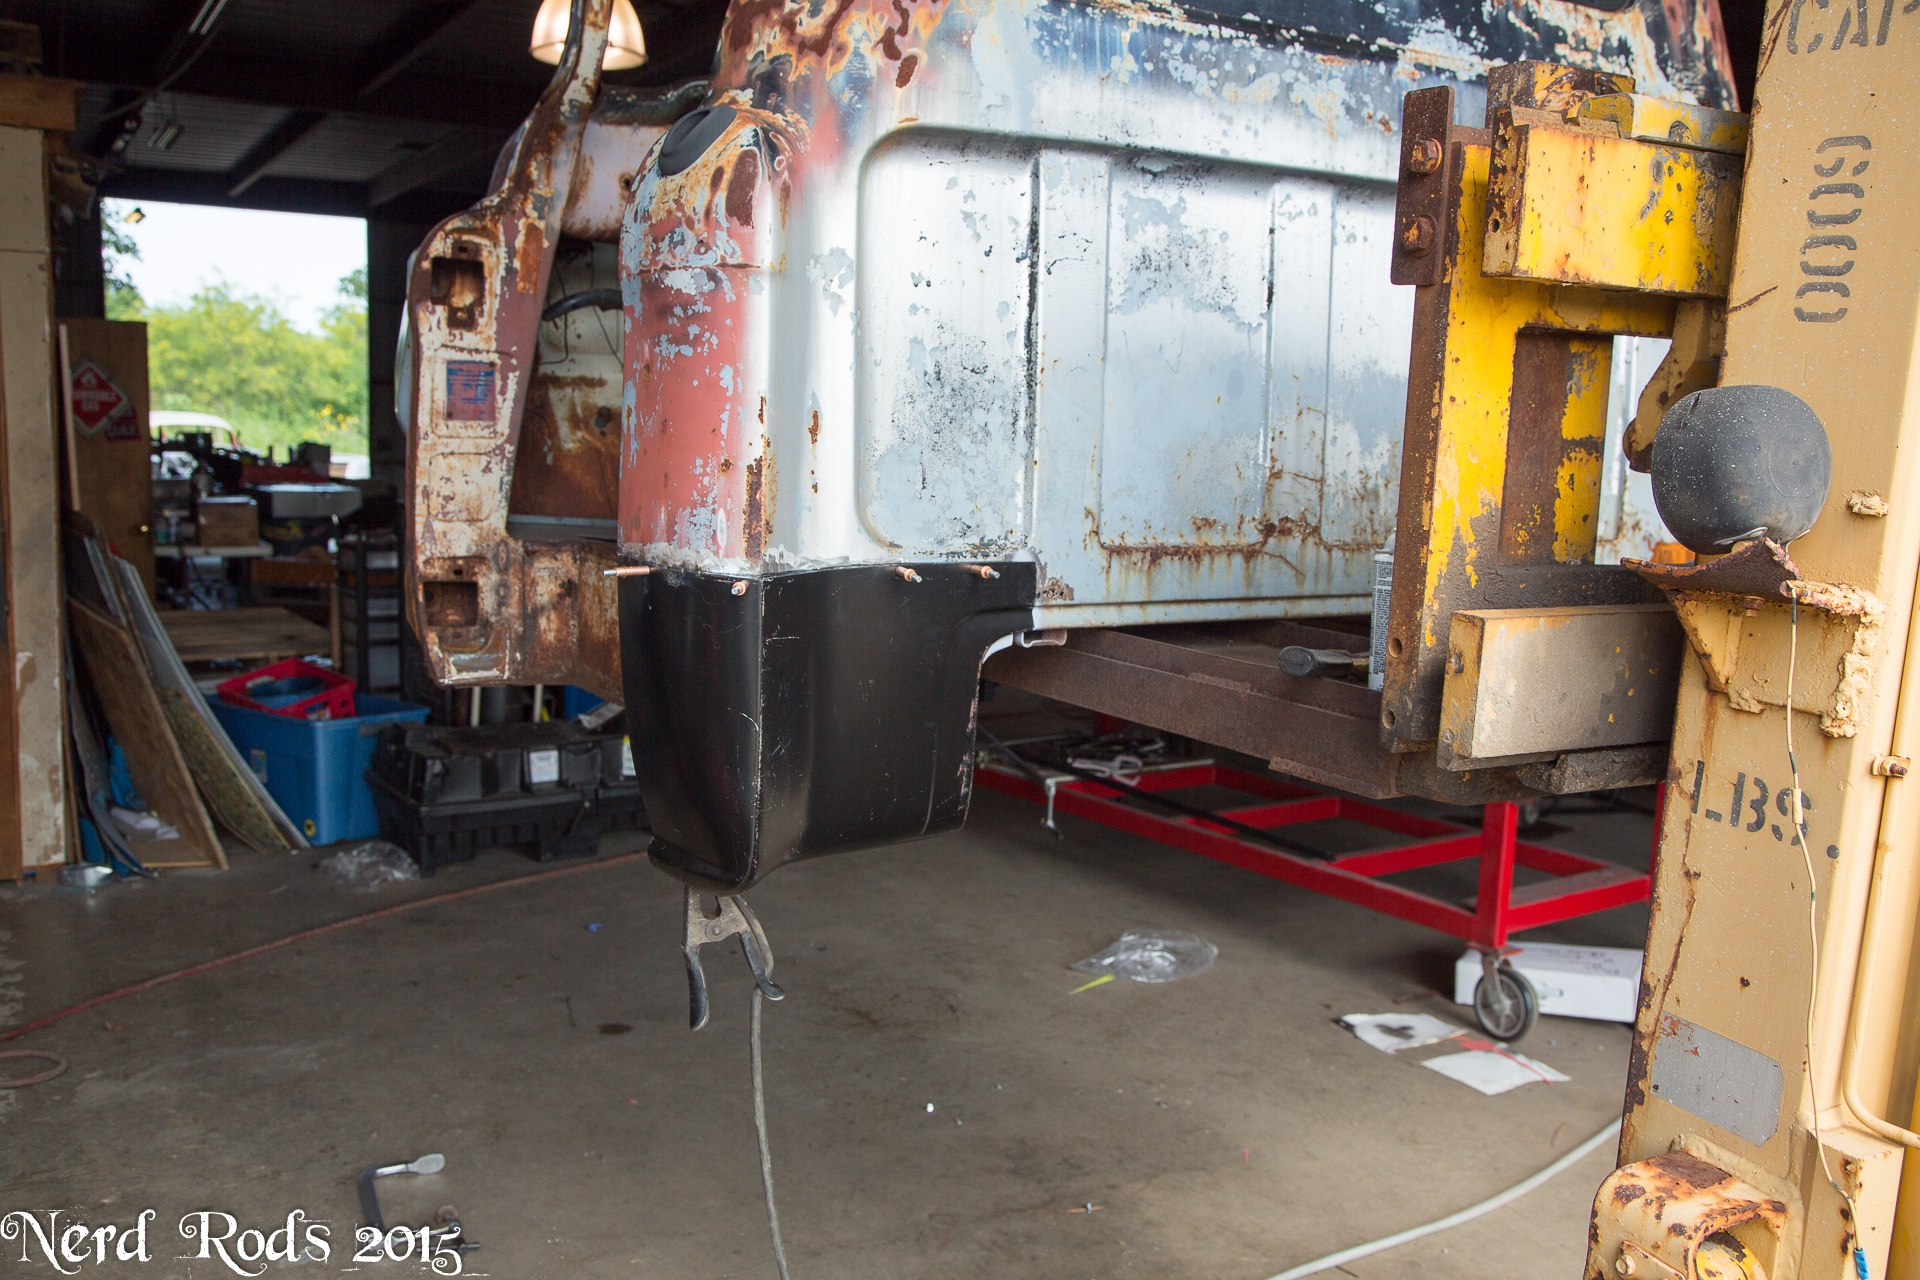
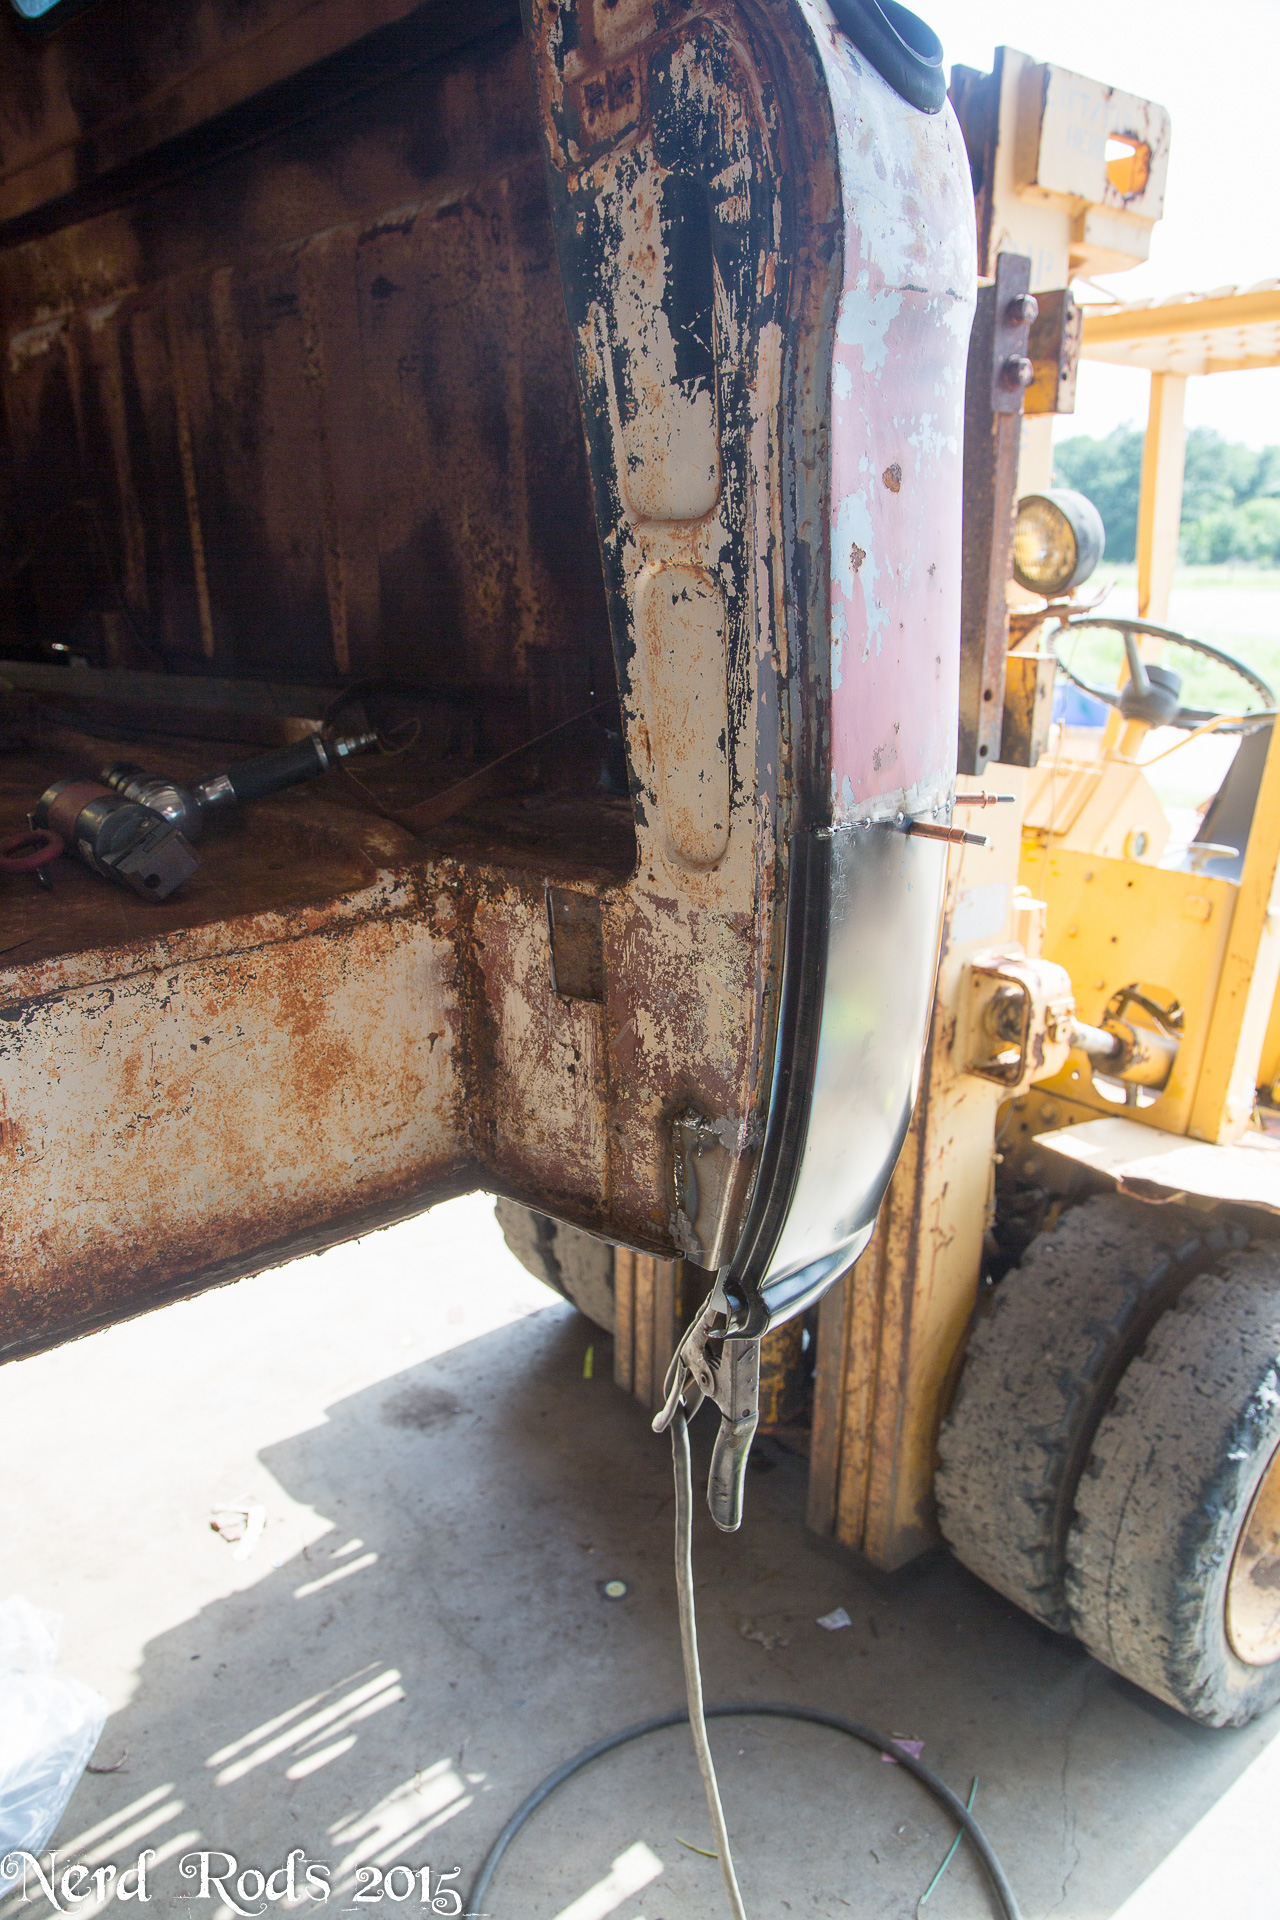
$103.90 - Cab Corner Patches
$50.00 - Sheet metal For Custom Patches, Door reconstruction, Custom Firewall and tunnel modifications.
-
Drive Train $2,512.00
$800.00 - 5.3L LM7 and 4L60E Transmission
$(650.00) 4L60E Sold
$1,000.00 - T56 Manual Transmission (2000 Camaro)
$312.00 - LS1 Clutch
$300.00 - LS1 Flywheel
$750.00 - Nerd Rods Fuel Tank Stage 1 Kit
-
Chassis / Suspension $8,122.97
$3,495.00 - Stage 1 Kit Frame
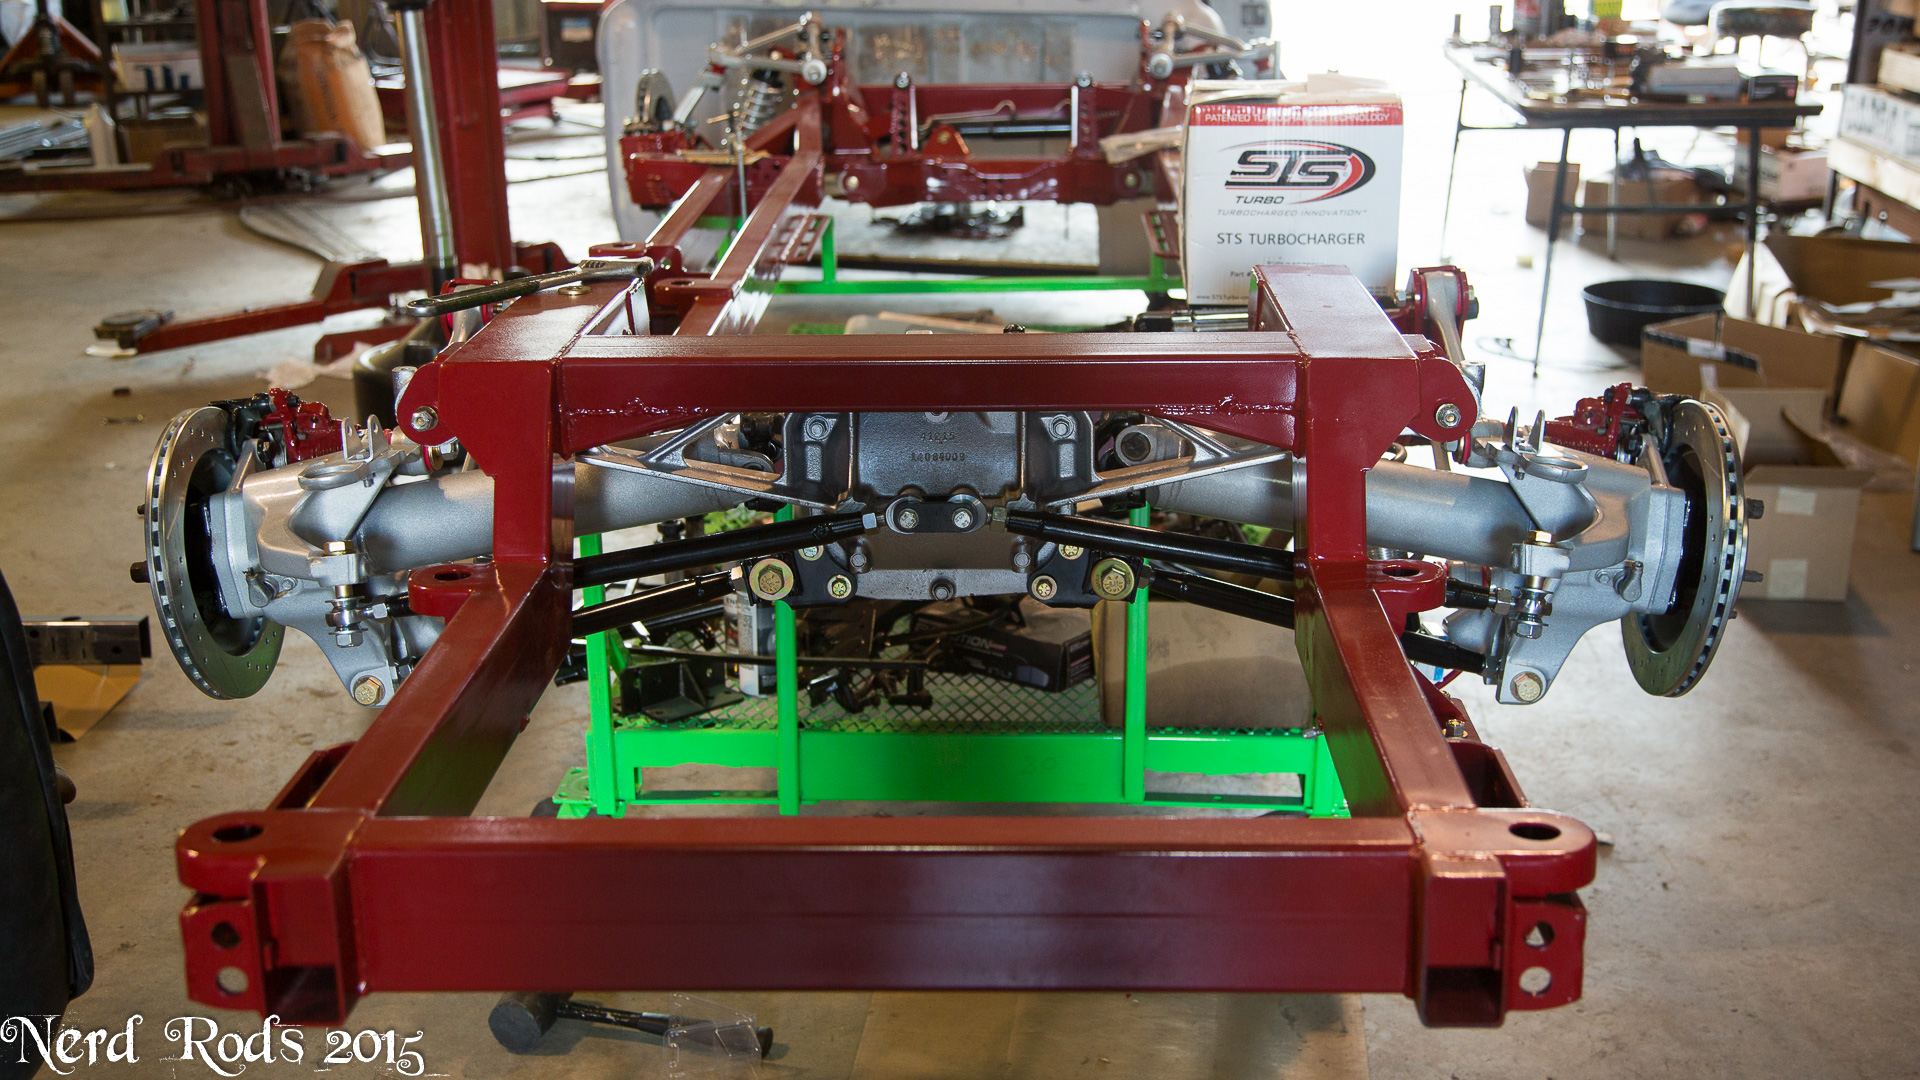
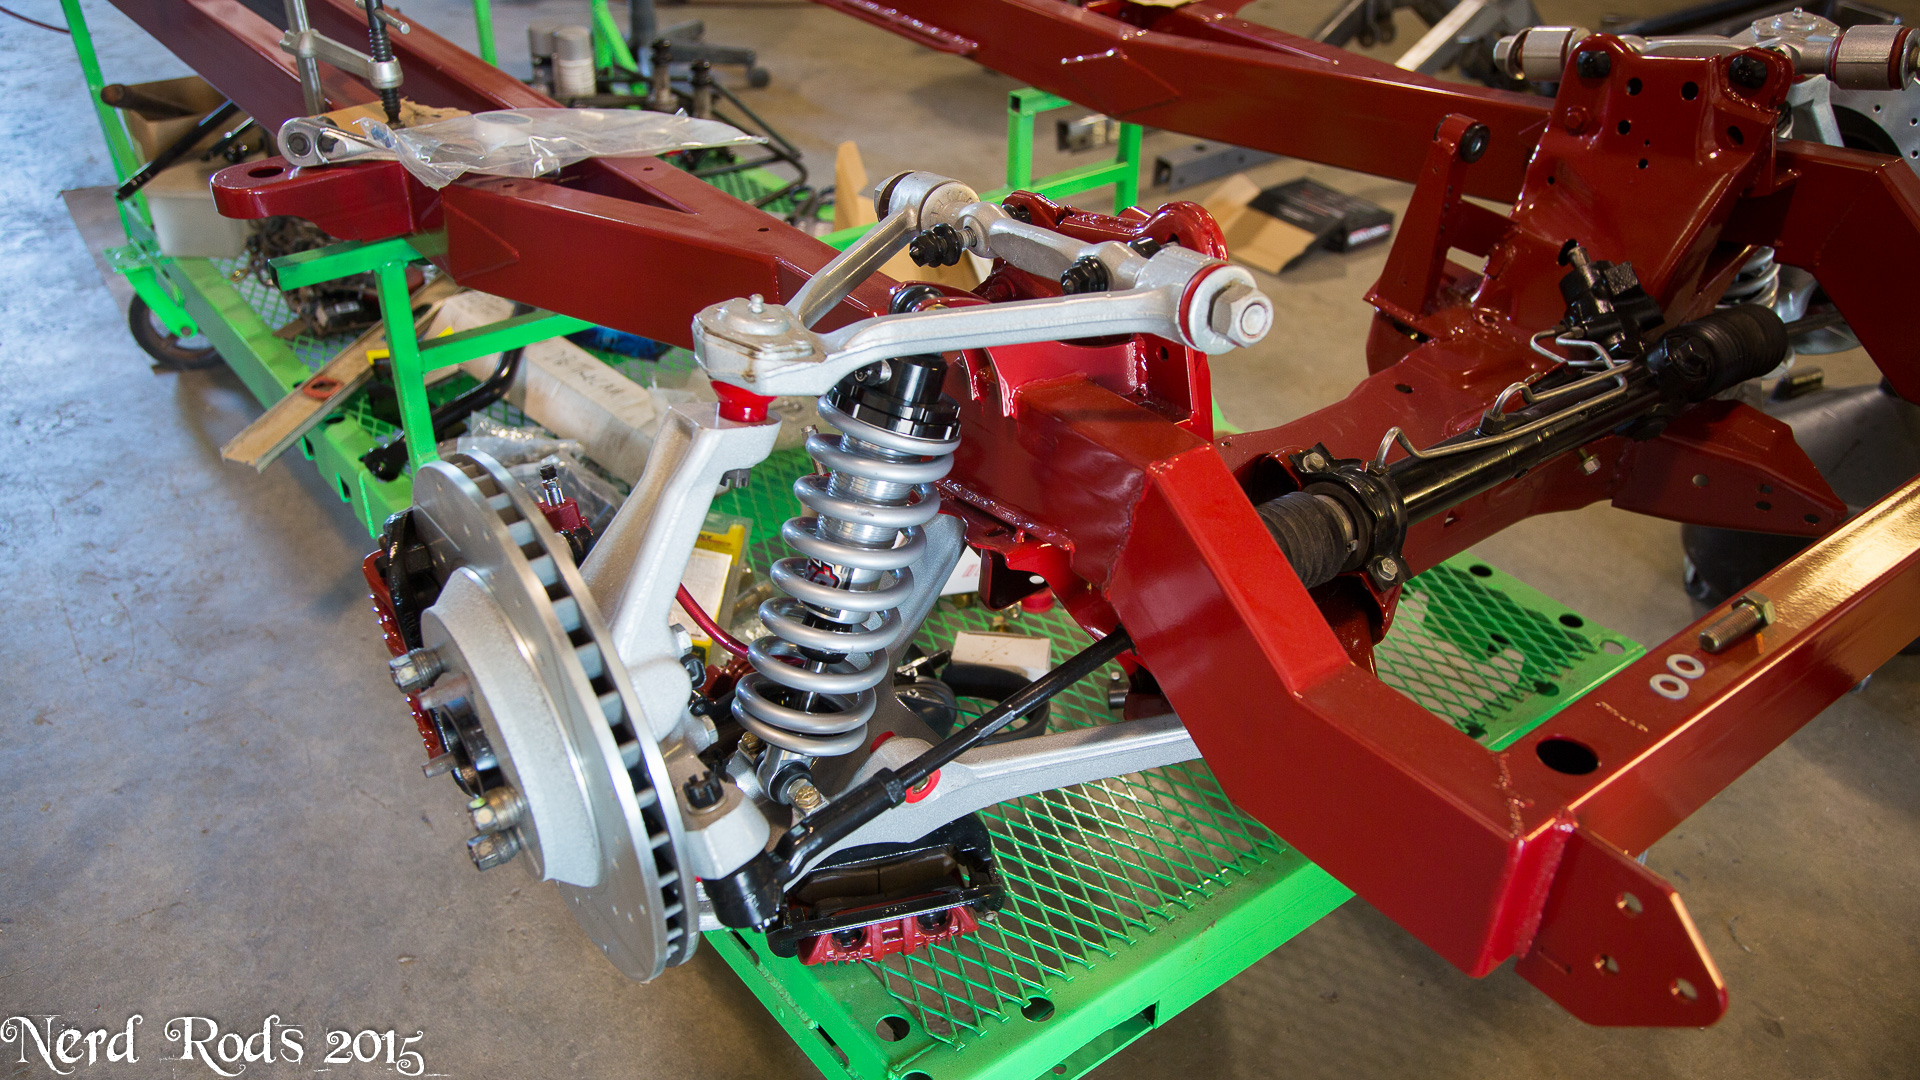
$1,600.00 - C4 Corvette Suspension, Front and Rear
$1,600.00 - Dana 44 with 4:10 gear upgrade
$1,352.00 - QA1 Coil Over Shocks and Springs
$75.97 - C4 Front A Frame Bushings
-
Interior $825.00
$300.00 - Mustang Bucket Seats
$525.00 - LS1 / T56 Wiring Harness - BP Automotive
-
Total $12,505.36
Built Sheet
Chassis
- Nerd Rods CP5559C4 Stage 1 Kit Frame
- 1988-96 Corvette Suspension
- Dana 44 with 4.10 Gears
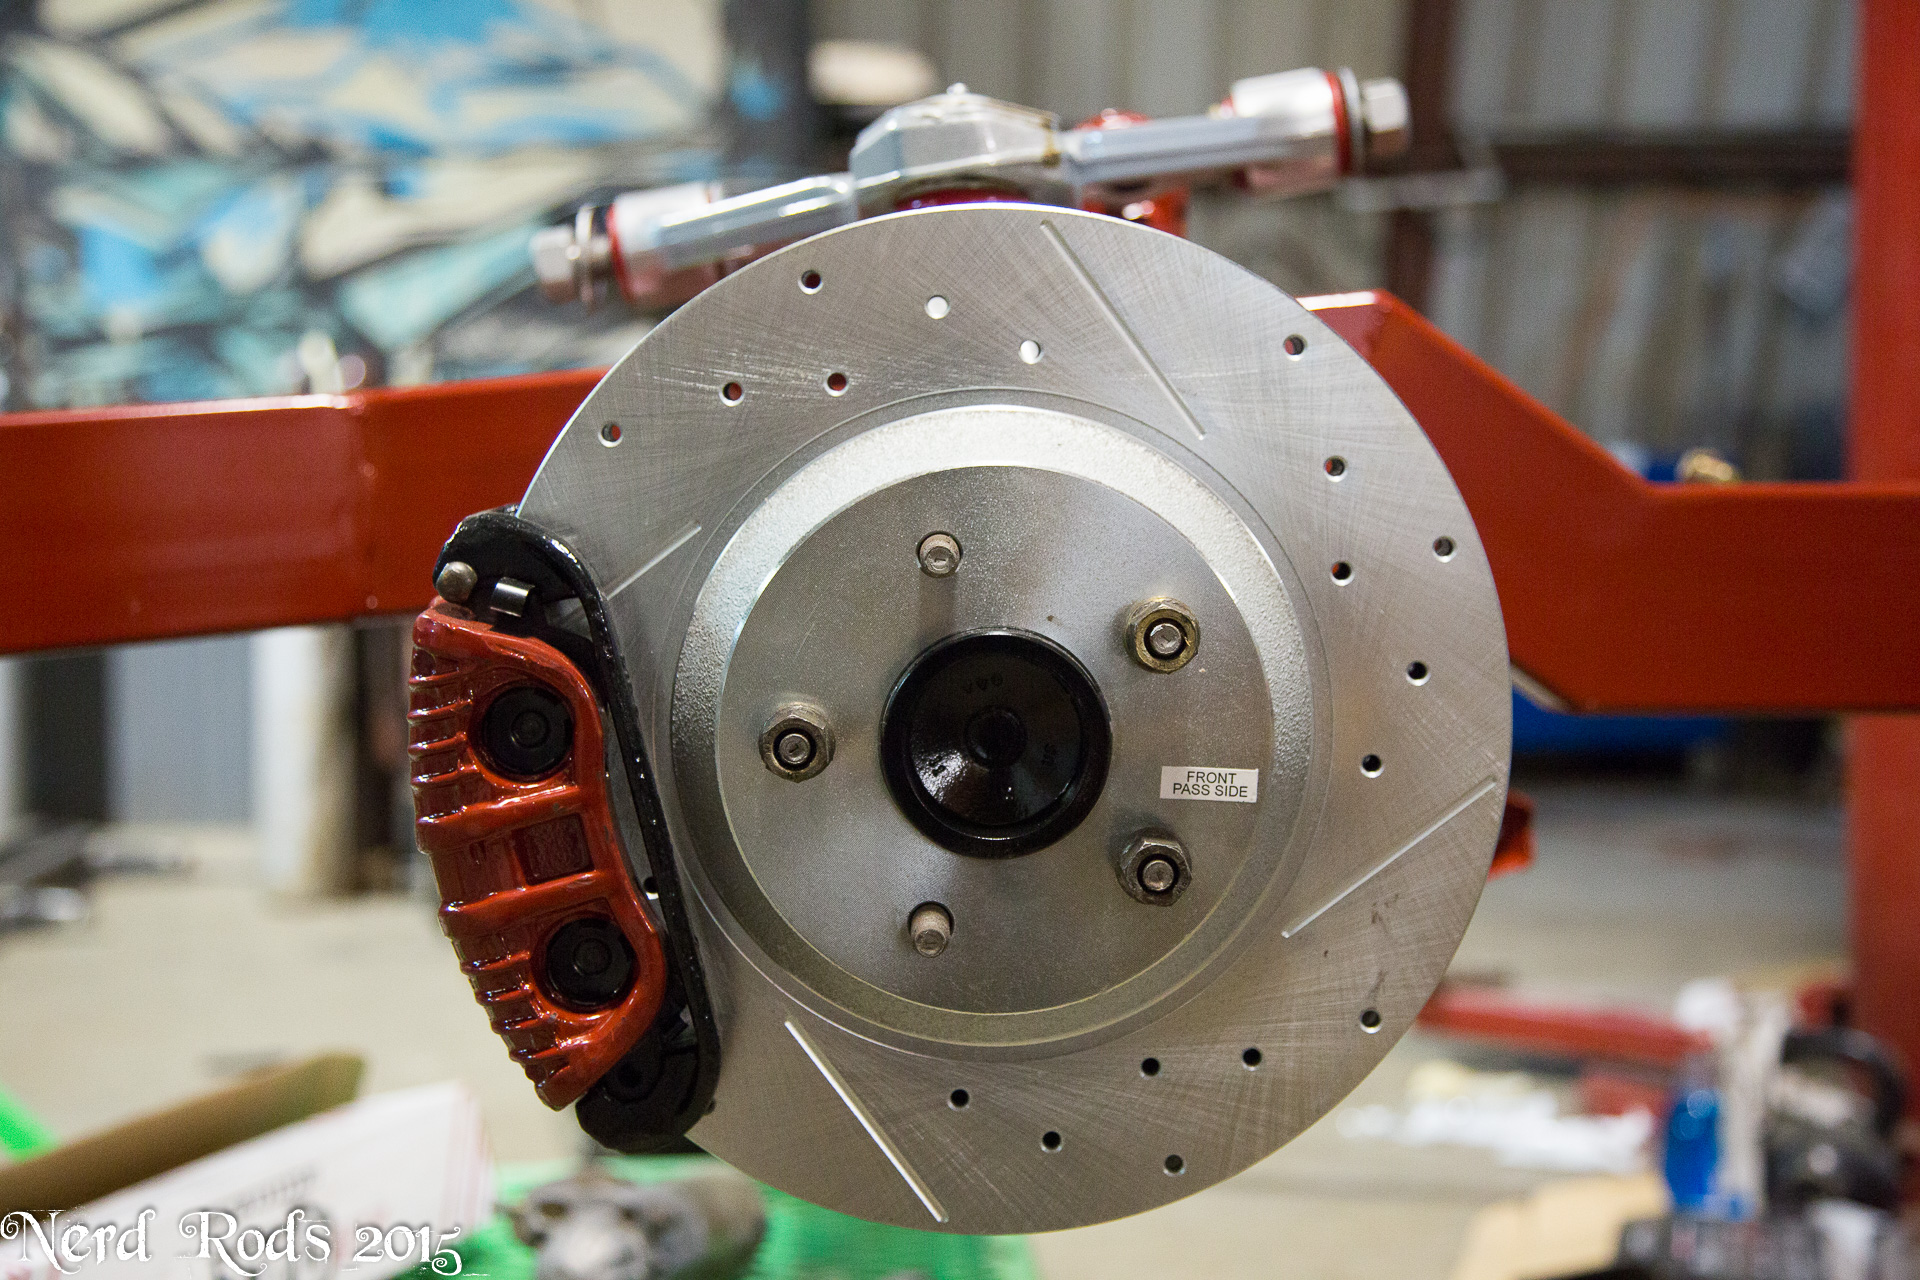
- C4 Performance "Big" 13 Inch Brakes
Drive Train
- LM7 5.3L "LS Motor"
- T56 6 Speed Manual Transmission
- Stock 4th Gen Camaro Clutch
Updated 2018.NOV.25
All the photos here for easier viewing
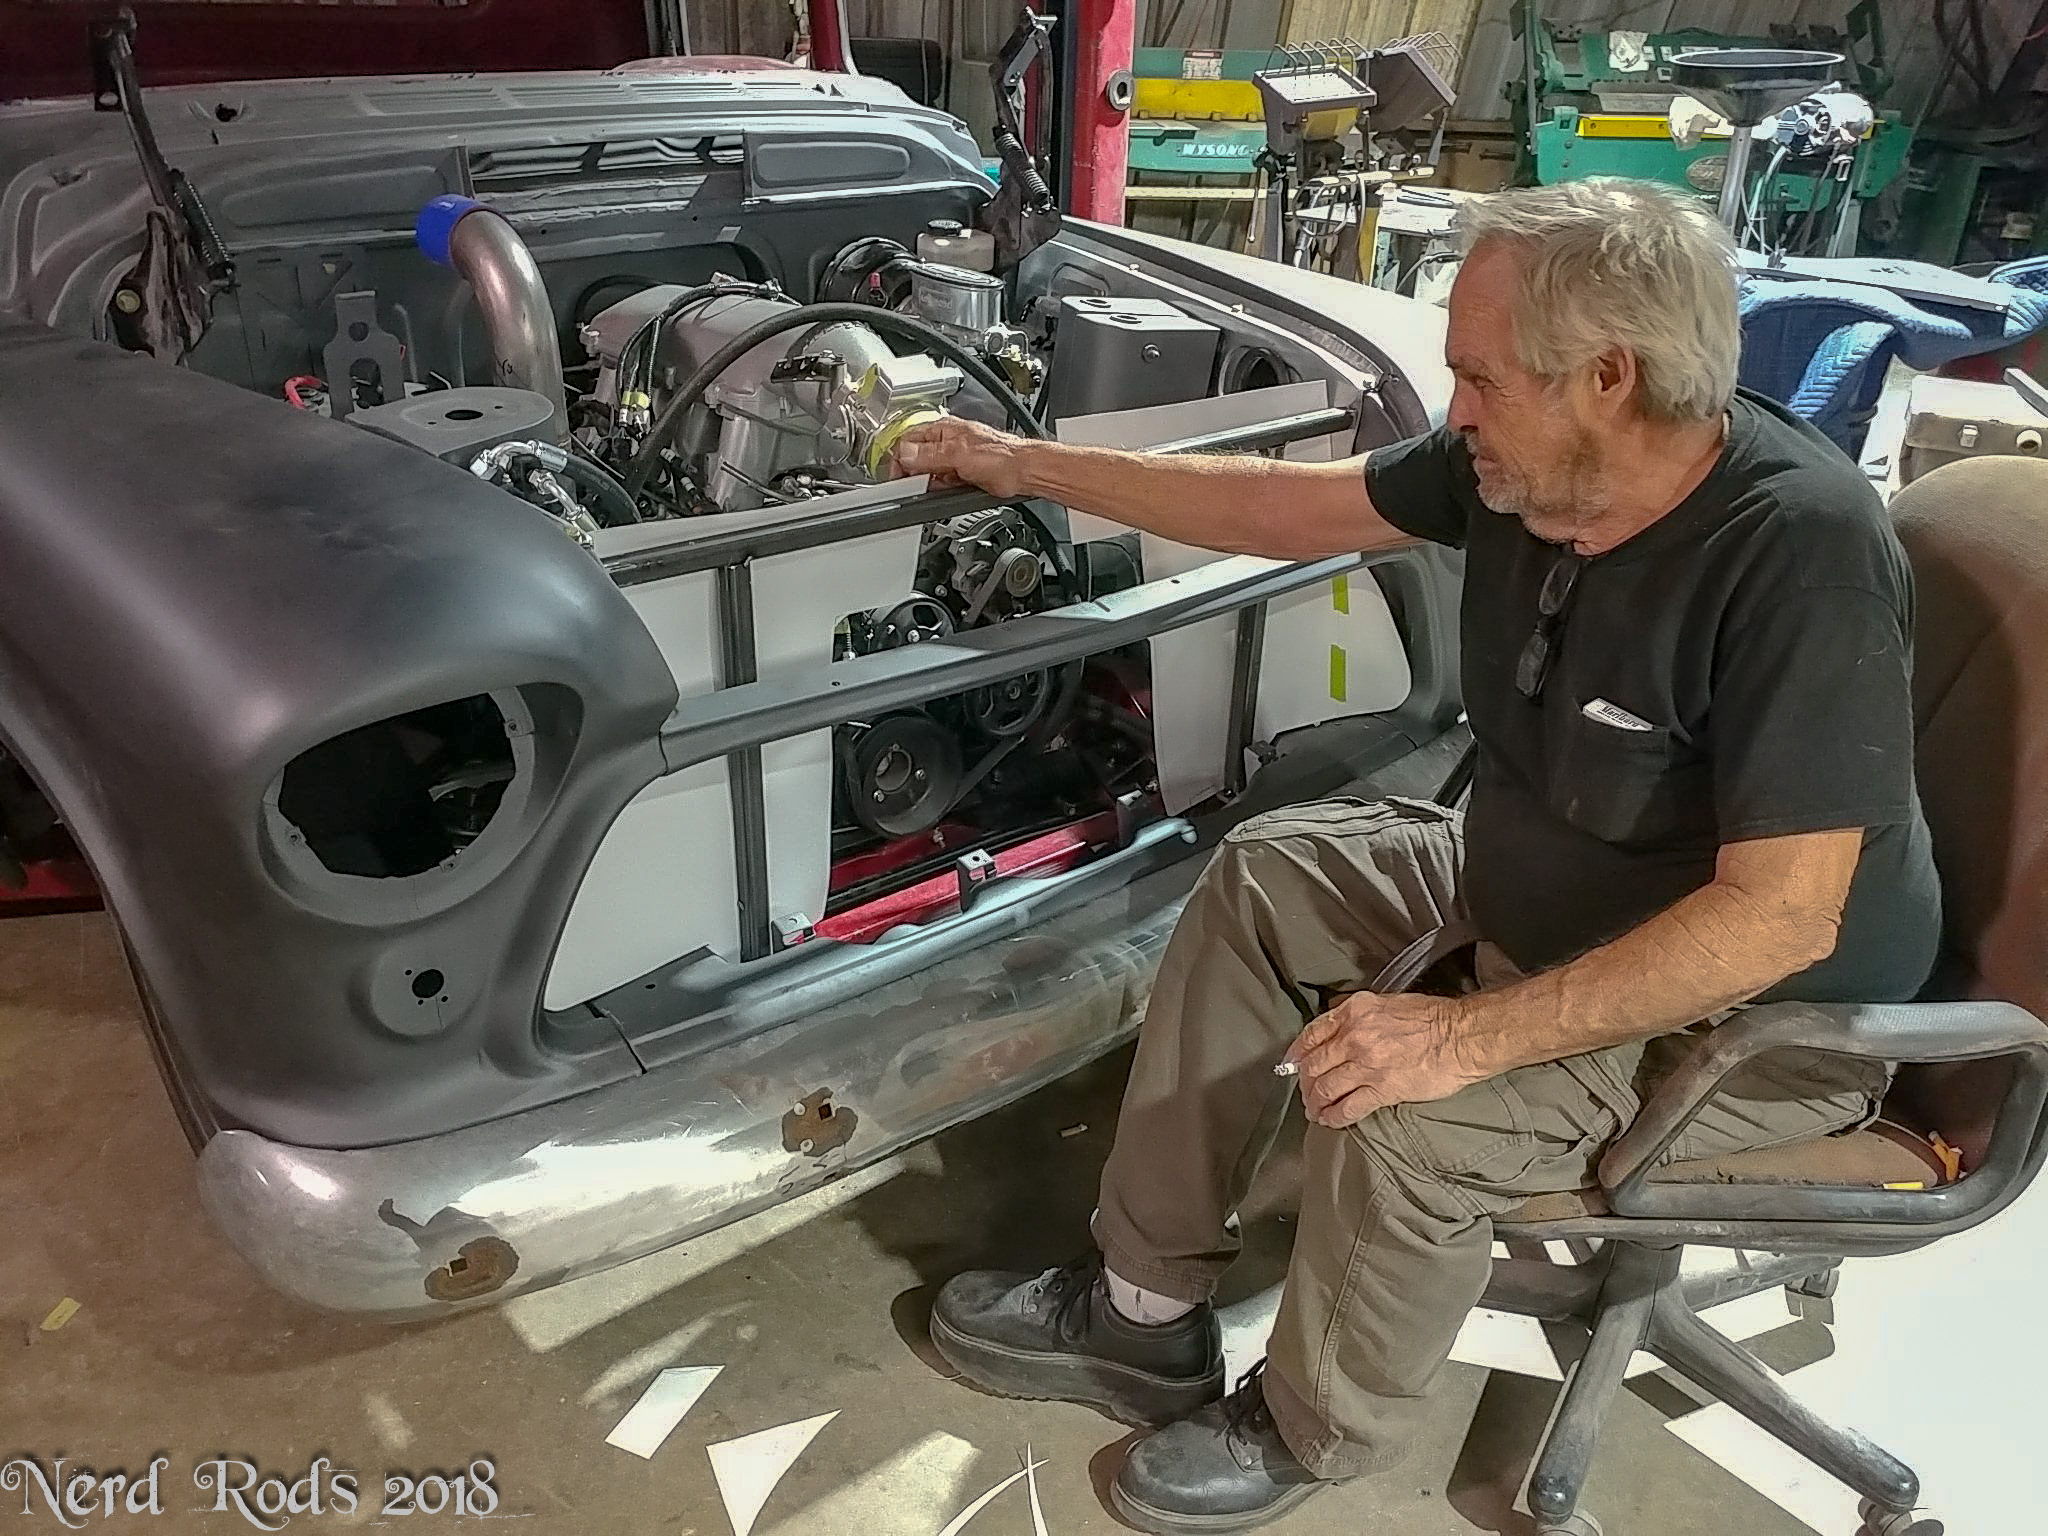
Wow, I didn't realize how bad I was behind. Forgive the mix of cell phone photos. Its been all I could do to keep up with the old dude and the shop work load.
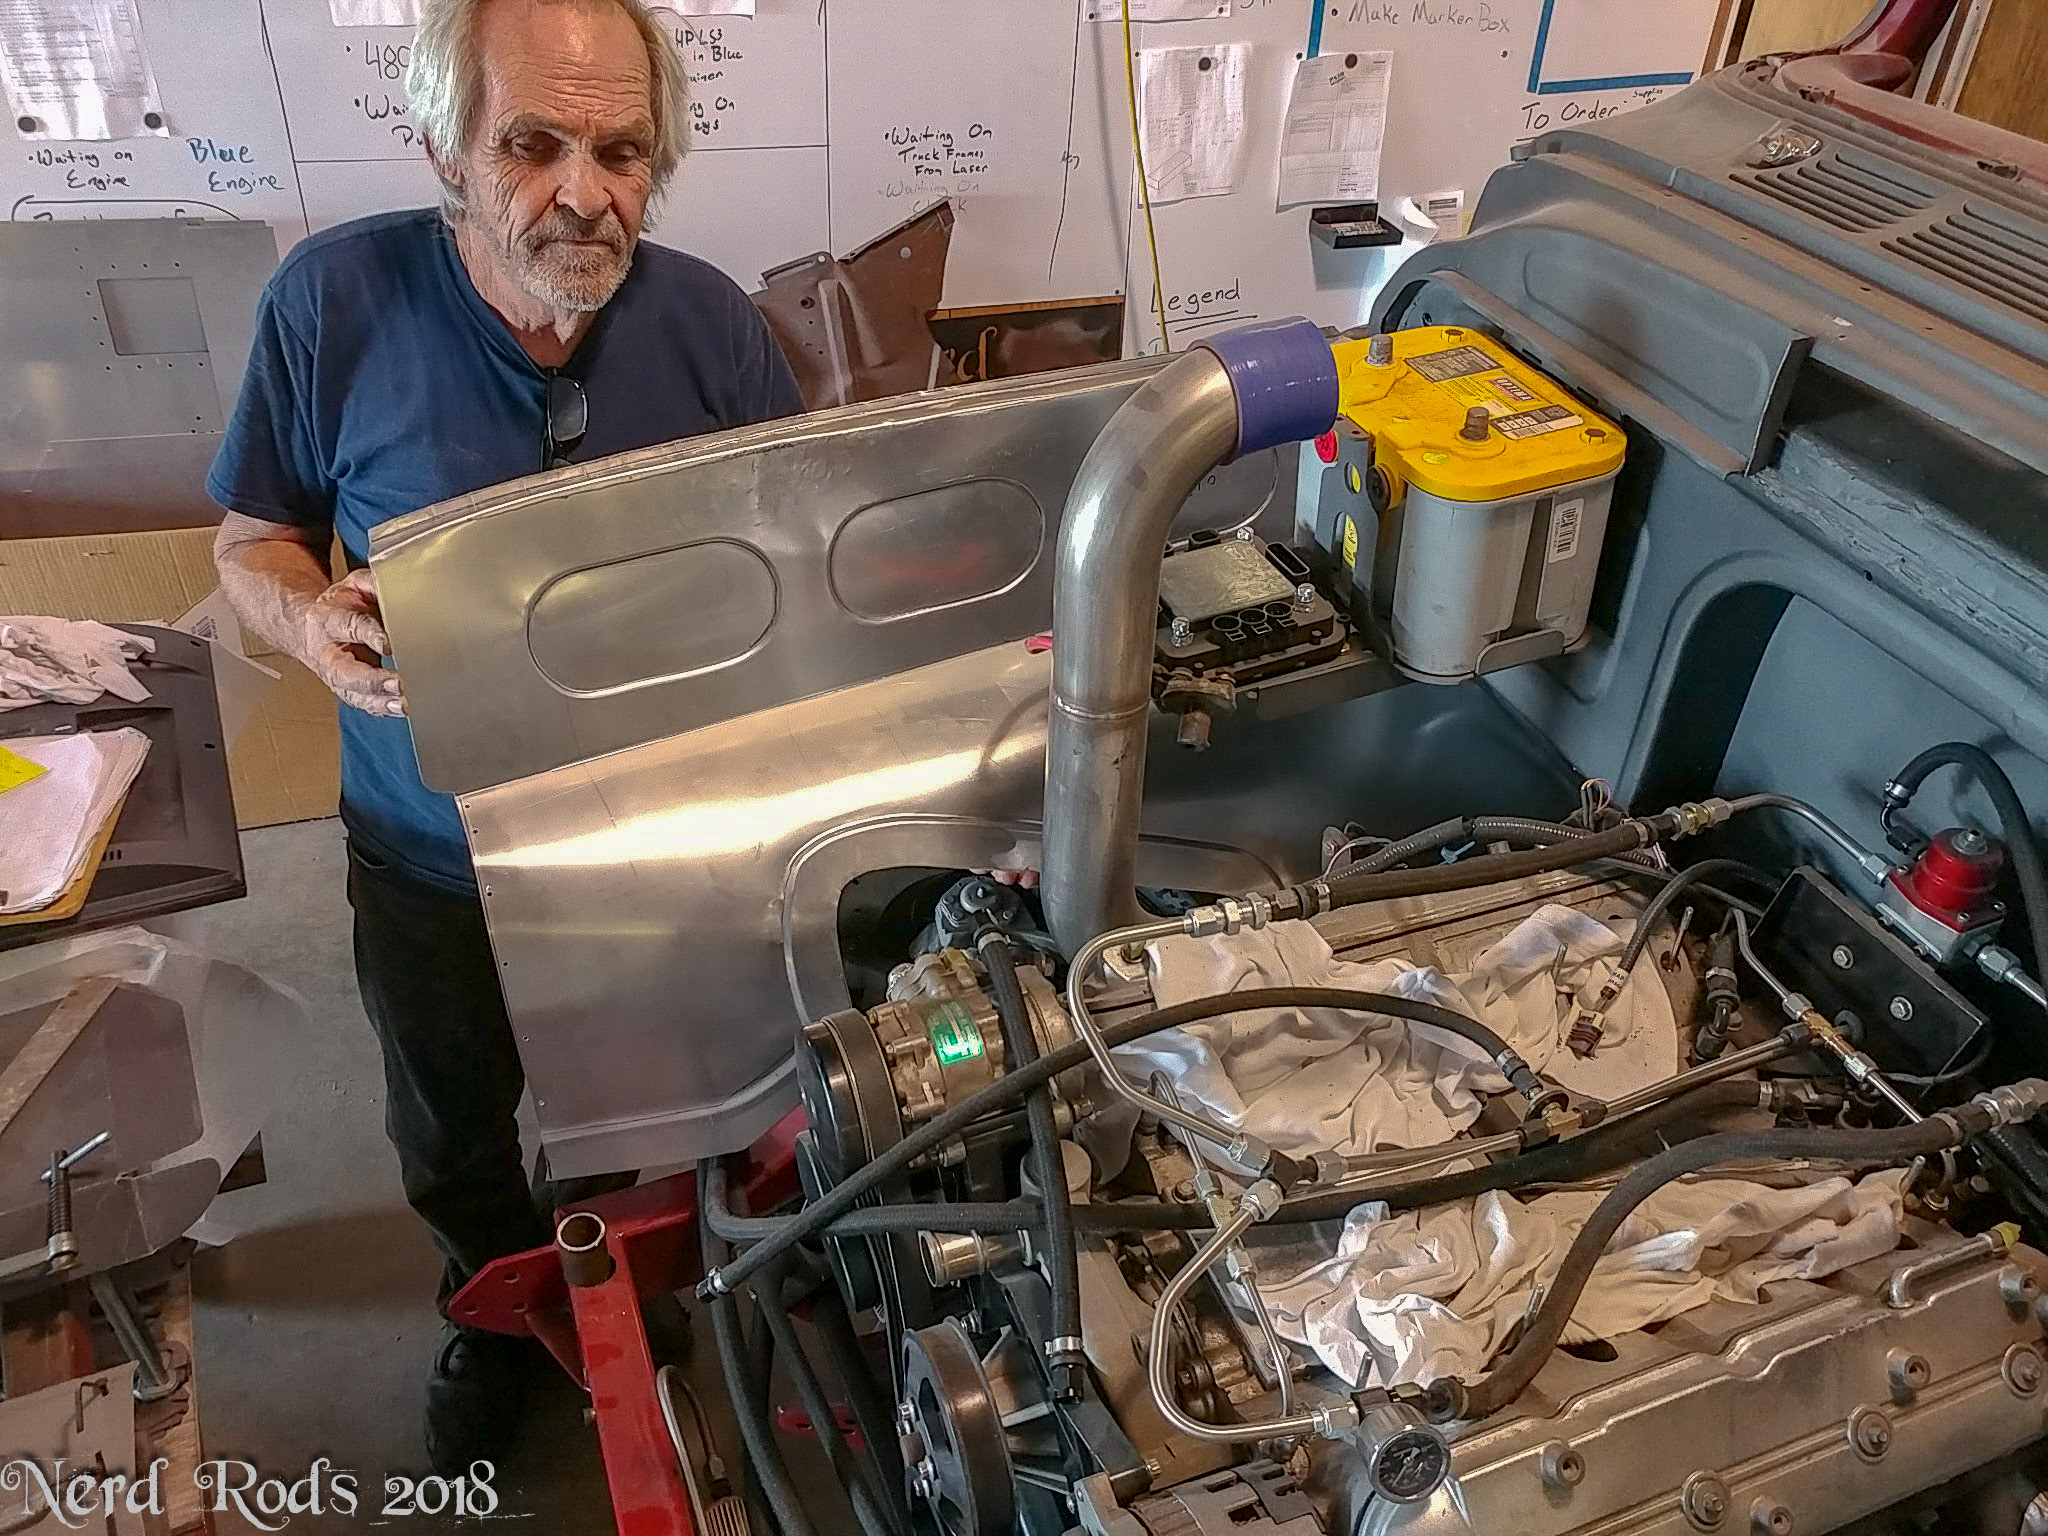
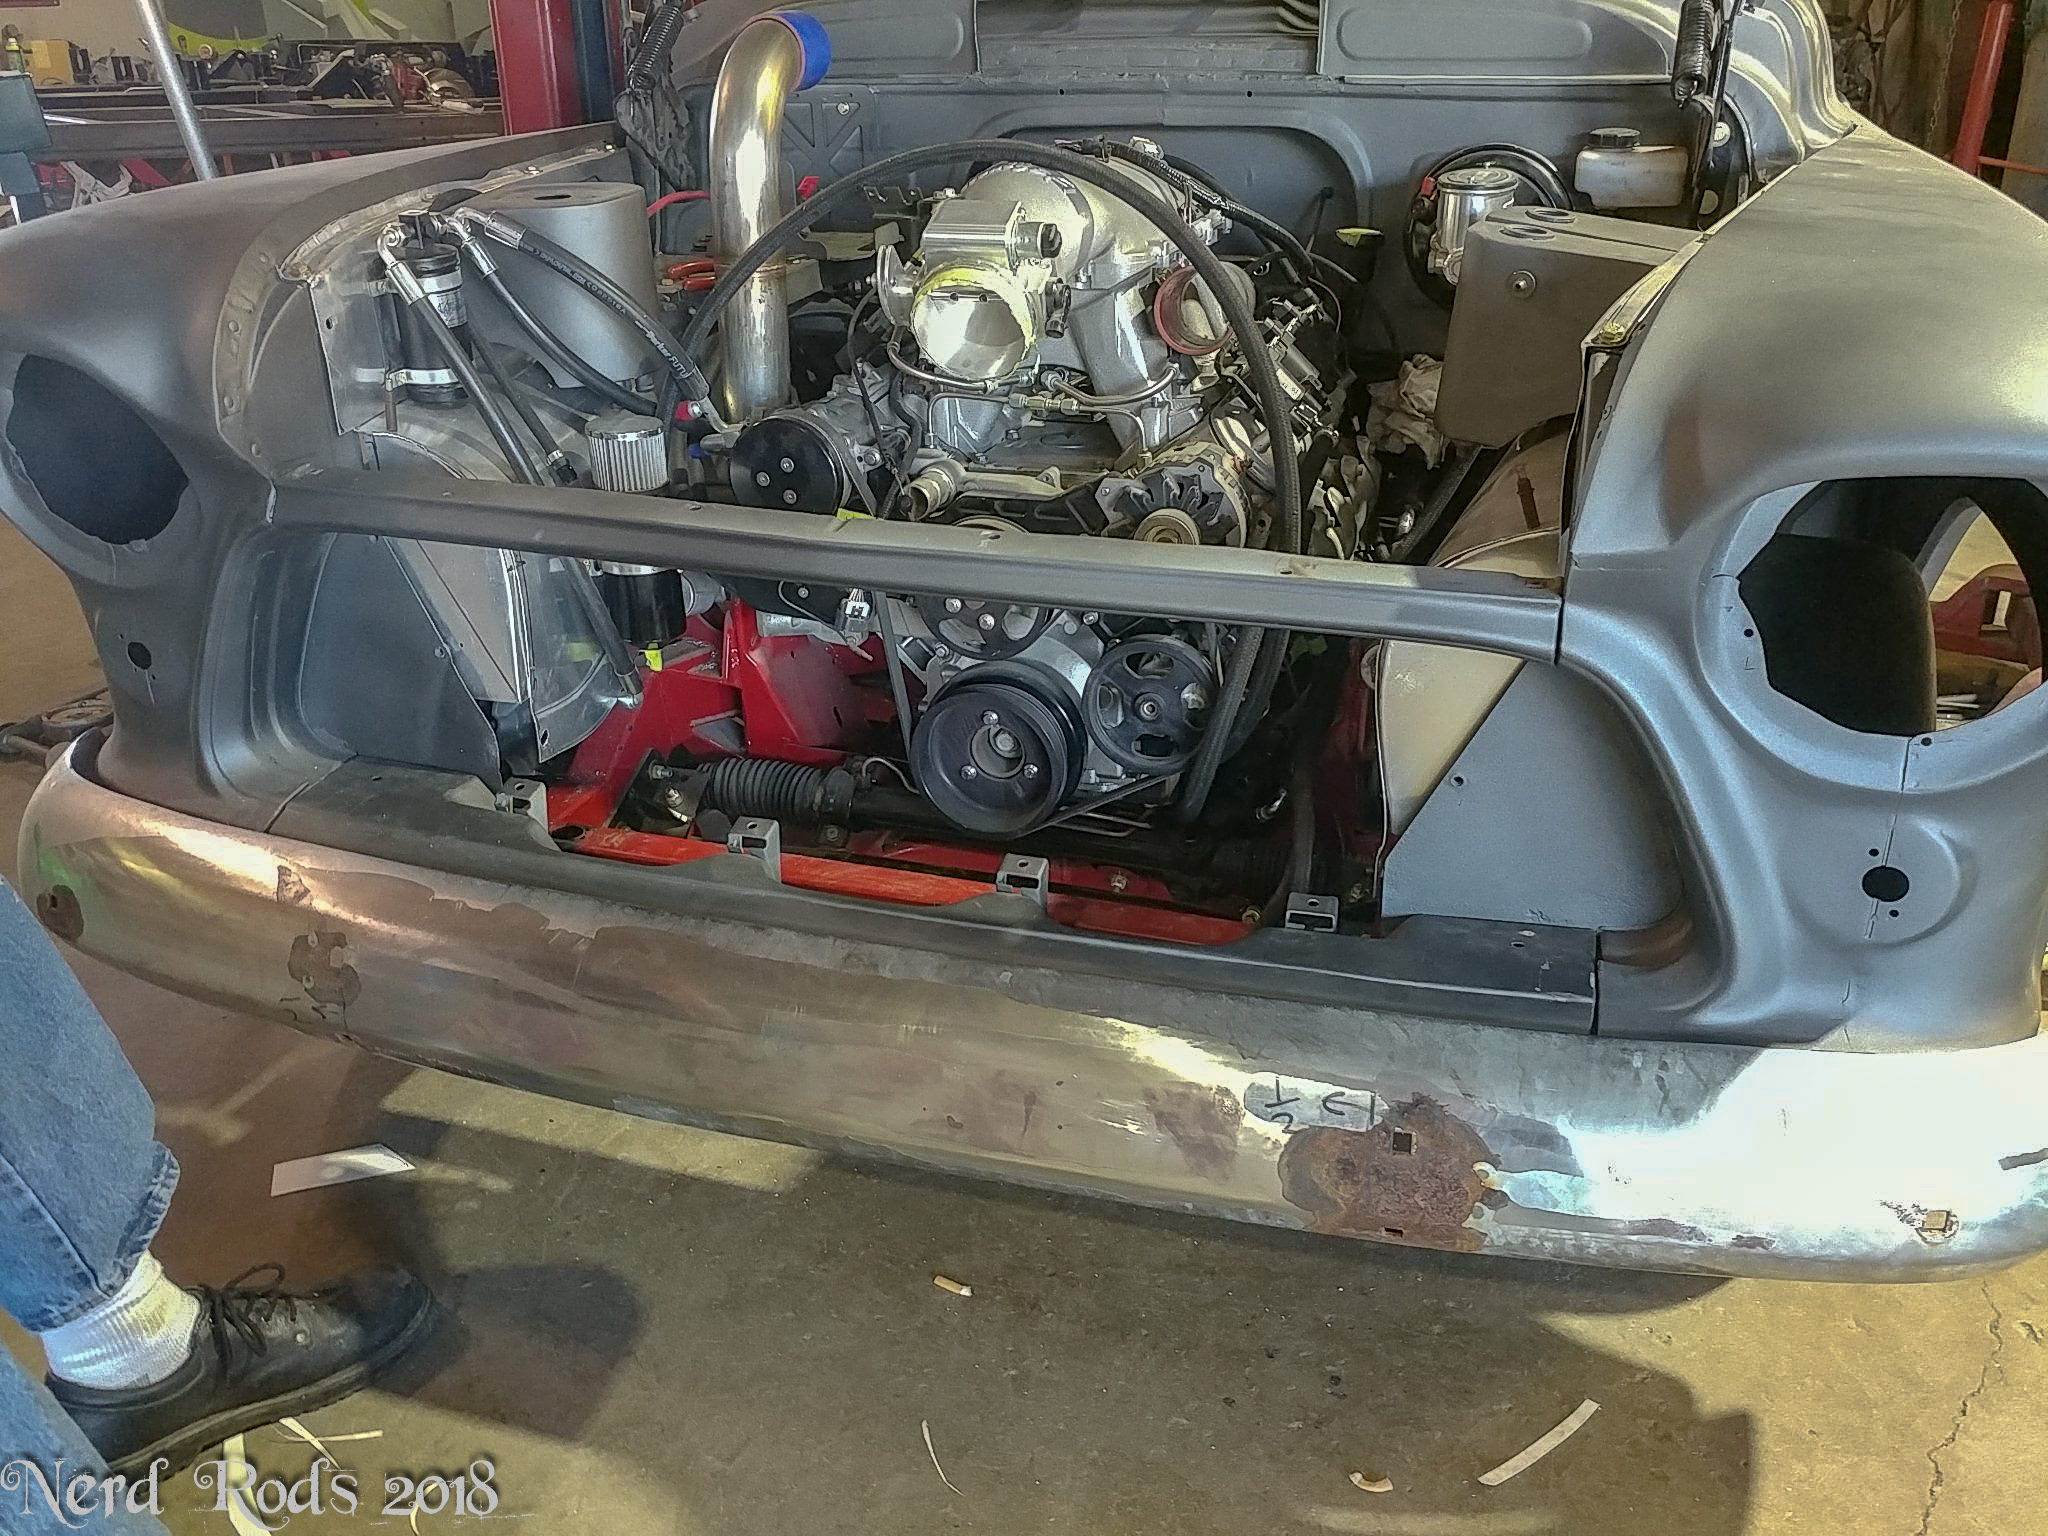
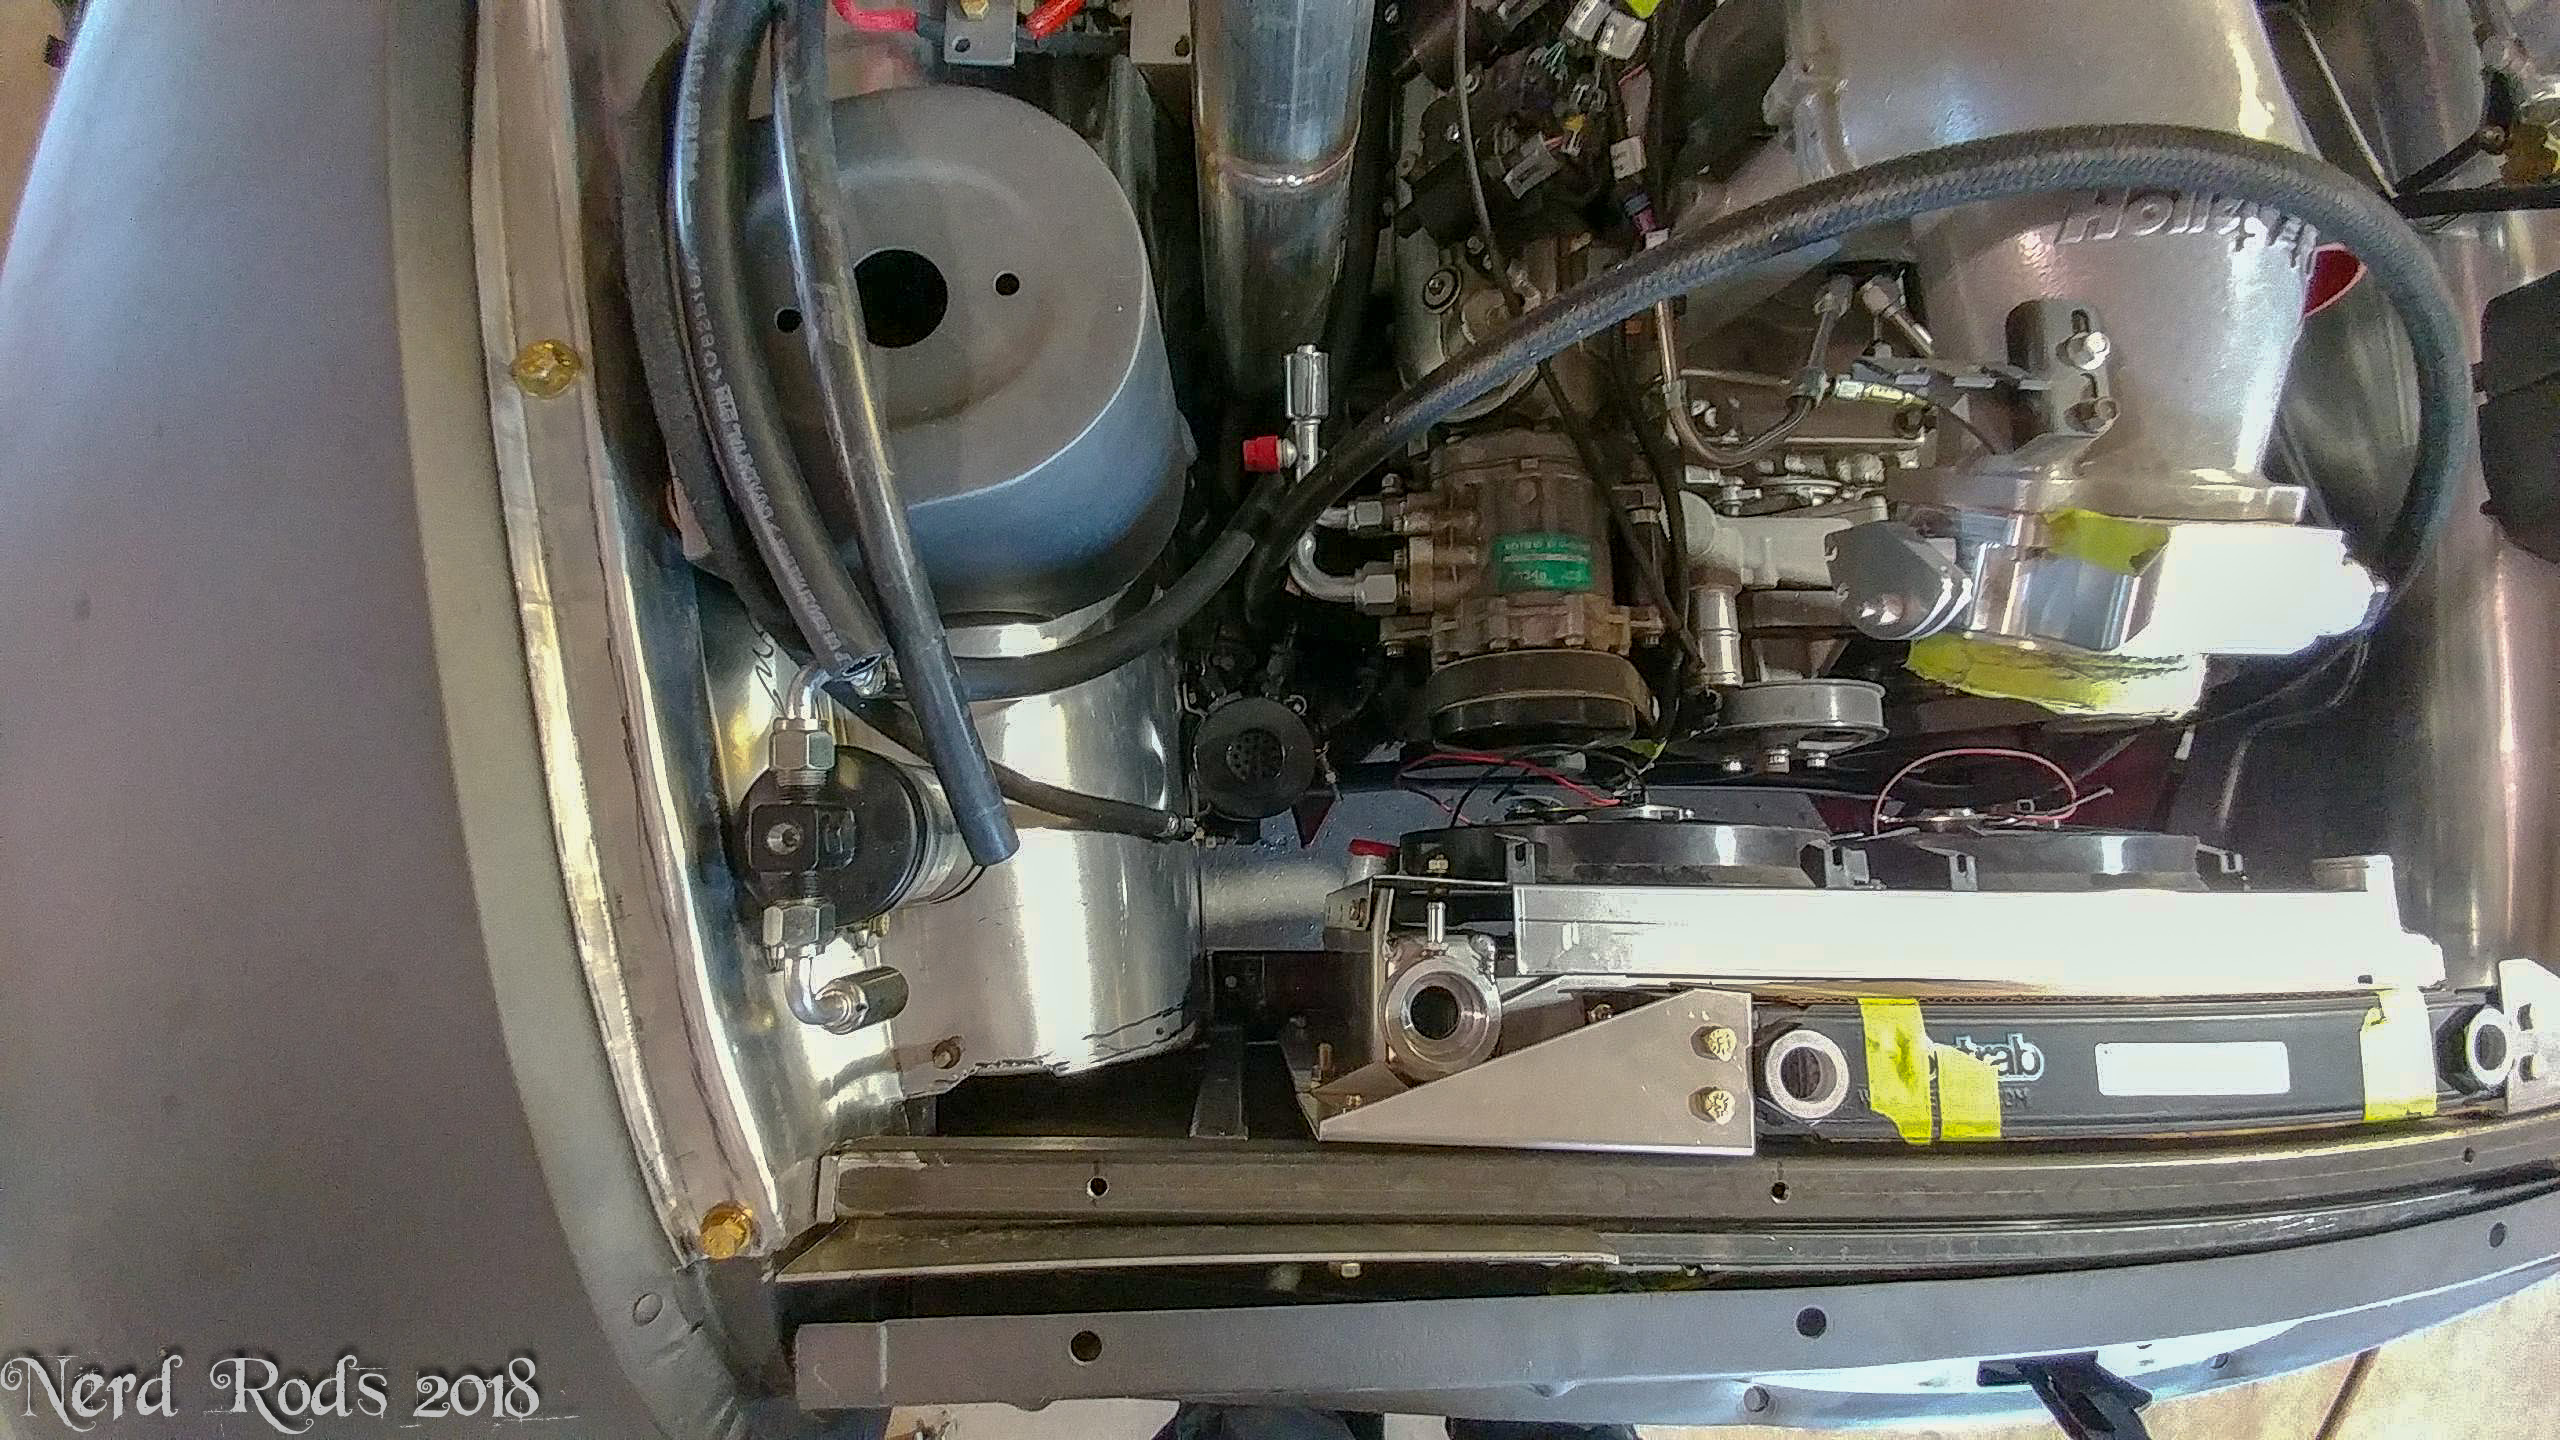
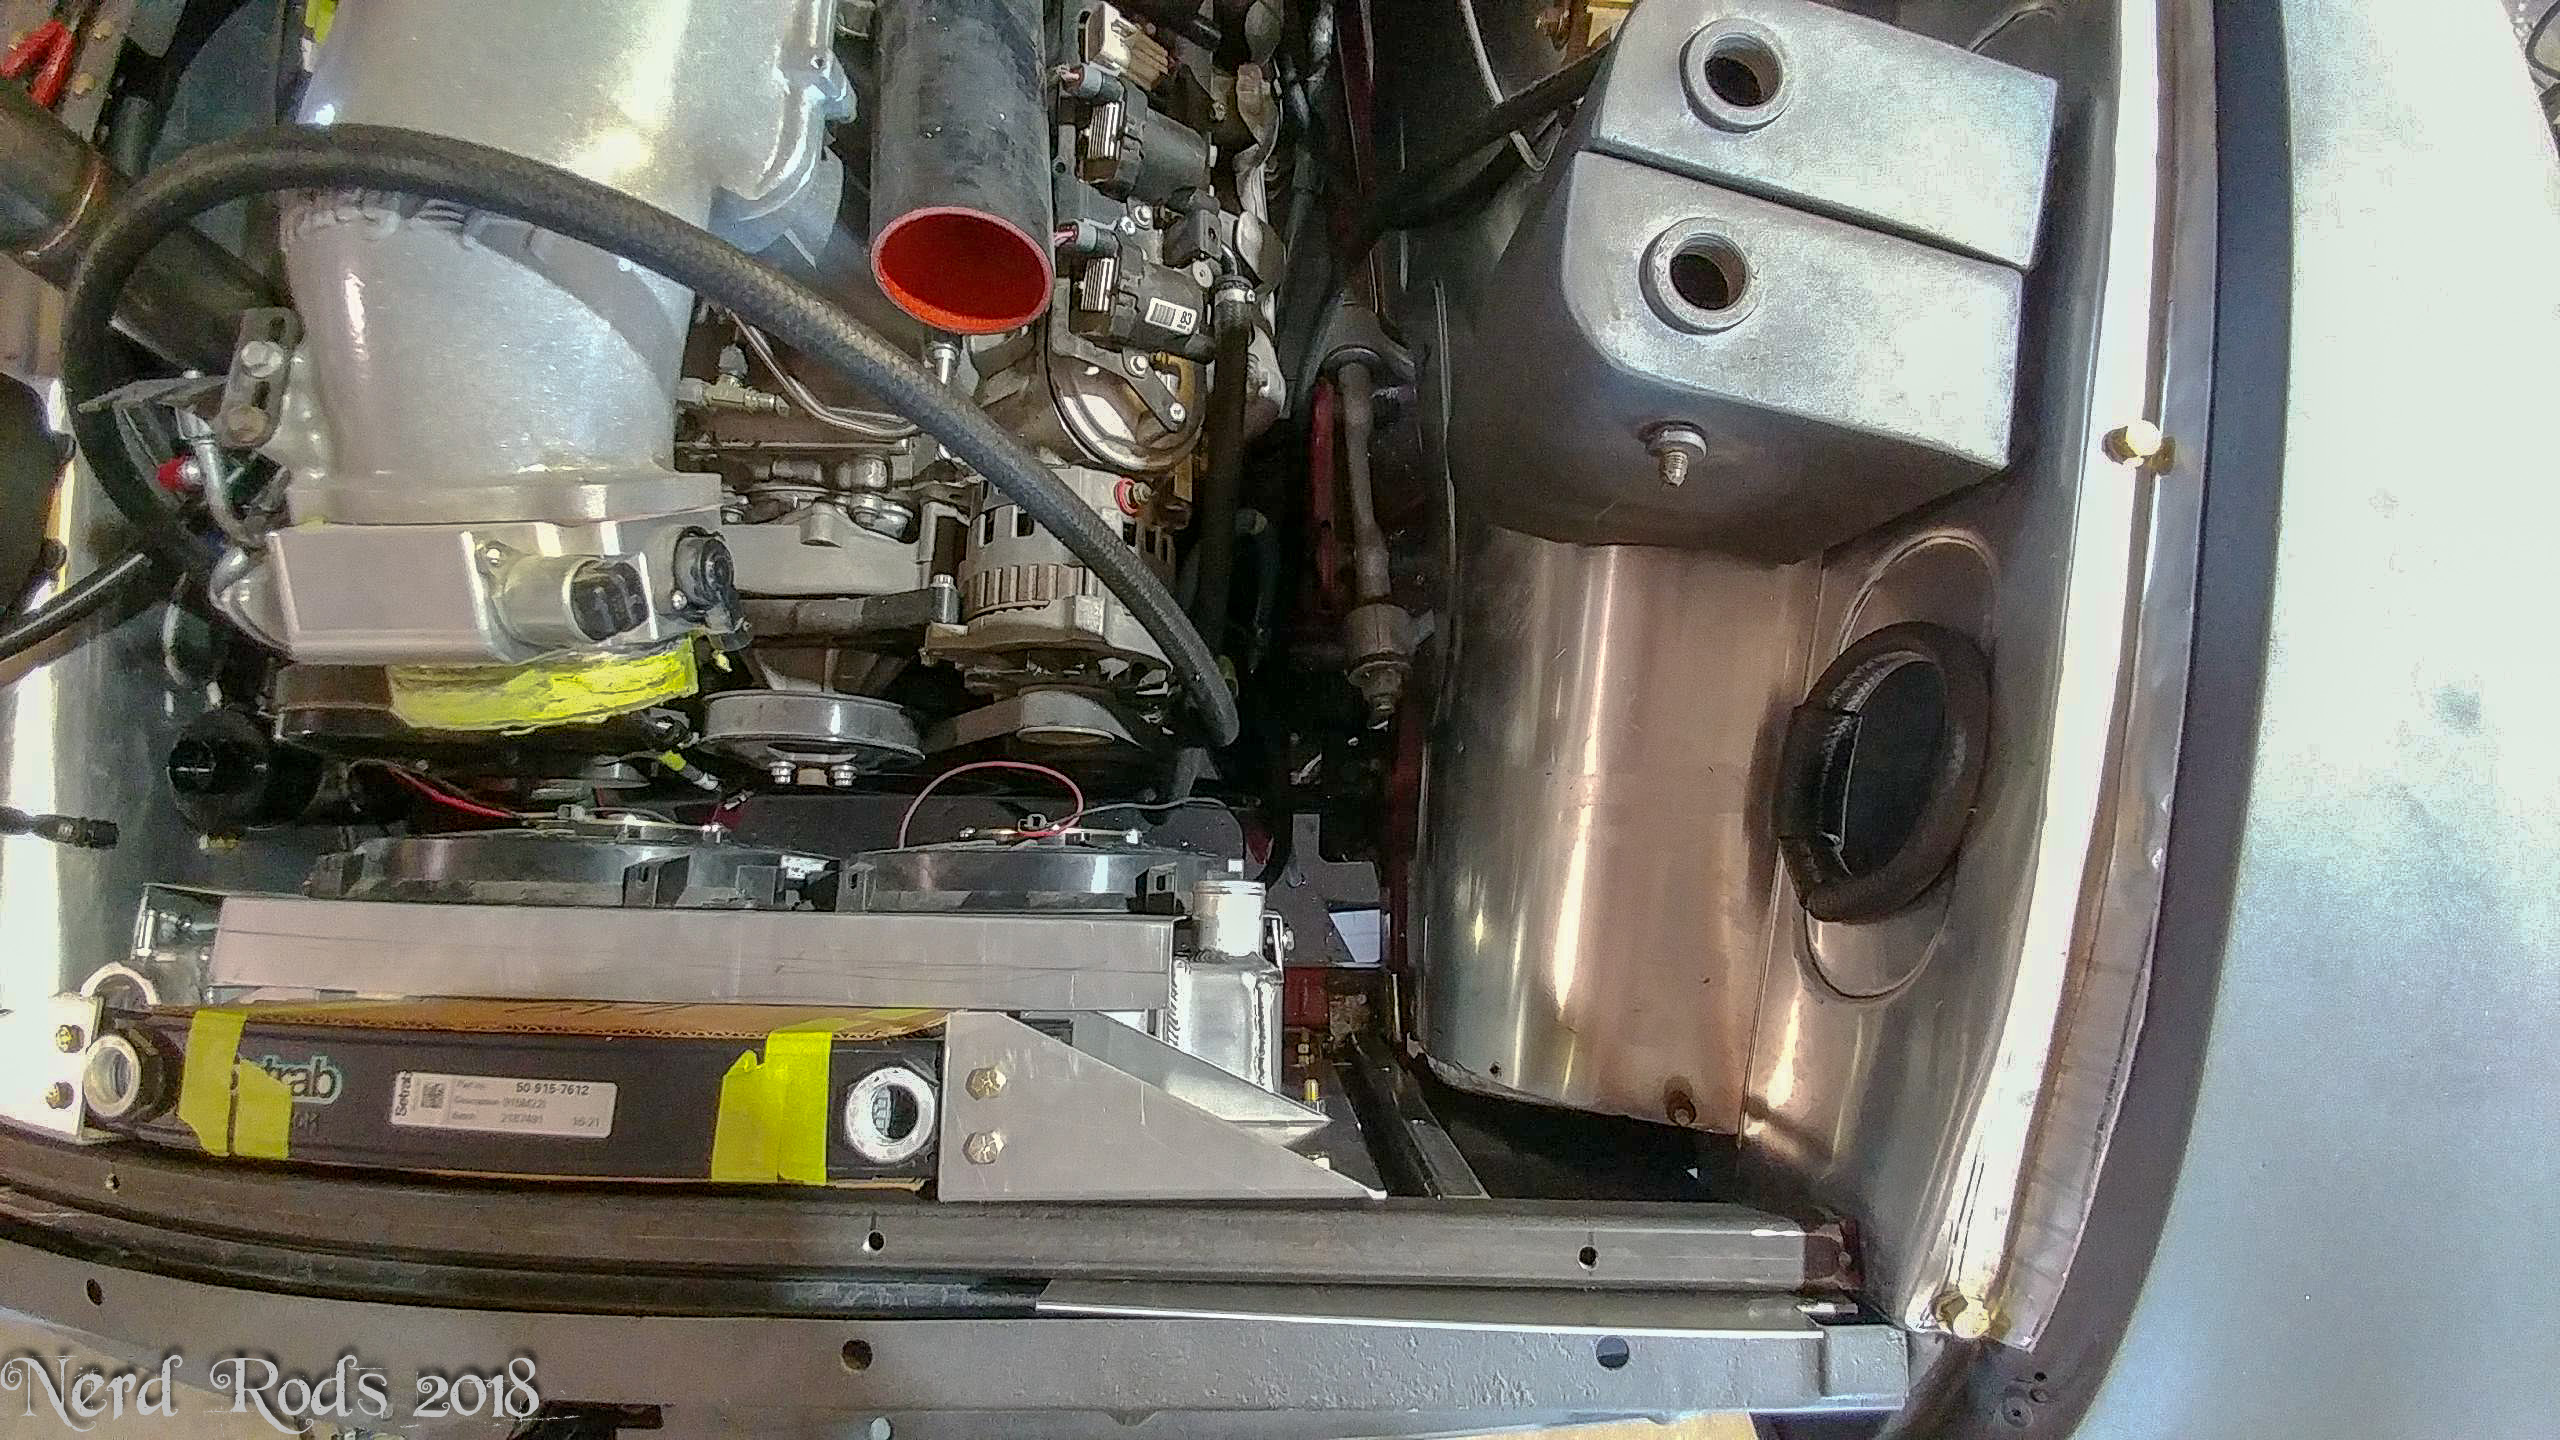
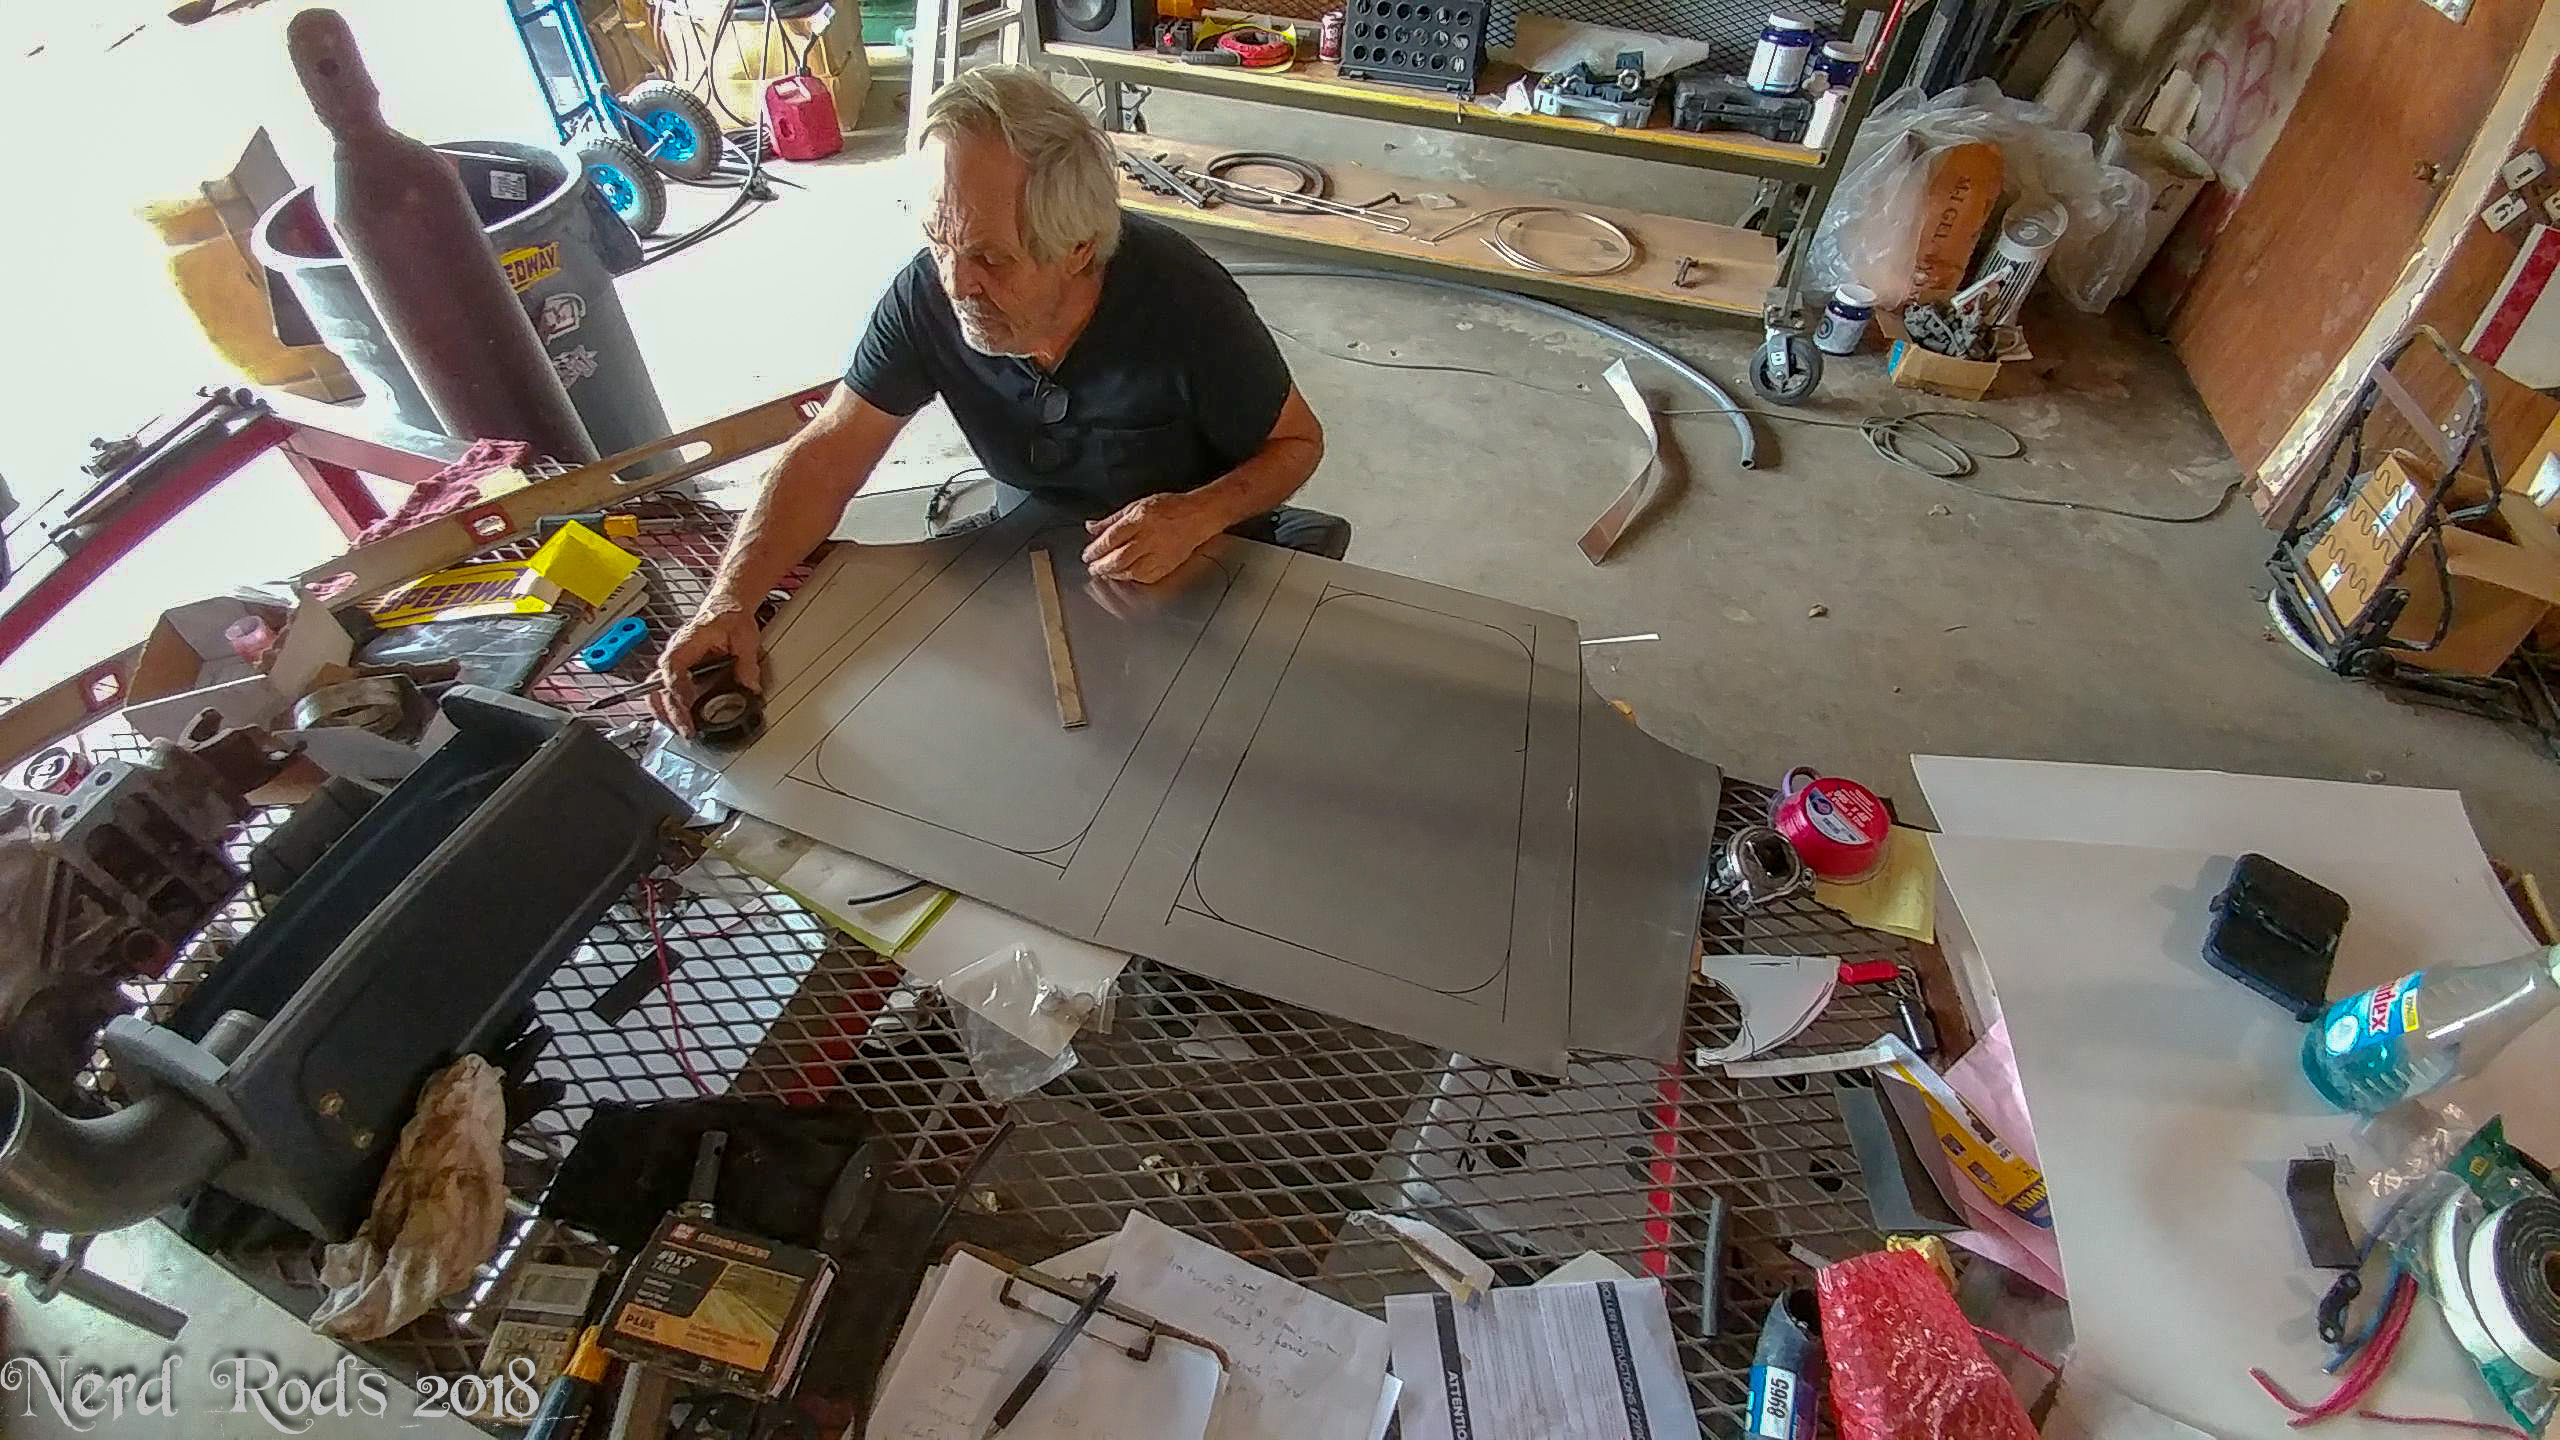
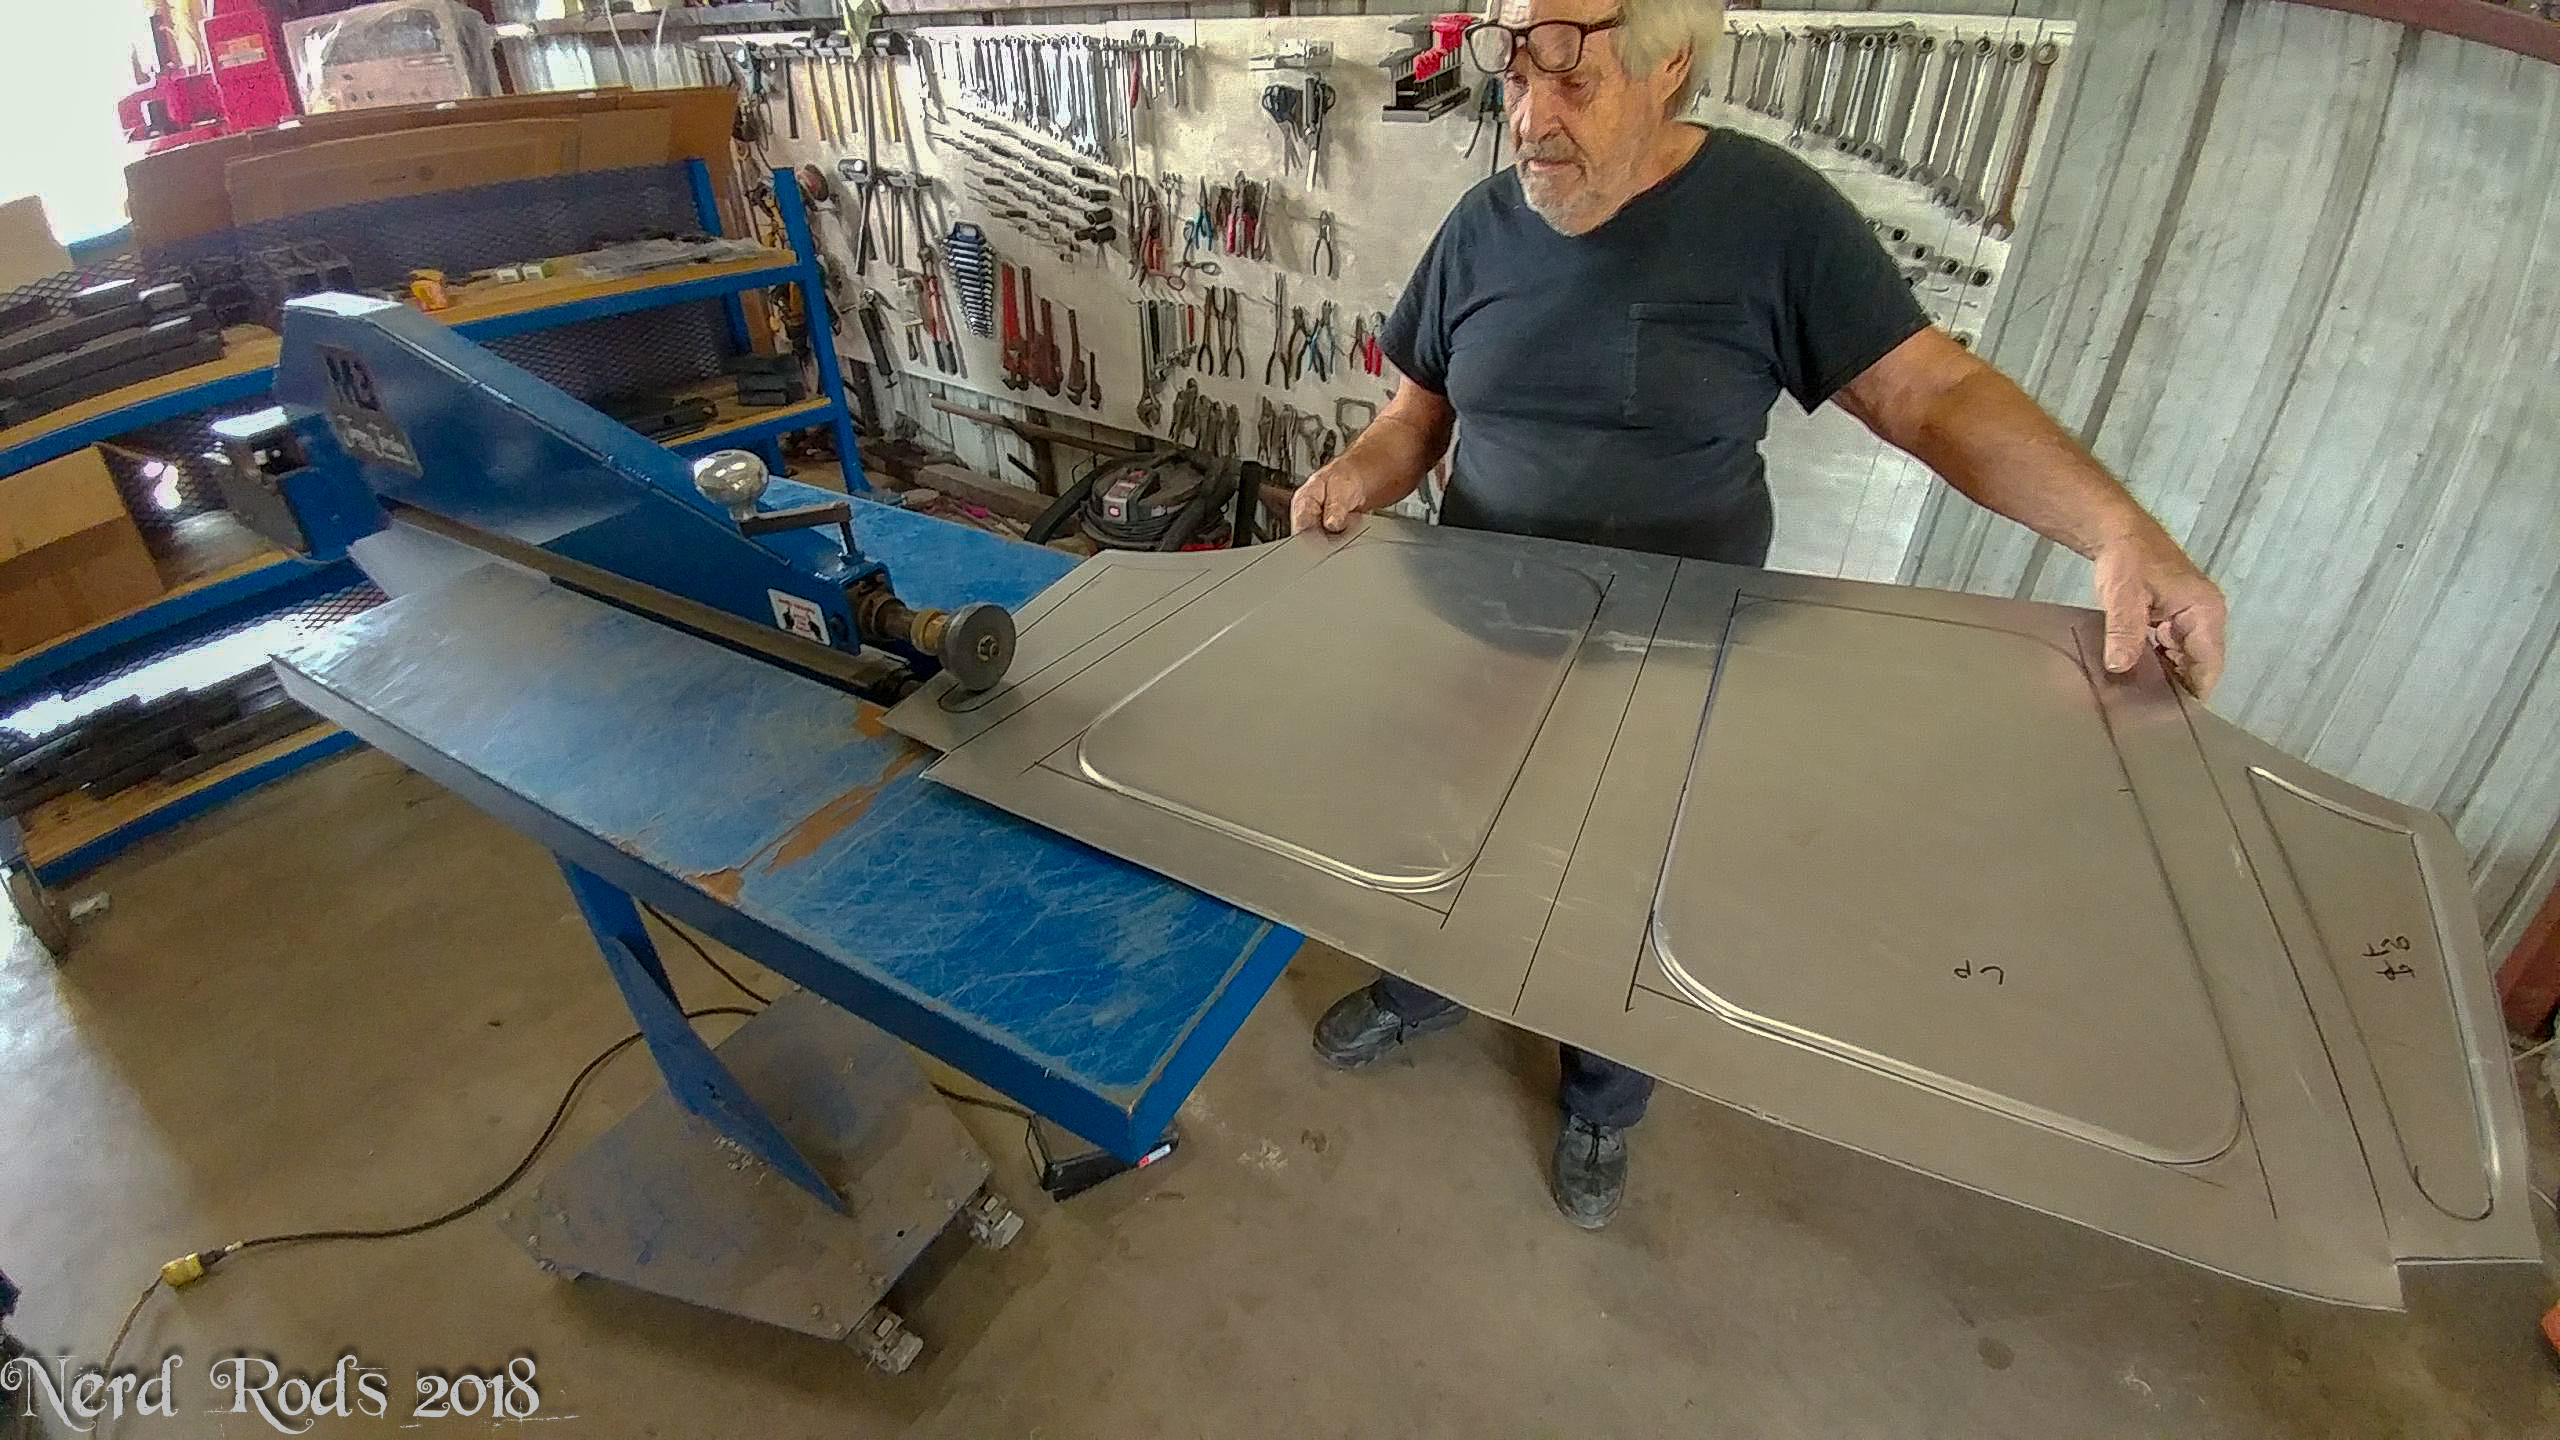
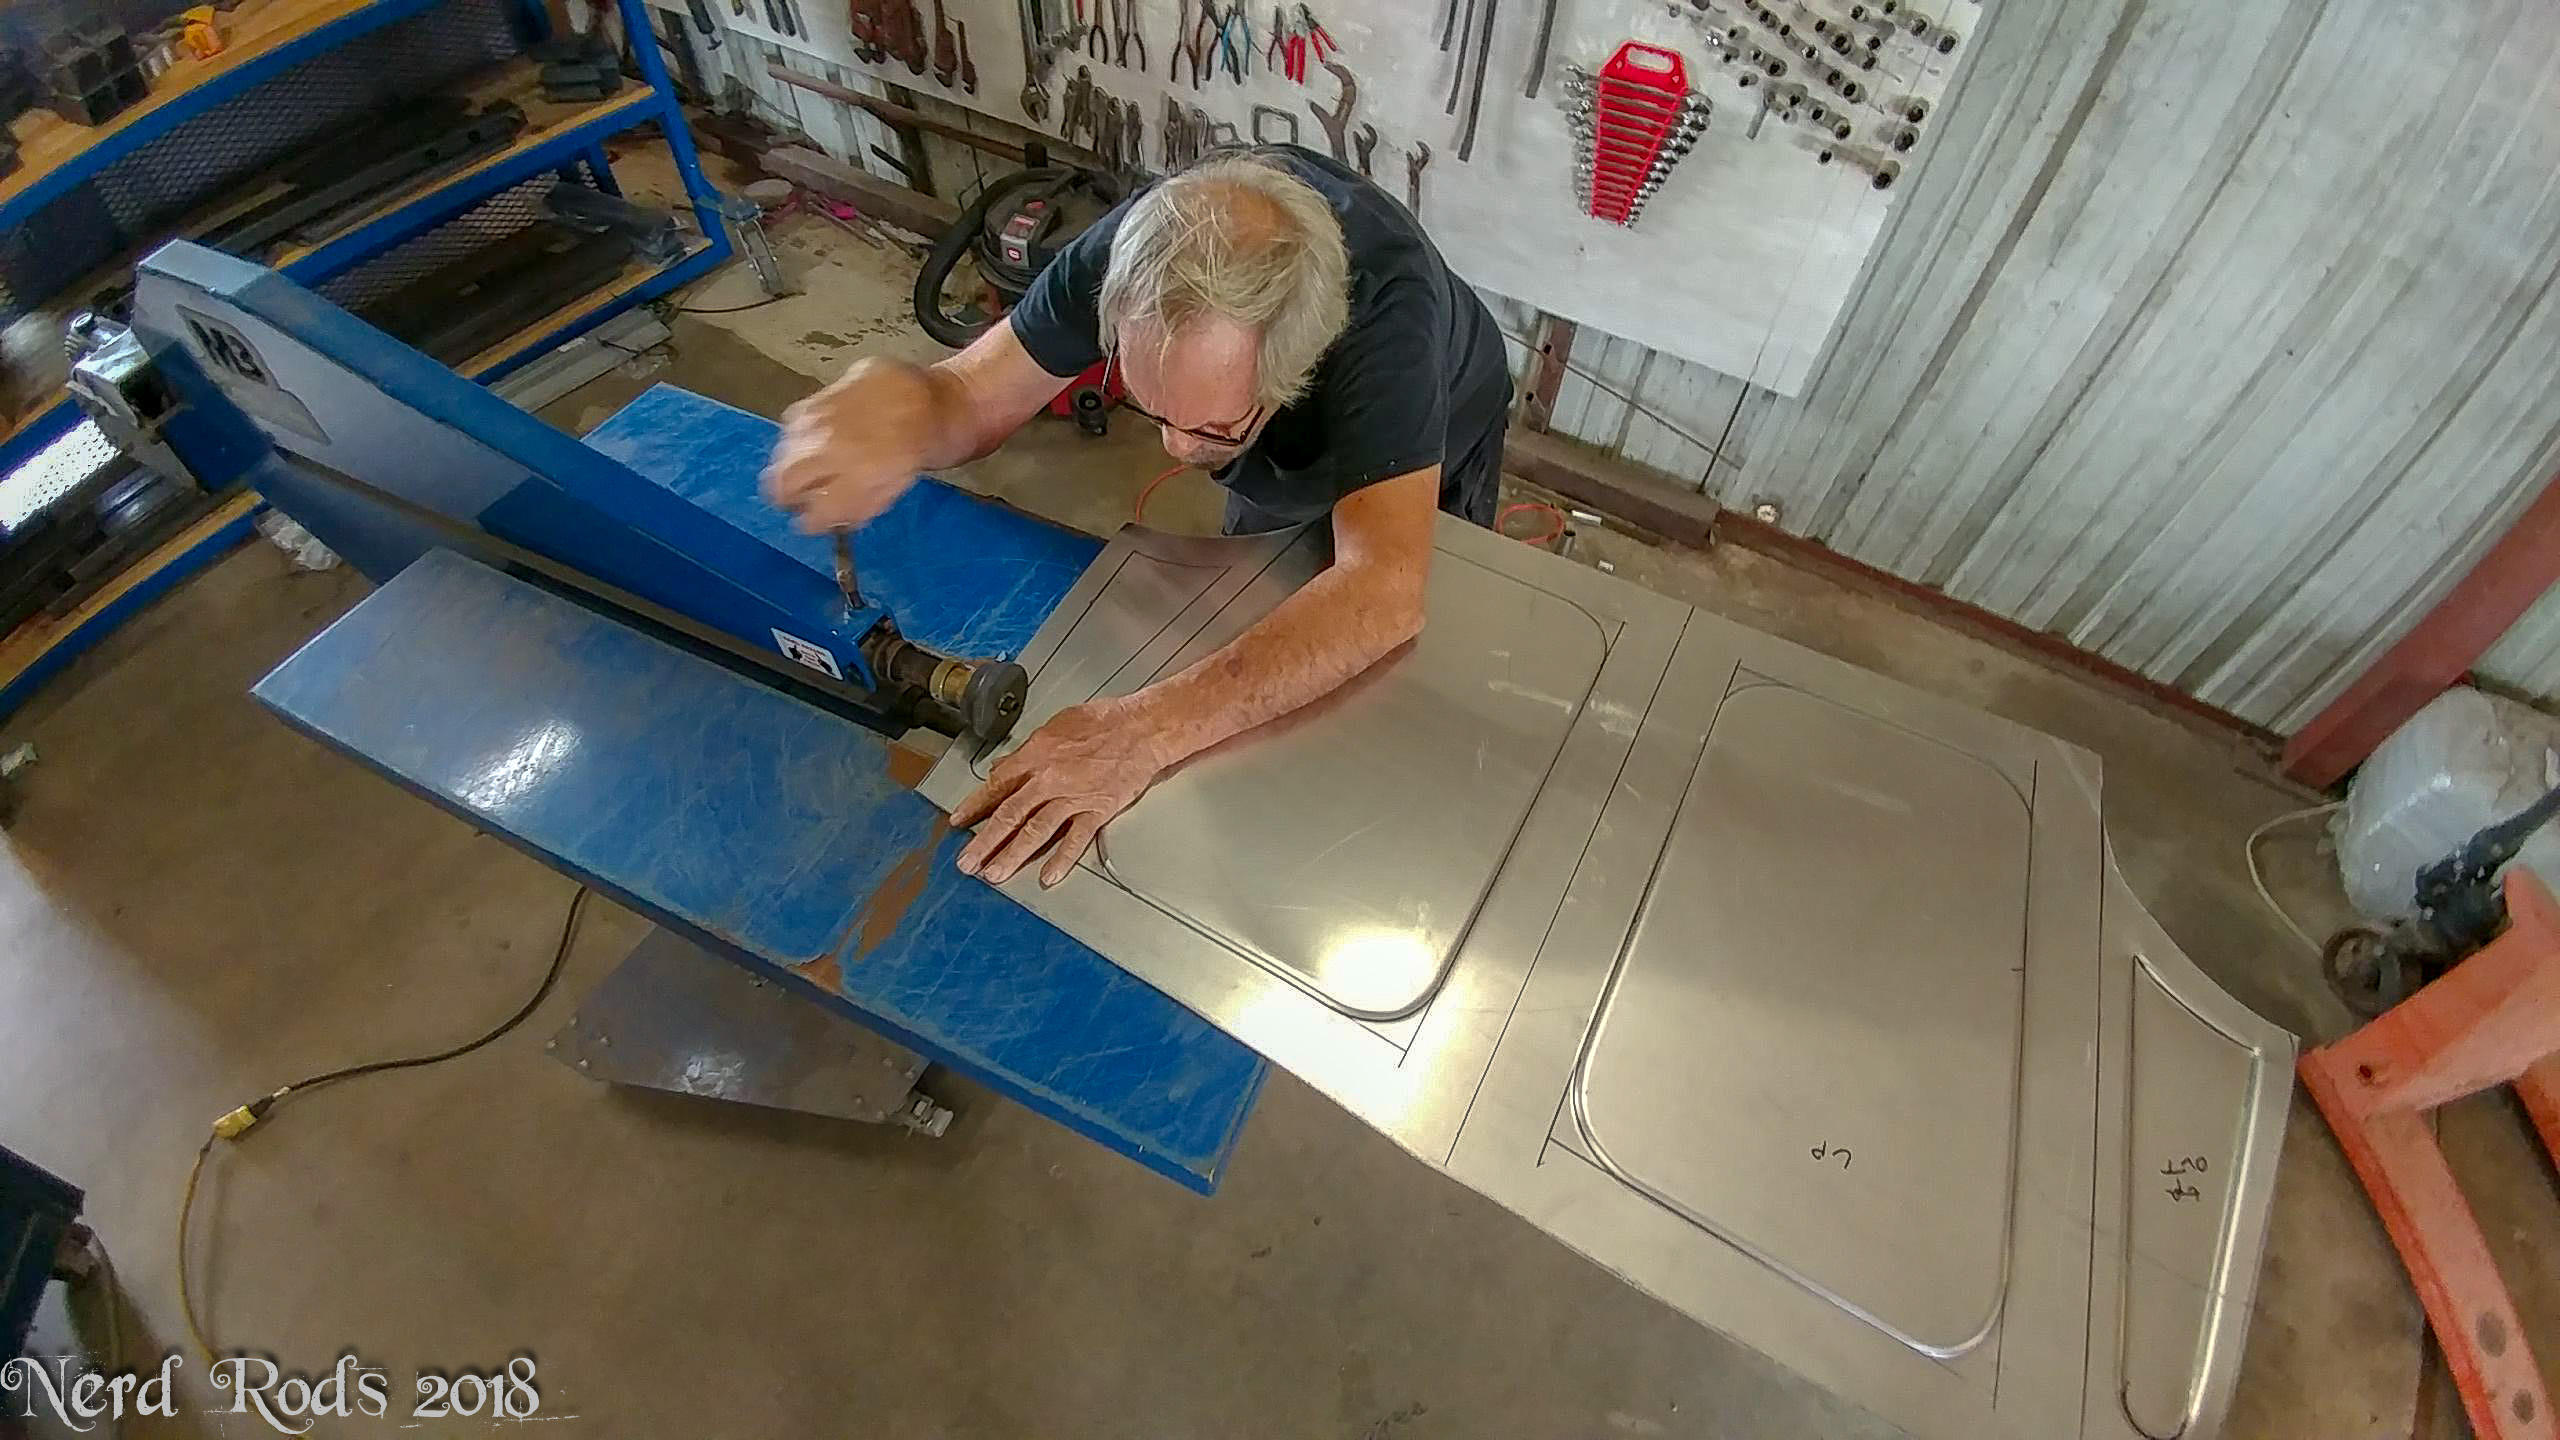
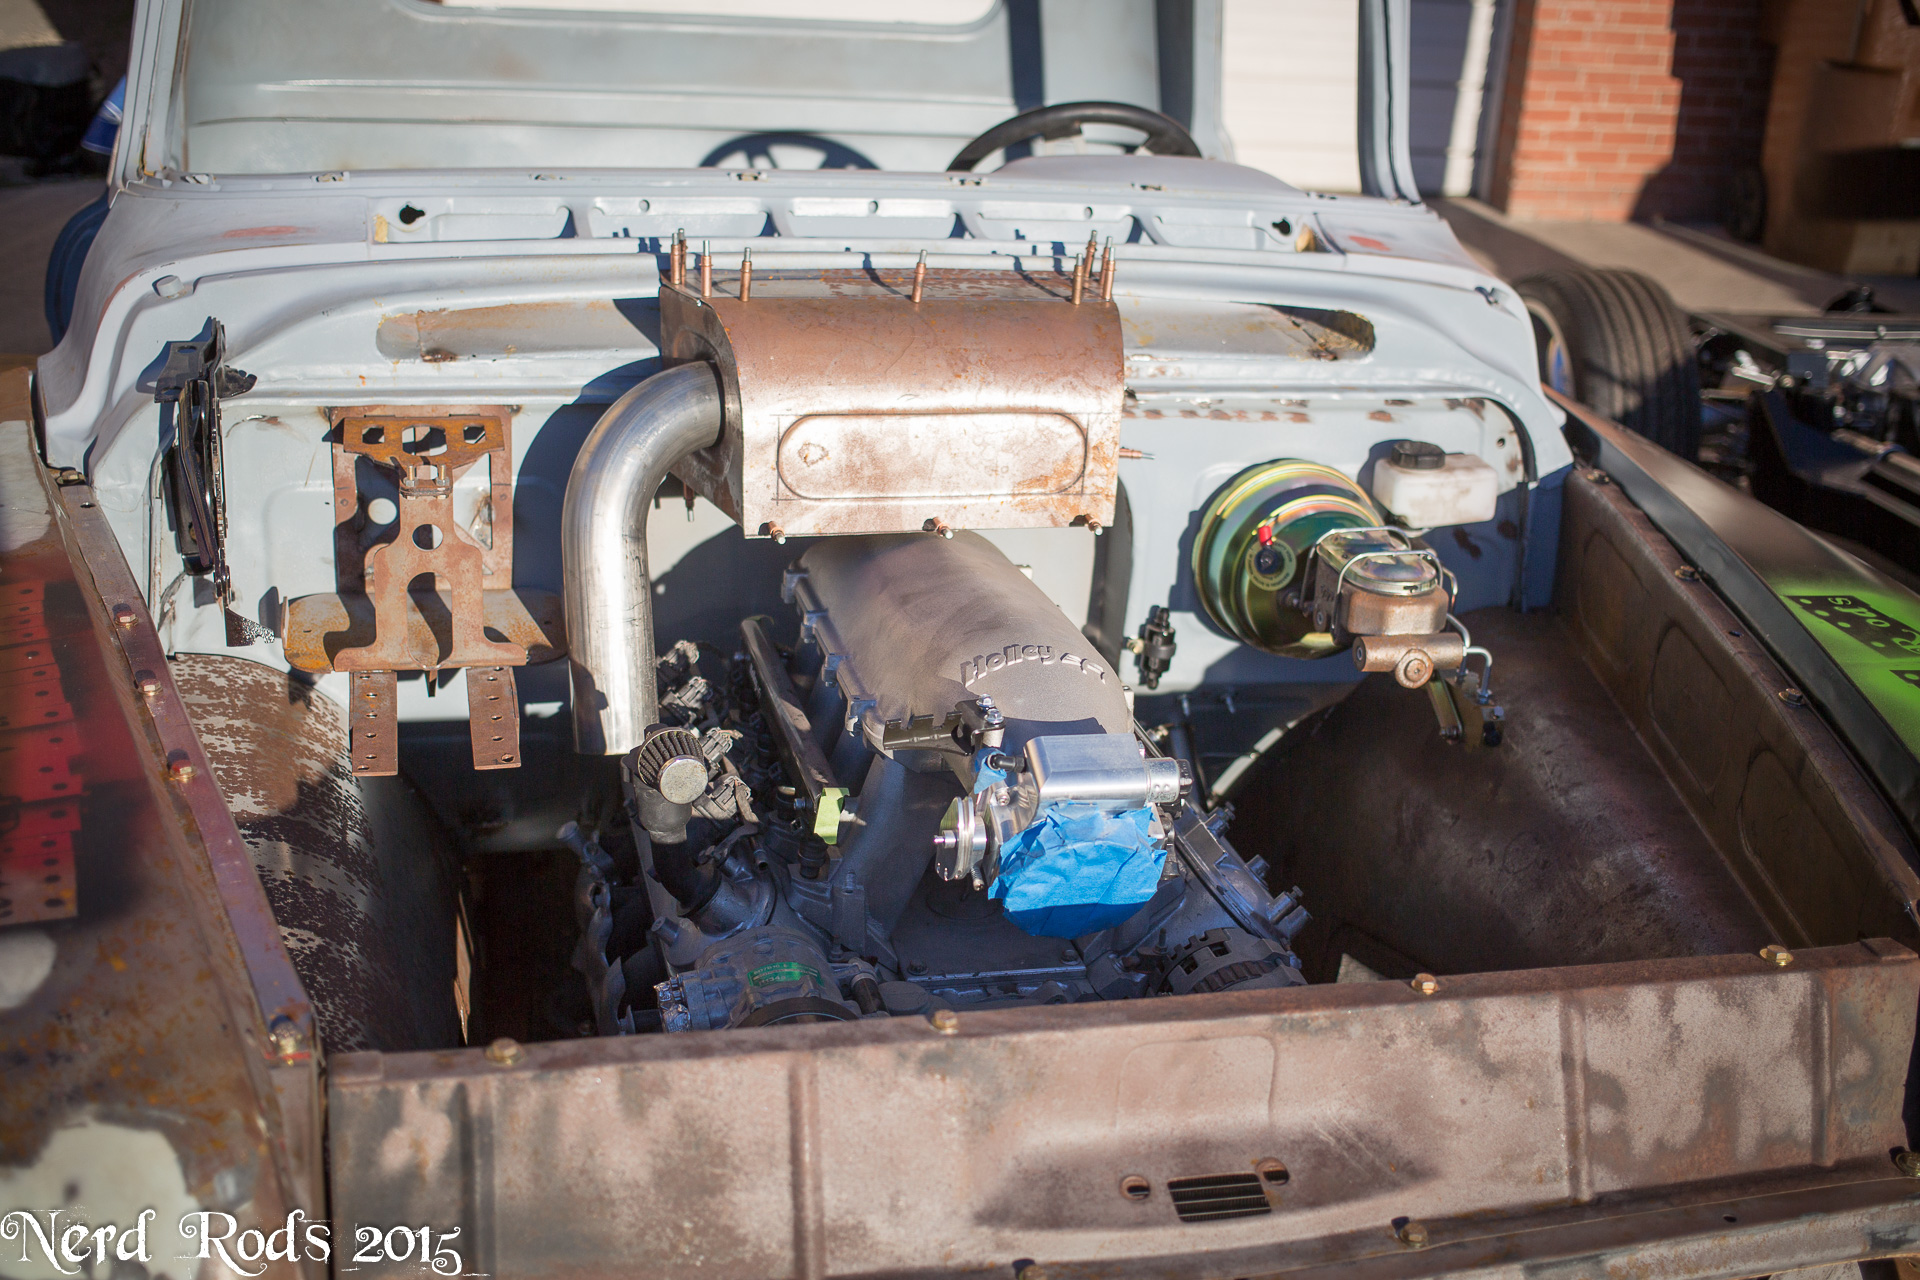
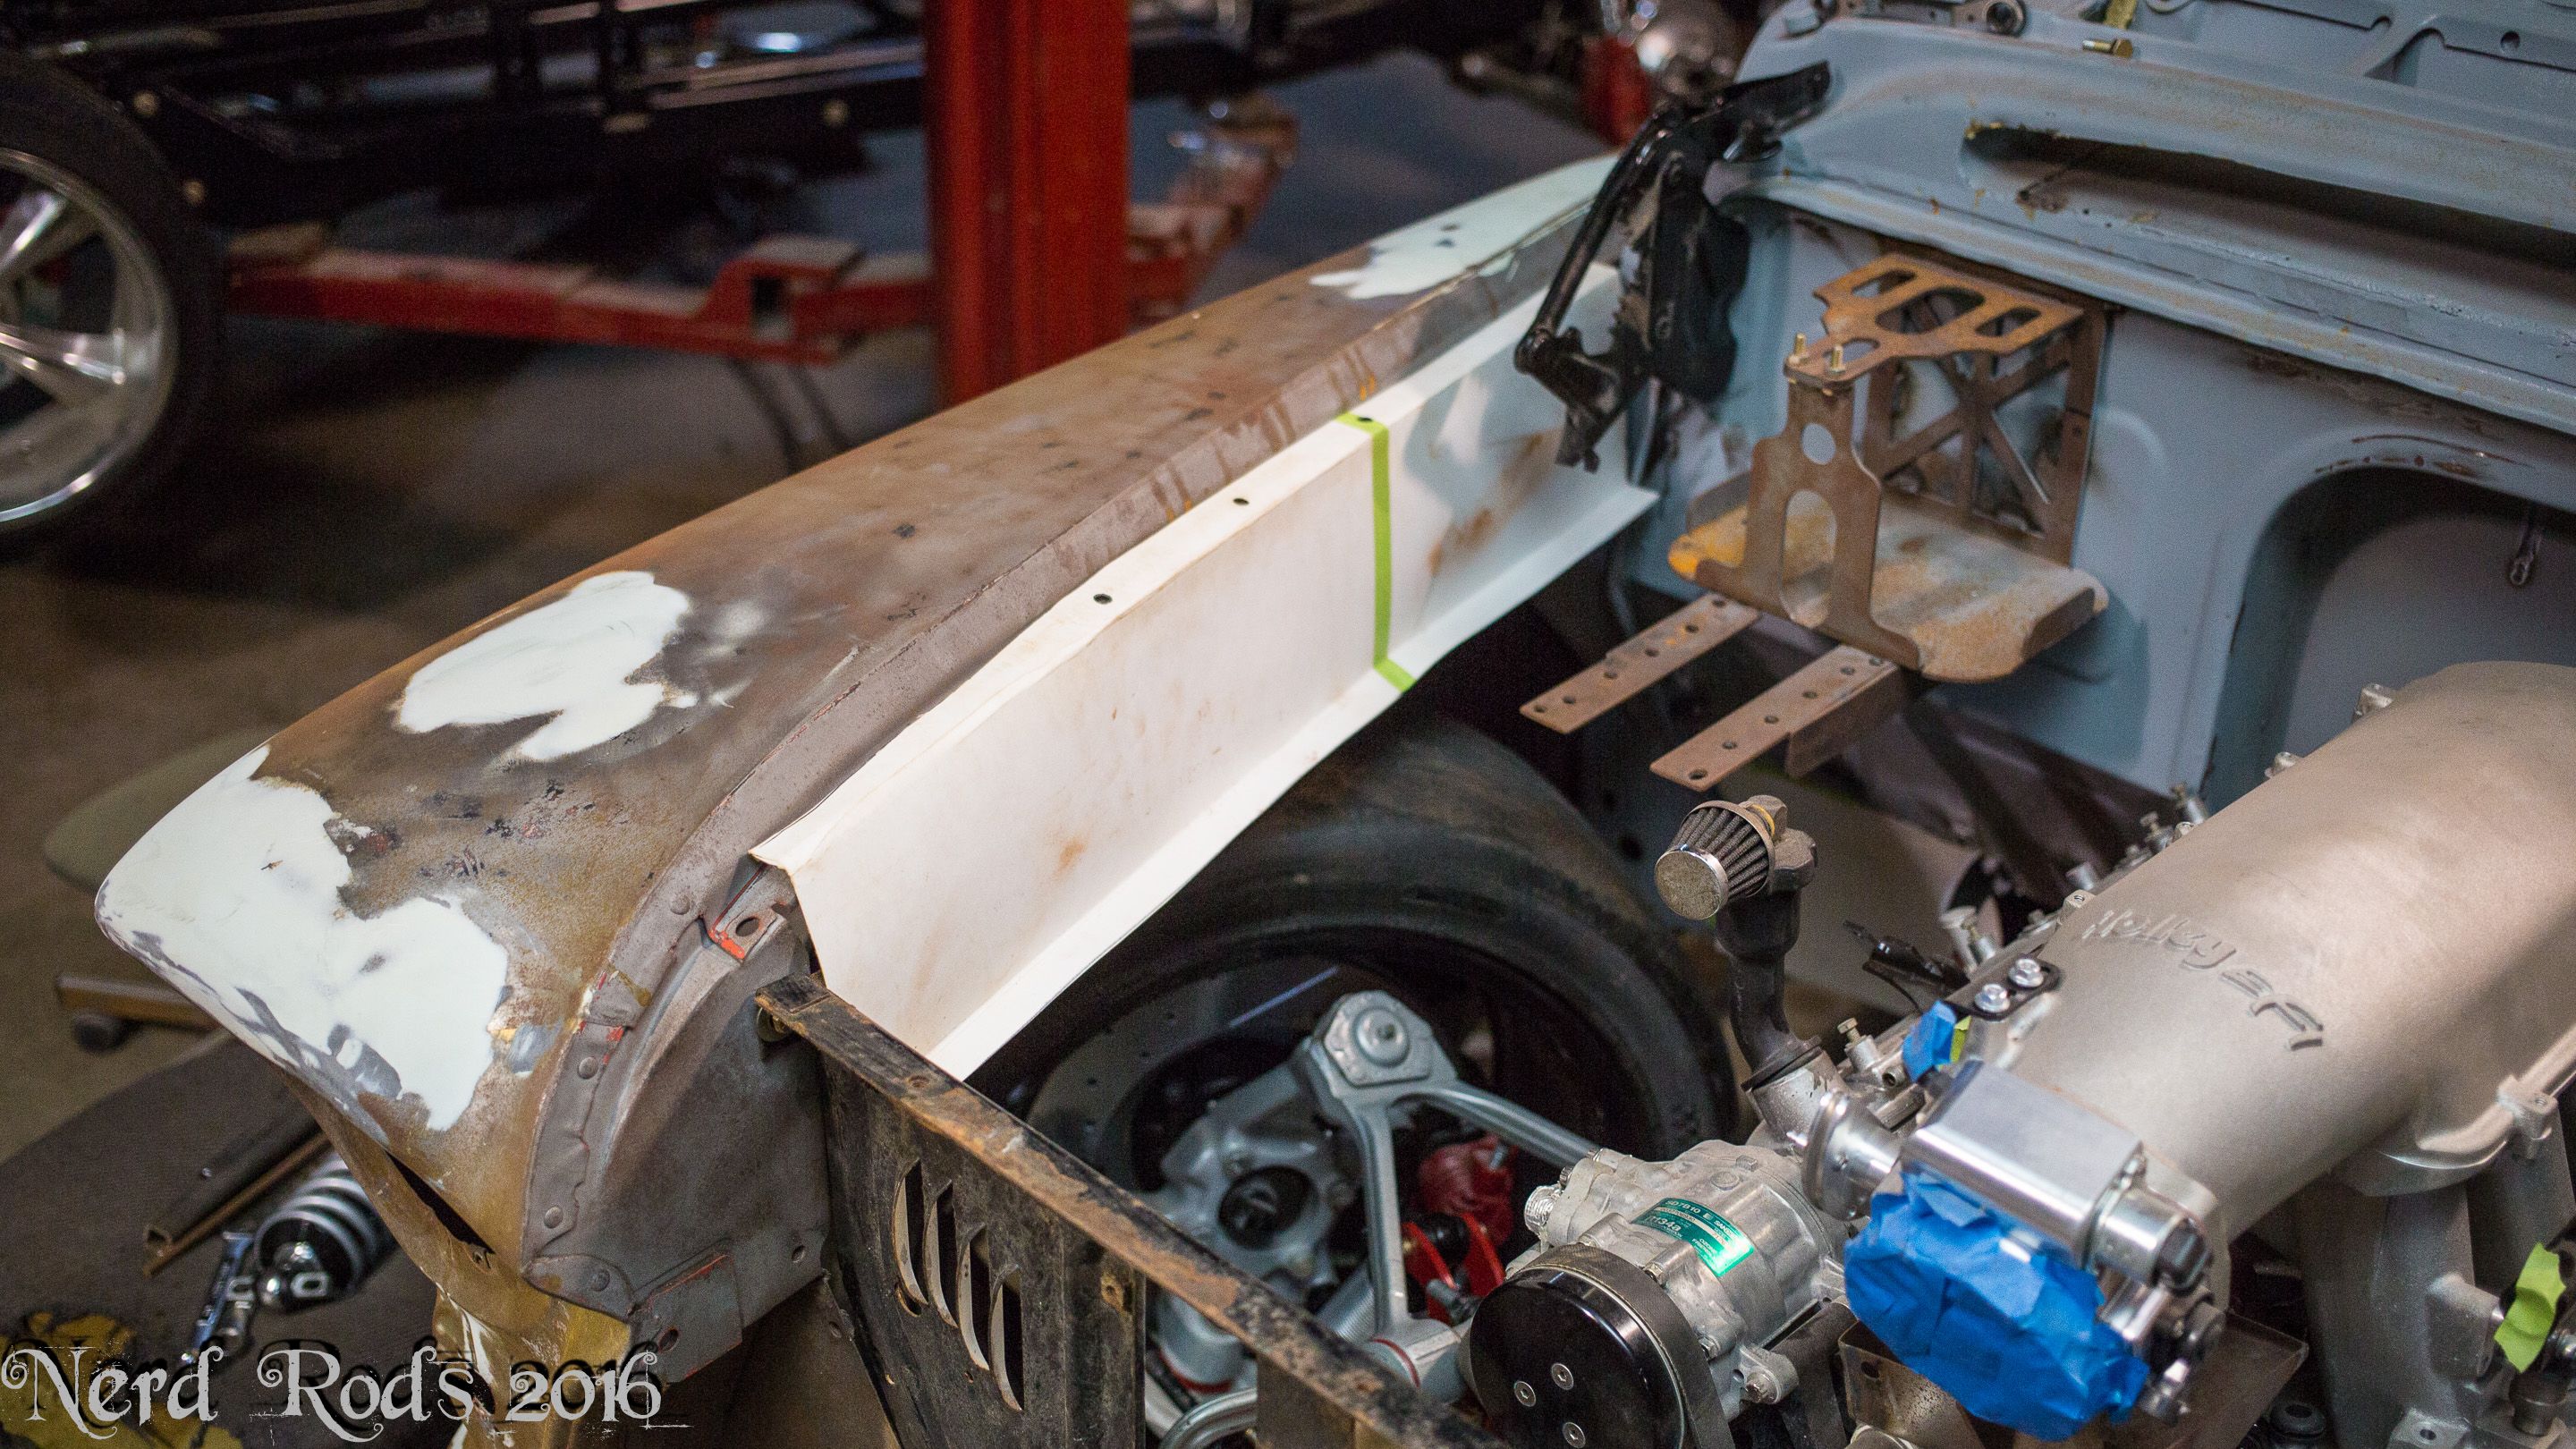
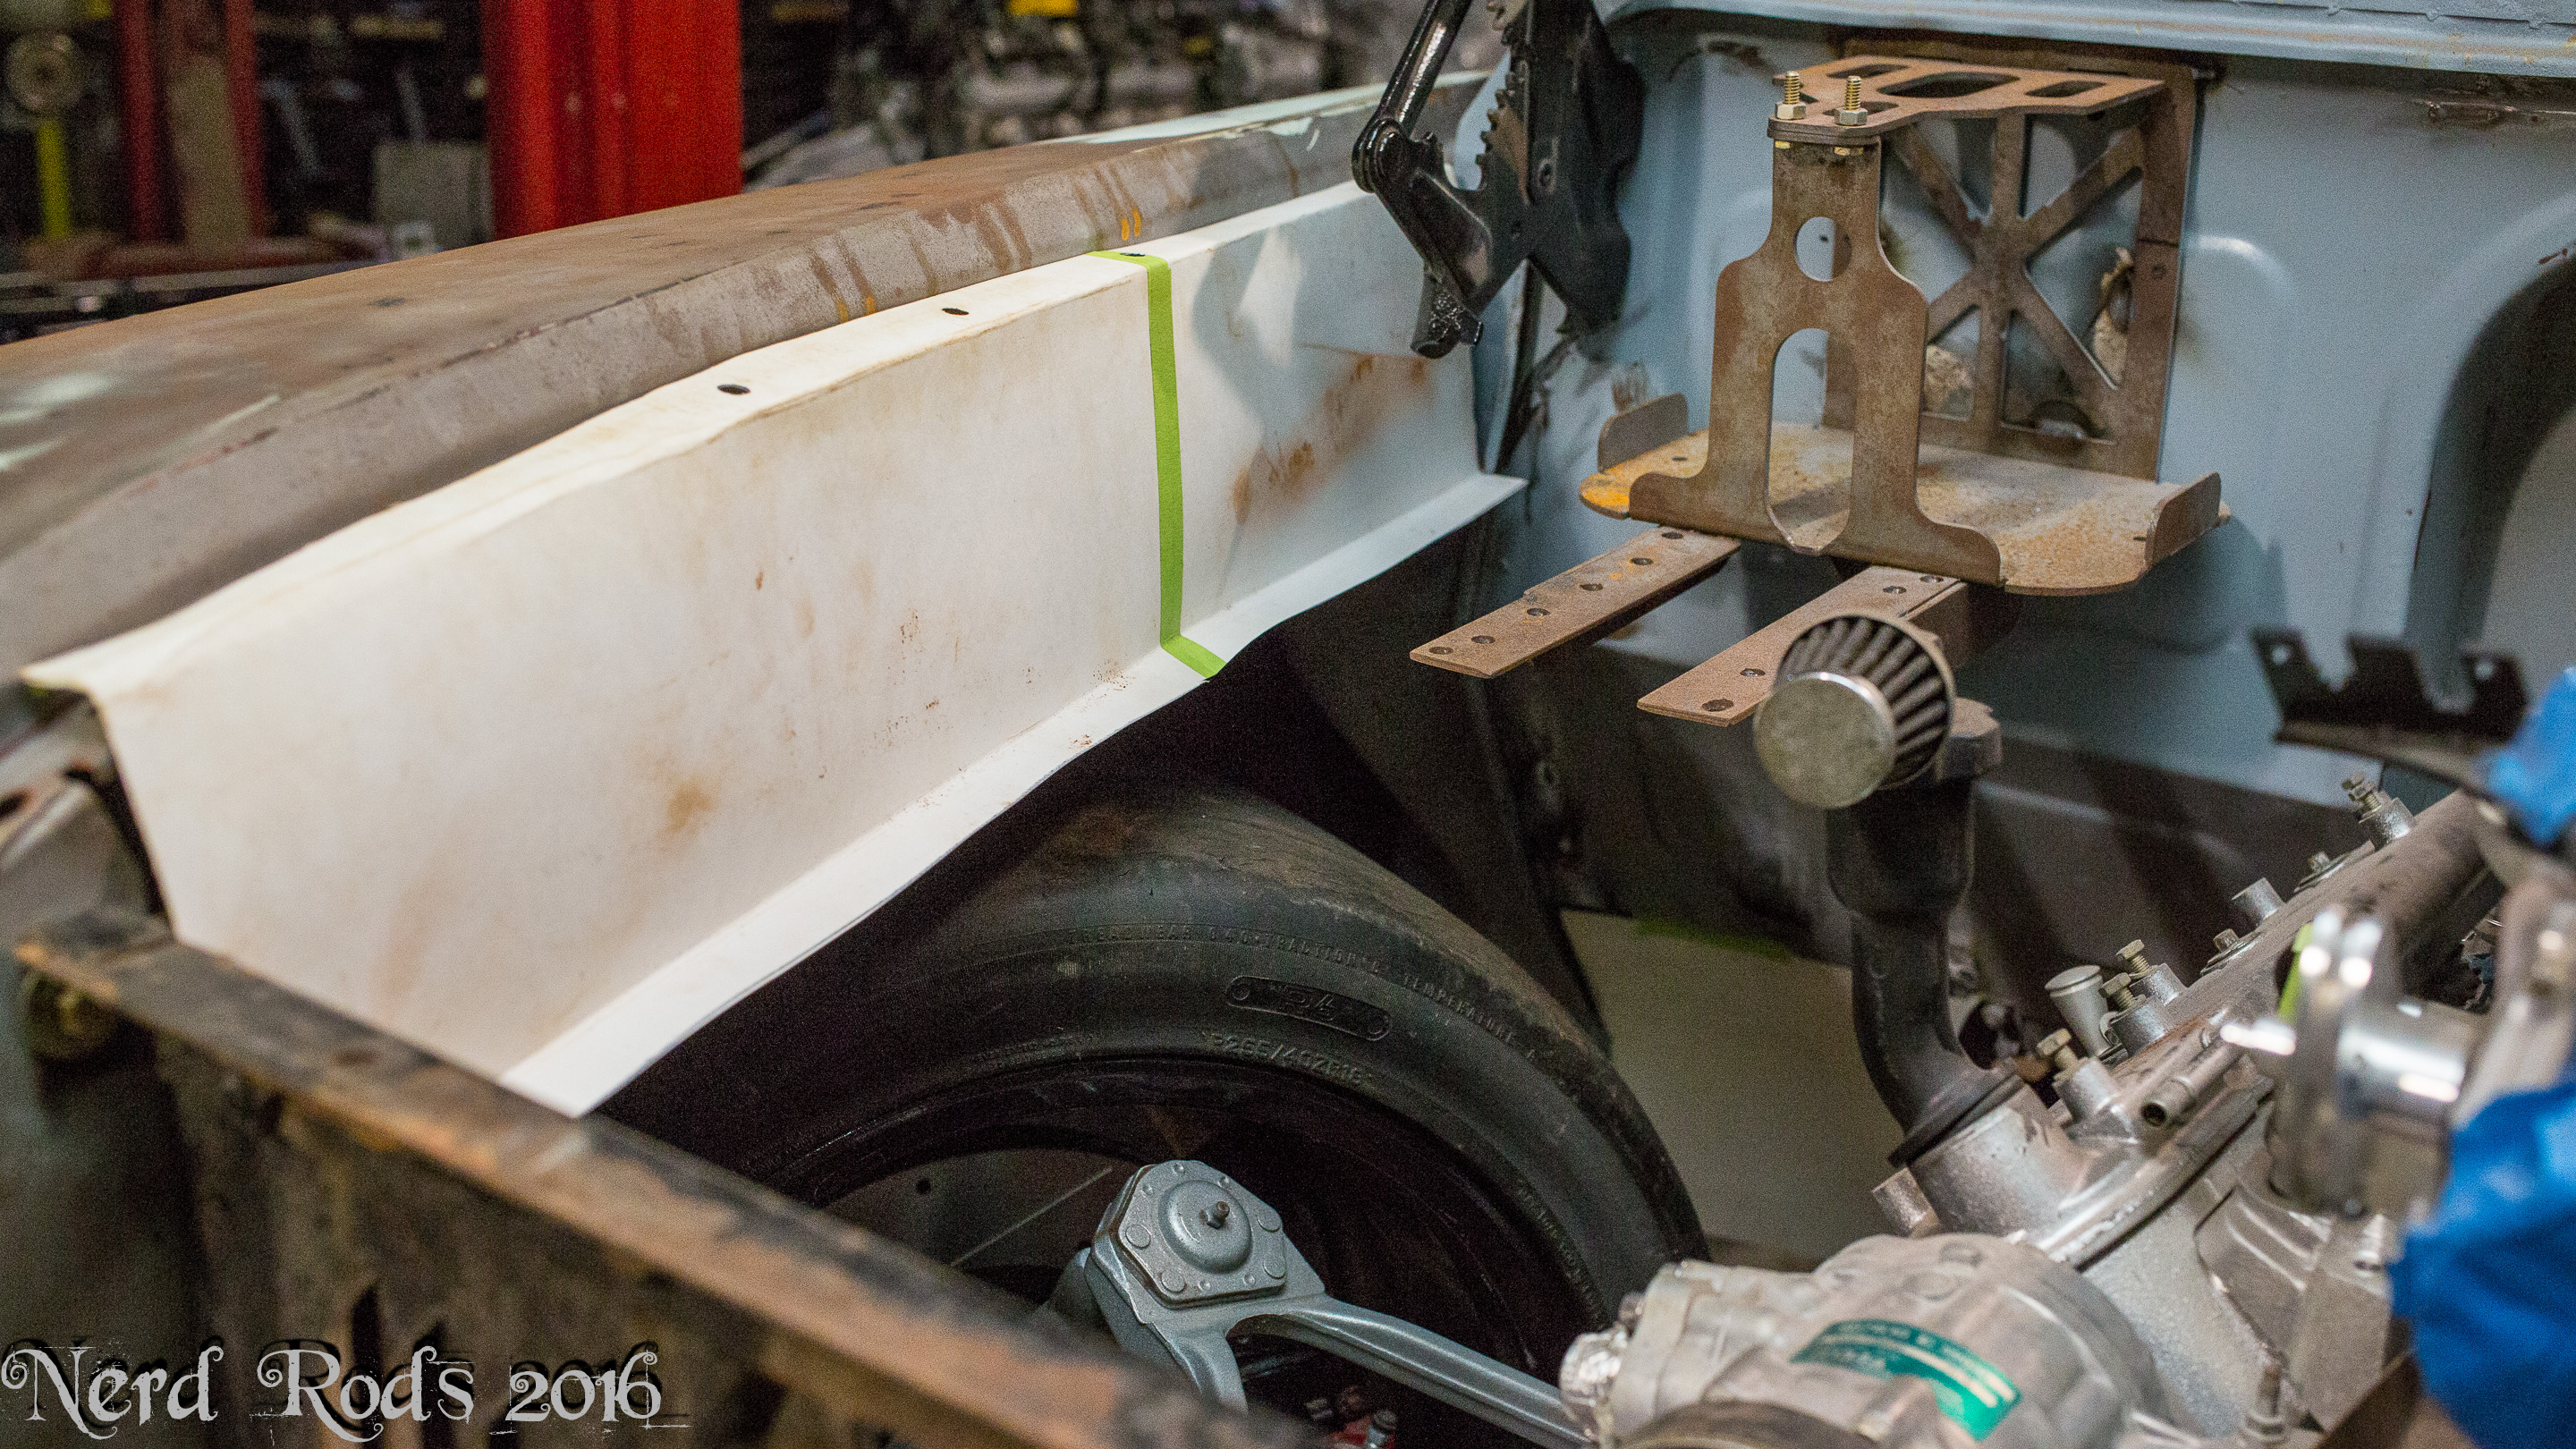
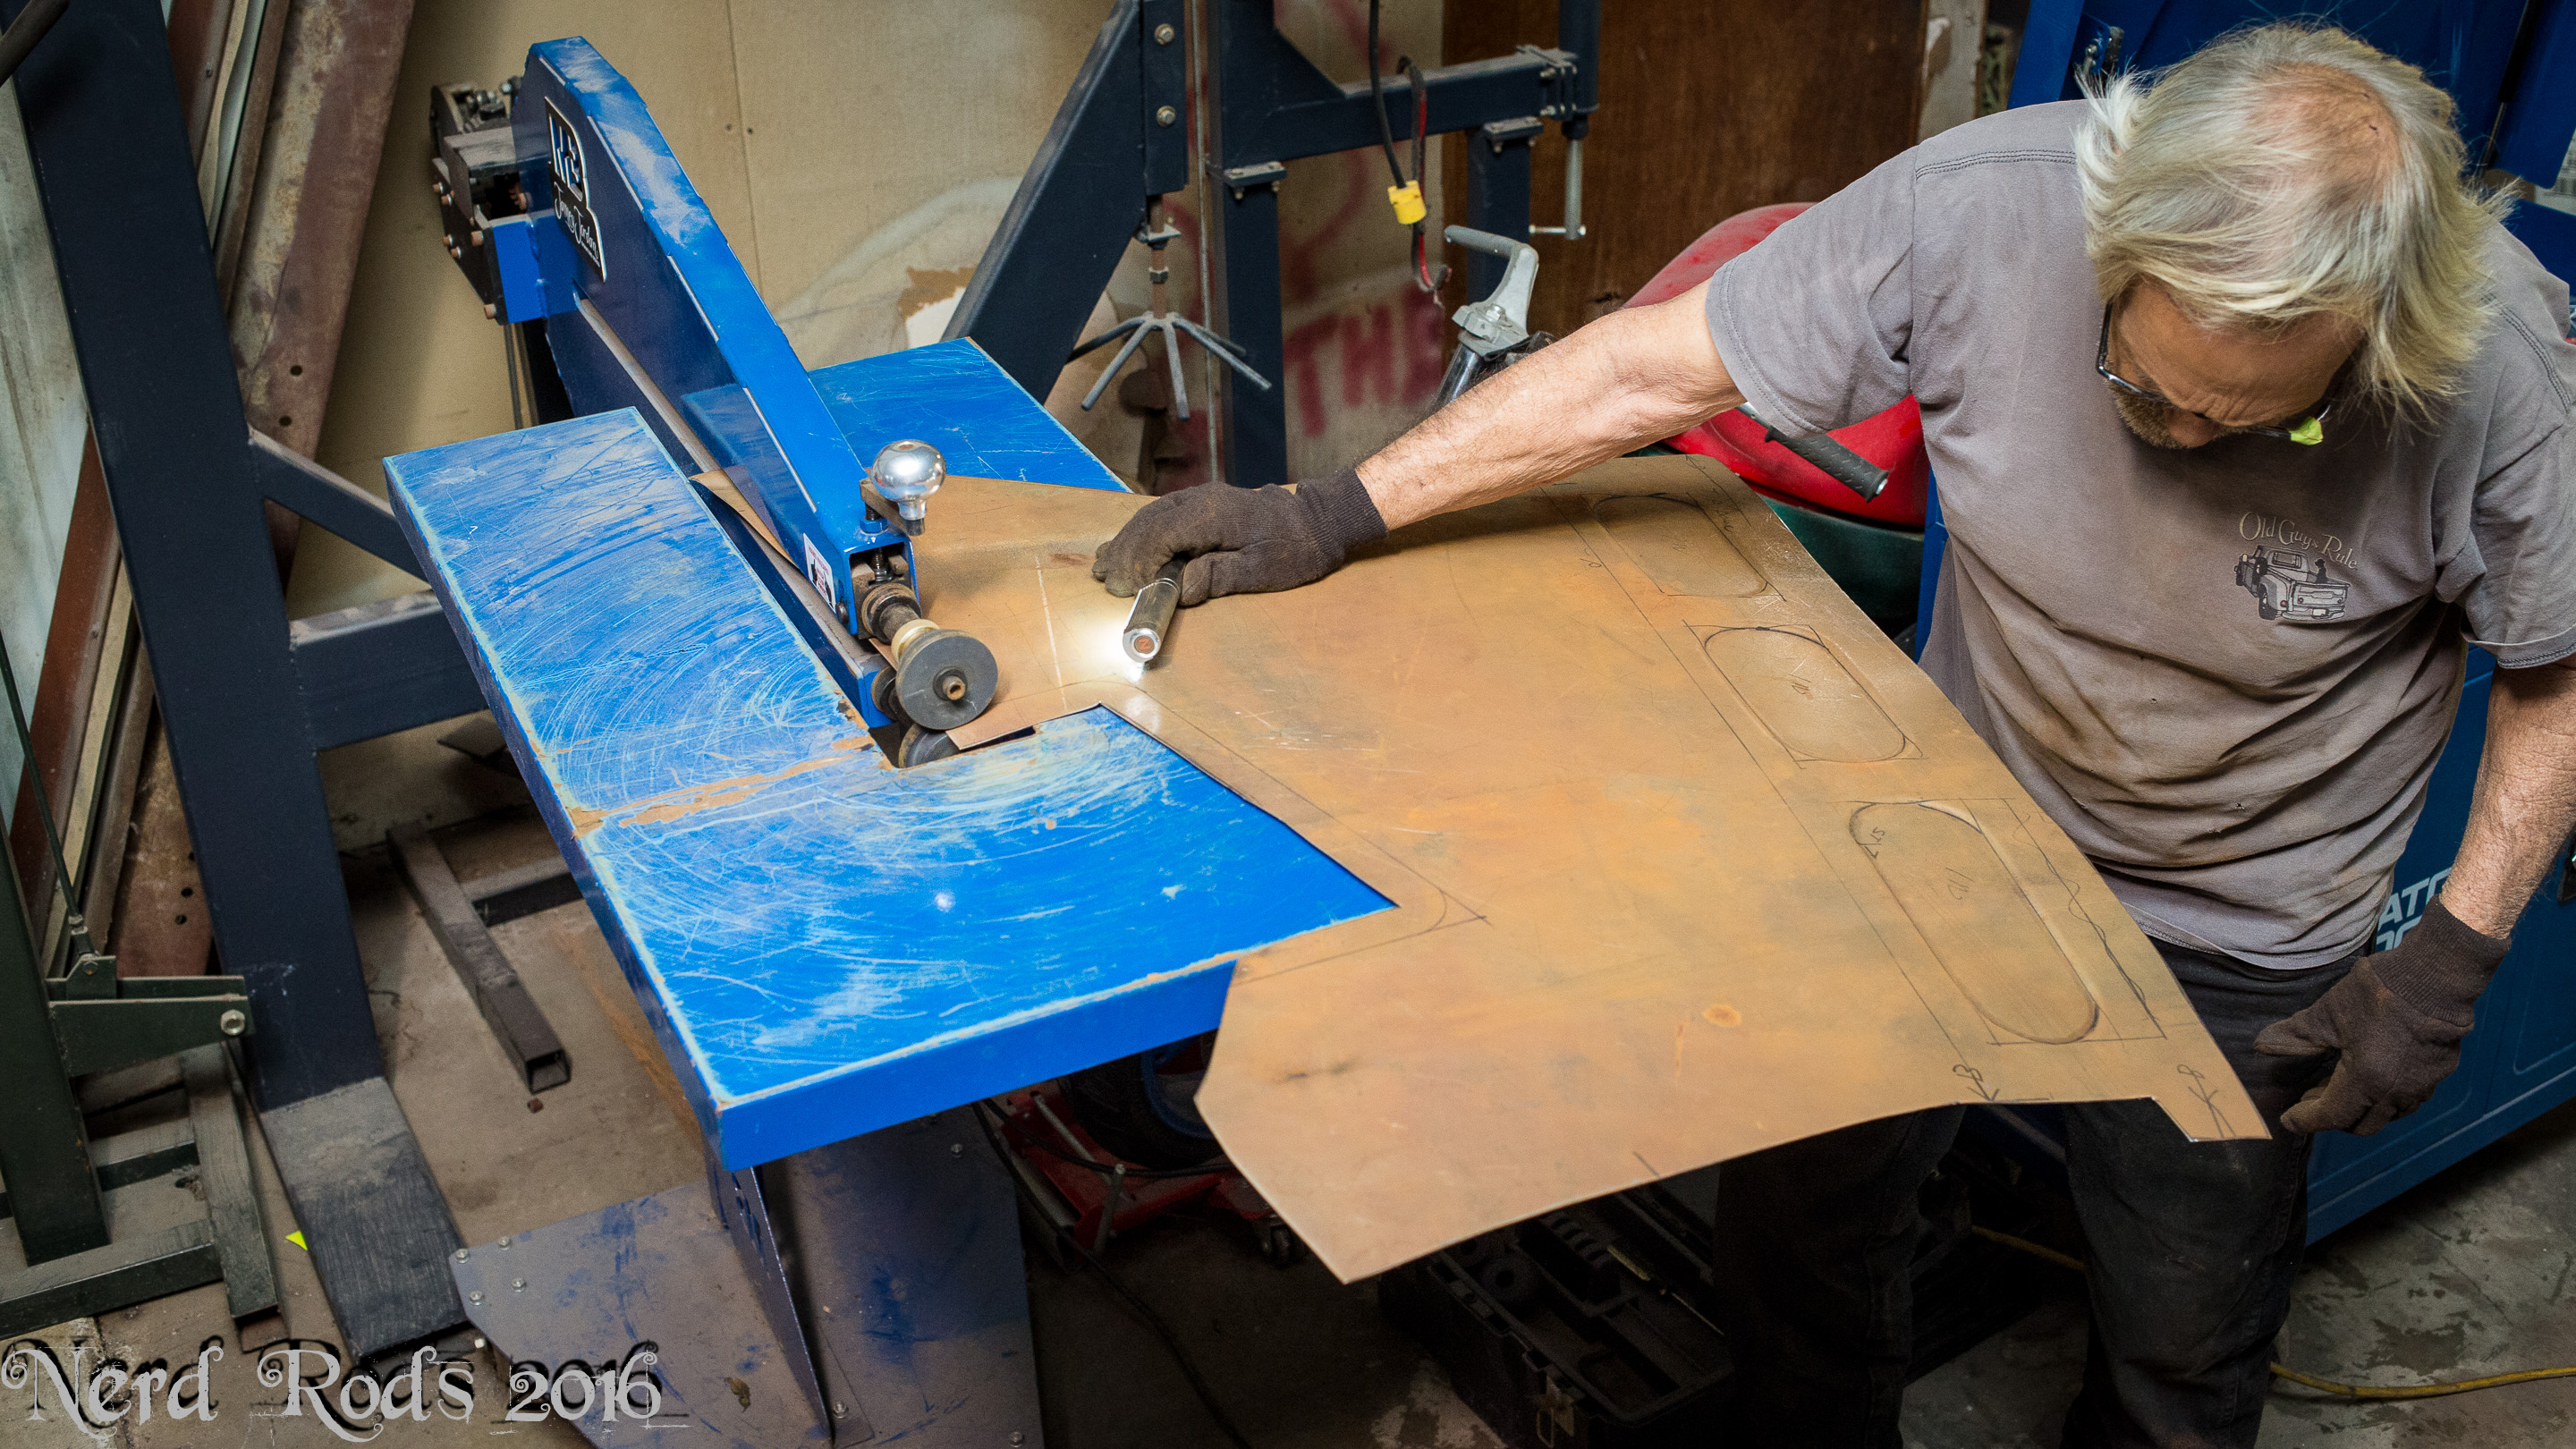
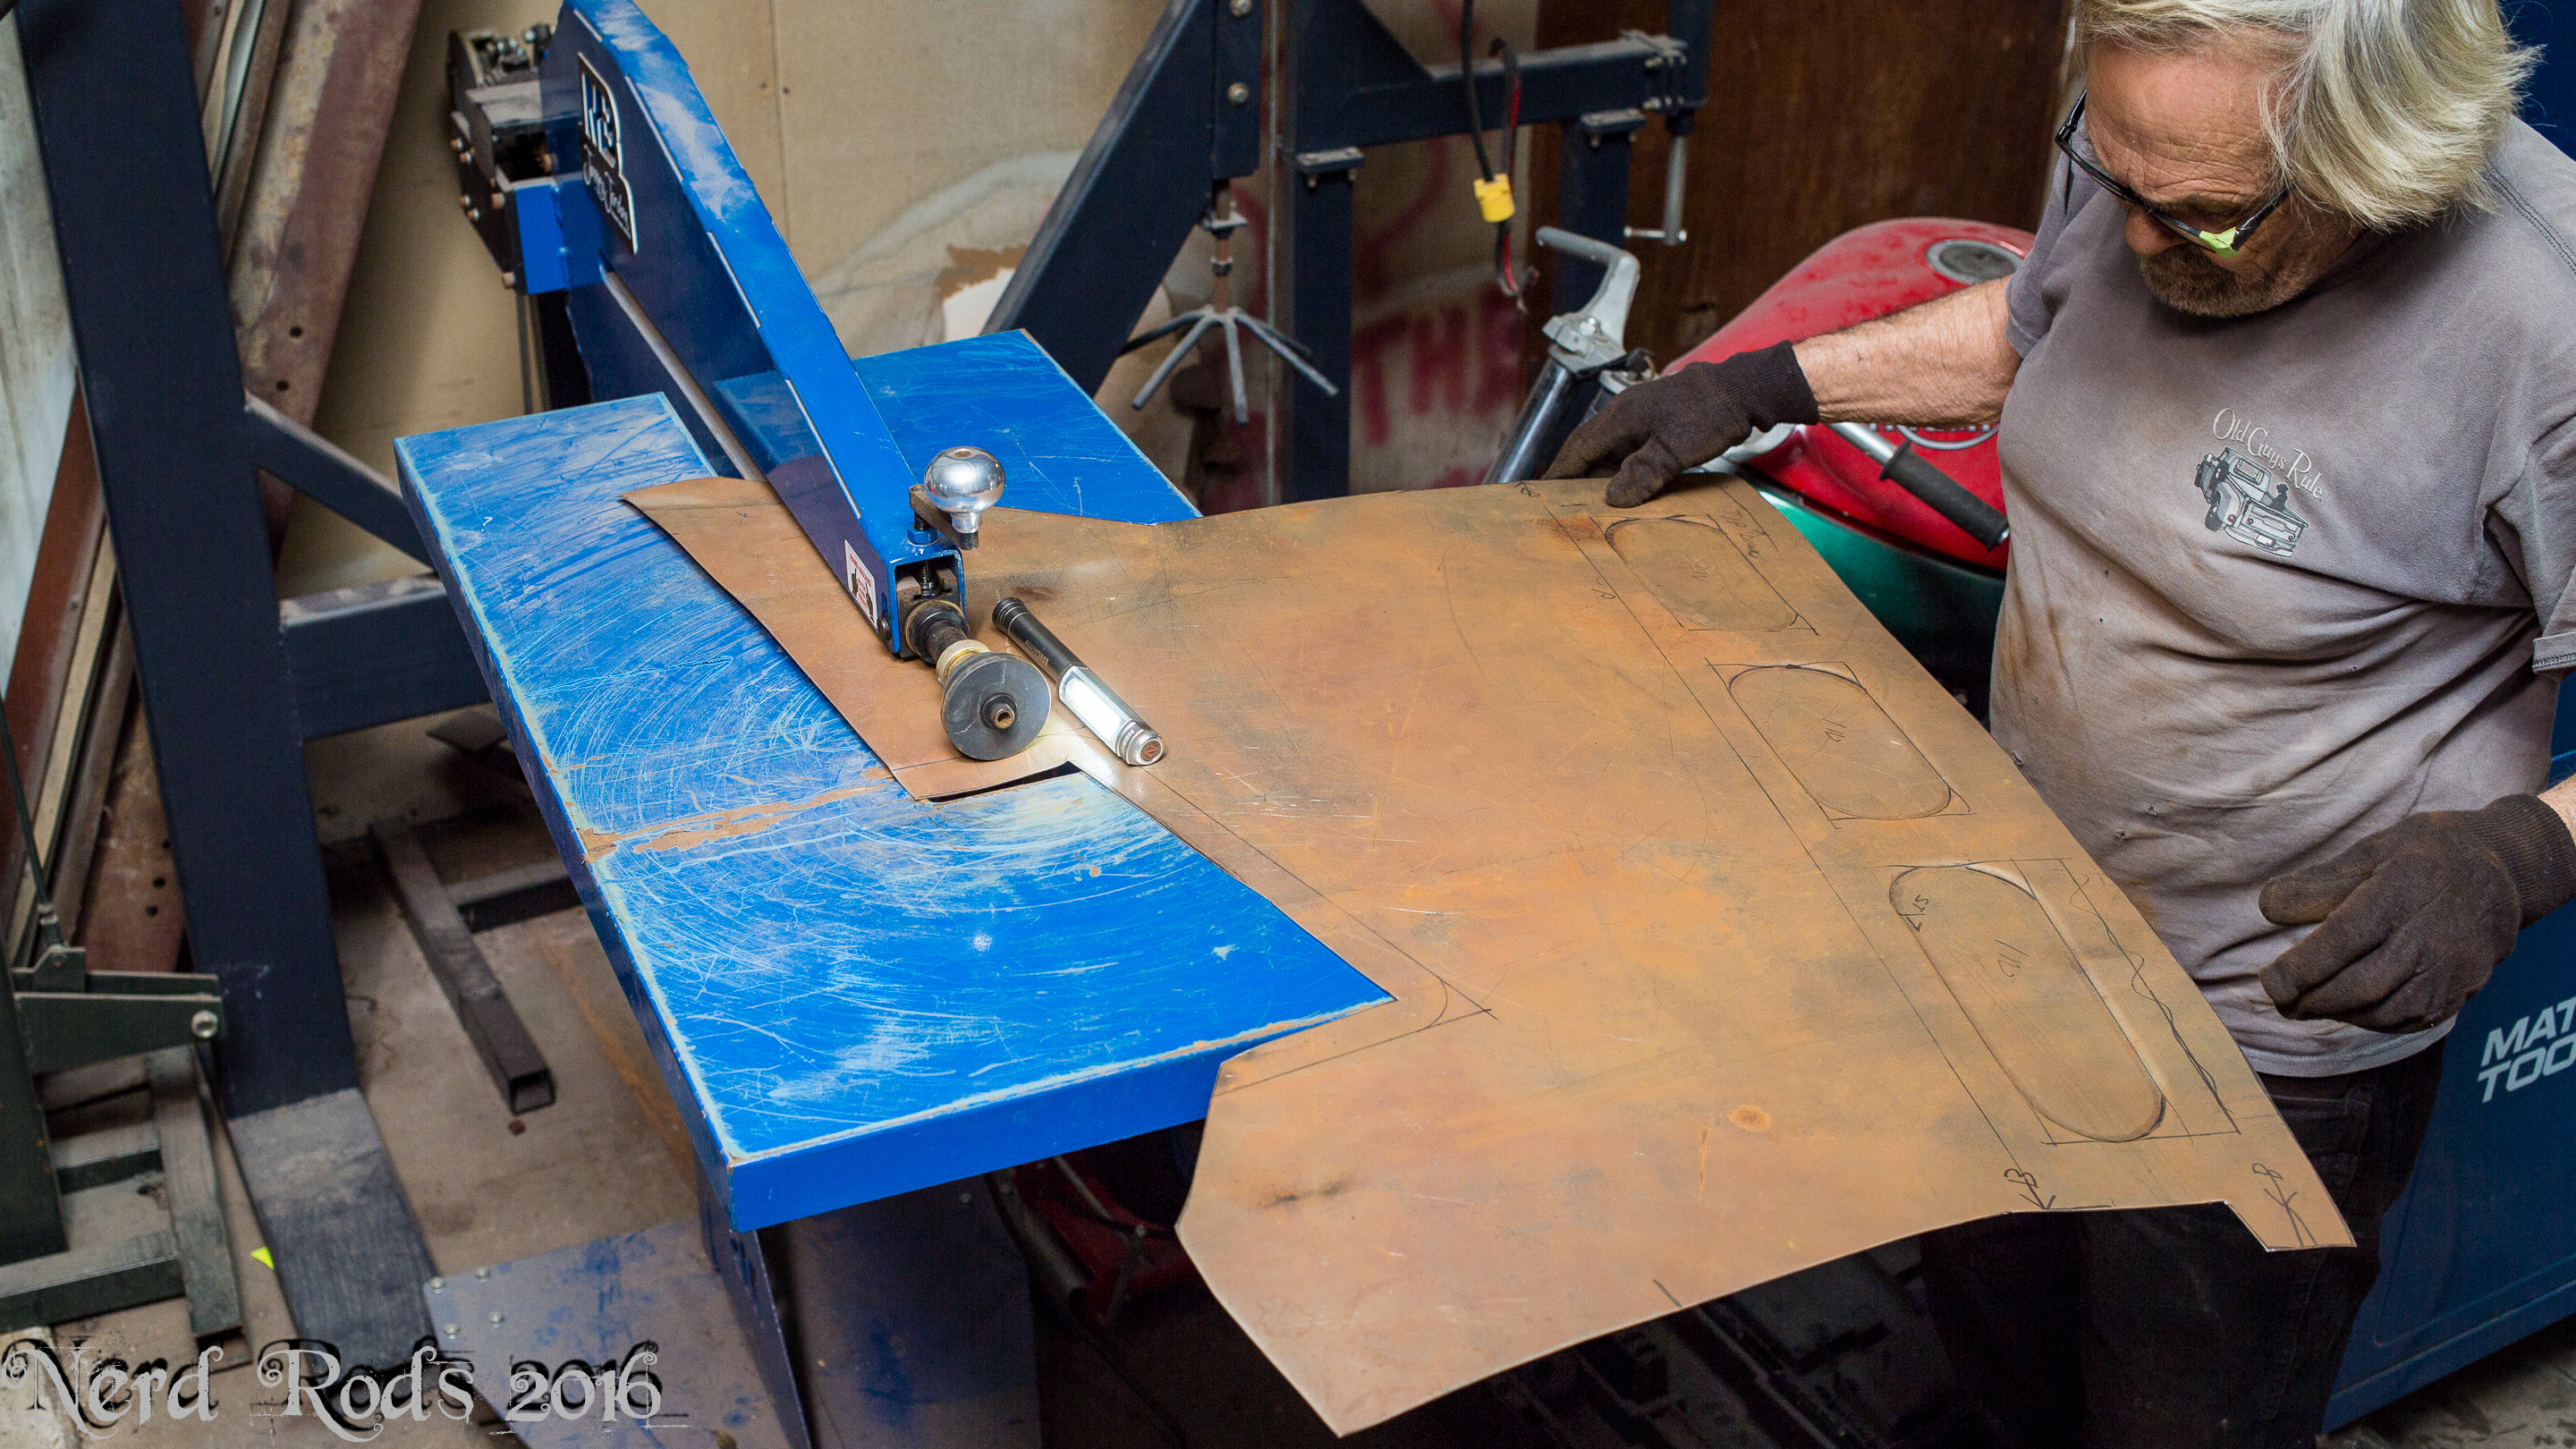
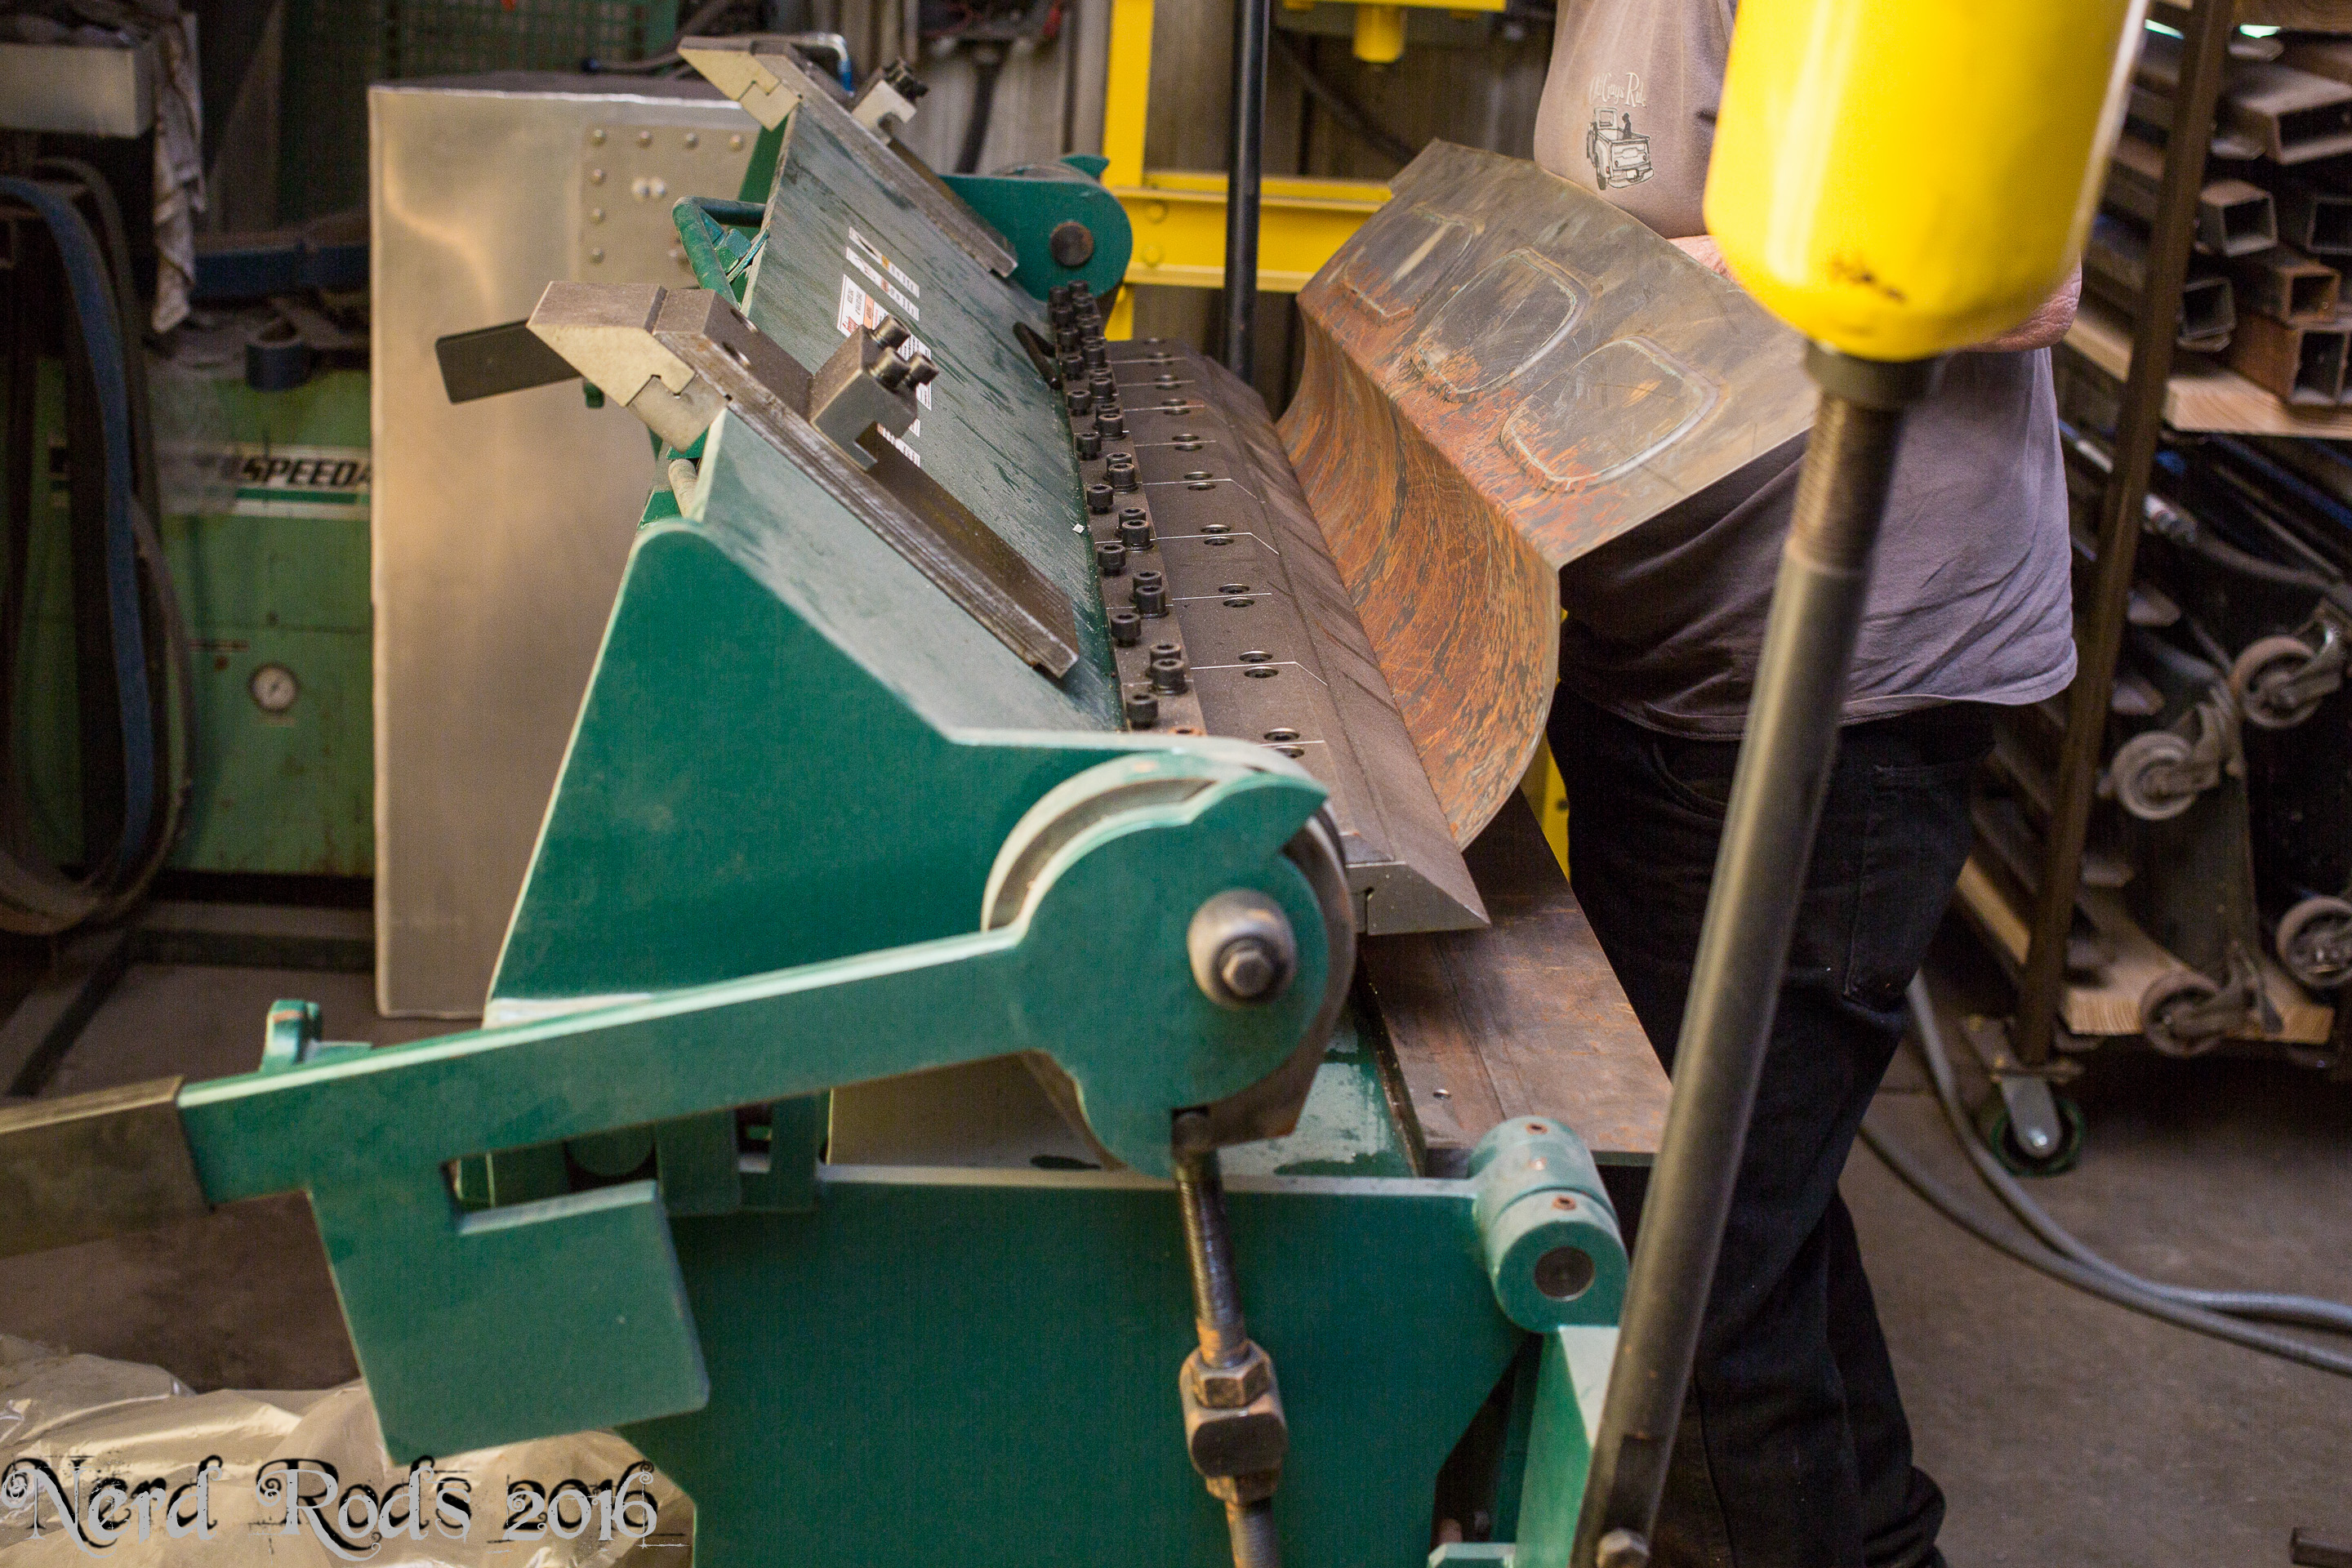
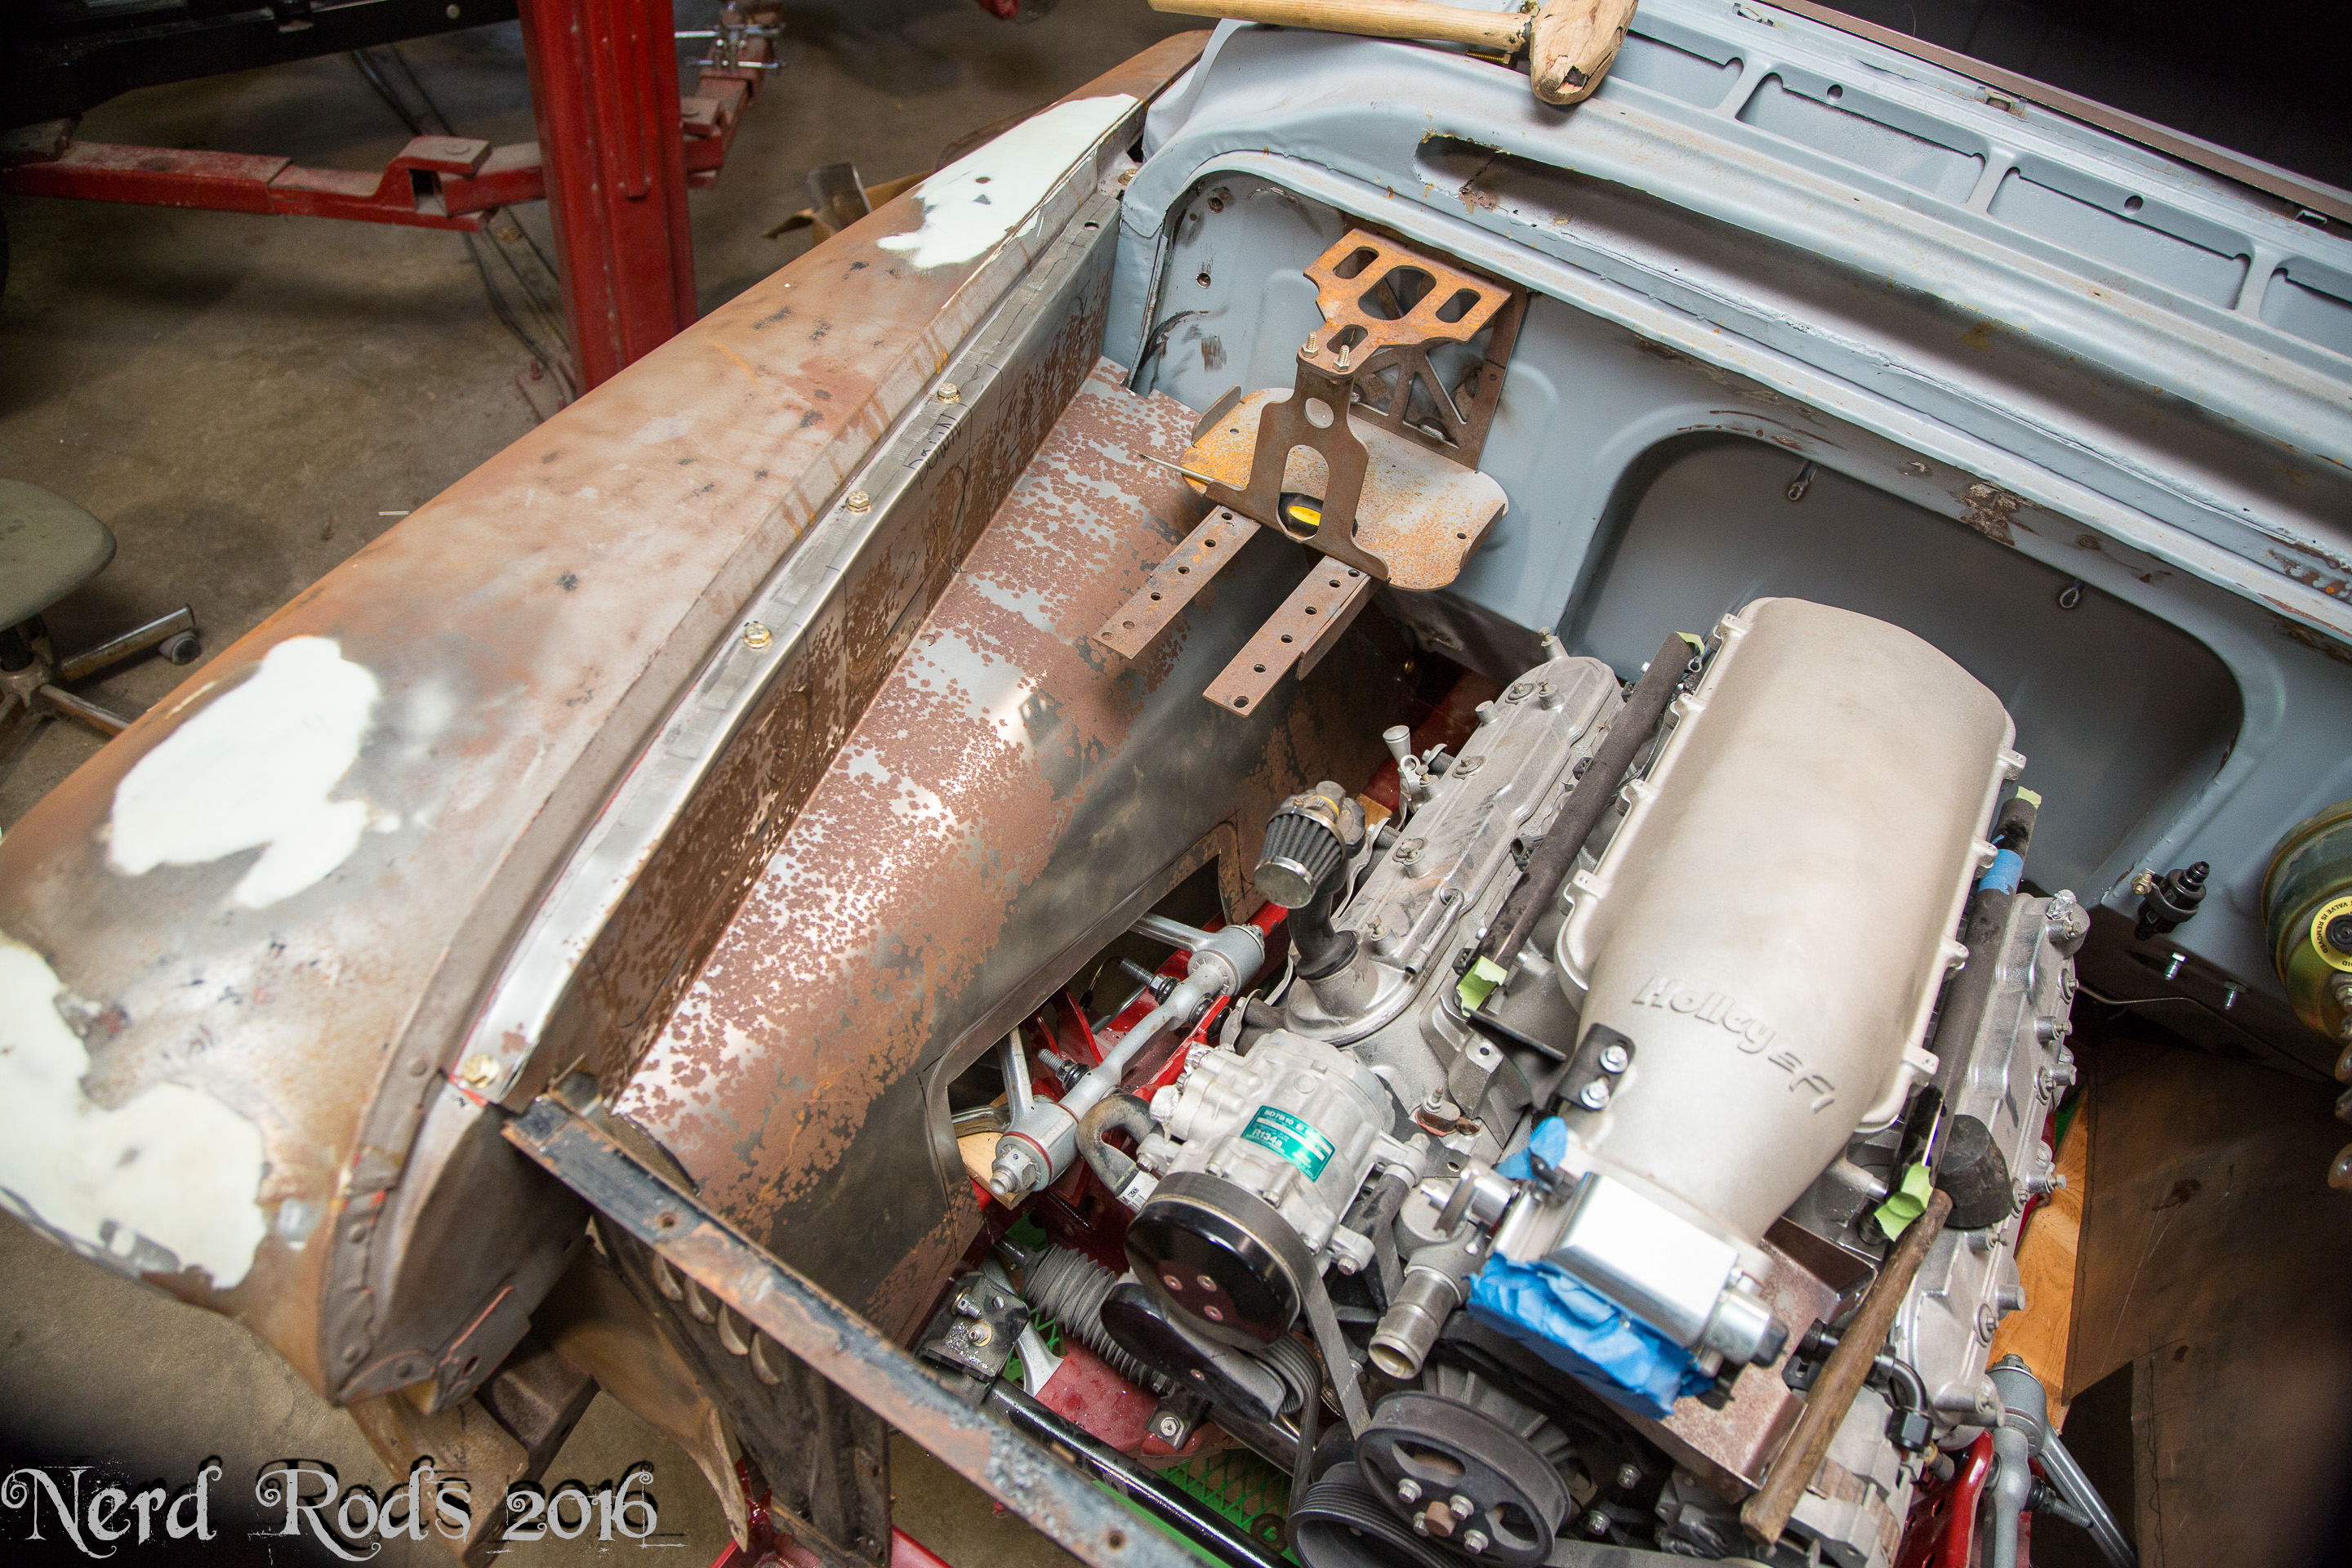
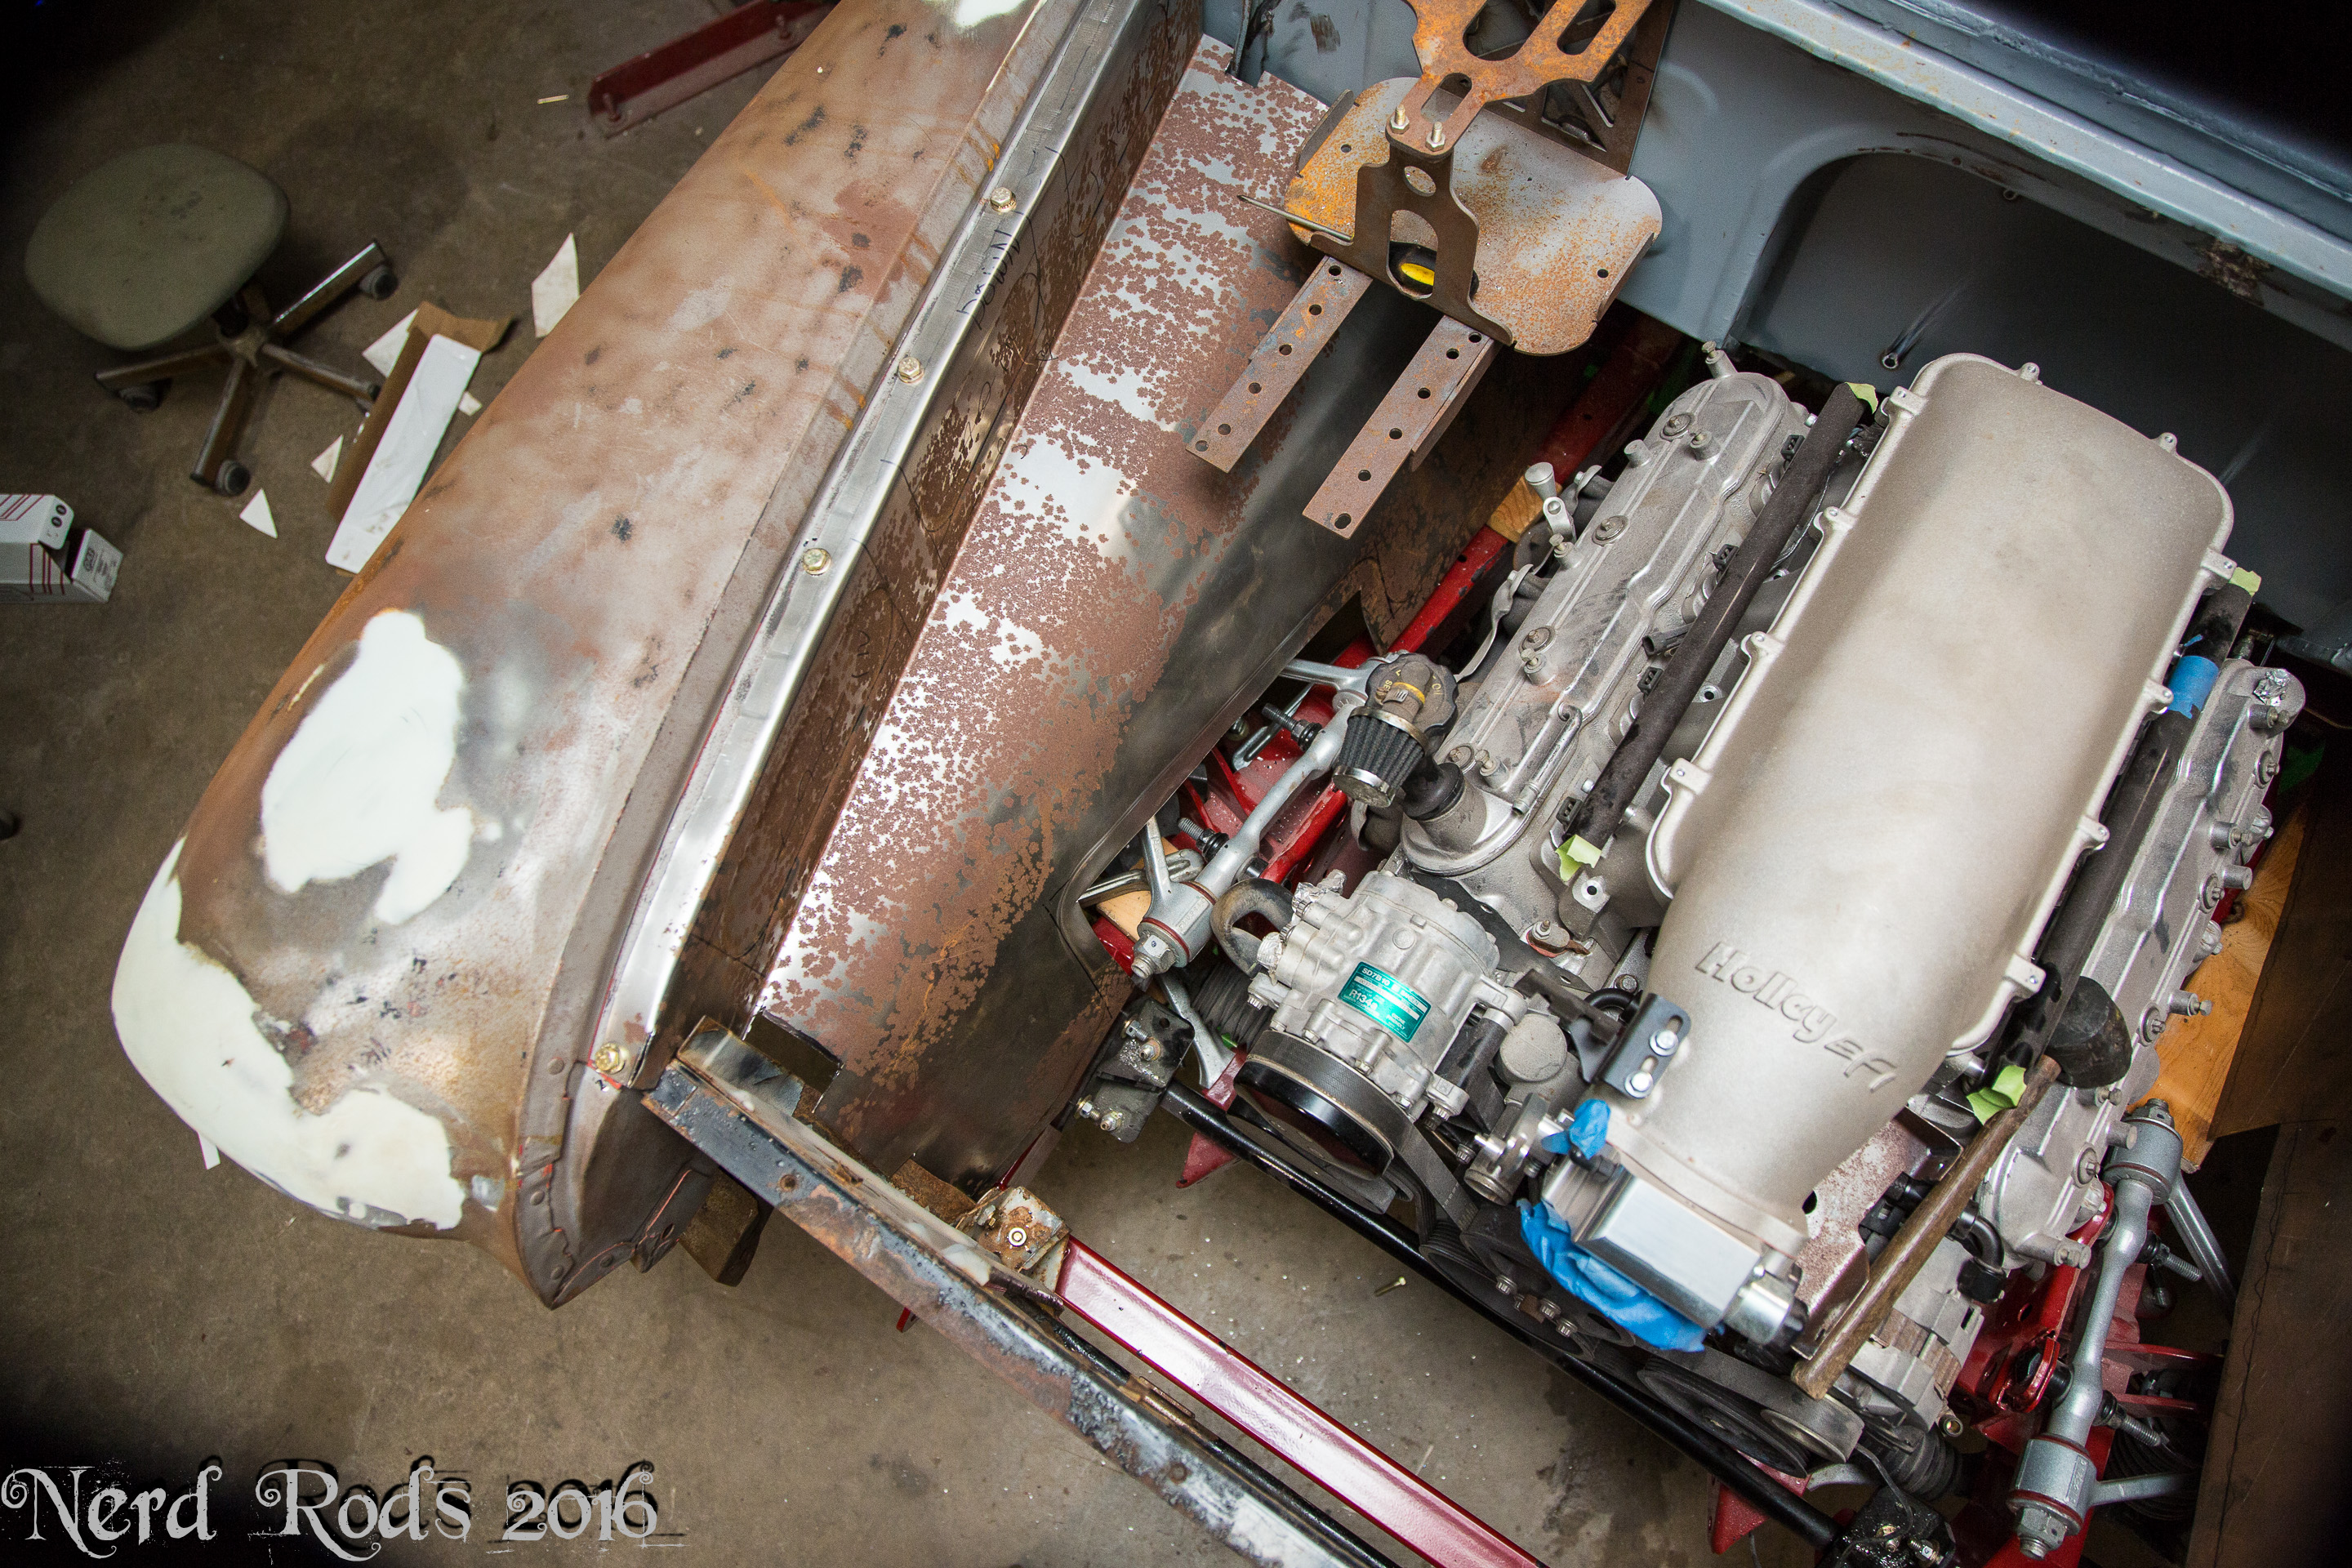
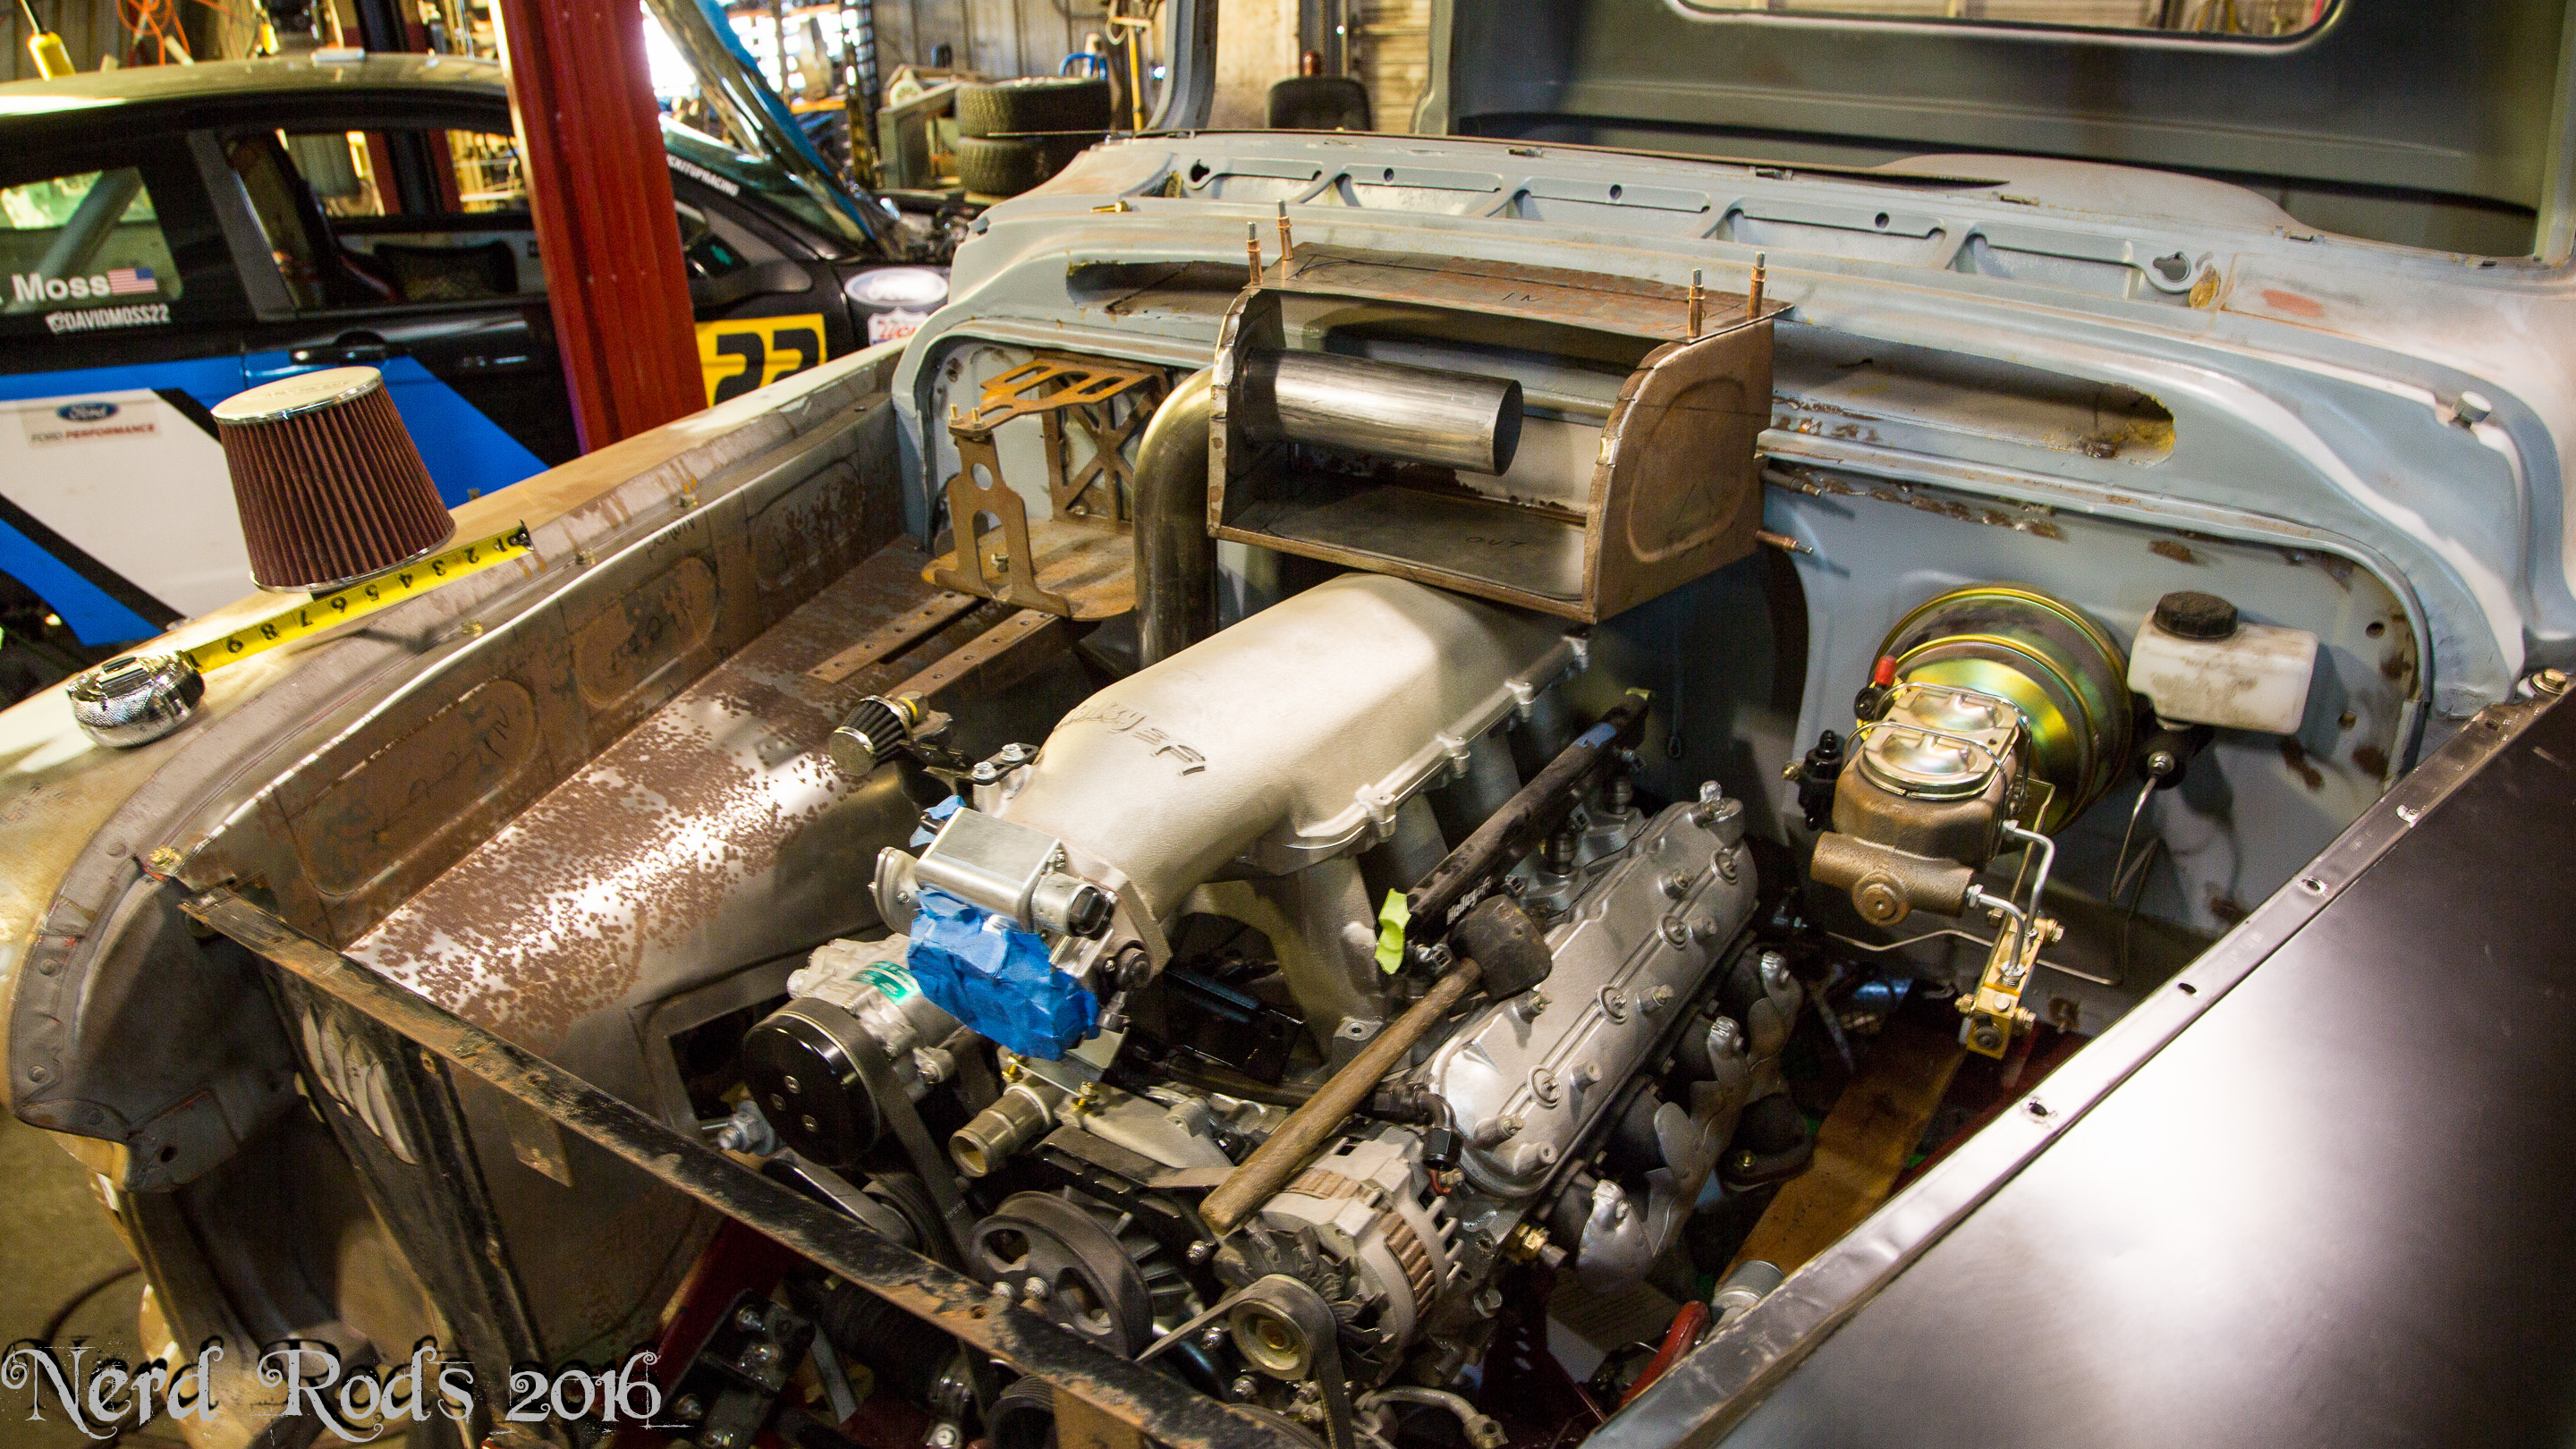
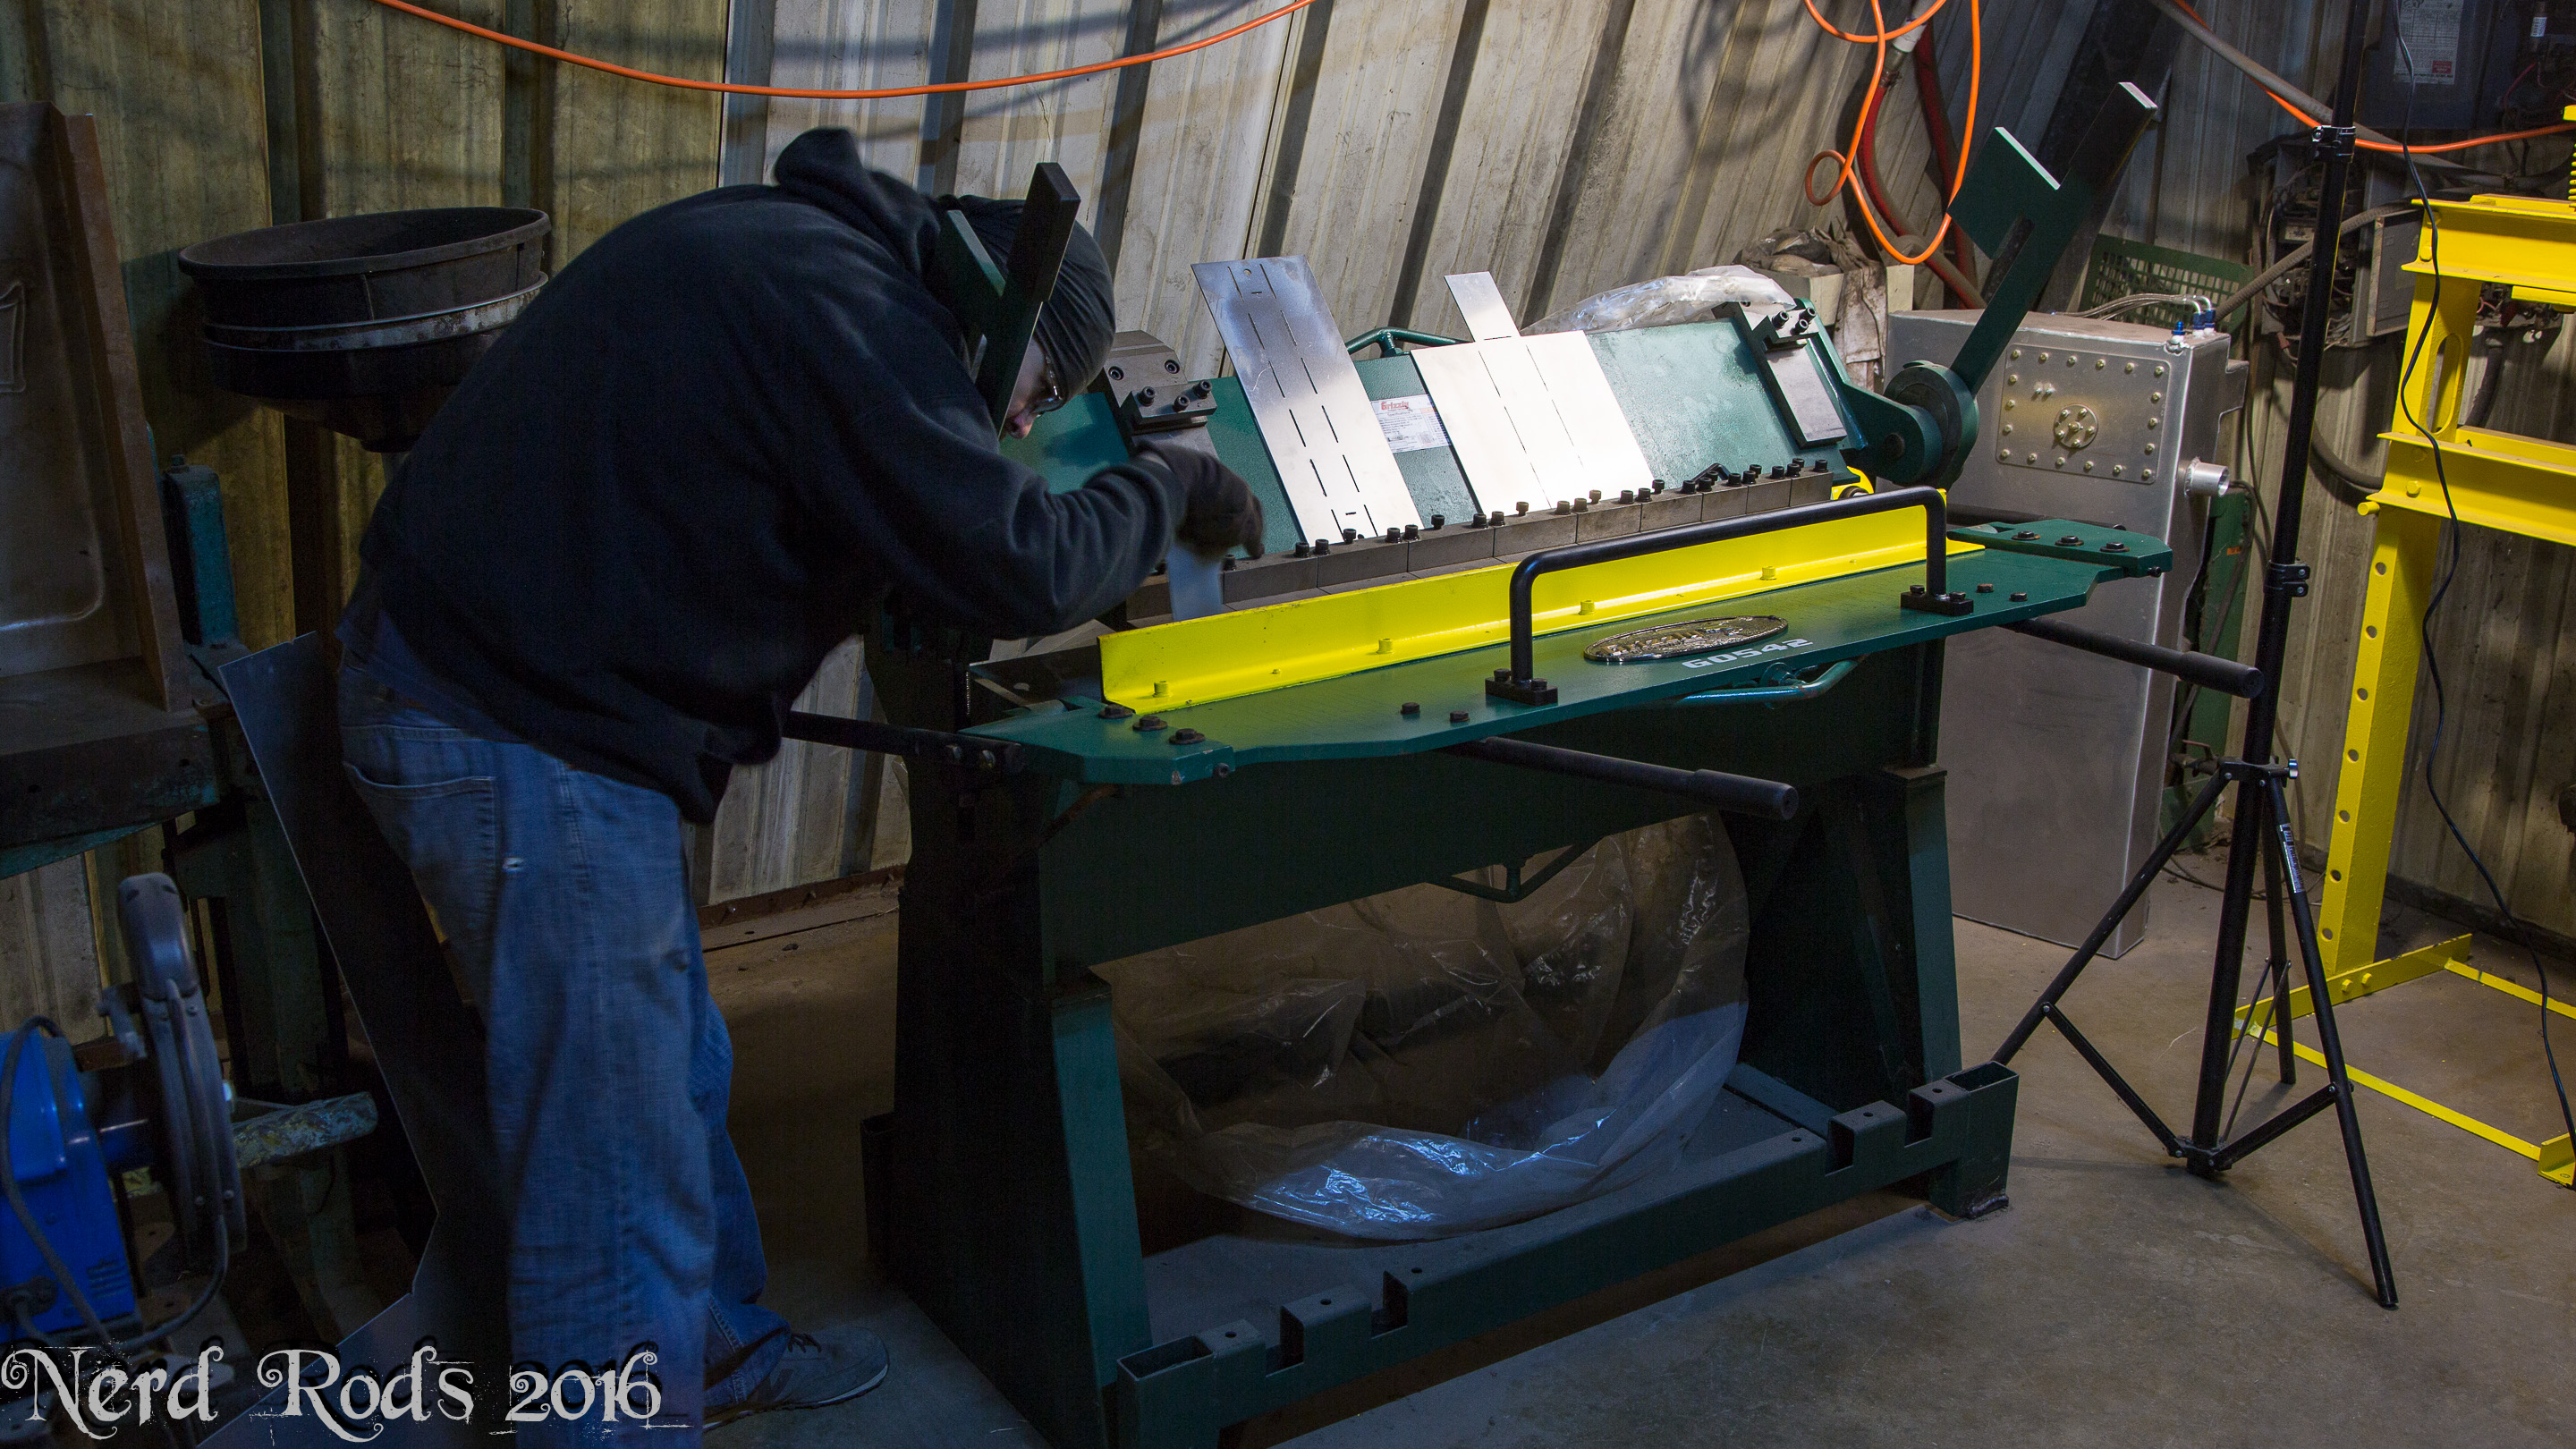
First some refined inner fenders were in order. This time out of aluminum to help shave a bit of weight off the front. There are a few revisions in these photos so if something looks a bit different one to another, its probably Dad scraping a set and moving to a fresh start for one reason or another.
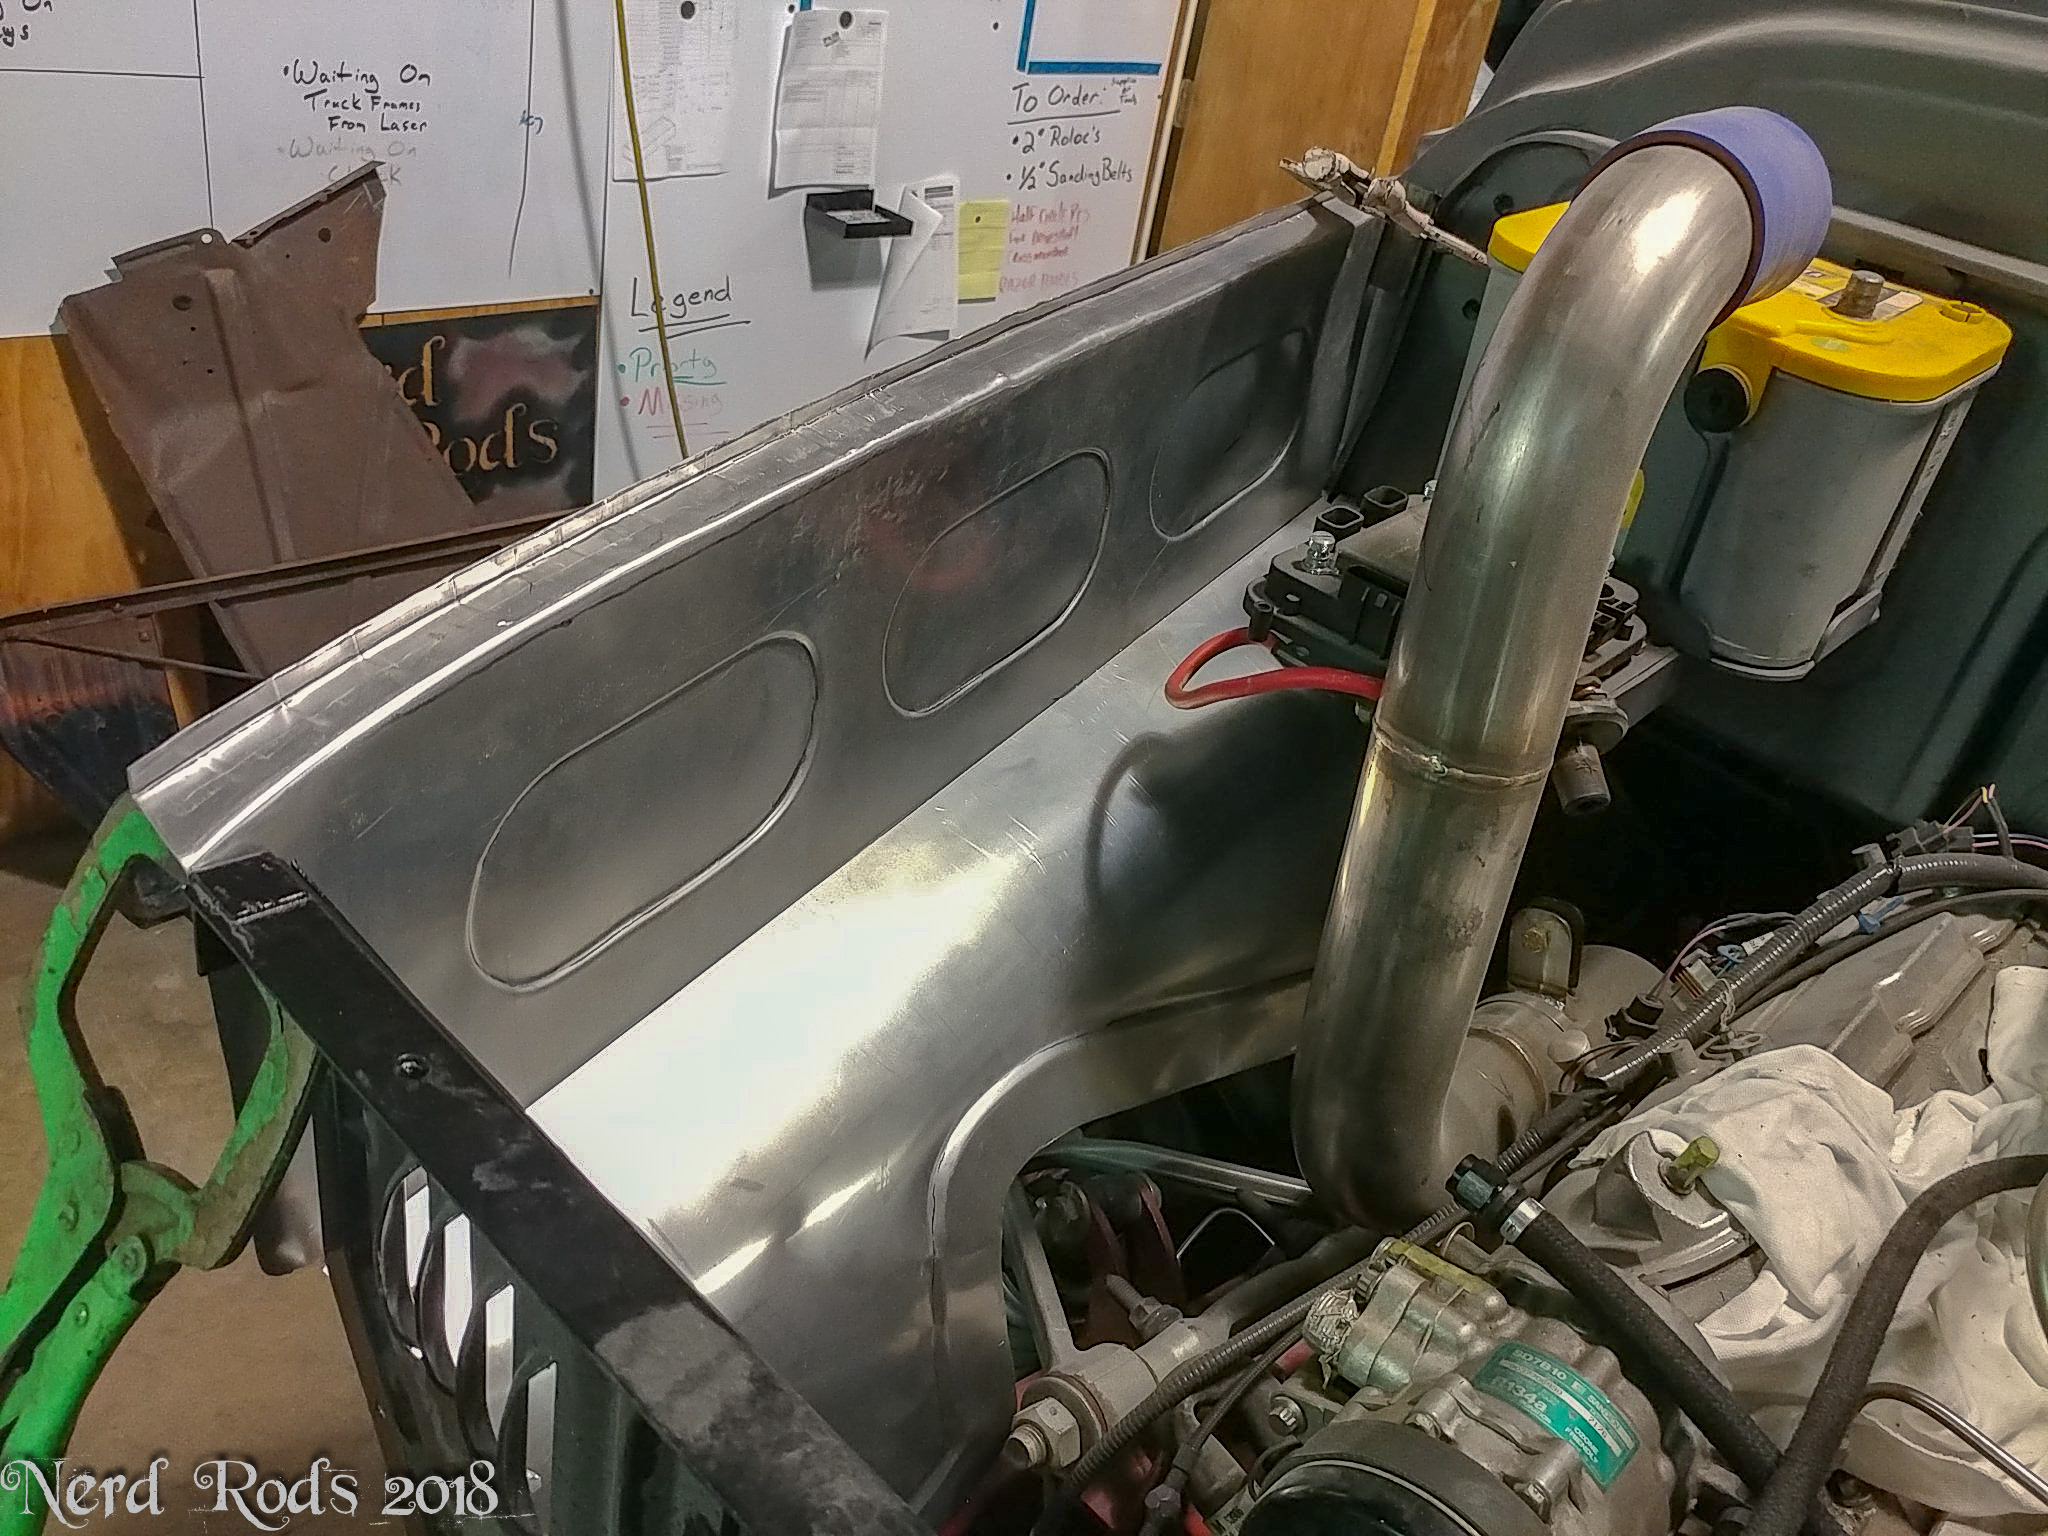
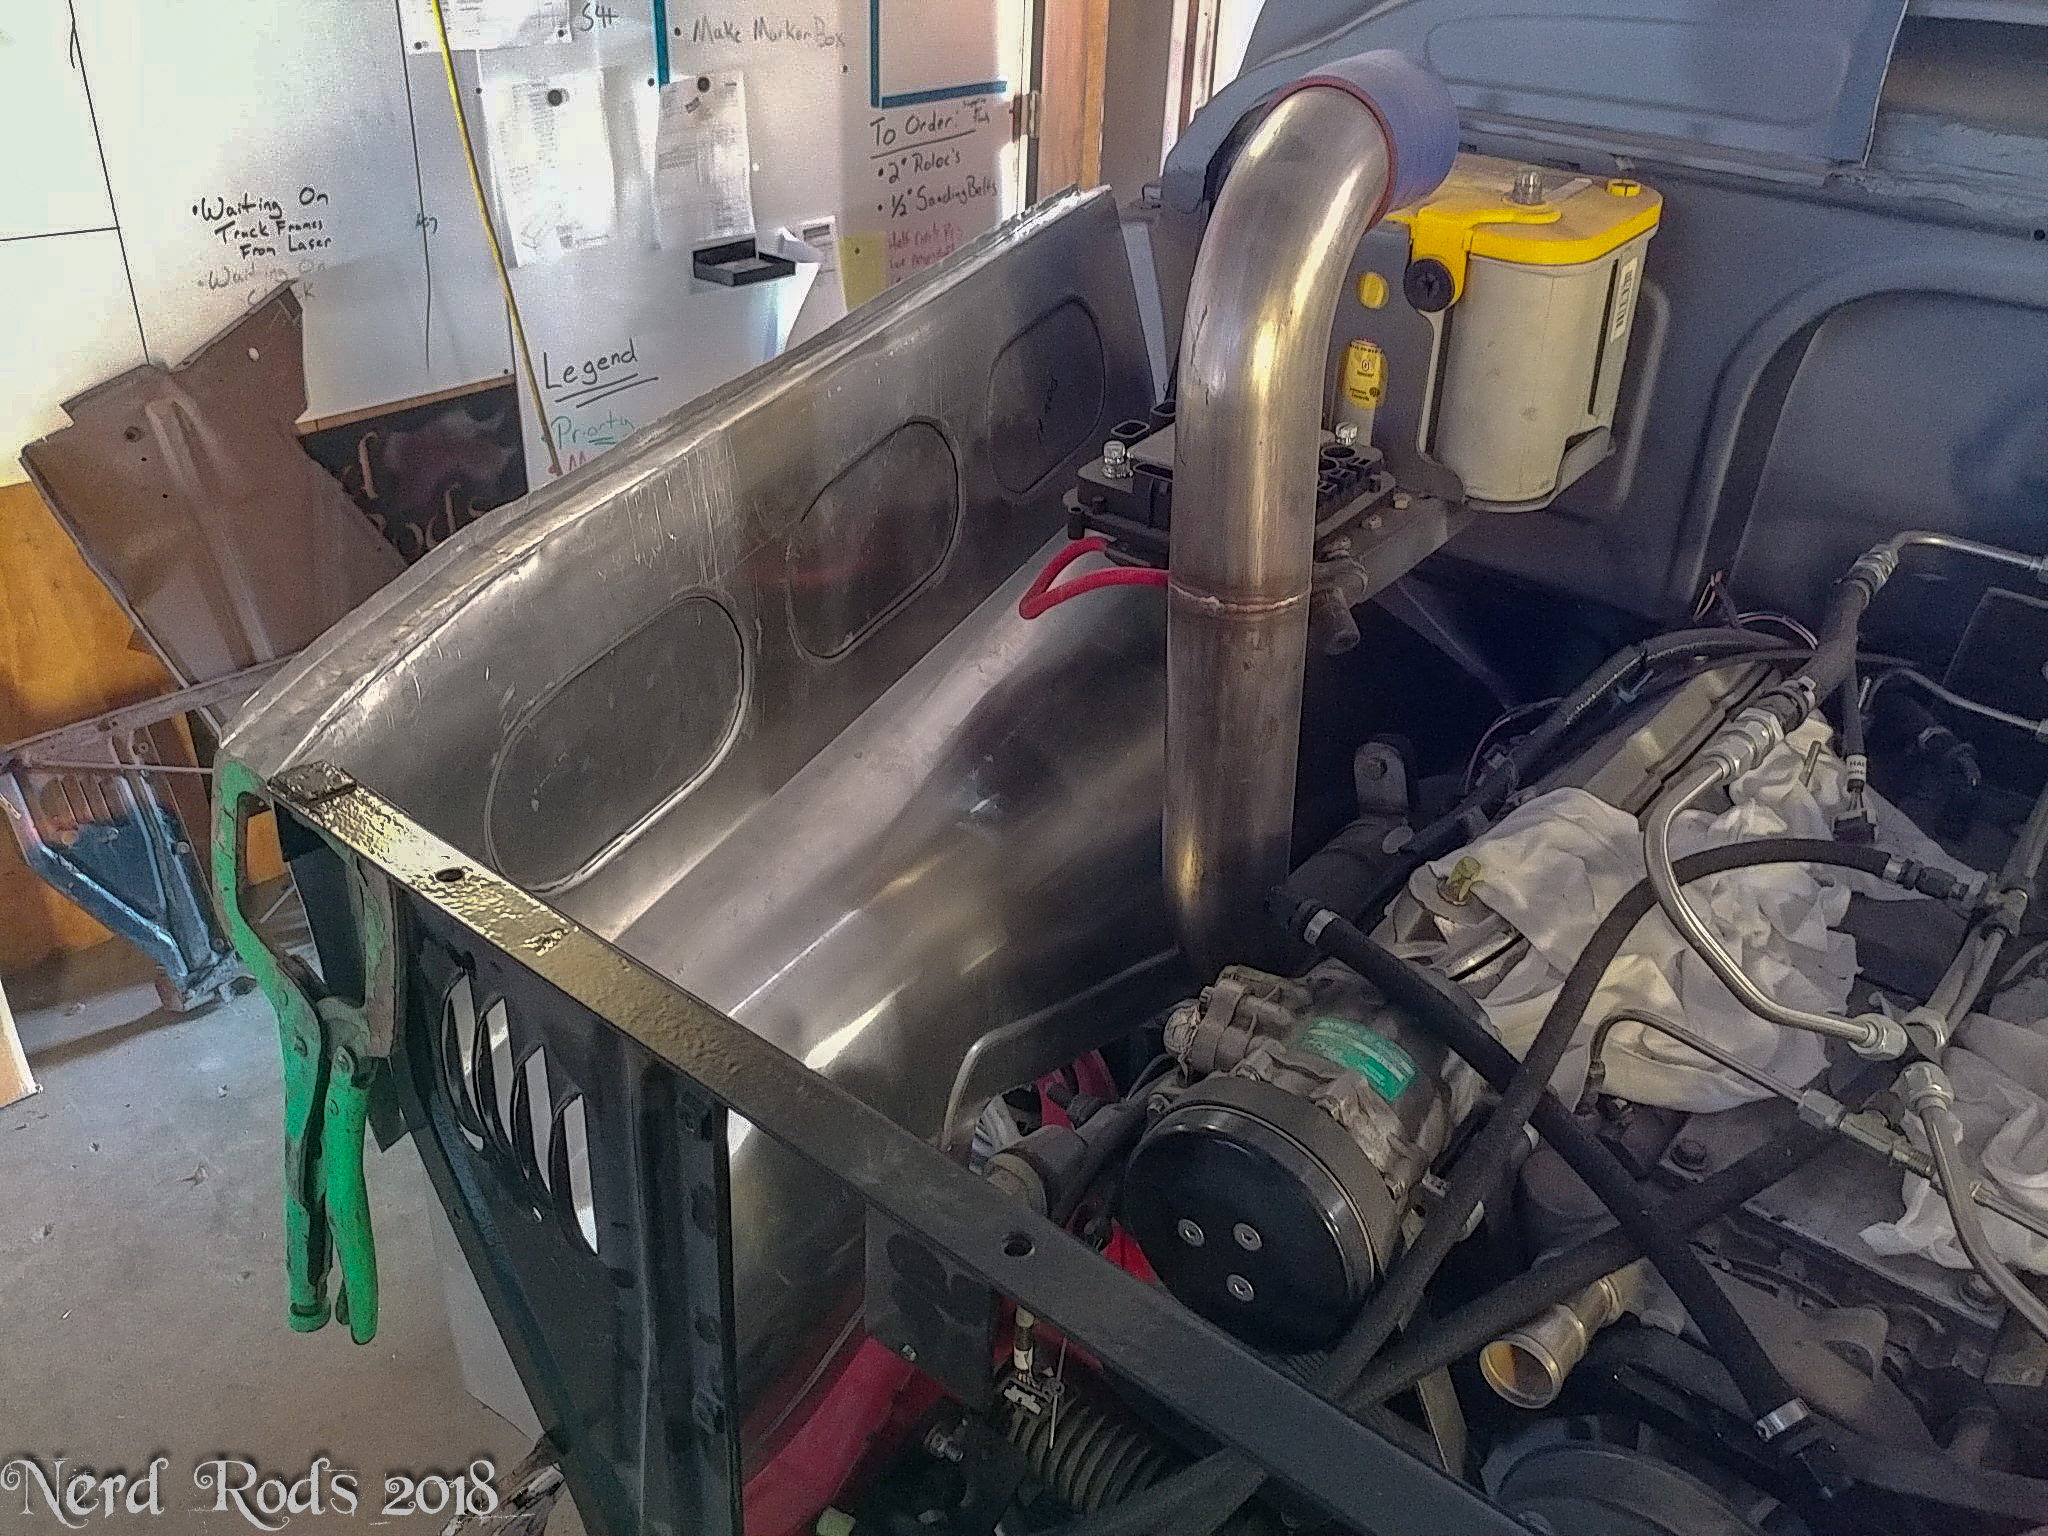
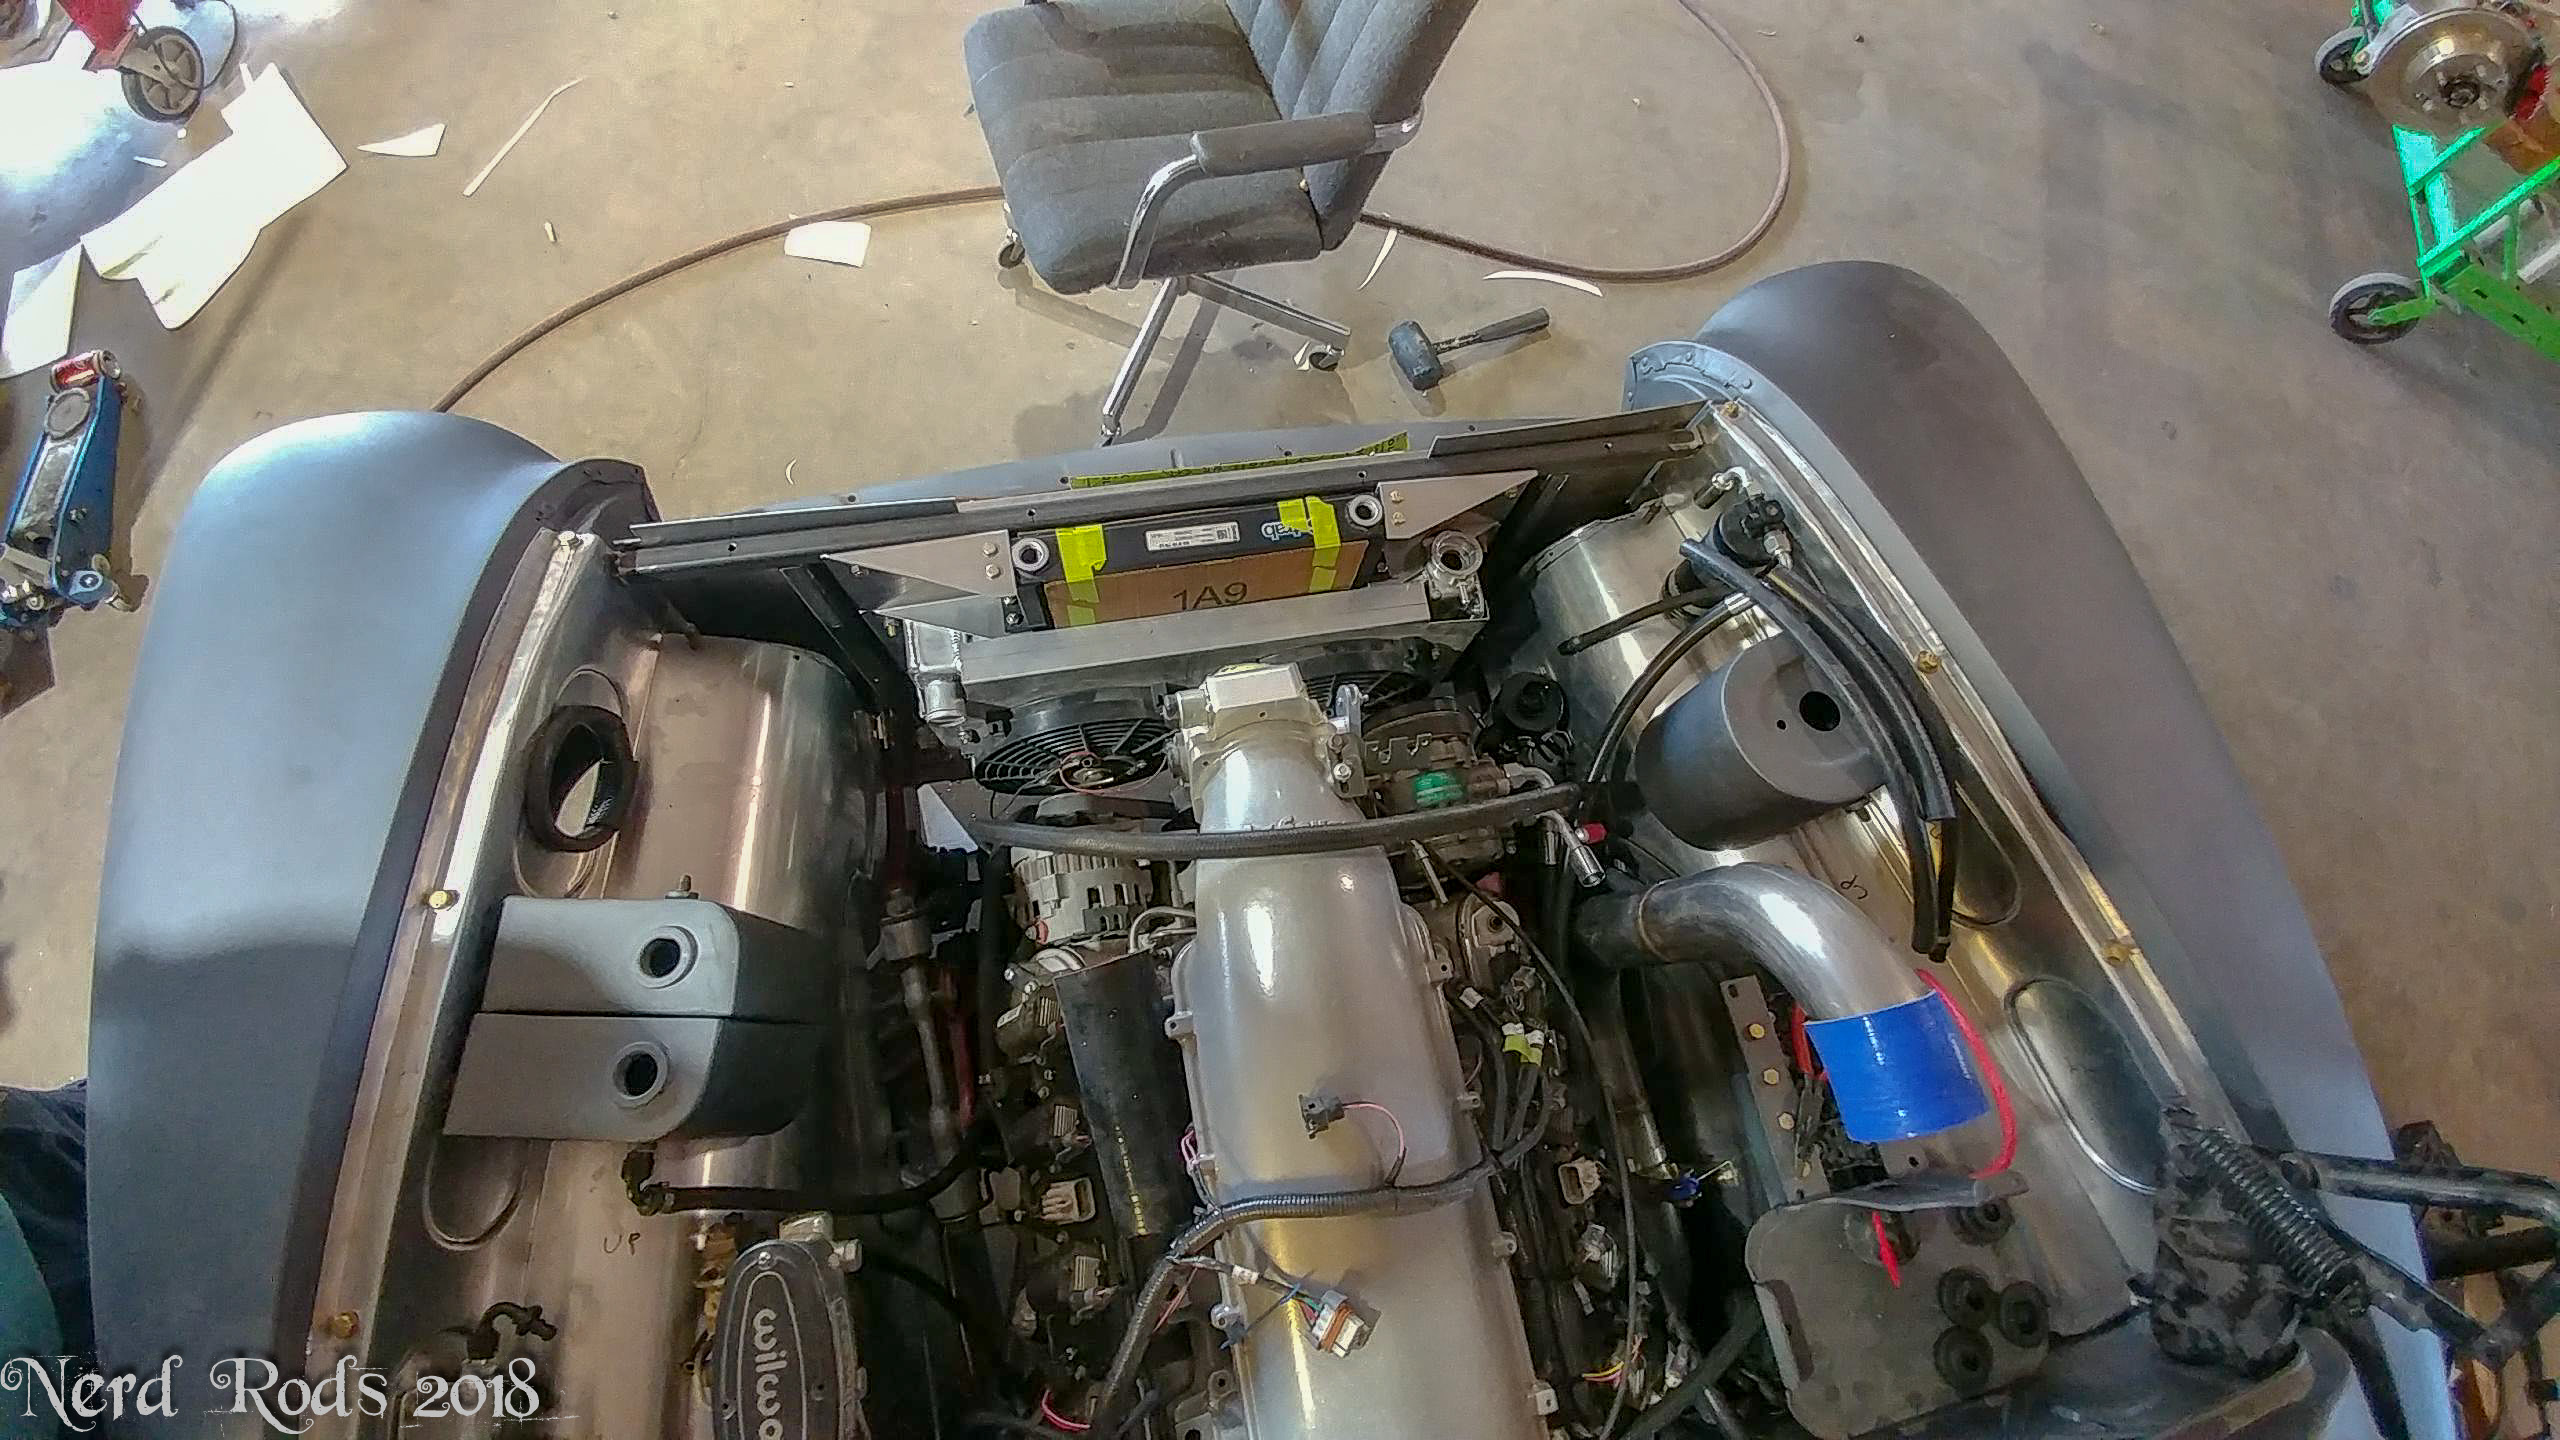
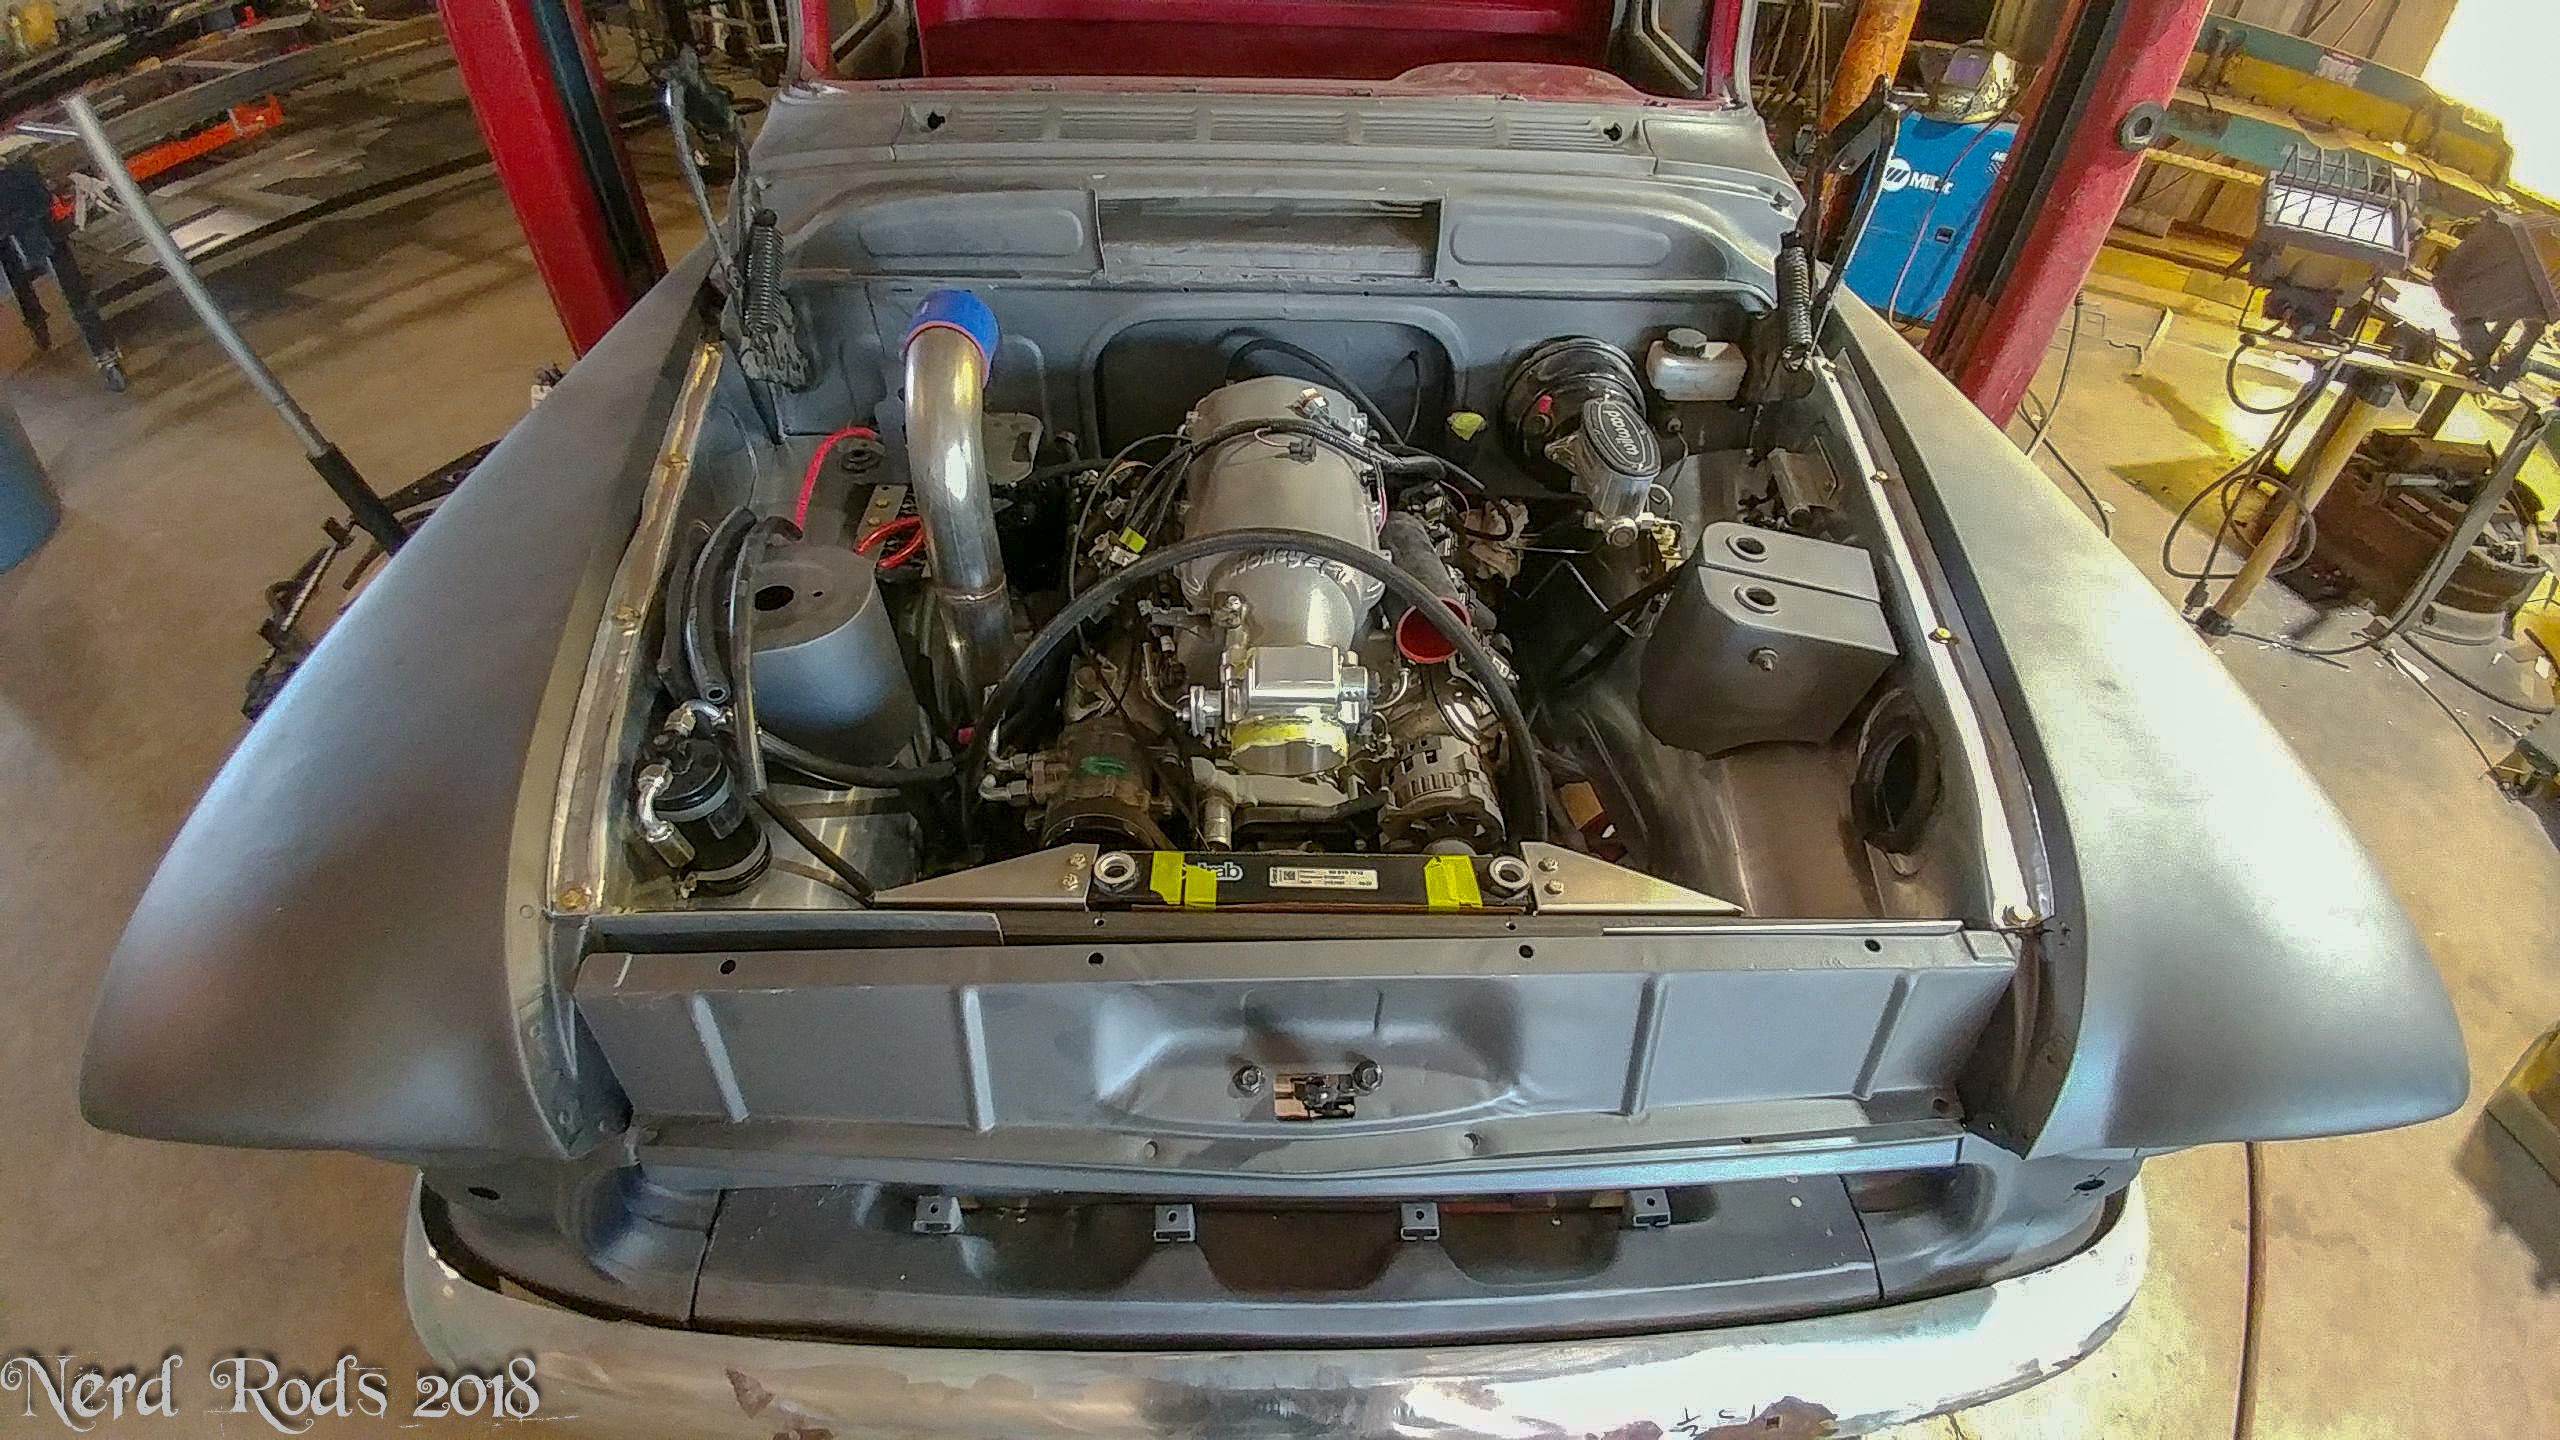
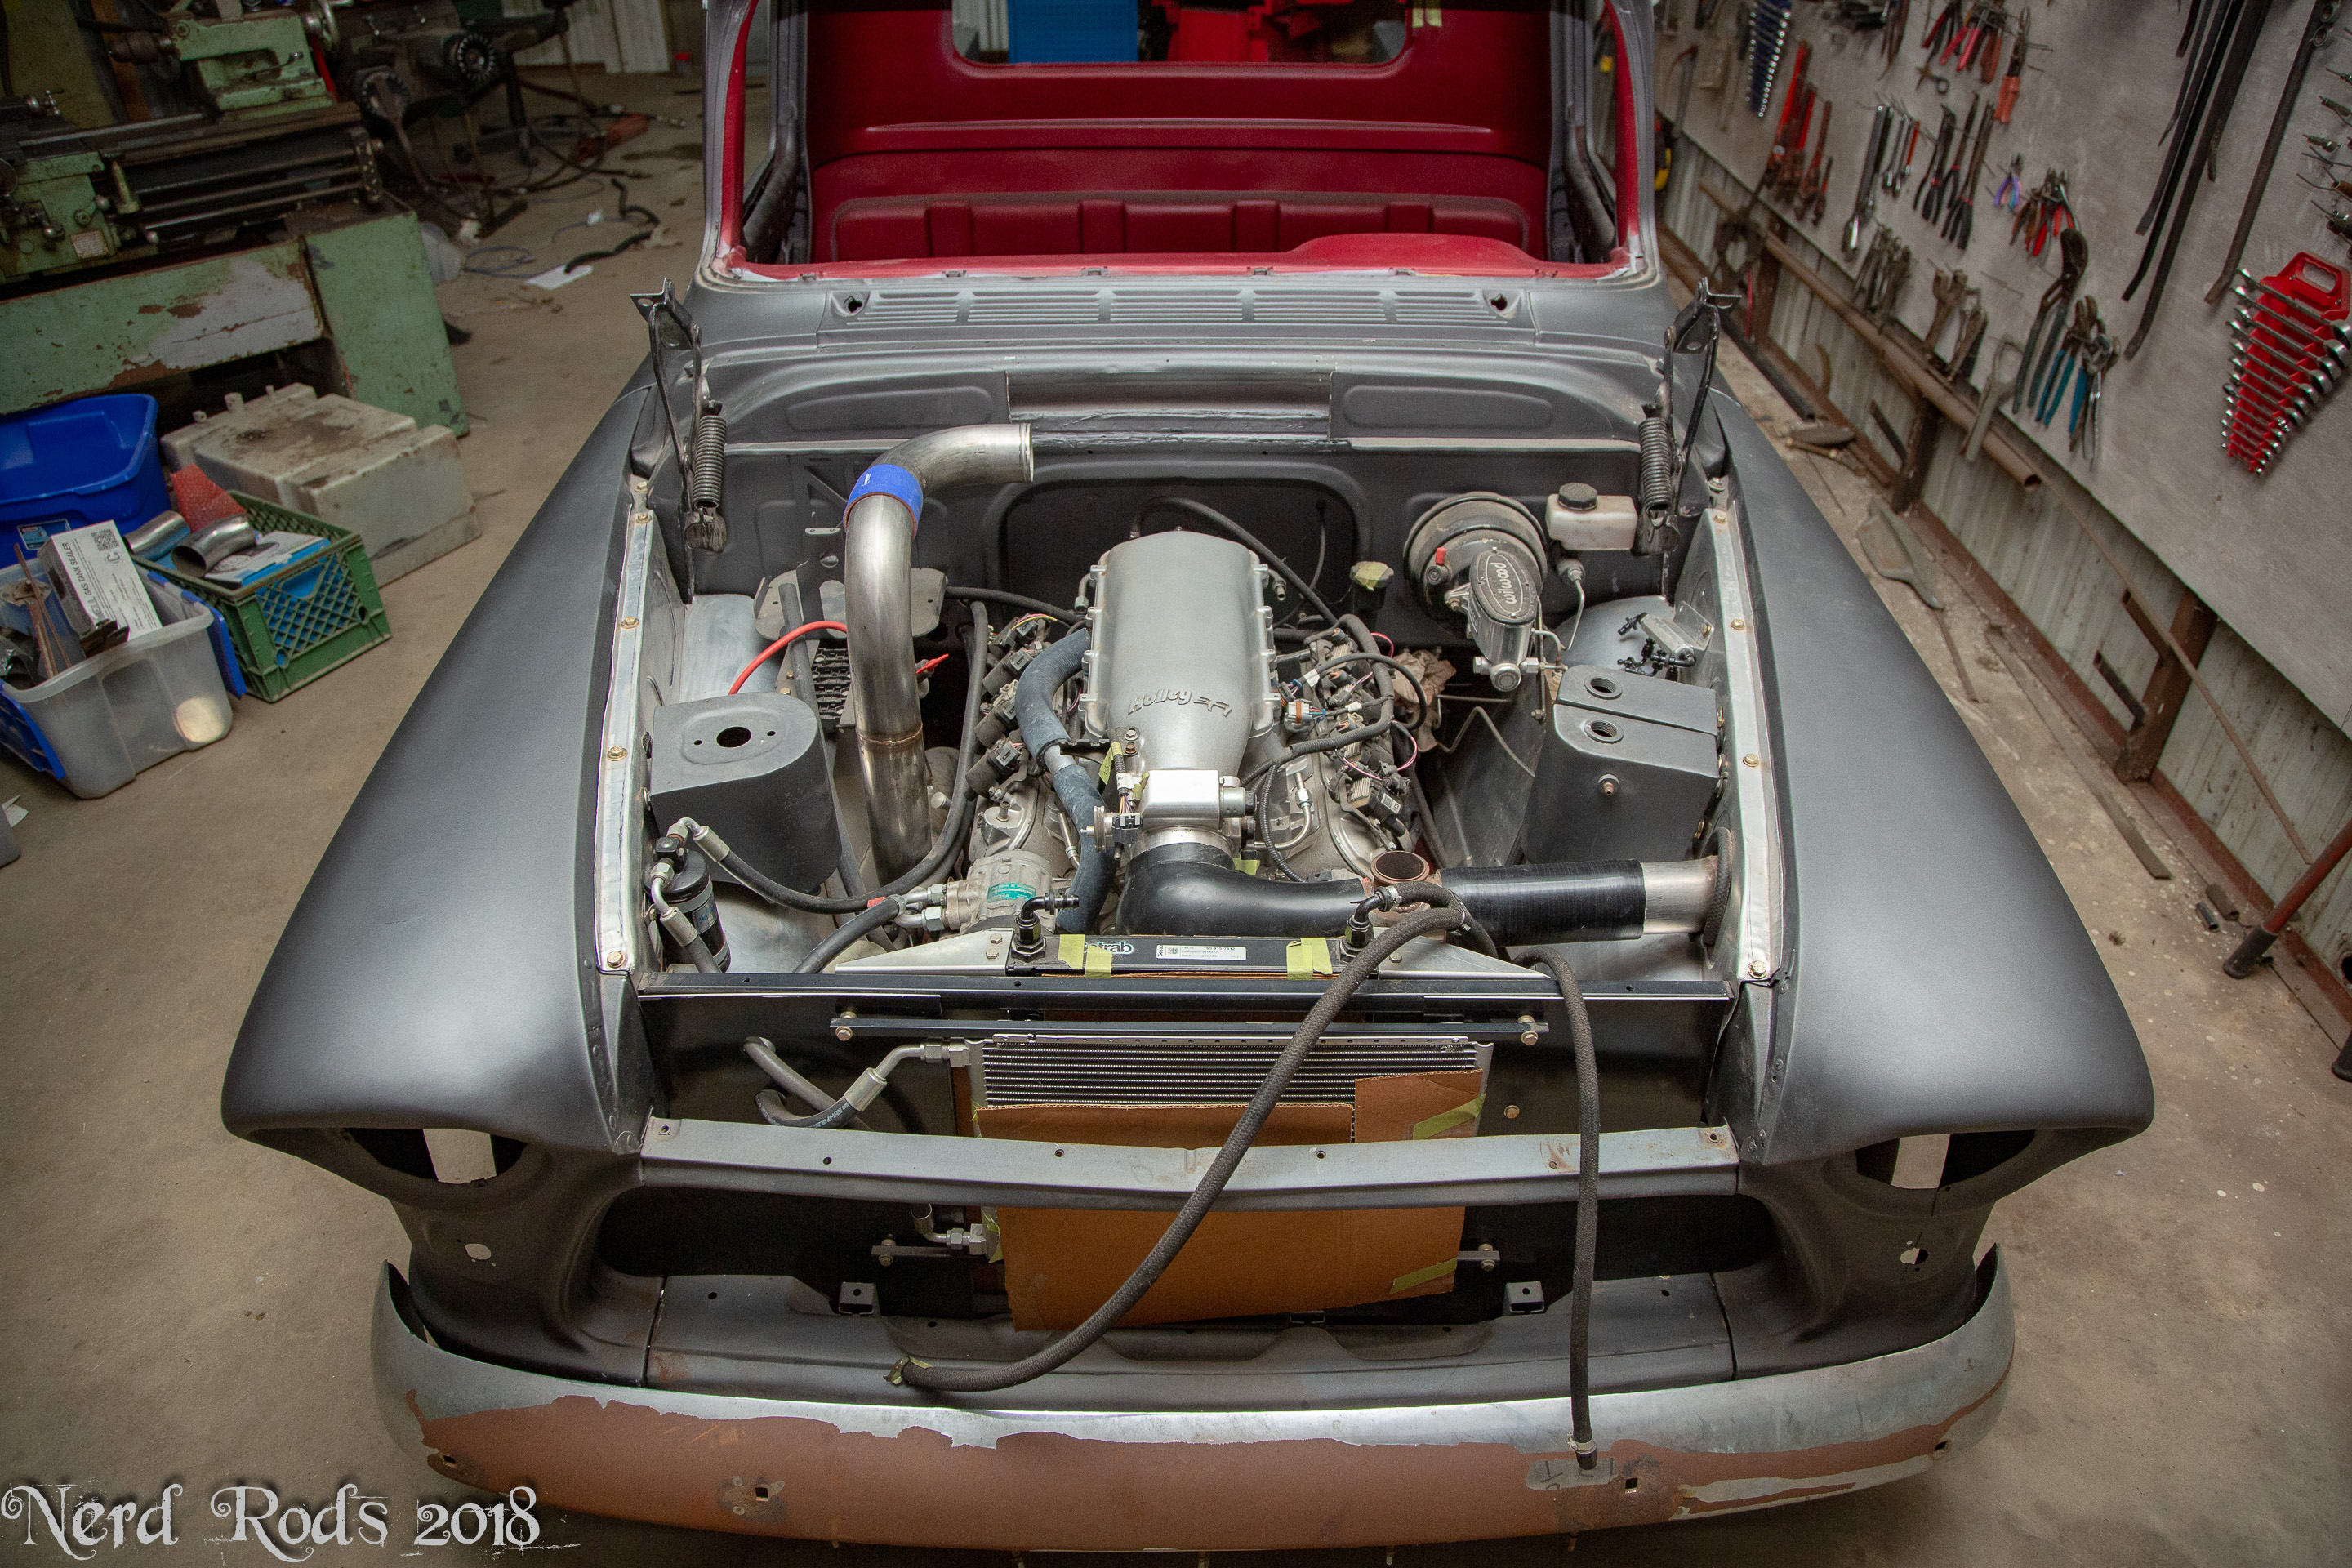
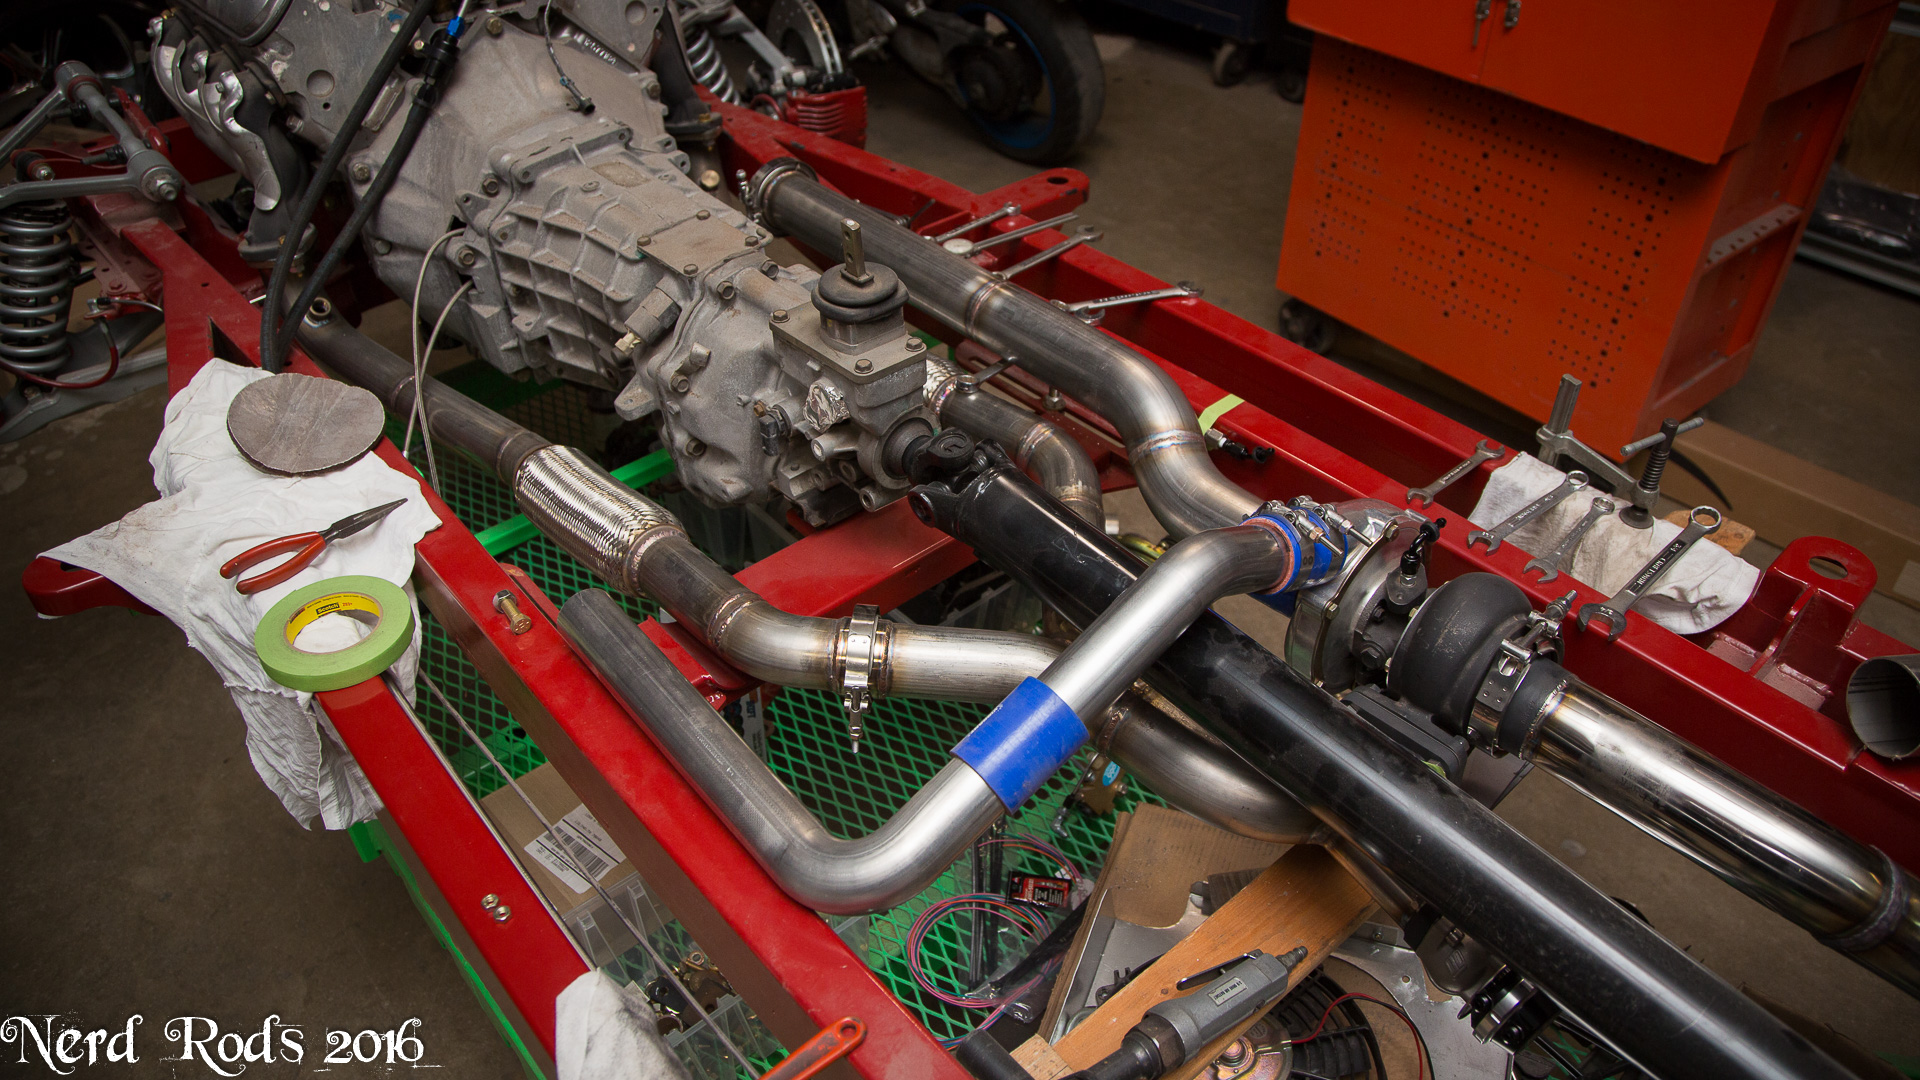
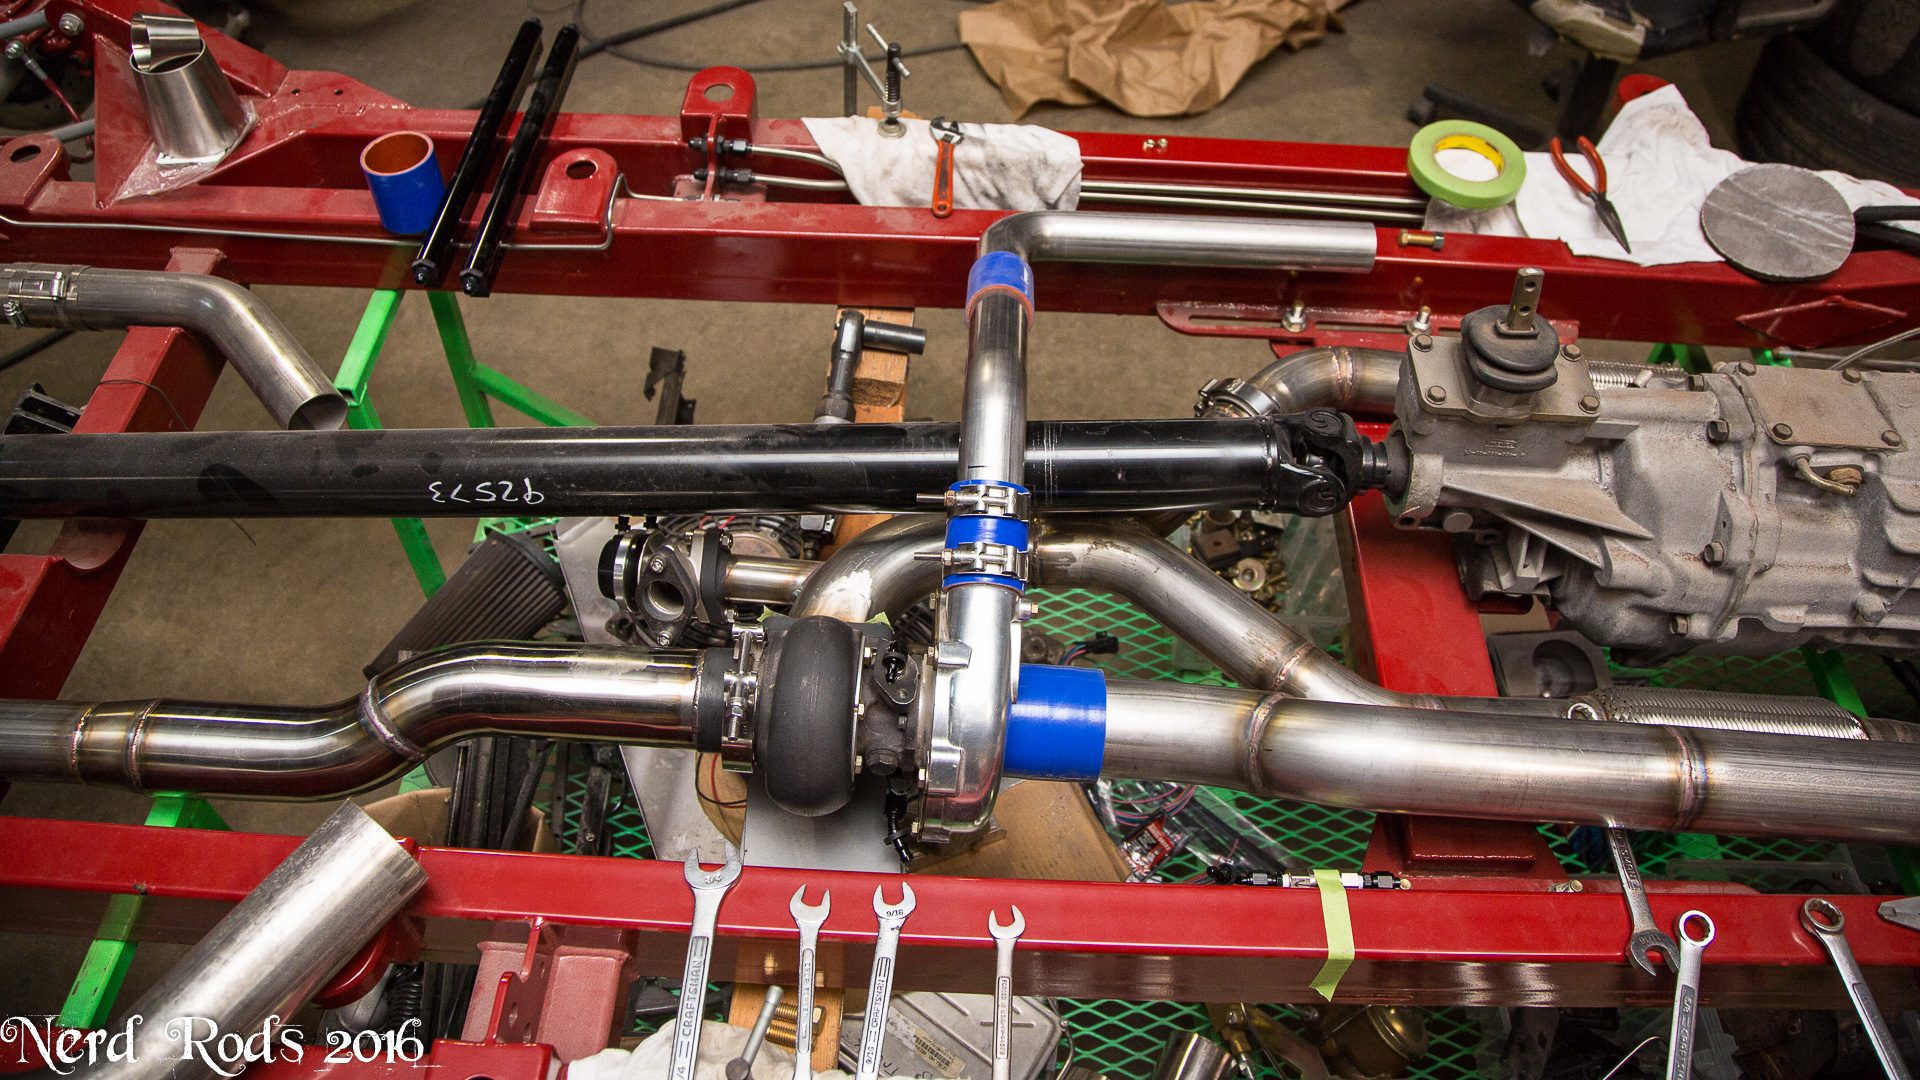
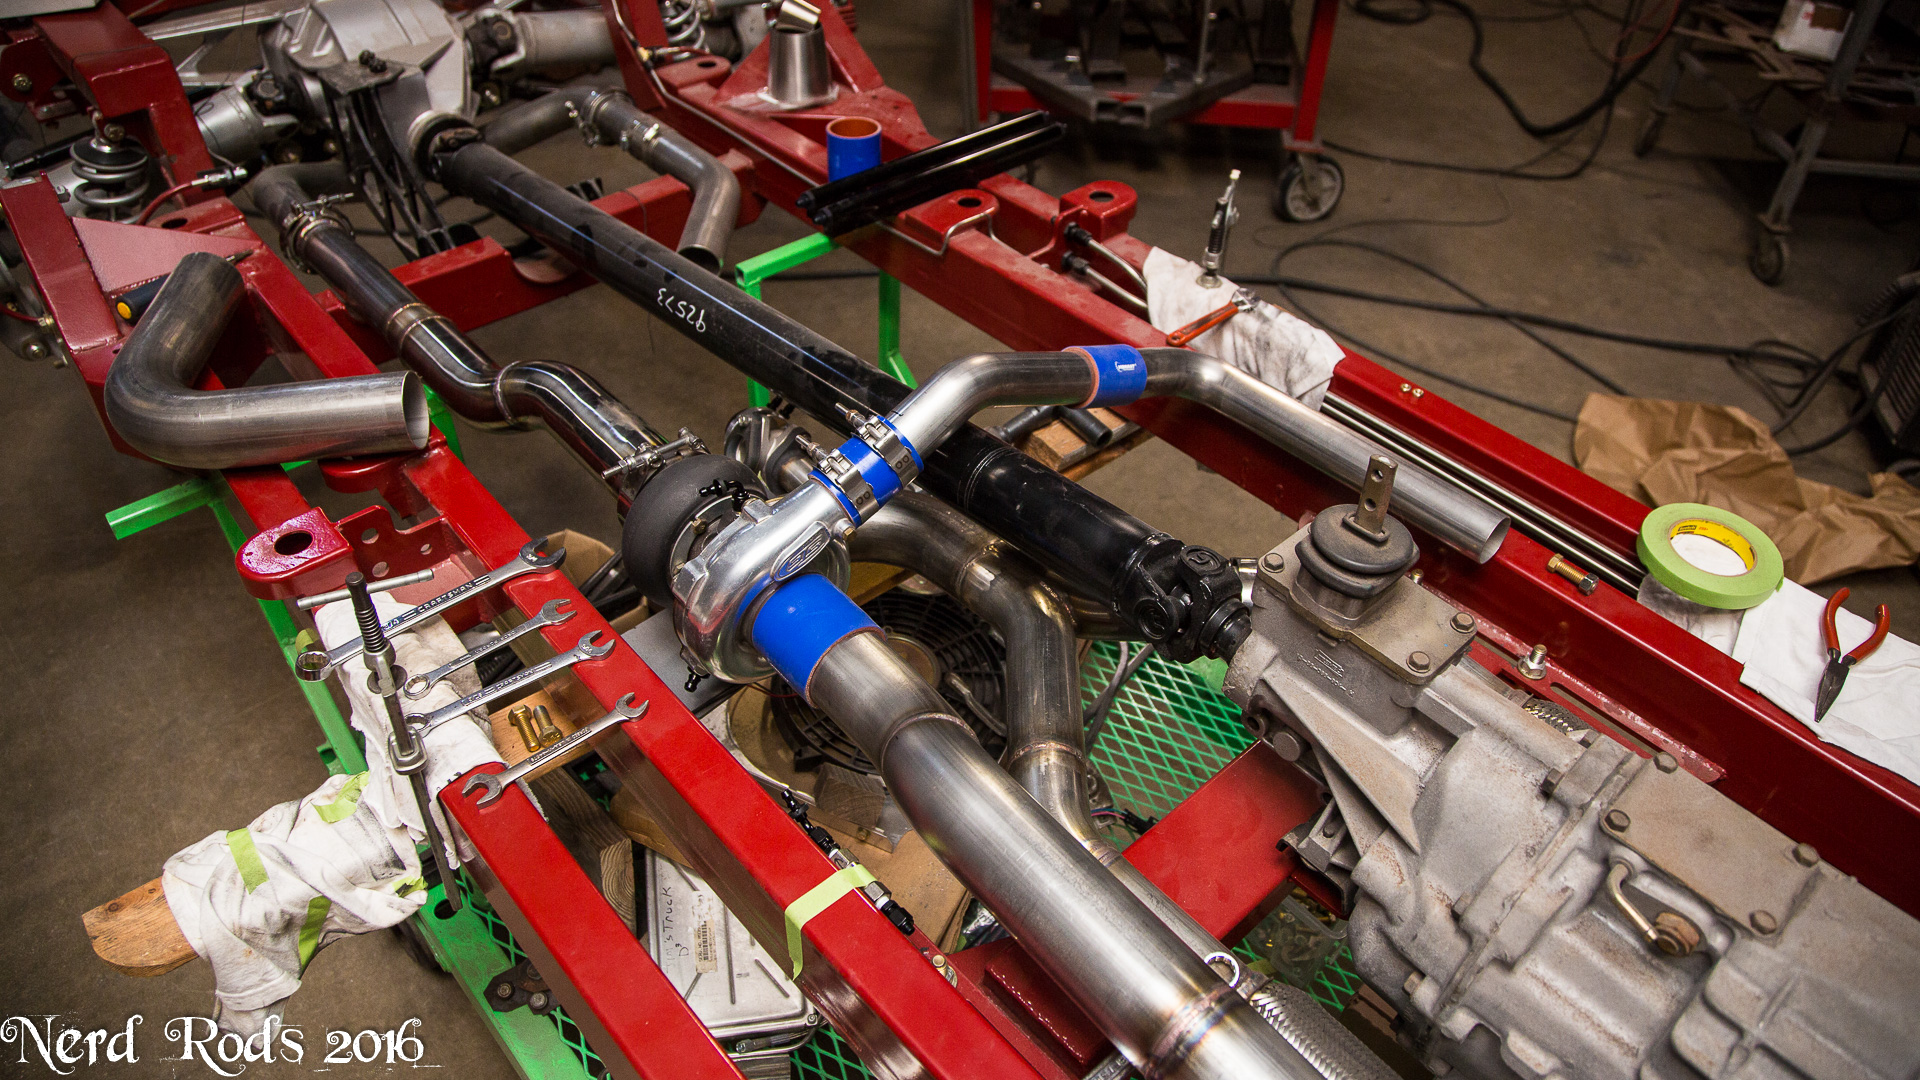
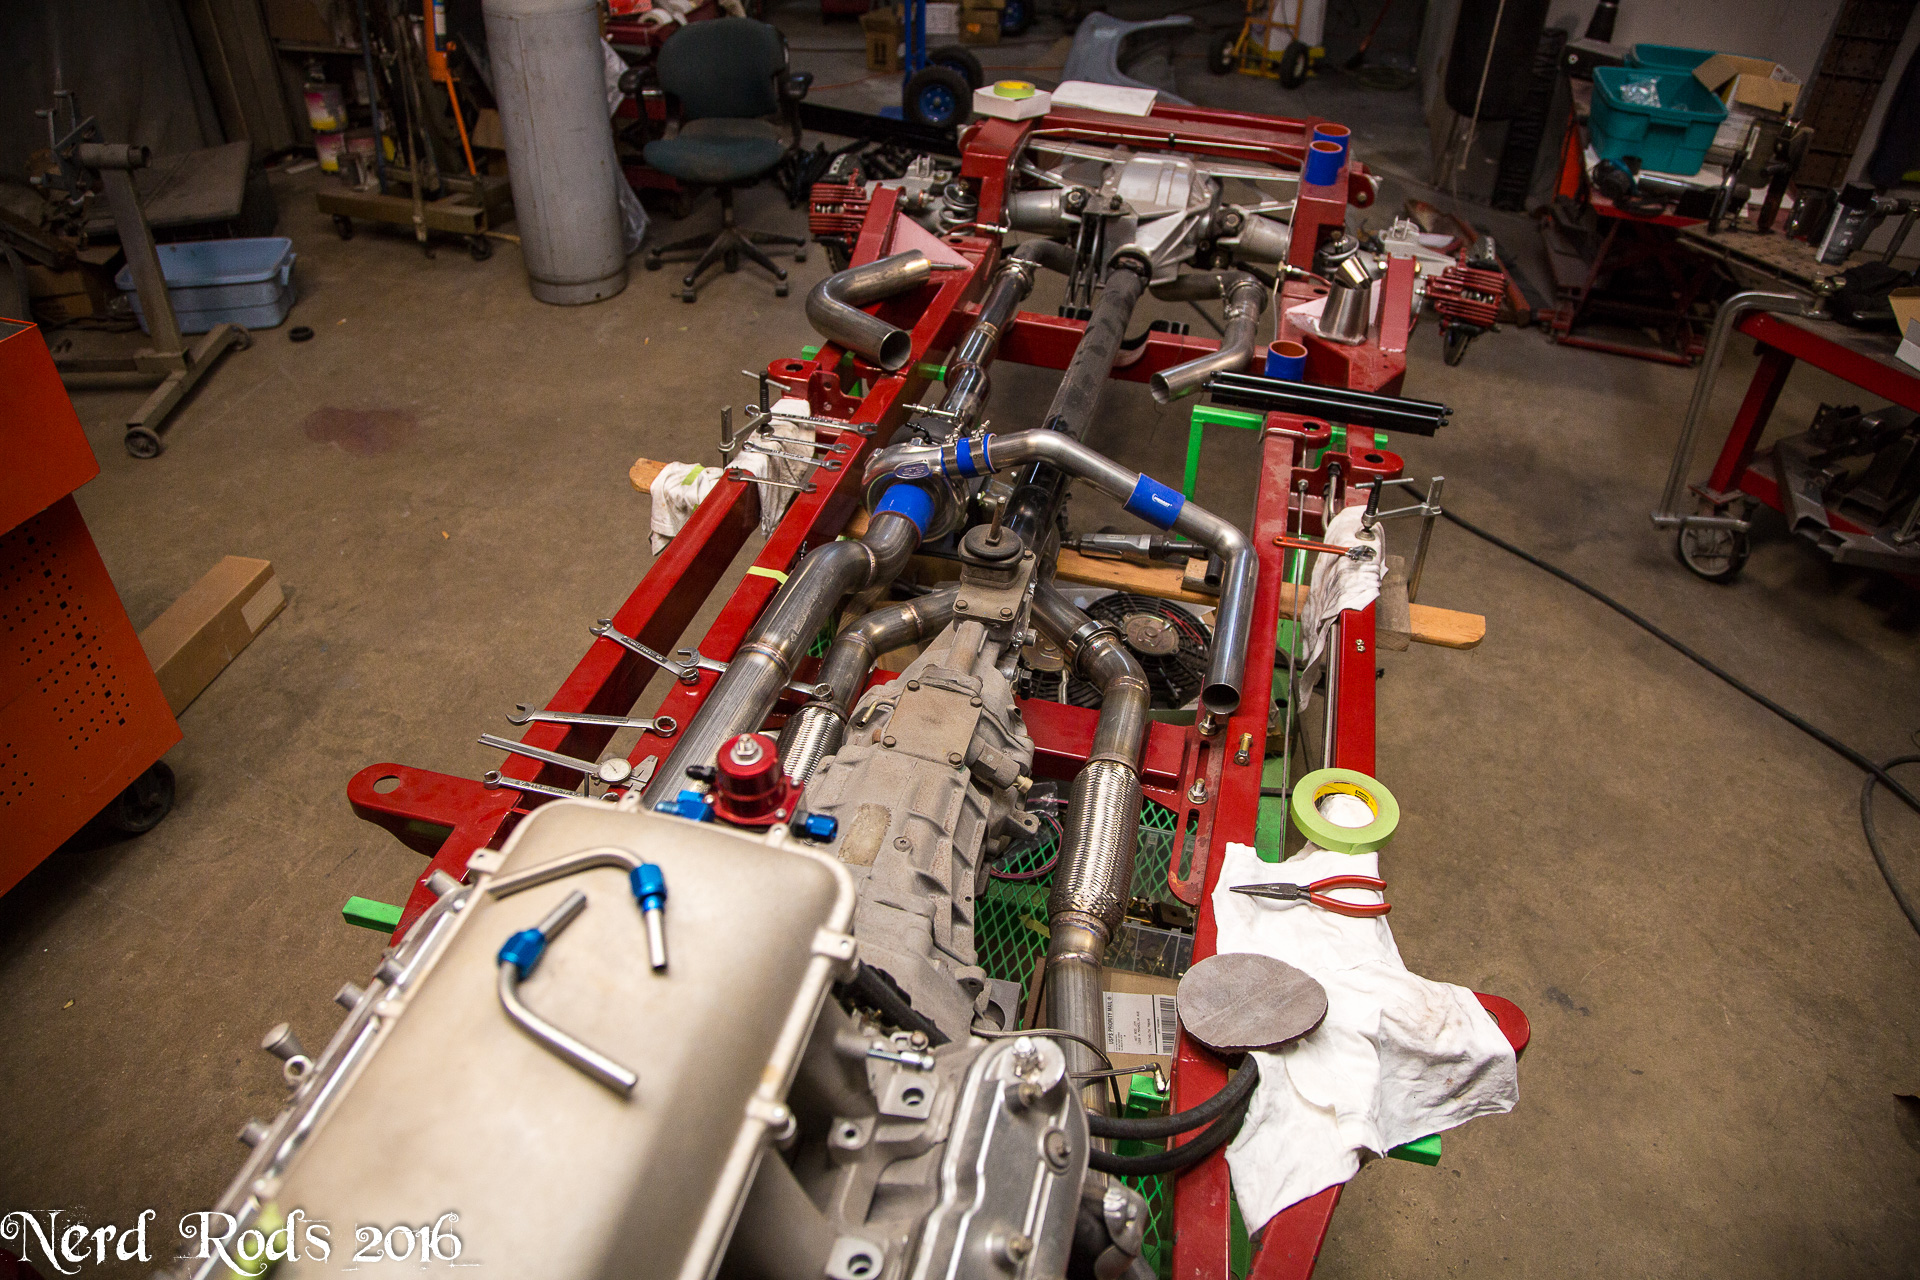
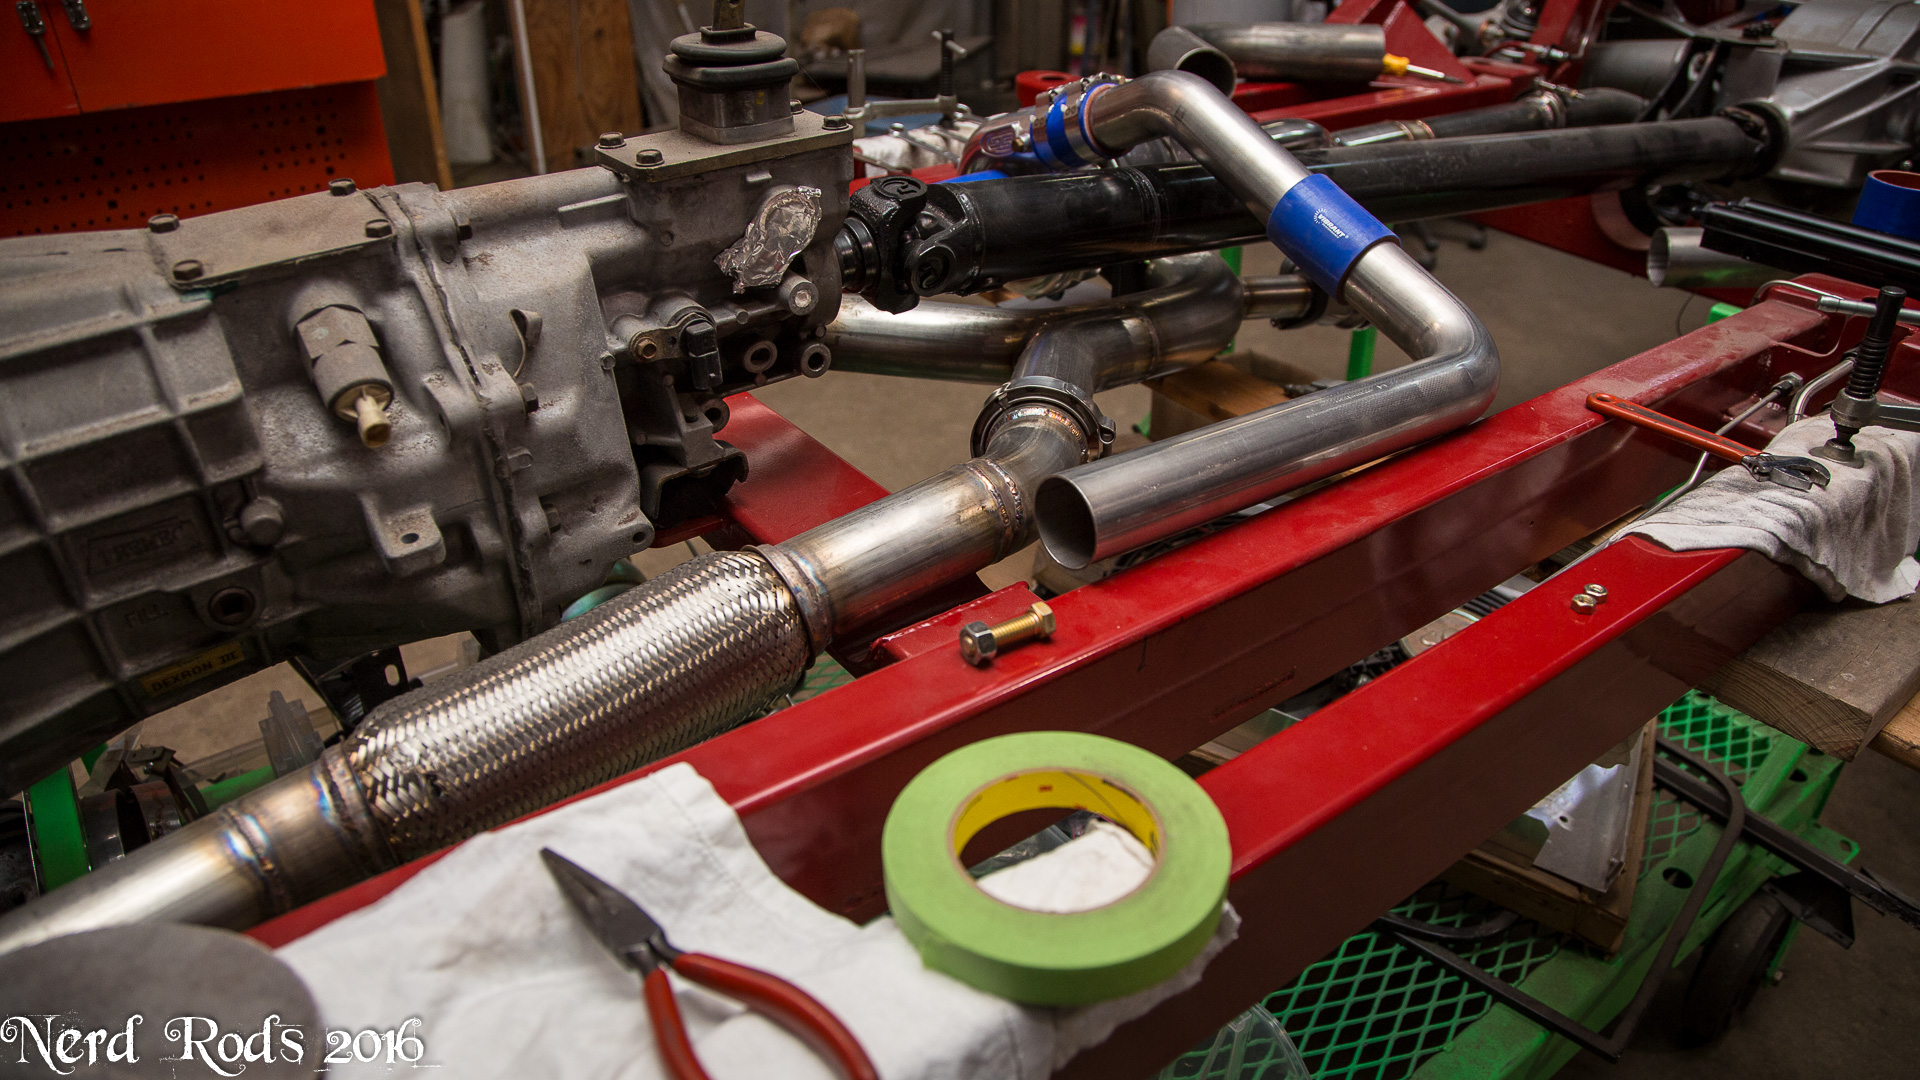
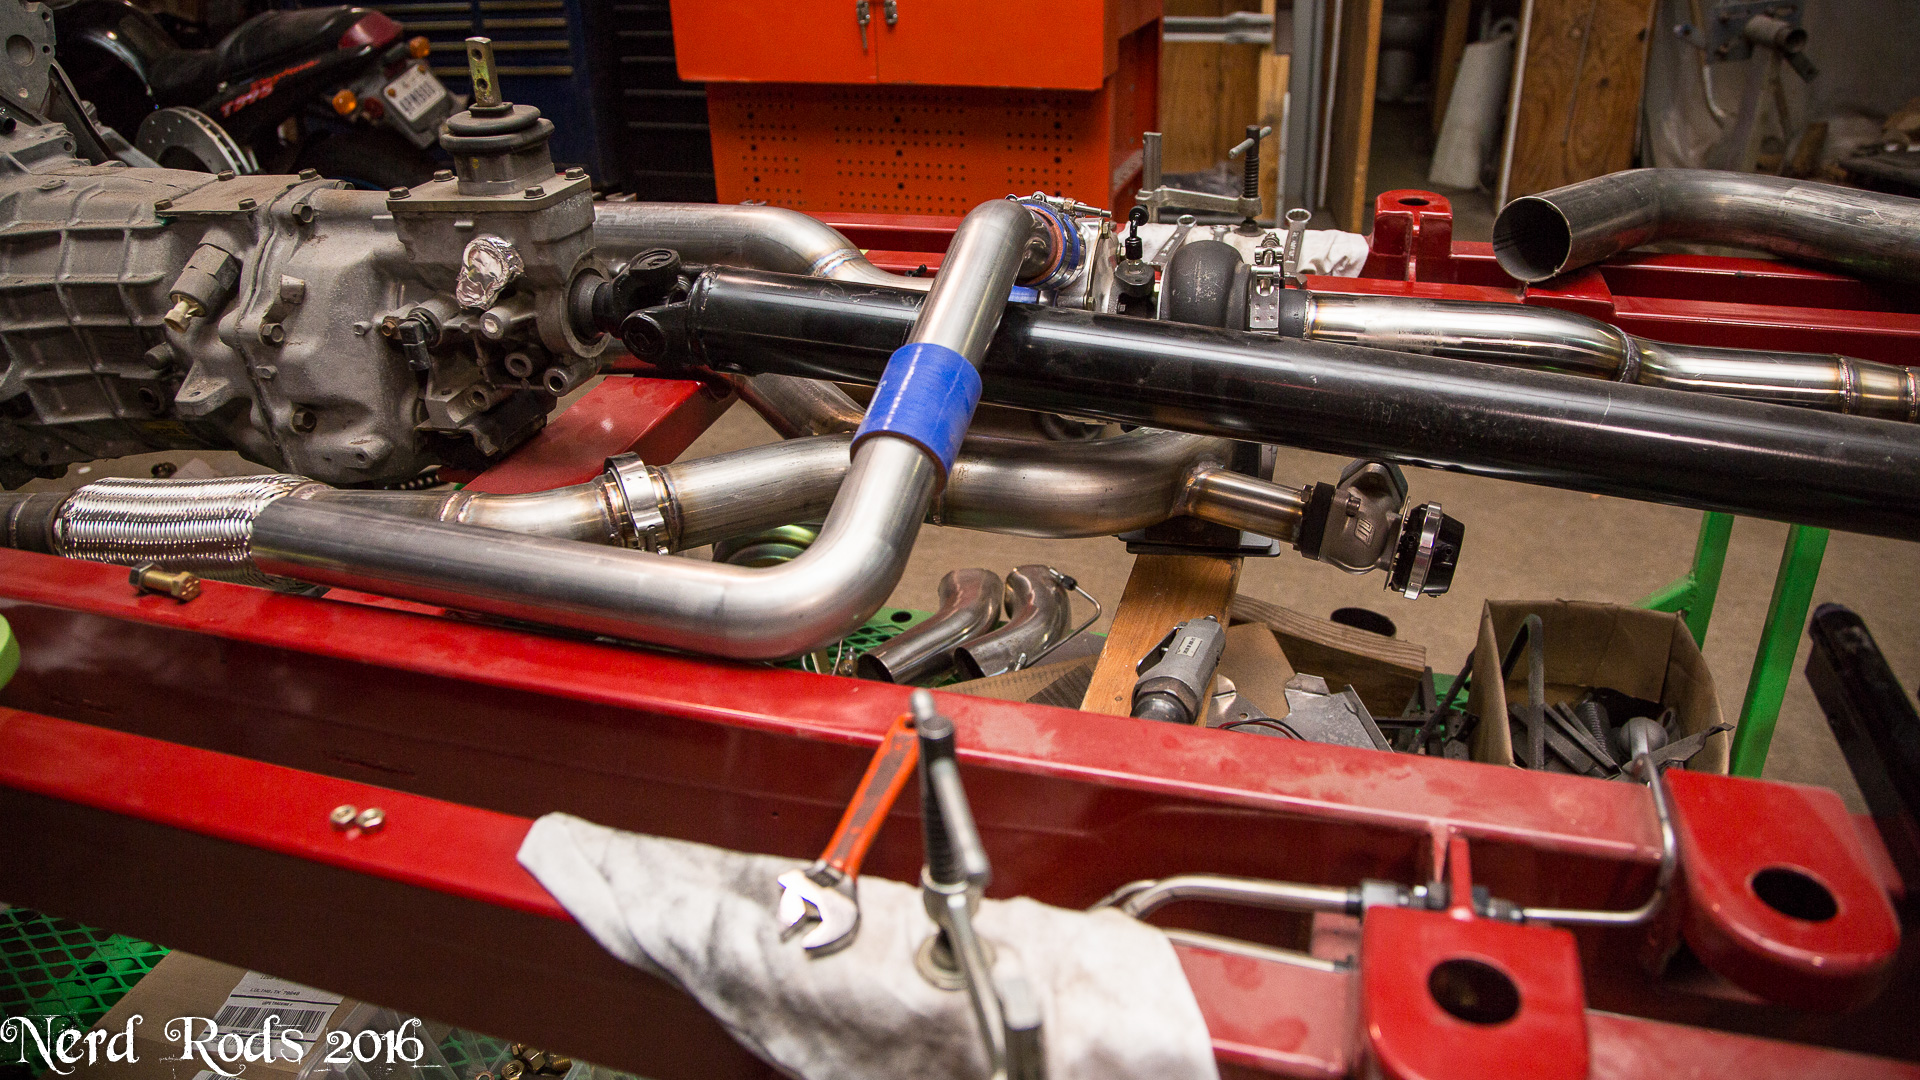
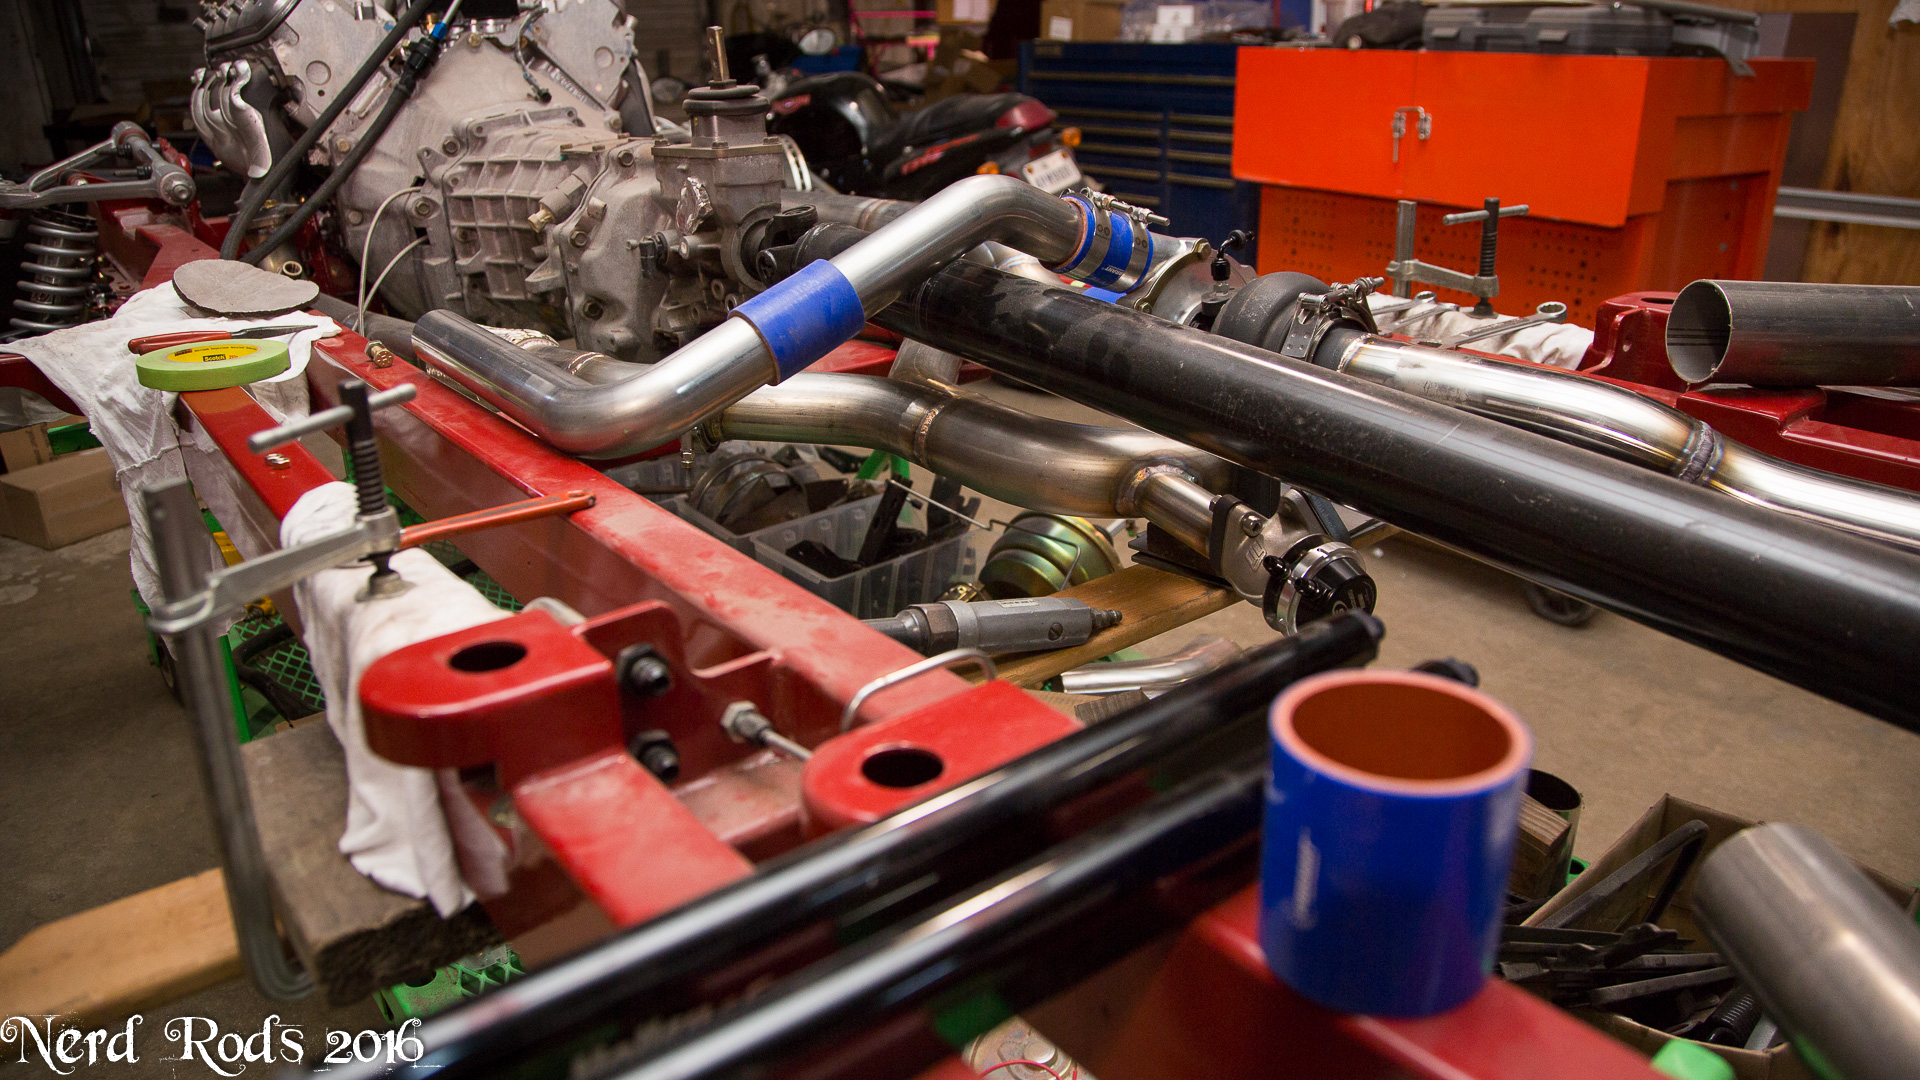
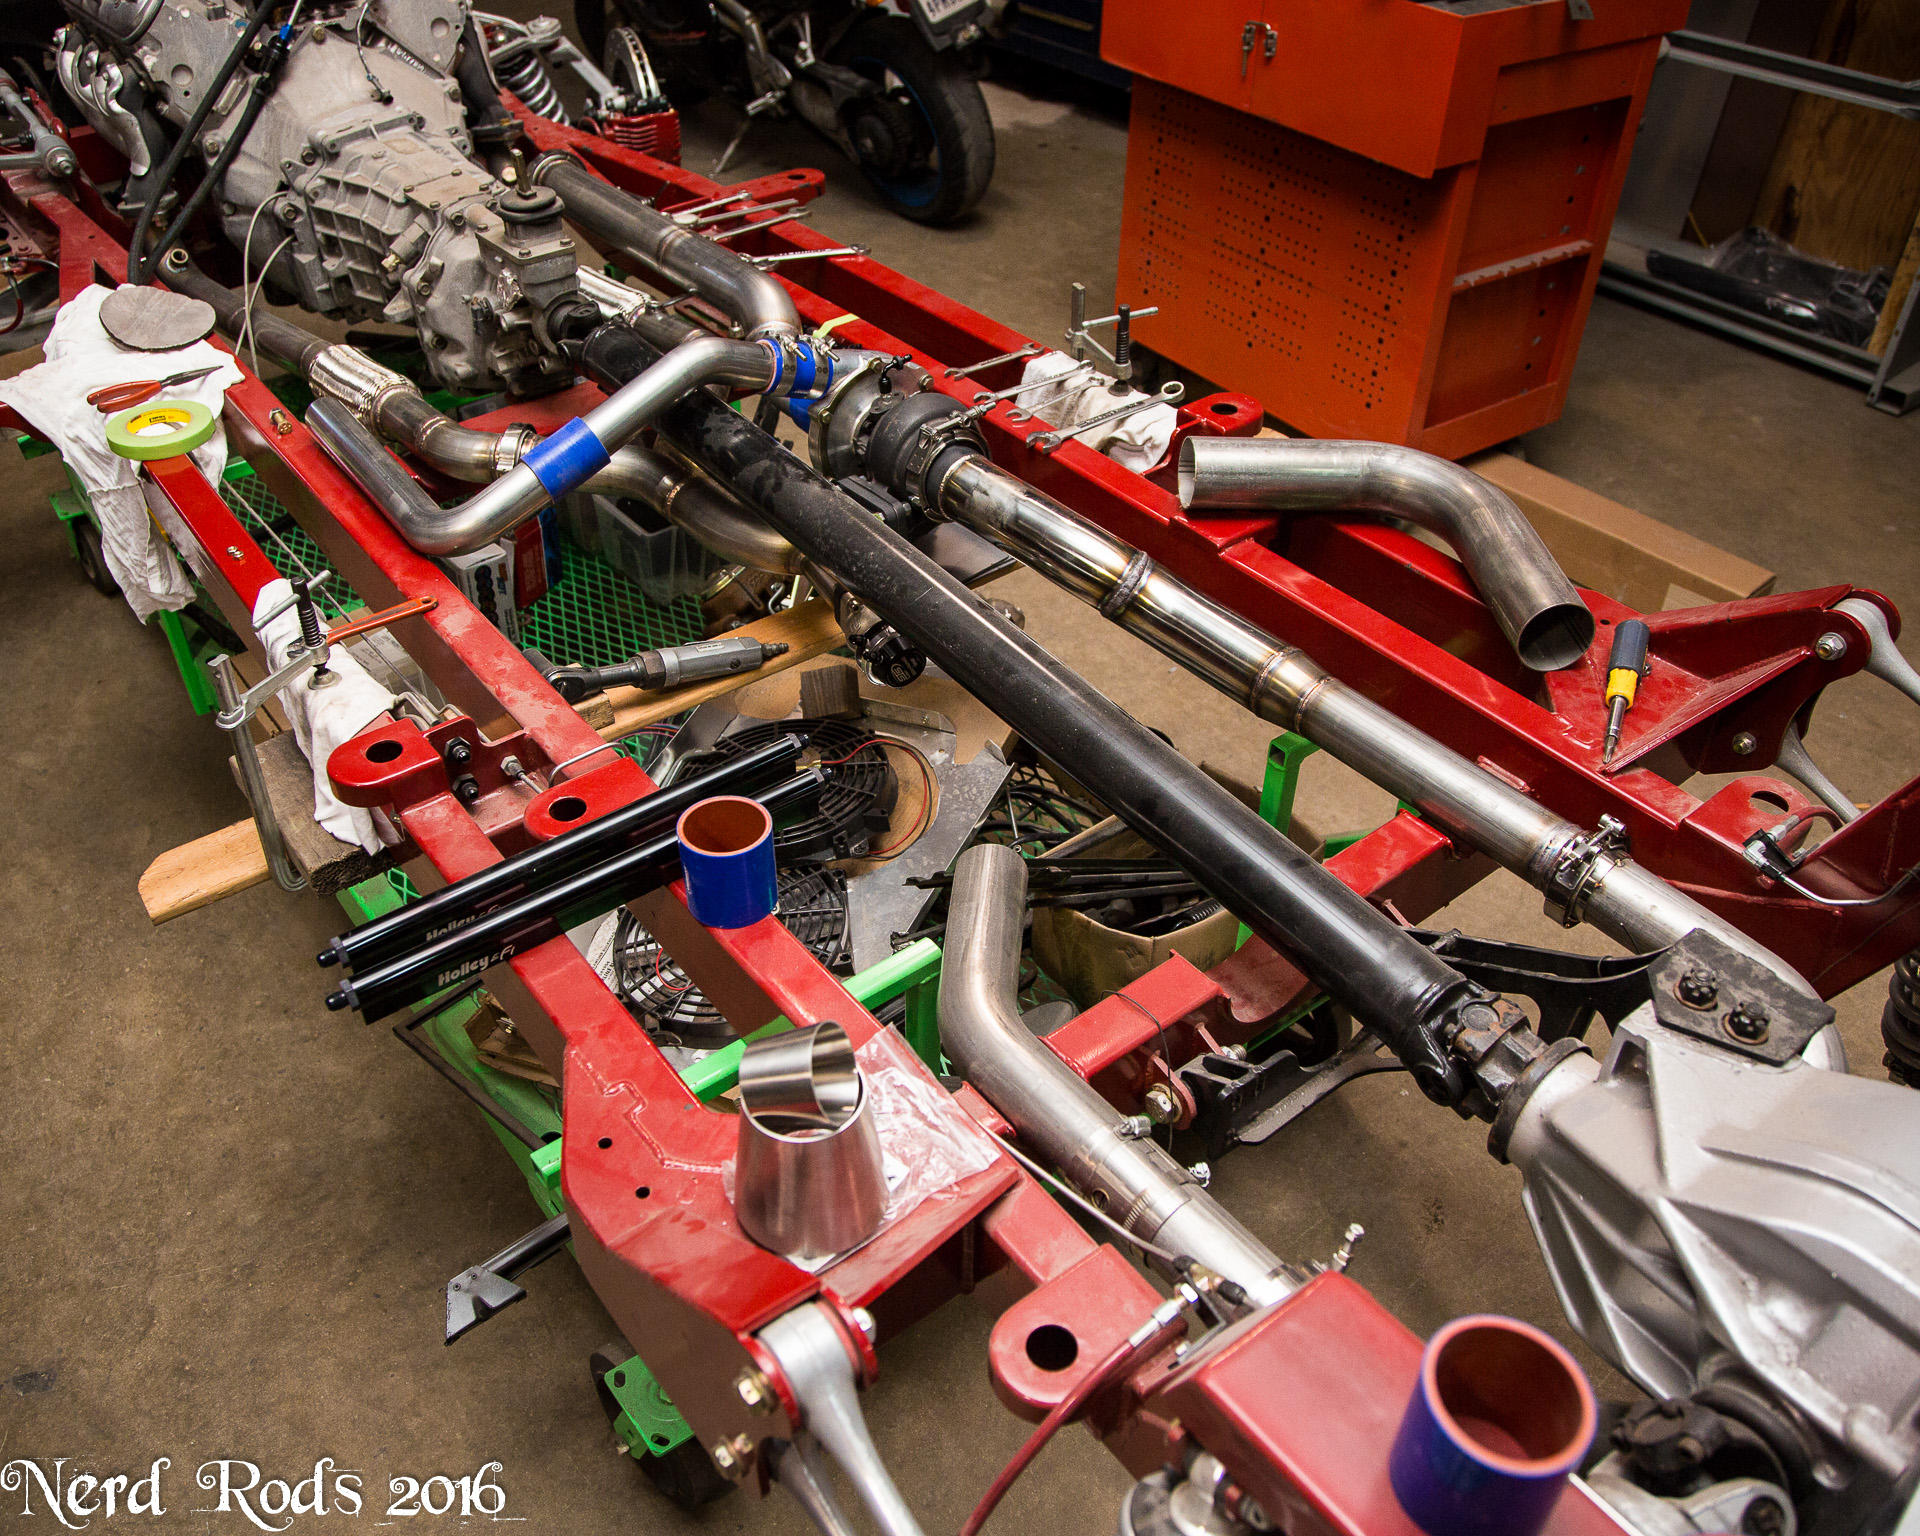
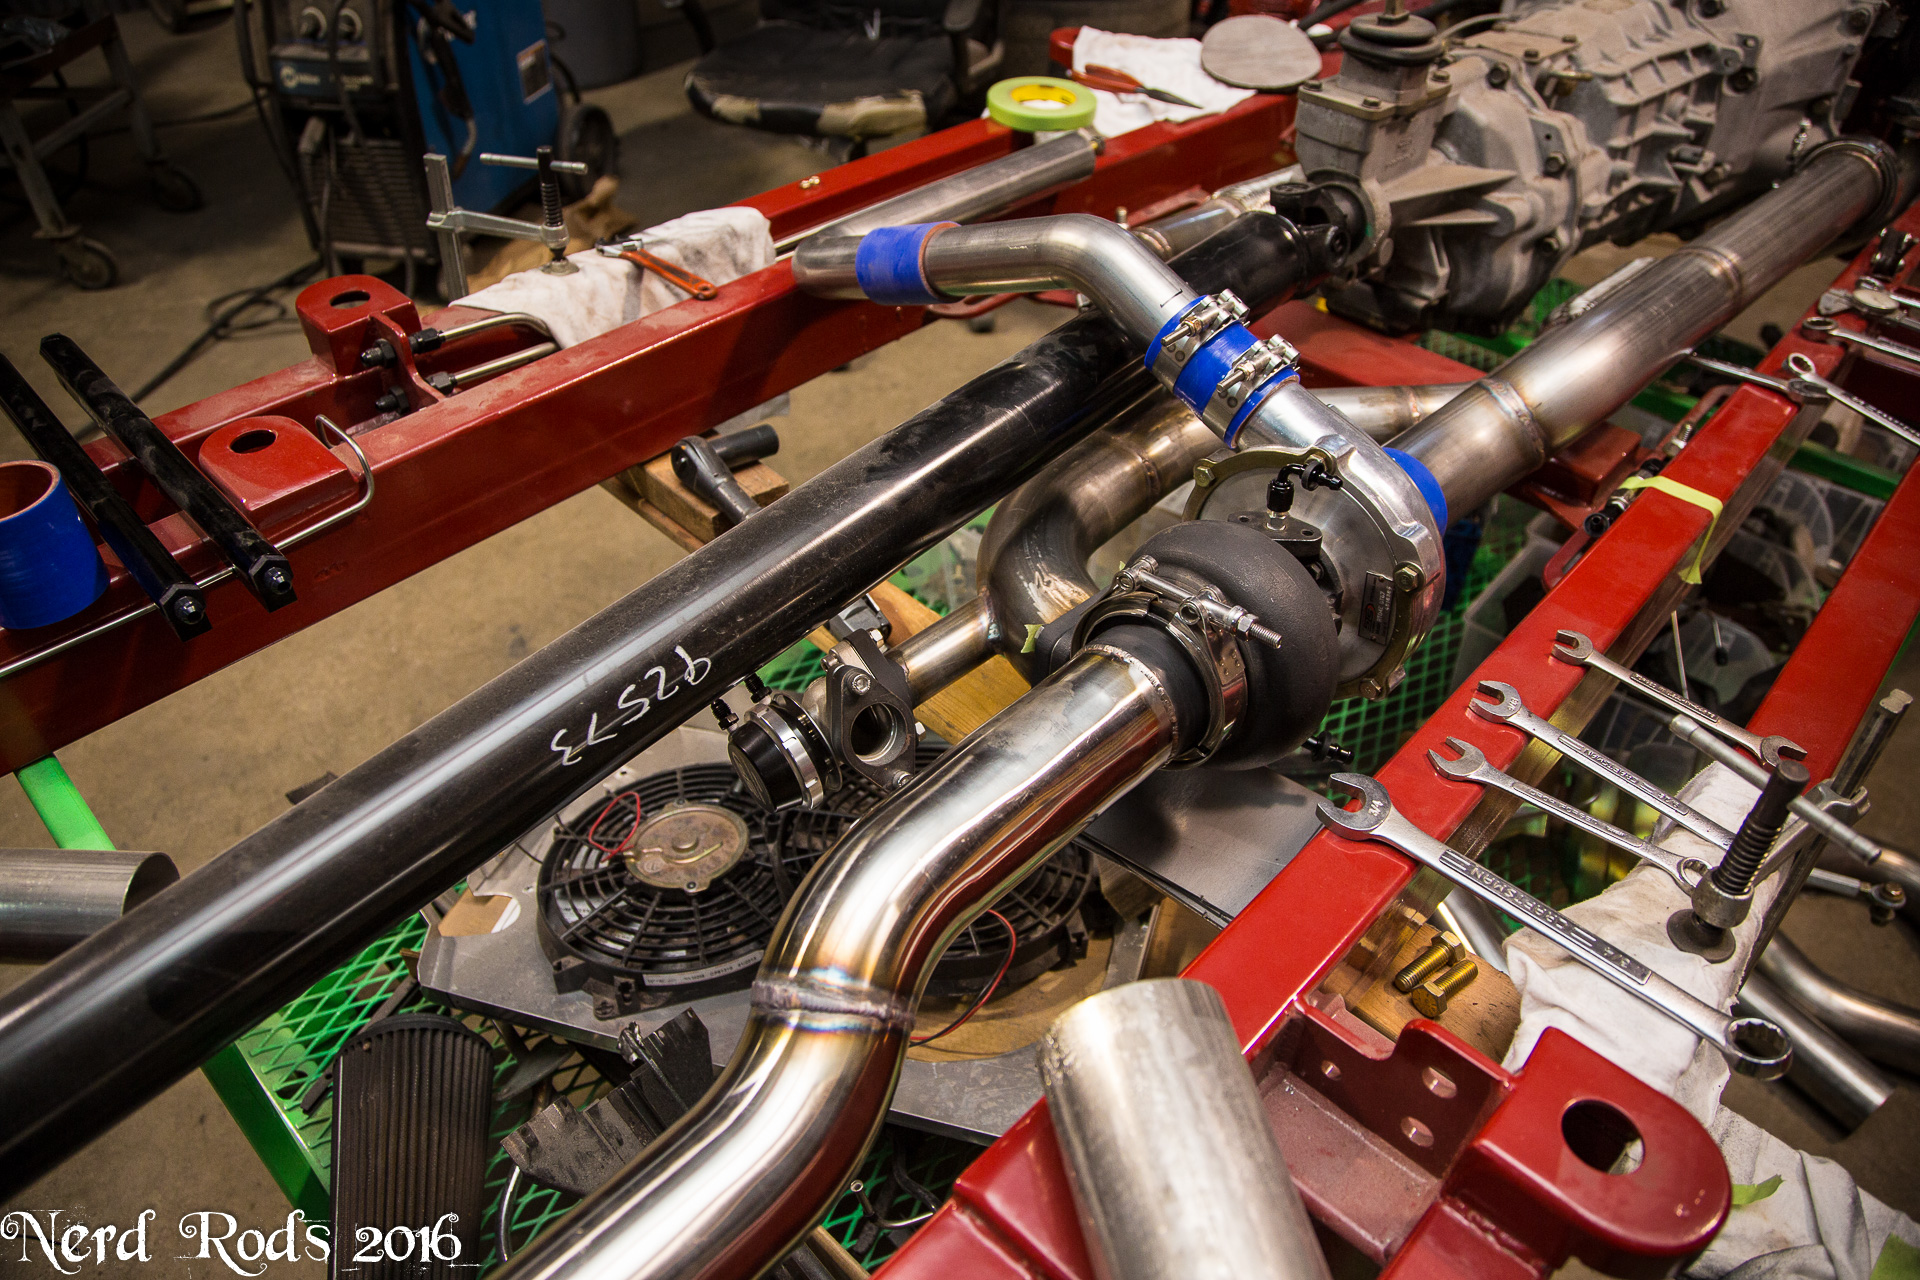
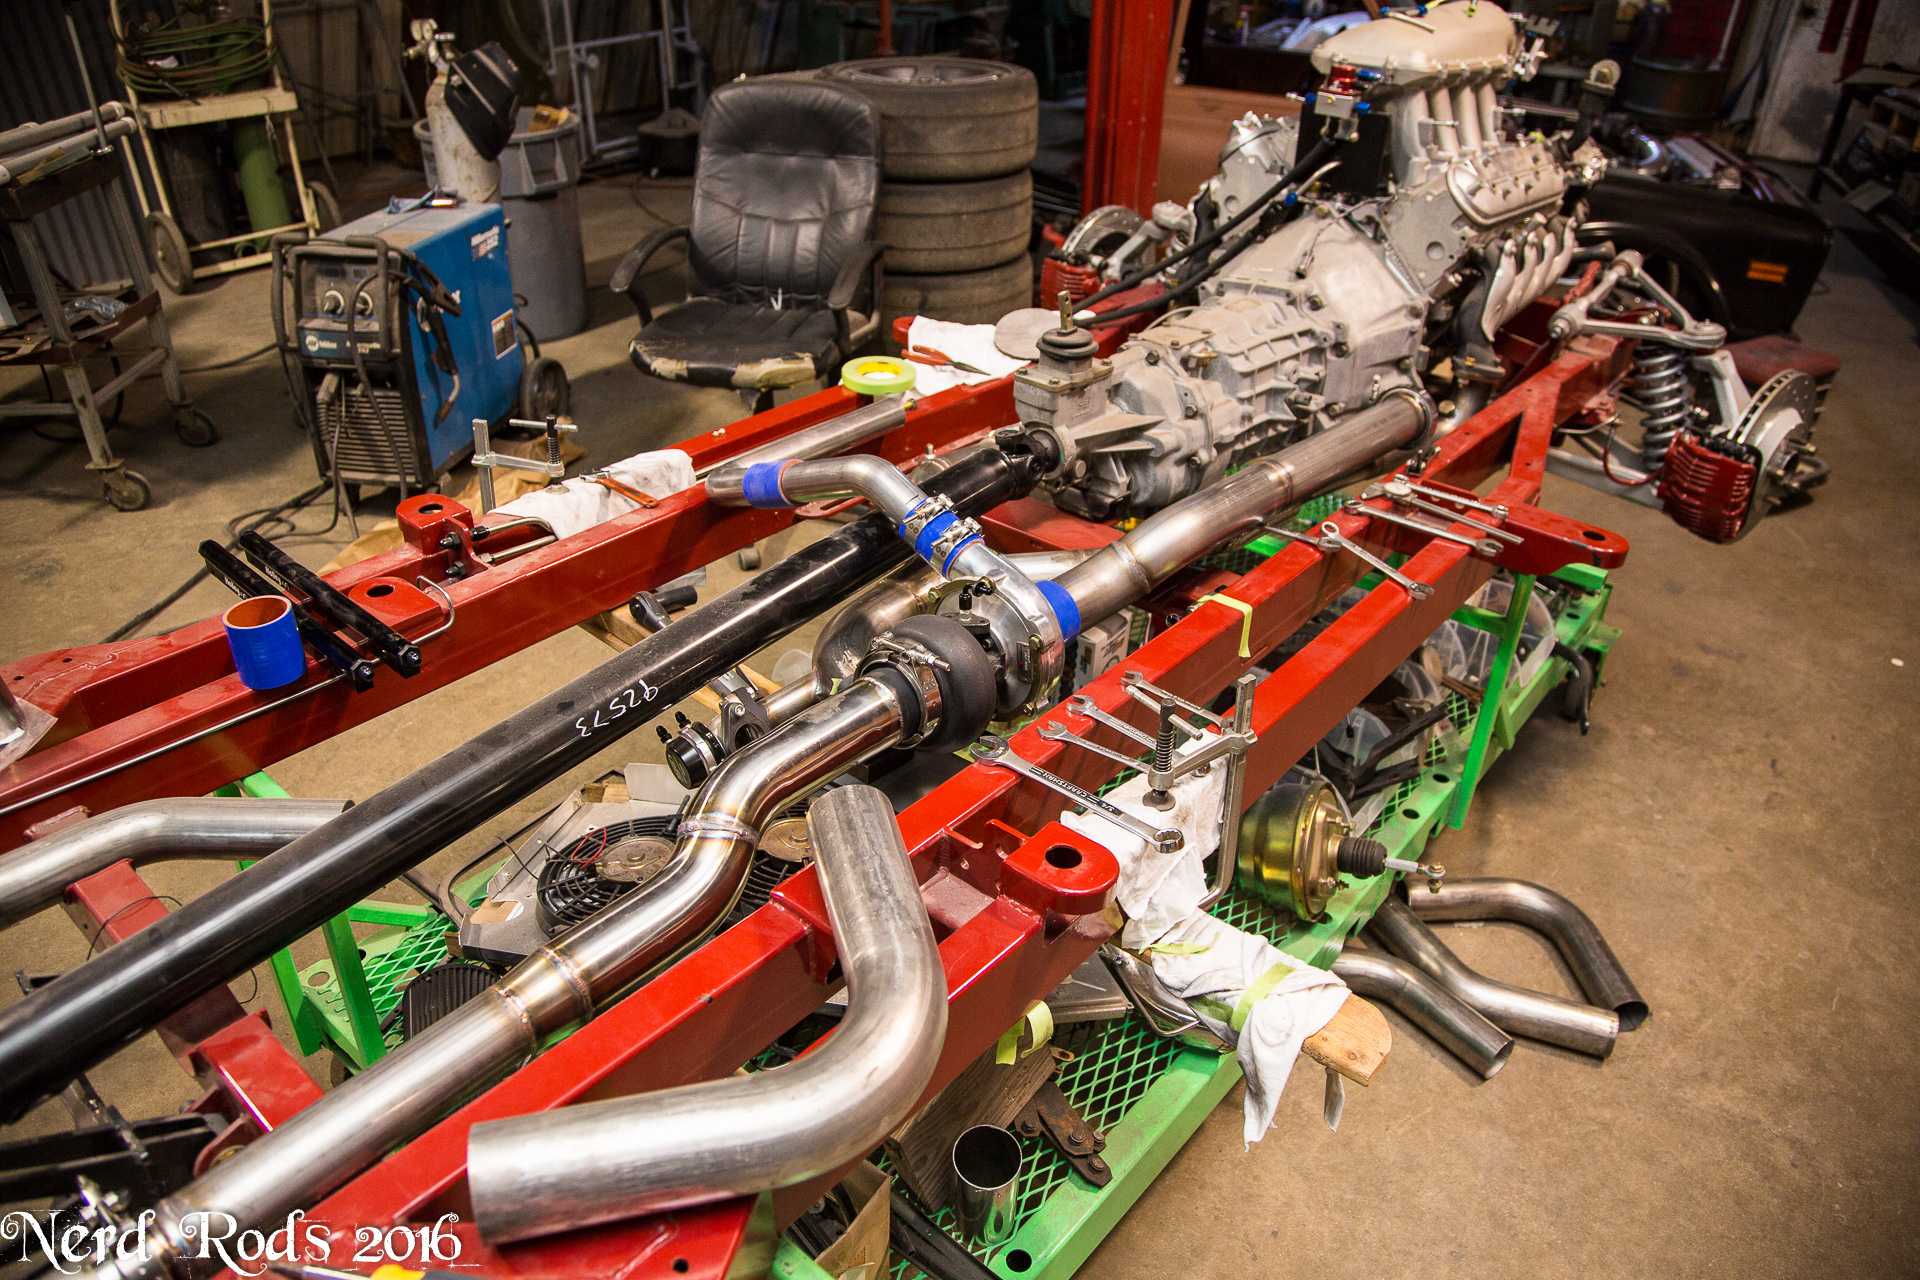
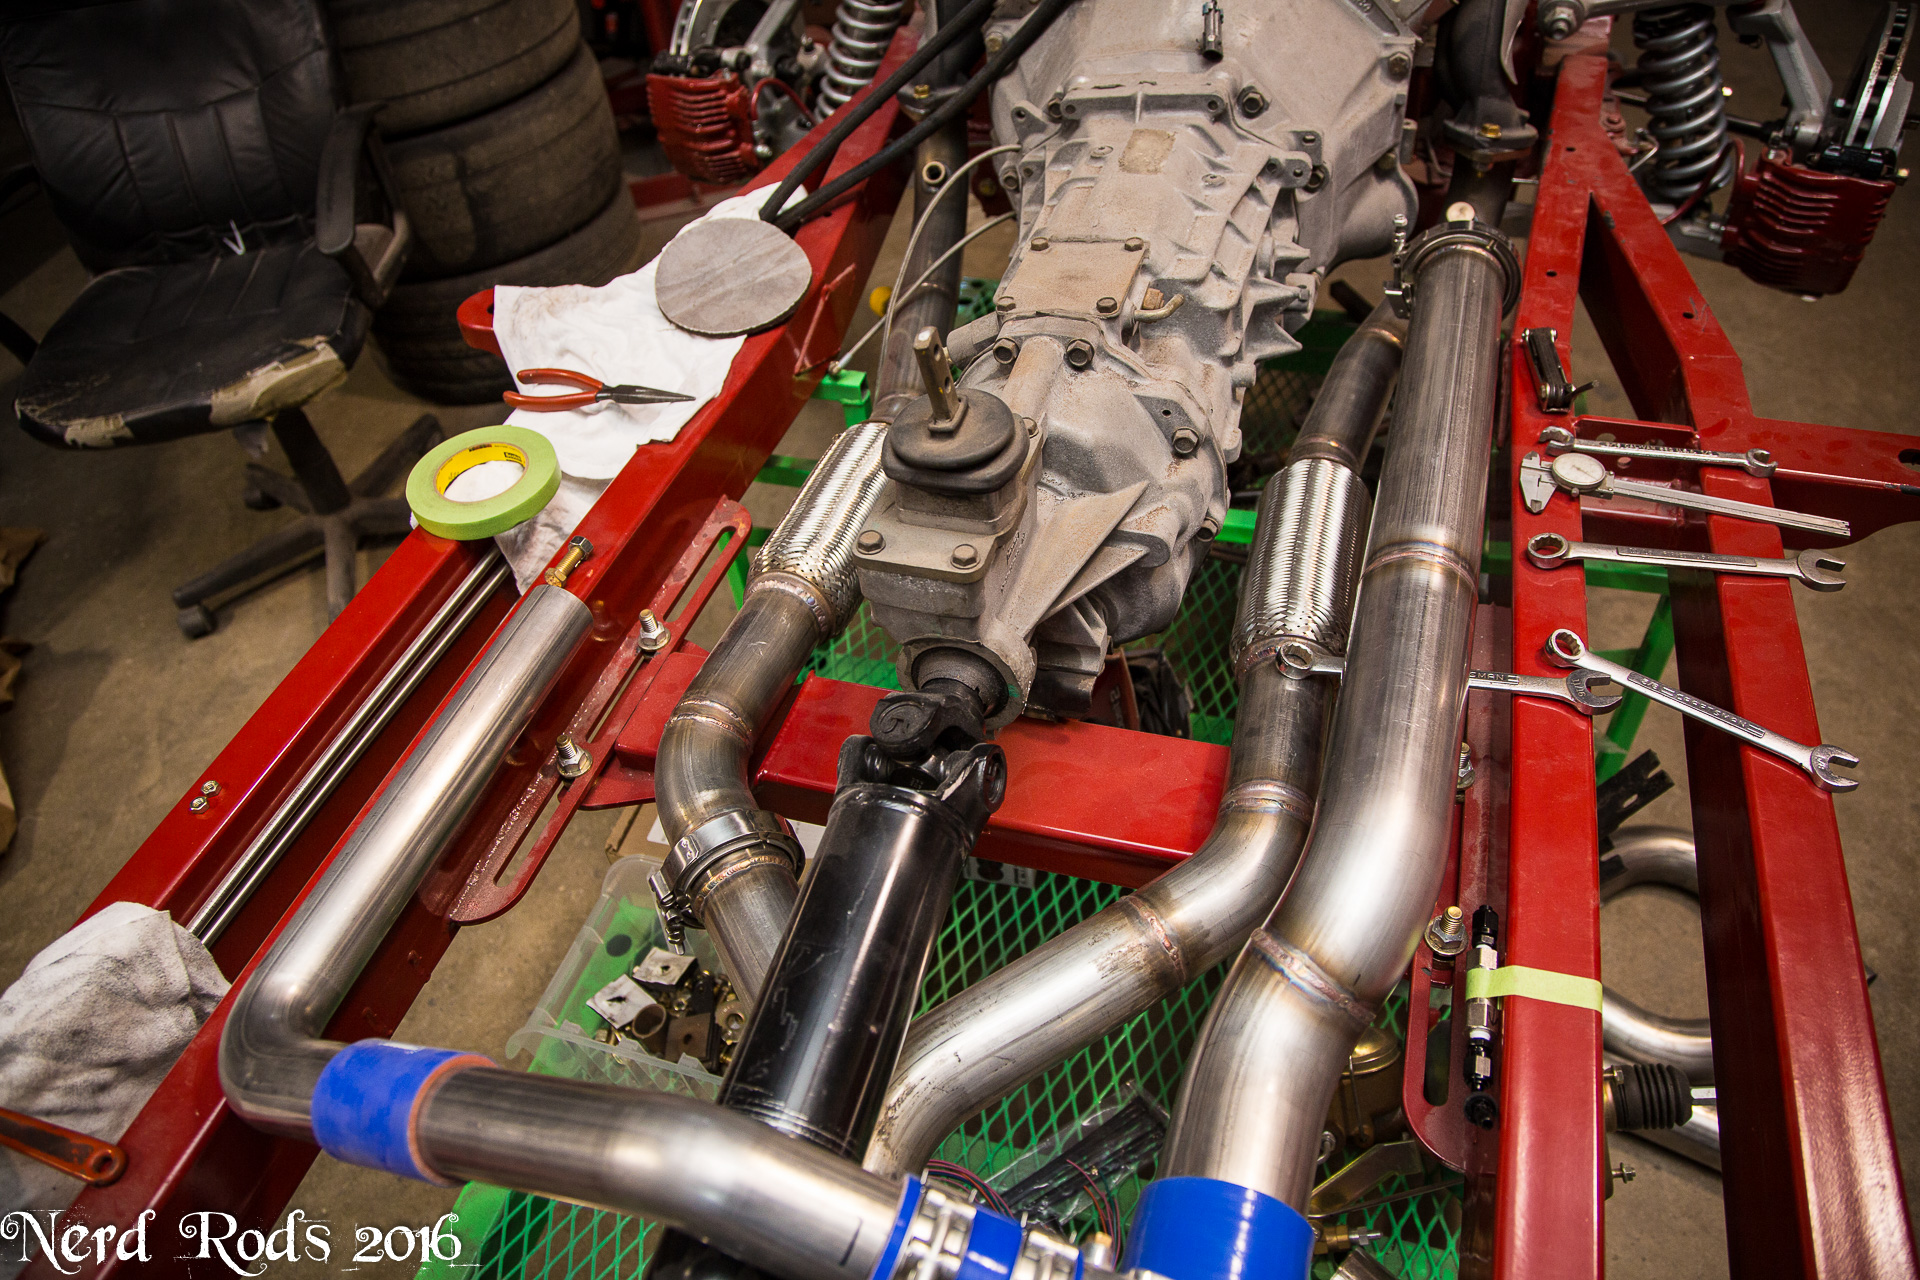
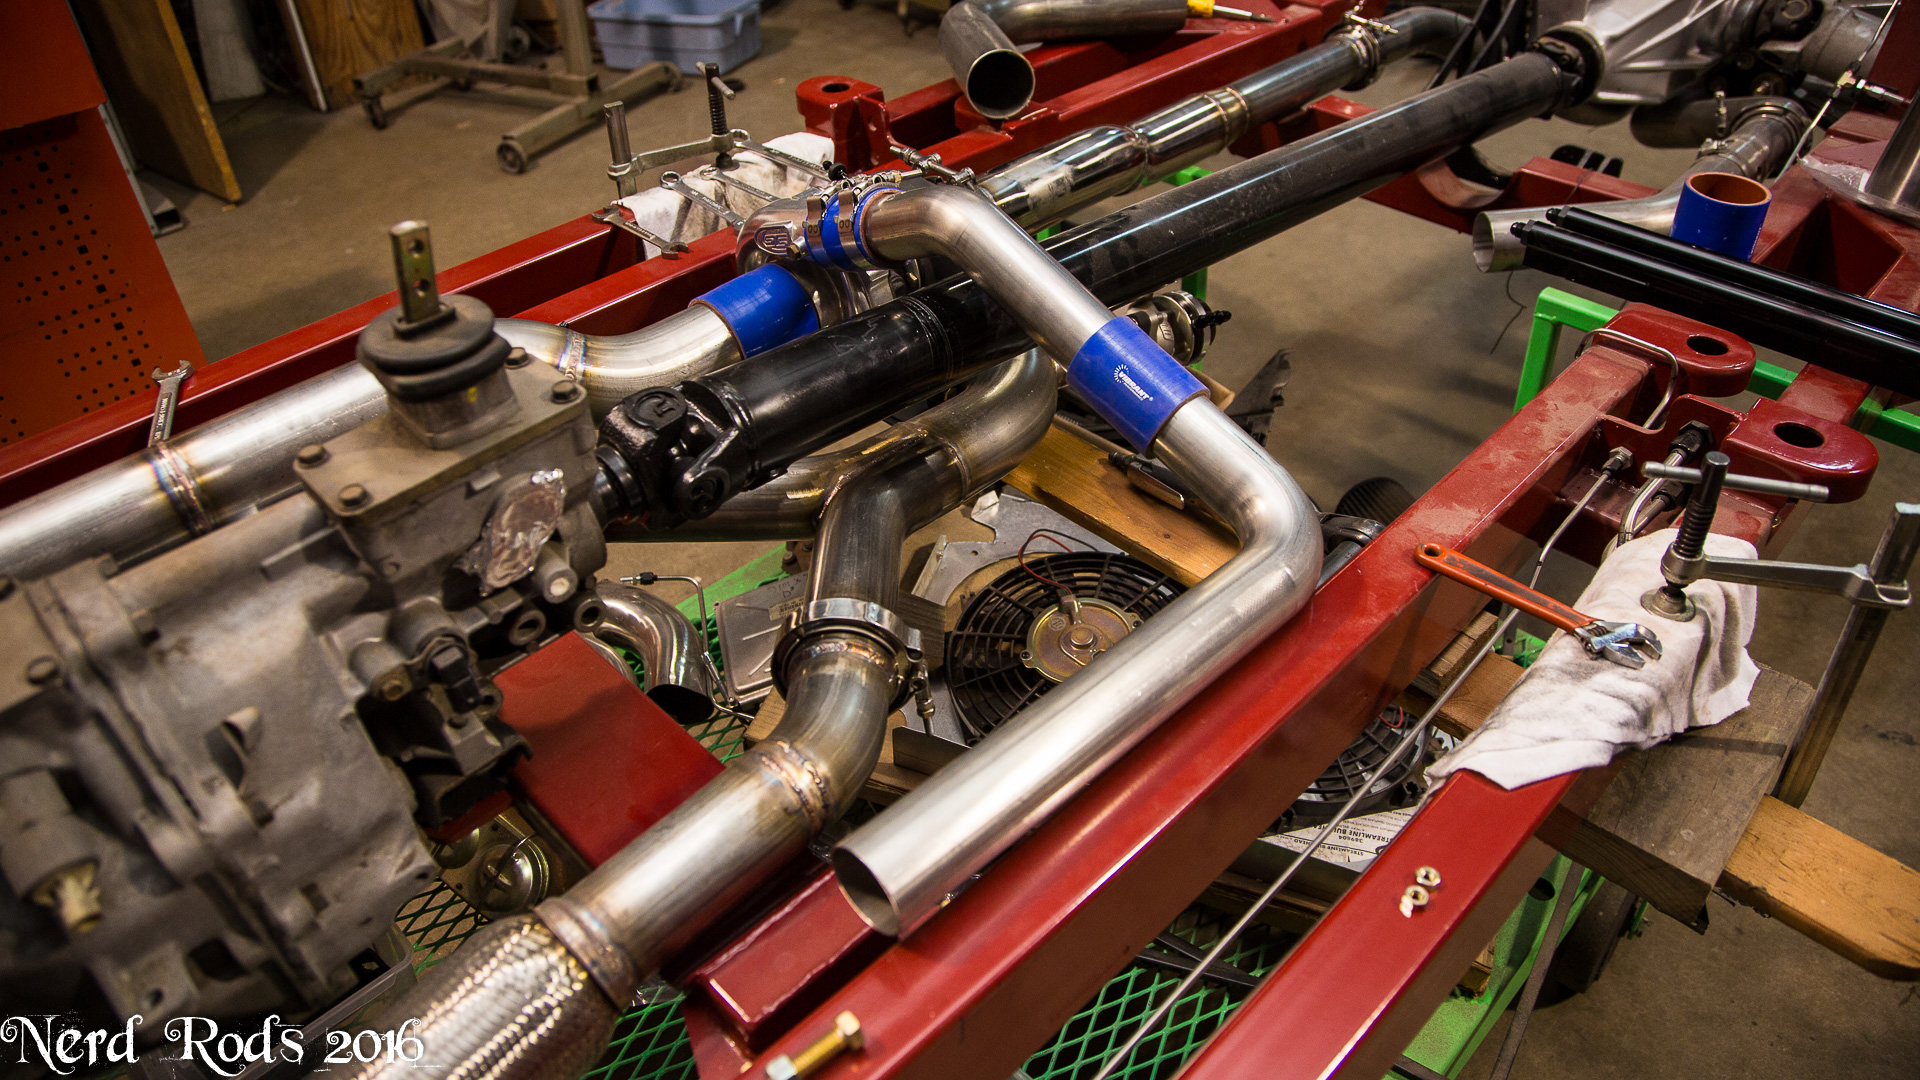
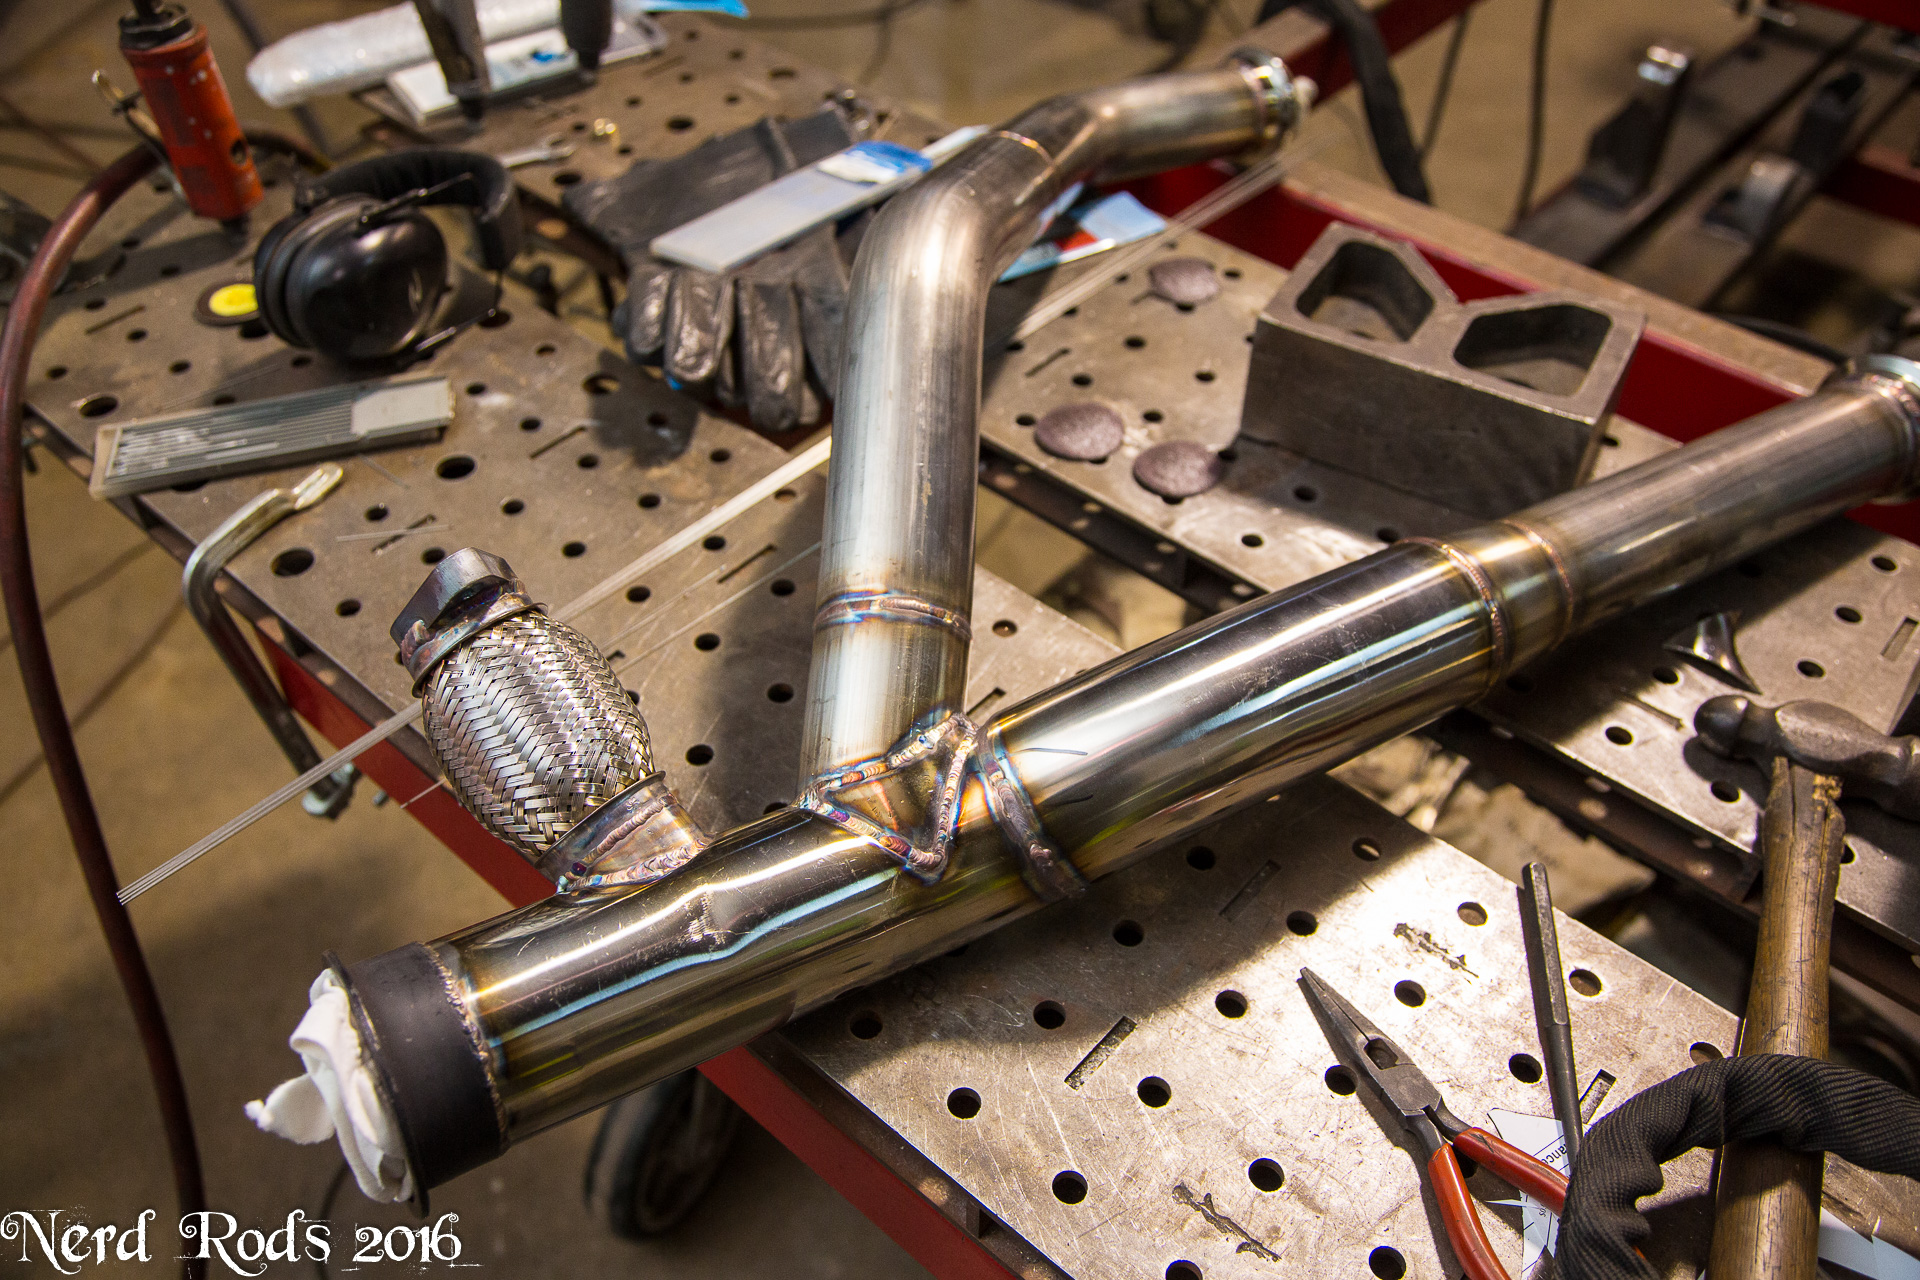
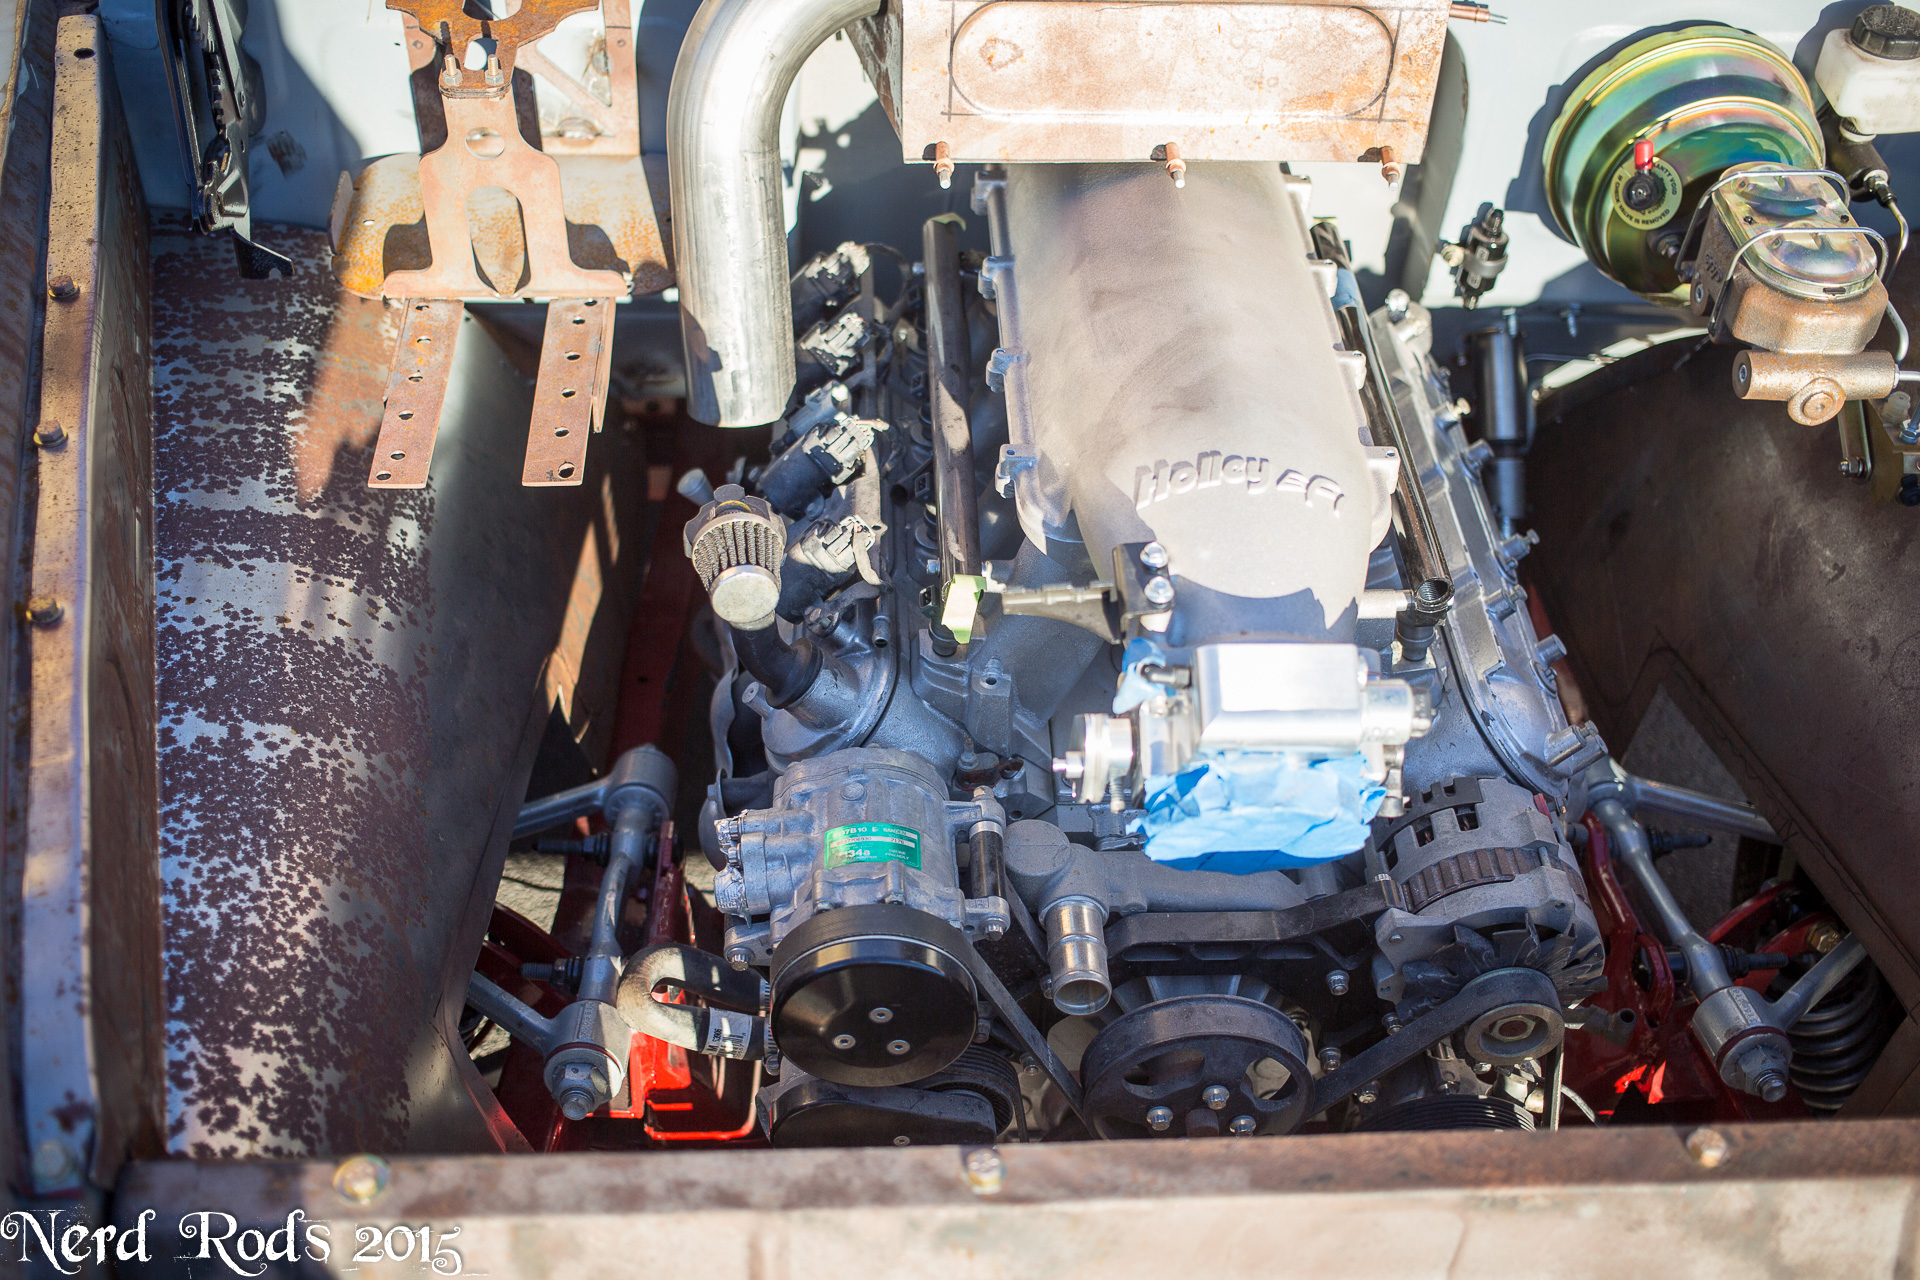
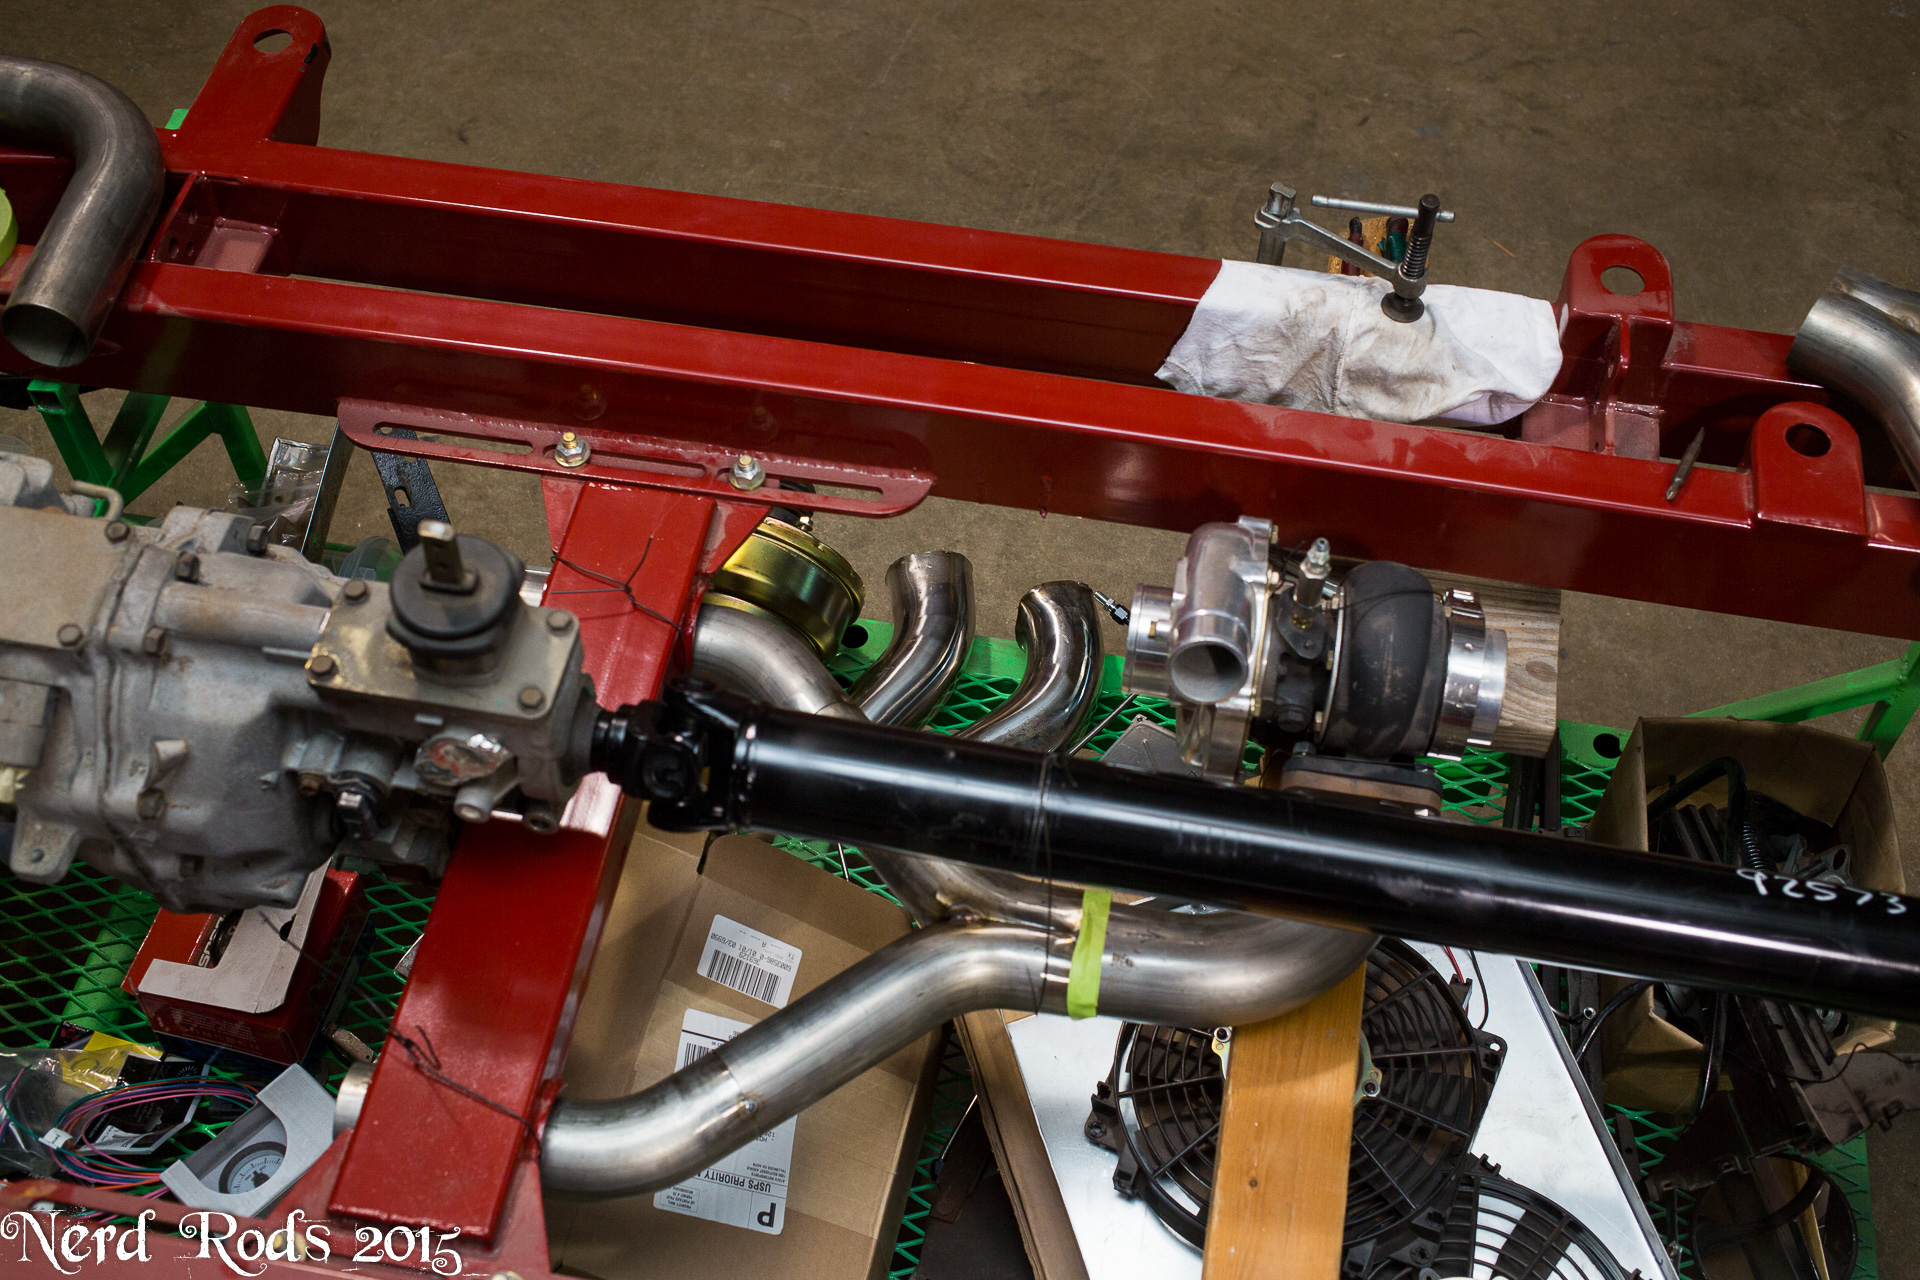
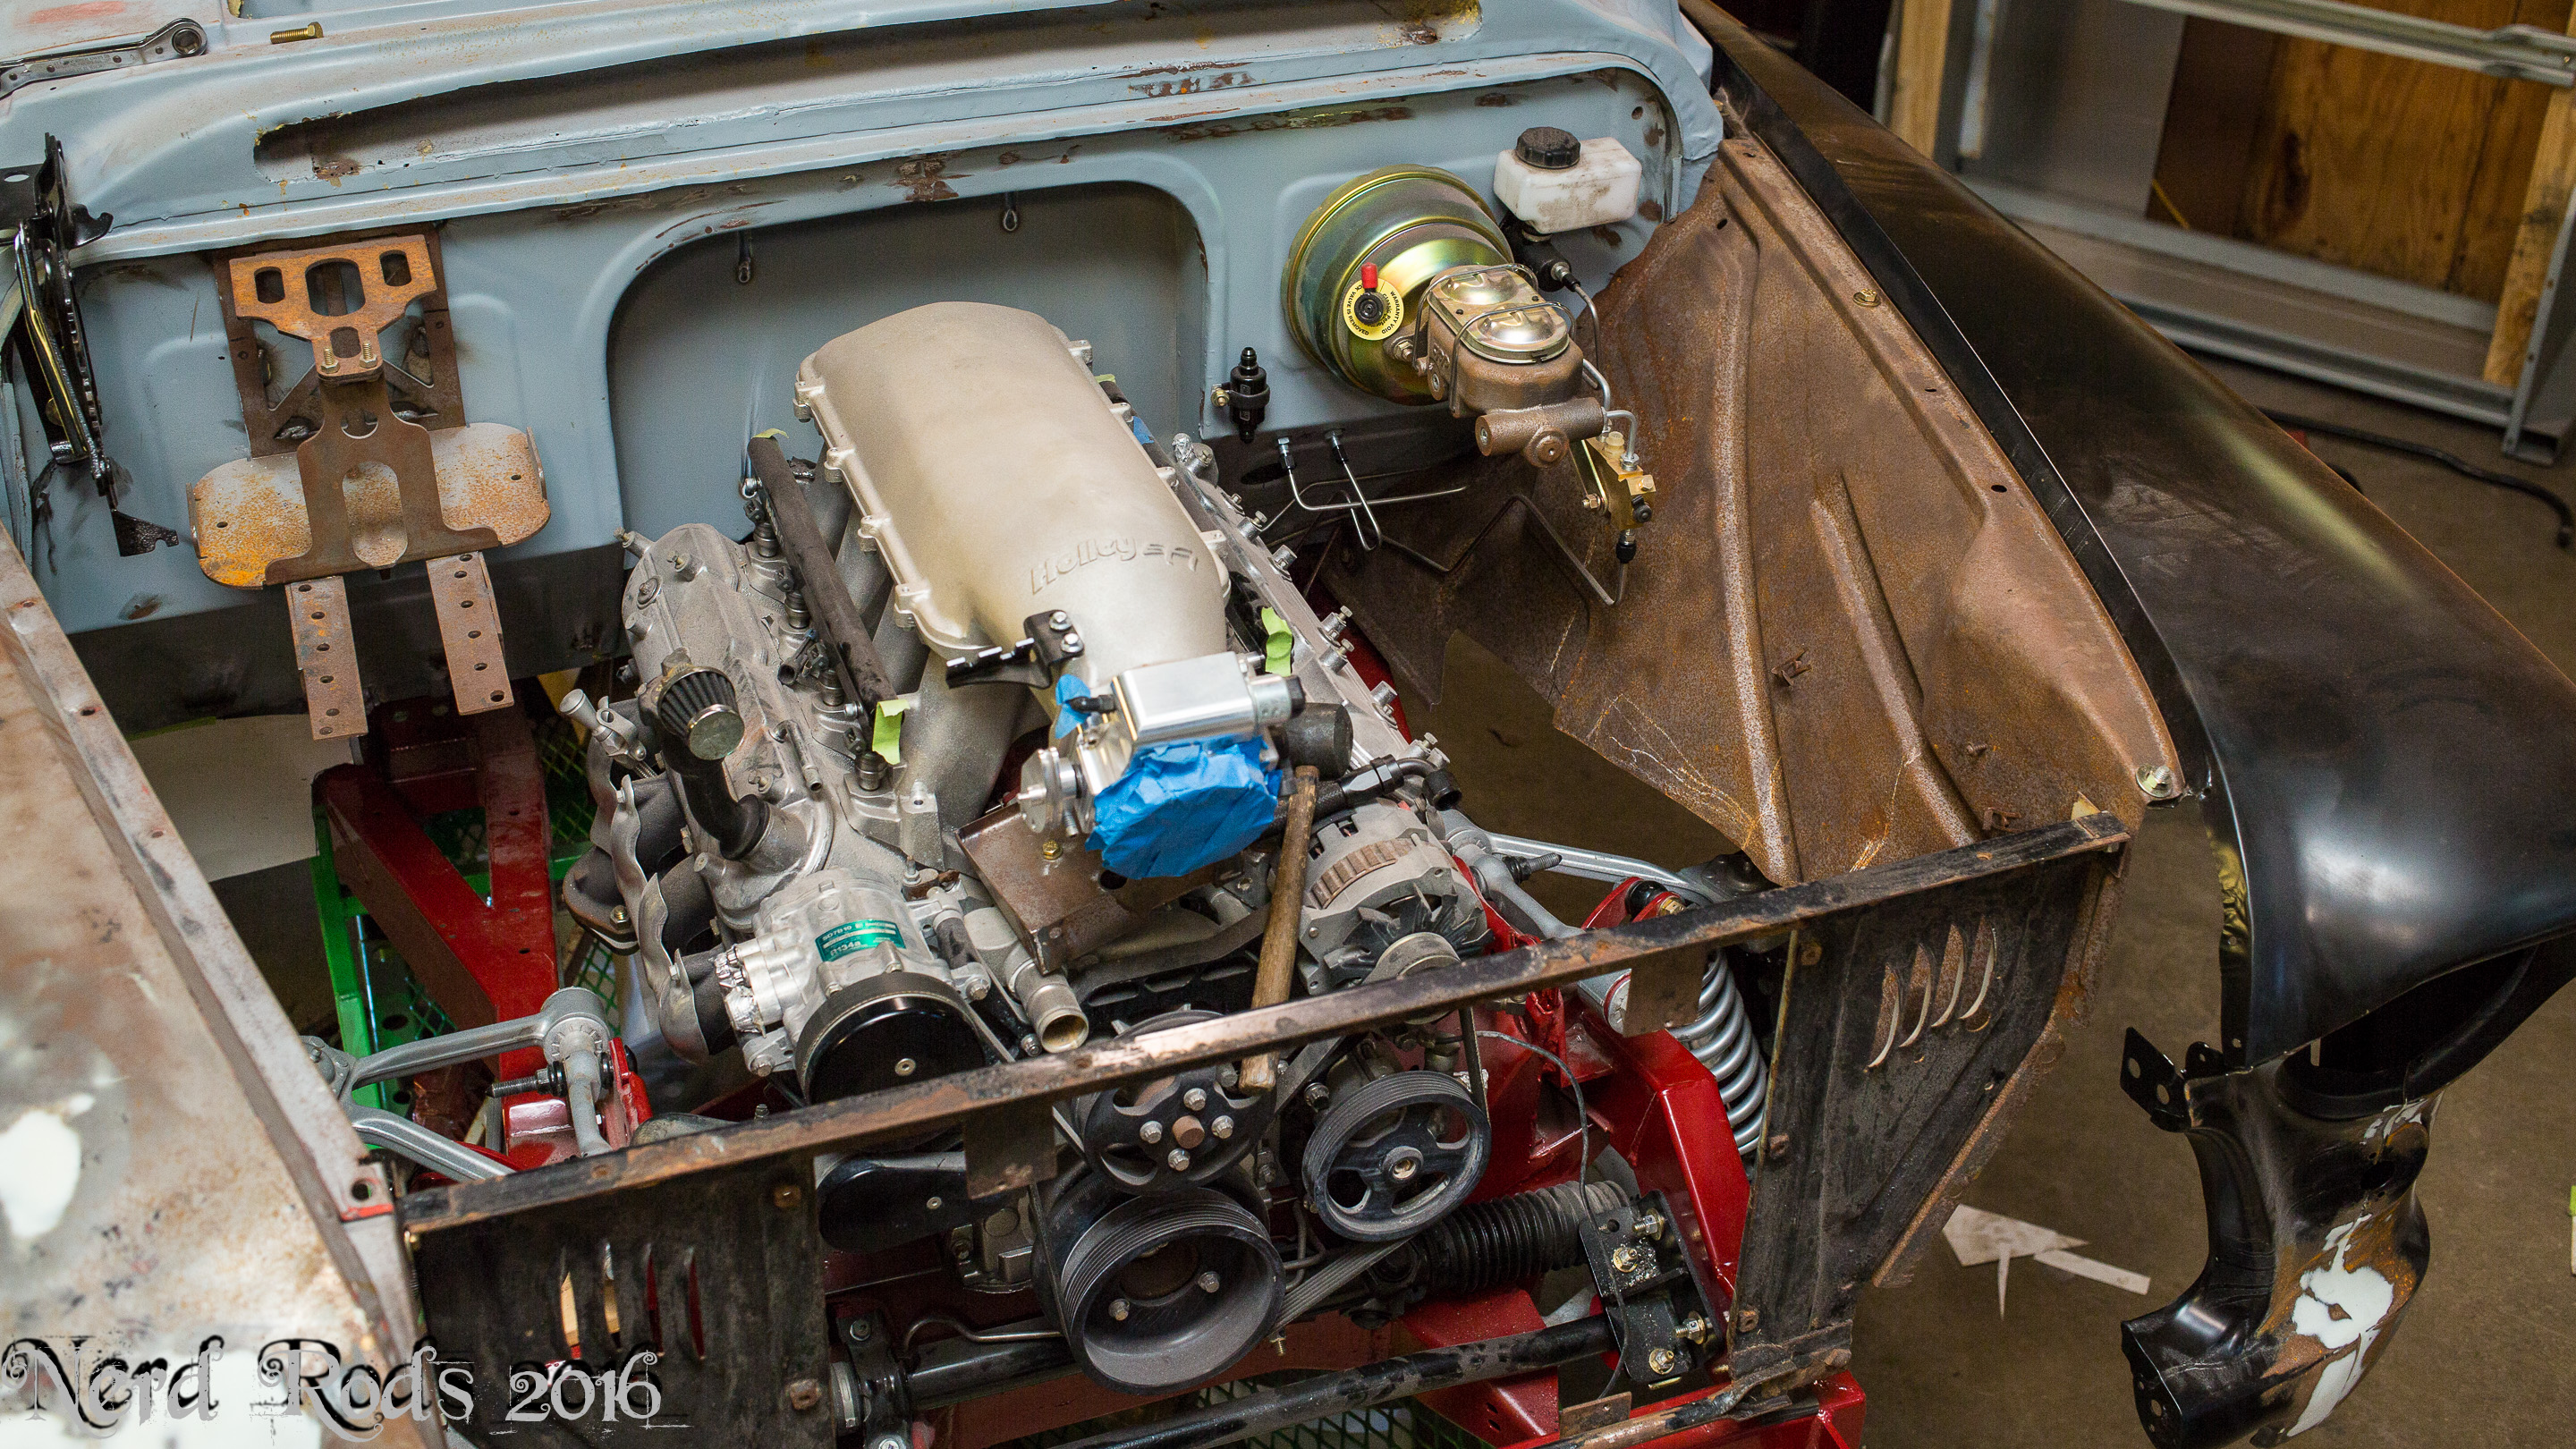
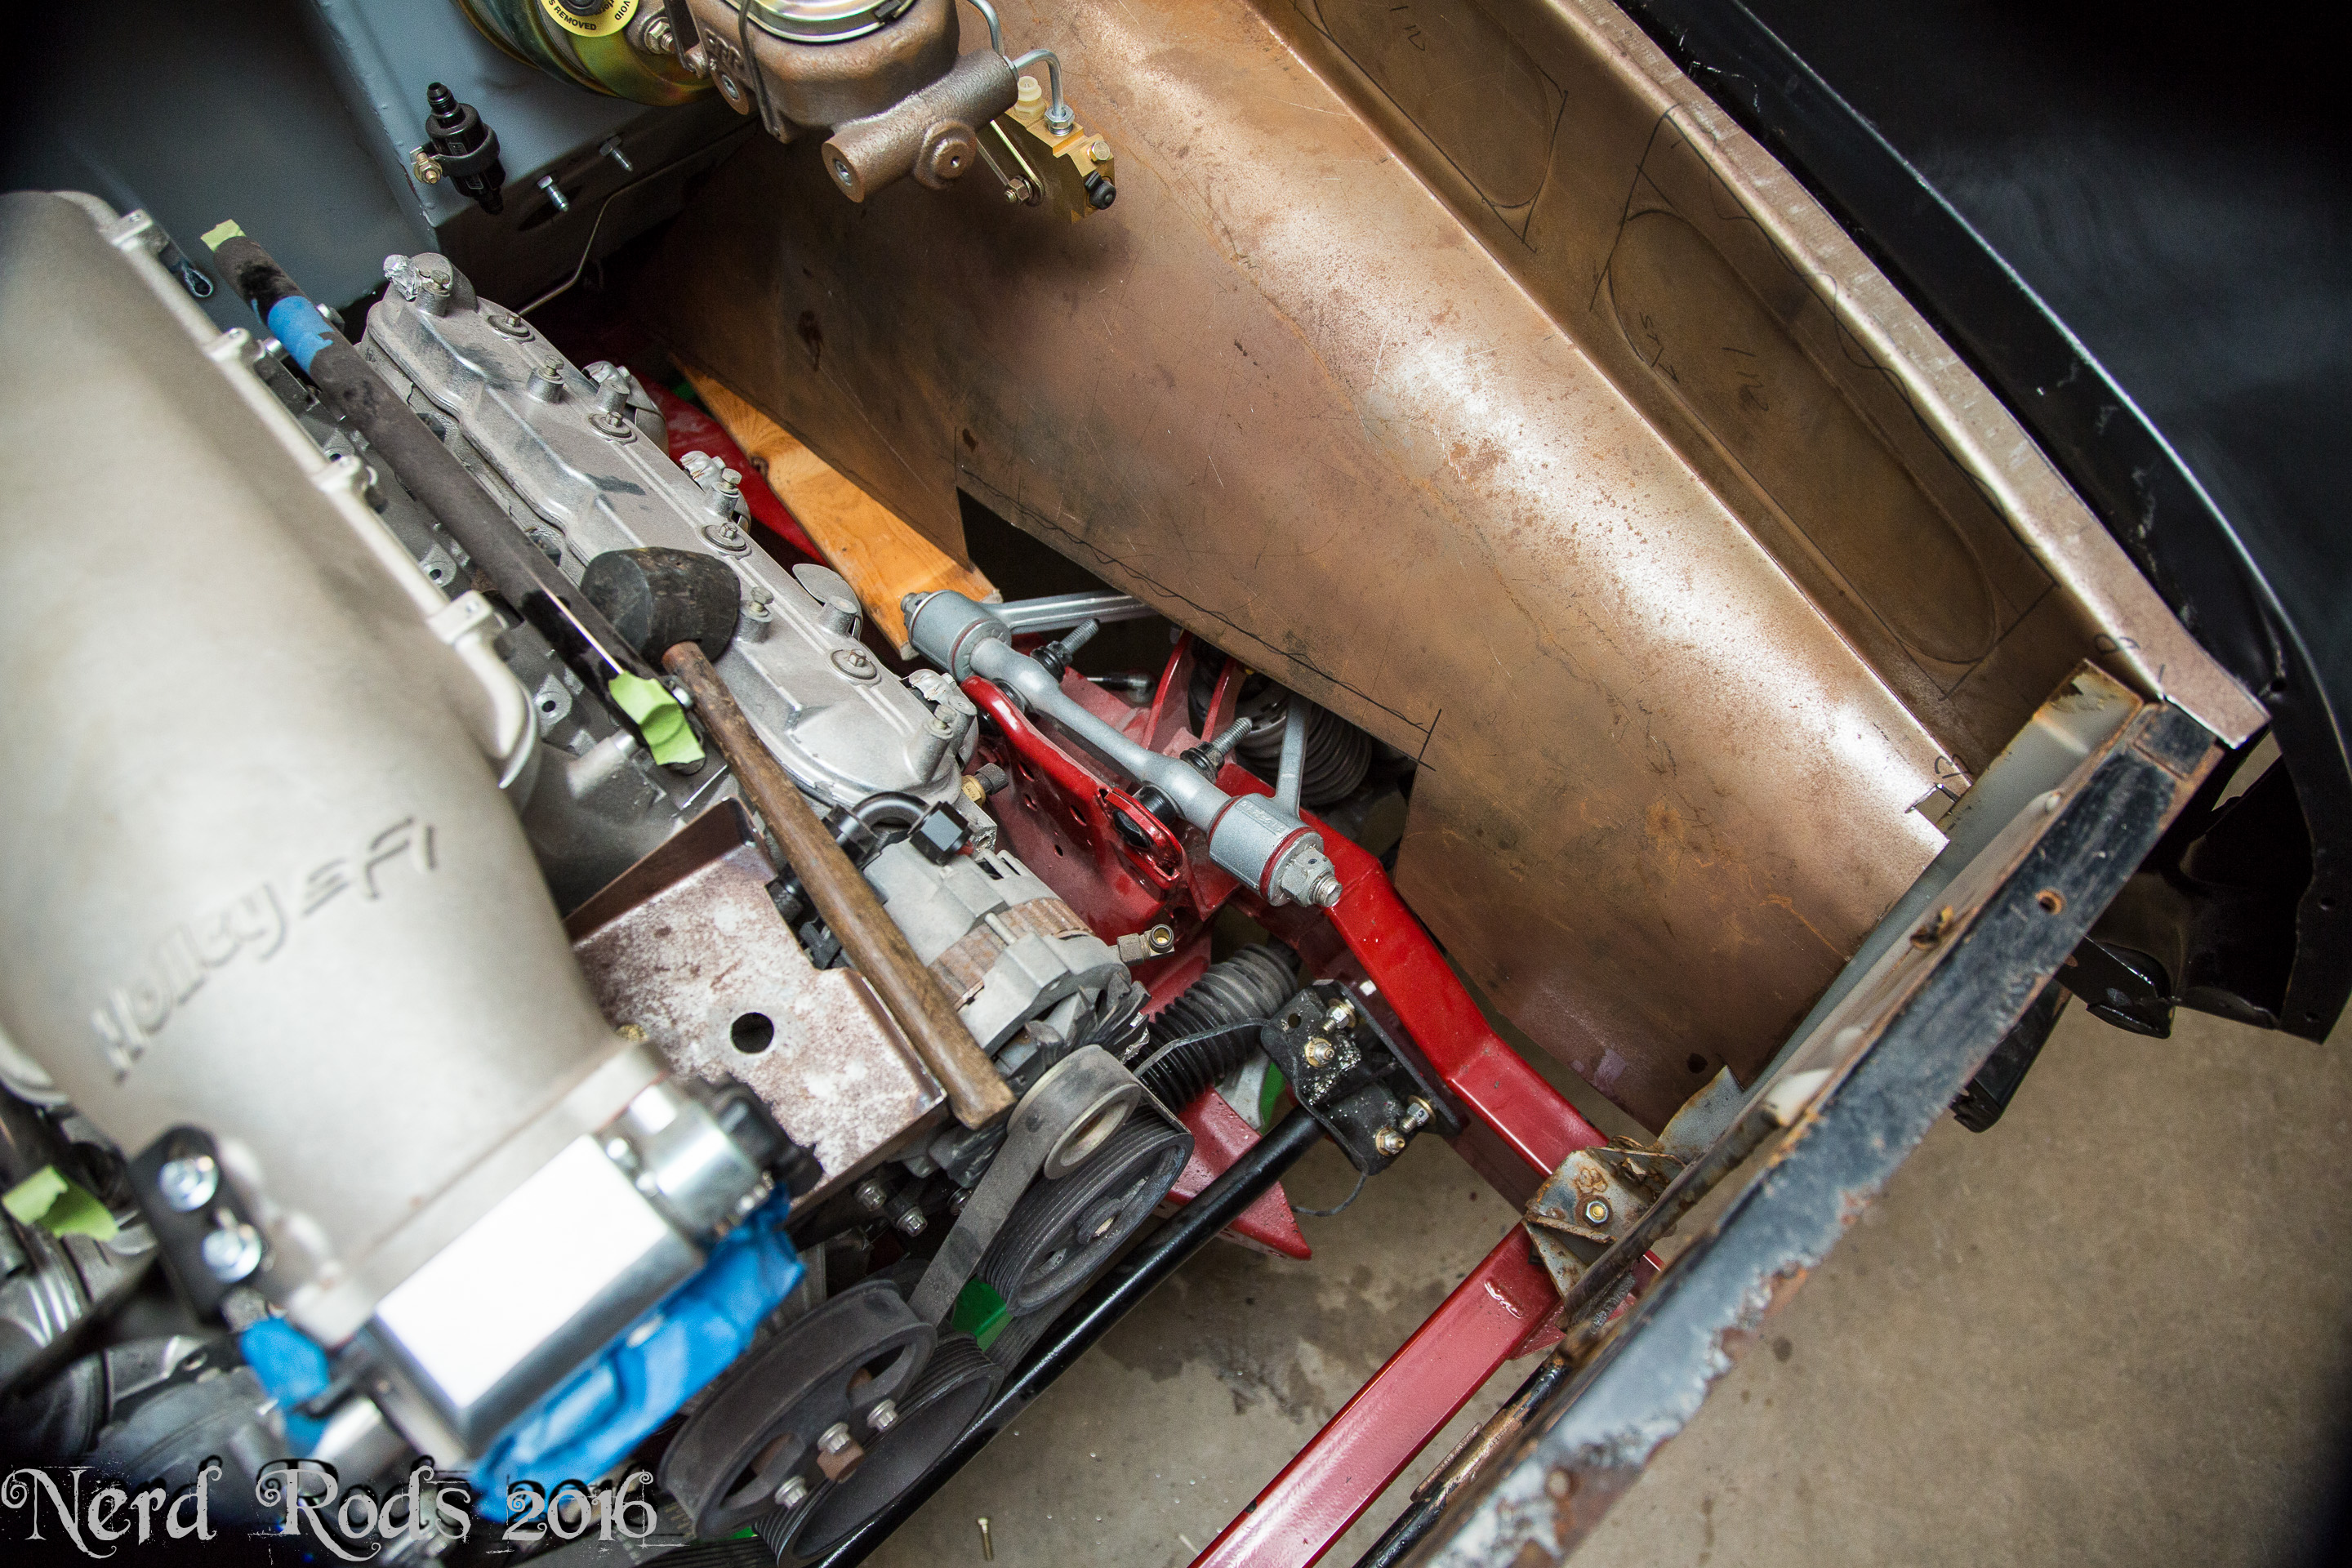
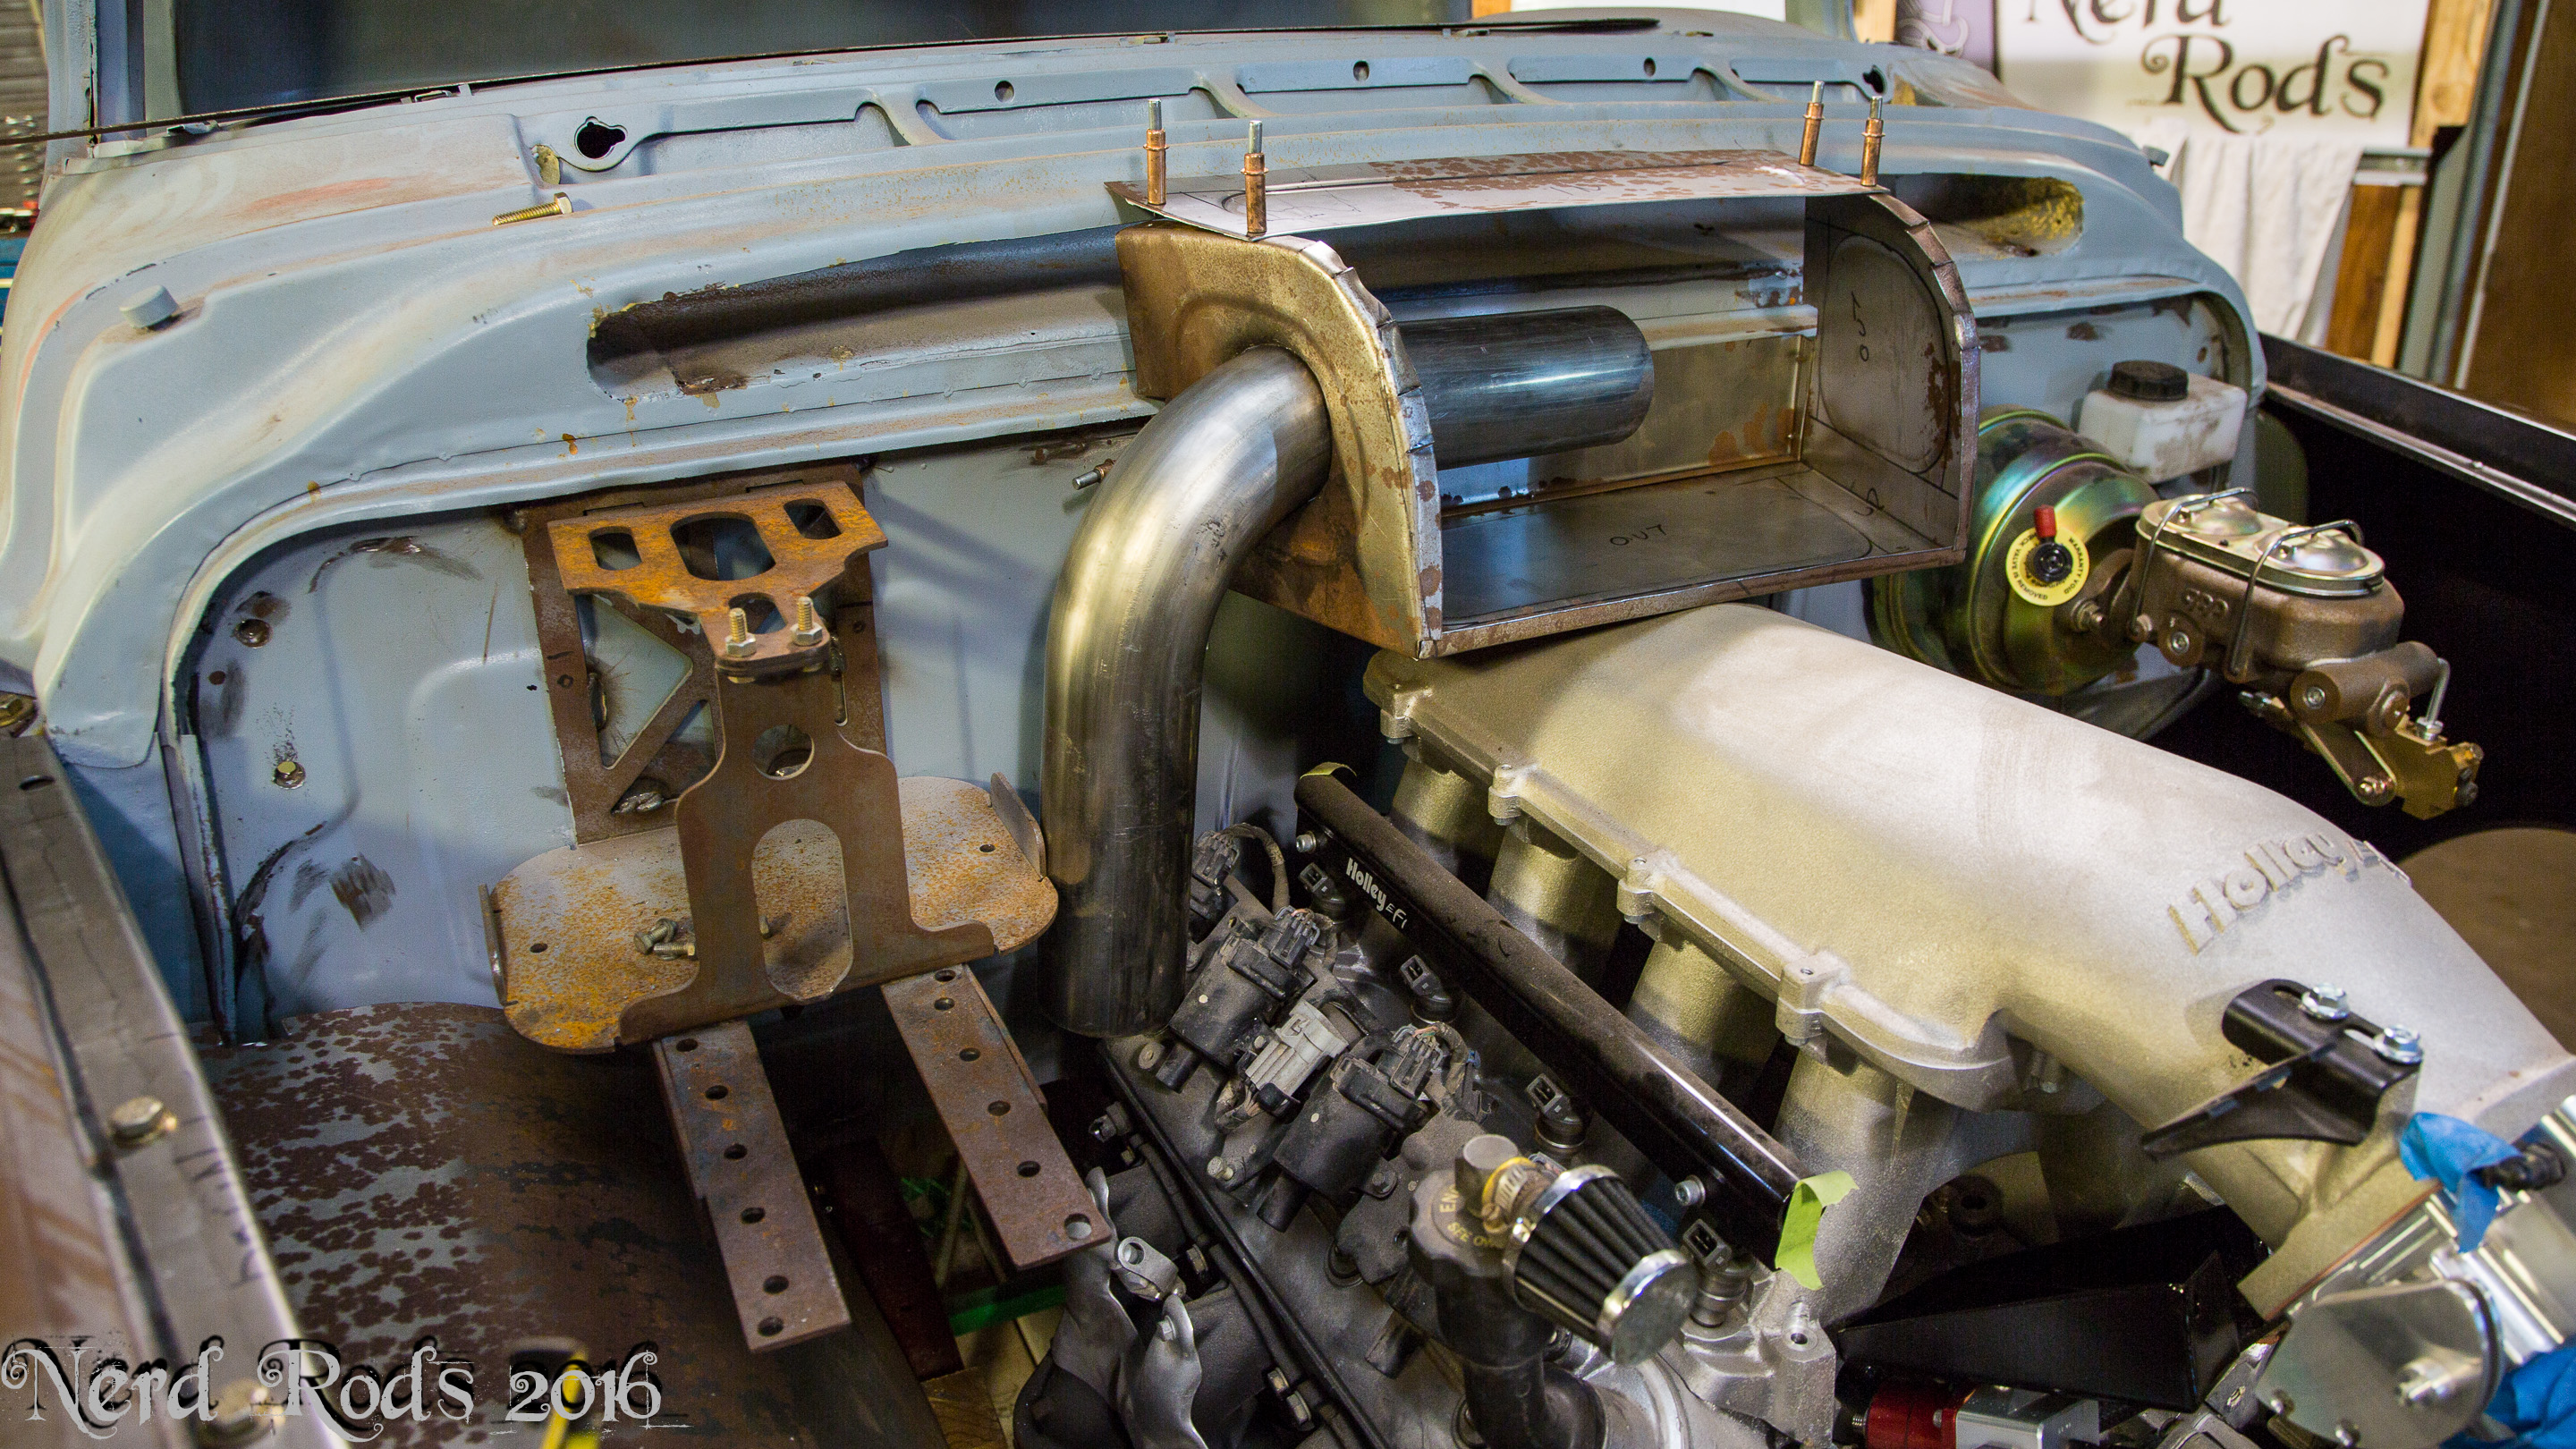
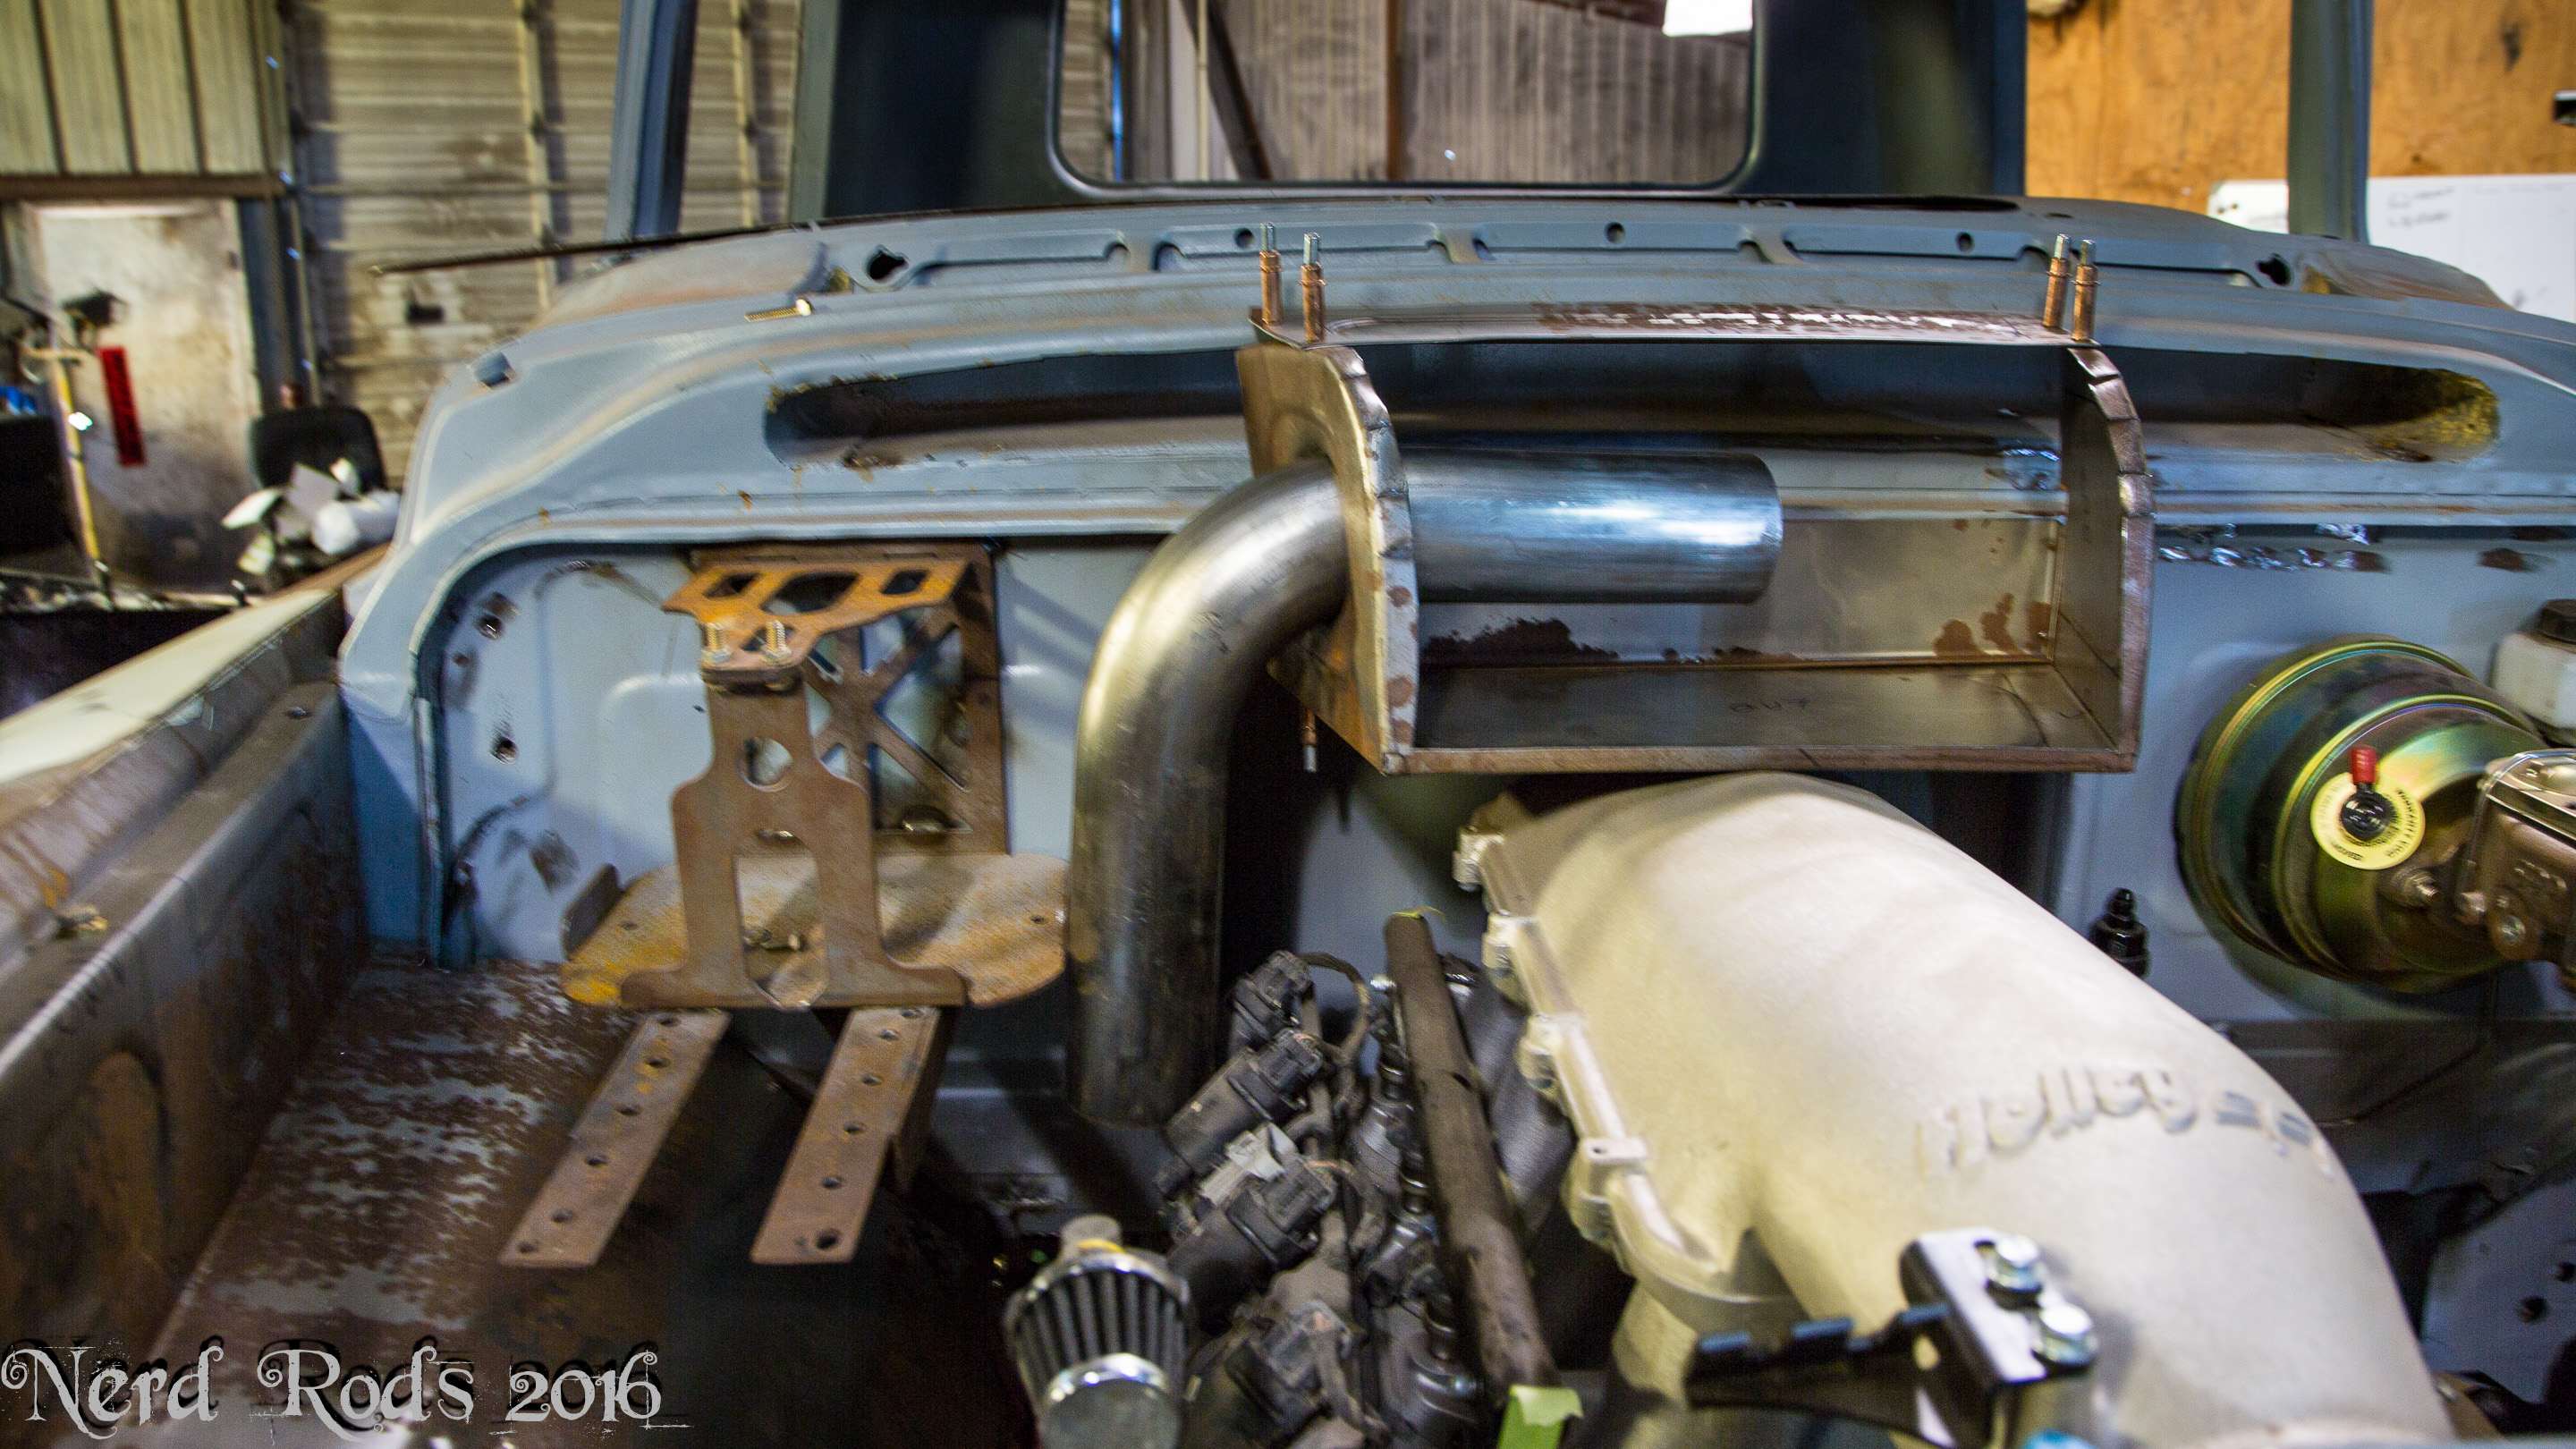
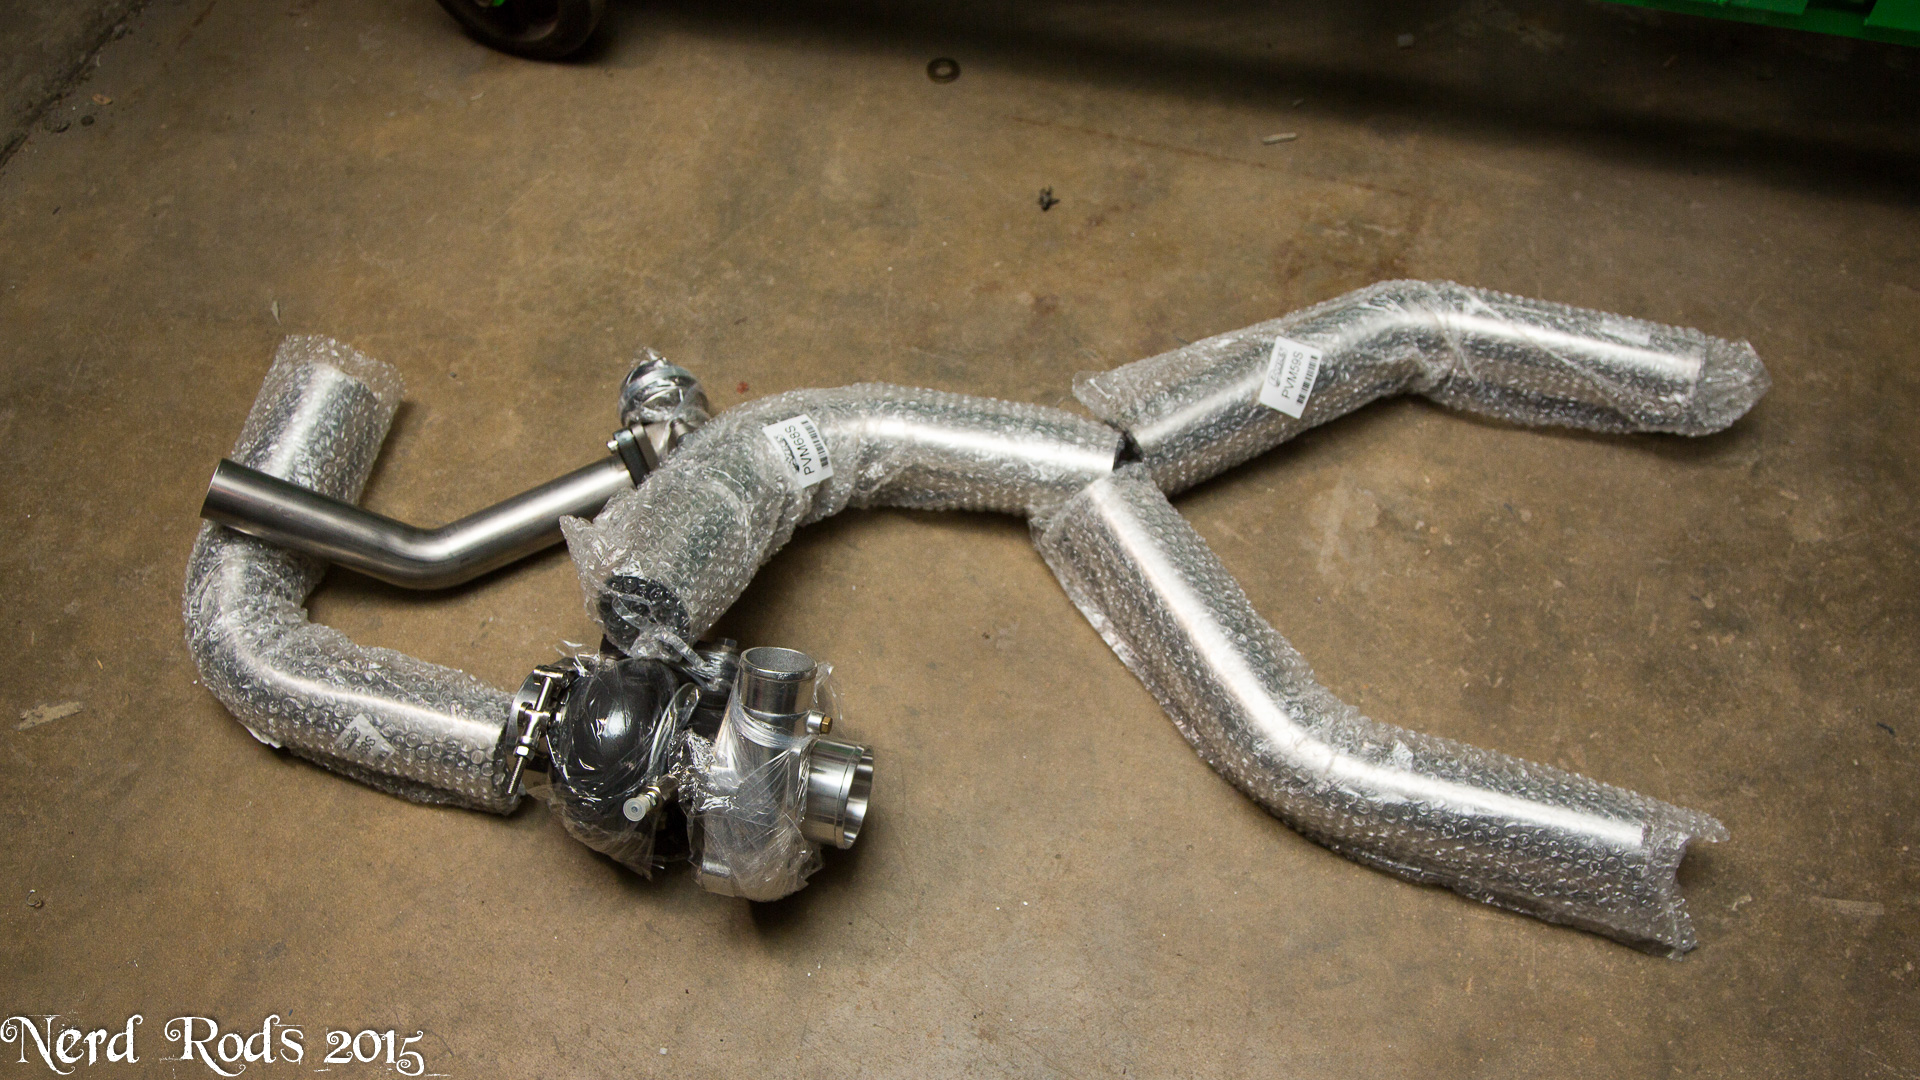
Moving onto getting all the boost tubing mounted. I opted for stainless over aluminum this time for reliability compared to my previous builds. The goal is that the truck will be Dad's daily so a few things like this are acceptable for the peace of mind if give if you hit a road gator, or small animal that will roll up under the truck and screw something up.

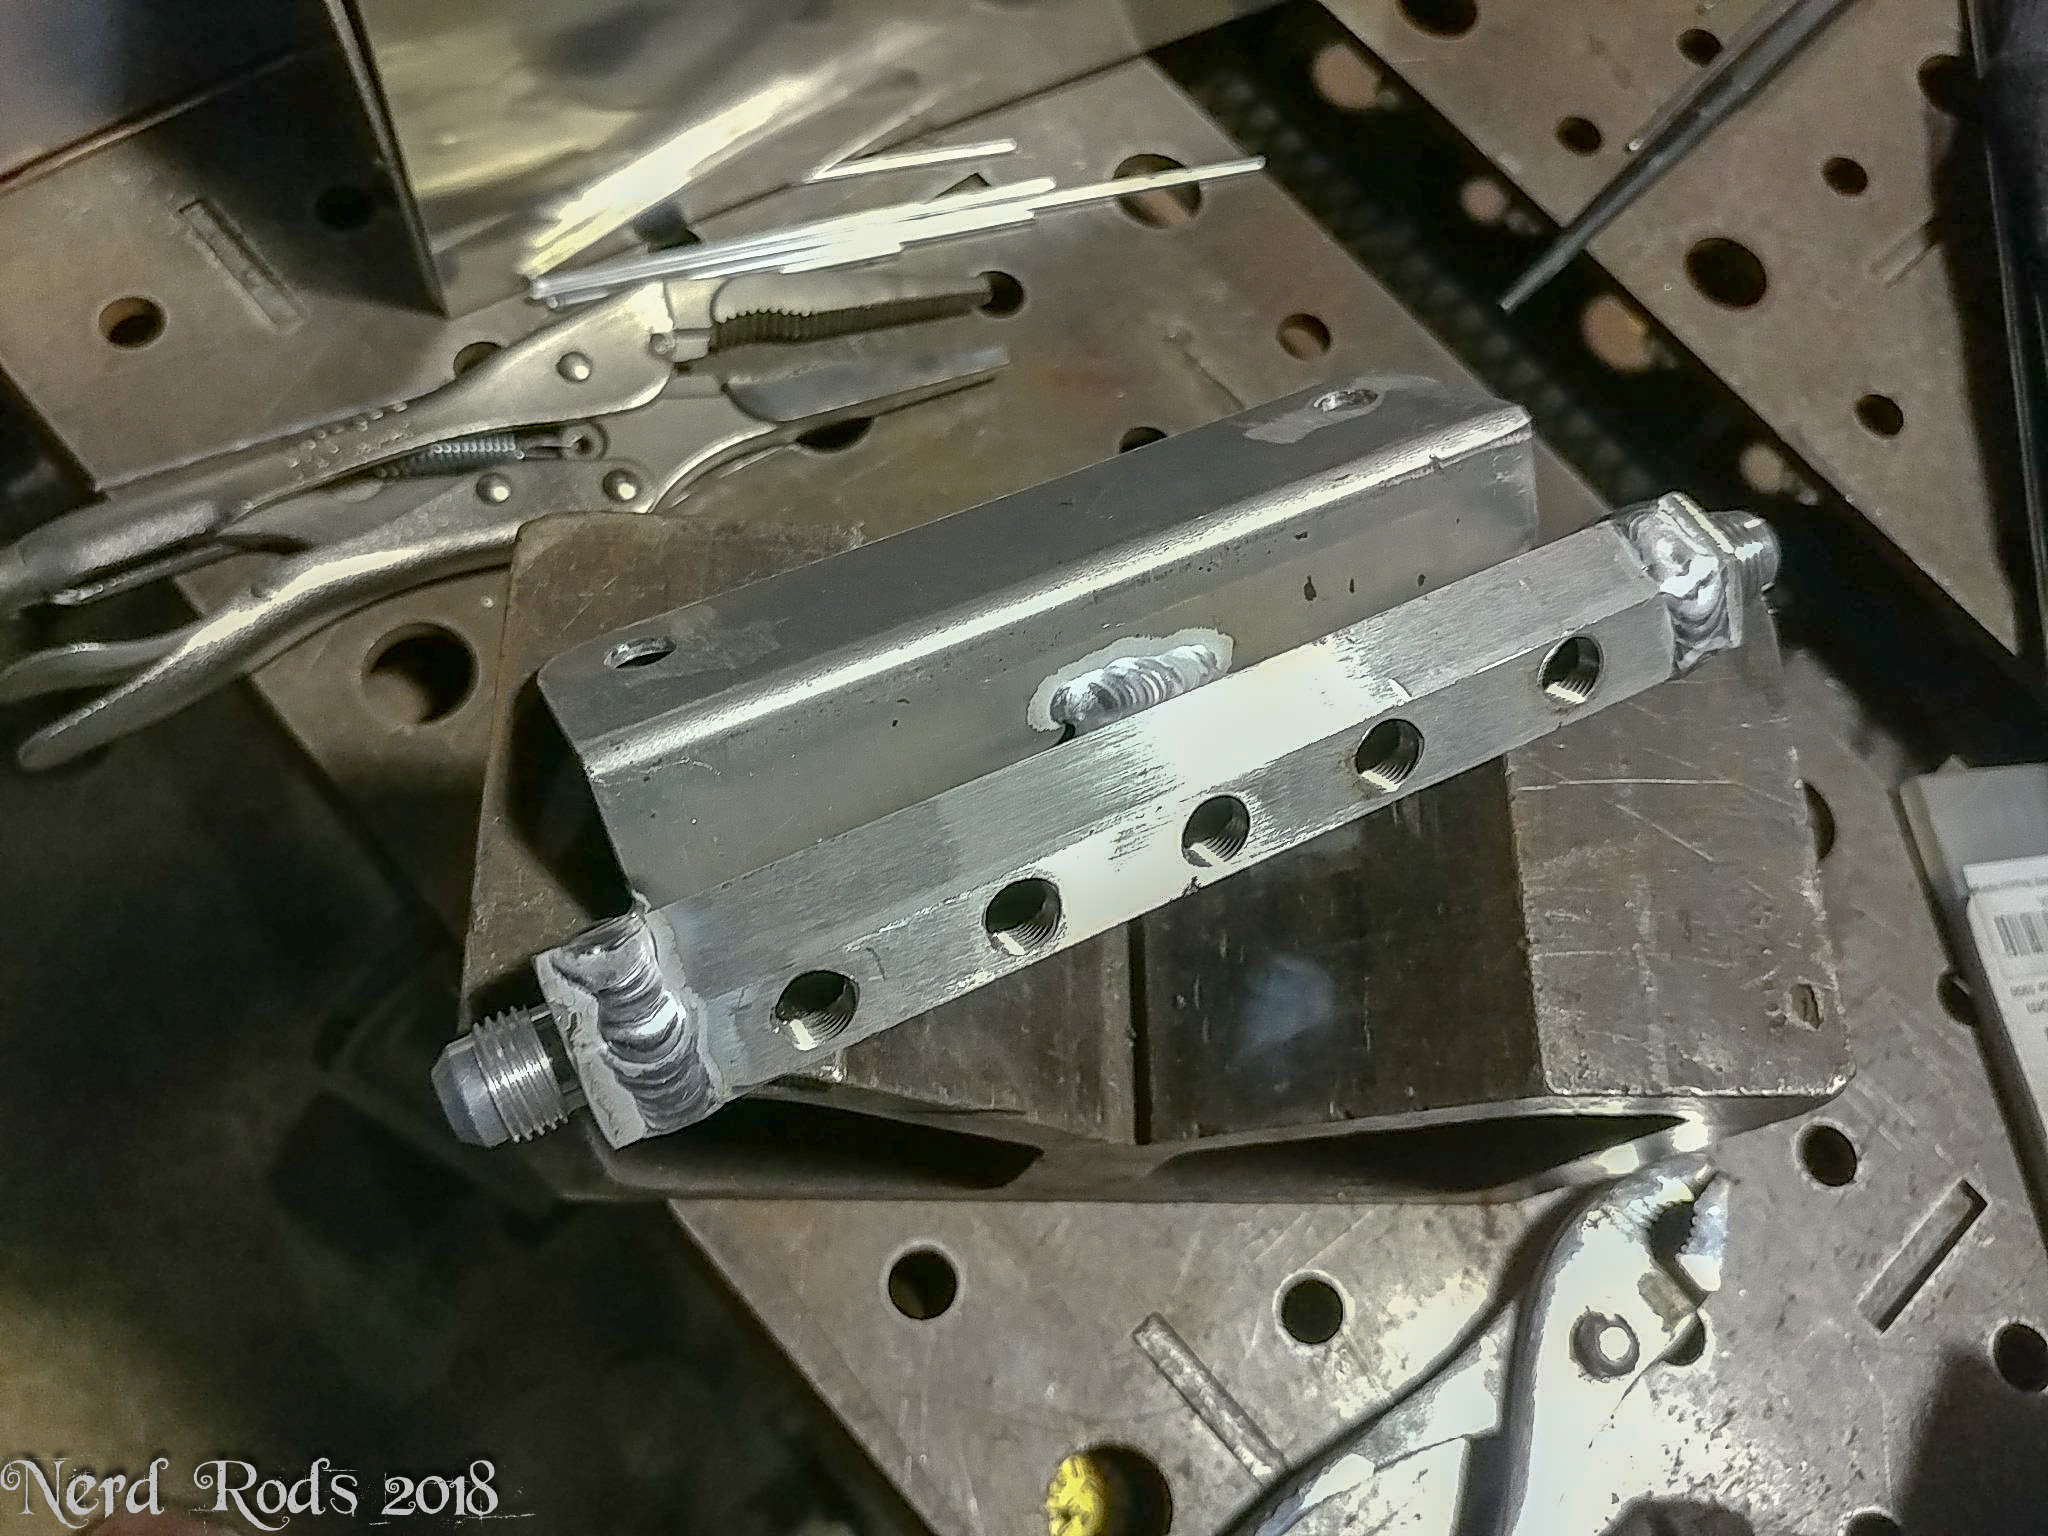
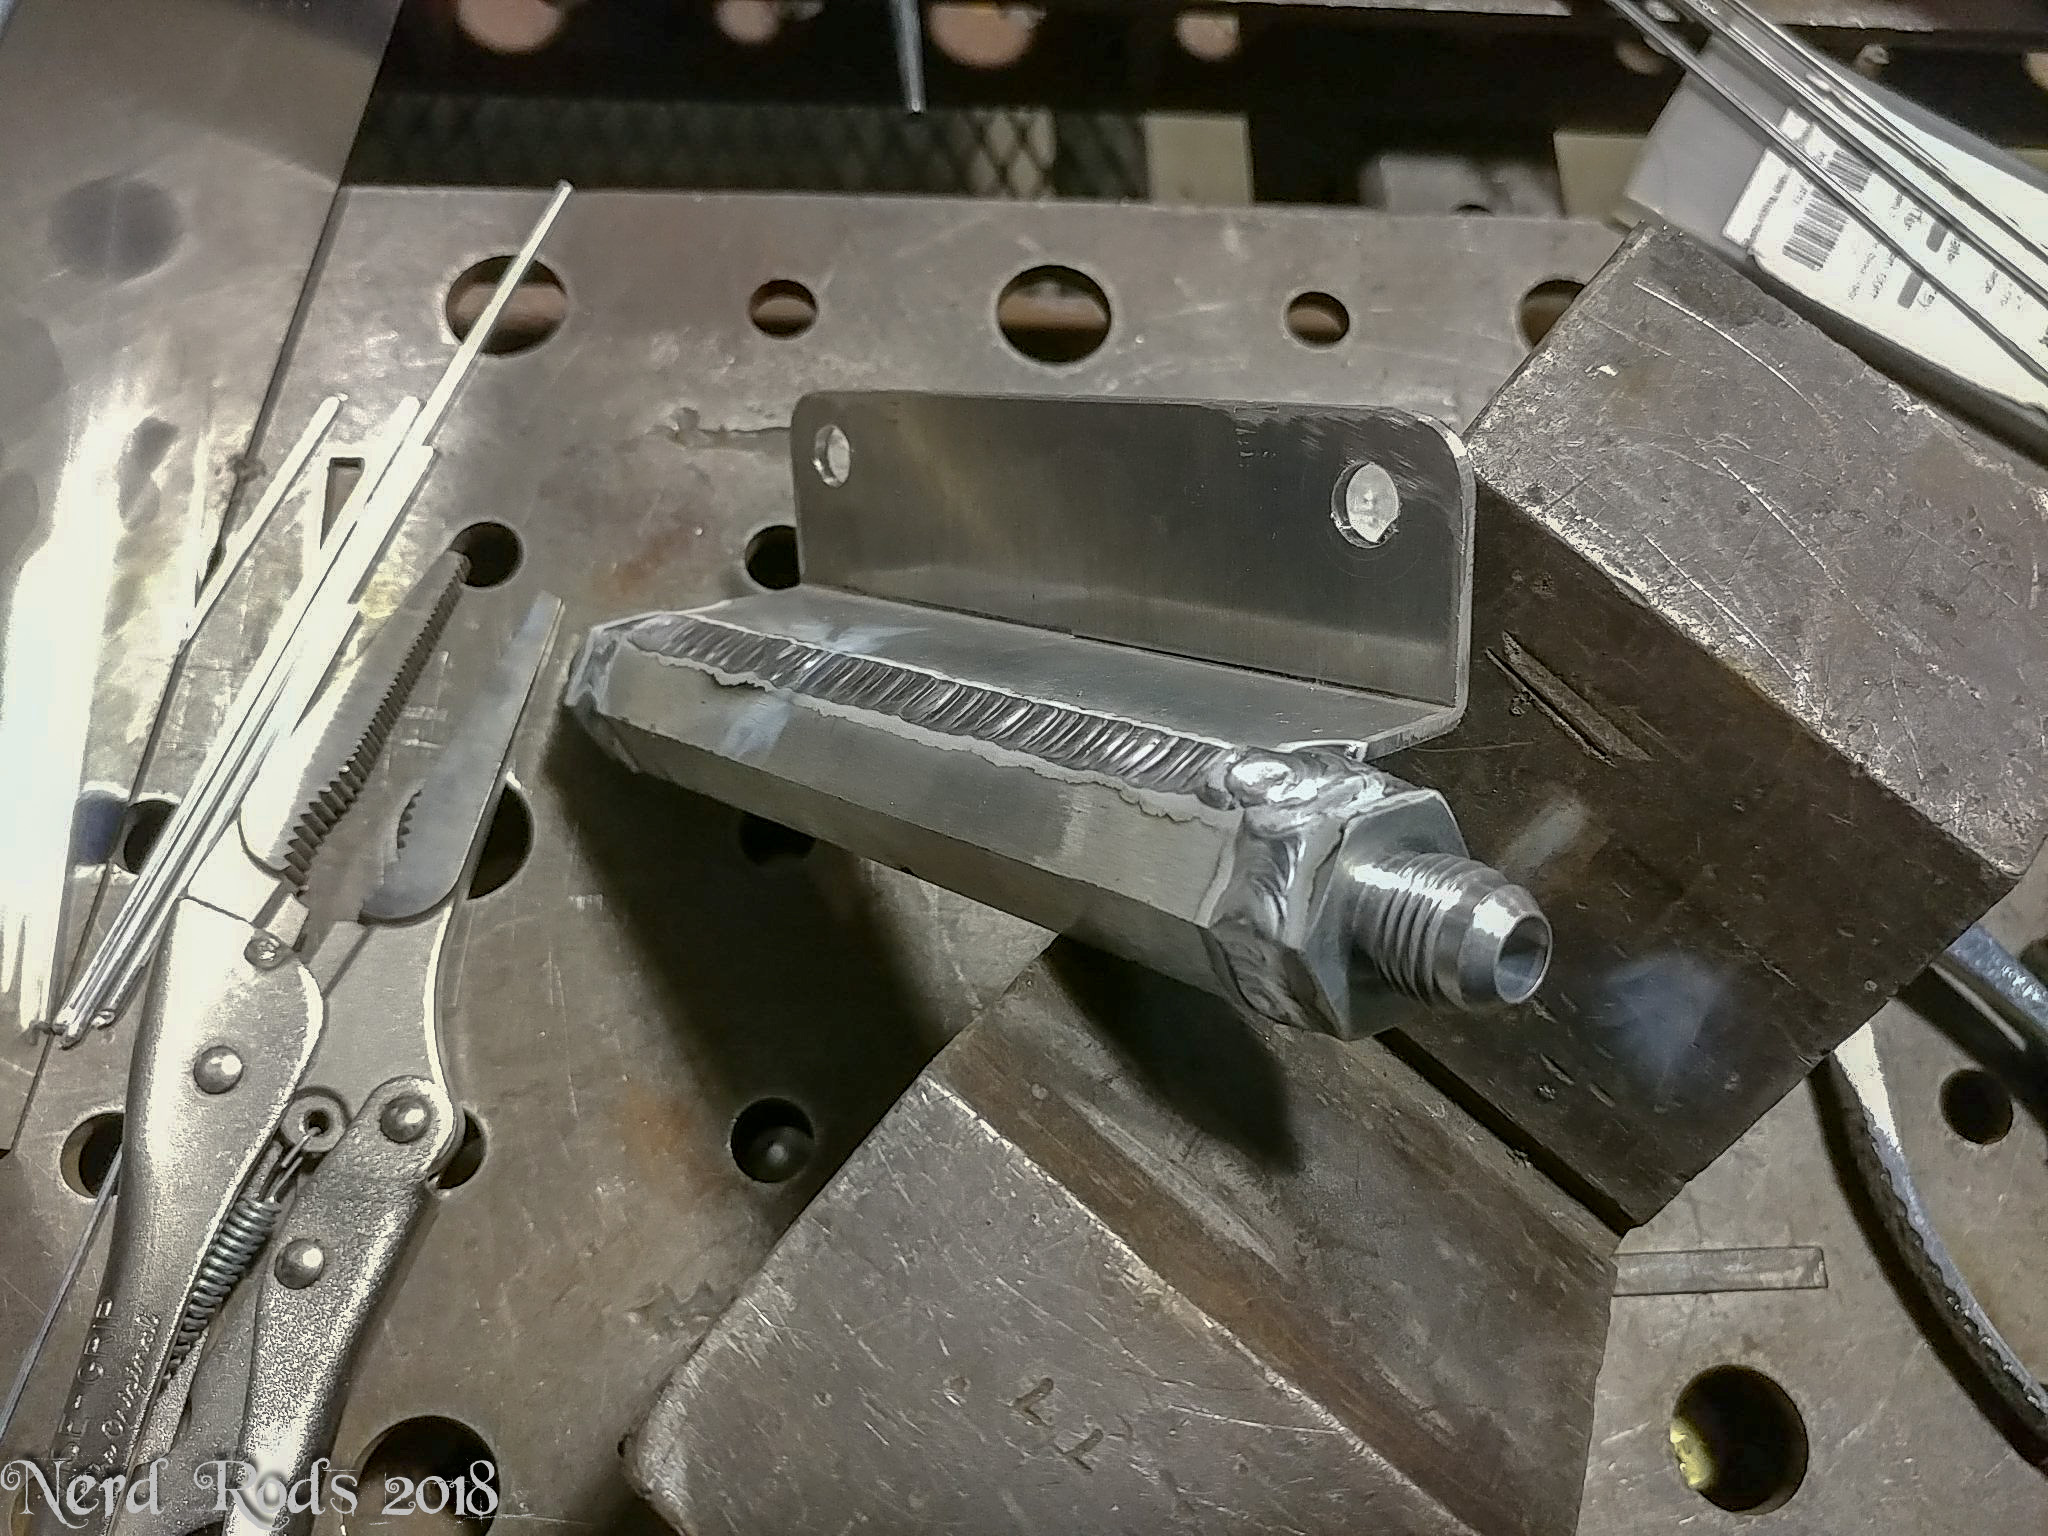
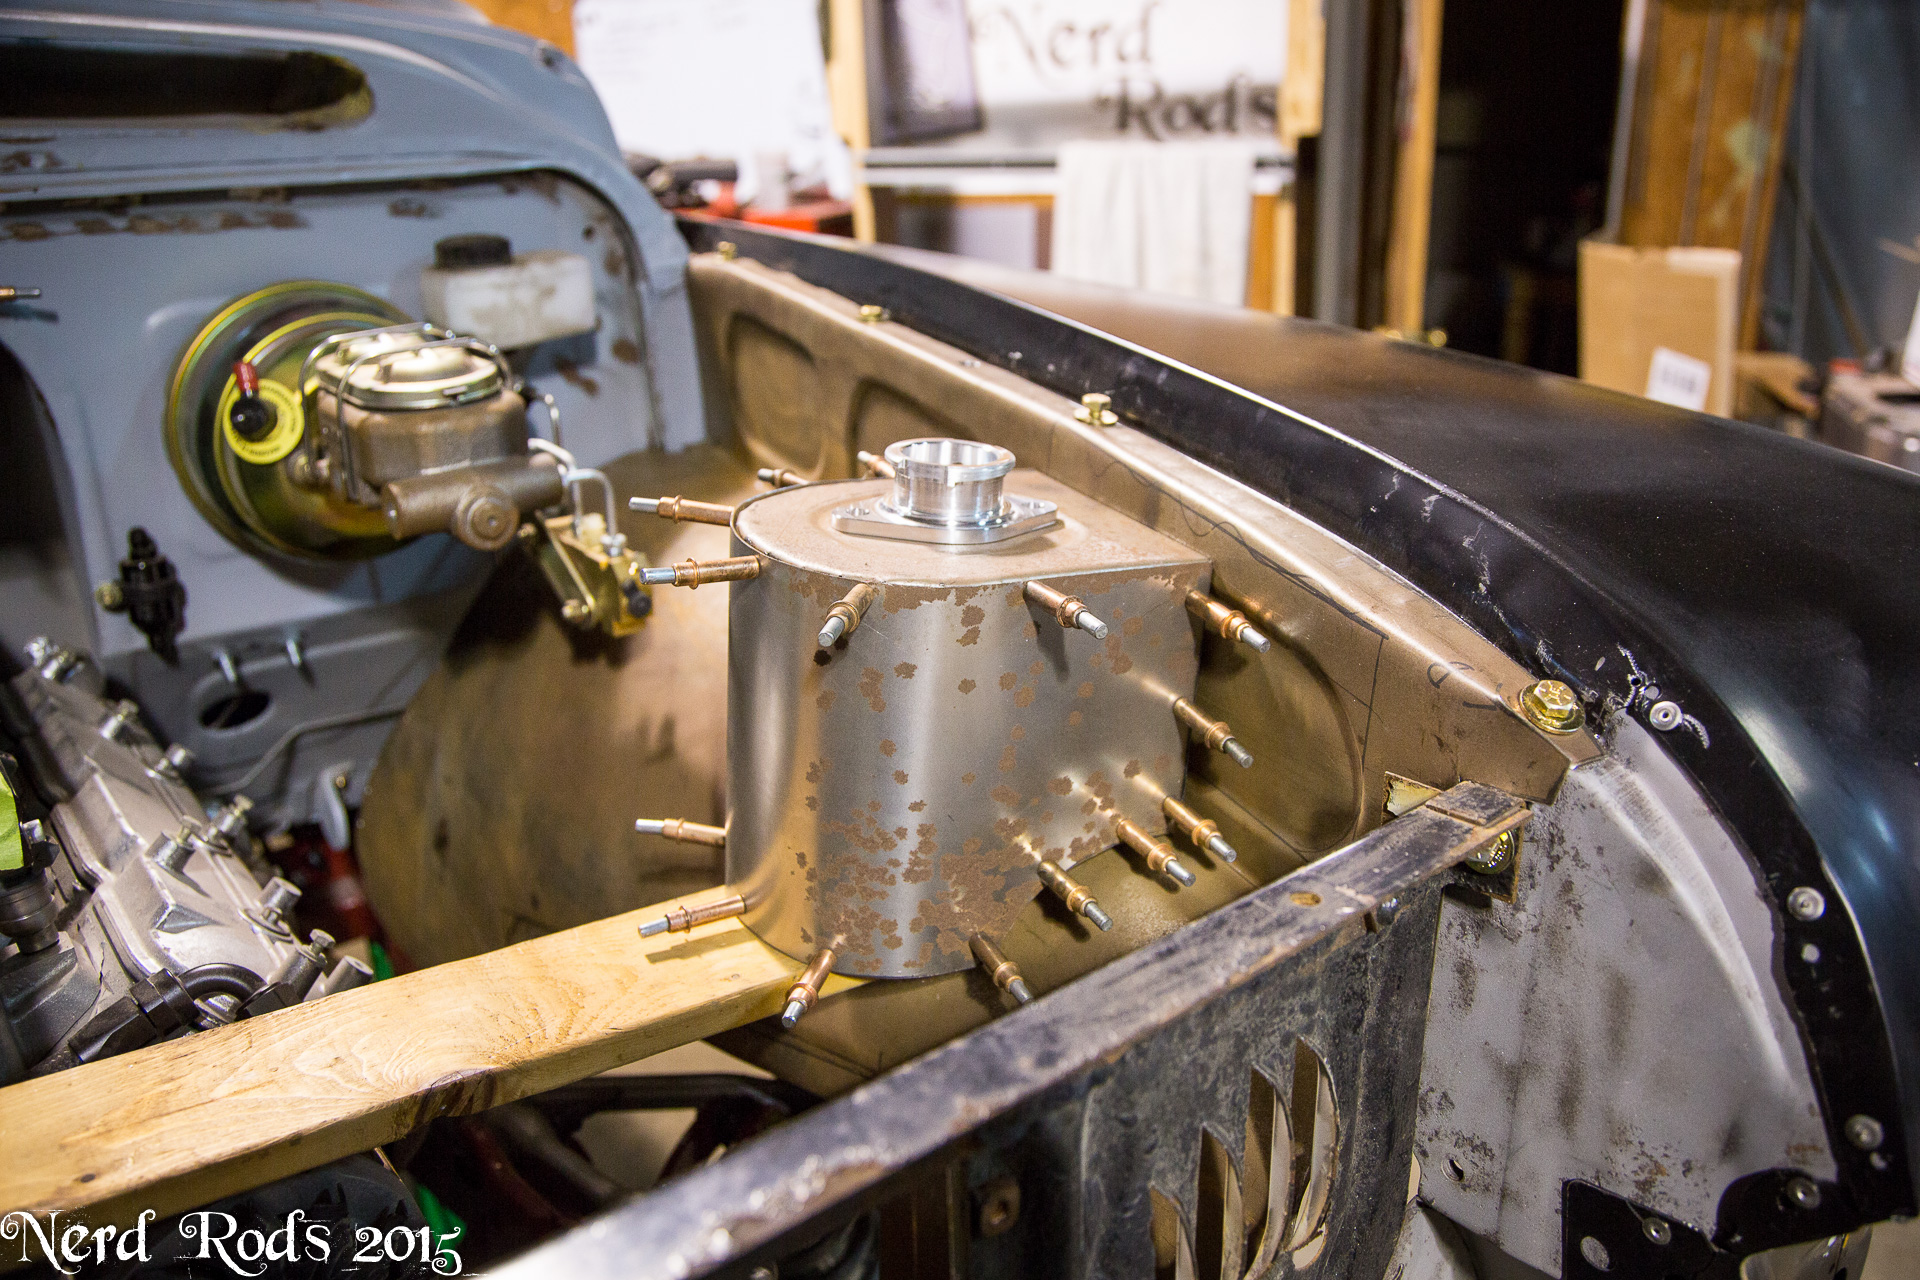
With all the items we need to hook to vacuum or boost references we had to cook up this manifold to have them all functional. Waist gate, Blow off, Boost controller, MAP sensor, Boost Gauge, and Vacuum booster but only one large port on the intake.
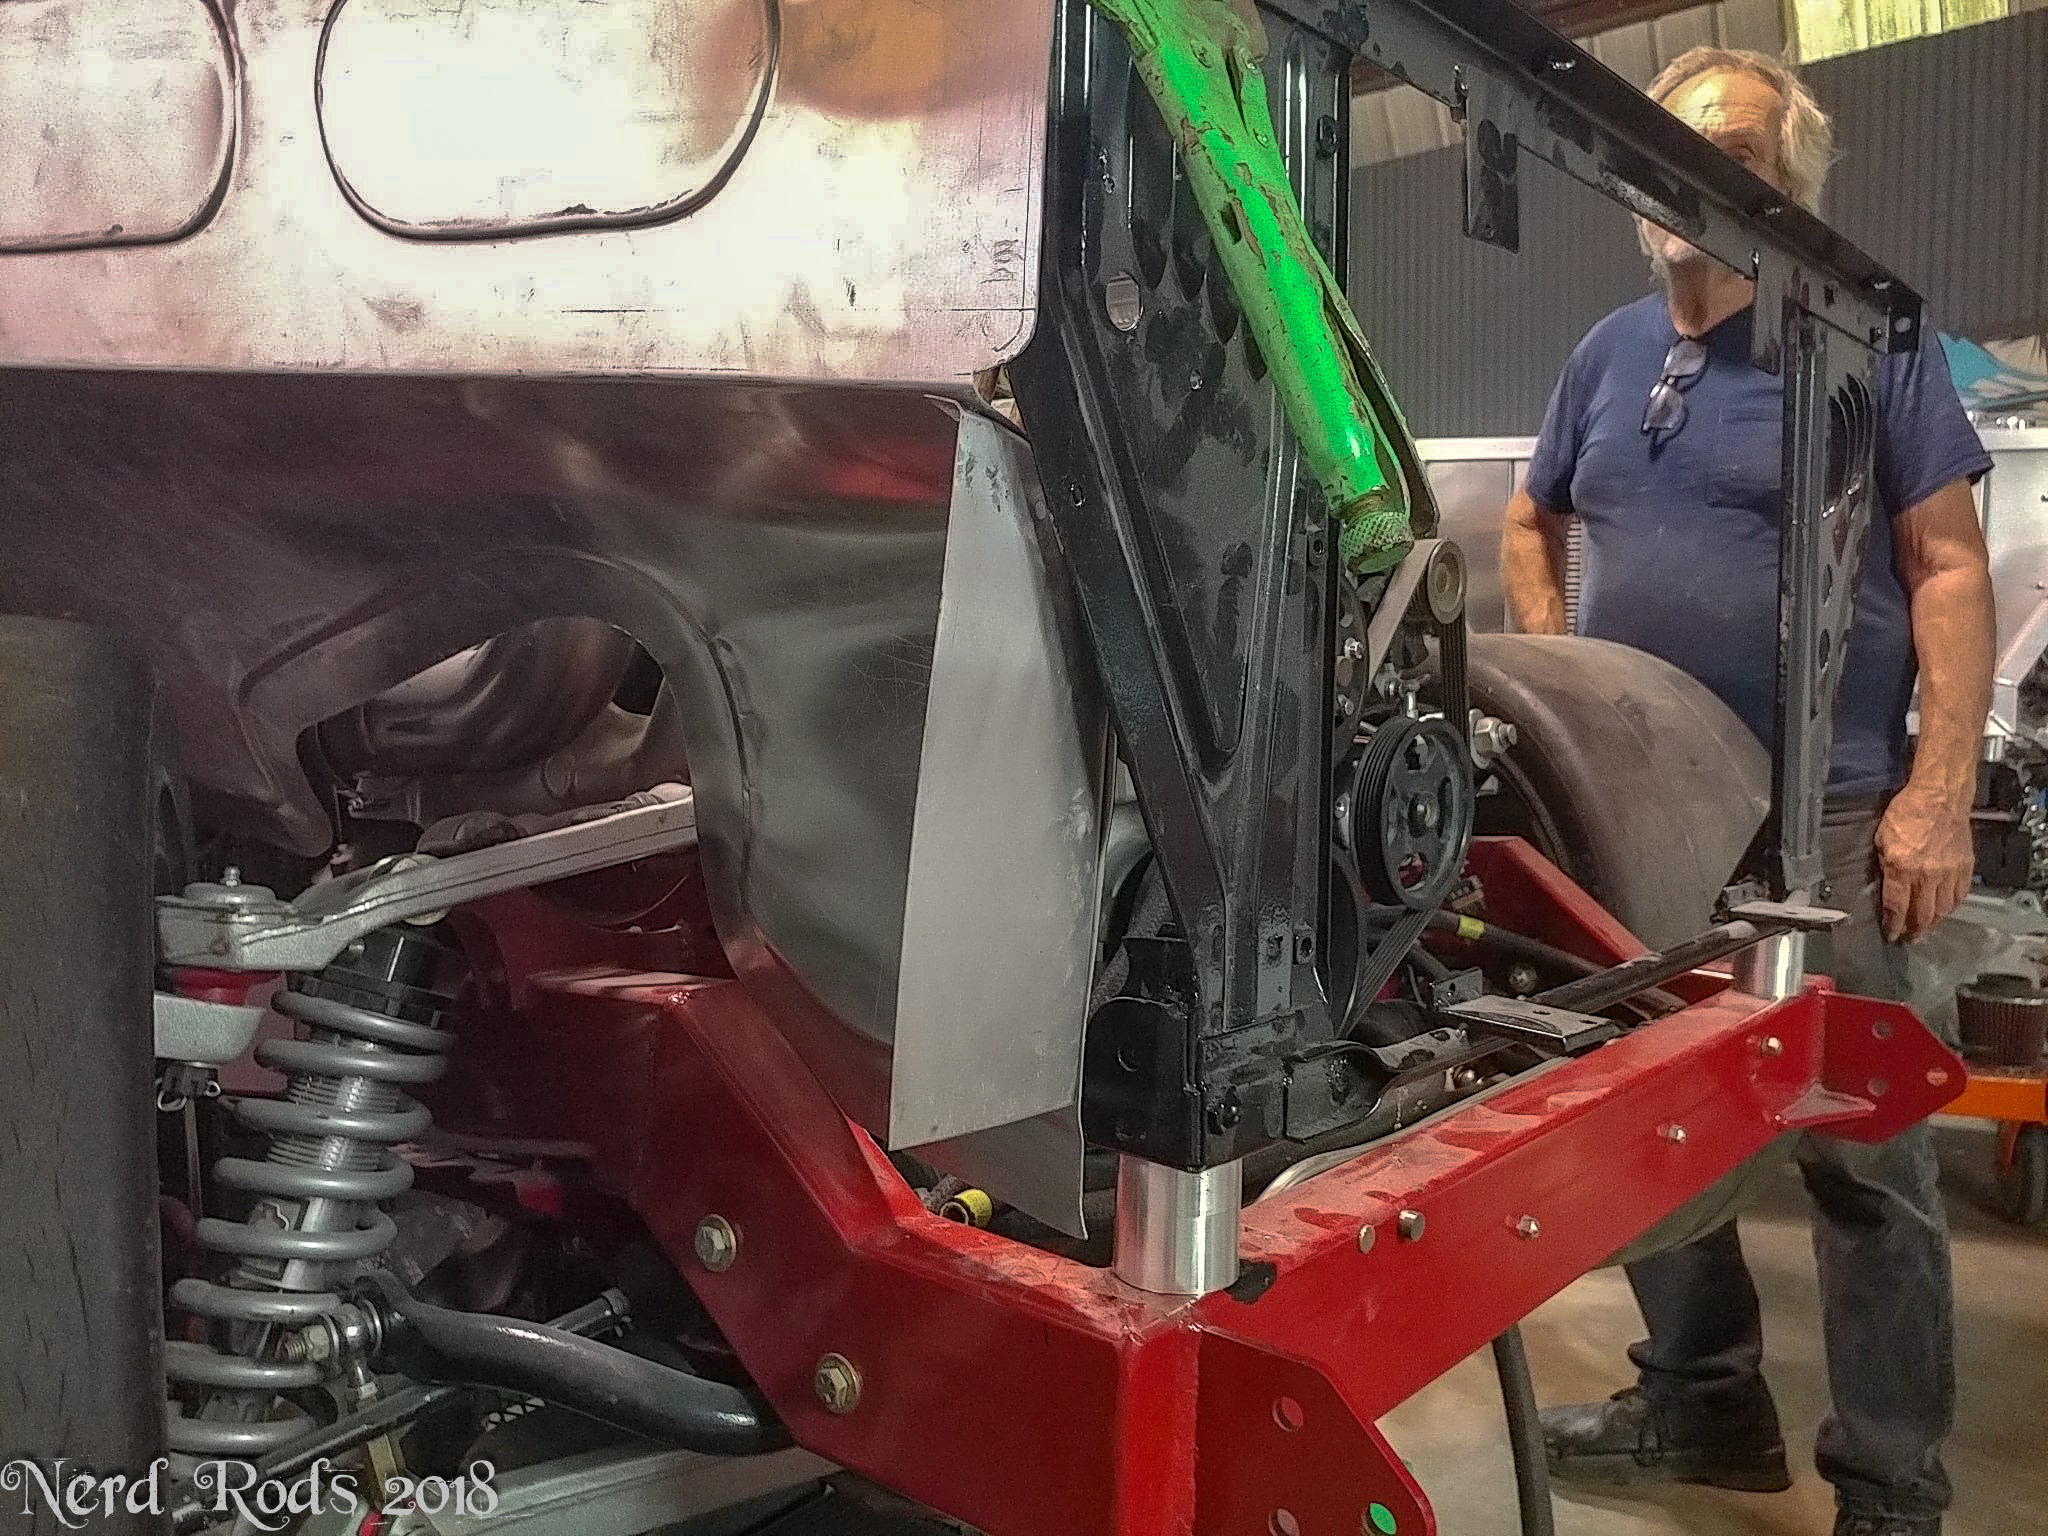
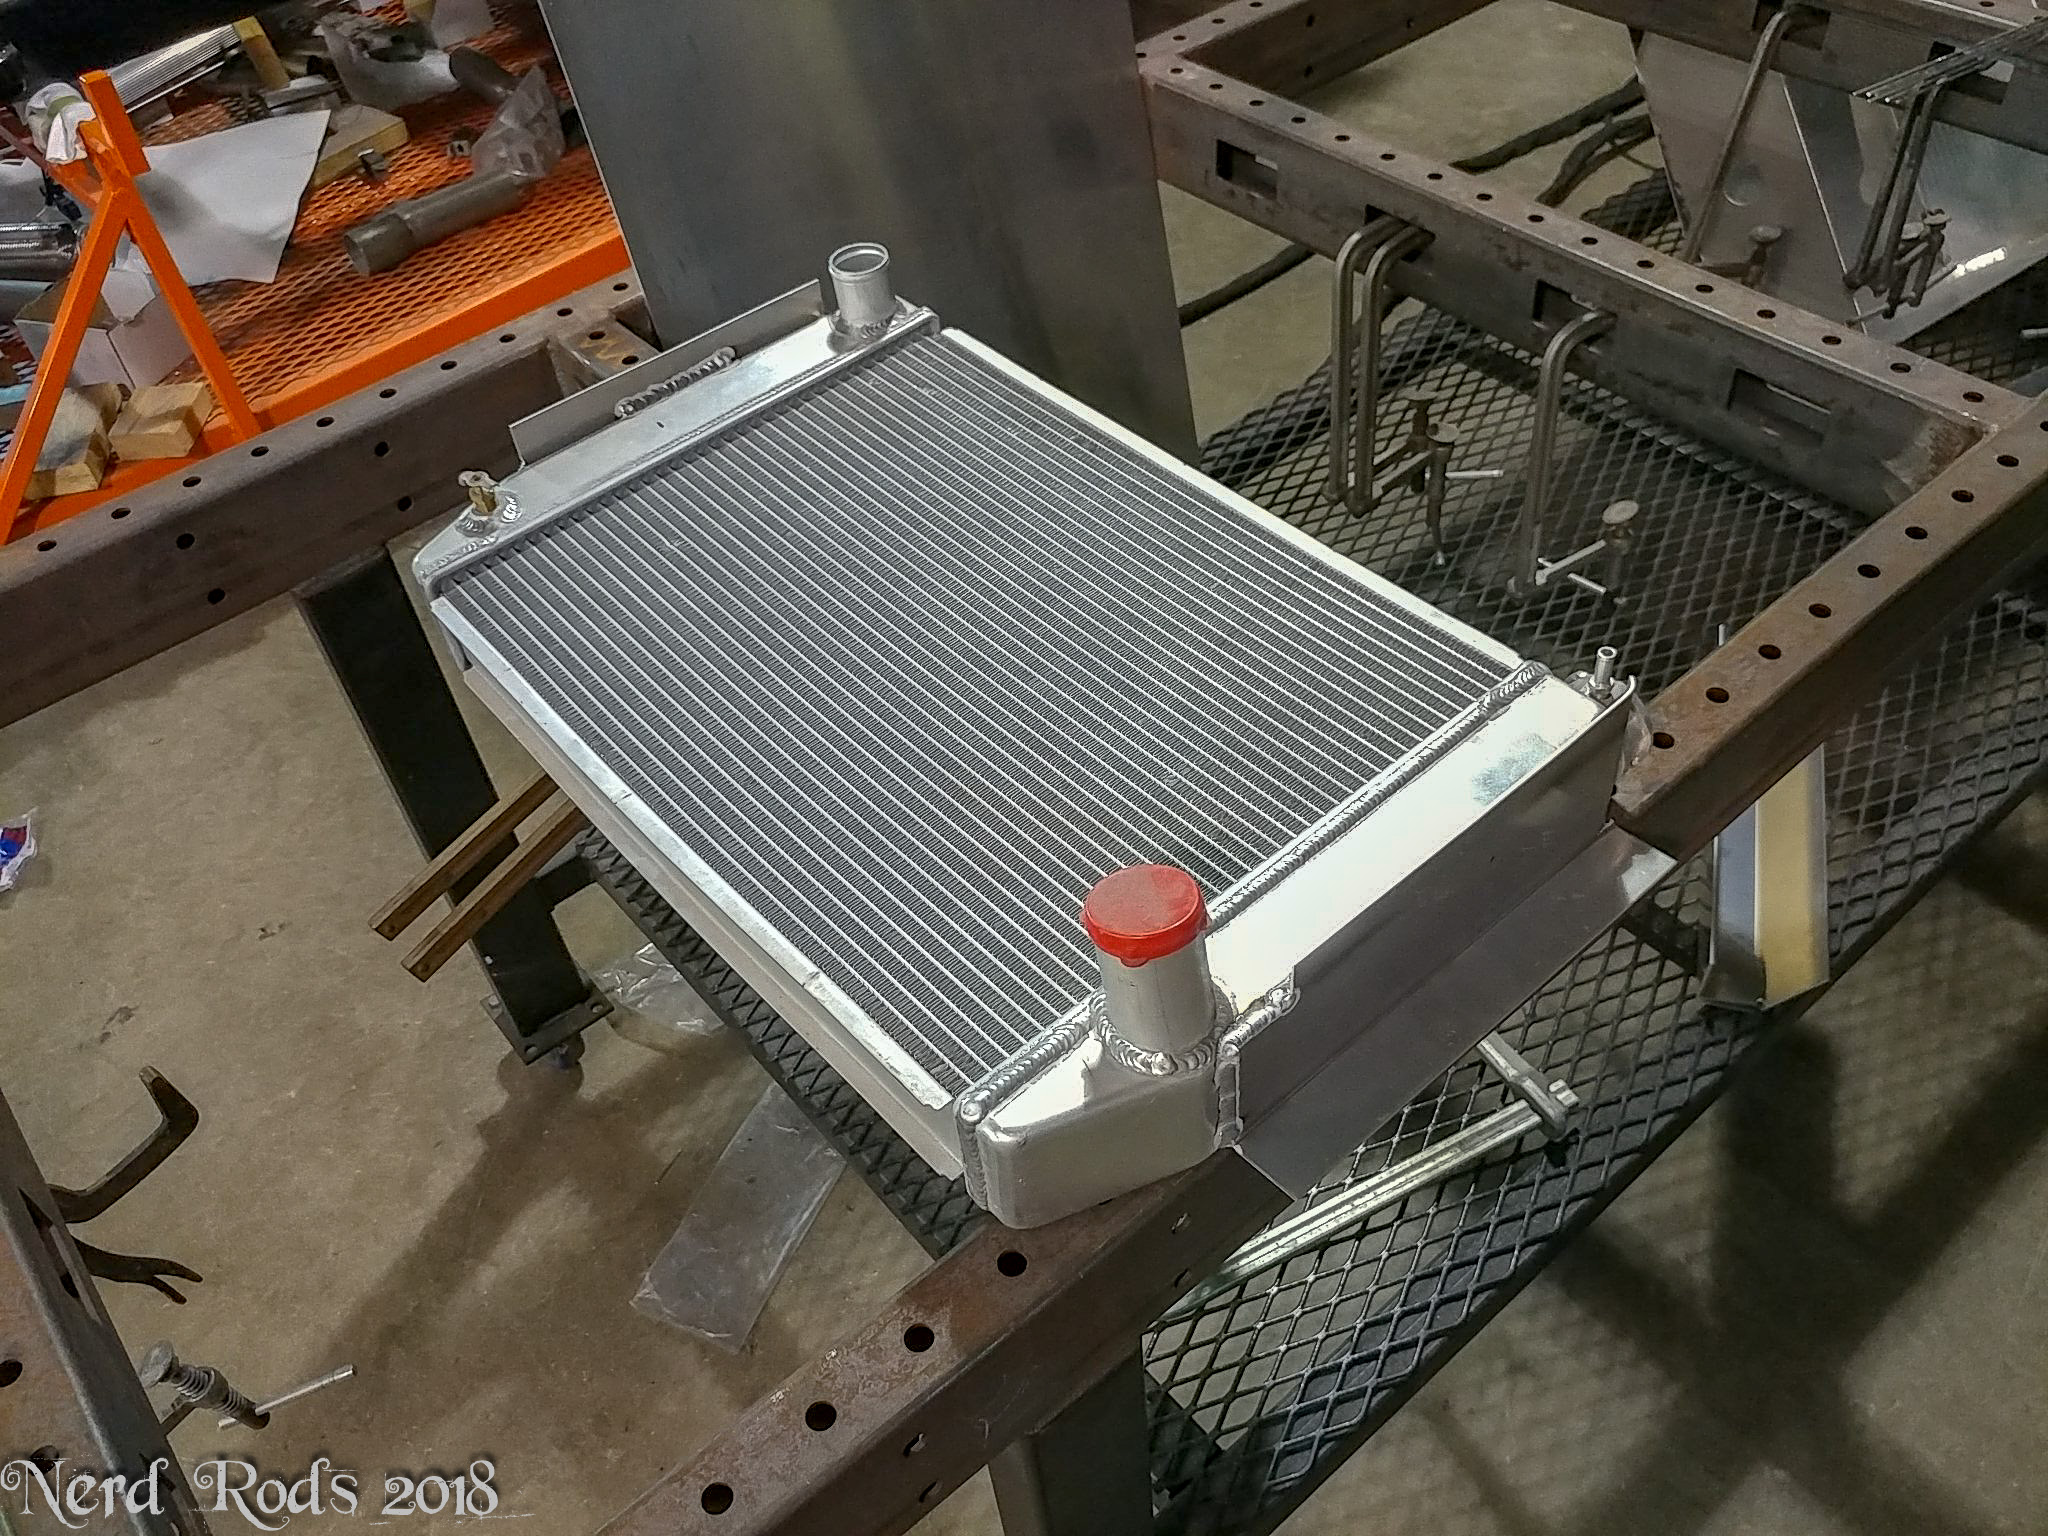
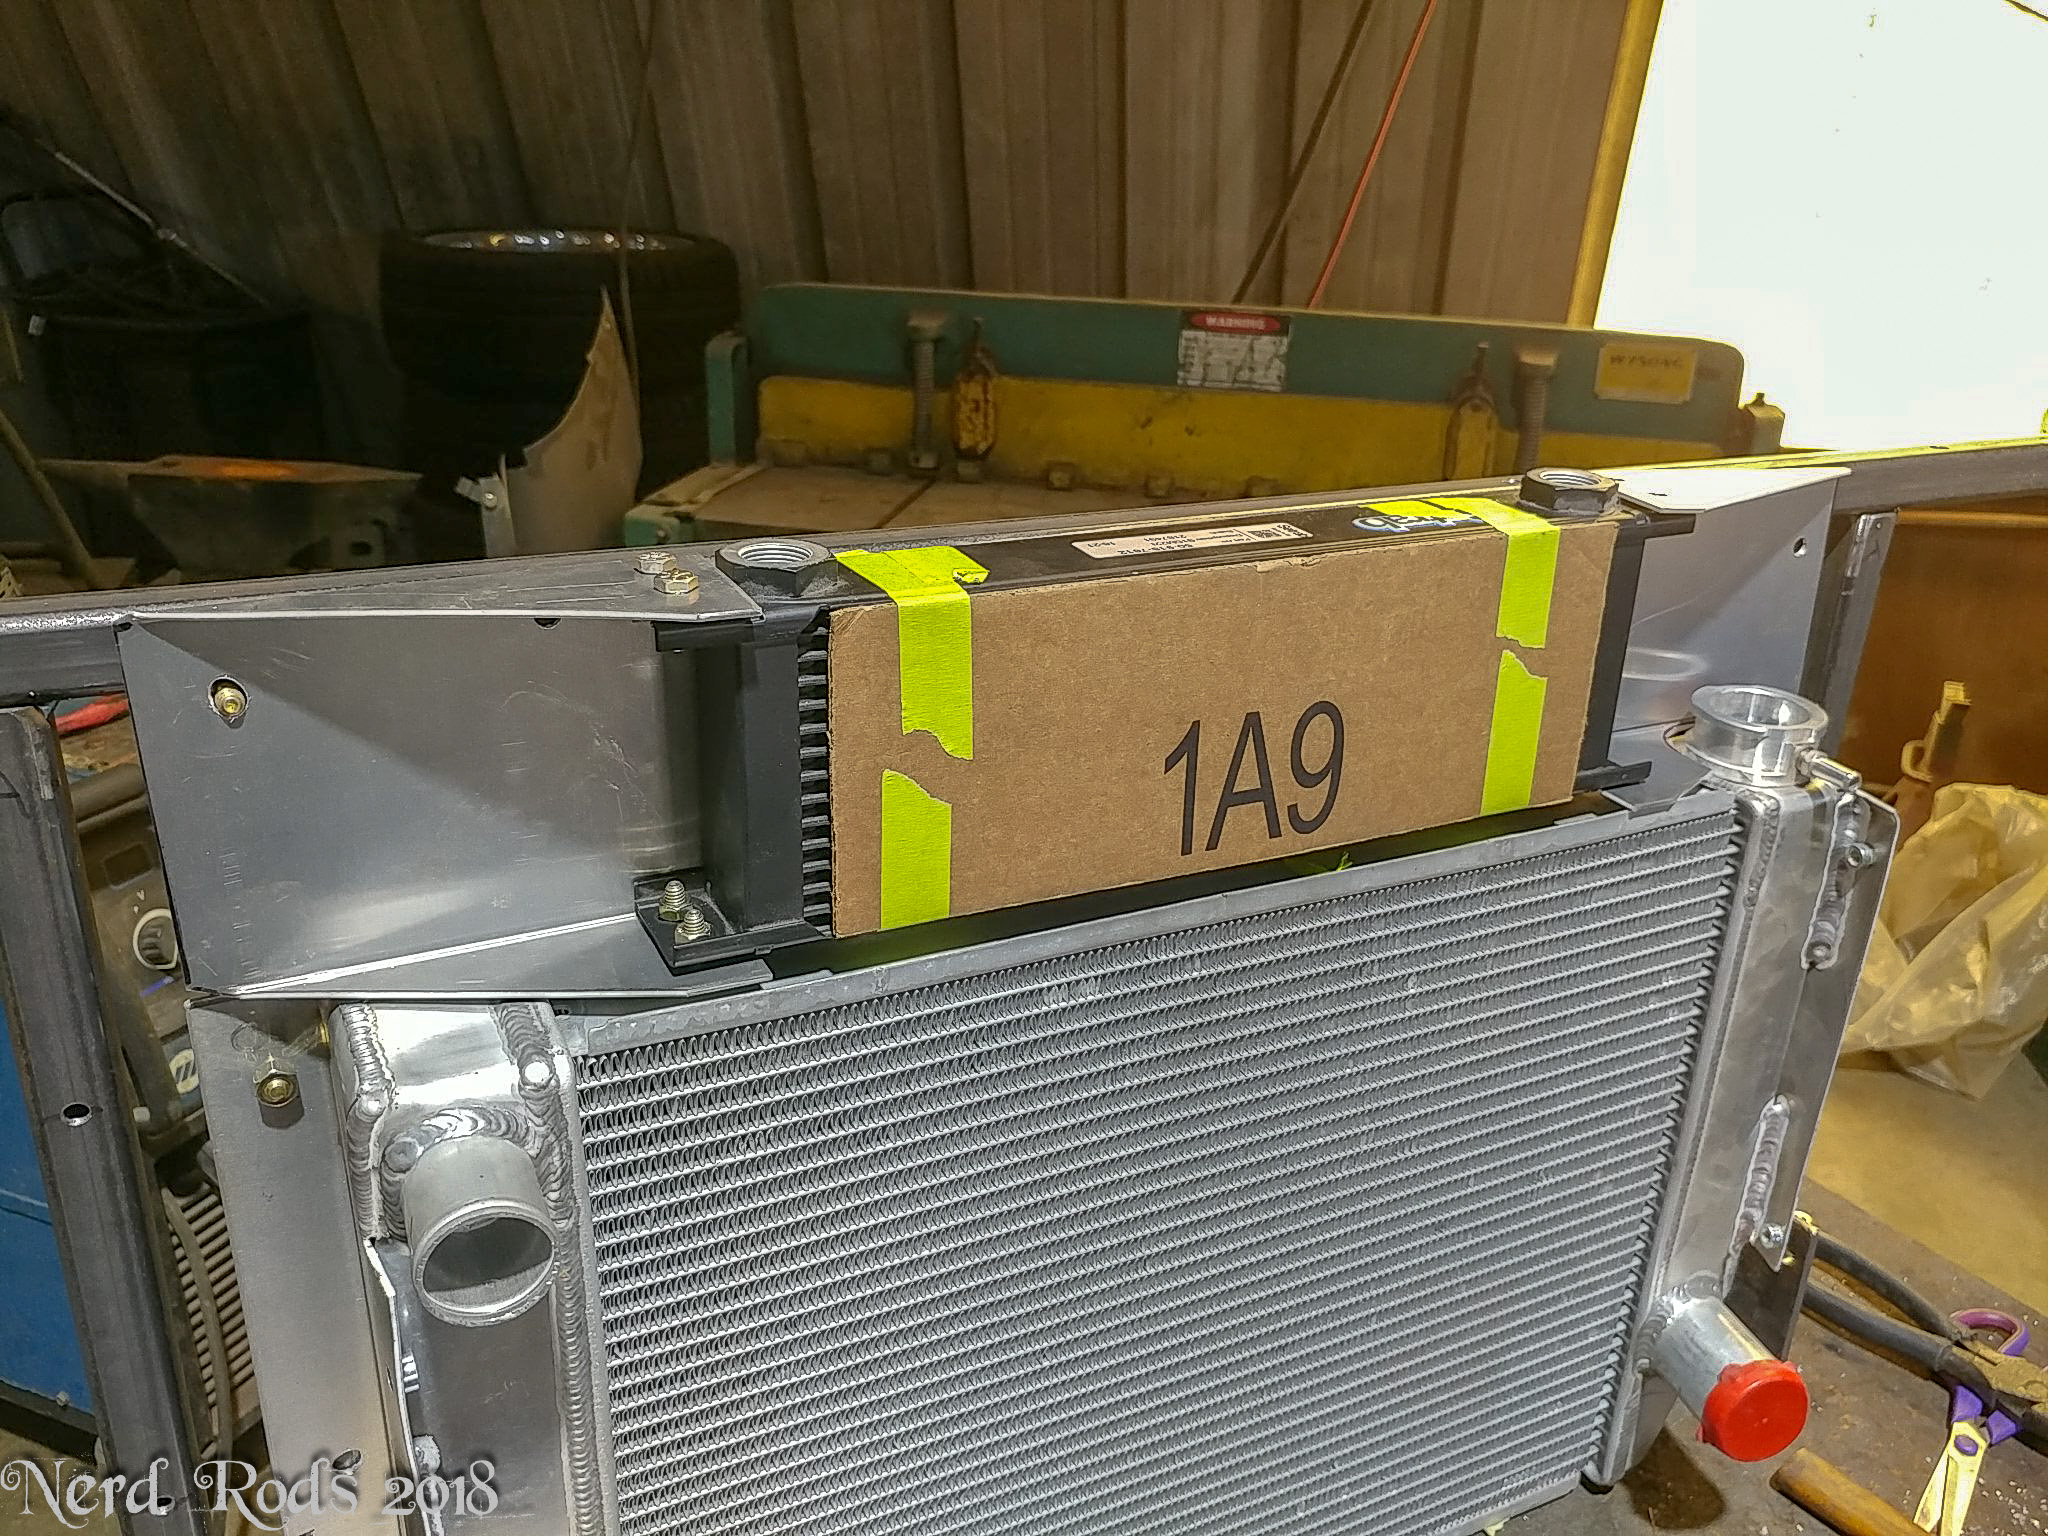
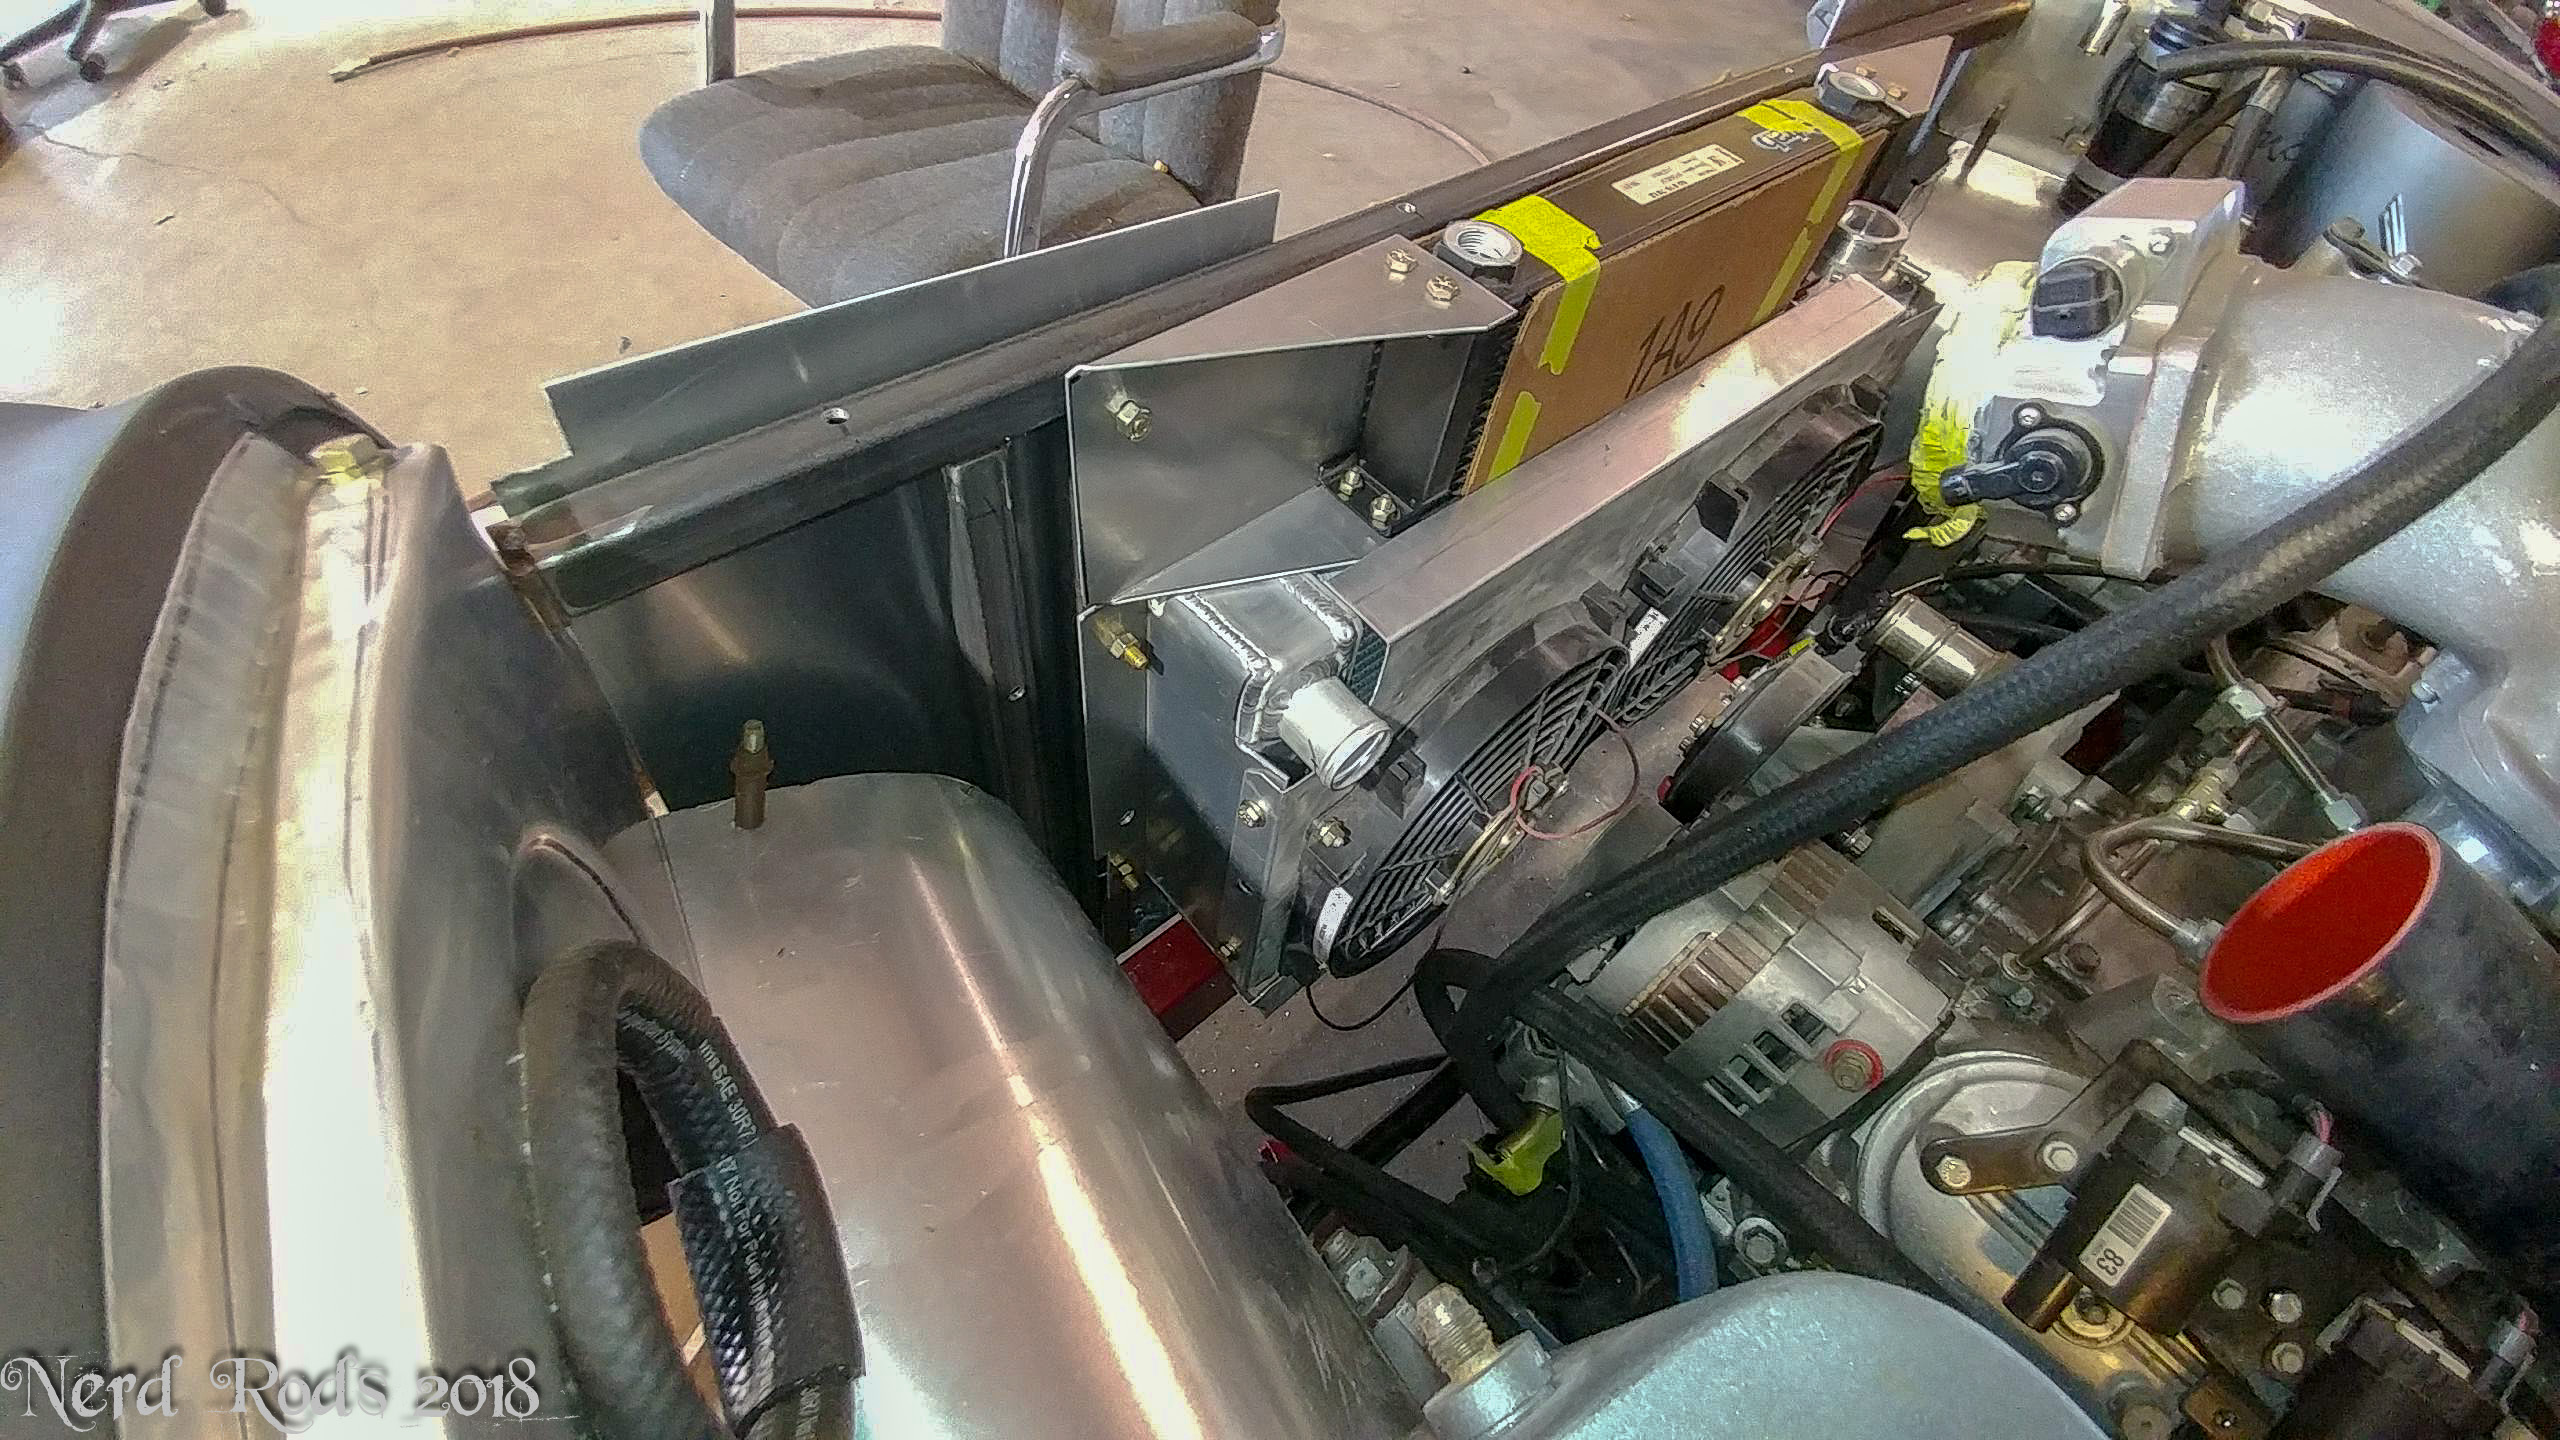
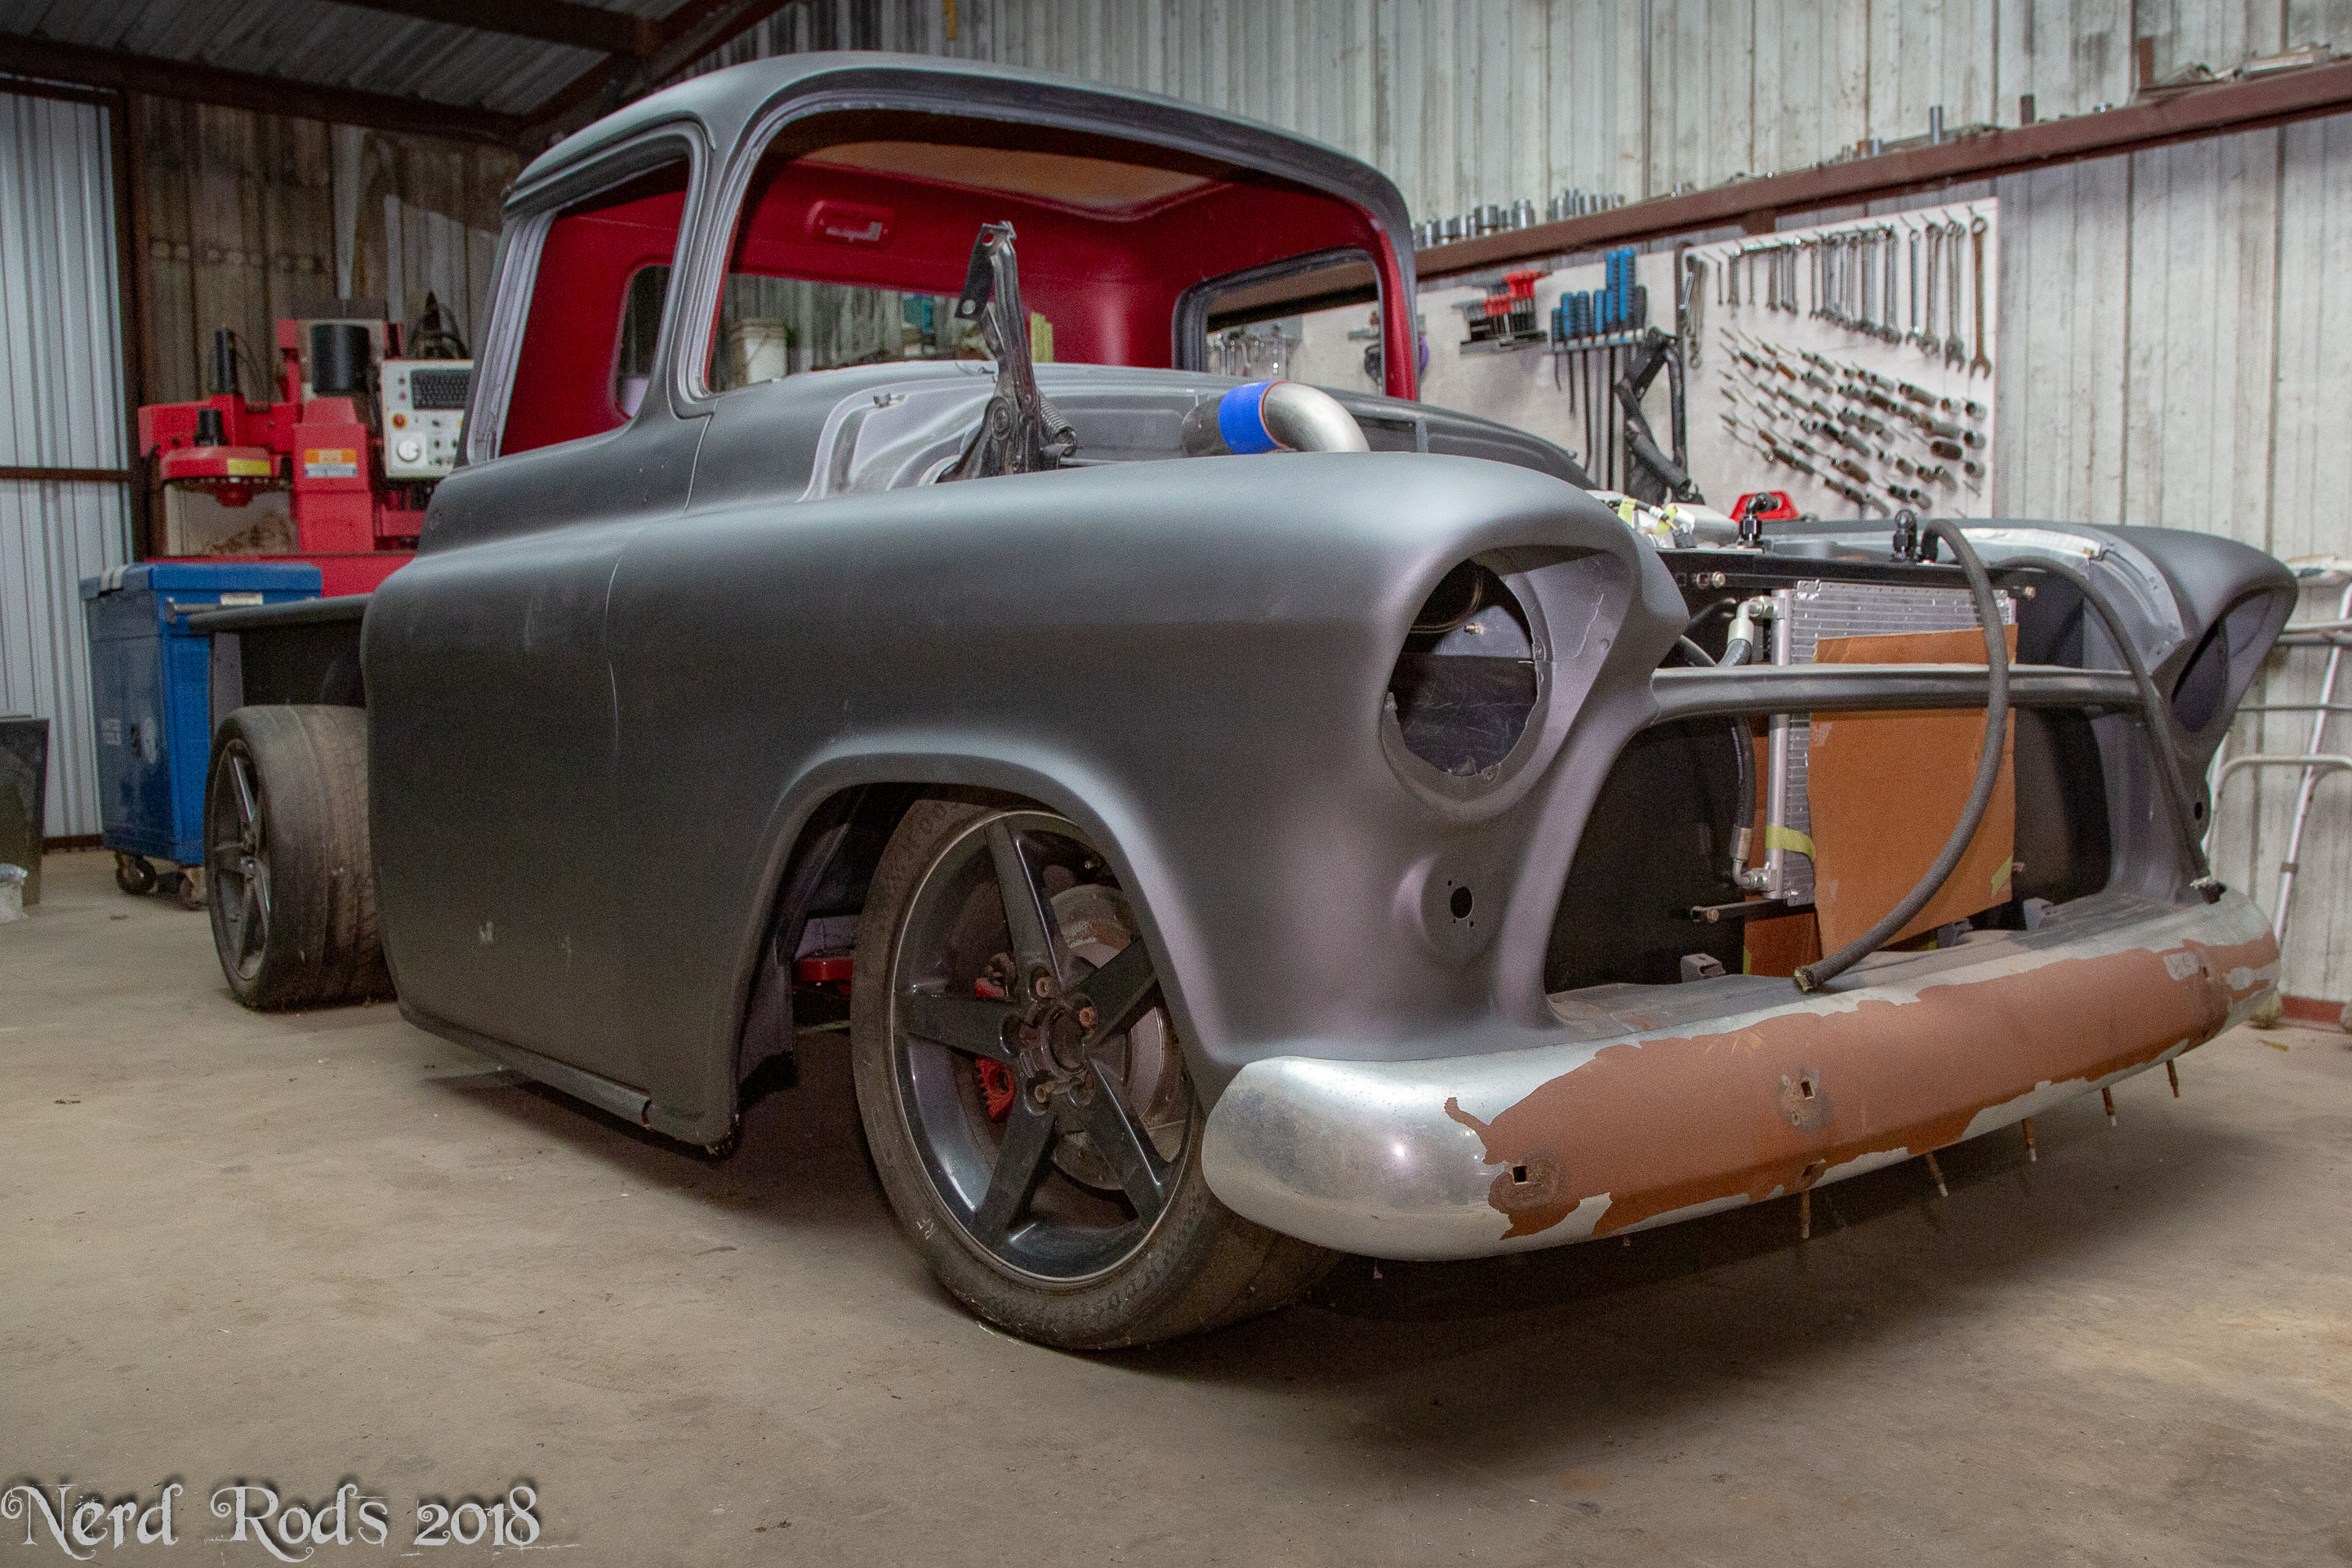
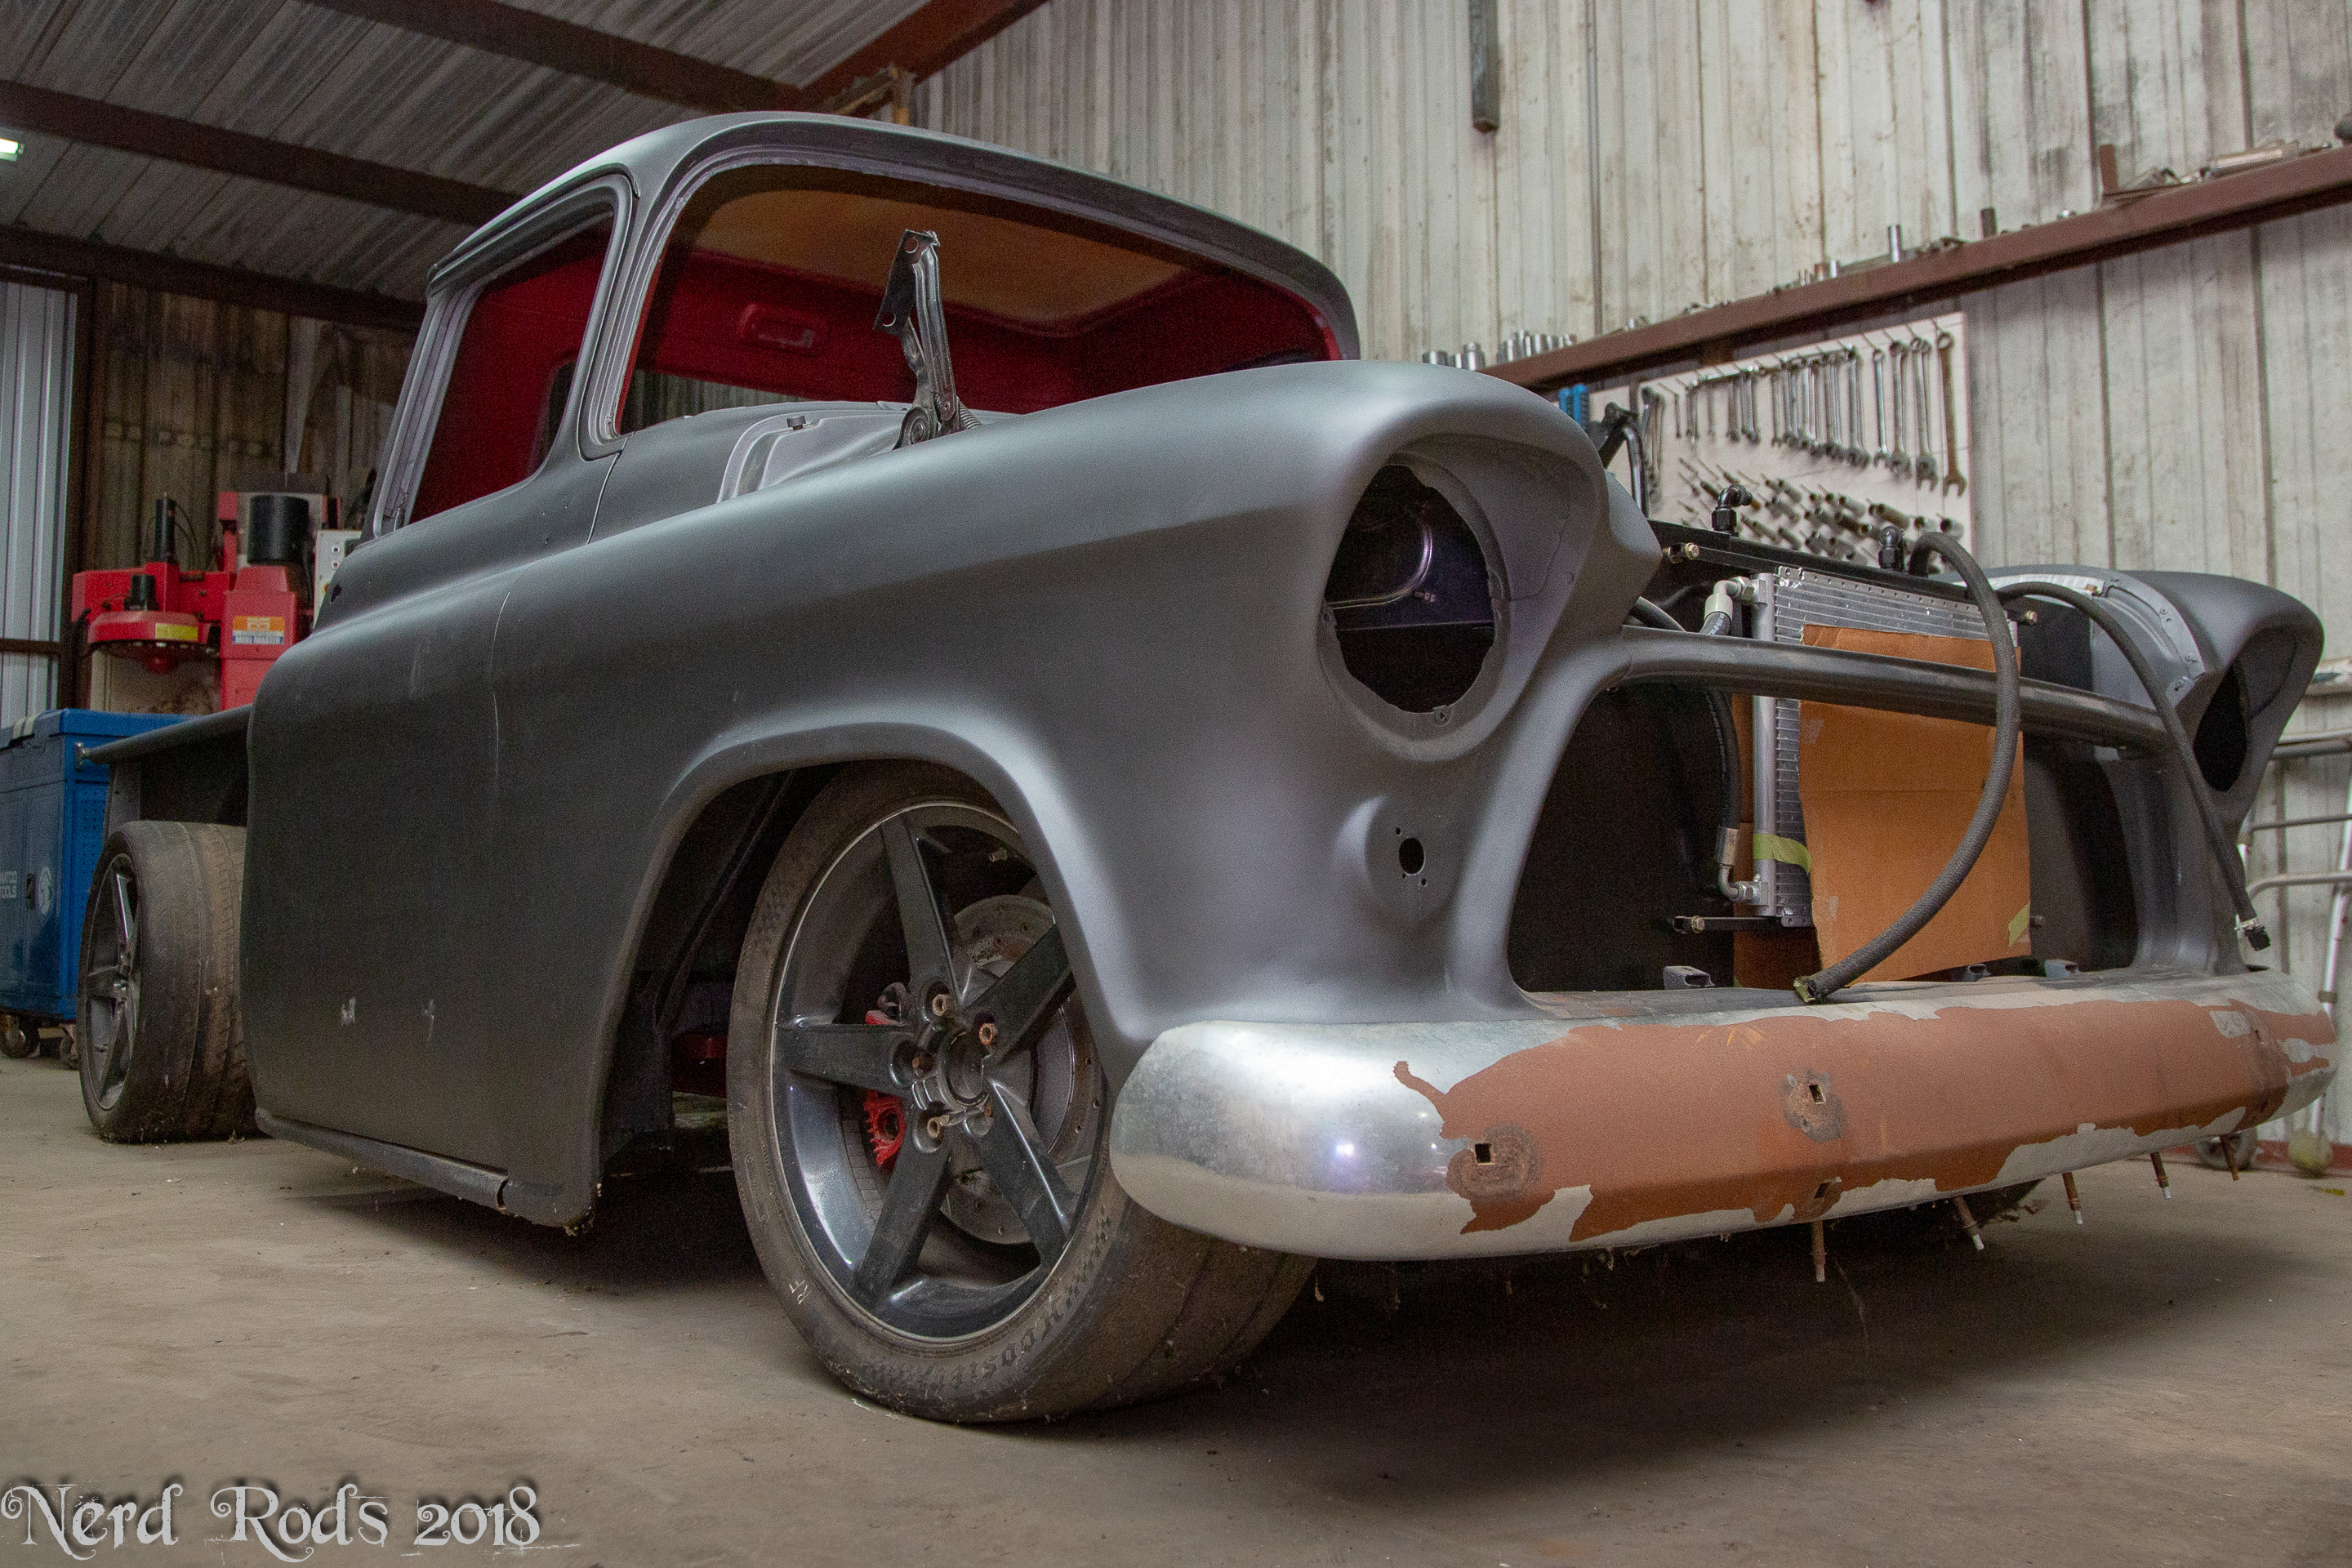
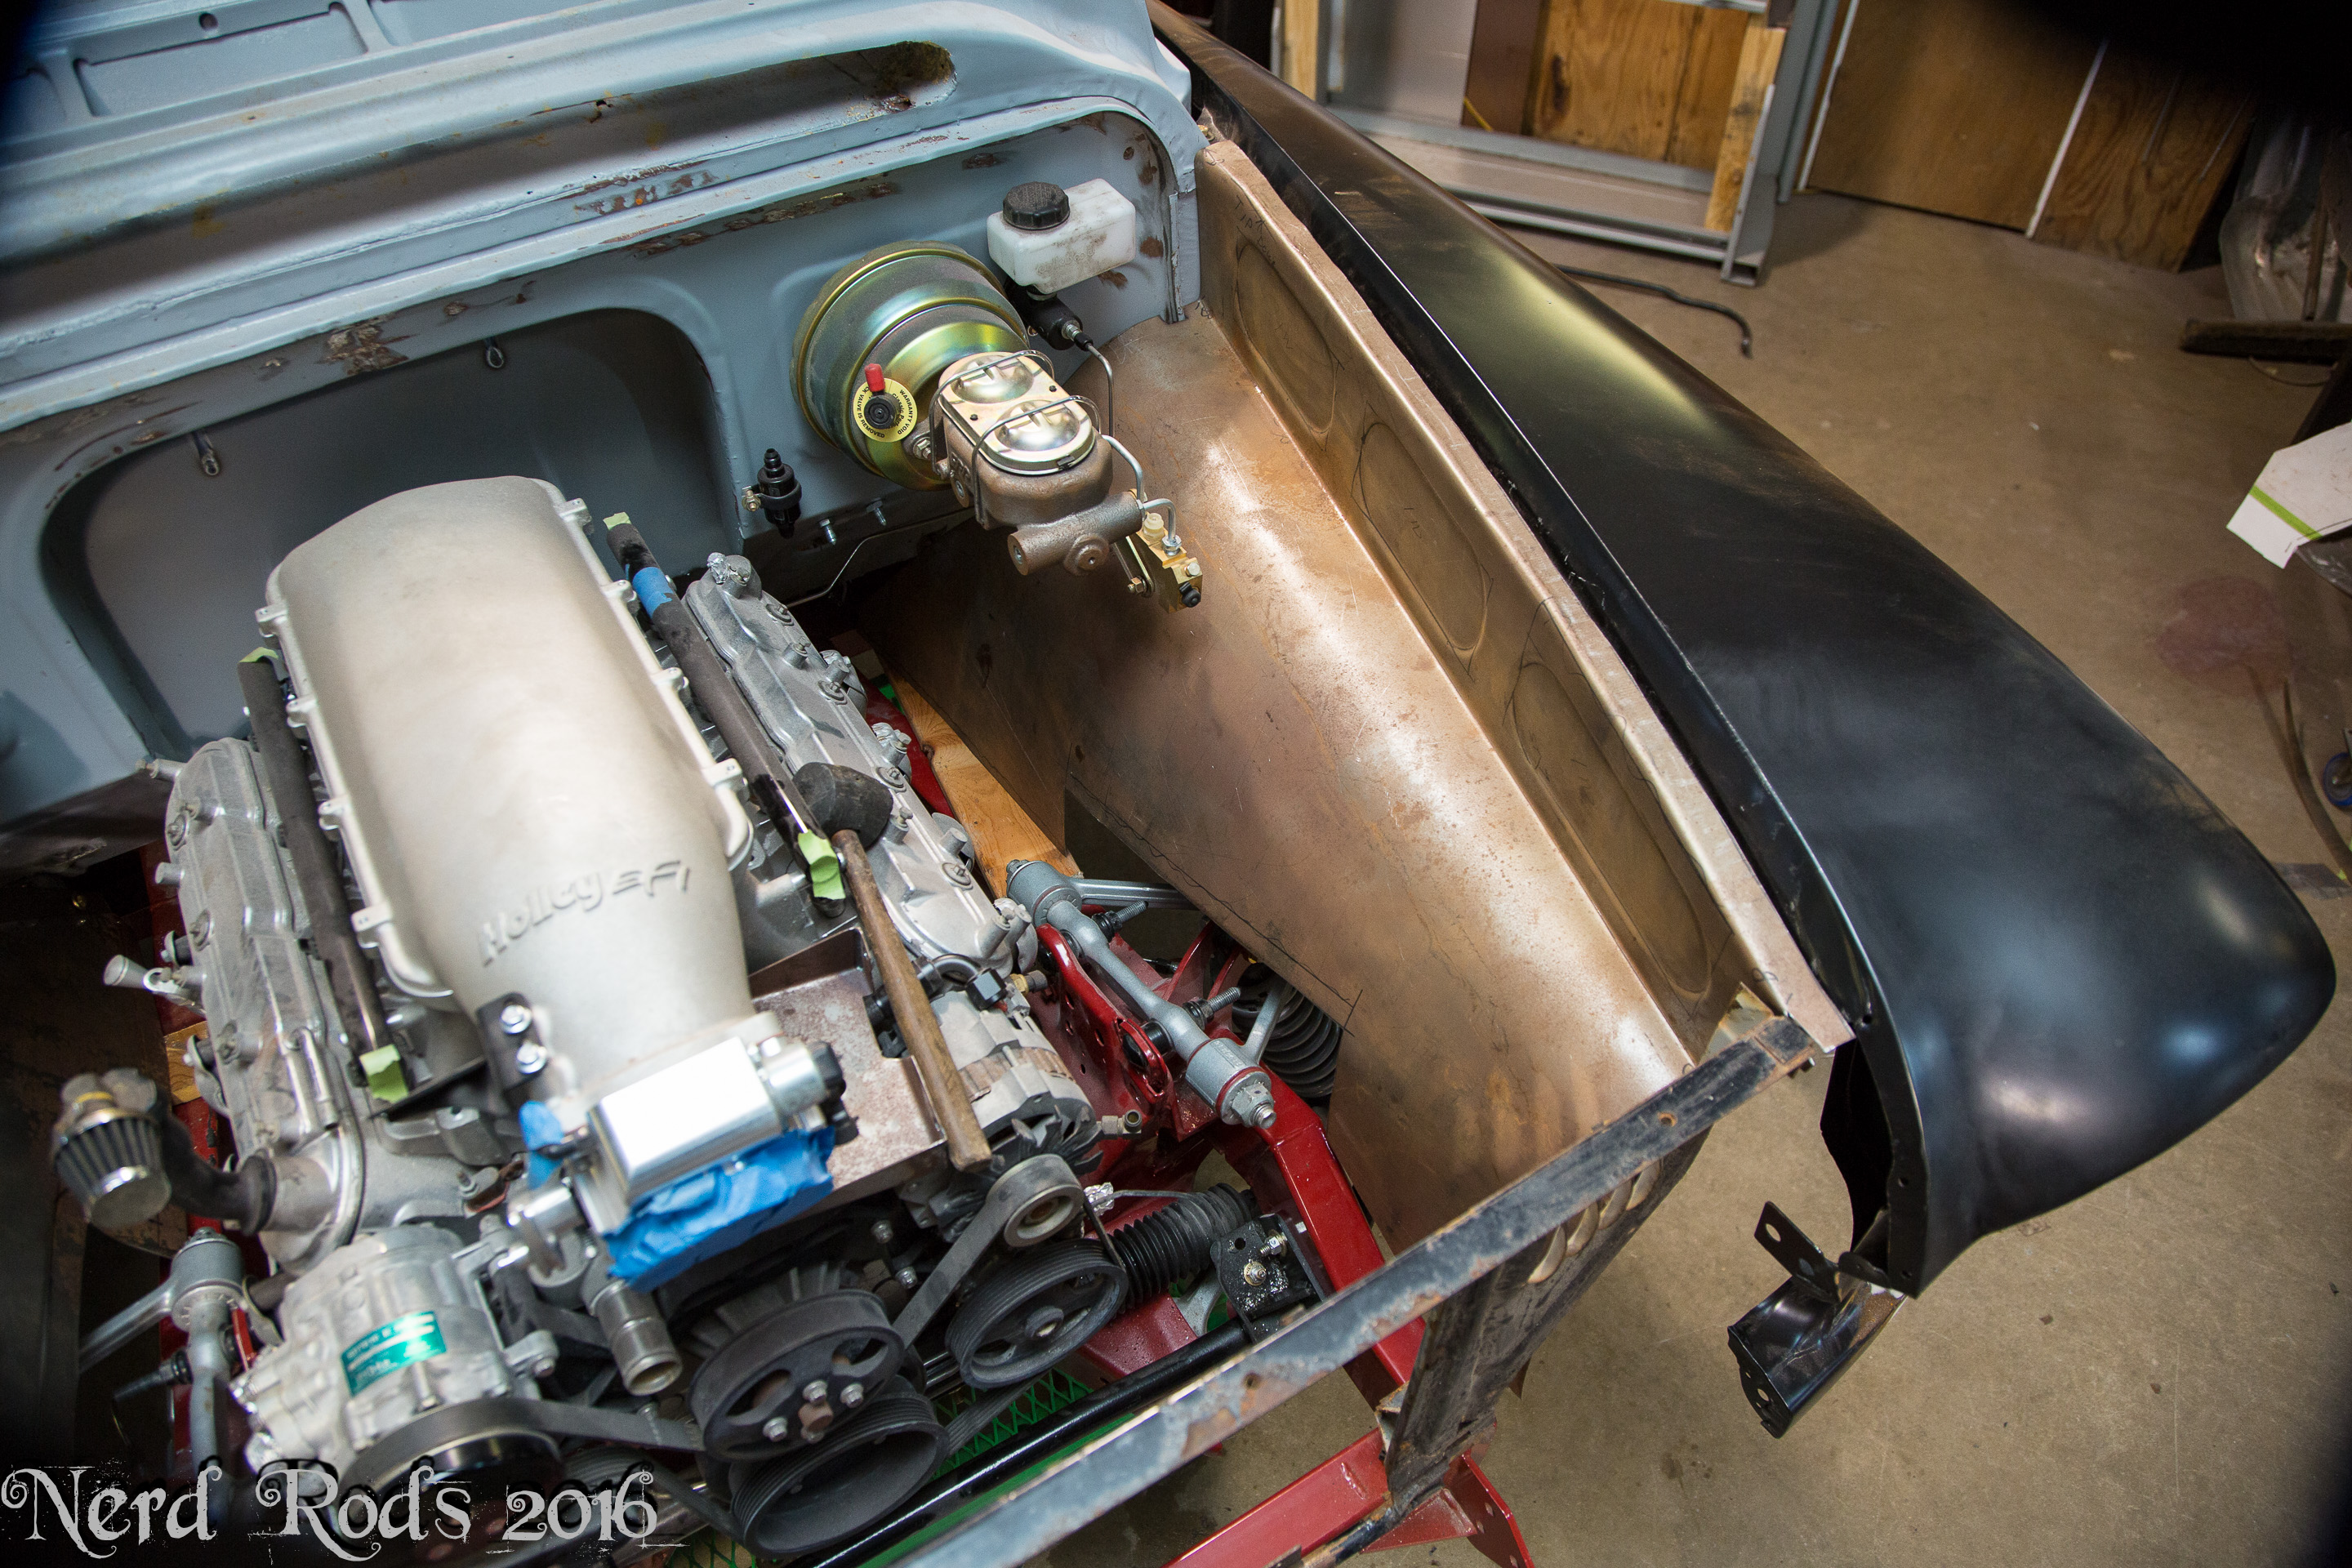
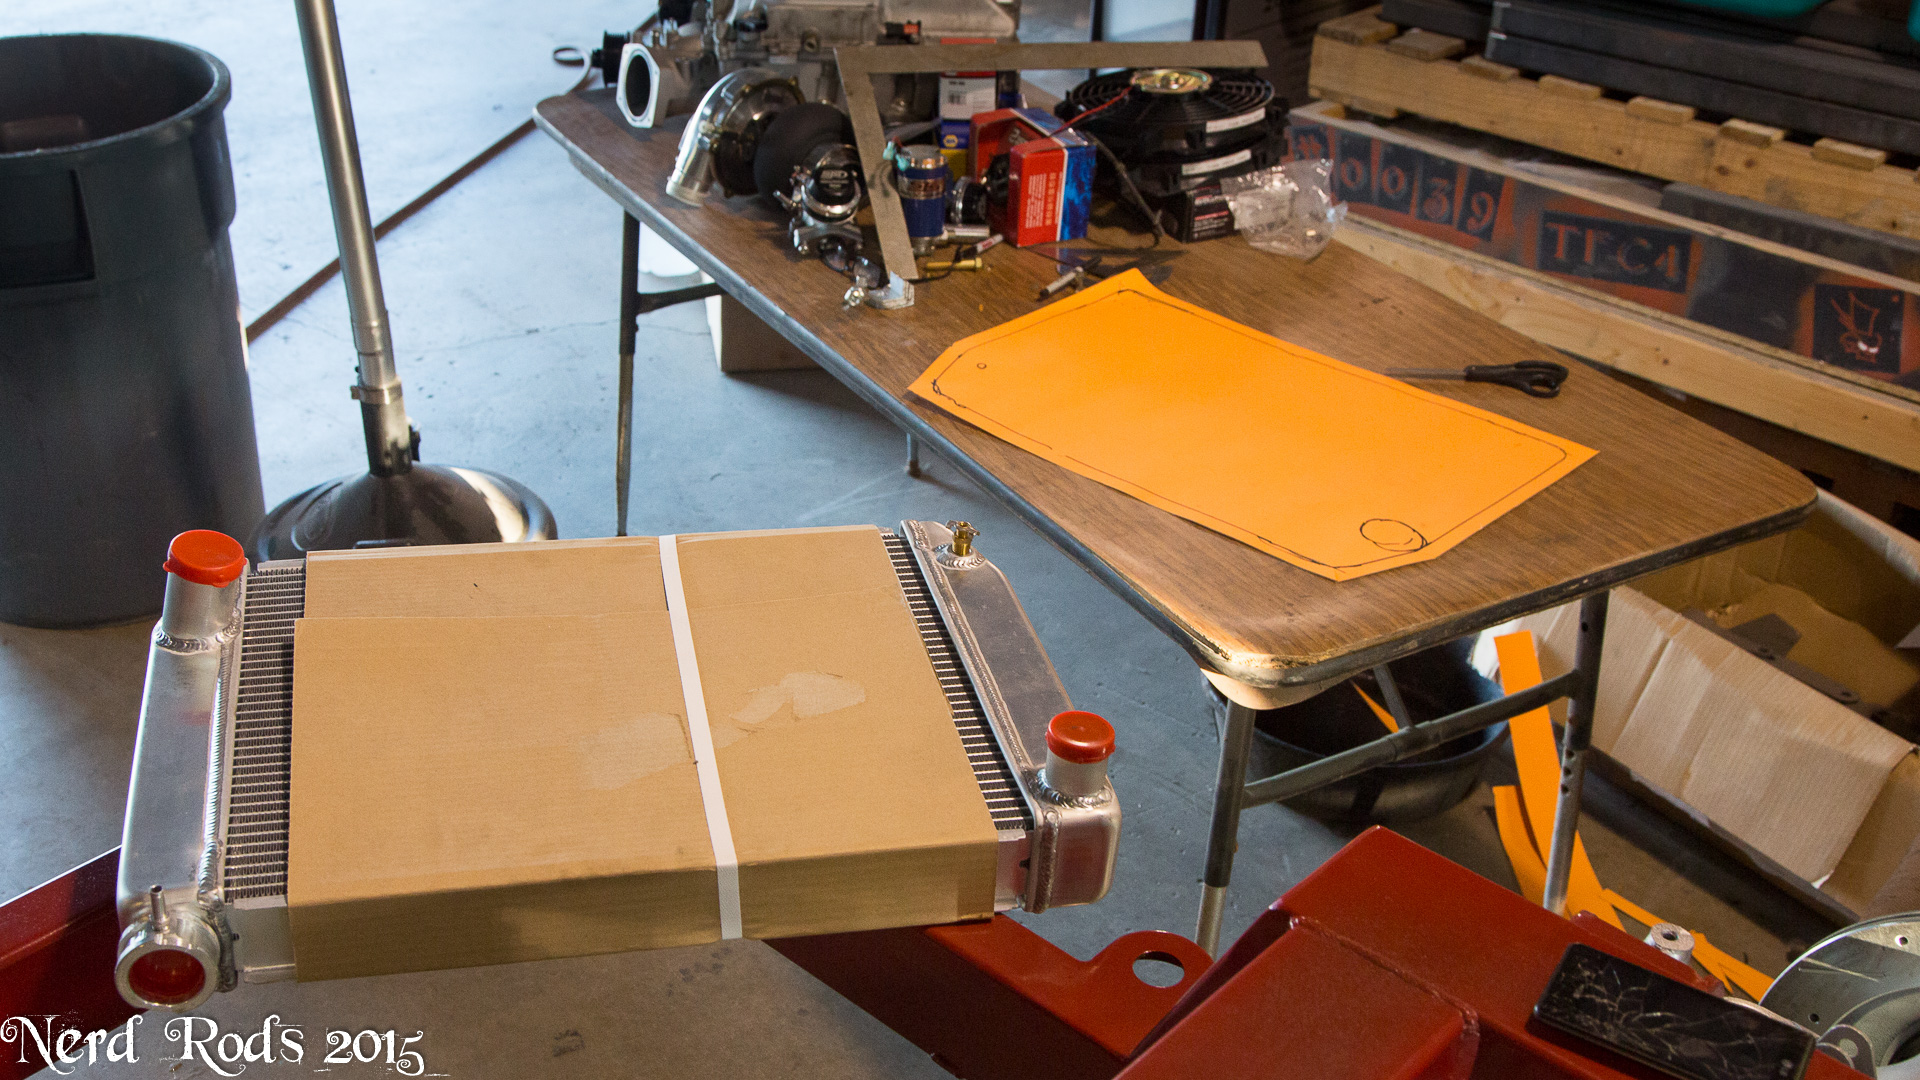
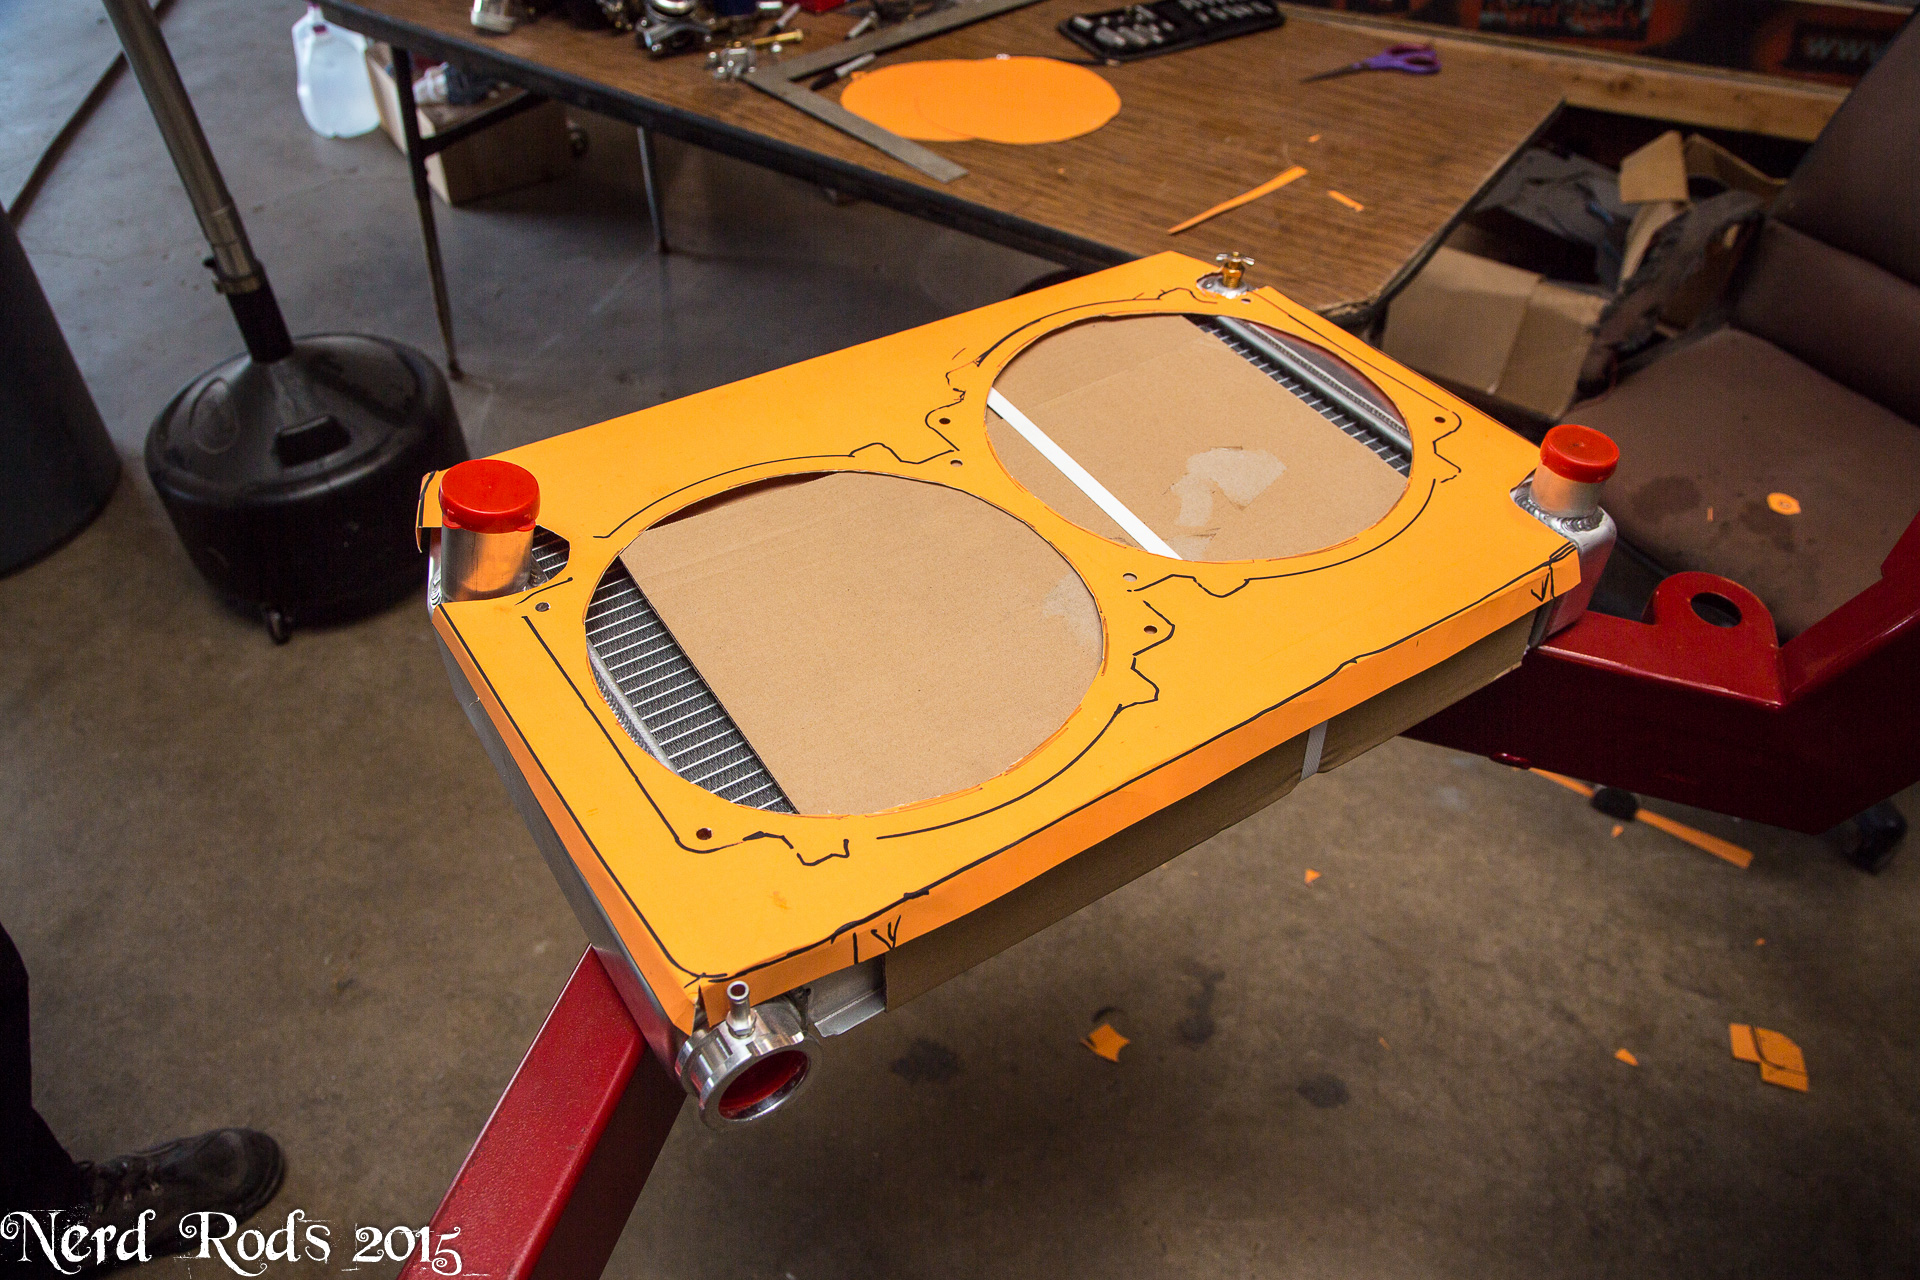
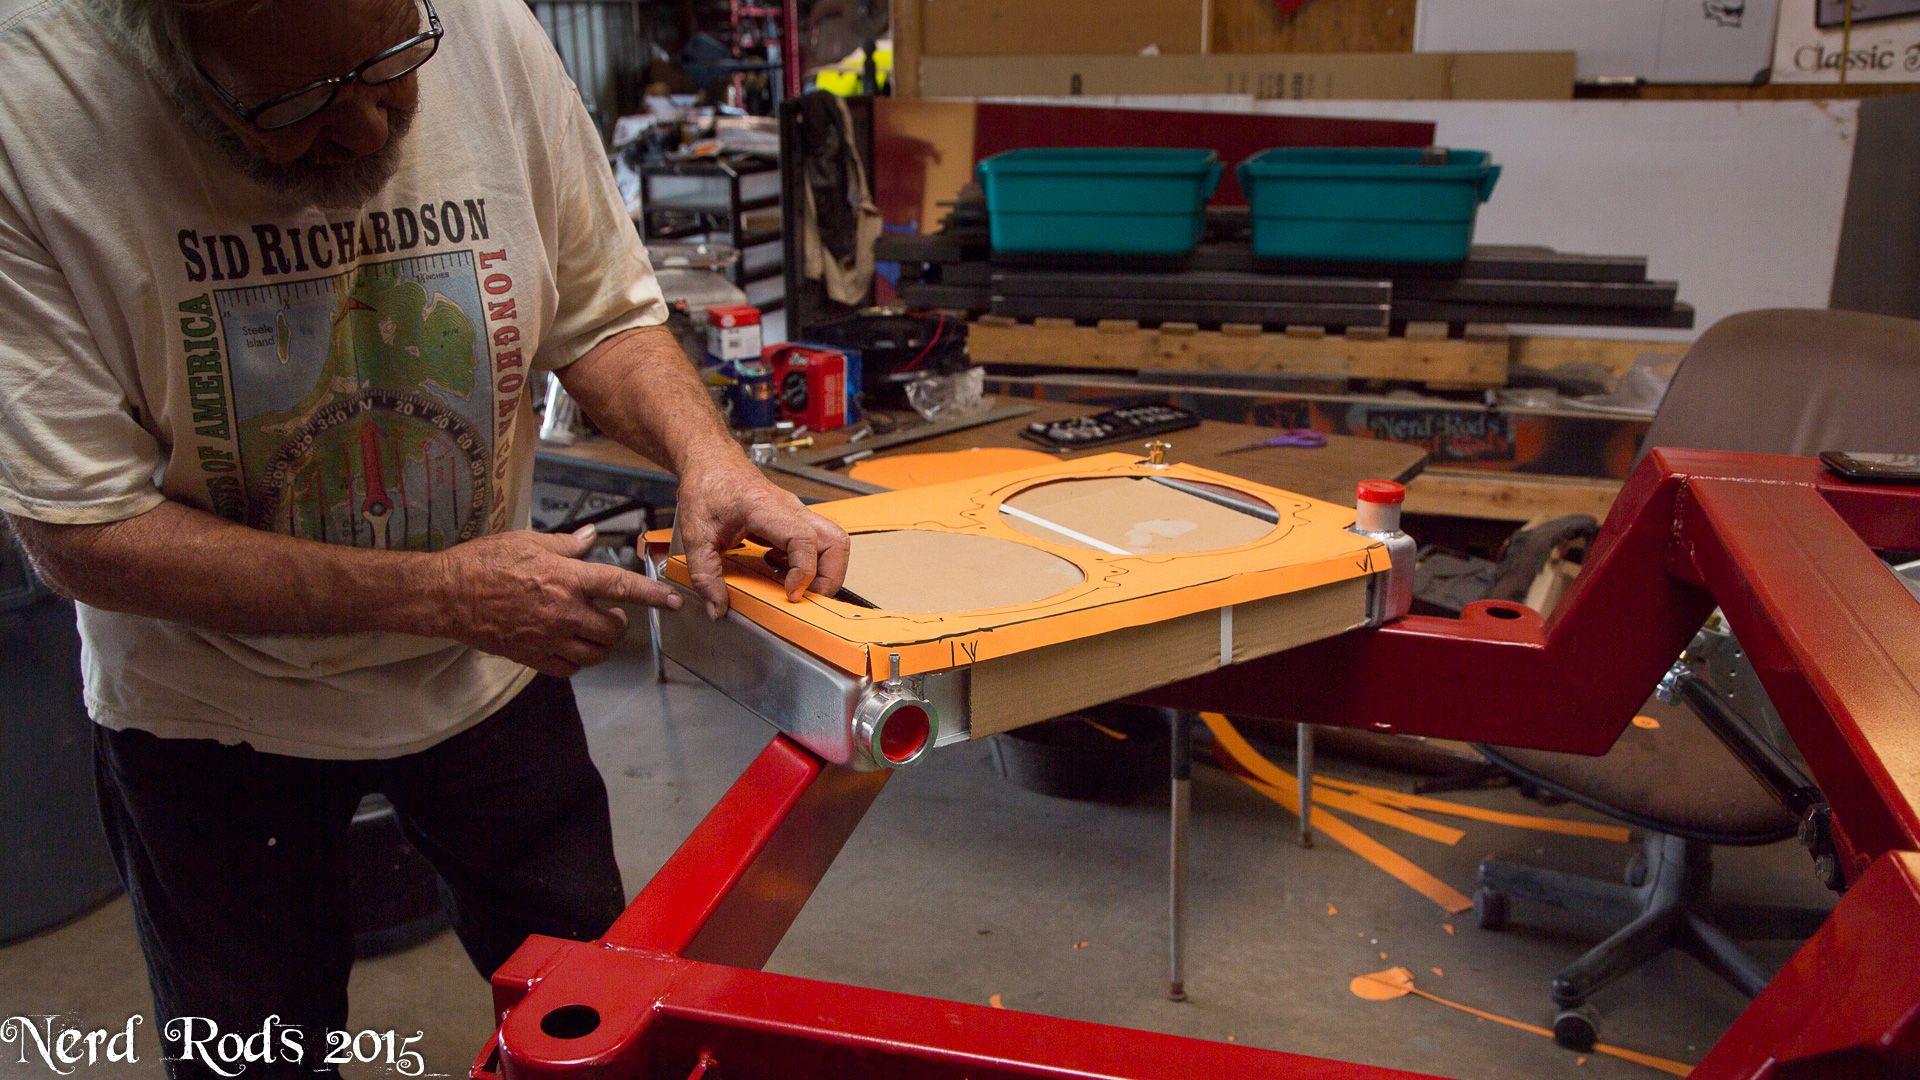
Next we finally decided to just dump the whole front core support system and just start over. It was just easier that way for this project. We have a small ish radiator but we have a very large oil cooler with an oil thermostat as well to prevent it from over cooling but we can bump that down a bit if we need to cool the engine off a bit more. The new ZR1 has a smaller radiator than this so we're not too worried about over heating. The main goal was to block off as much area and force air through the radiators. We might do some brake cooling as well with all the extra real estate under there.


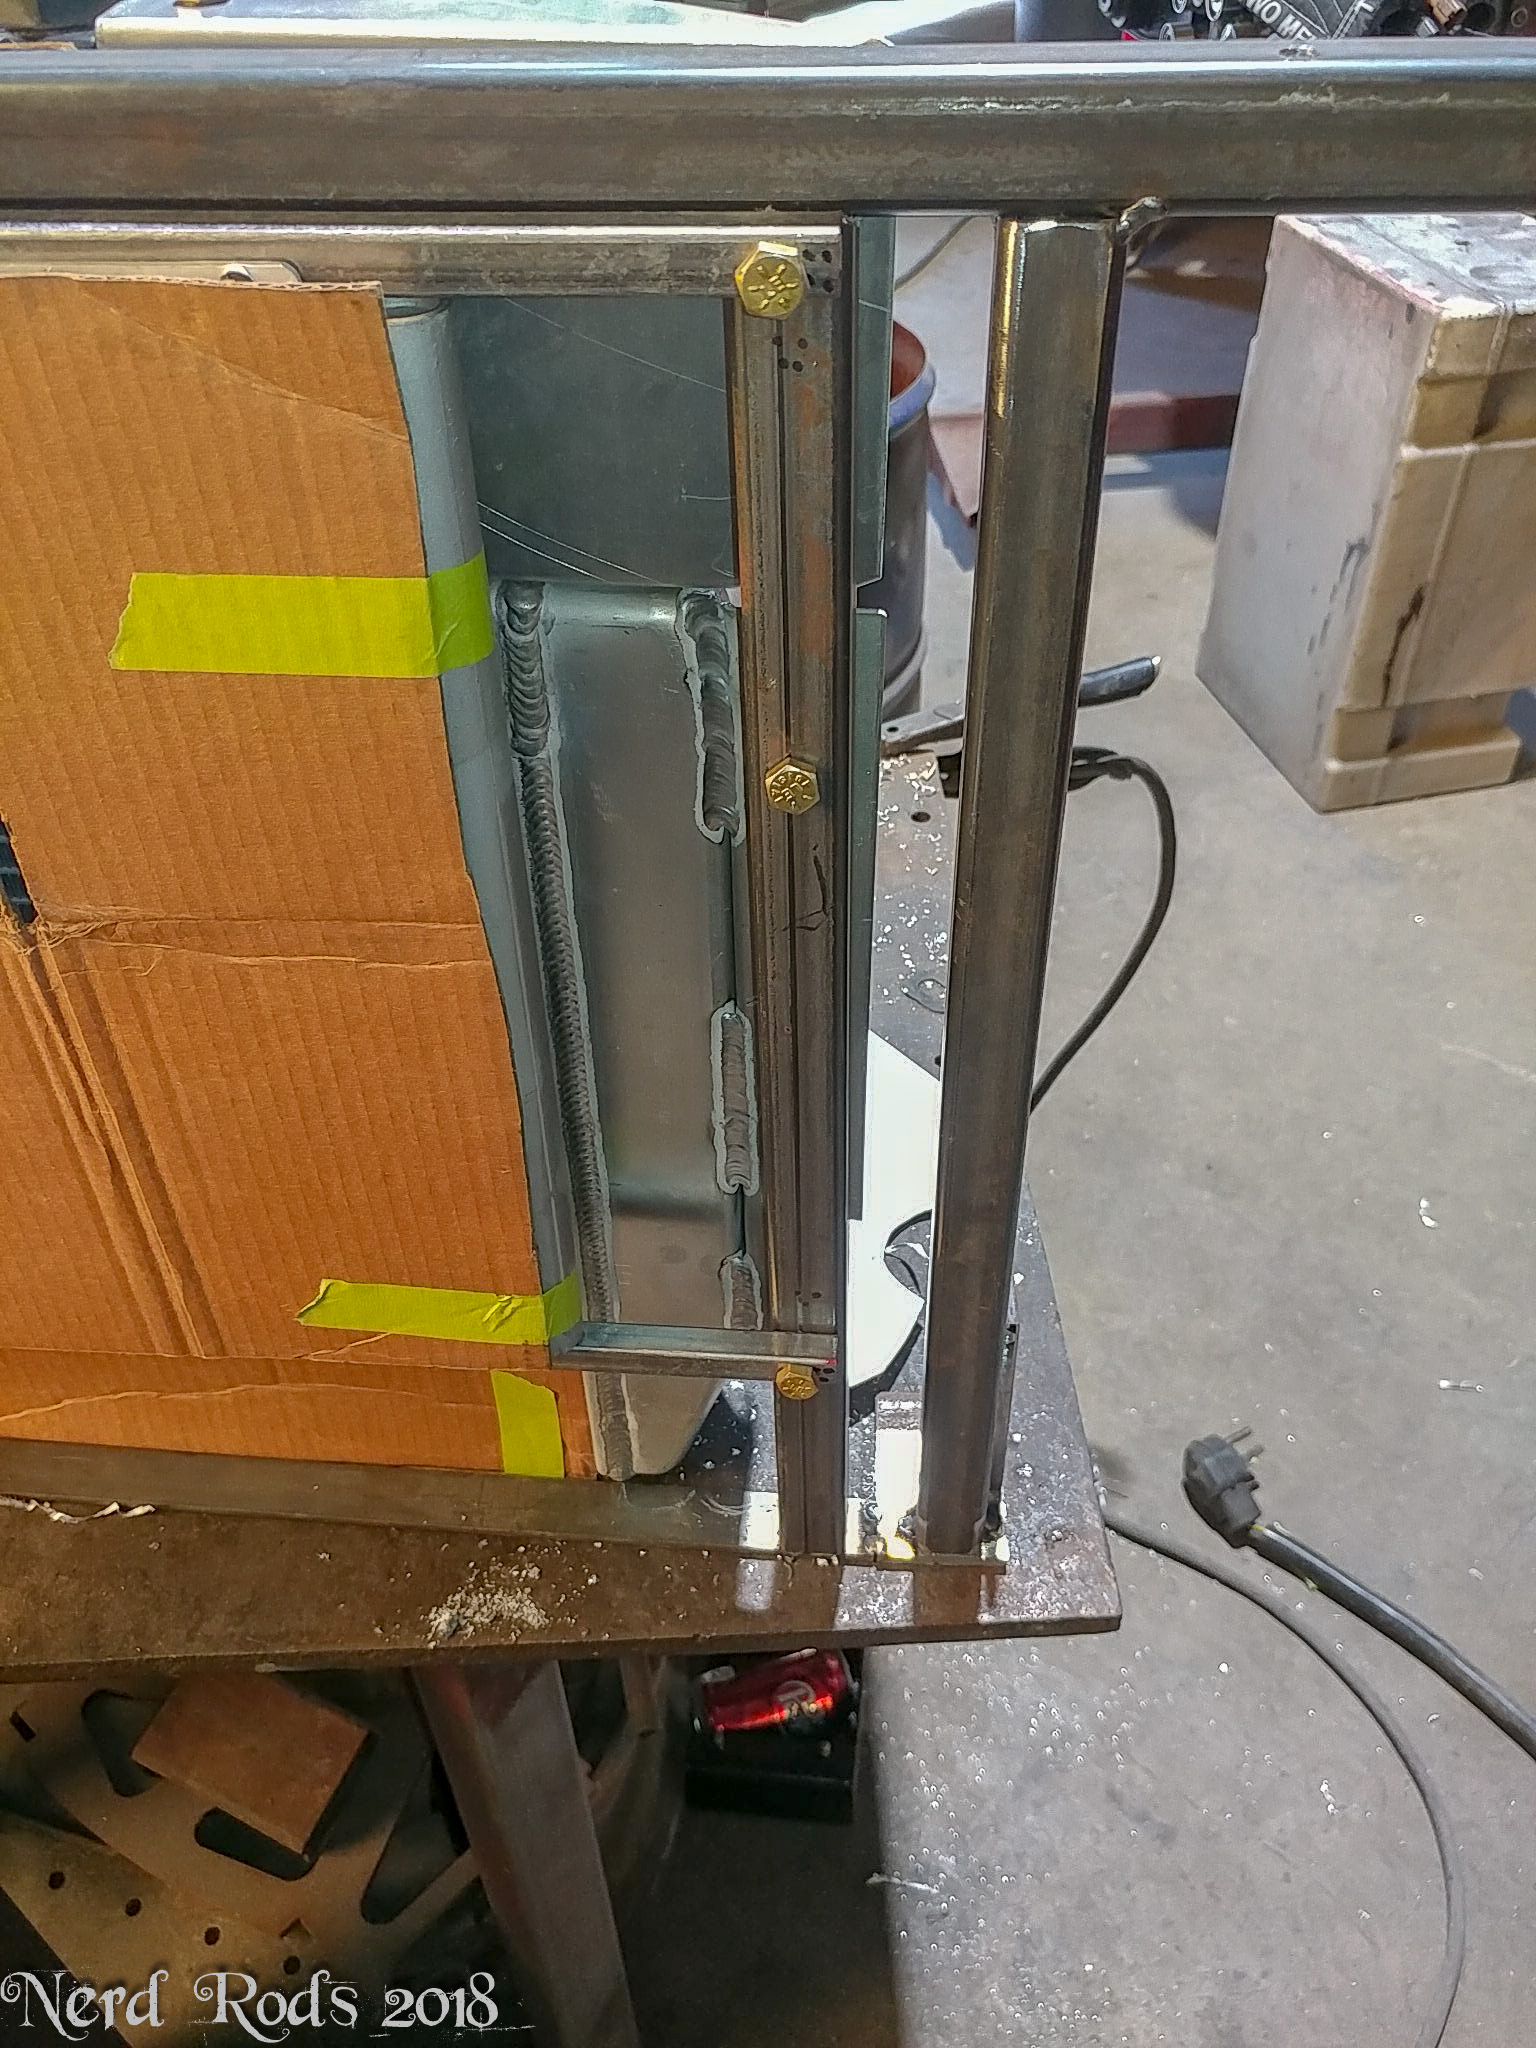
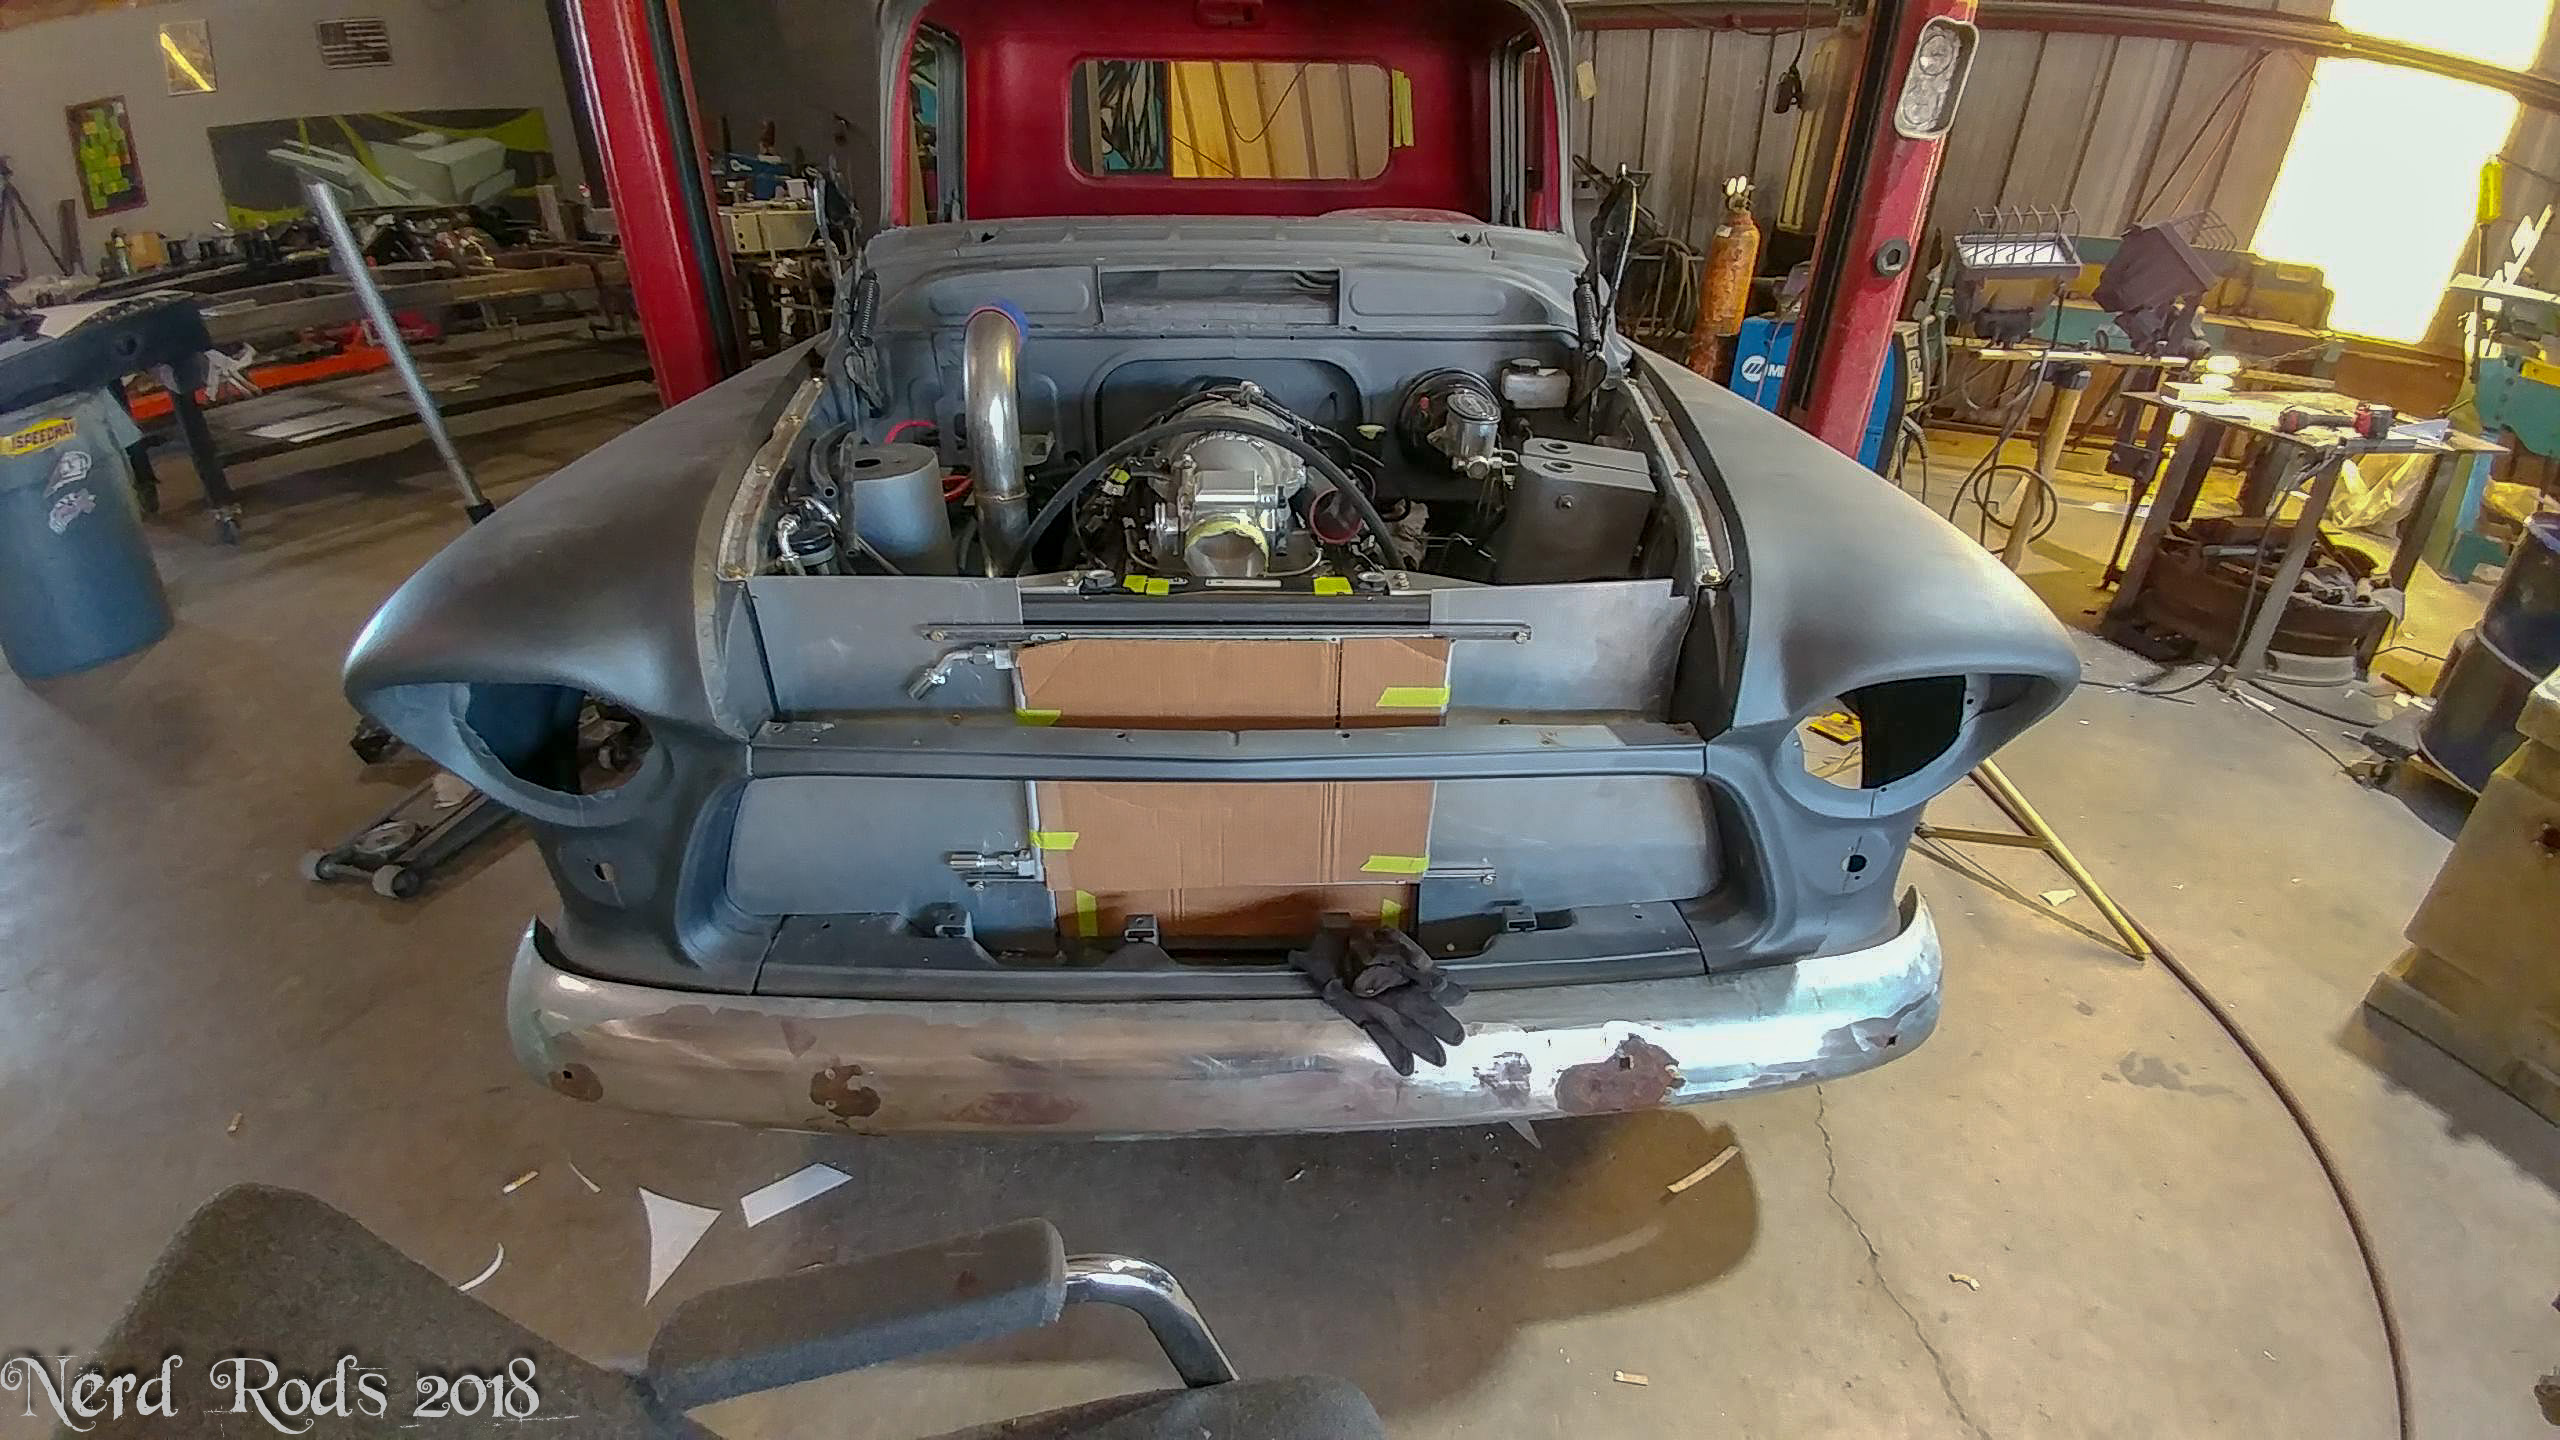

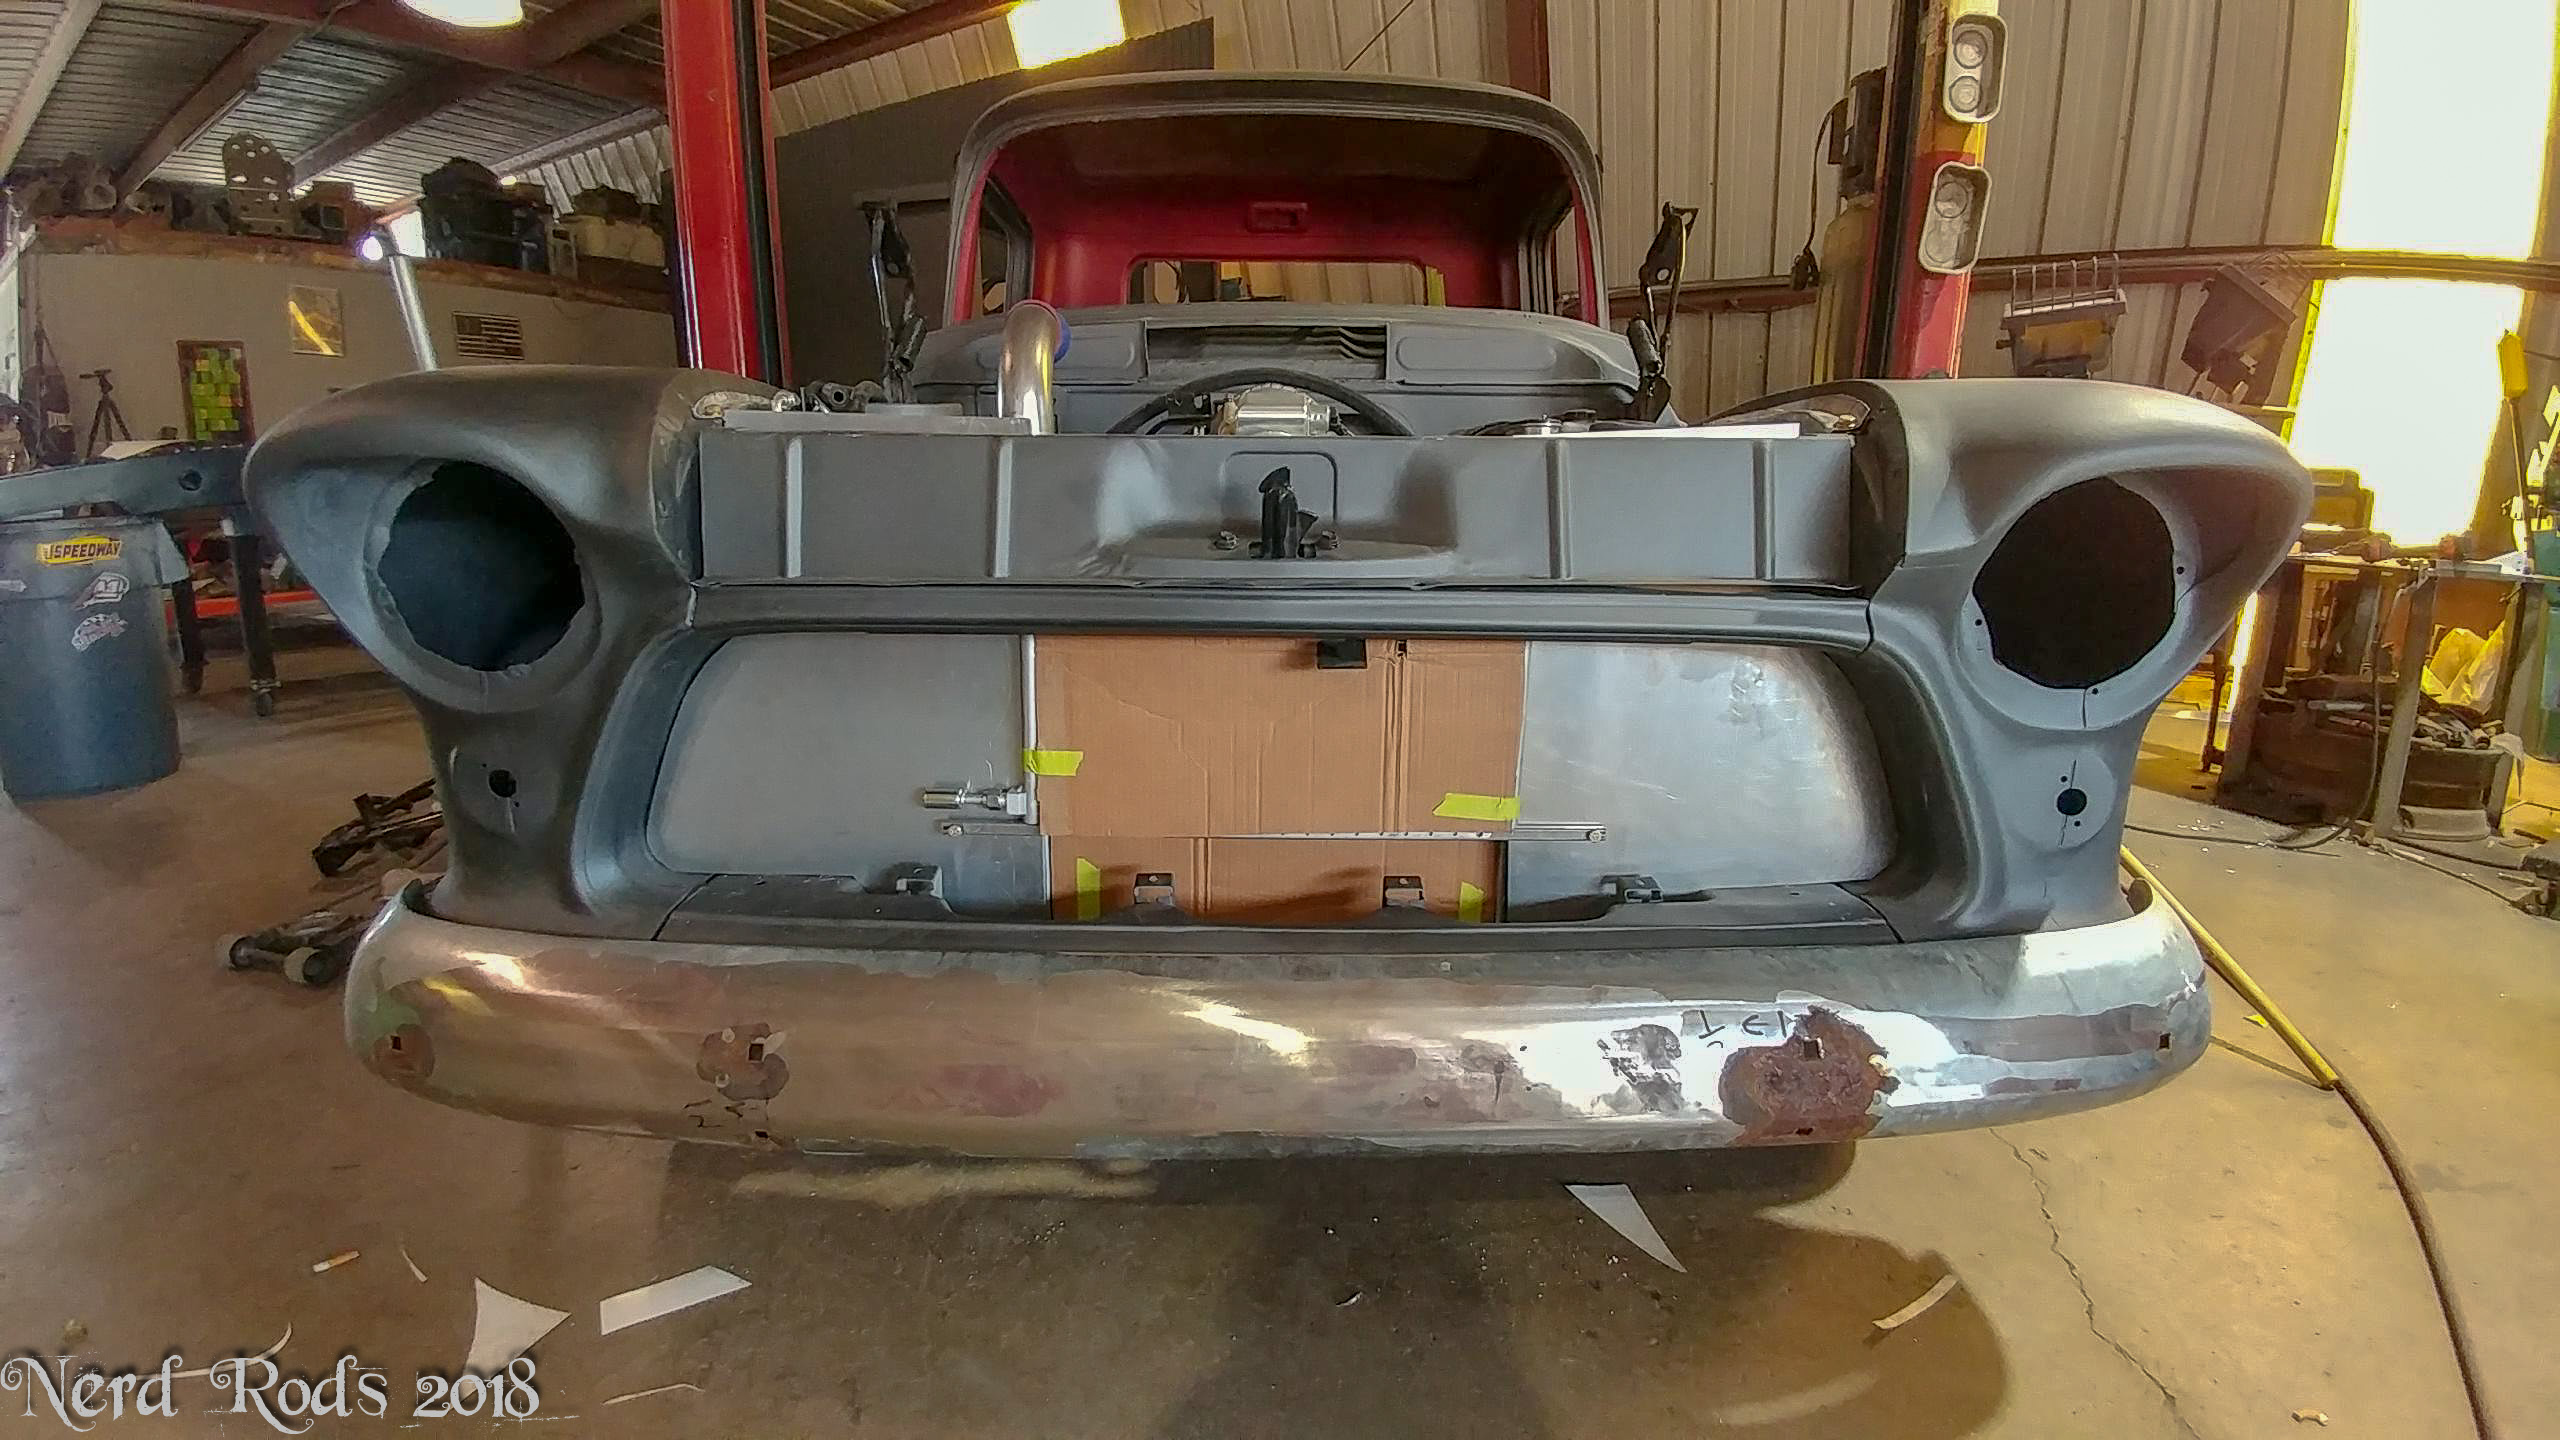
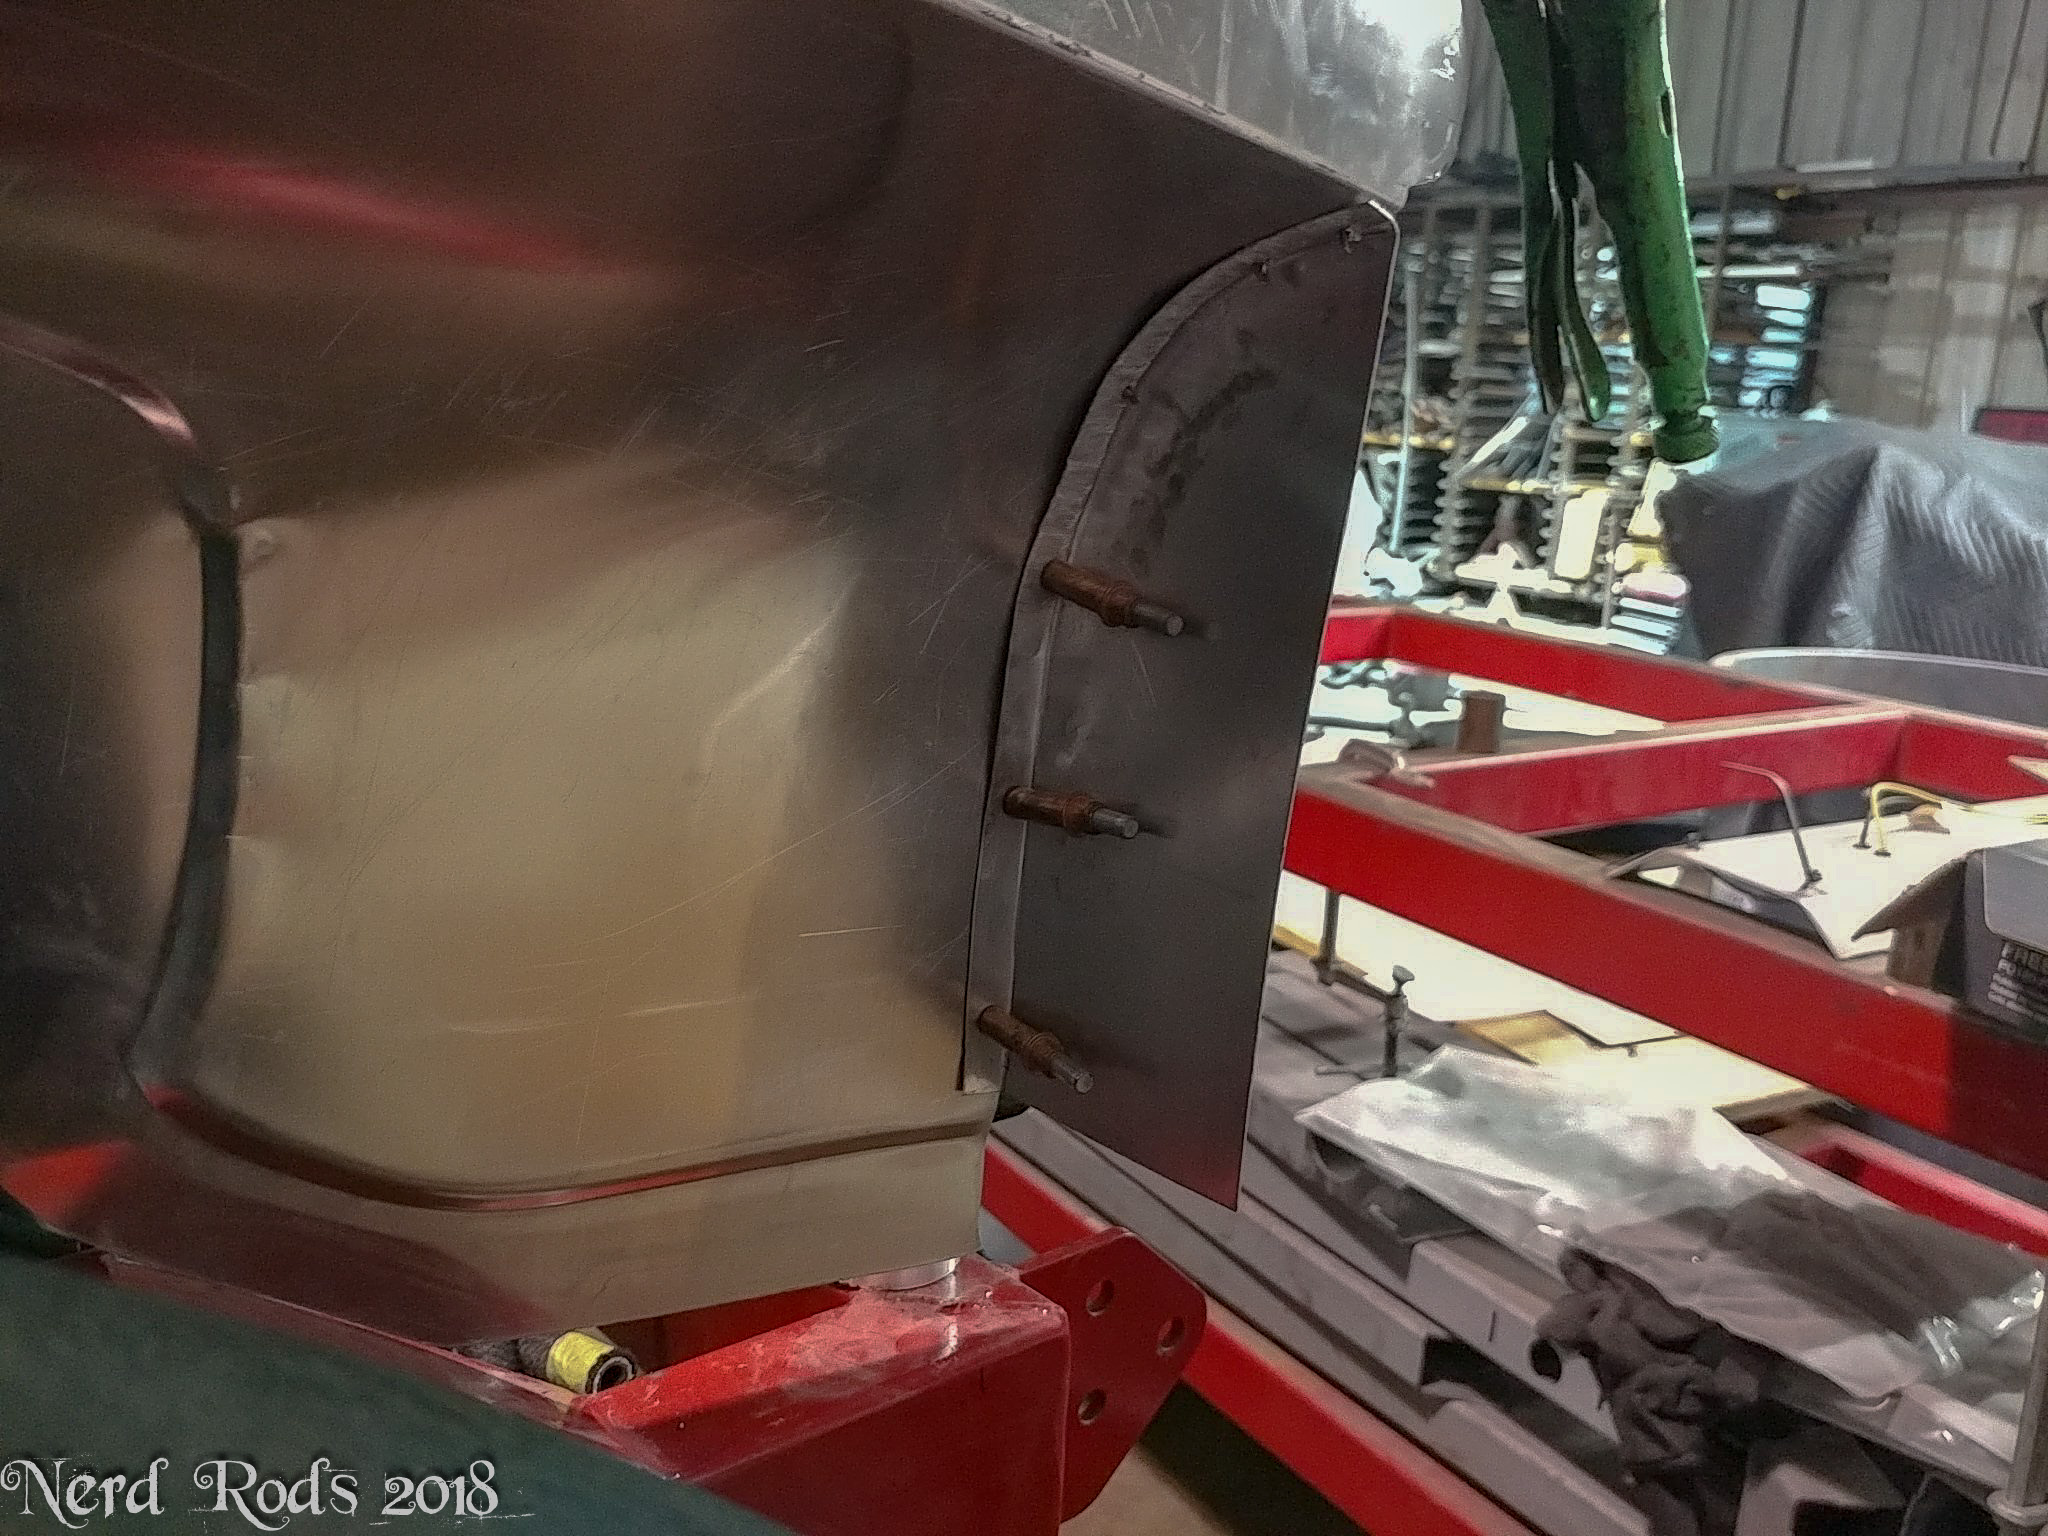
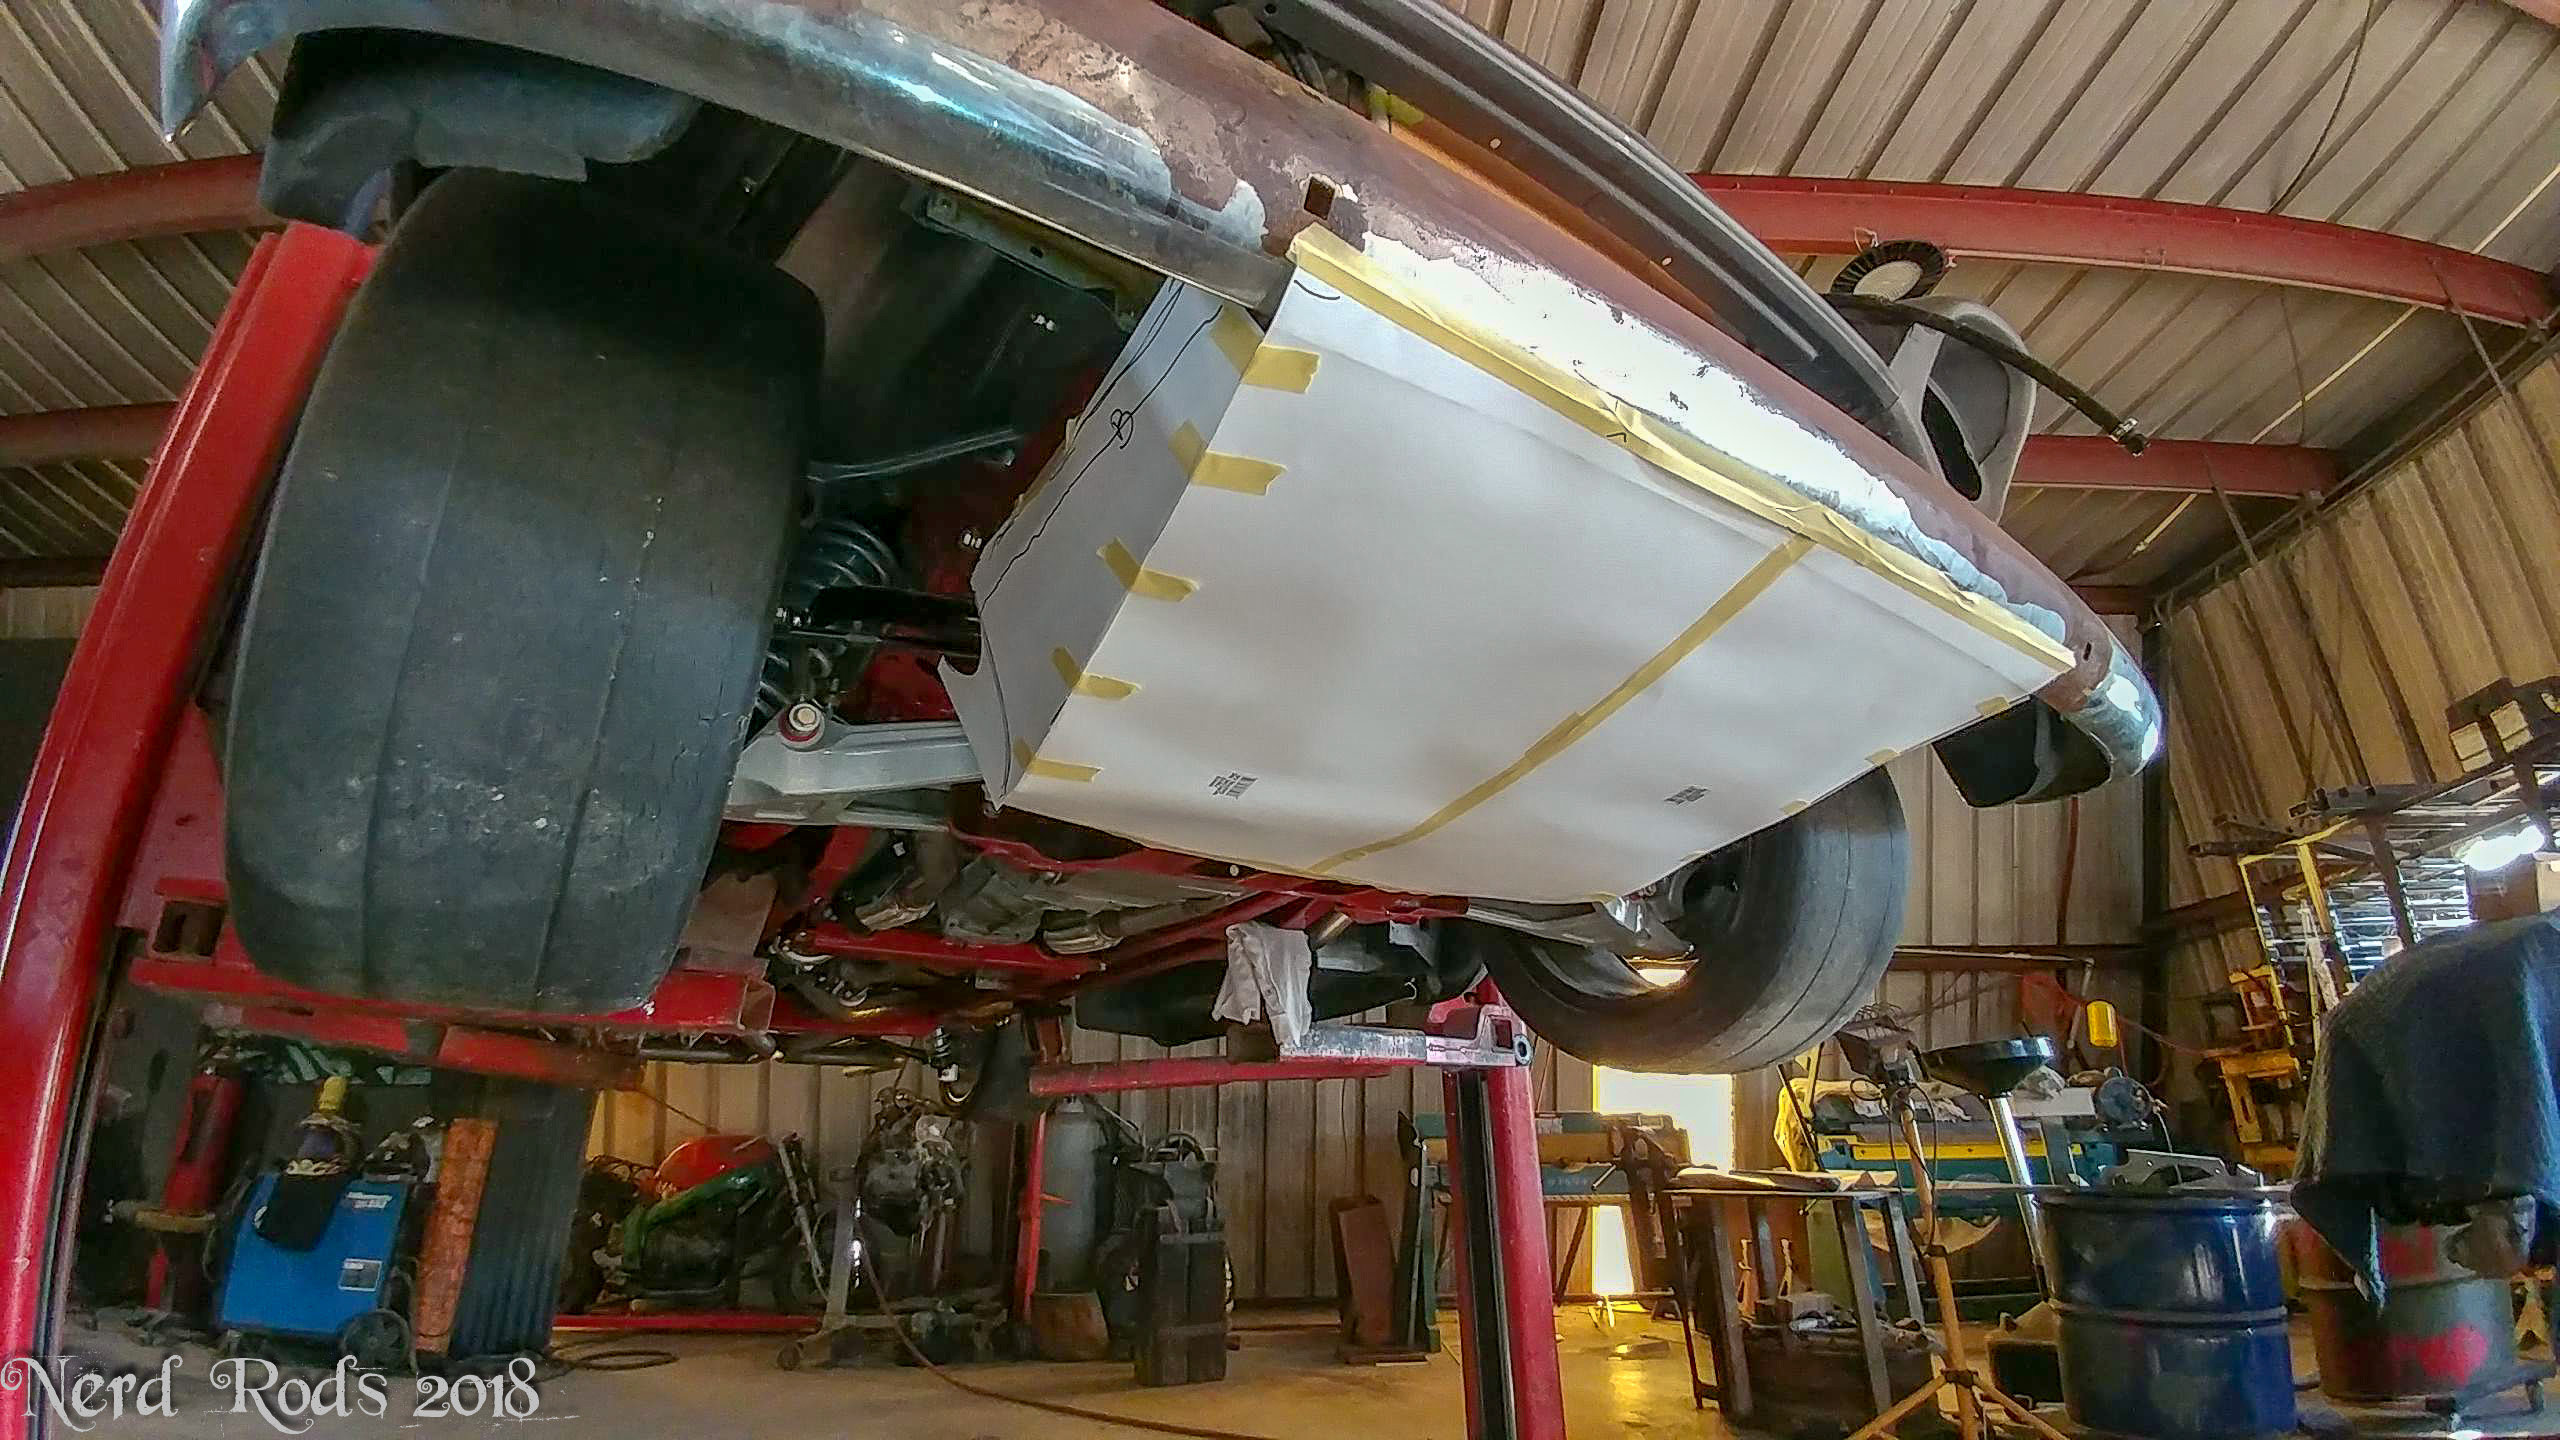
The next thing I wanted to look into was reducing drag and wind noise and the front cross member, sway bar, and frame tubes were a perfect thing to cover up to stop the harsh wind noise from hissing over the sharp edges of these components so Dad started working on a noise pan. I think we're also going to do a bit more of a belly pan as well when we get it a bit further along.
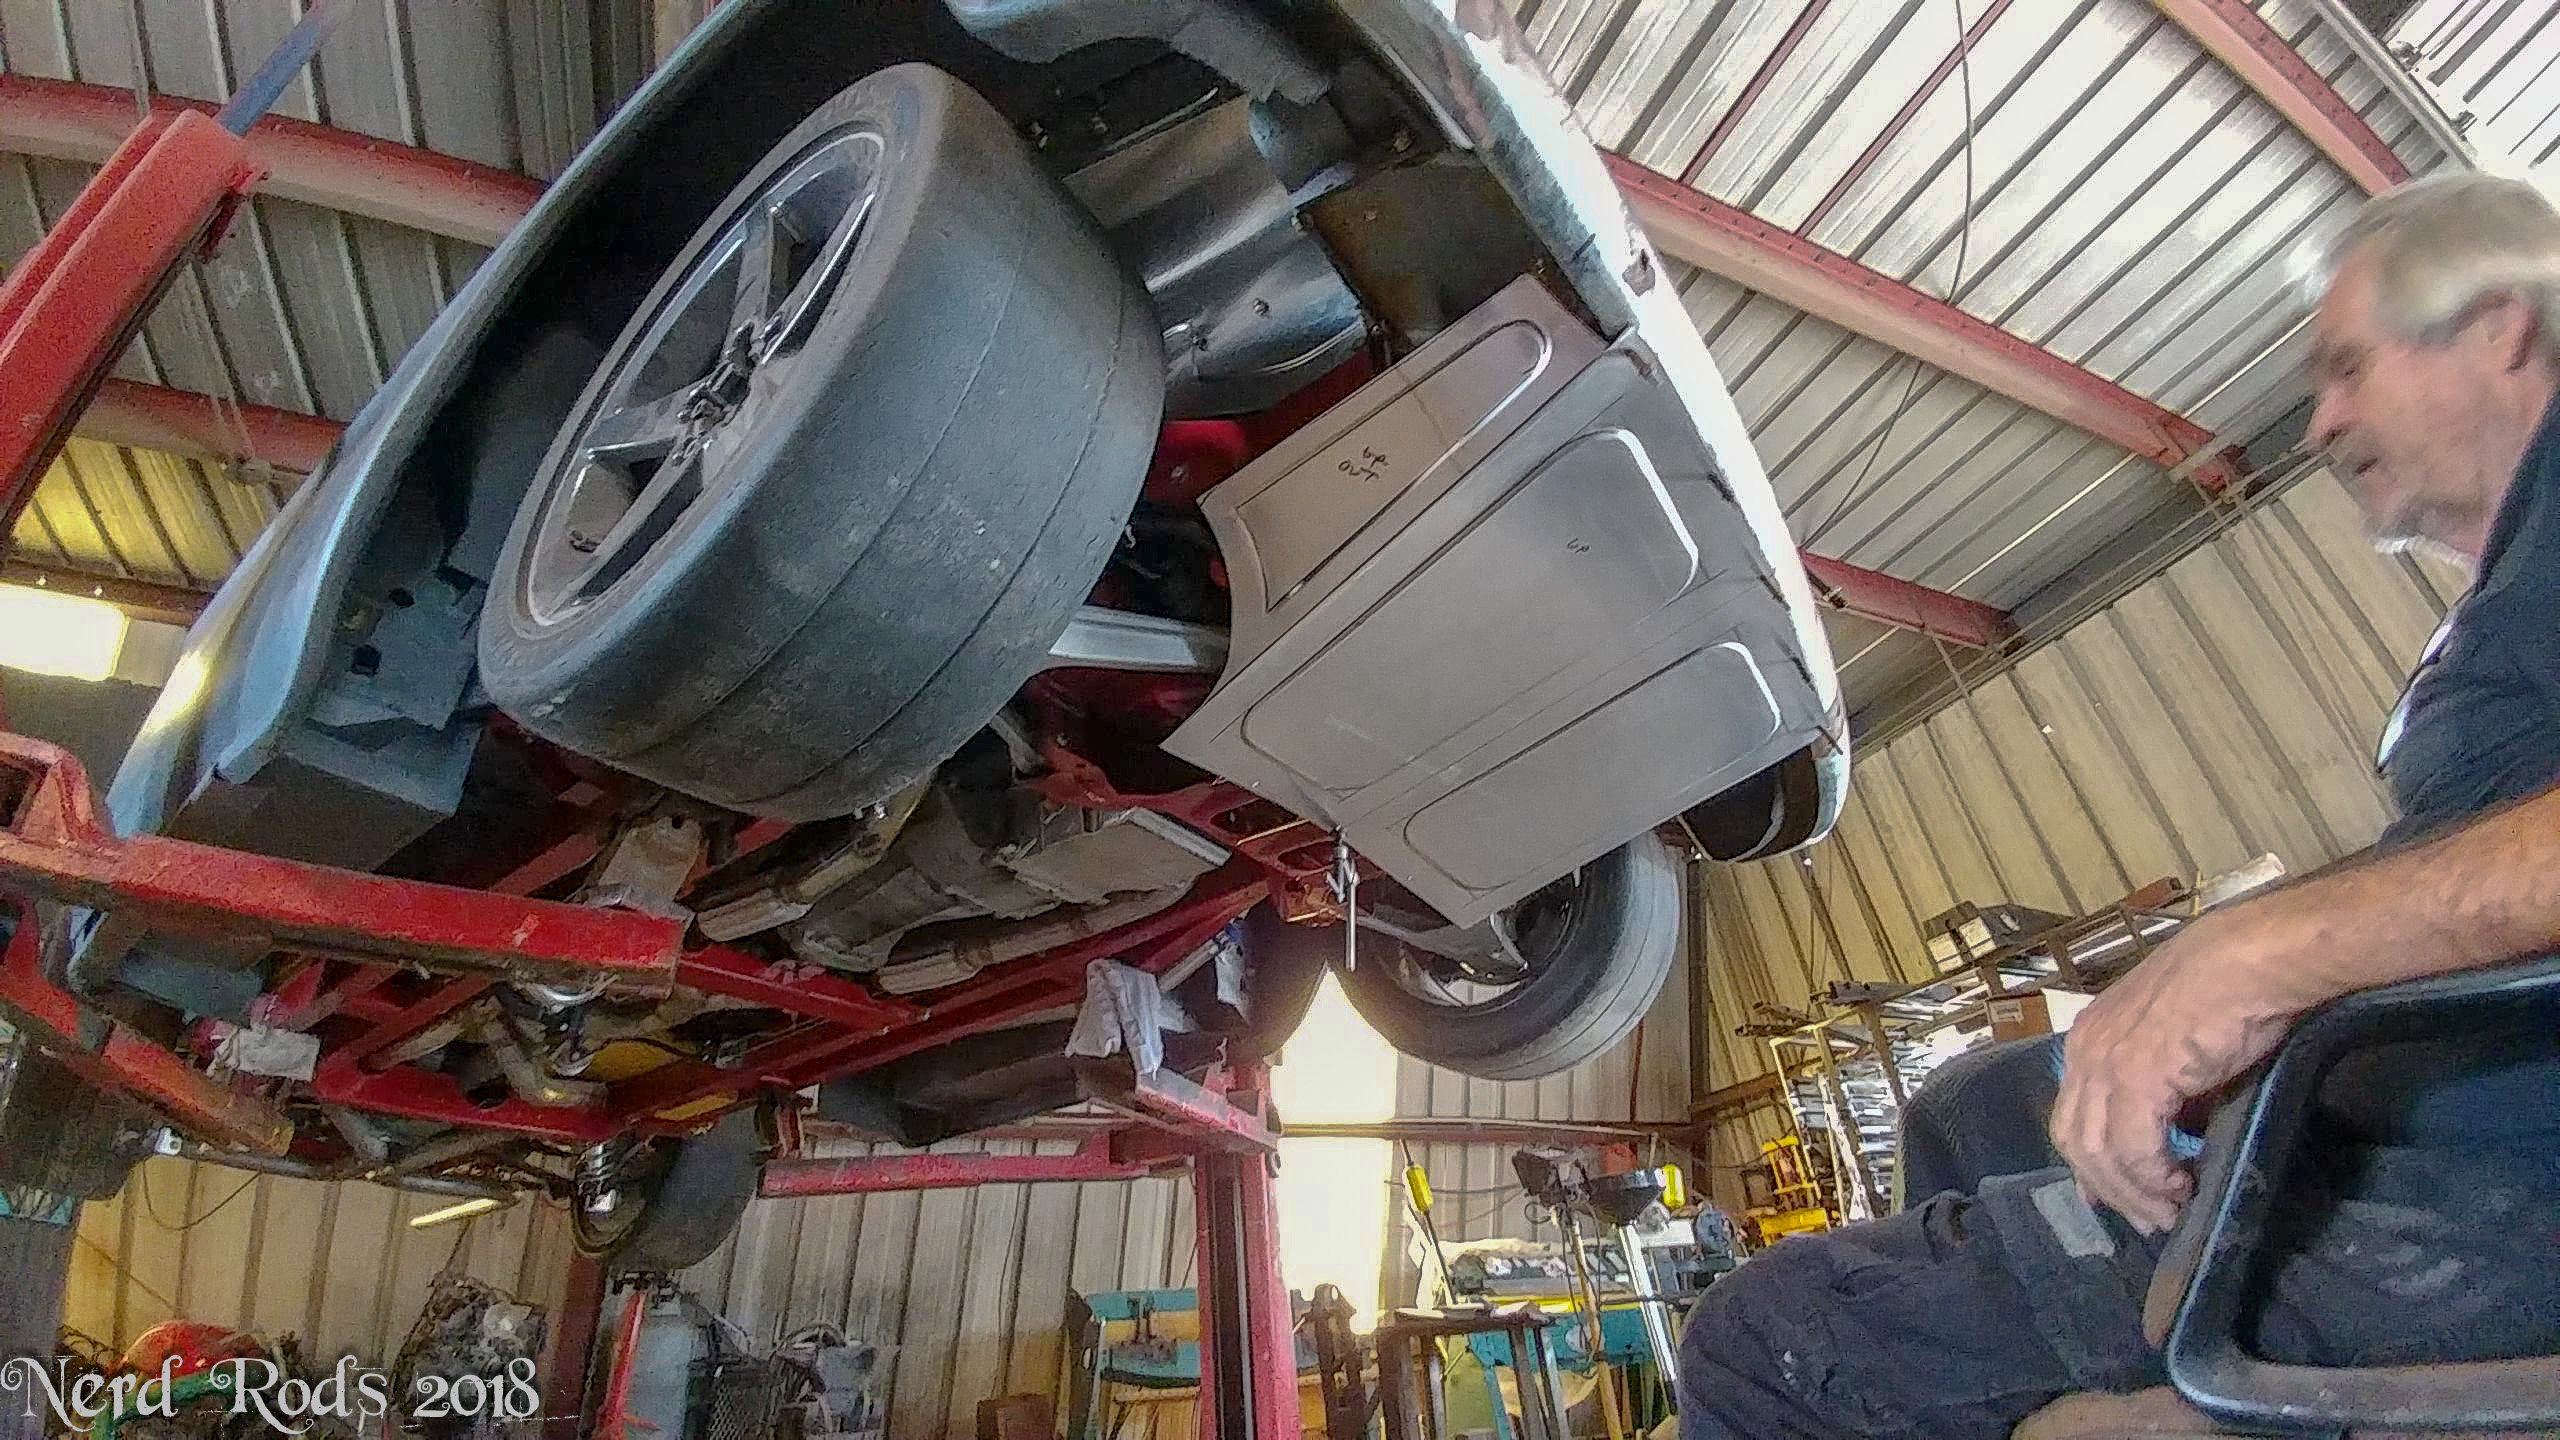
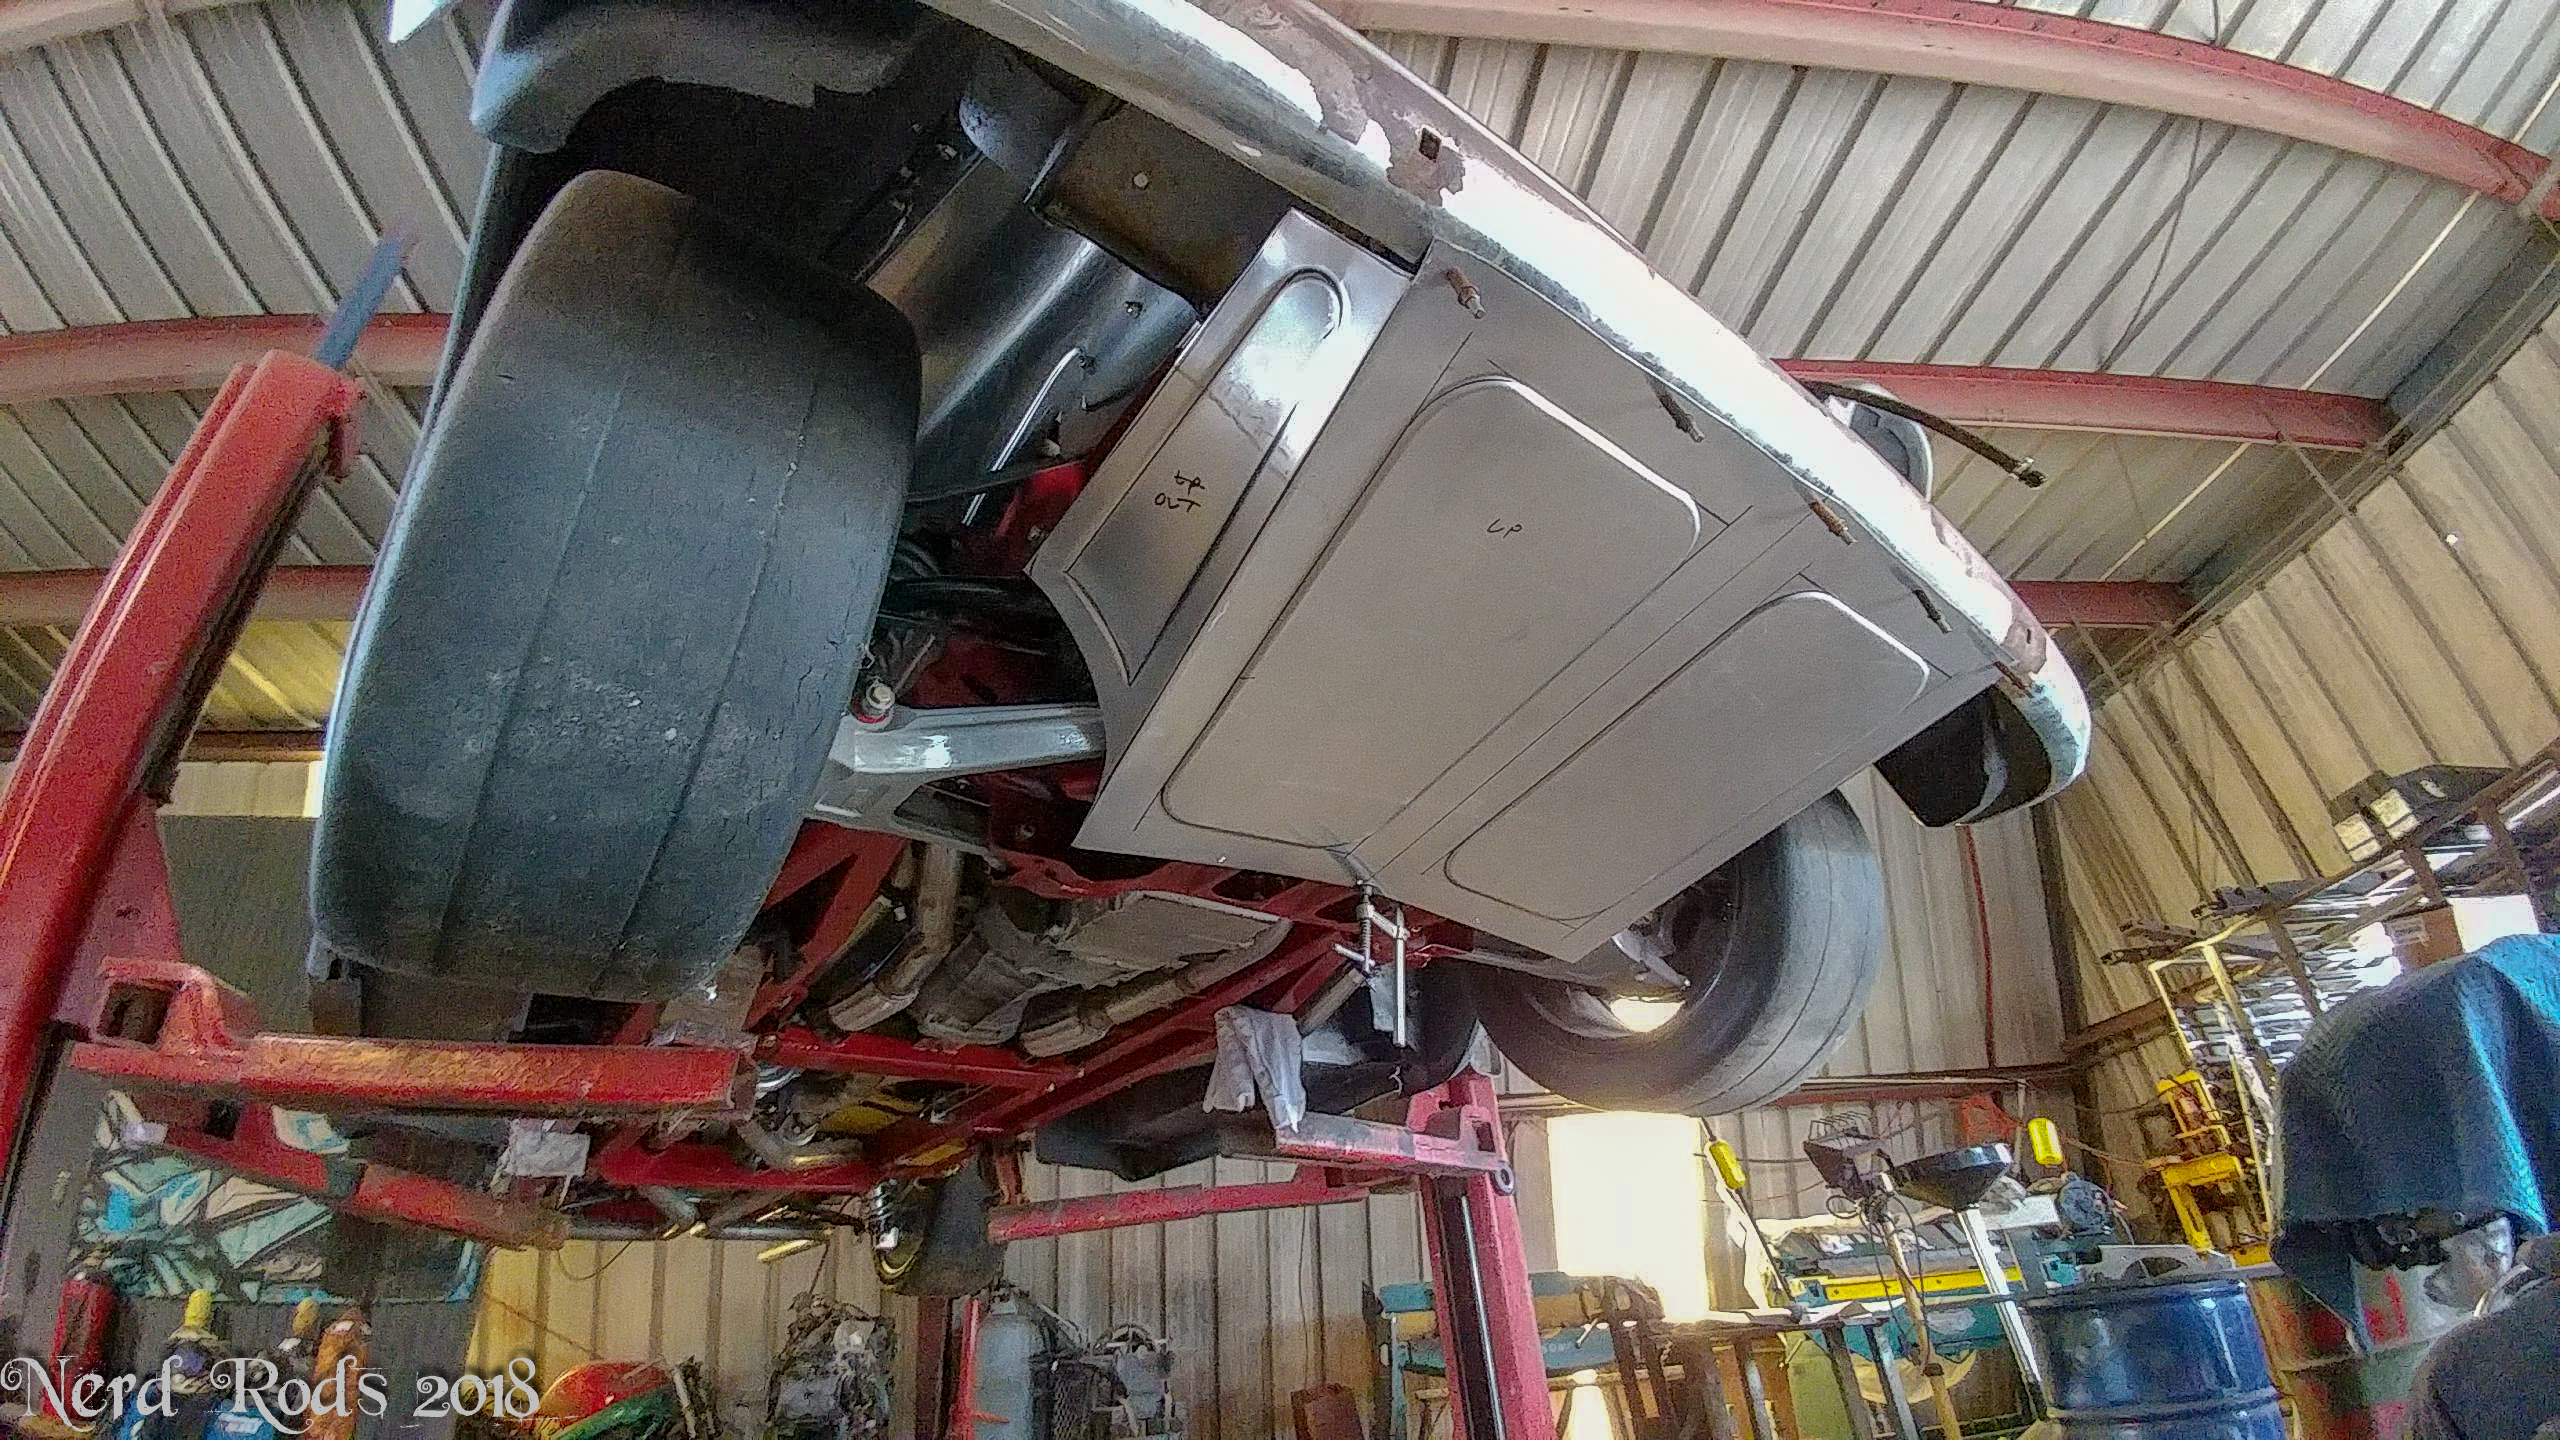
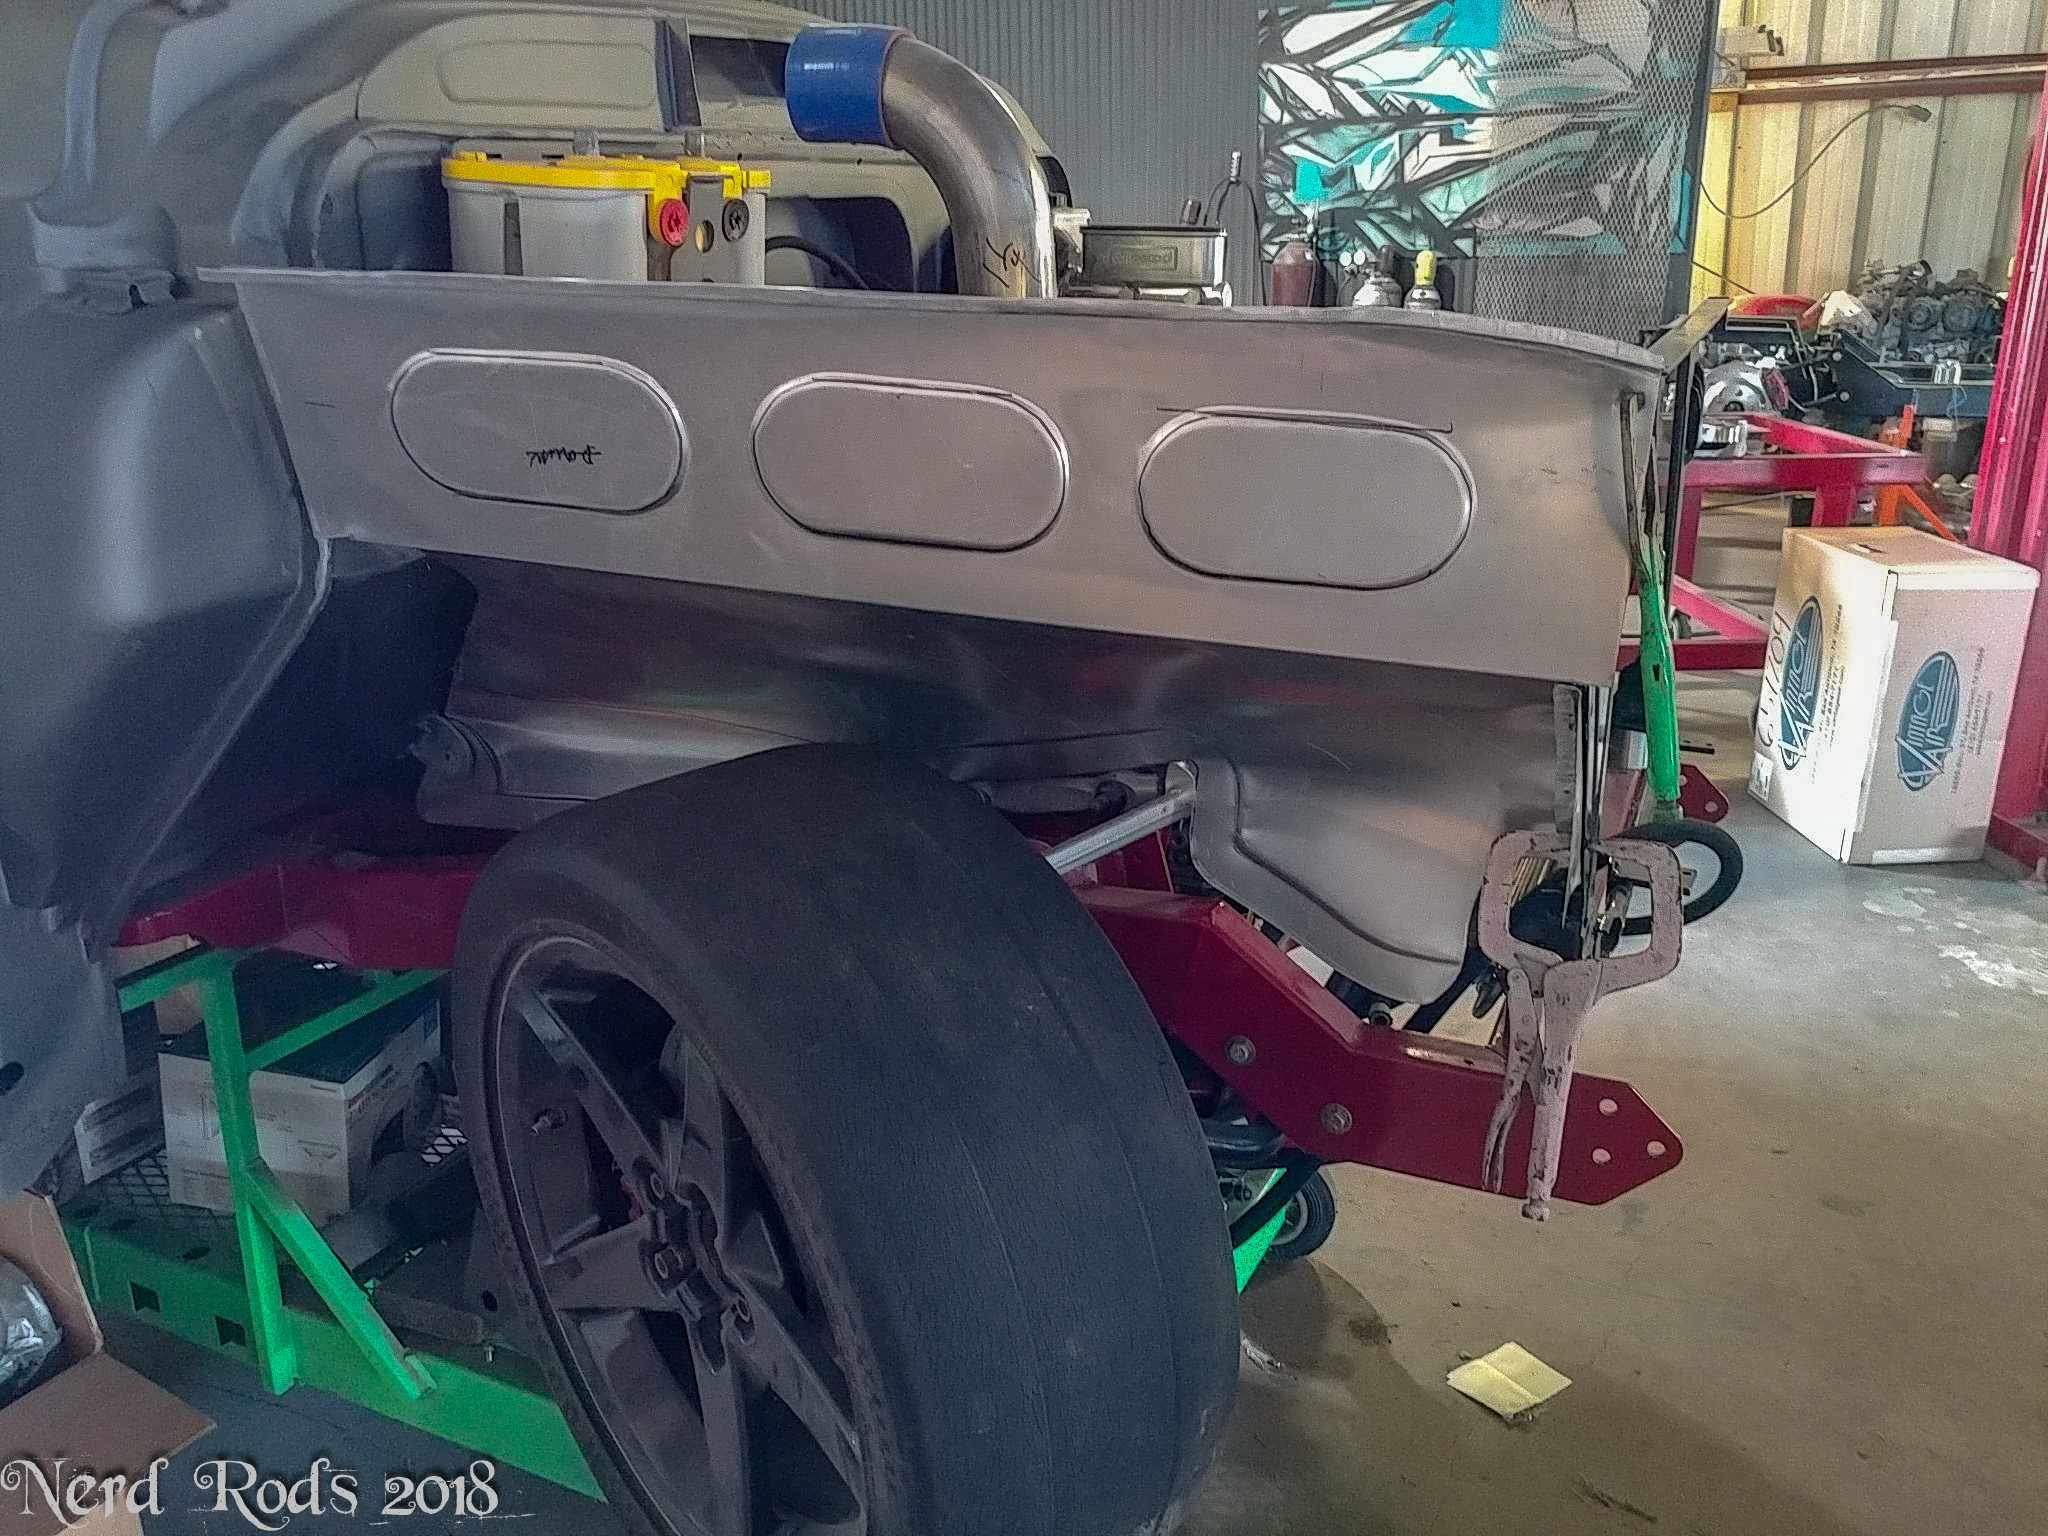
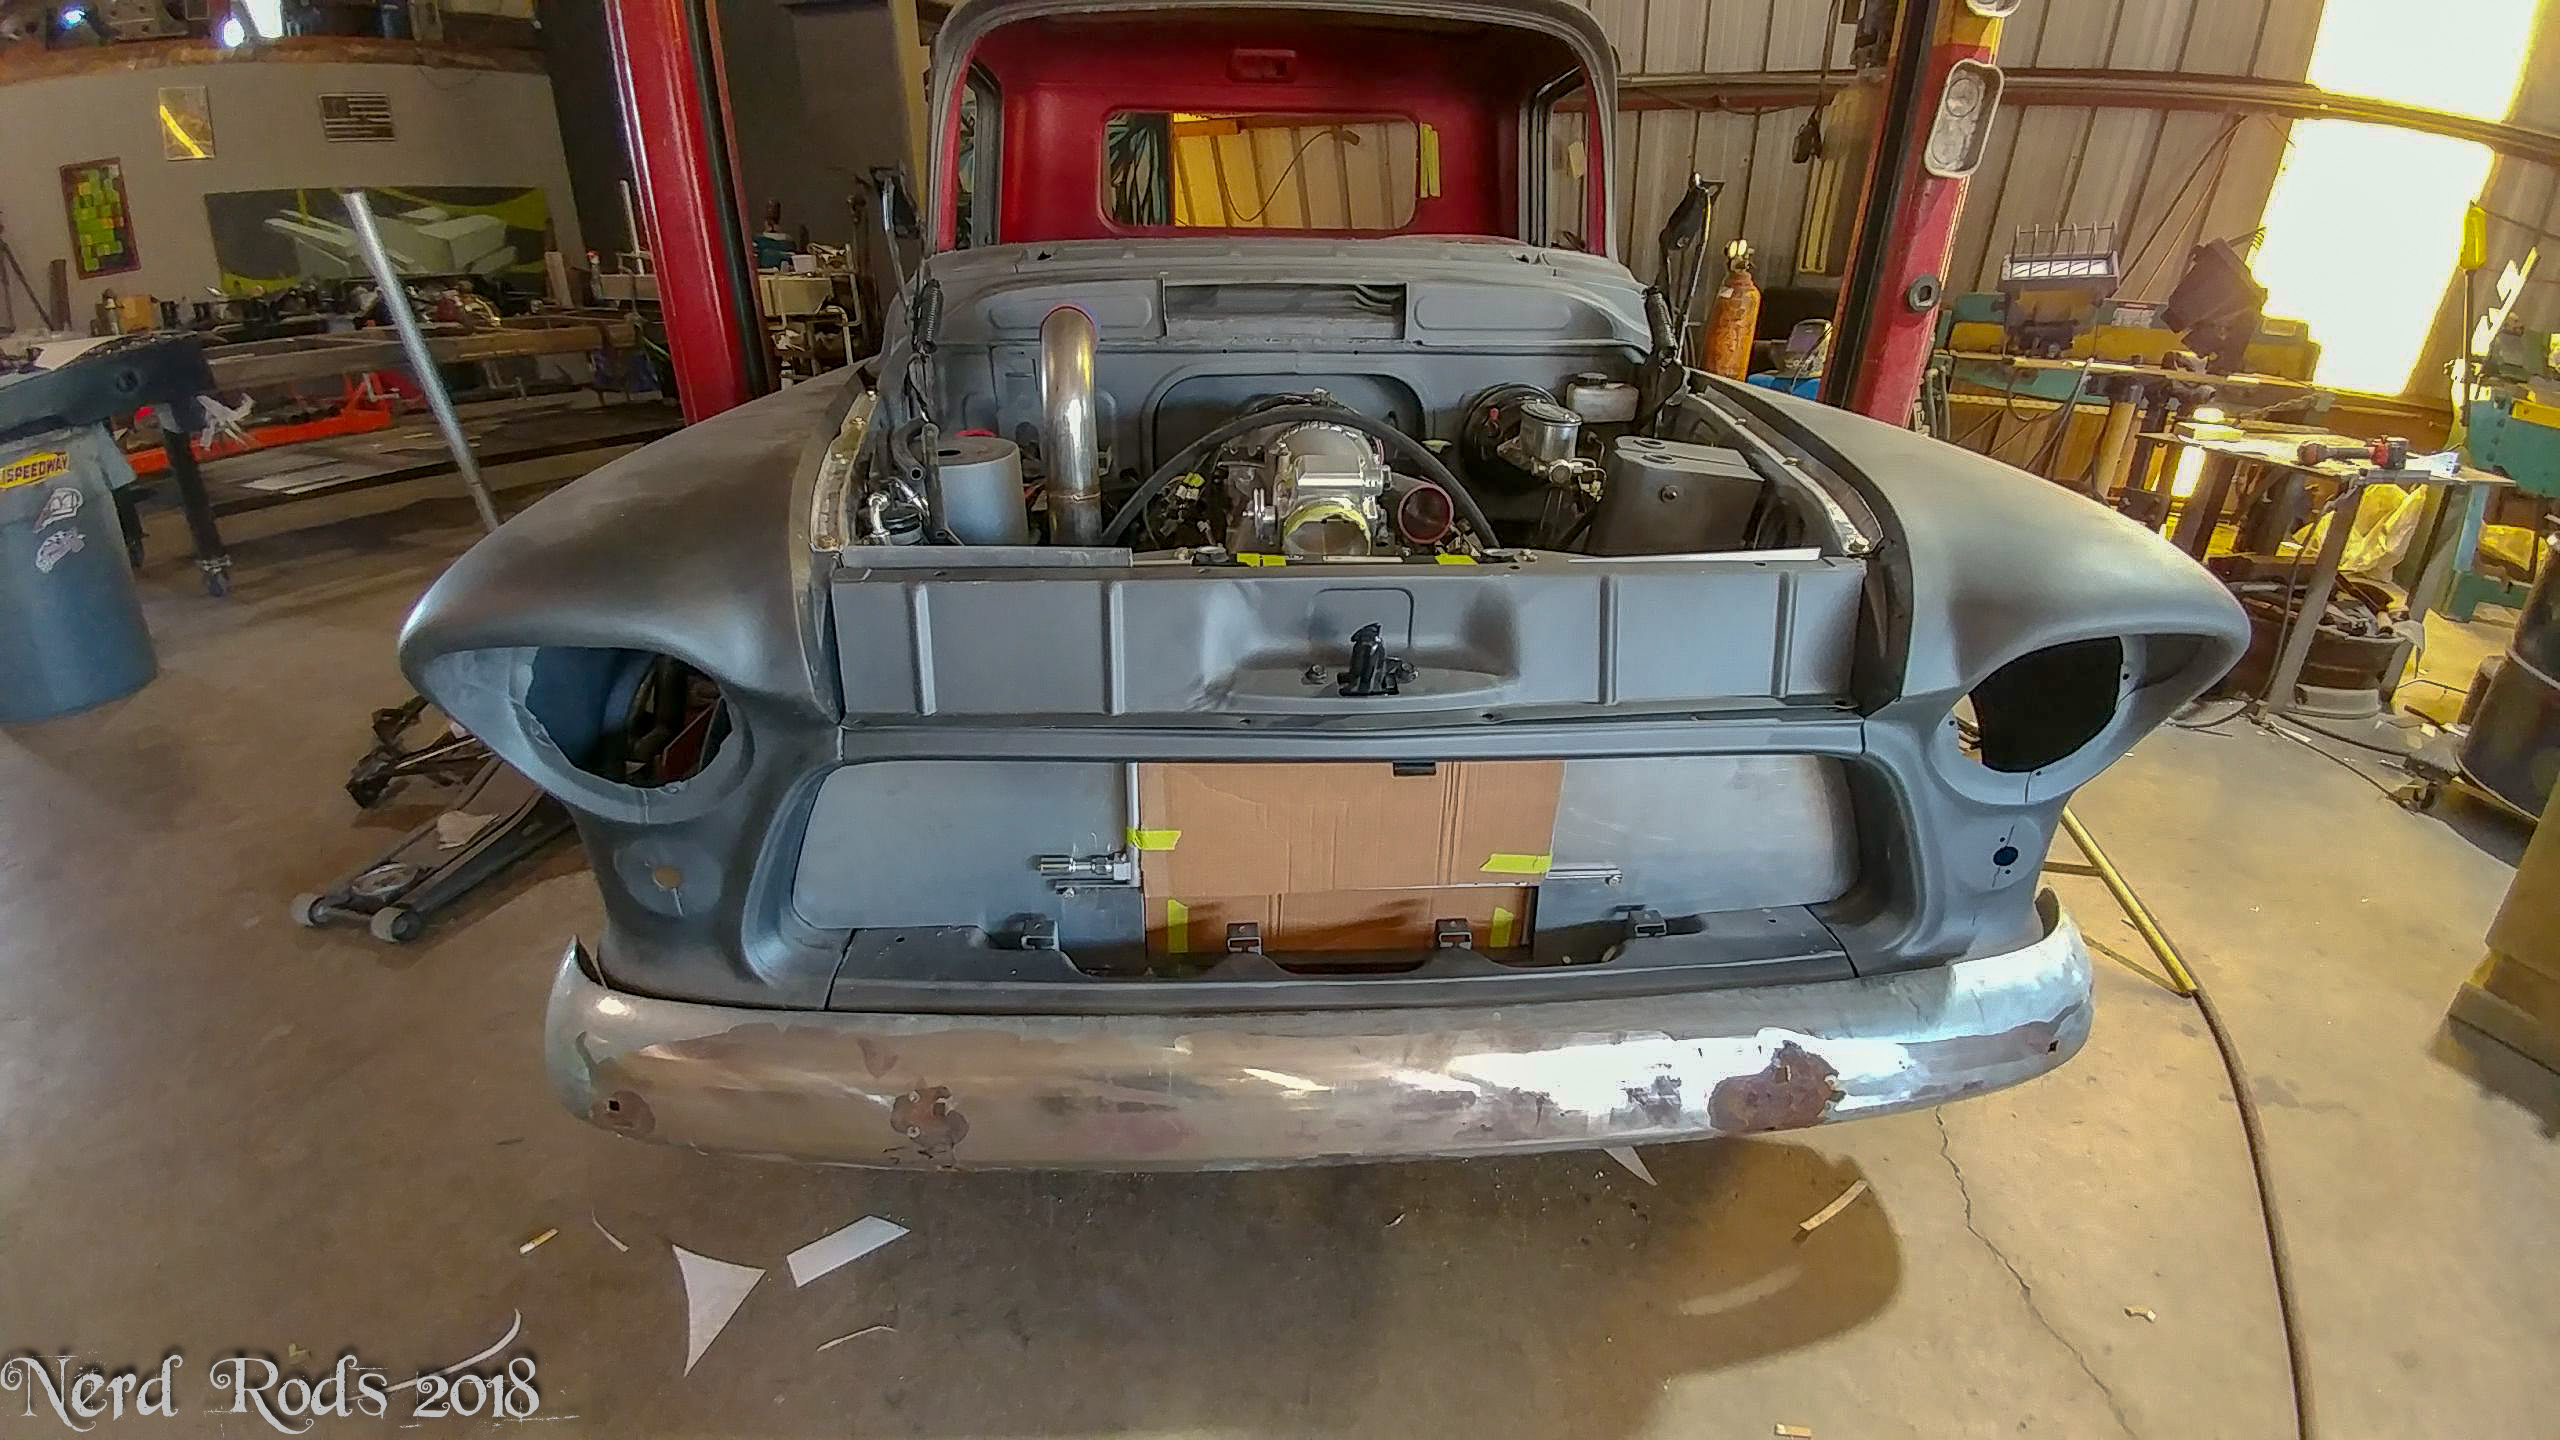
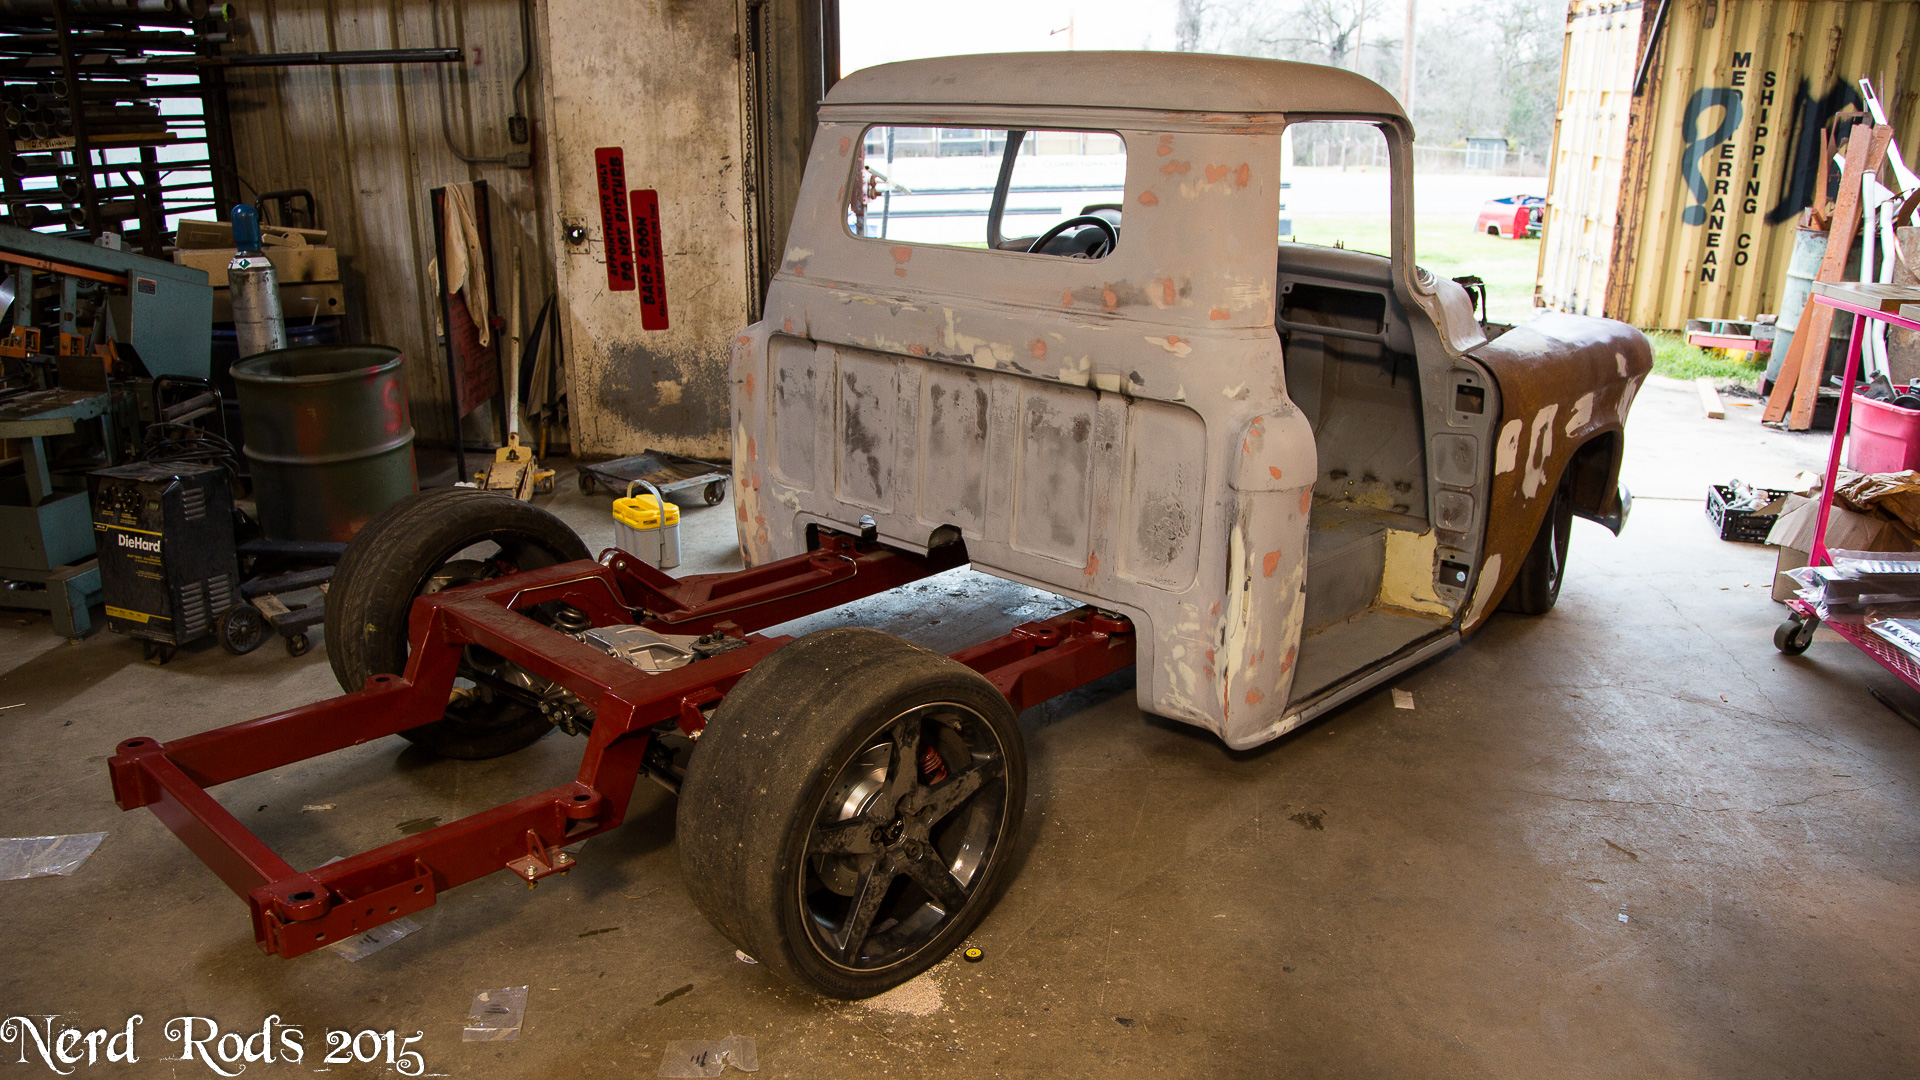
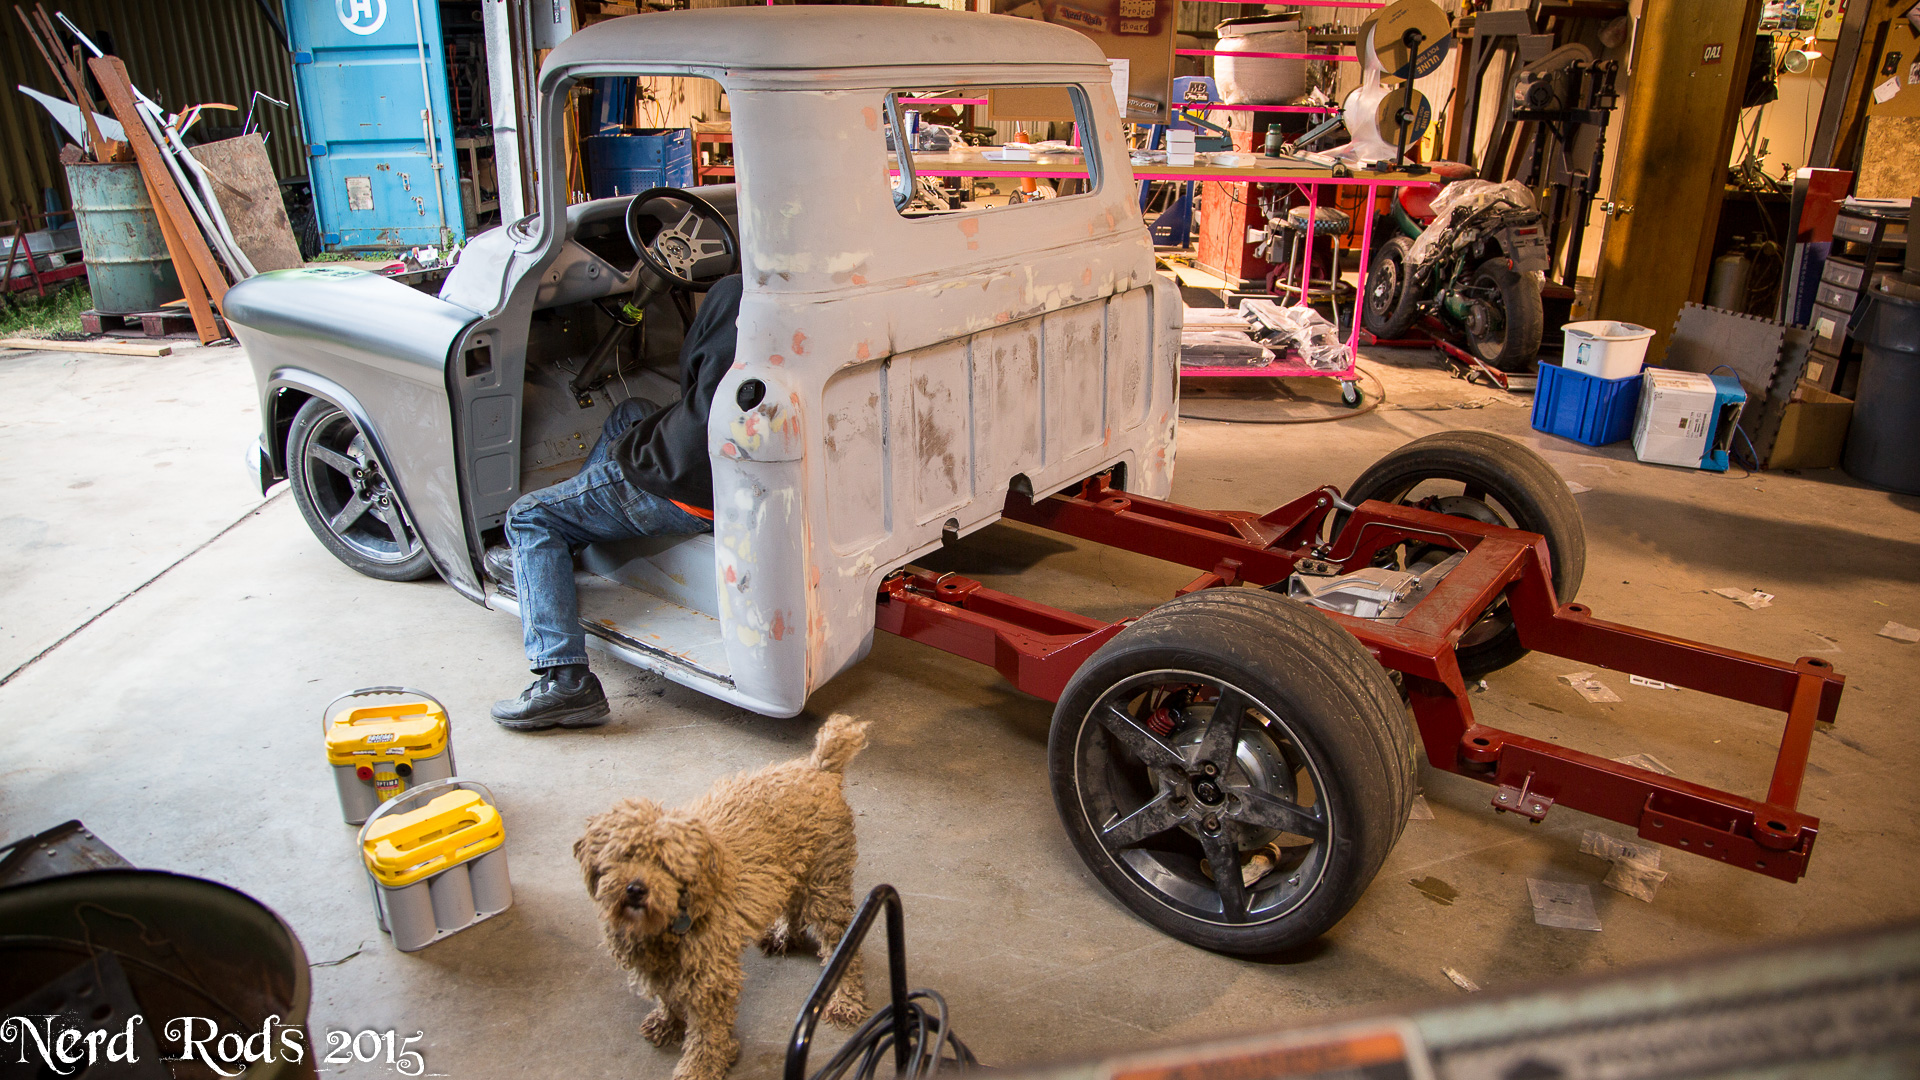
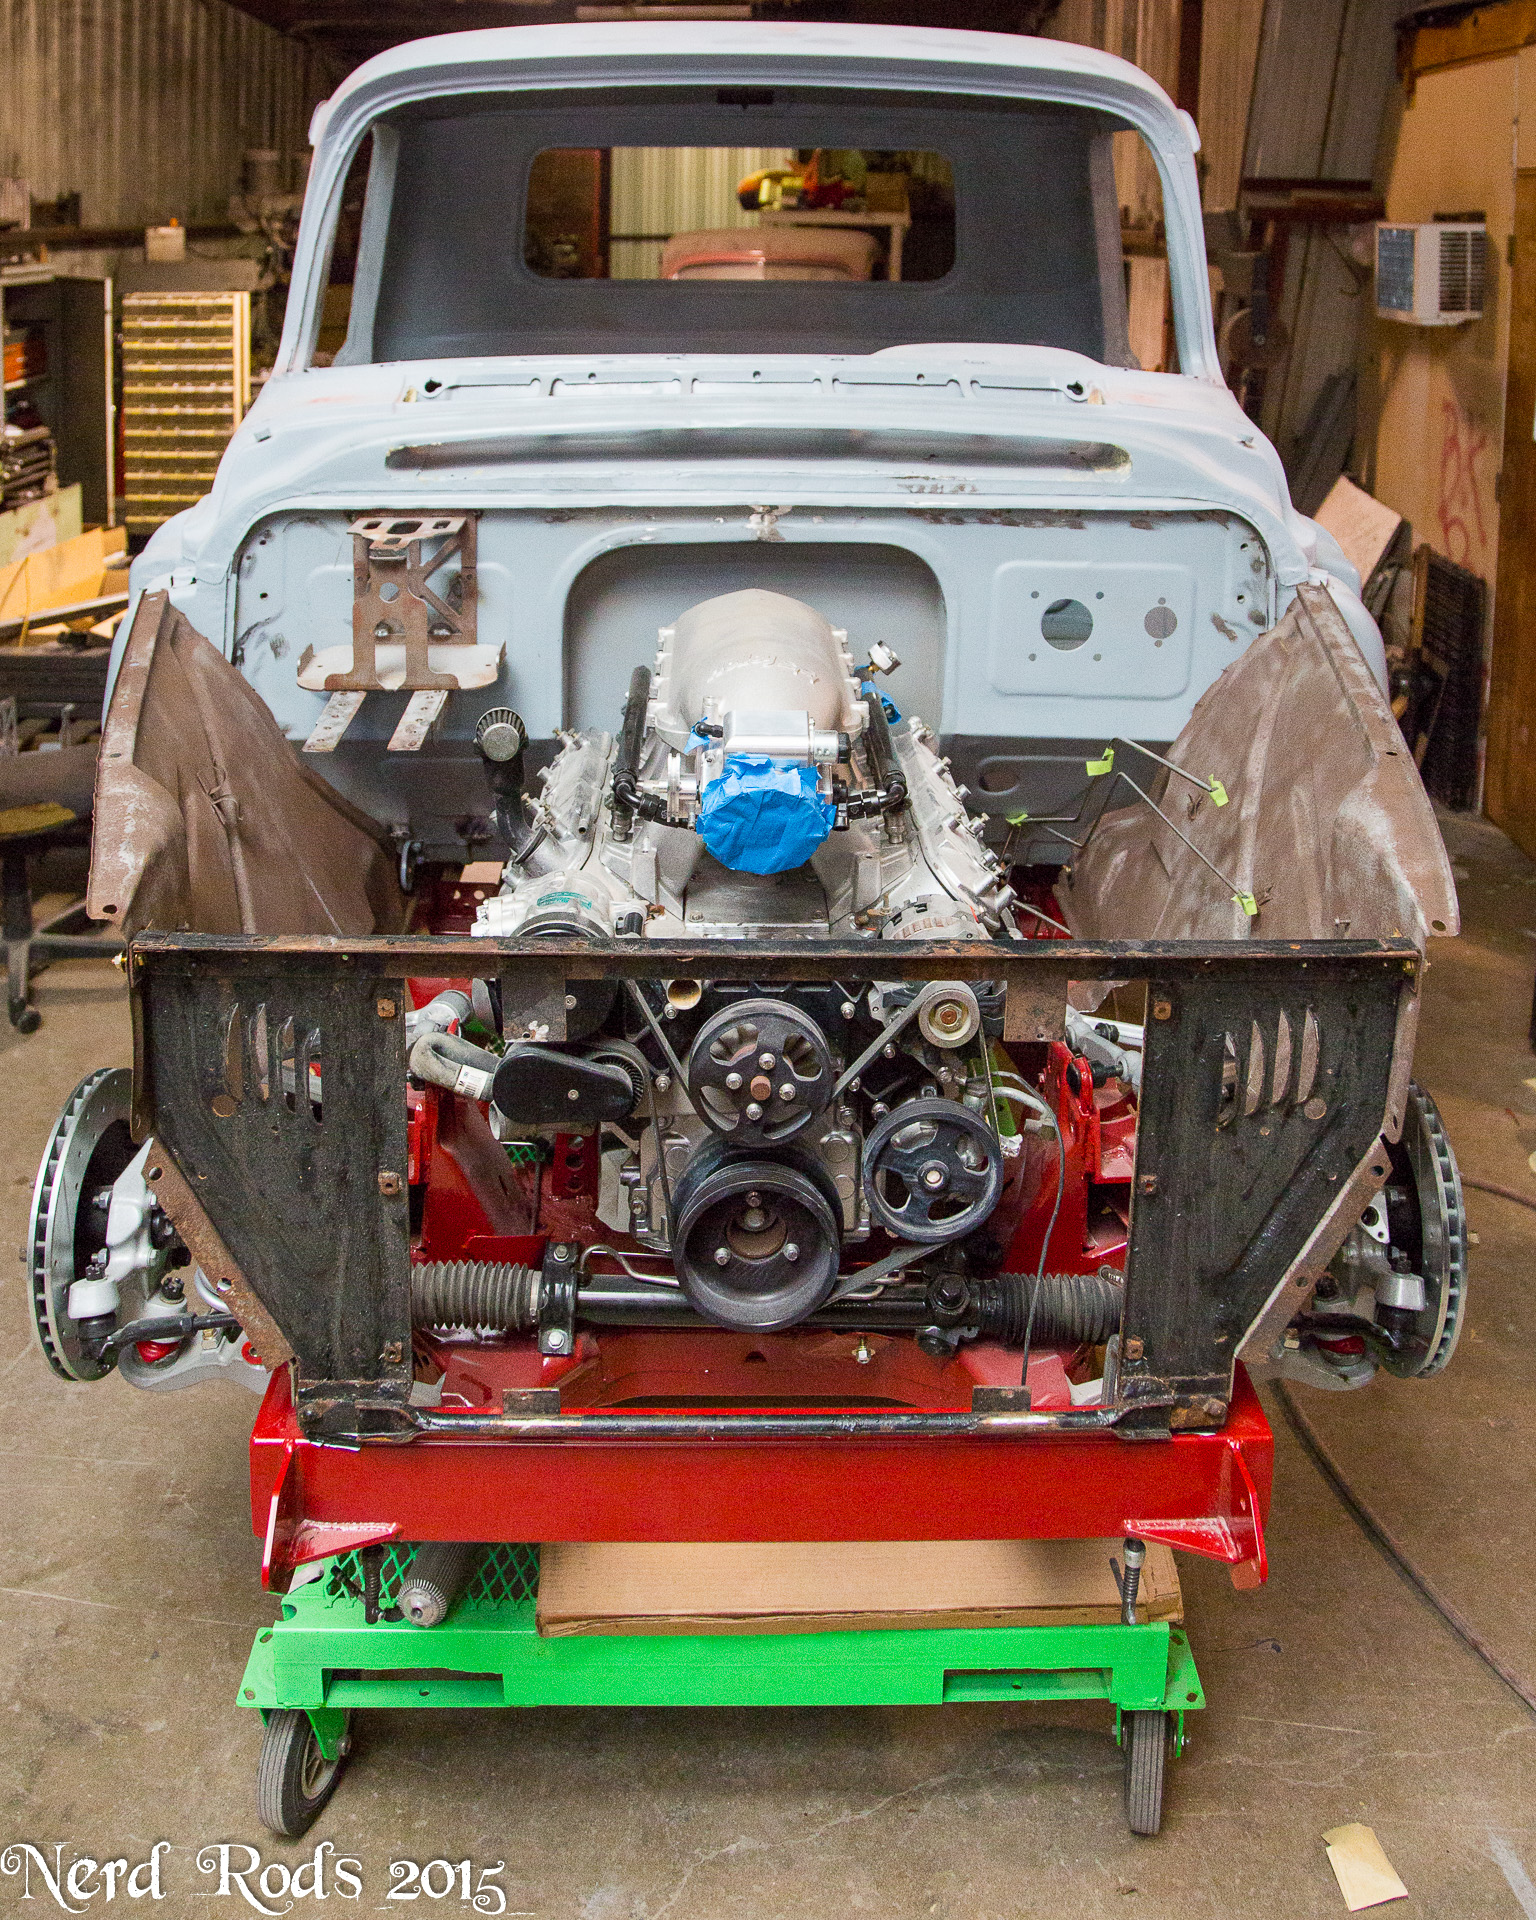
Finally after having her on the ground for a while I realized how much work we've been doing around the shop instead of on the truck so I snagged these for guys who are interested to know what the low stance will look like and this is about it.
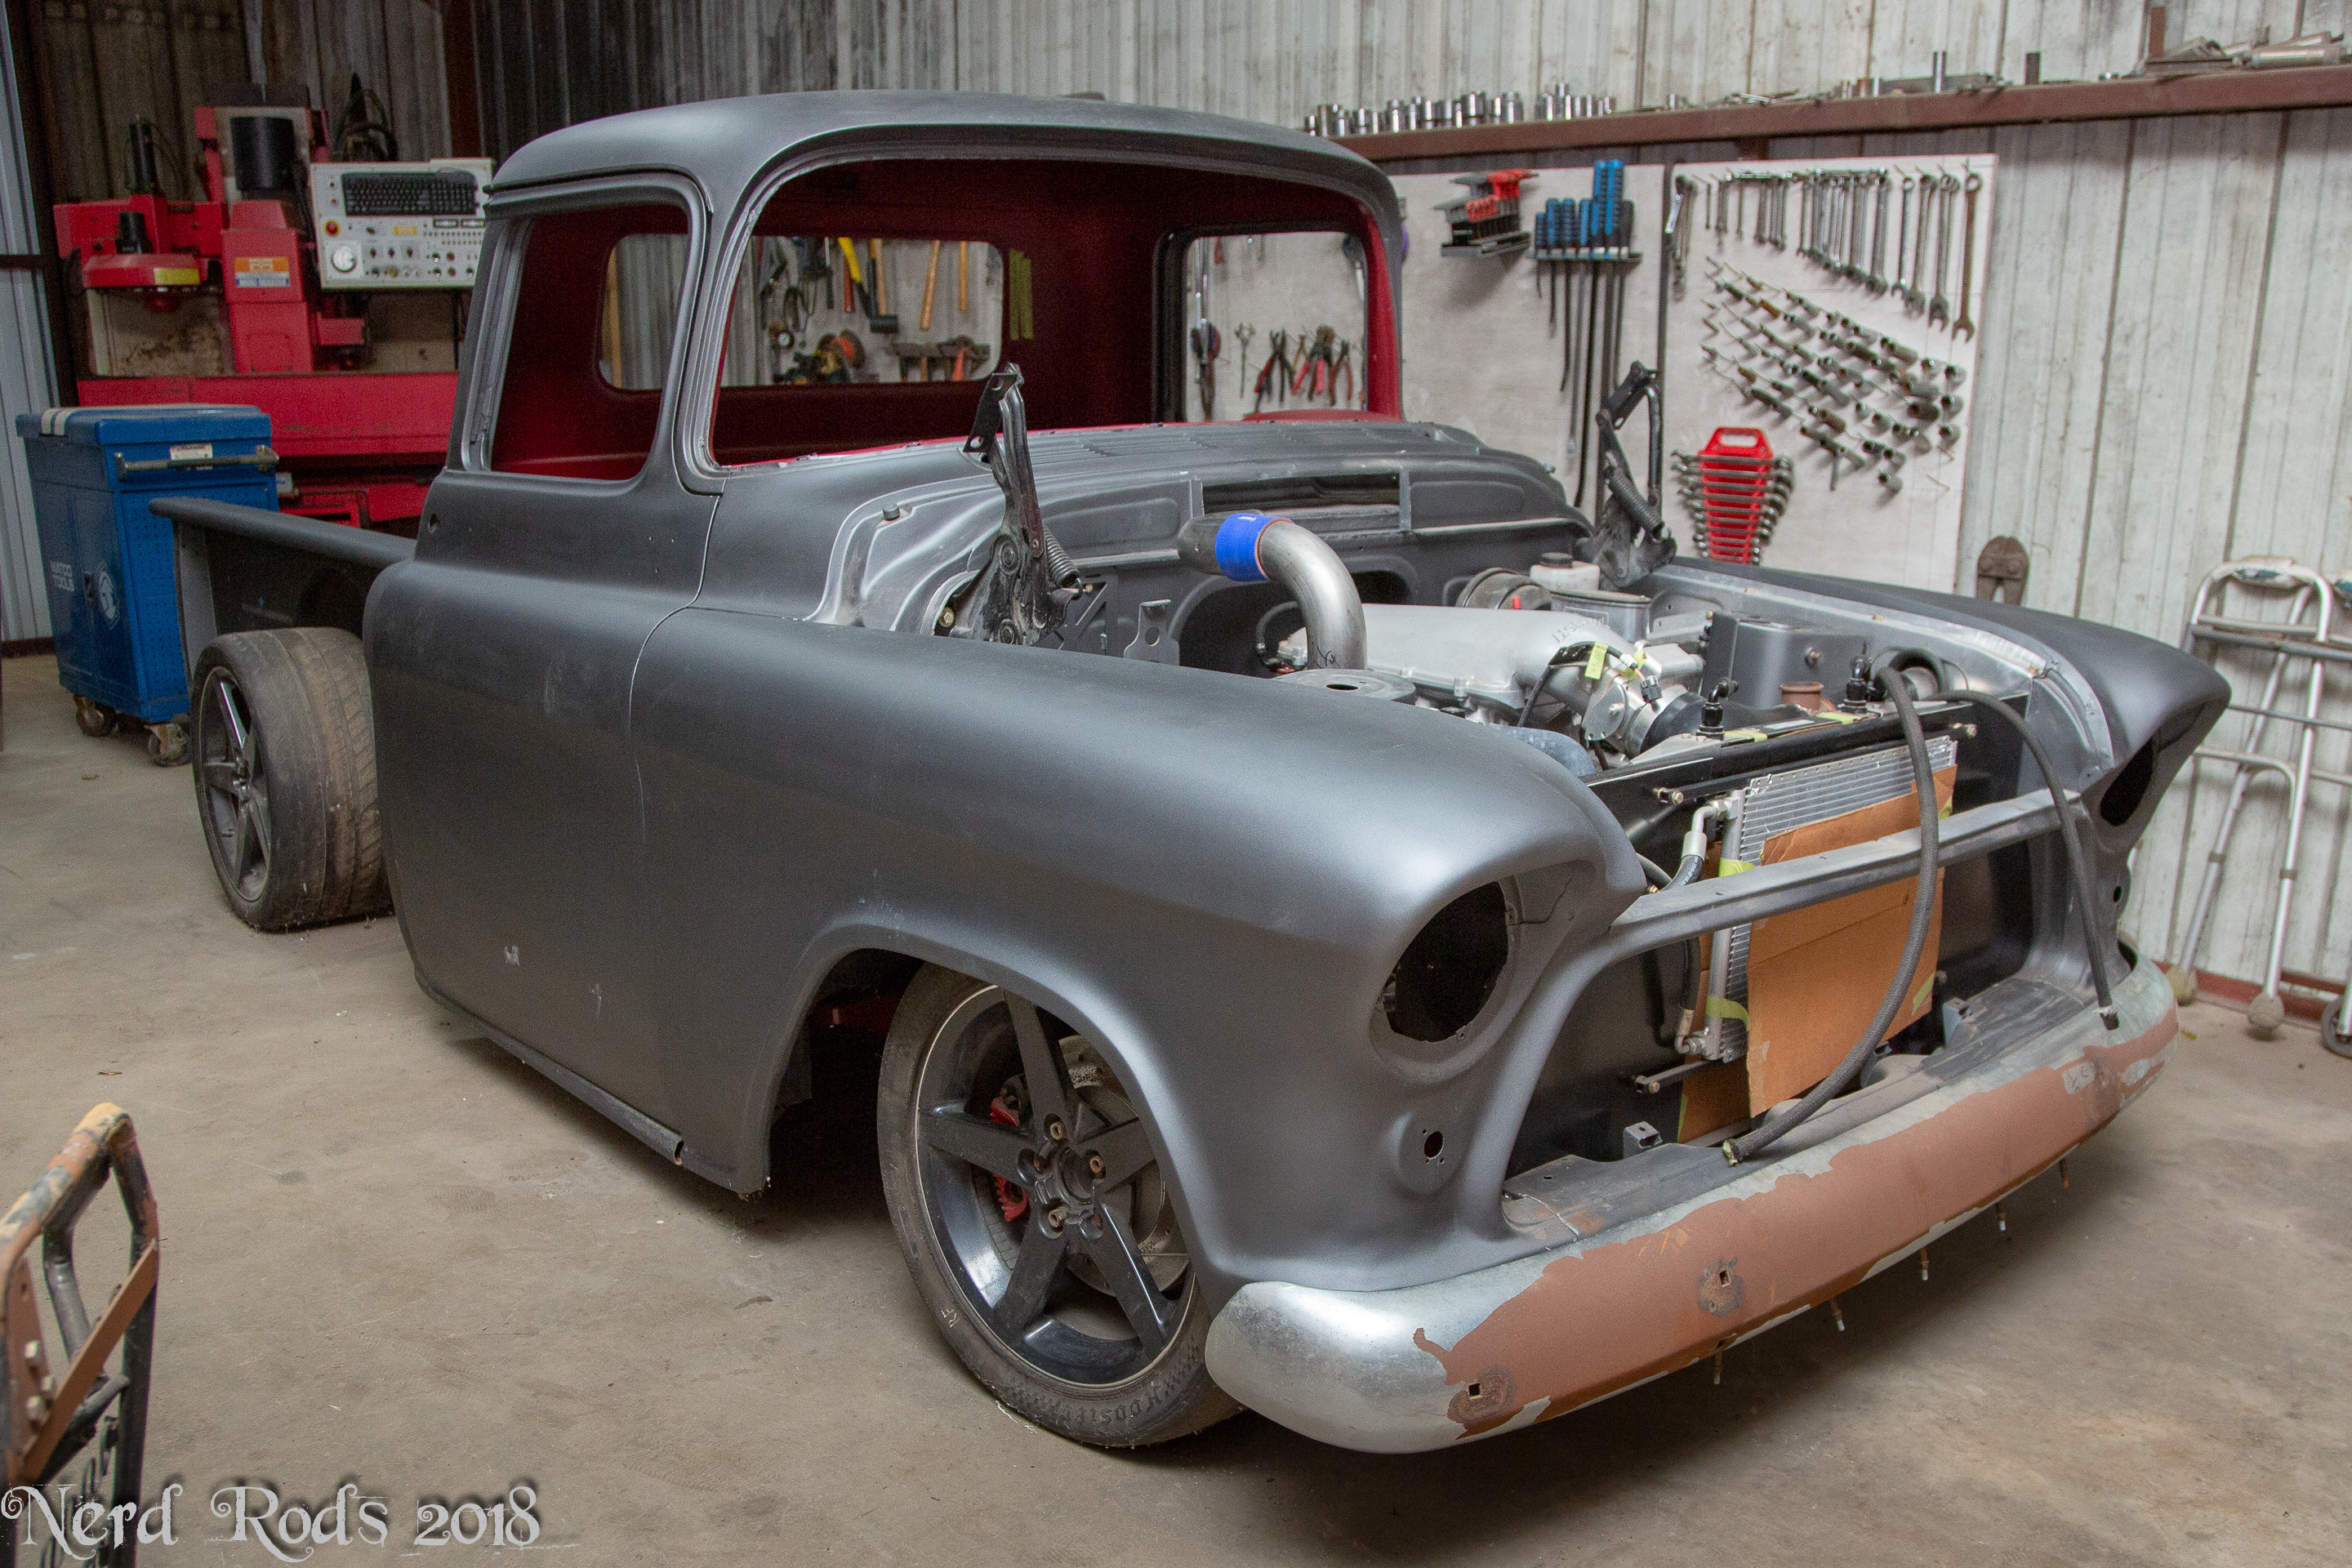
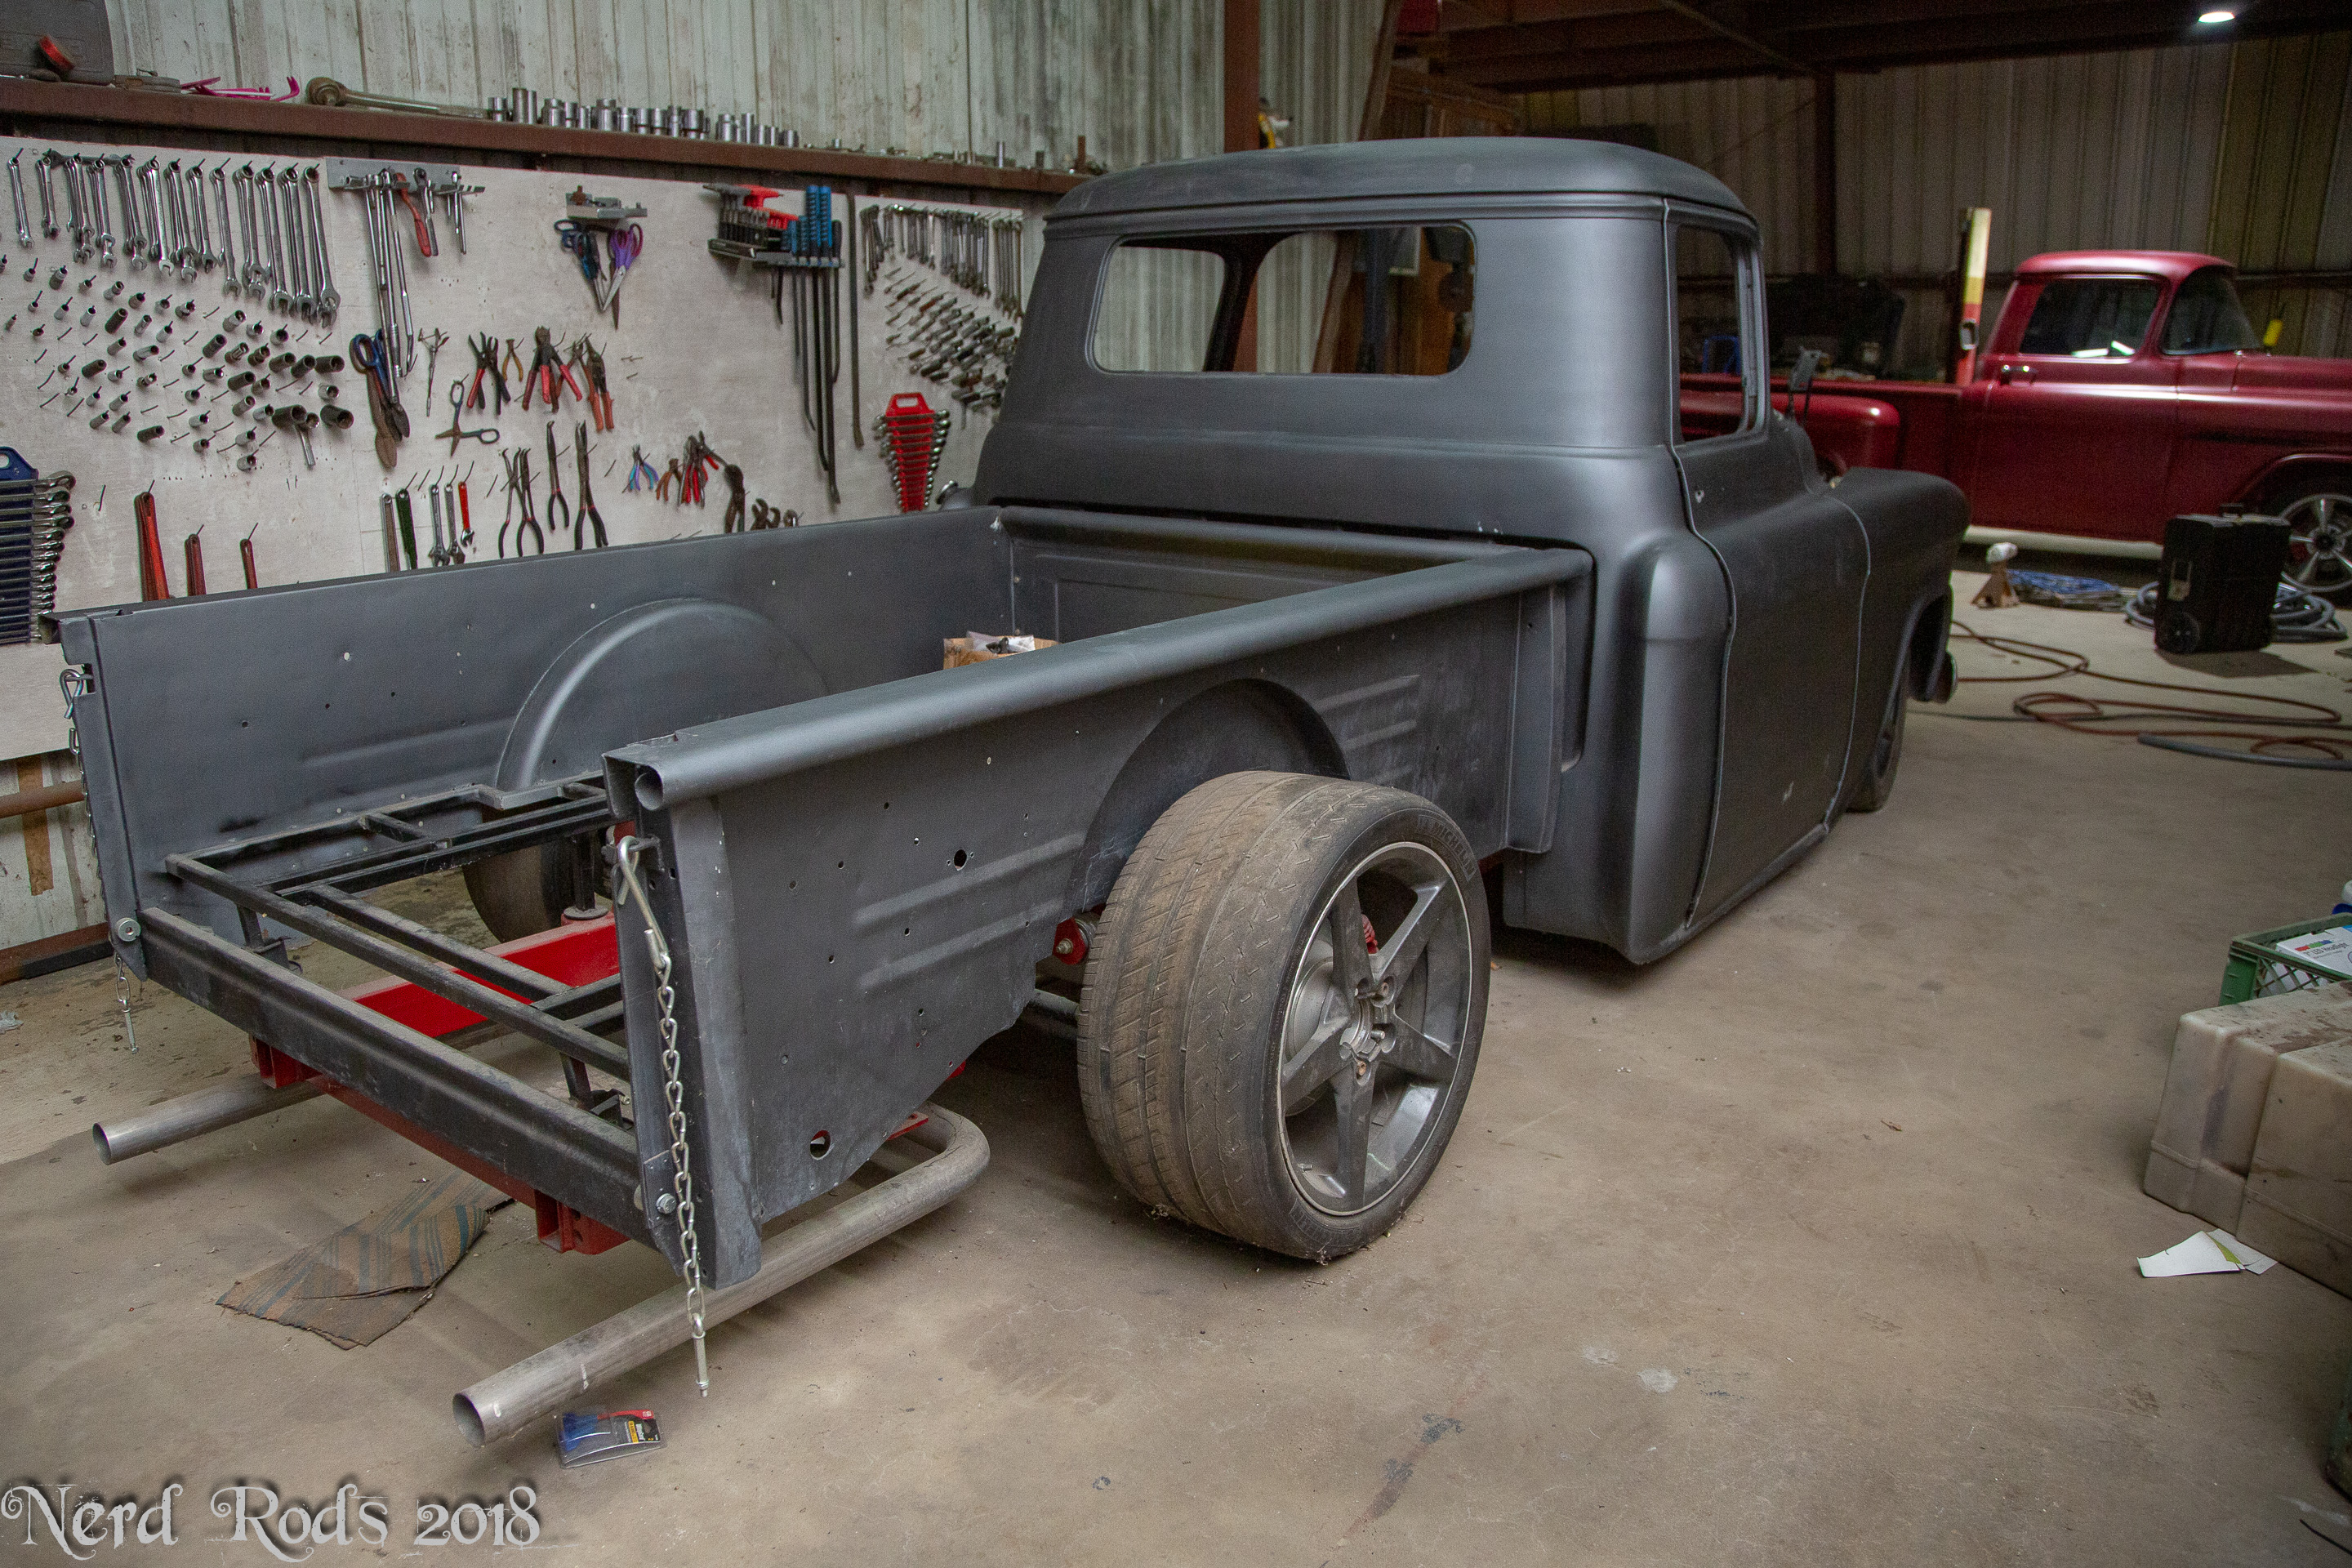
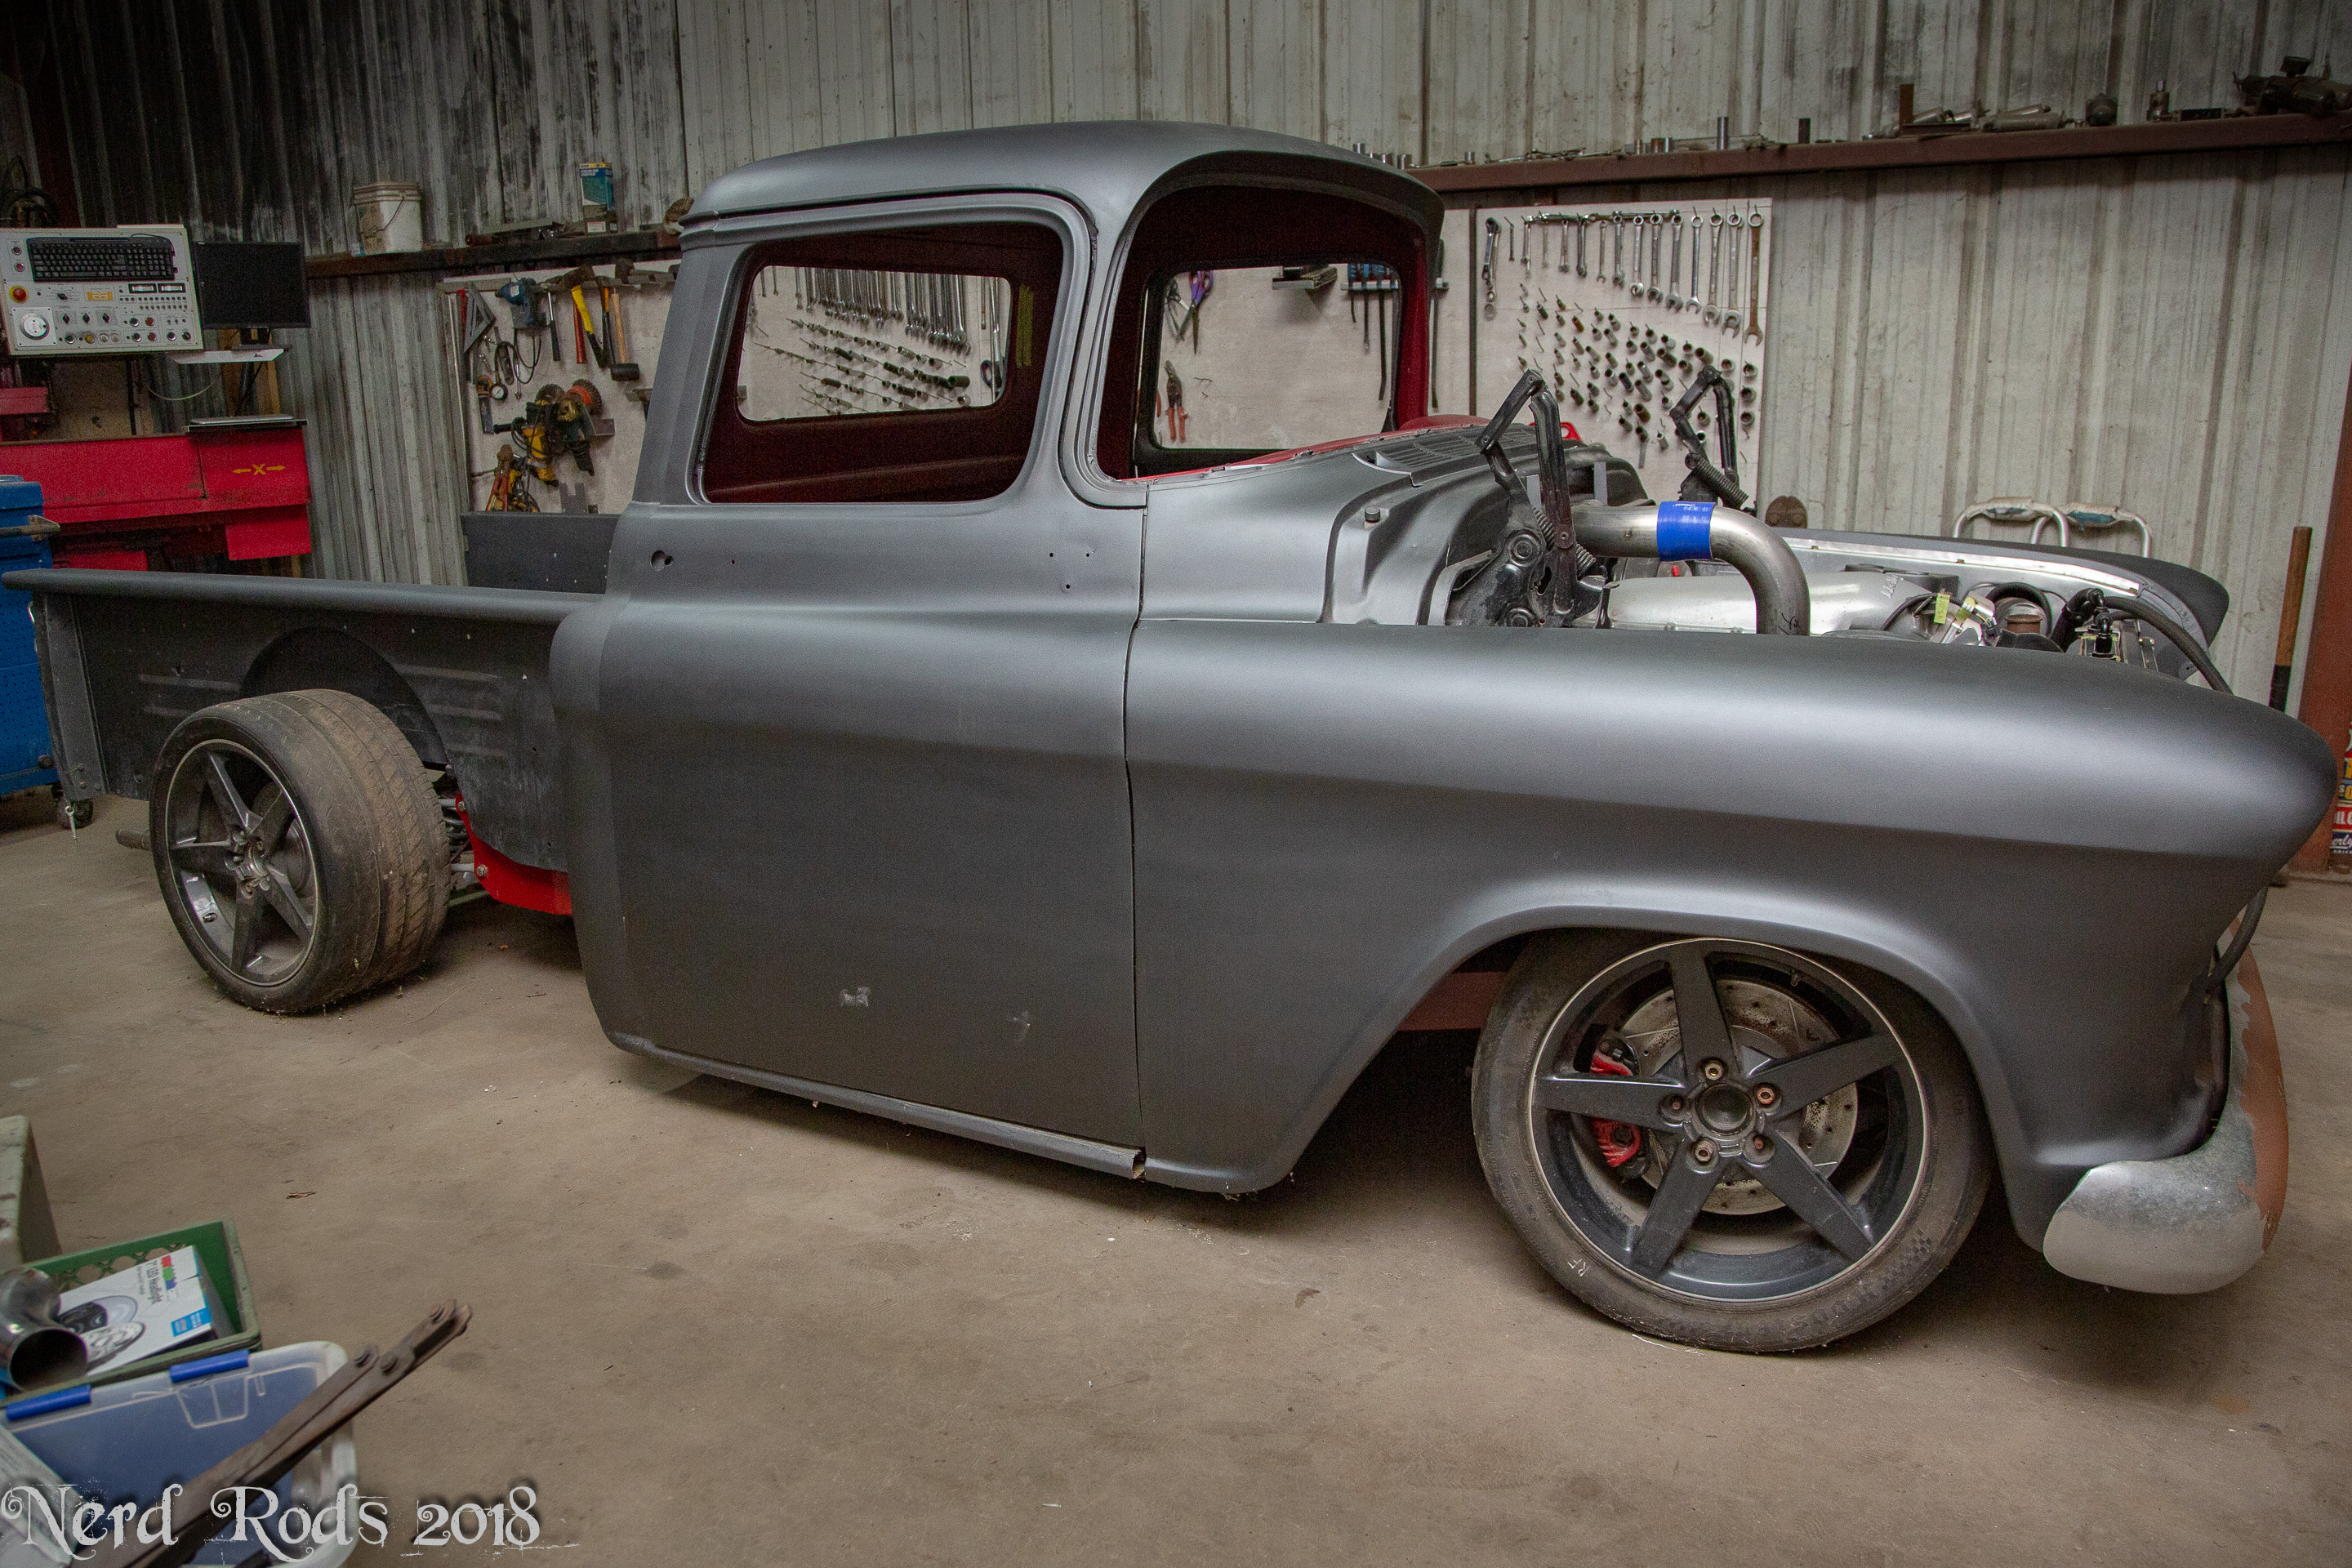
We're getting ready for new toys so the truck is getting a new home in the shop. We should have it ready to rock shortly and I can get back onto the wiring to get her fired up for the first time.
Sorry for the delay. We’ve been slammed! Dad spent a good month in an out of the hospital because he didn’t clean a cut on his elbow properly and they don’t call it paint jail for nothing. But I know you guys just really want the photos! So without further banter and fanfare I give the people what they want.
Mobile Devices Click here for Photo Gallery
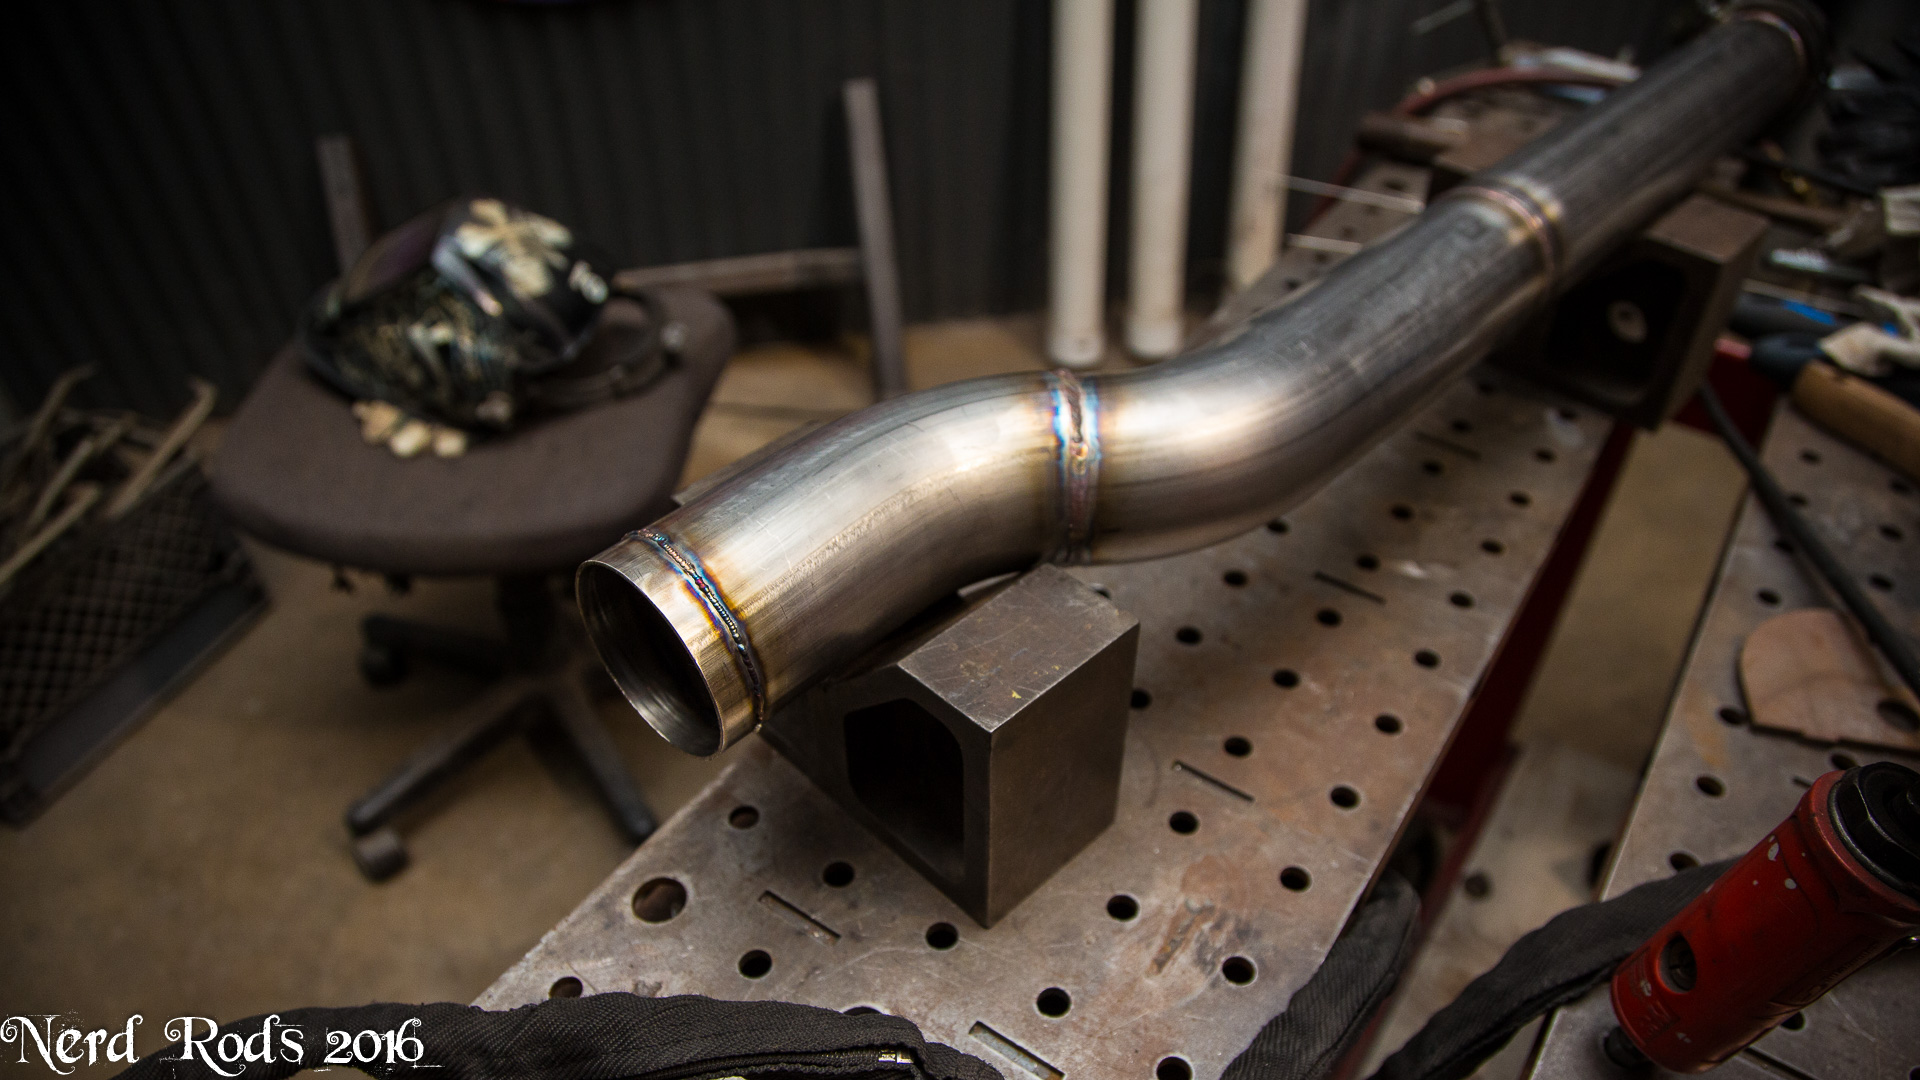
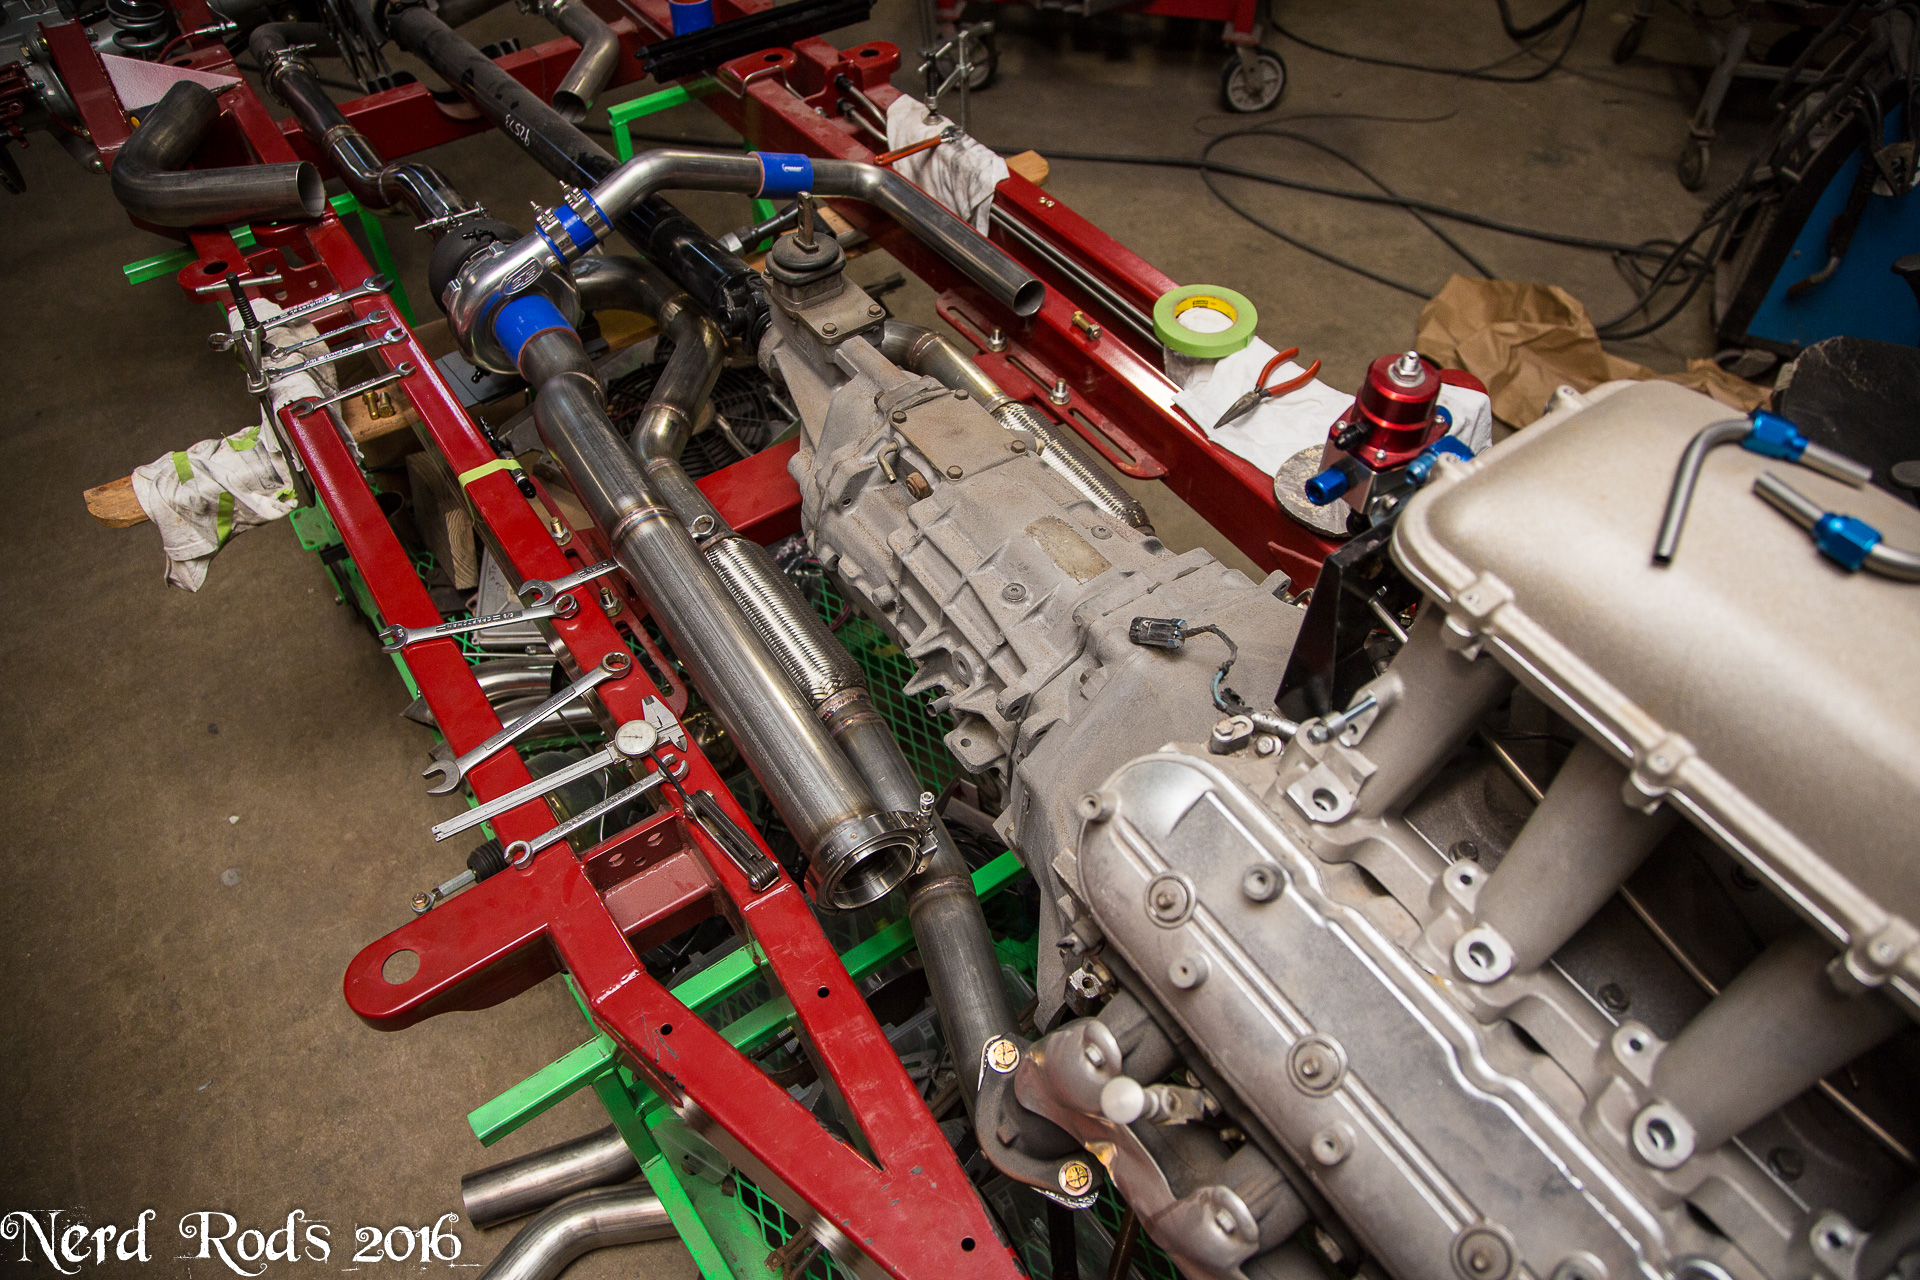
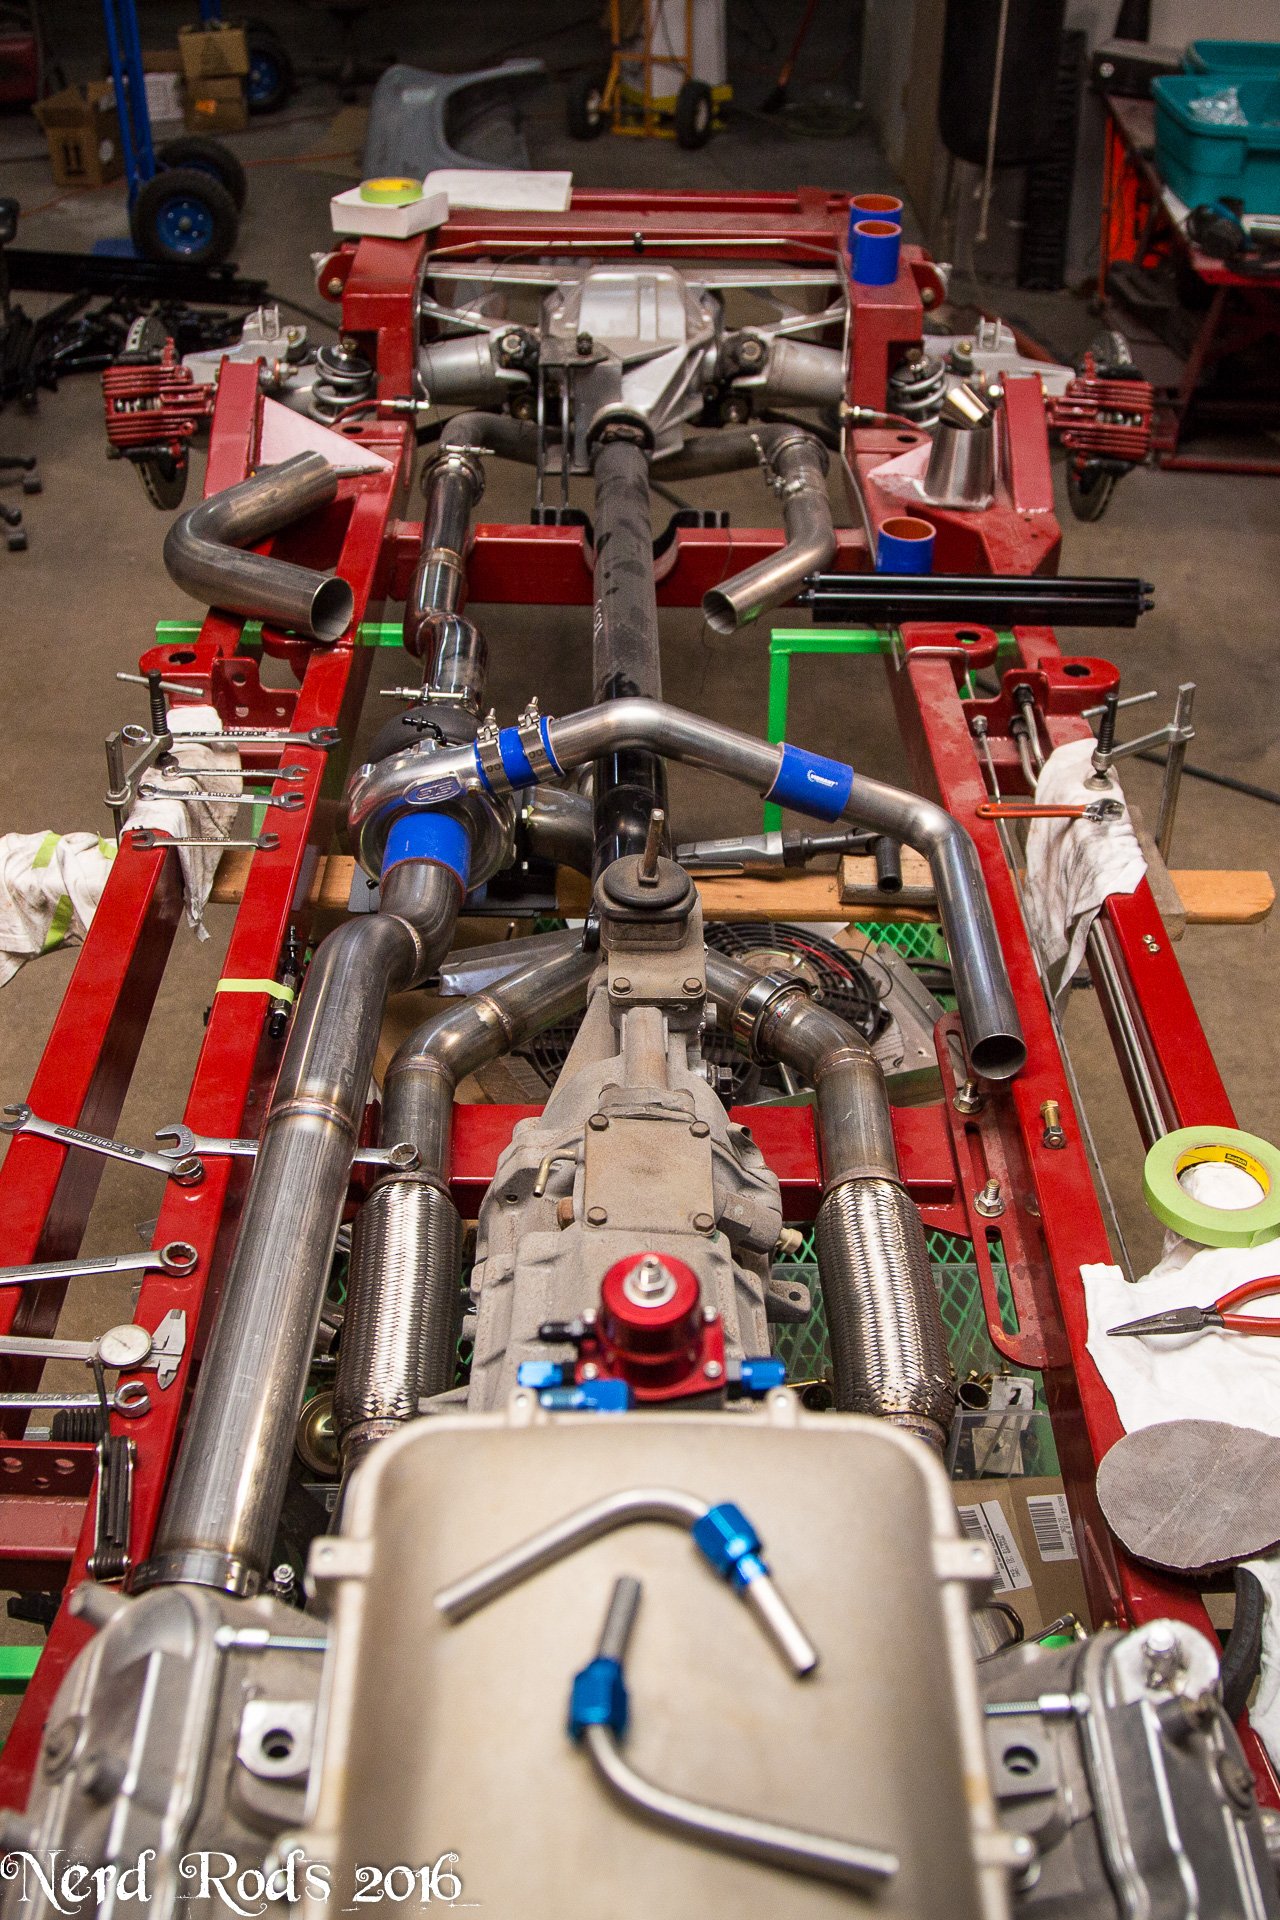
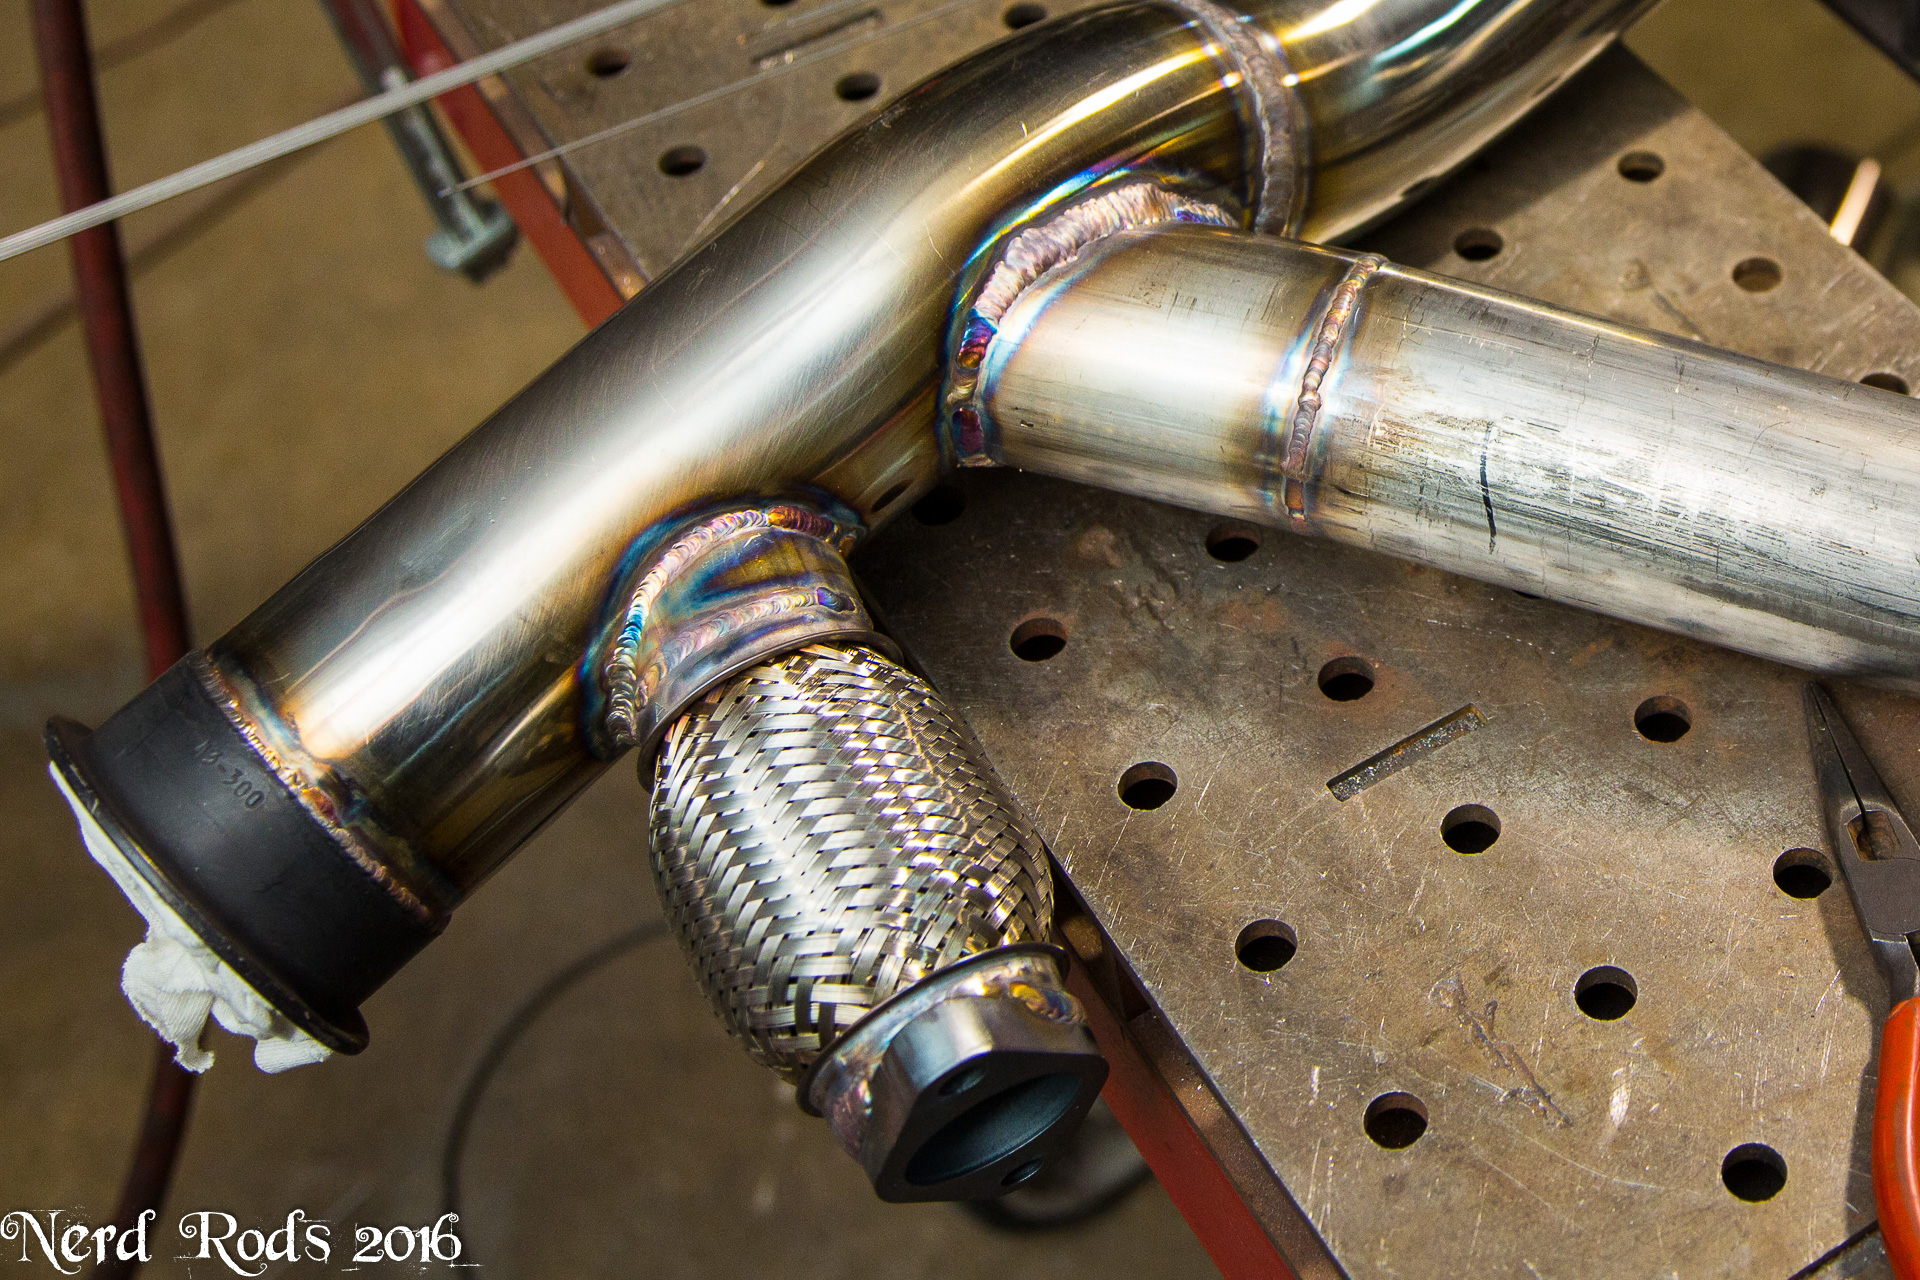
With most of the mock up done I needed to coat the mild steel parts on the exhaust. Just some 2000°F exhaust paint because in reality the turbo is going to be way hotter than that and basically nothing will survive so this just gets us by for the short future.
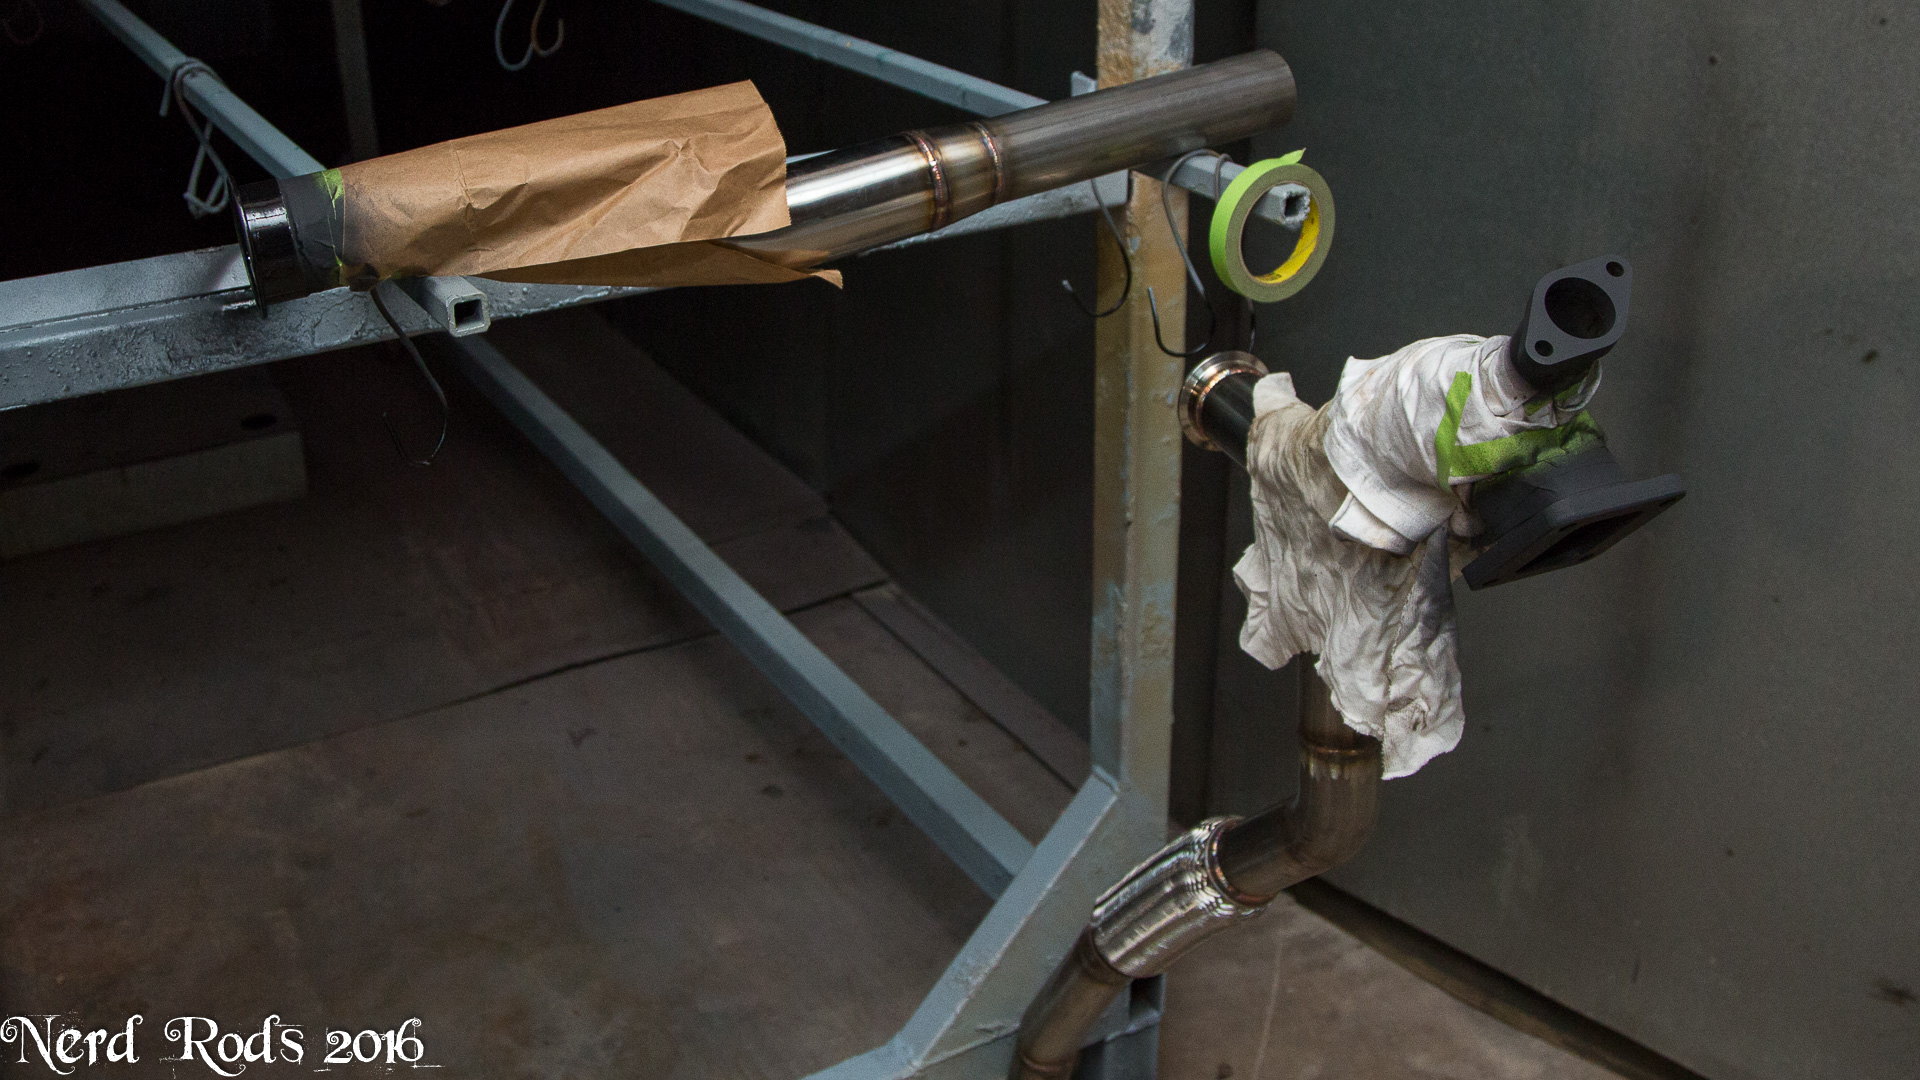
This is the intake to the turbo from the cowl induction. This is a tiny bead to work as a lock for the silicone coupler between the two. Just turn the TIG way down so the bead builds up instead of burning in.
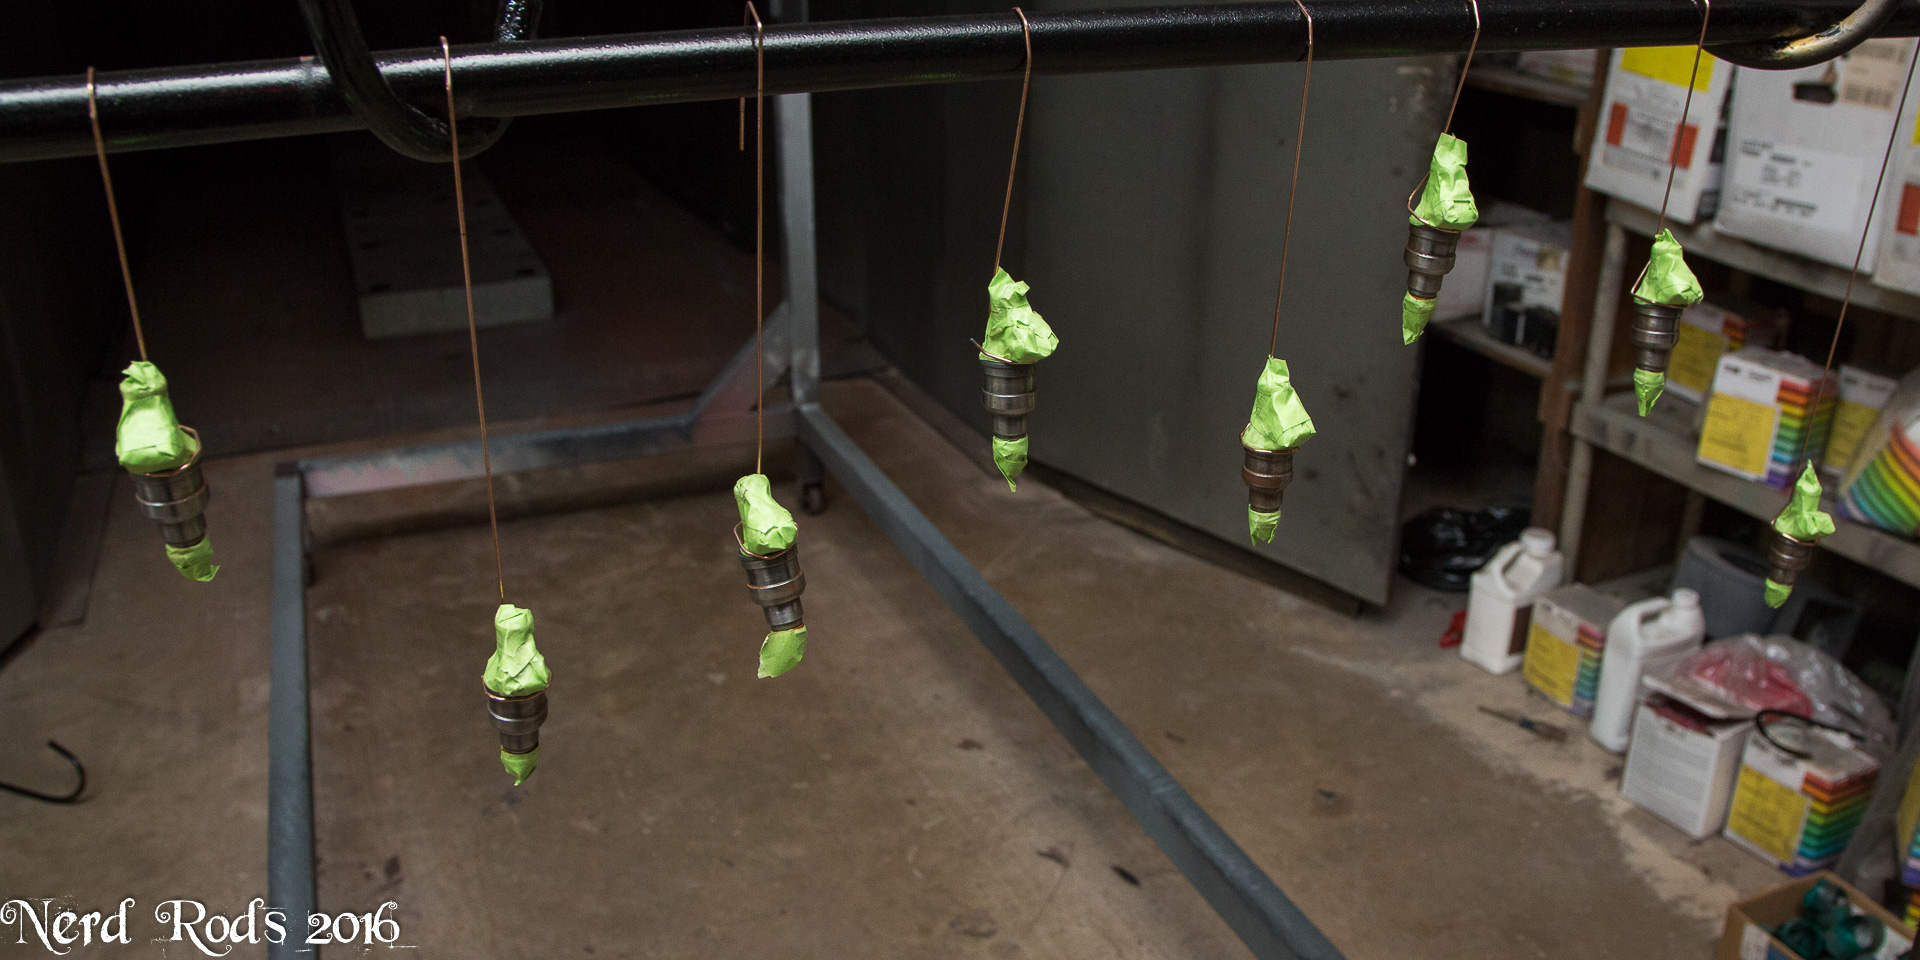
On a slightly obnoxious side, the injectors were raw steel and I only noticed because on the side facing the front door in the shop they had rust on them. So I has to blow a few hours taking them all off, sanding the rust off by hand, making them off and get them painted. Just one of those 2-3 hours added to the punch clock that we do all the time.
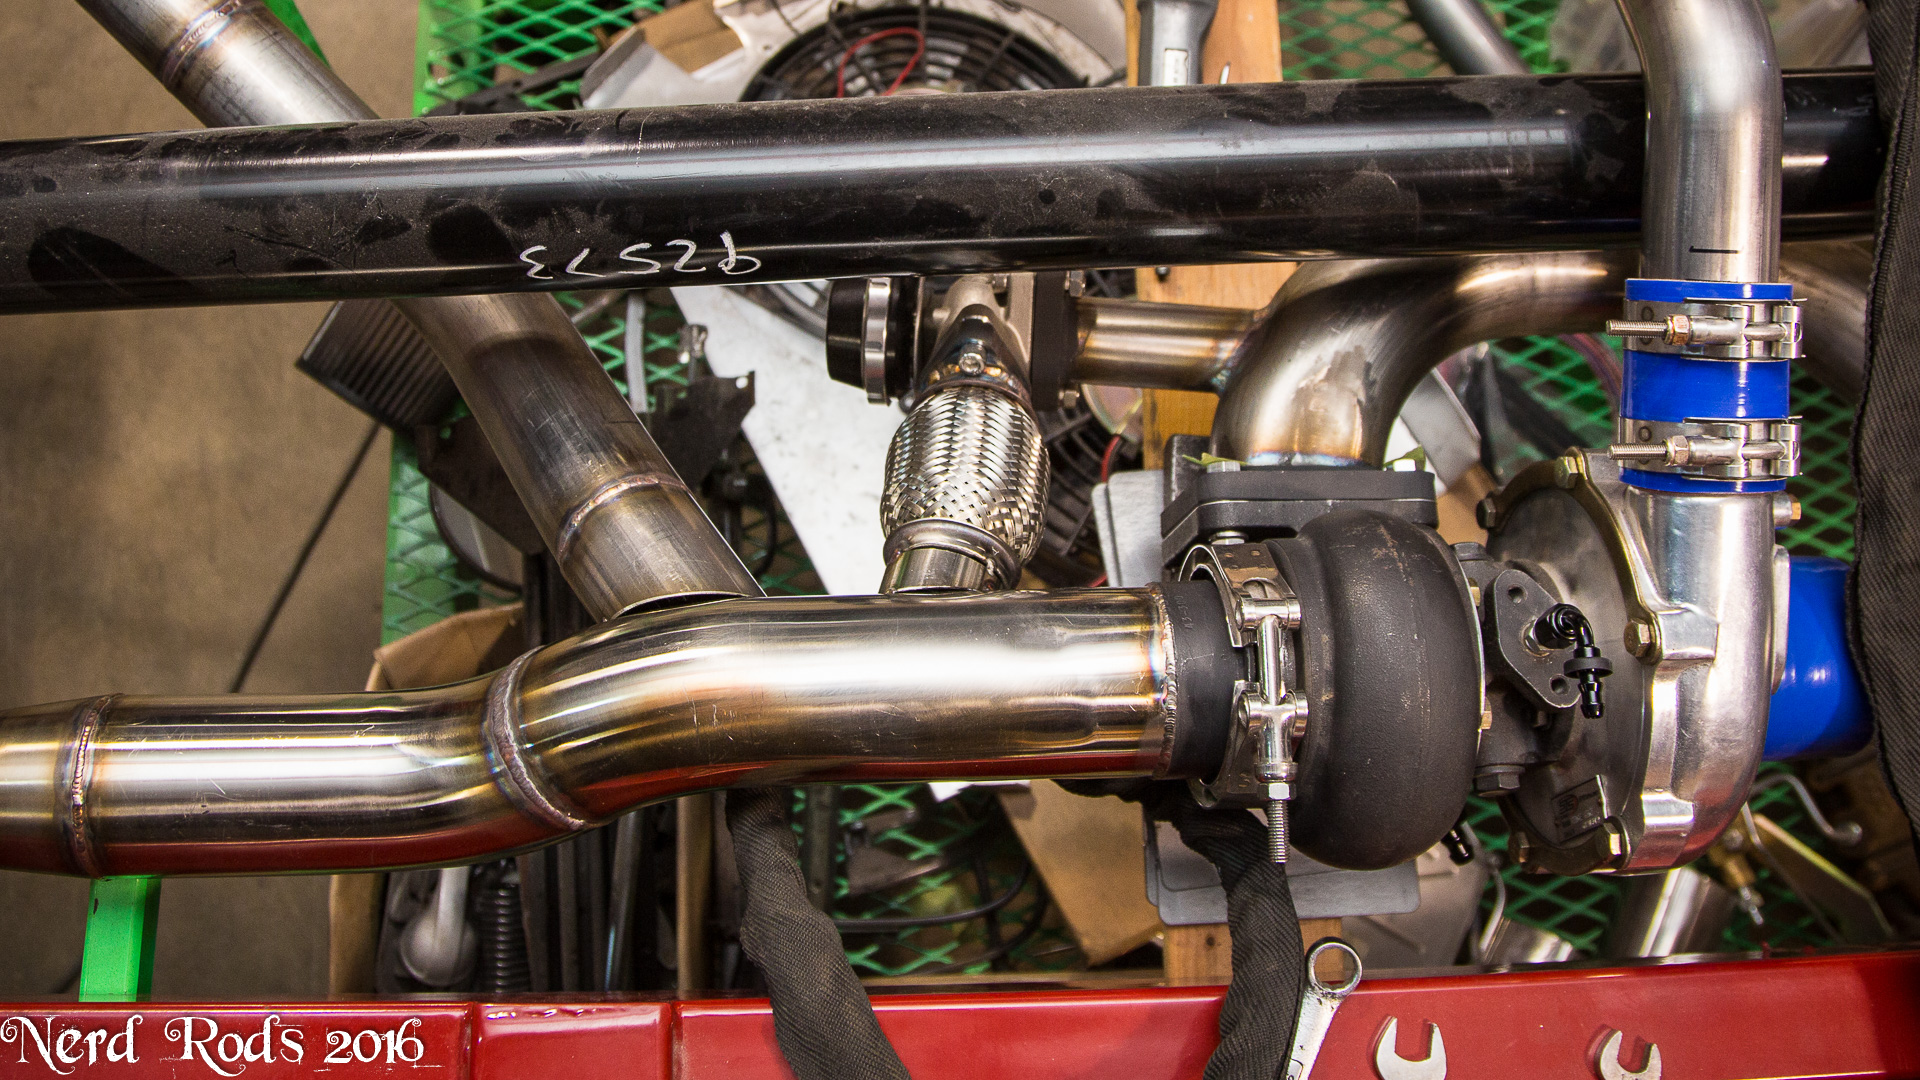
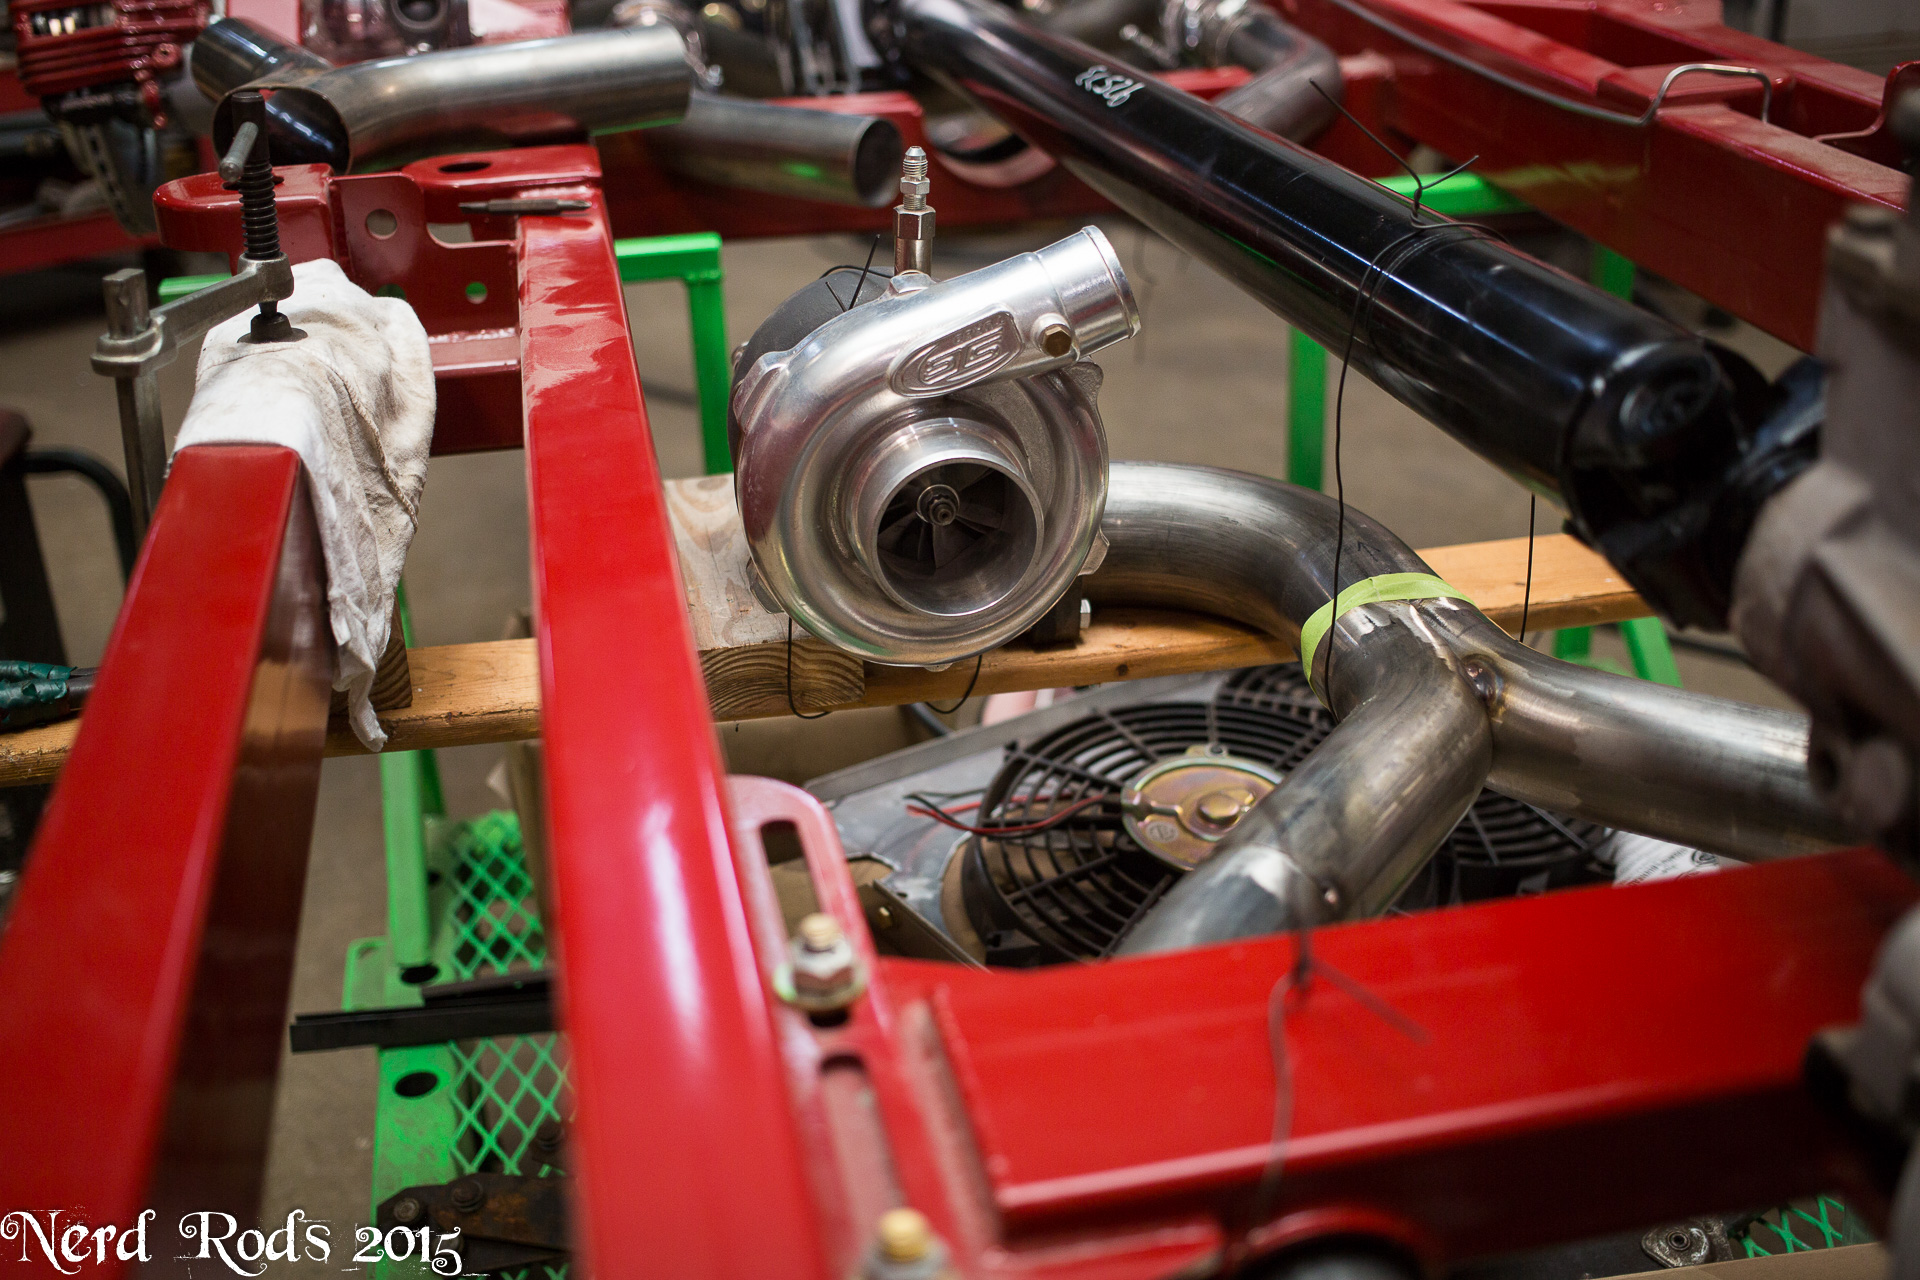
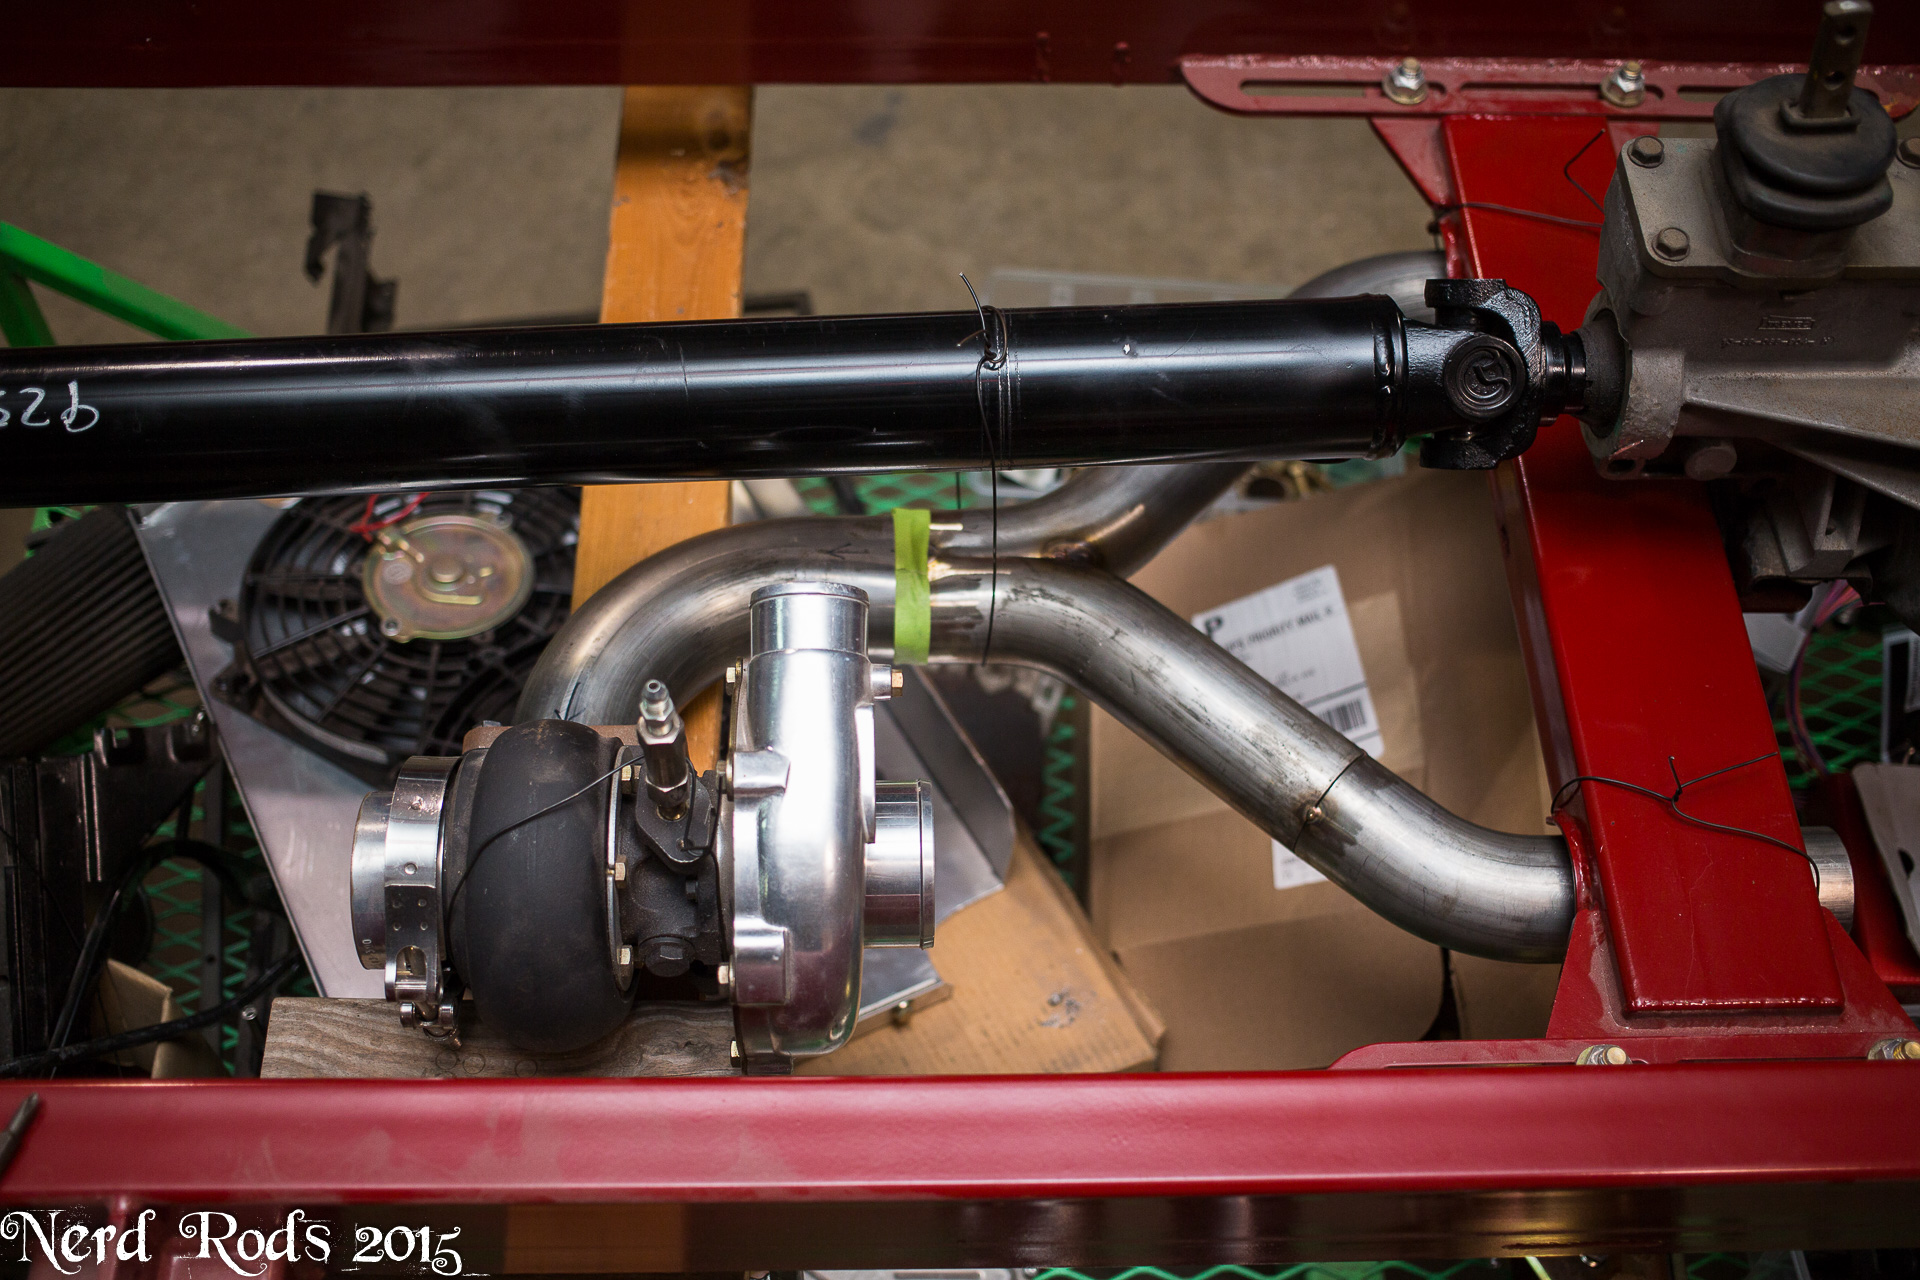
And on to a boat load of turbo and exhaust photos.

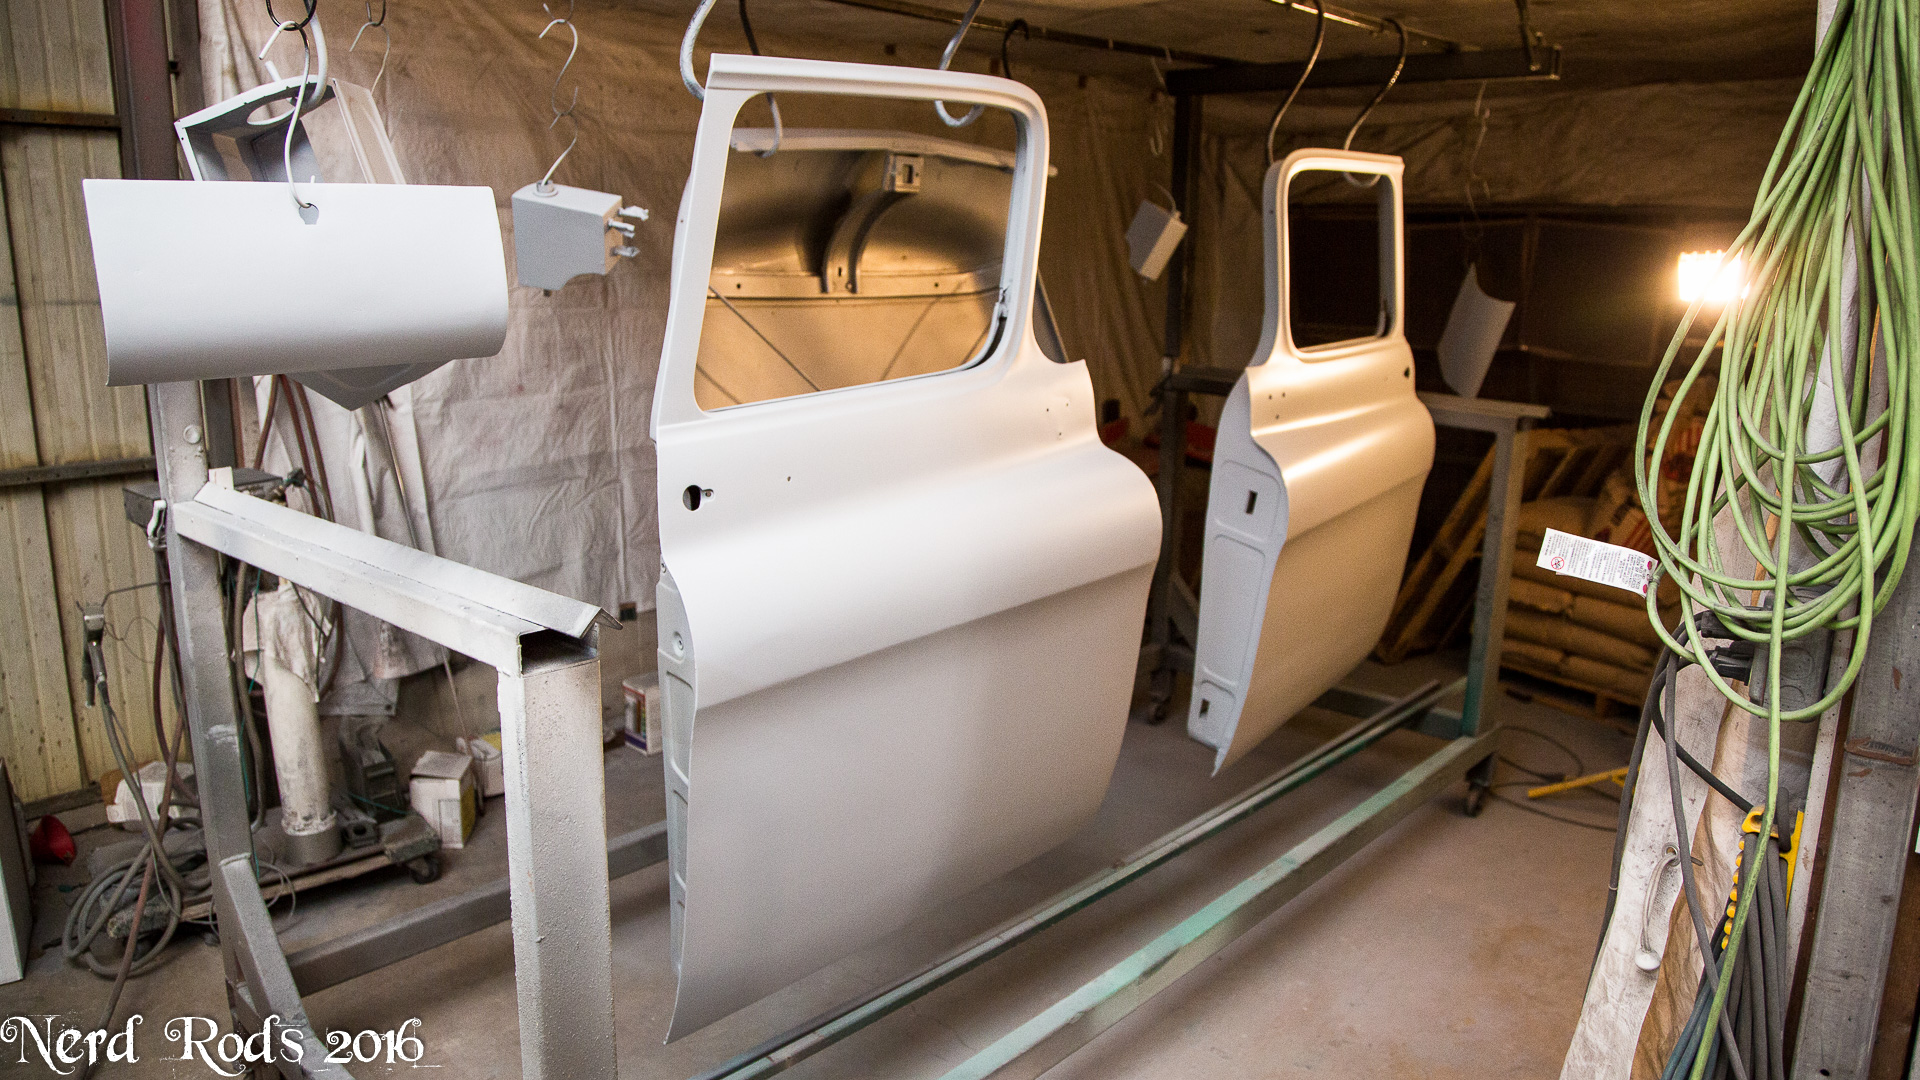
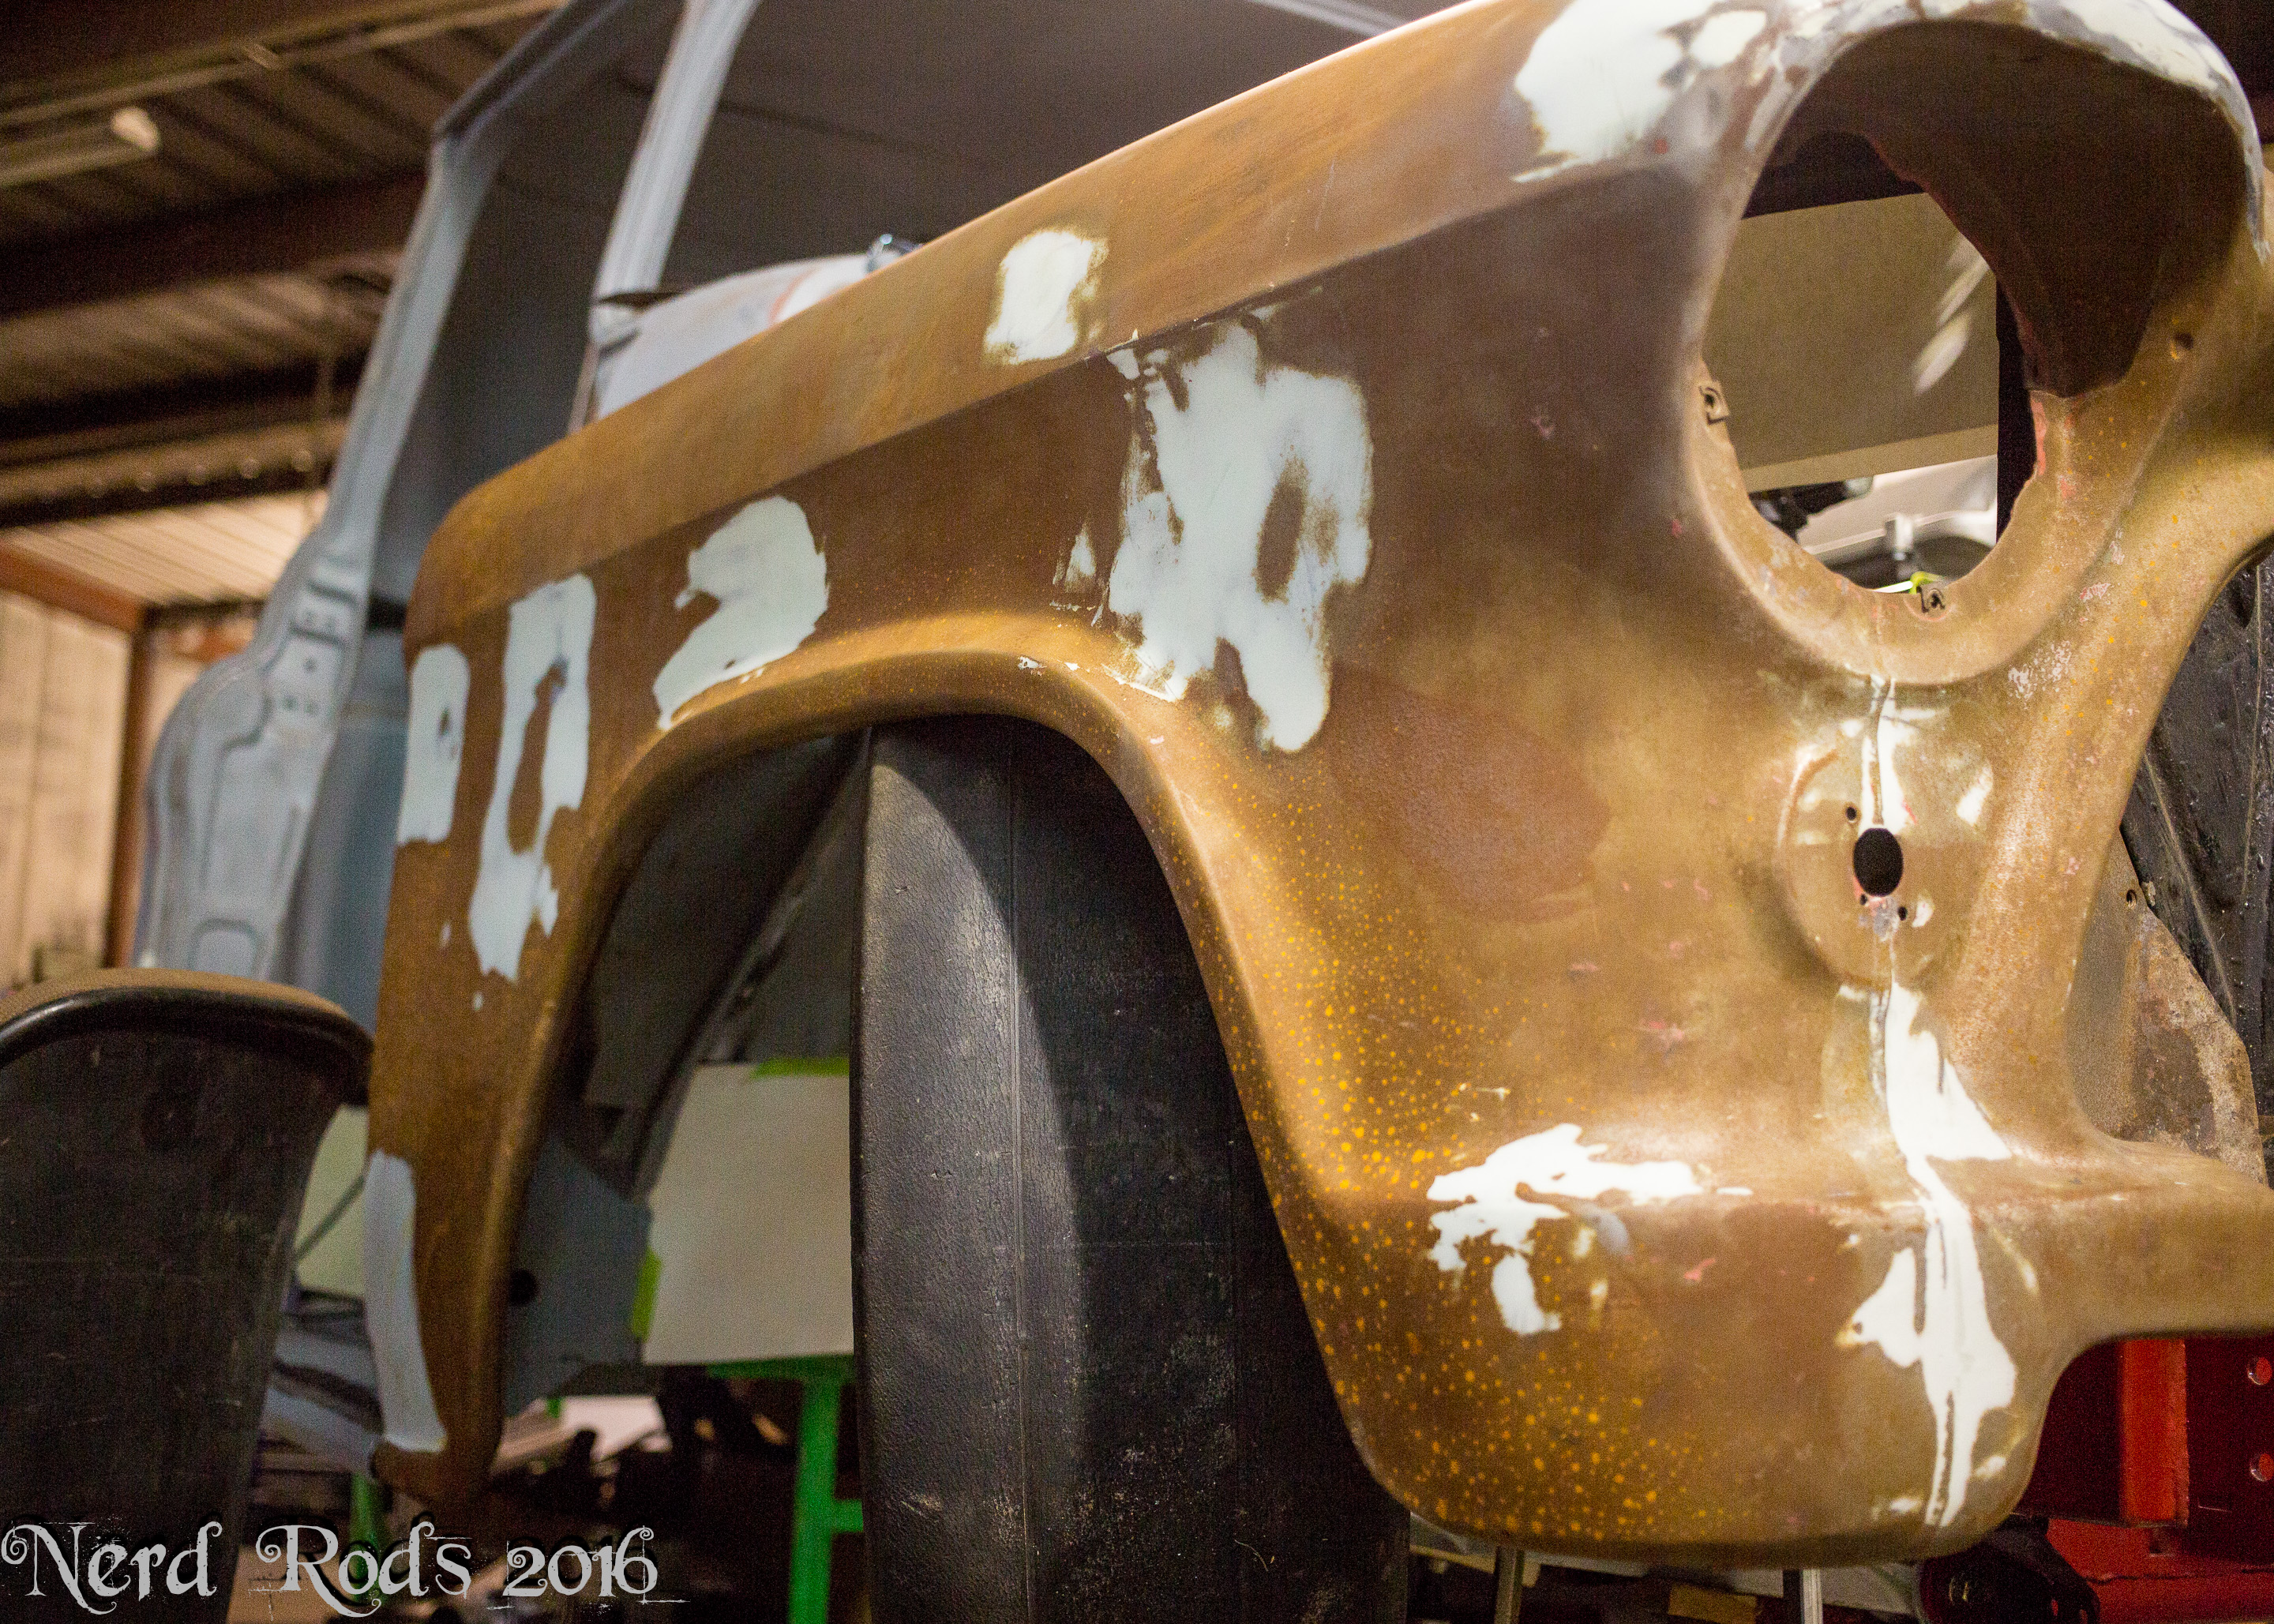
Paint prep is also going on at a rapid pace.
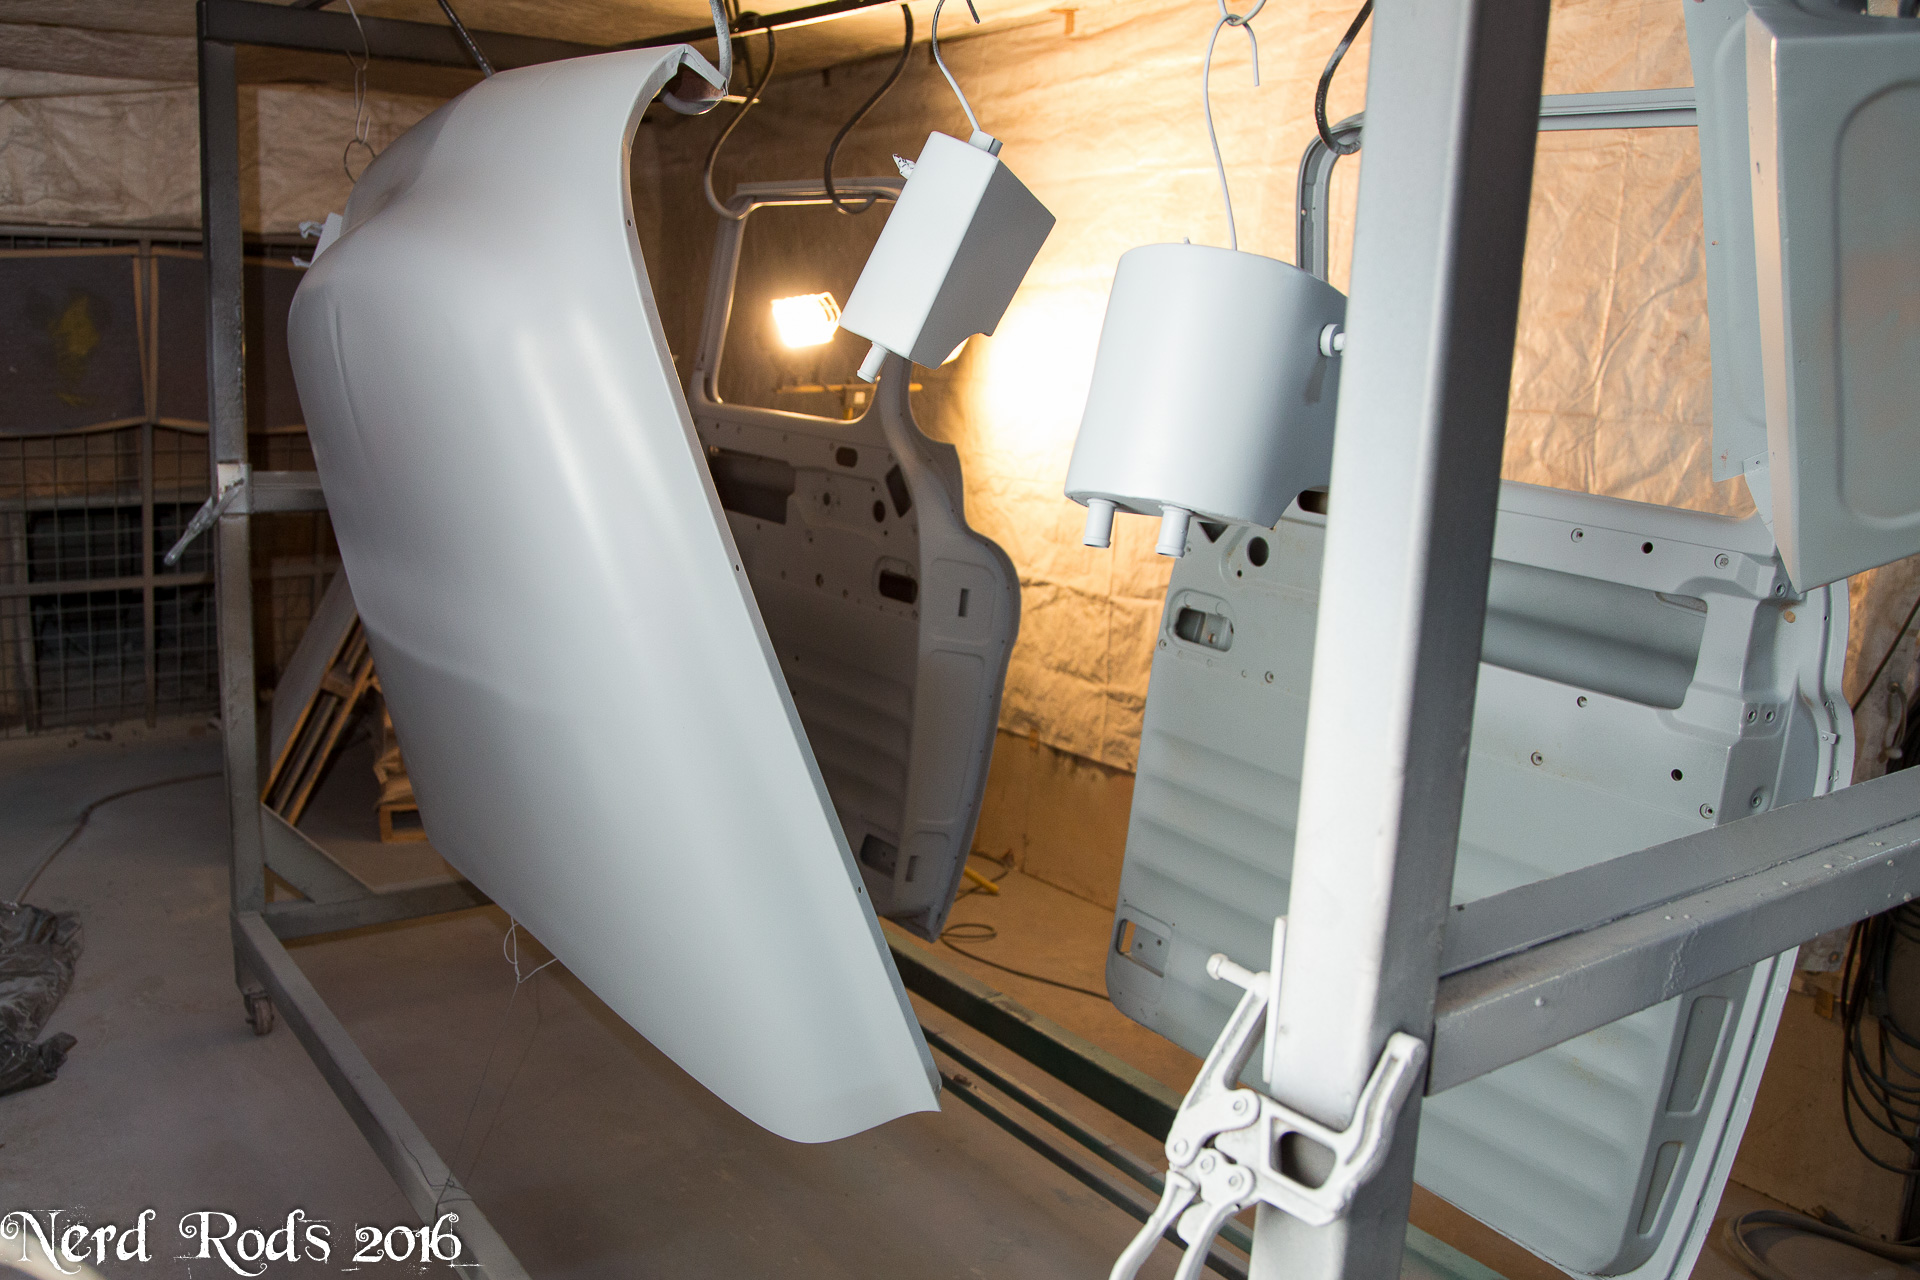
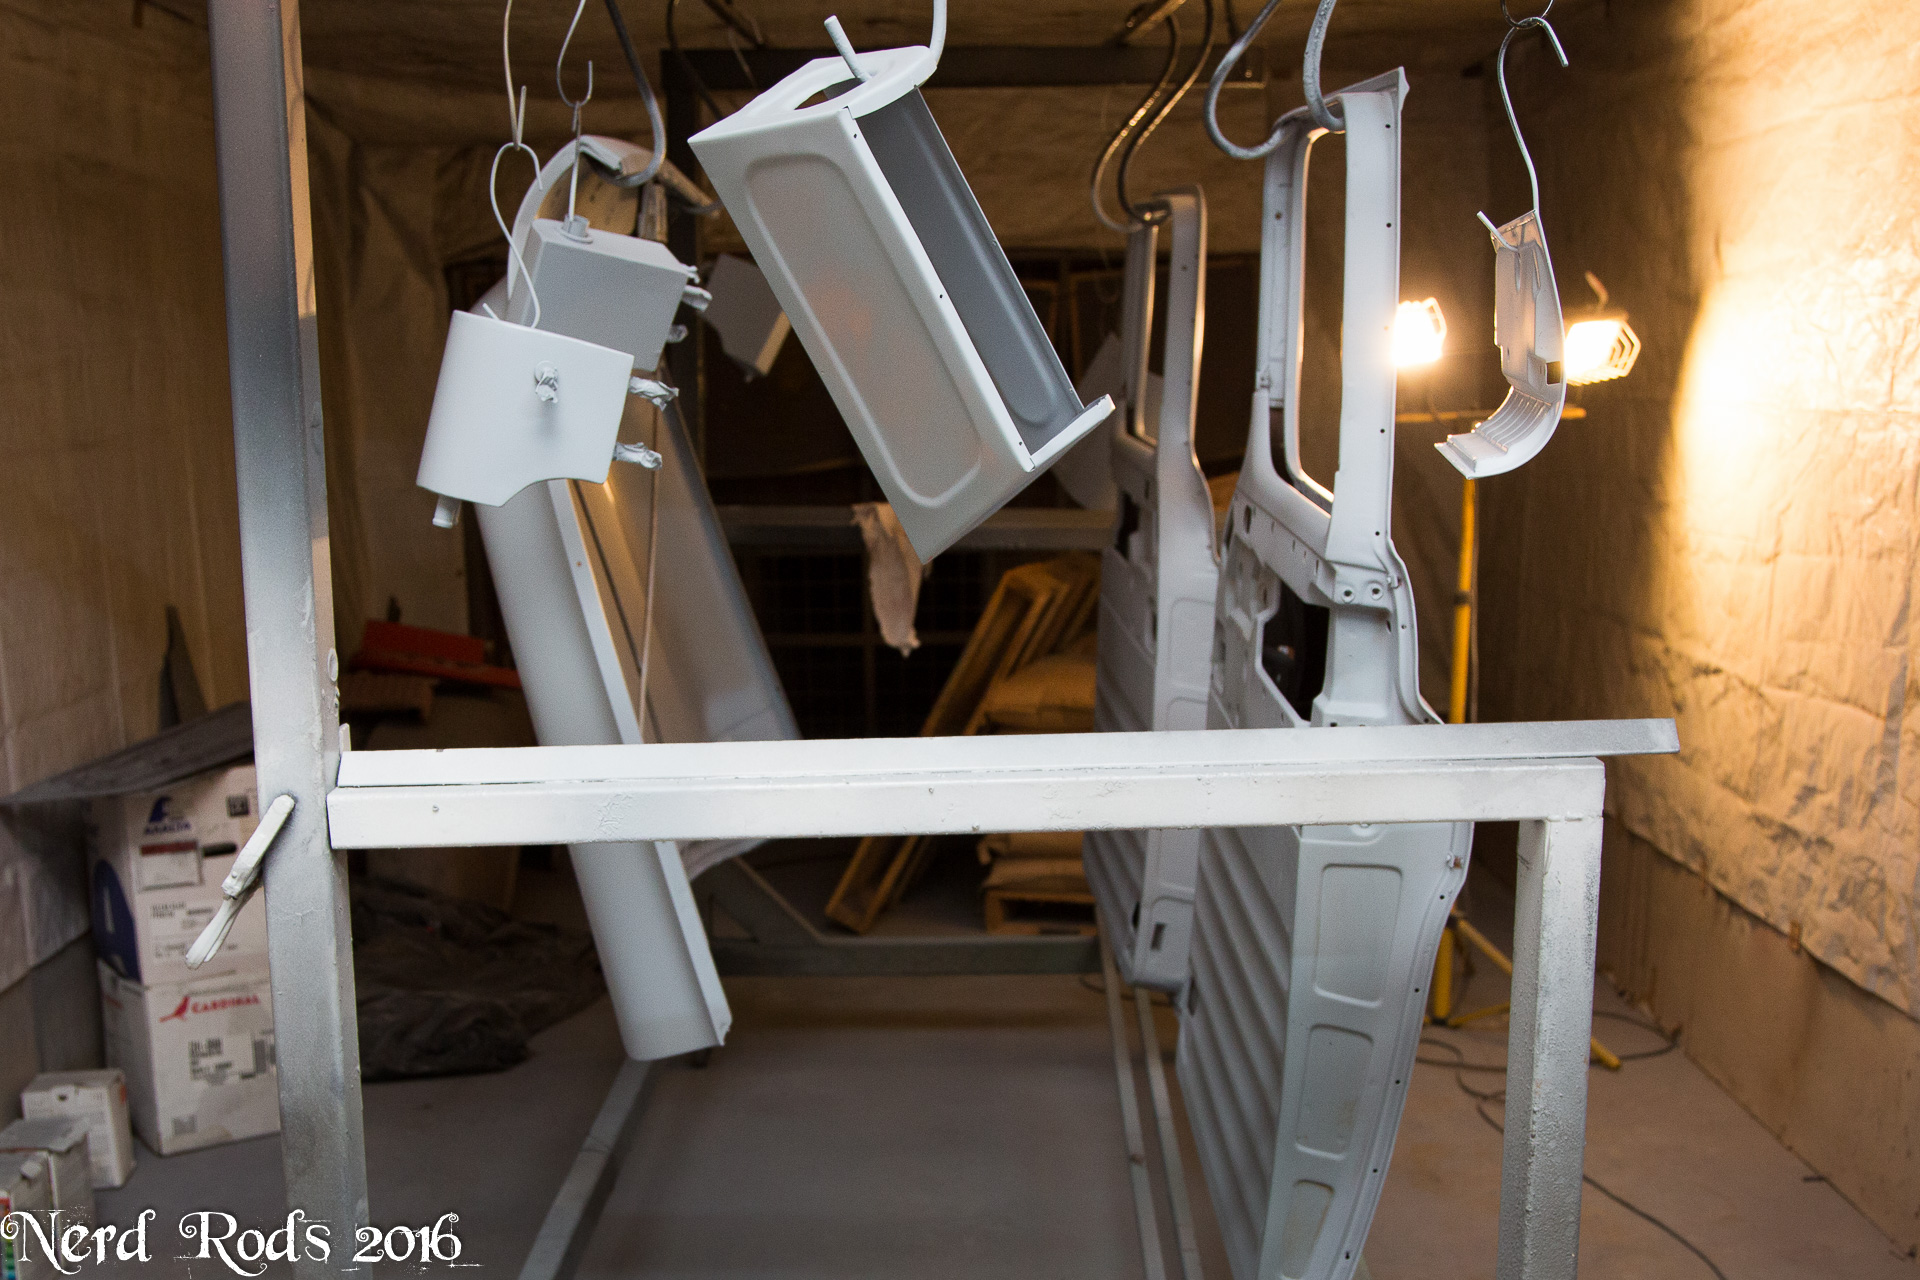
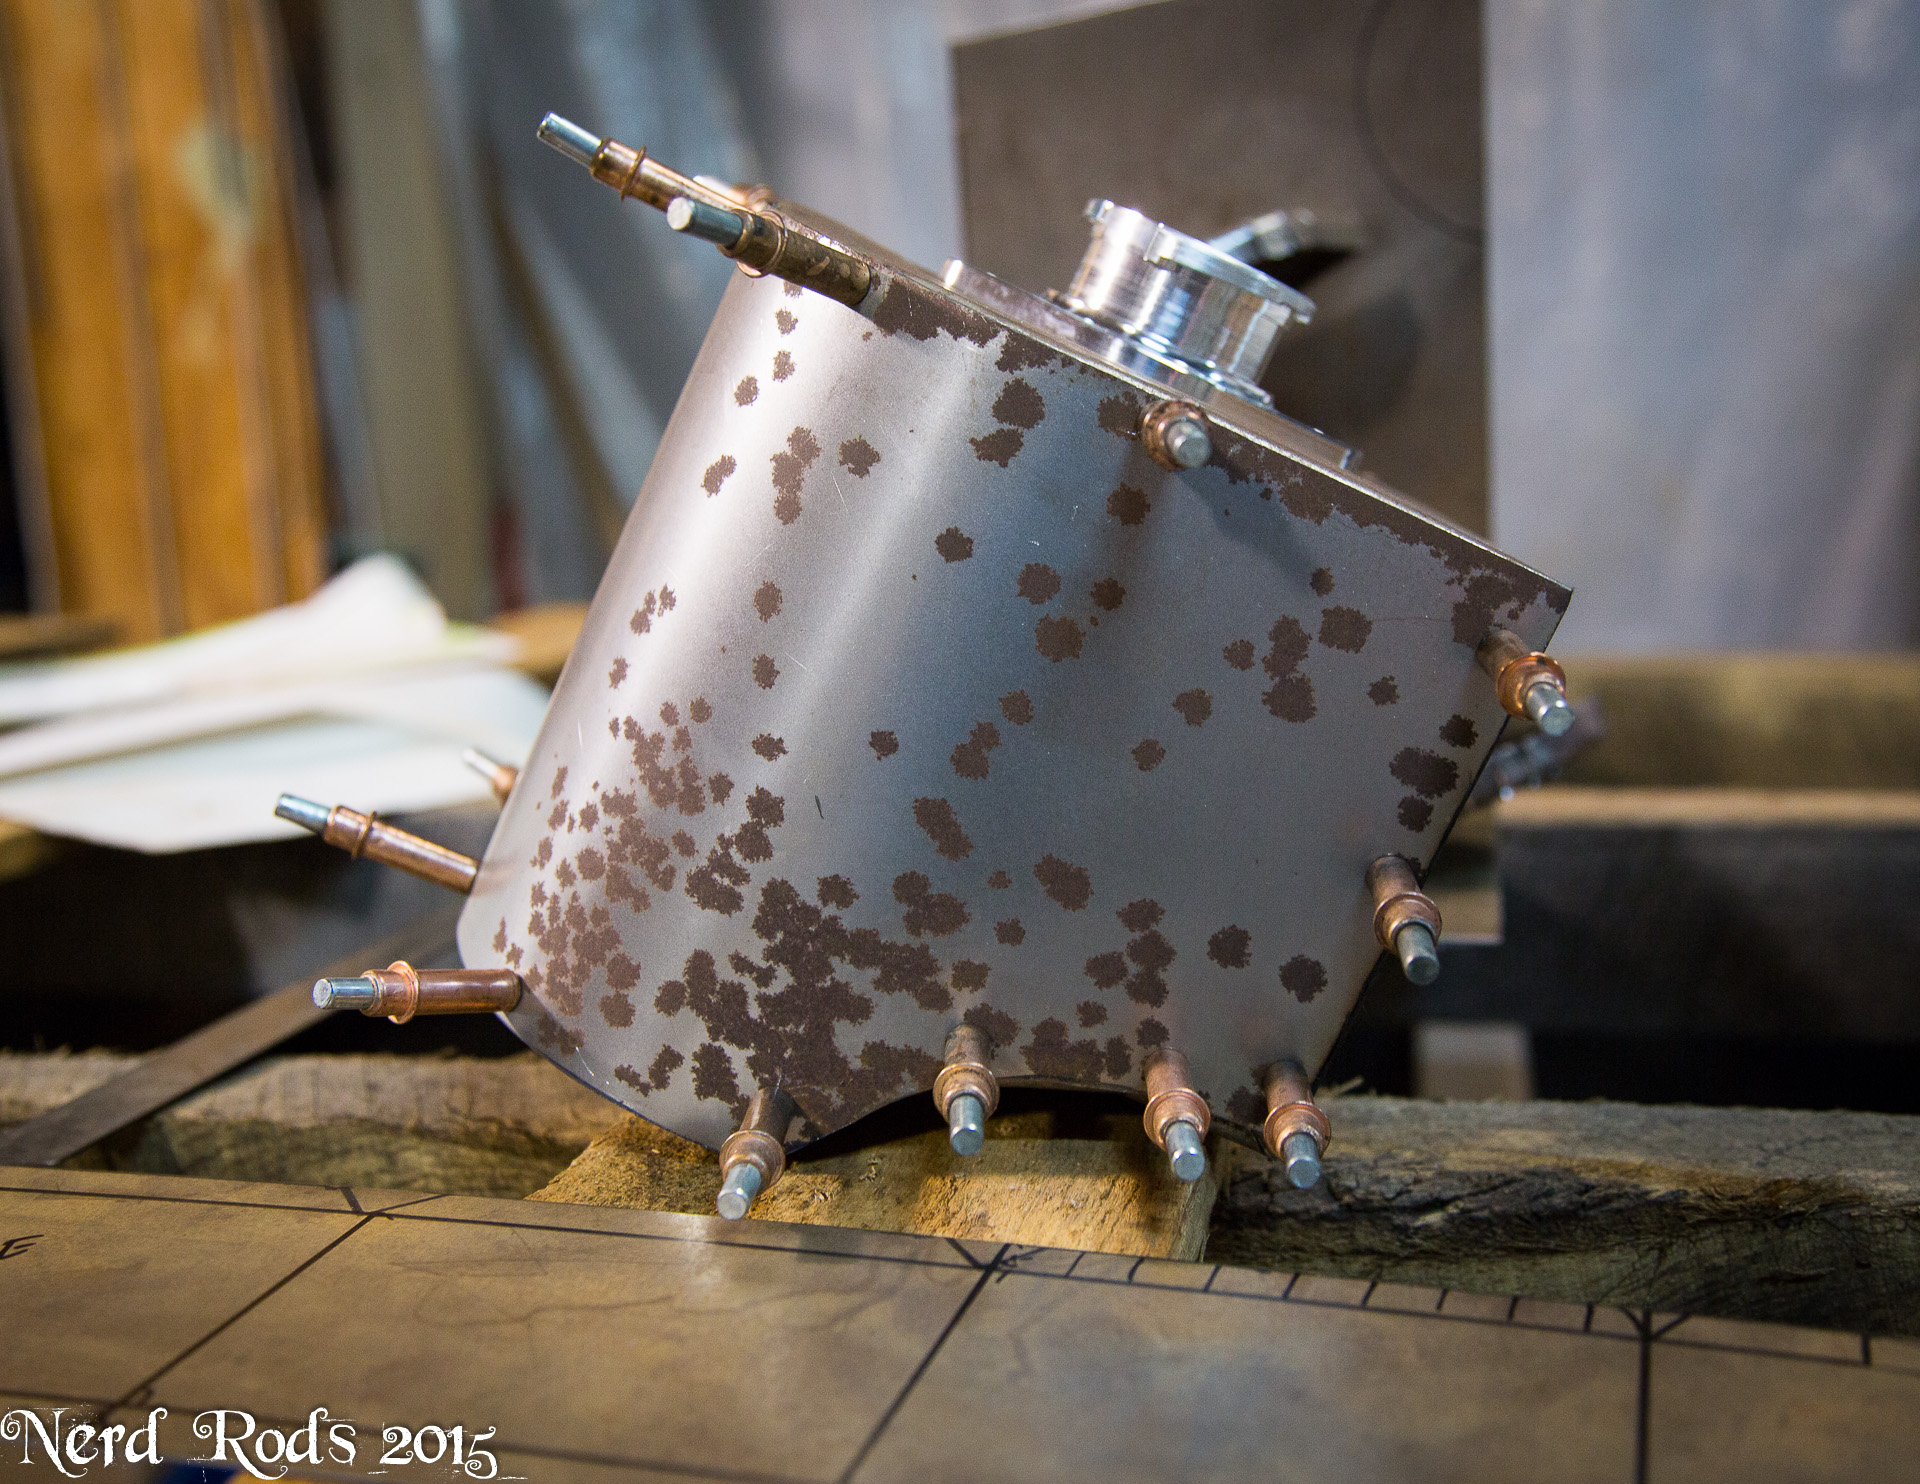
A few things to report at the moment. We got the first of the steam tanks and reservoirs done. They turned out pretty freaking nice and will help go with the lines under the hood of the truck's custom inner fenders and forced air box.

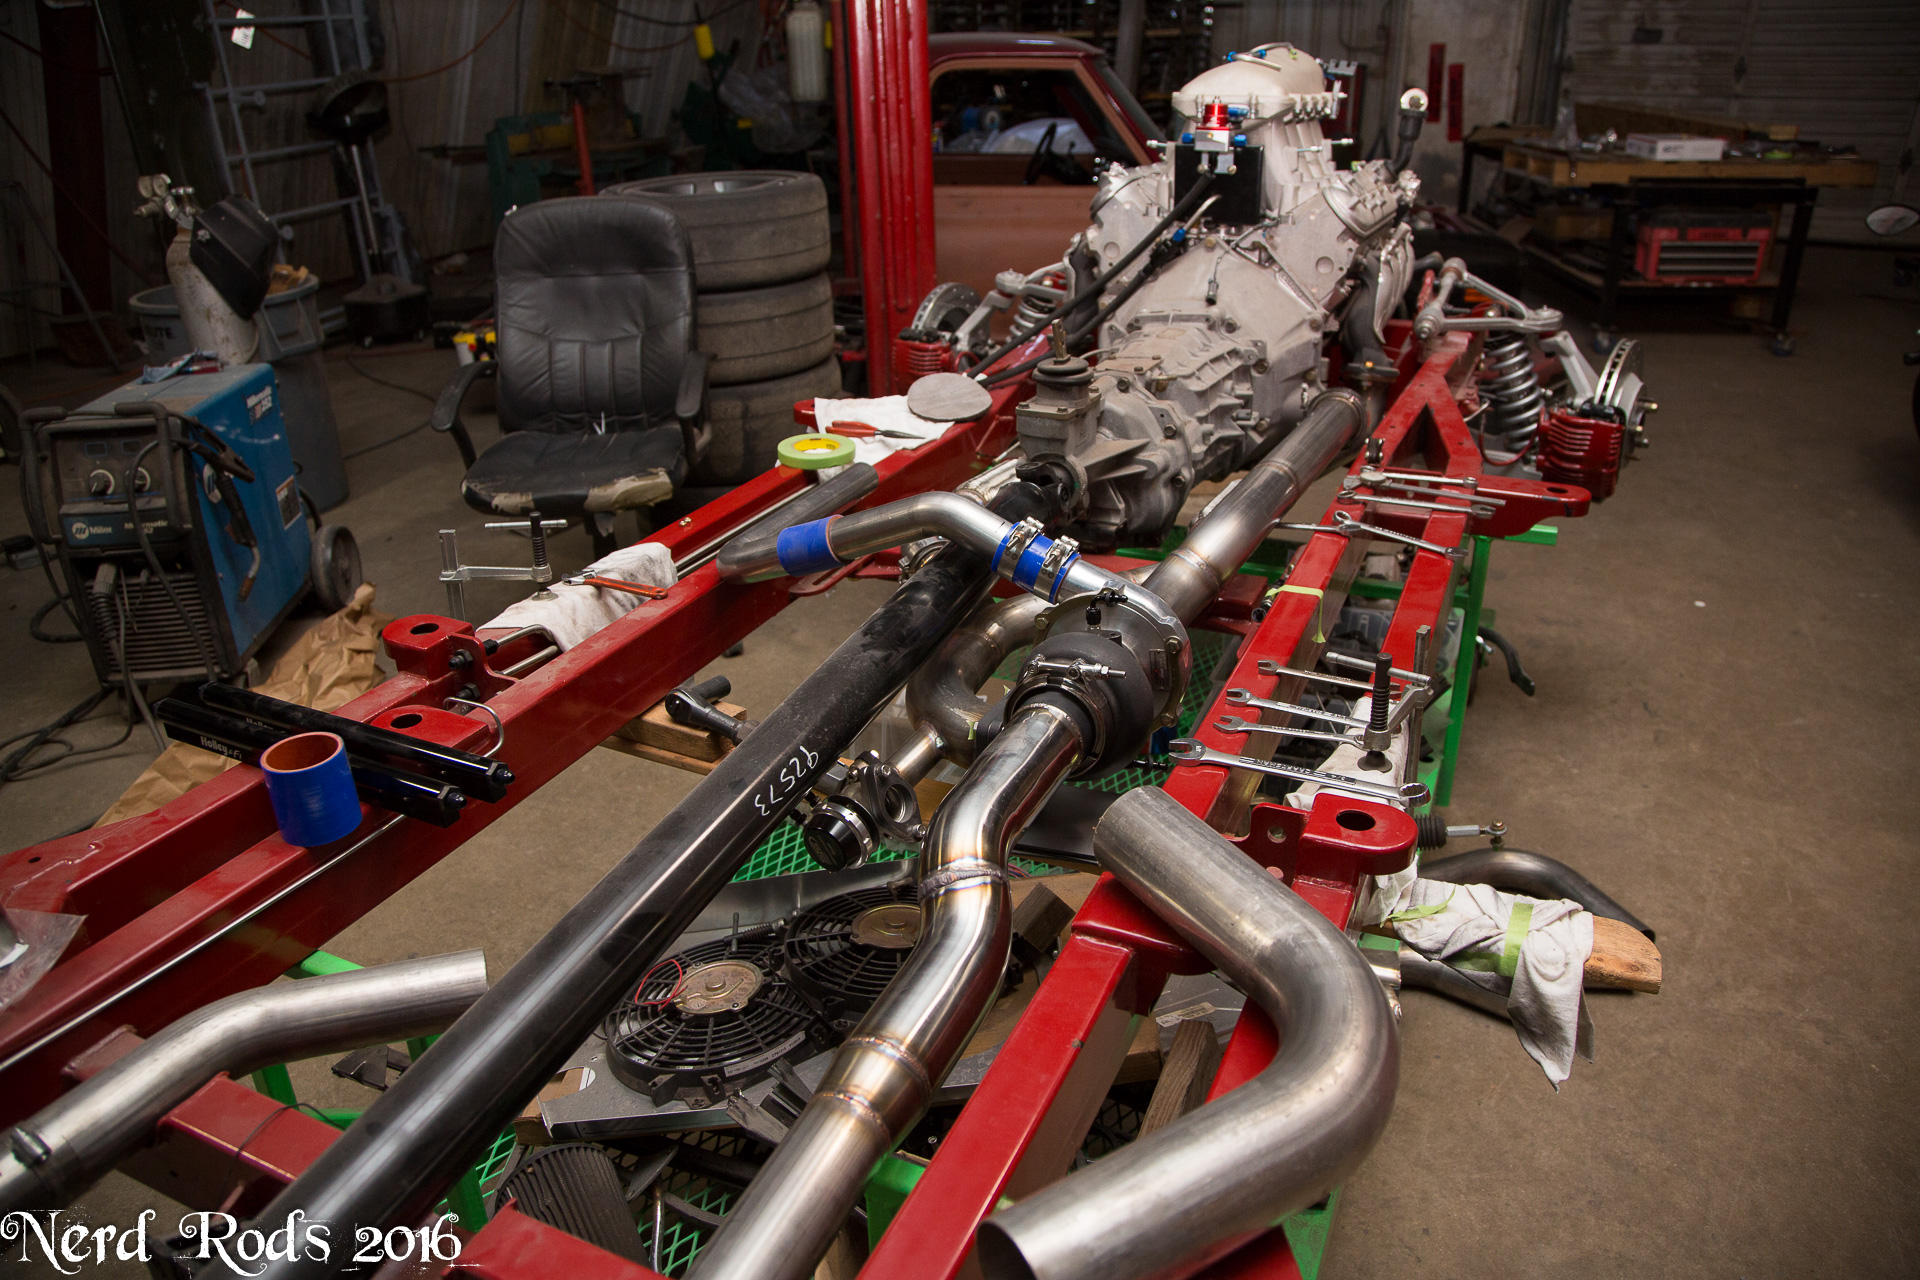
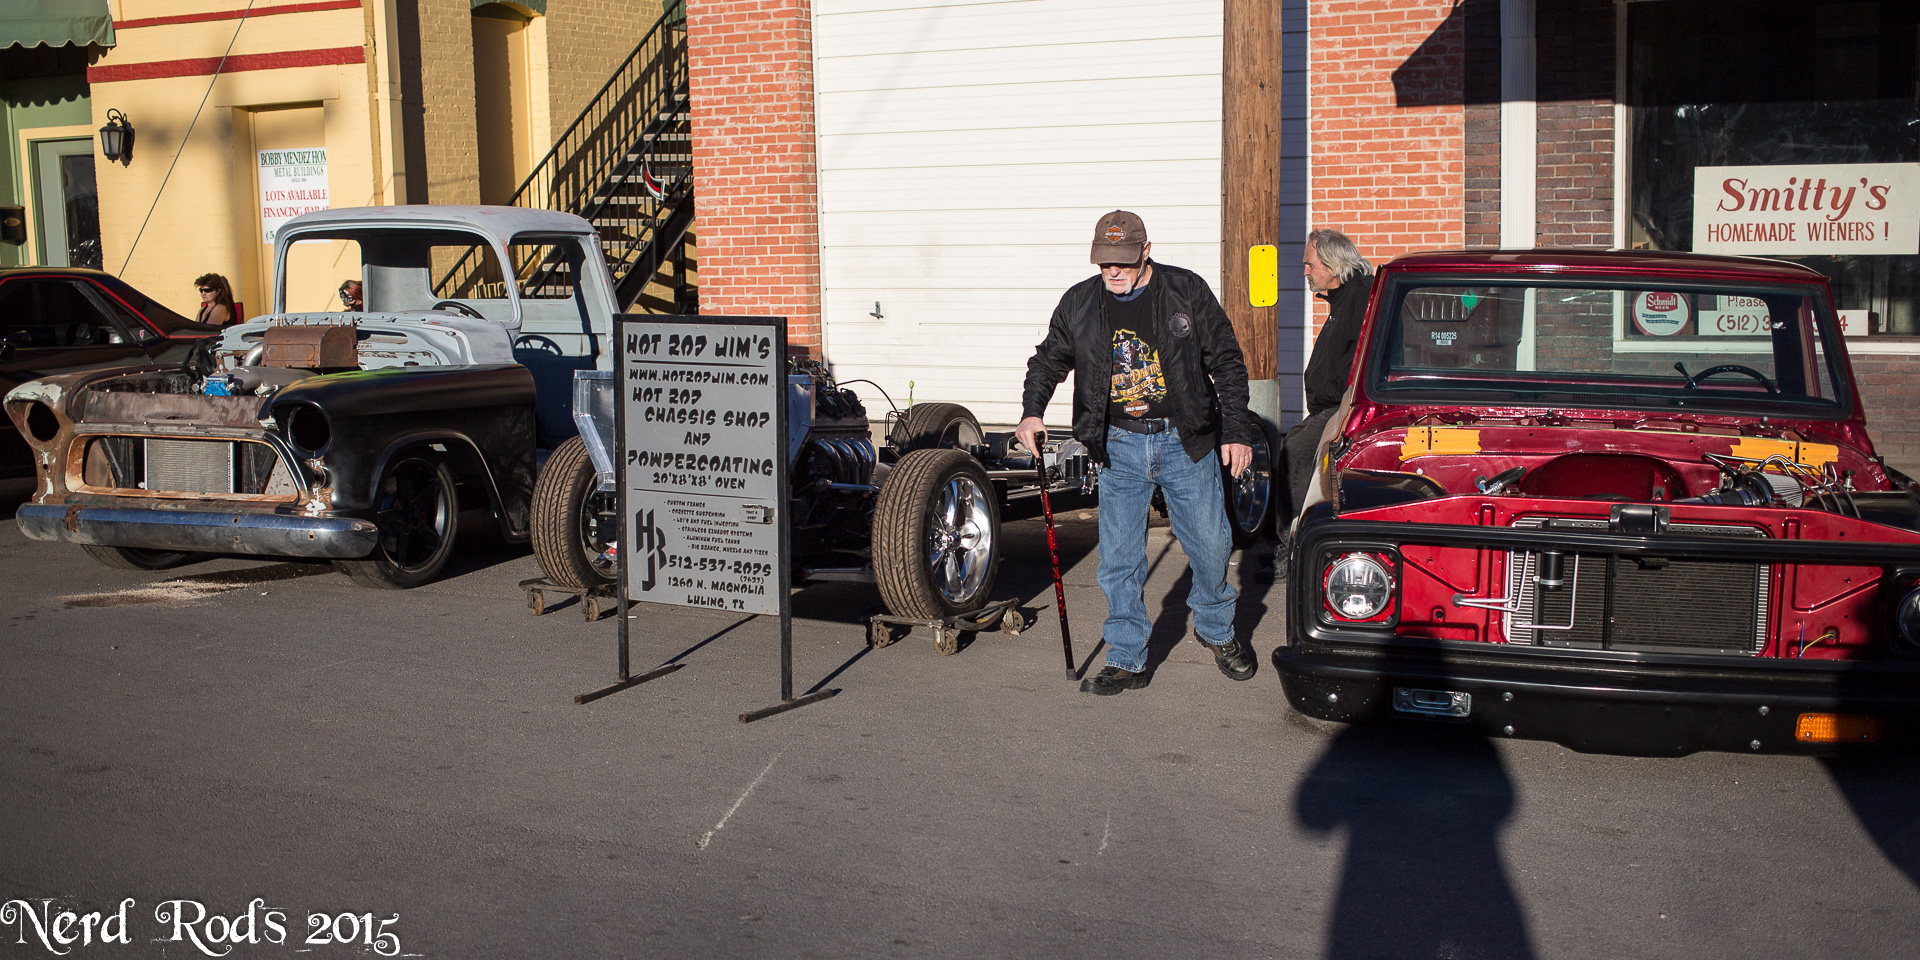
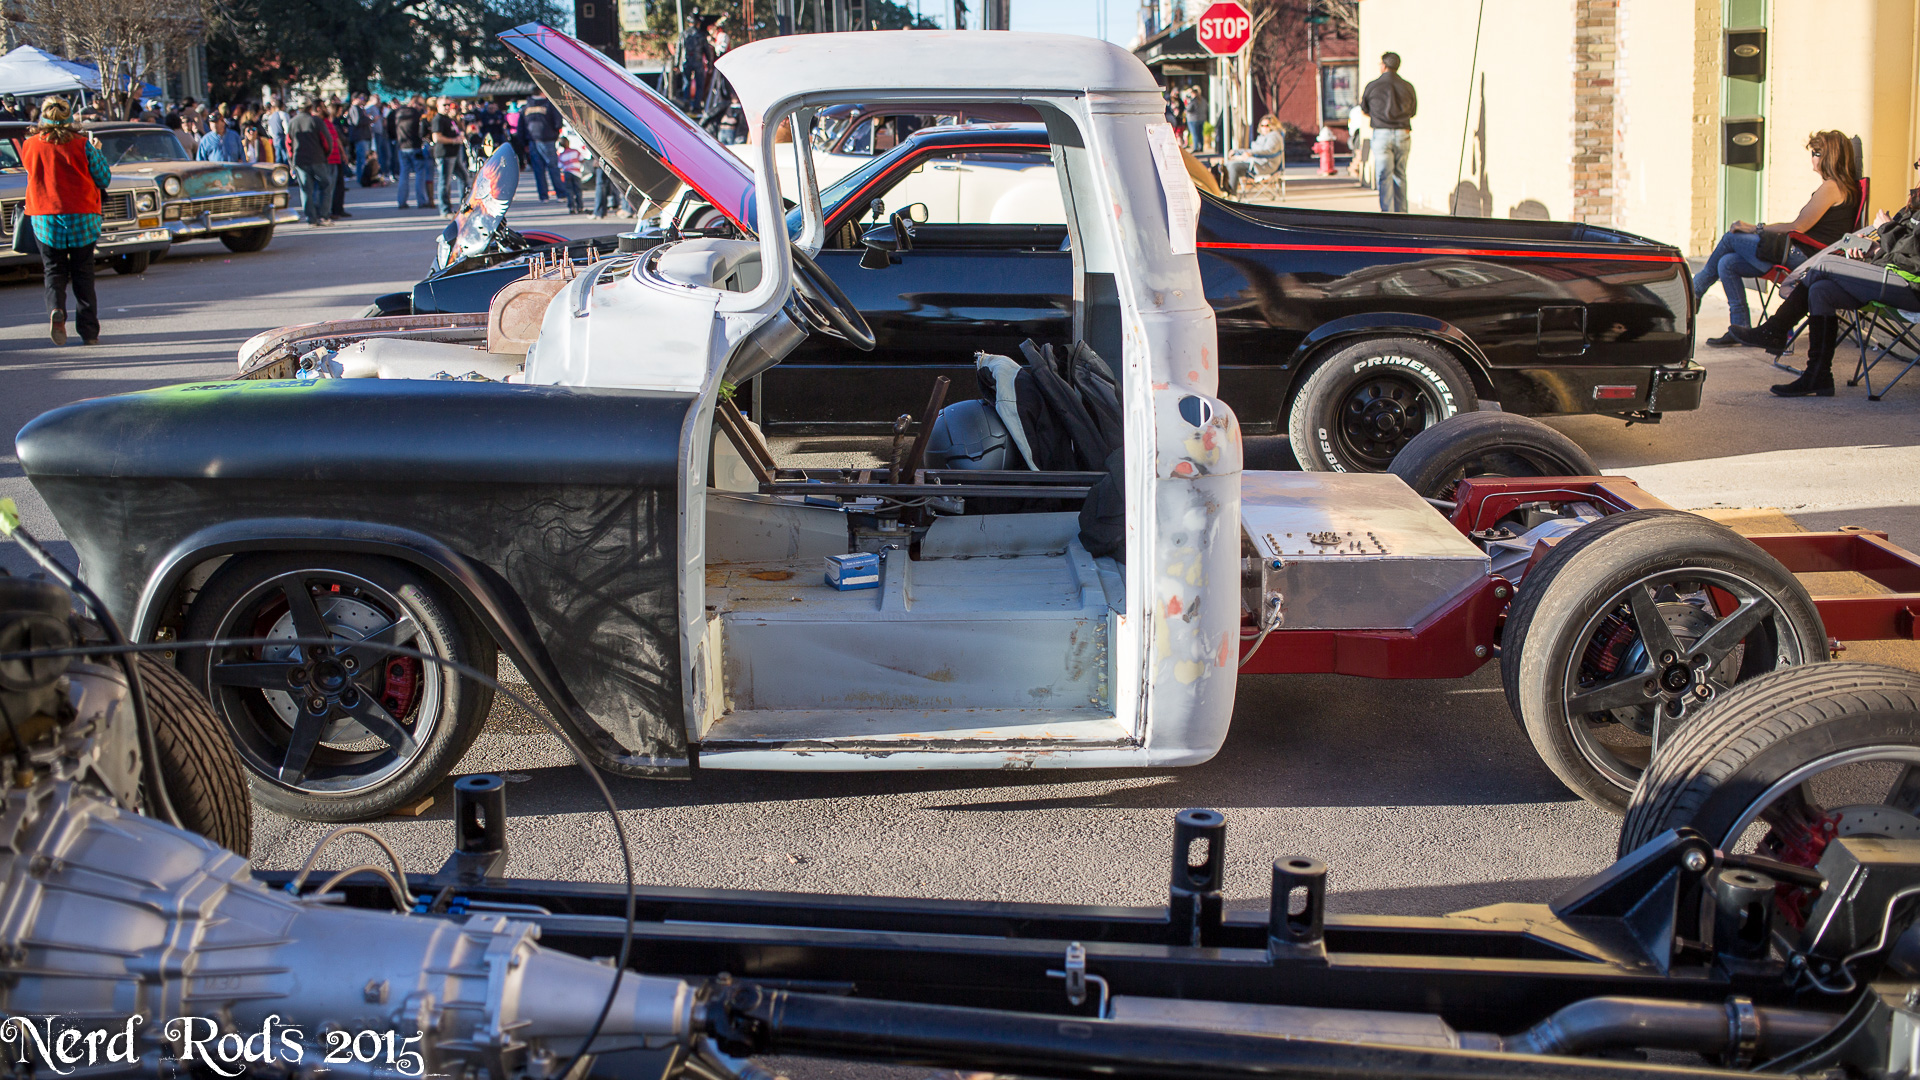
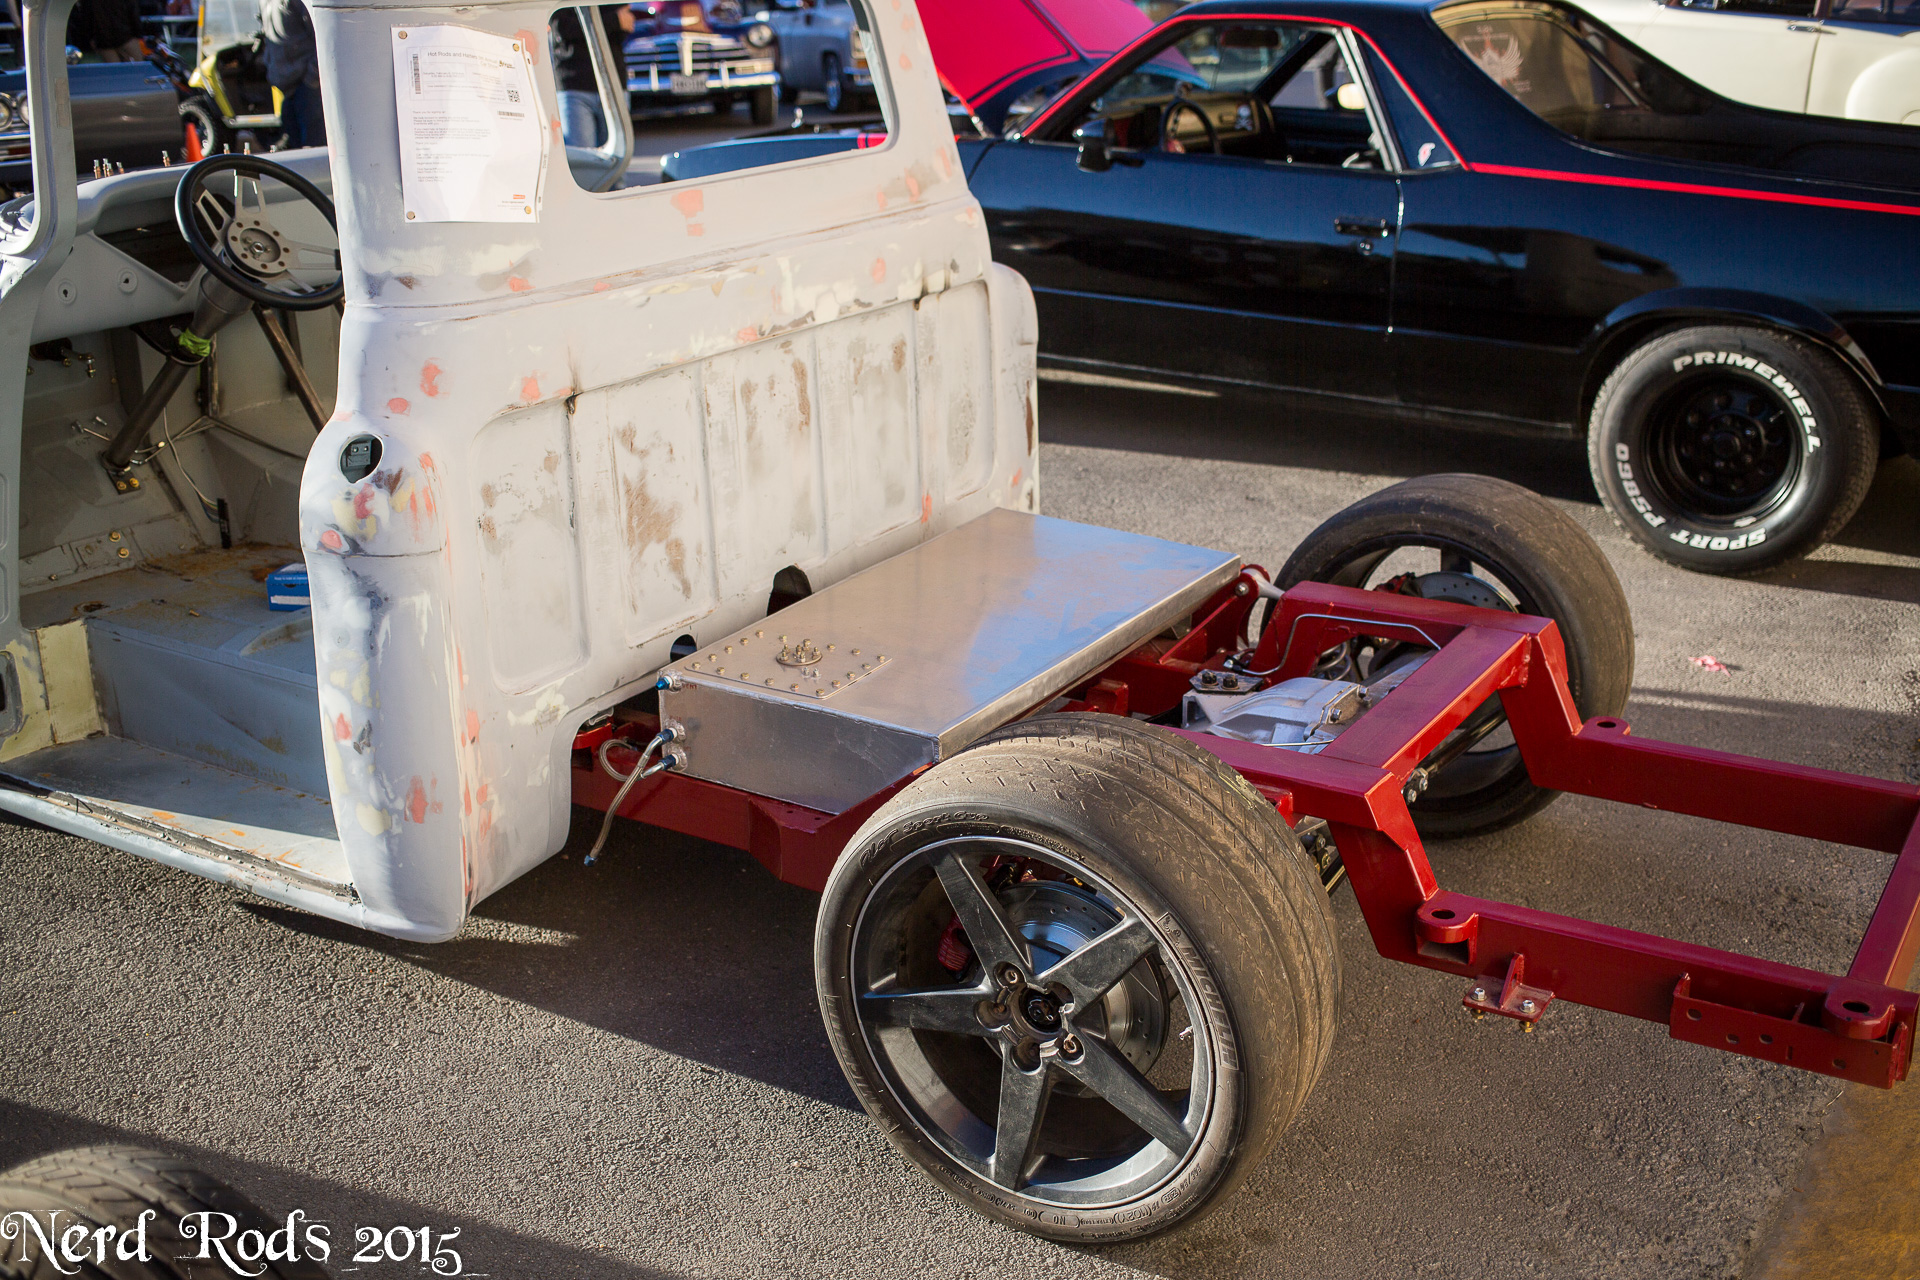
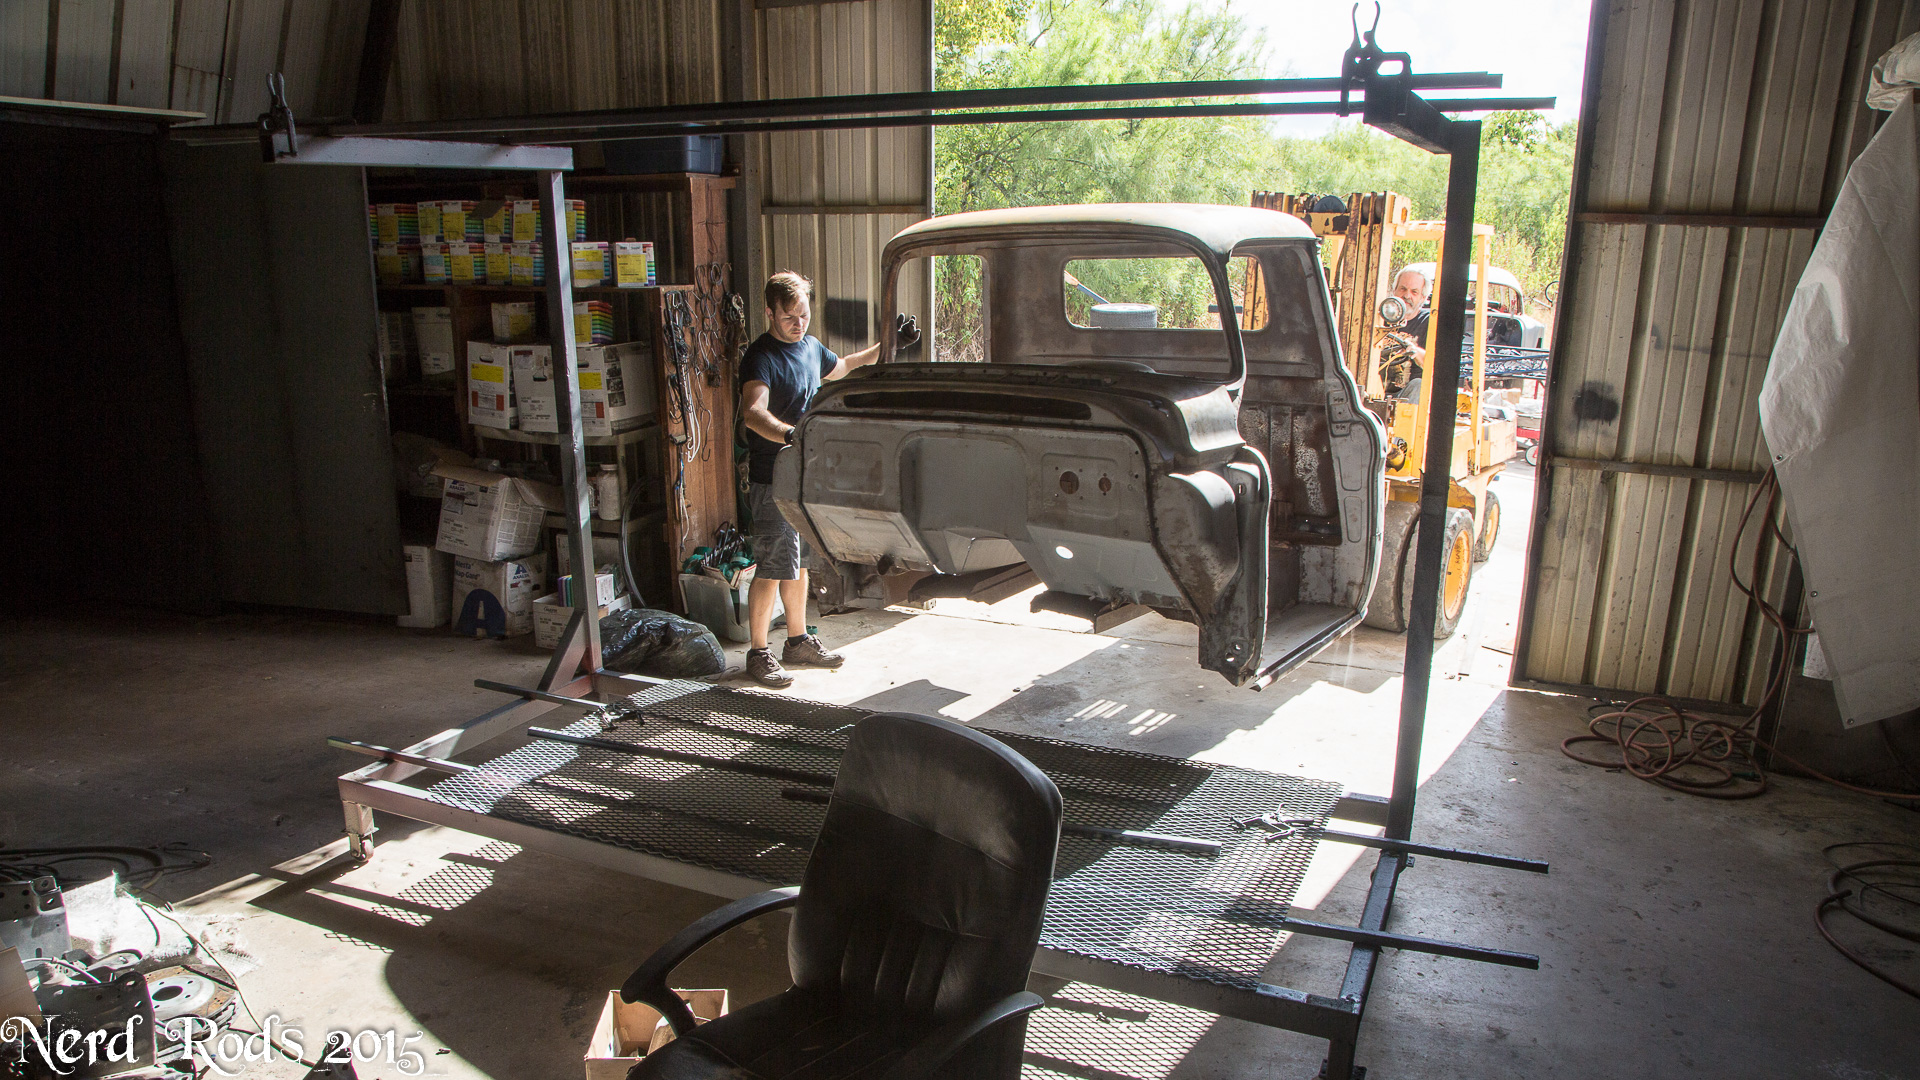
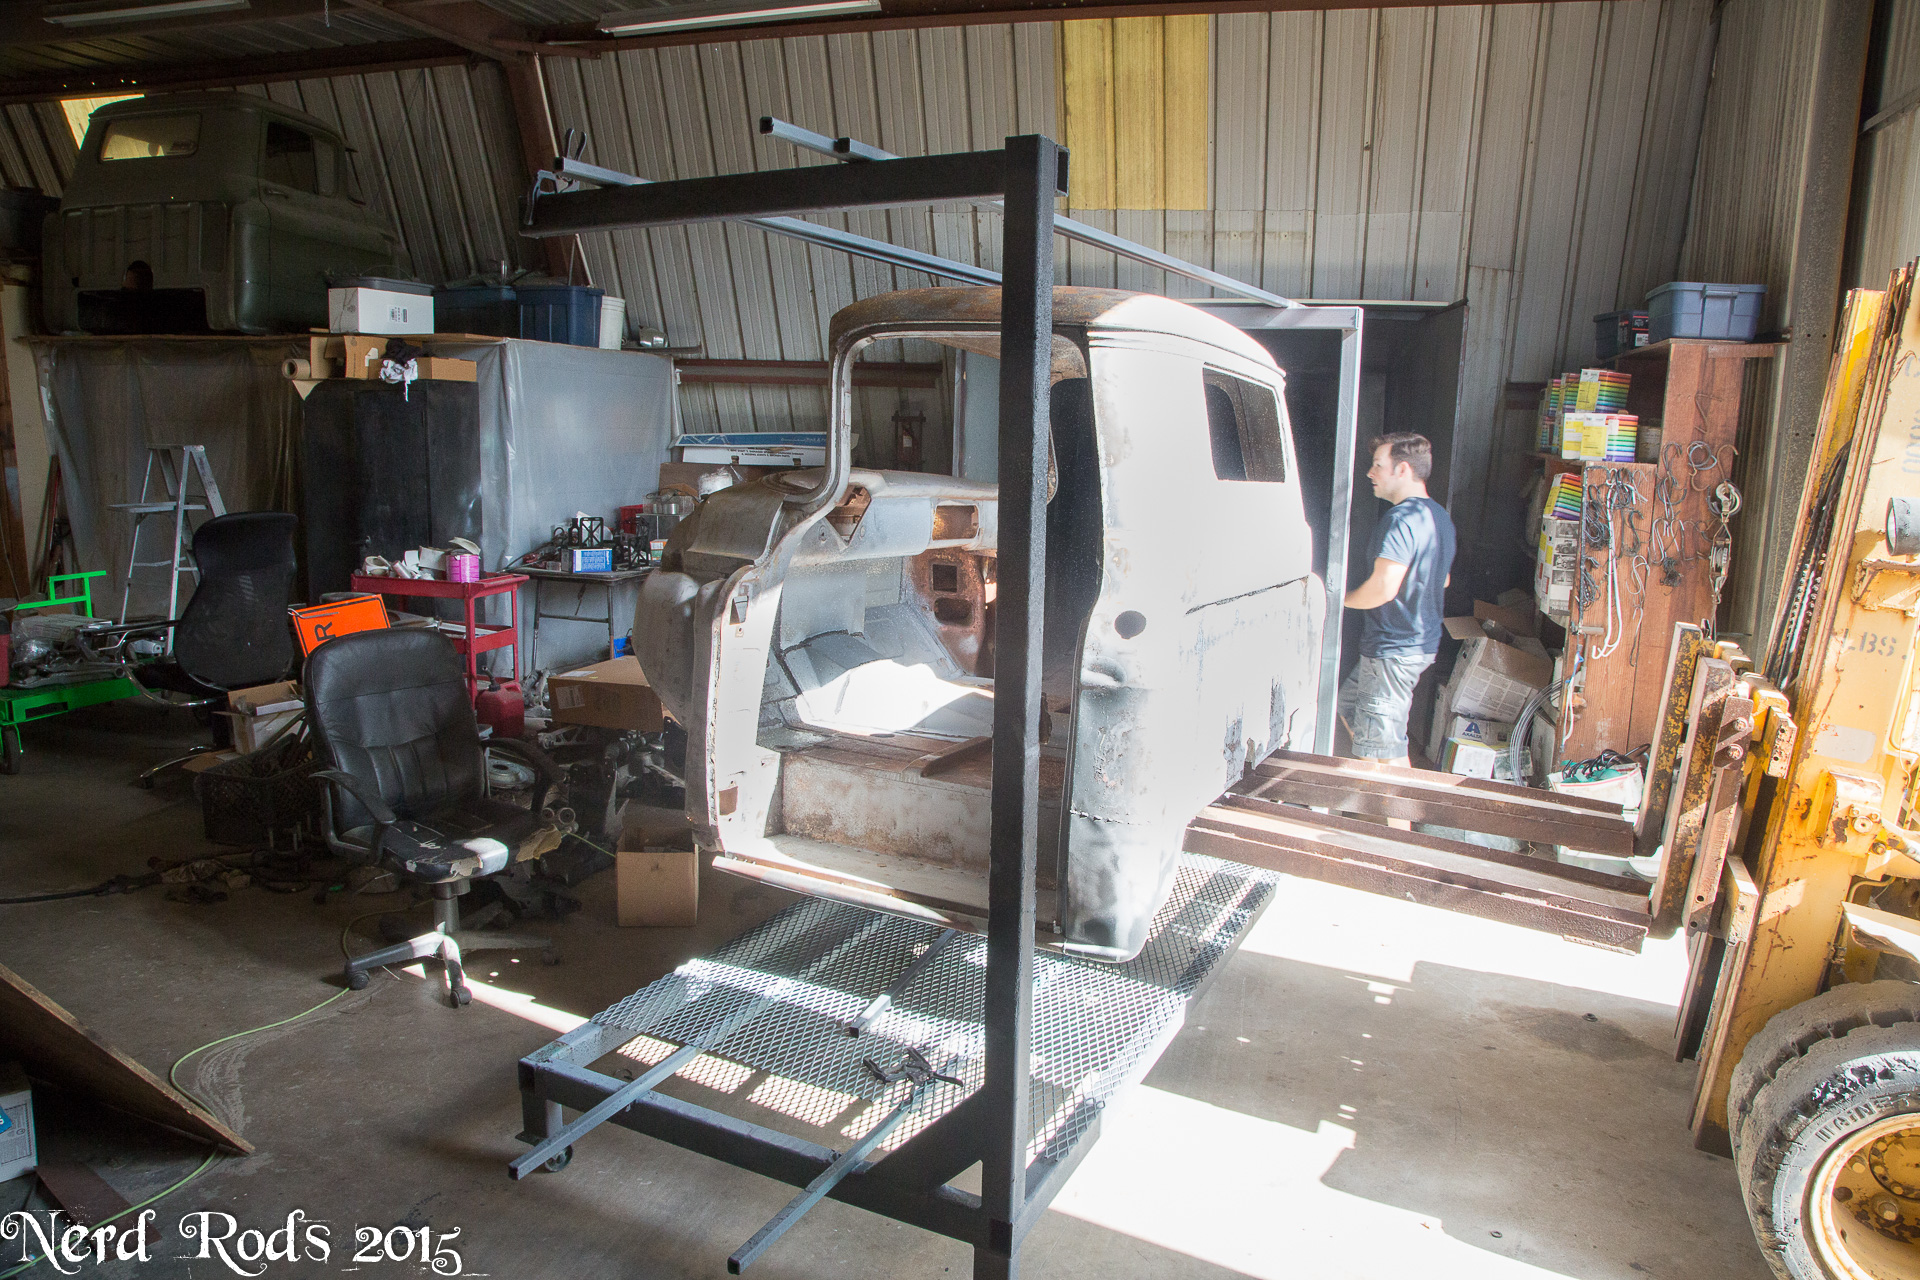
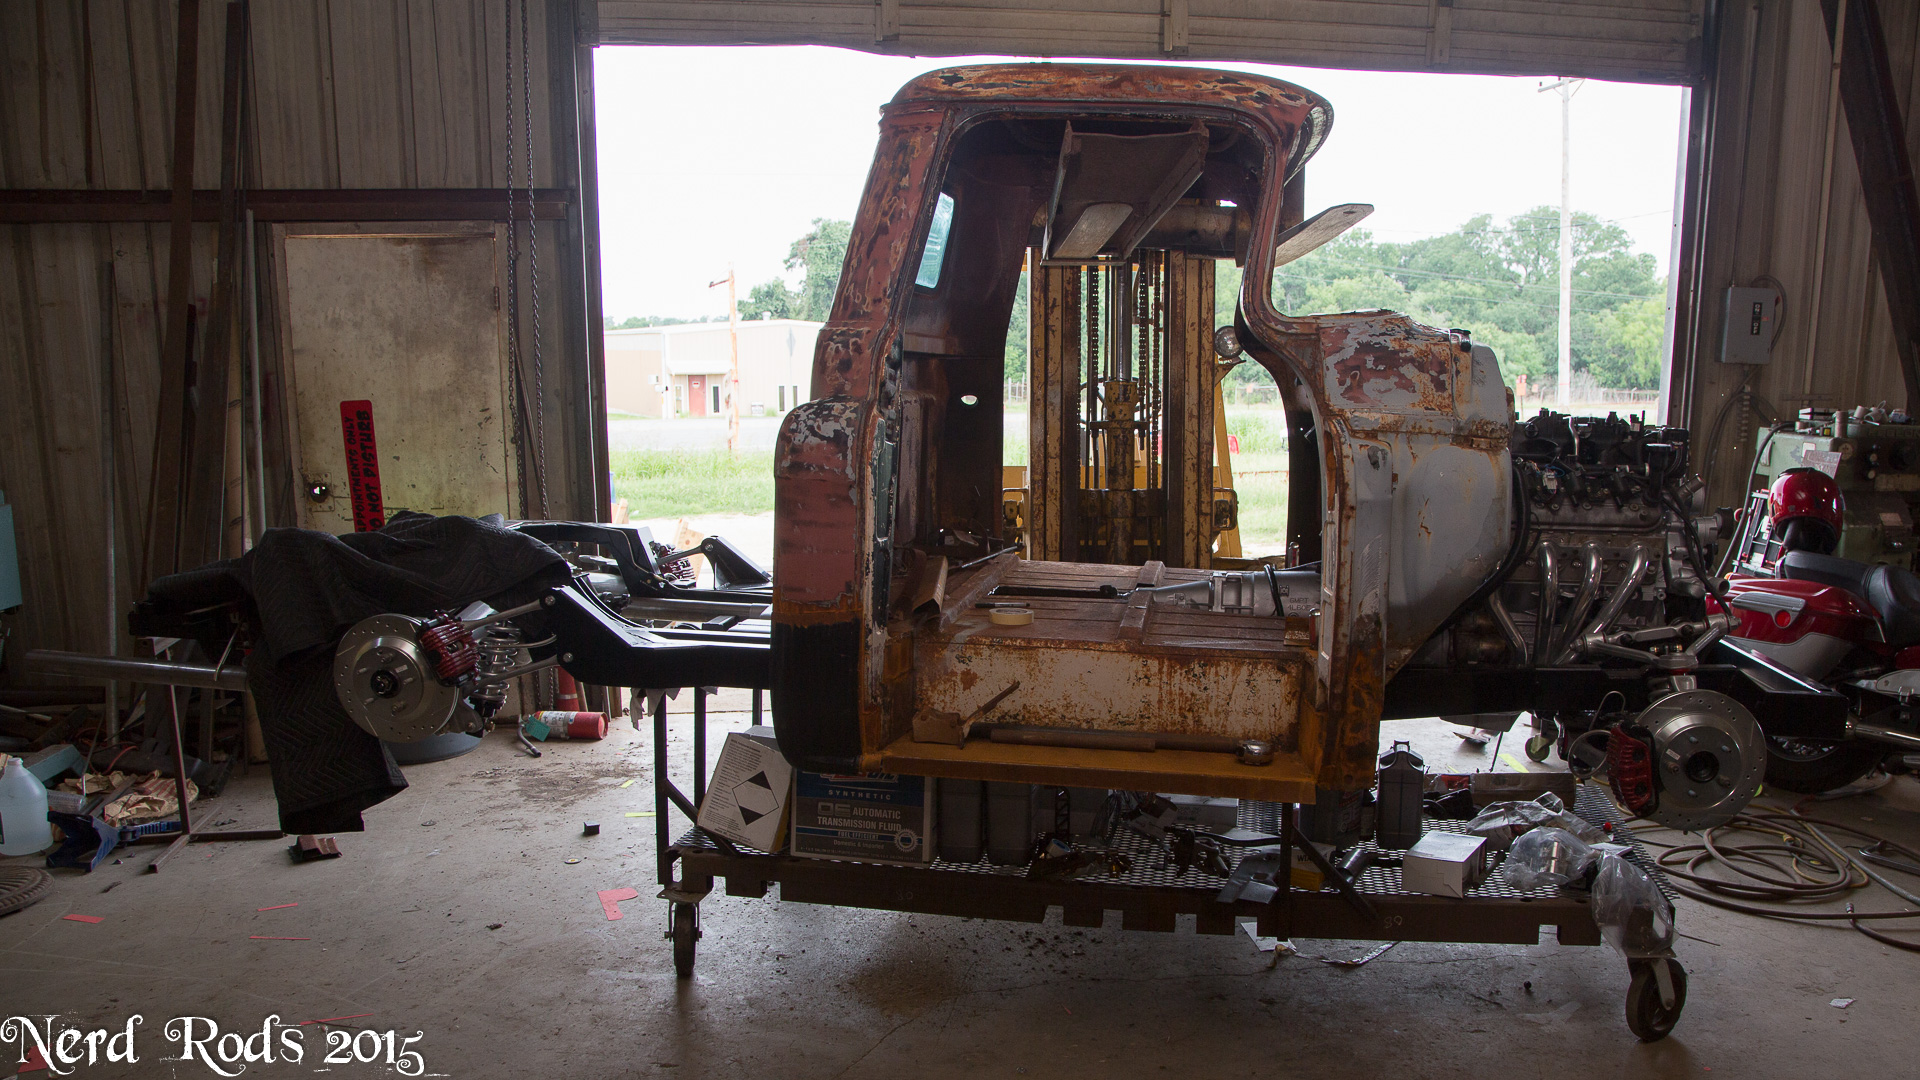
We also had a local car show pop up just 15 miles up the road from us. The Hot Rod and Hatters Show in Lockhart TX packed 500+ cars and 20k people last year so we decided it go for two reasons. First this year they had over 807 cars with over 30k people this year and the exposure wouldn't be a bad idea but more important to me was that we could get all 3 trucks out of the shop so I could clean the place. The other task force truce we've been working on was trapped with the chassis at the front and the cab at the back of the shop with 2 chassis, 4 kit frames, 2 jig tables, 2 chassis carts, and 3 engines between the two of them. So this was the perfect excuse to get those two put together and clean up some areas that require rearranging the shop to get it. But that mean's Dad's down and dirty gets some shoes and gets to stand on her own for the first time.


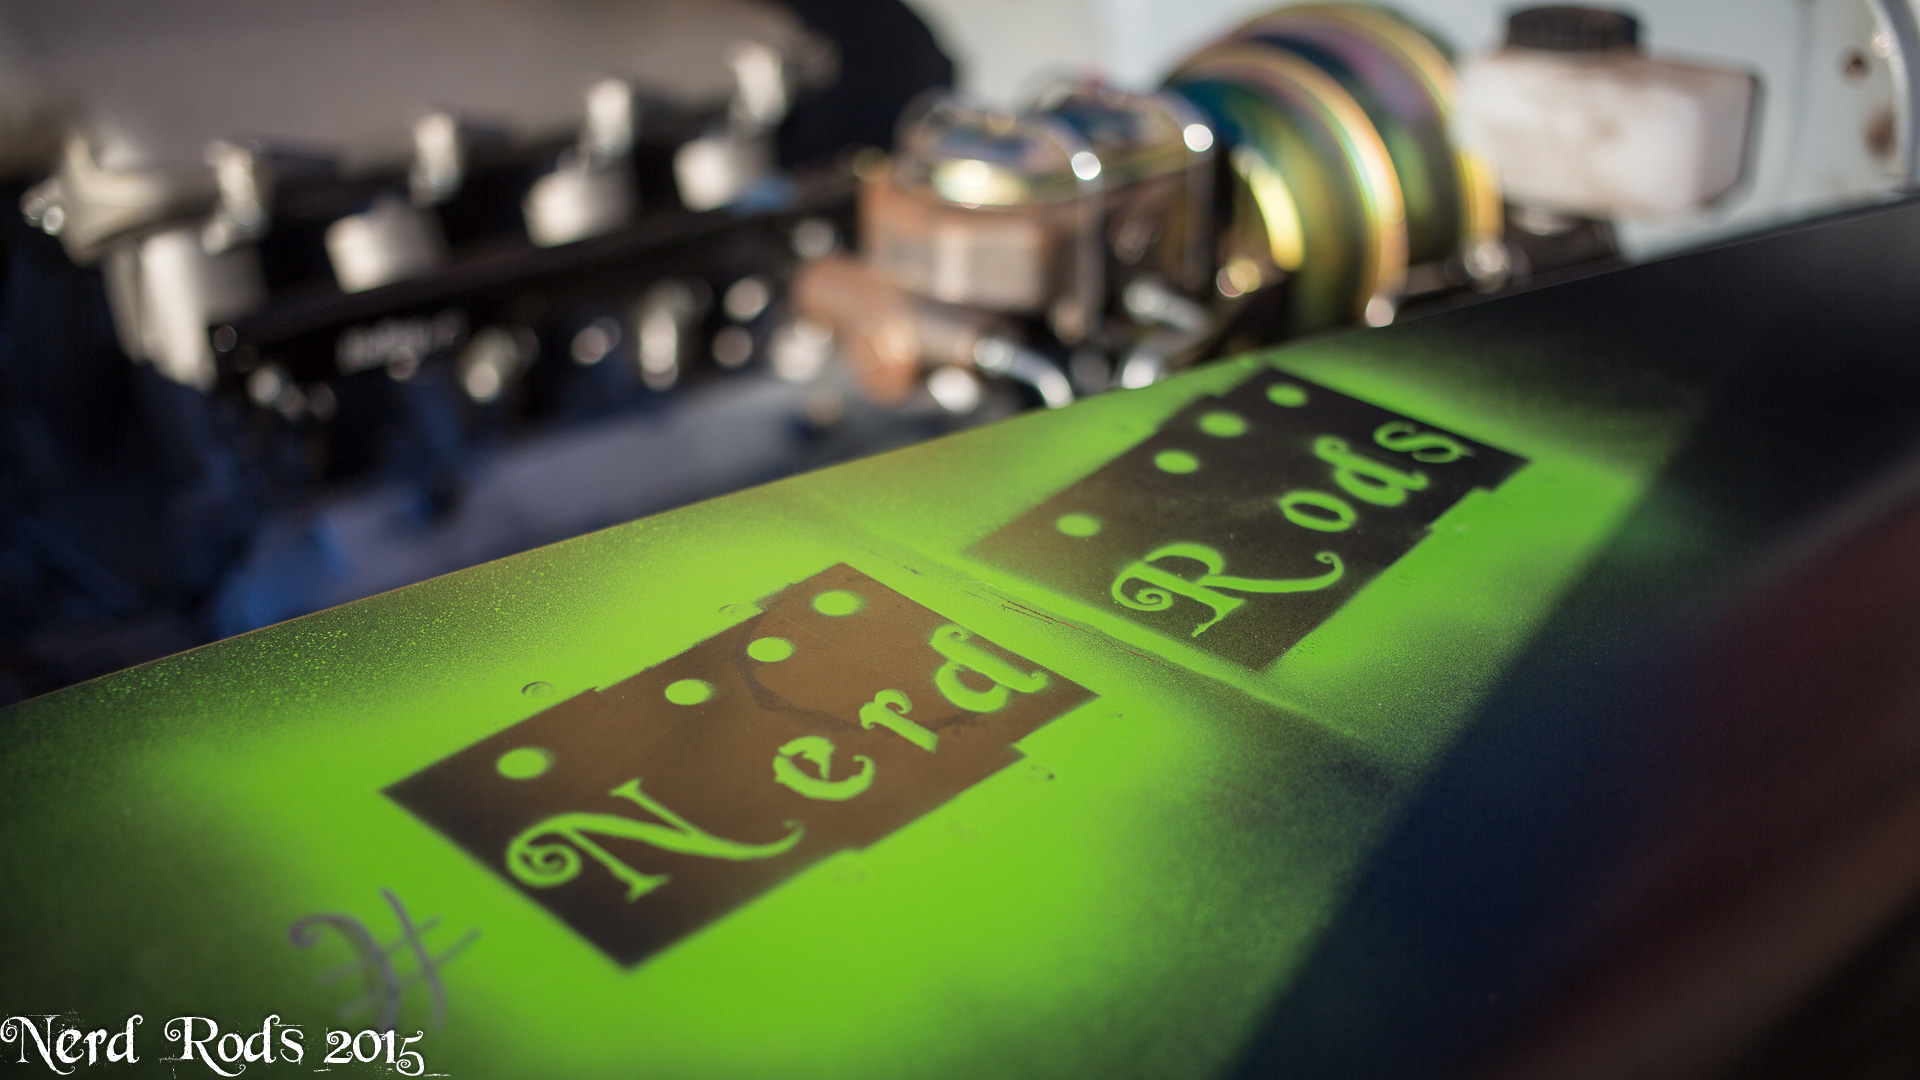
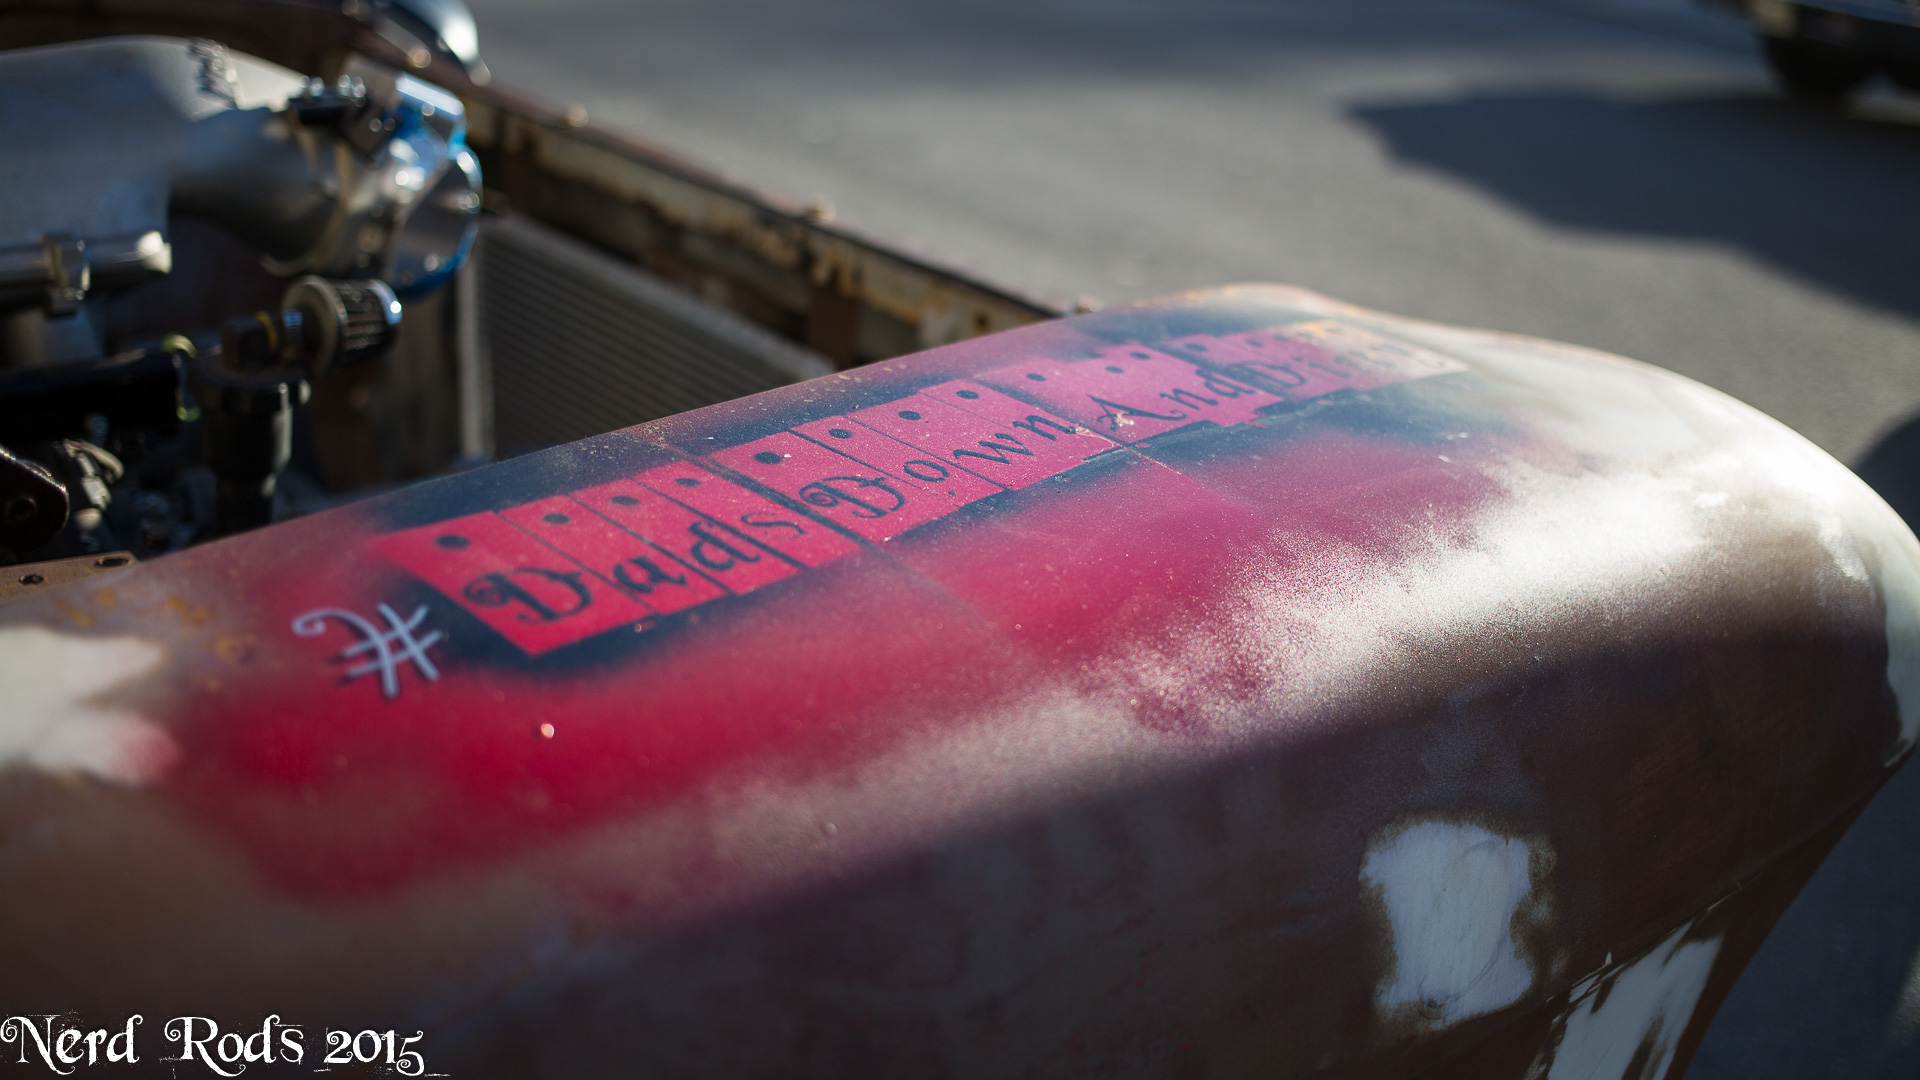
We spent a good chunk of the evening getting all the trucks moved in. The C10 is an exhaust and air bag sorting project we're helping a friend with. I don't have any Nerd Rods signs made up but I had this old HRJ sign so we just took it. Turnout was good, lots of people and I got to take to a few guys with solid protouring projects as well as road race toys so those conversation made up for the not so fun conversations of answering the same questions over and over again but hey, if you don't ask you don't learn so I glad we could help point those guys in a direction. I also rattle caned the #NerdRods and #Dadsdownanddirty hashtags on the truck for our Instagram, twitter and Facebook fans. I have to throw a huge thanks out to our minion Kevin (AKA Dreds) for helping me for 1 AM to 5 AM getting the truck moved out there and then another 2-3 hours the next day bringing them all back. With all the random little crap that happened this was a life saver! Thanks again Hoss!
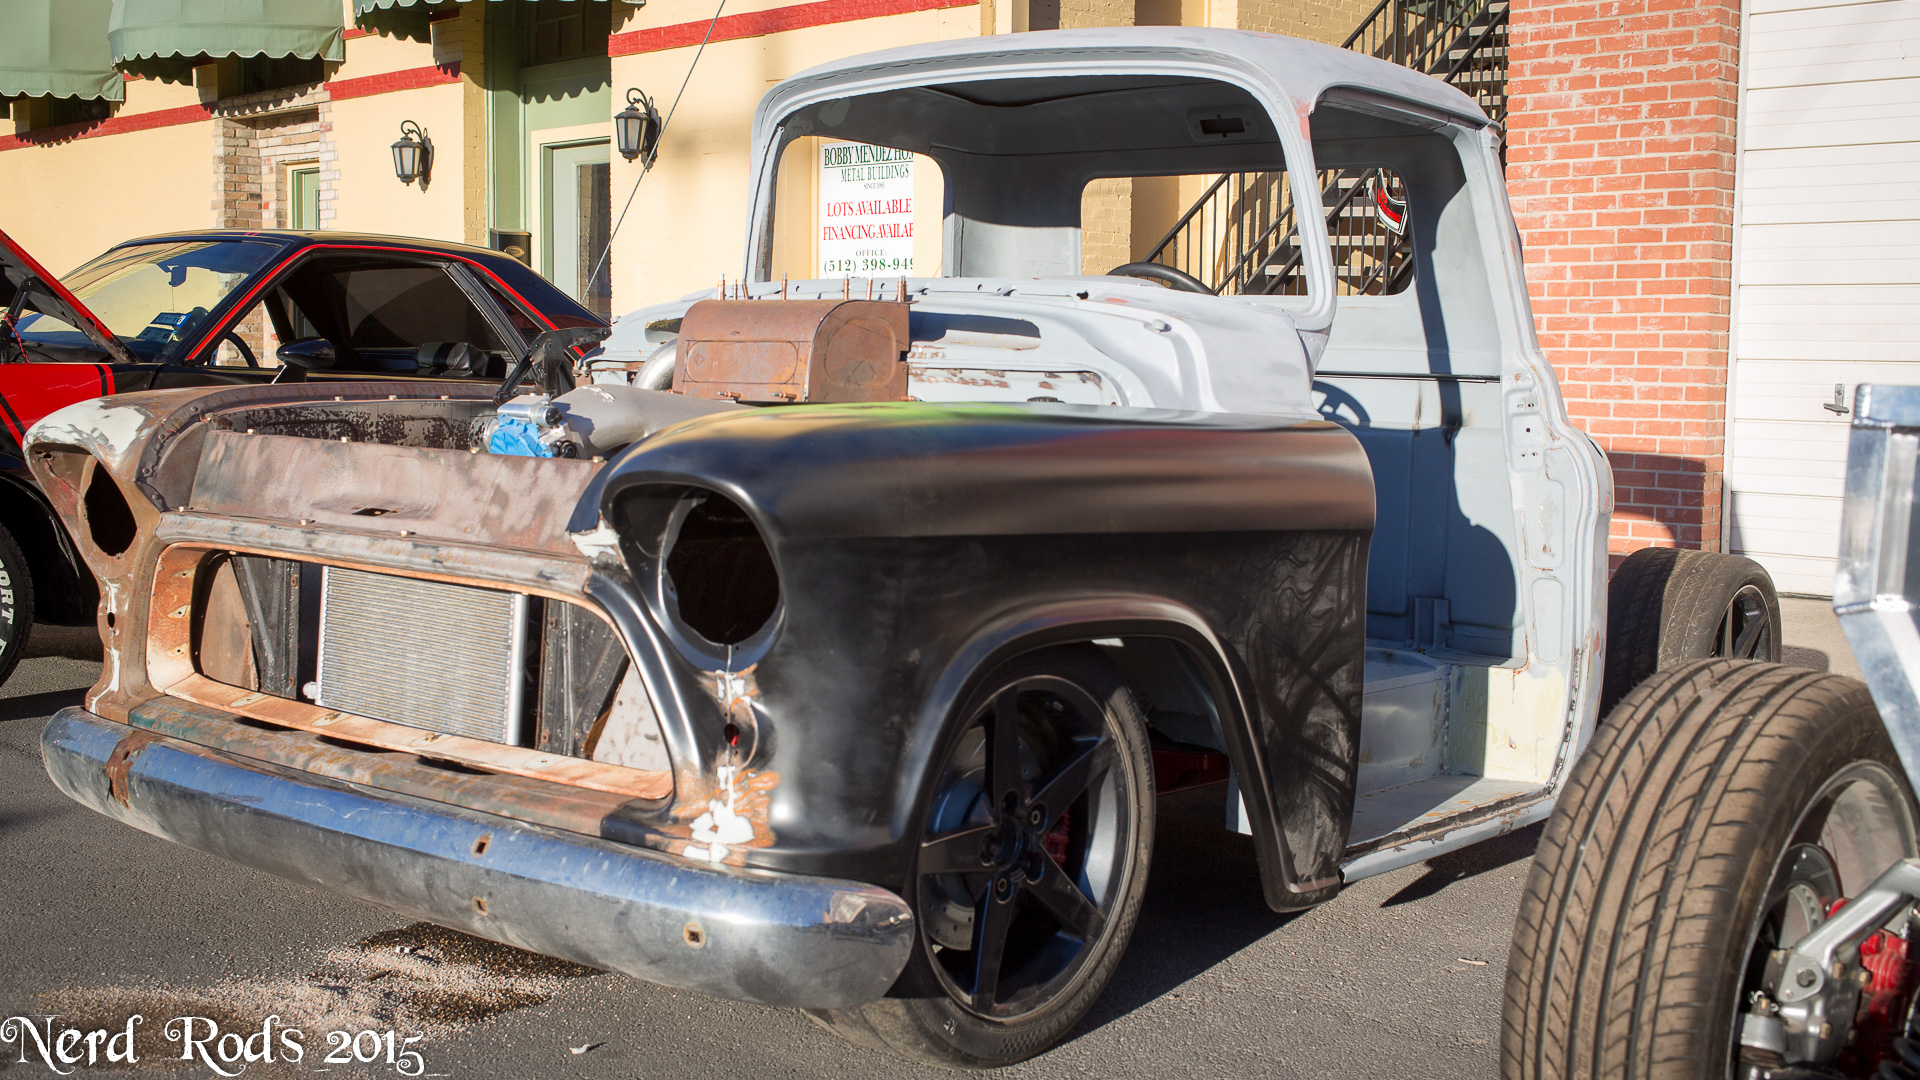
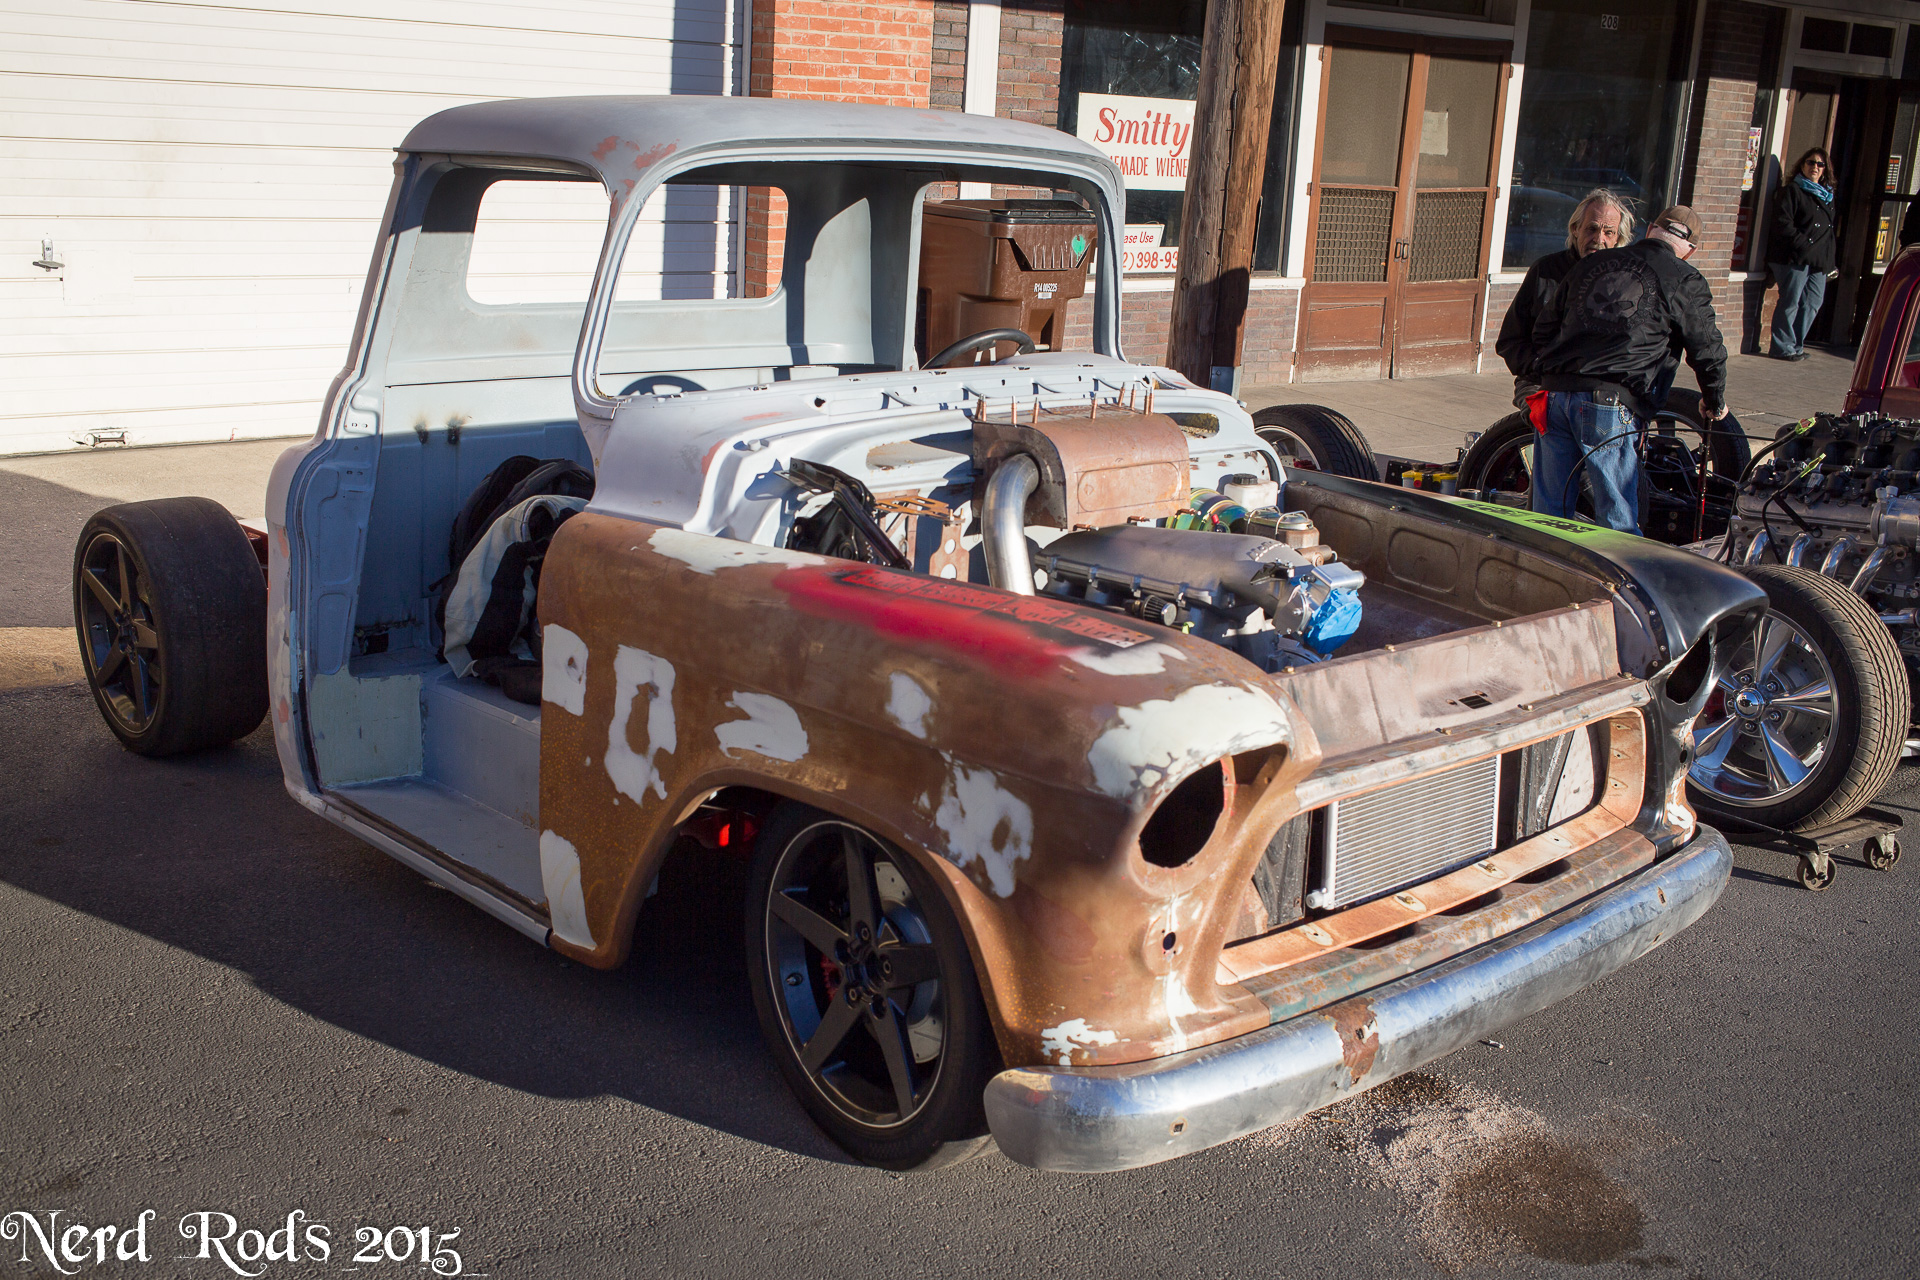
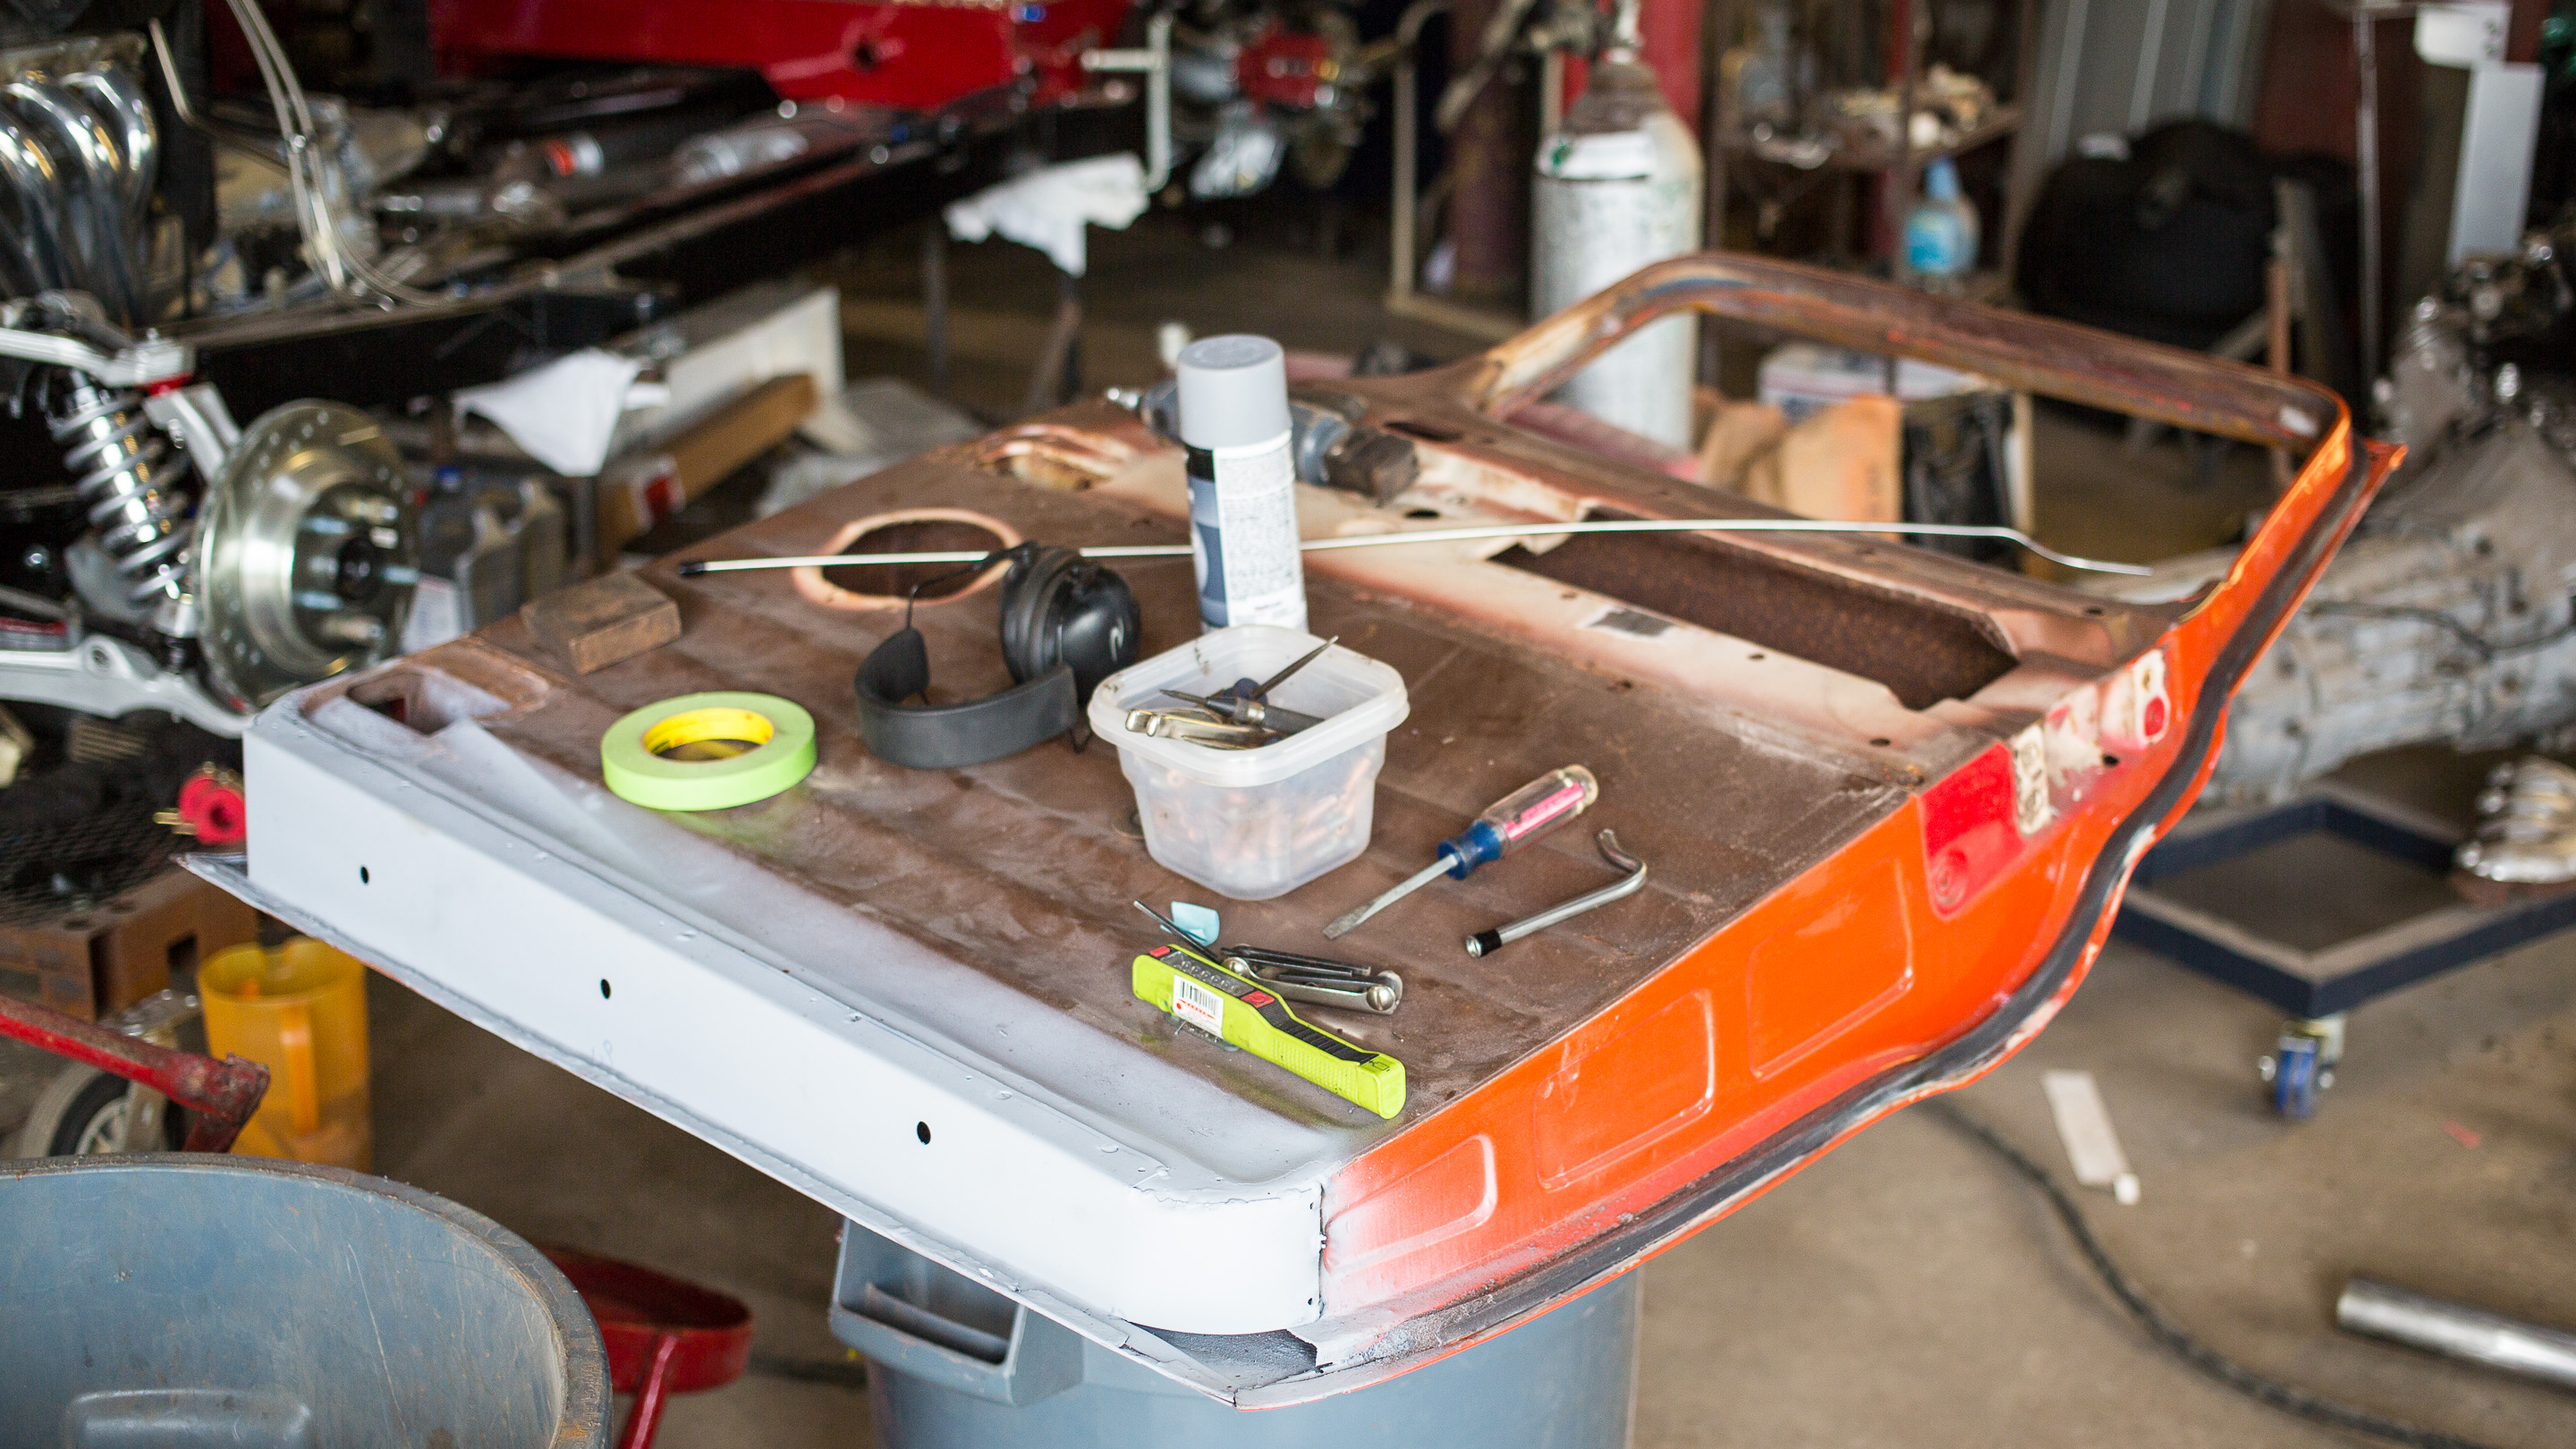
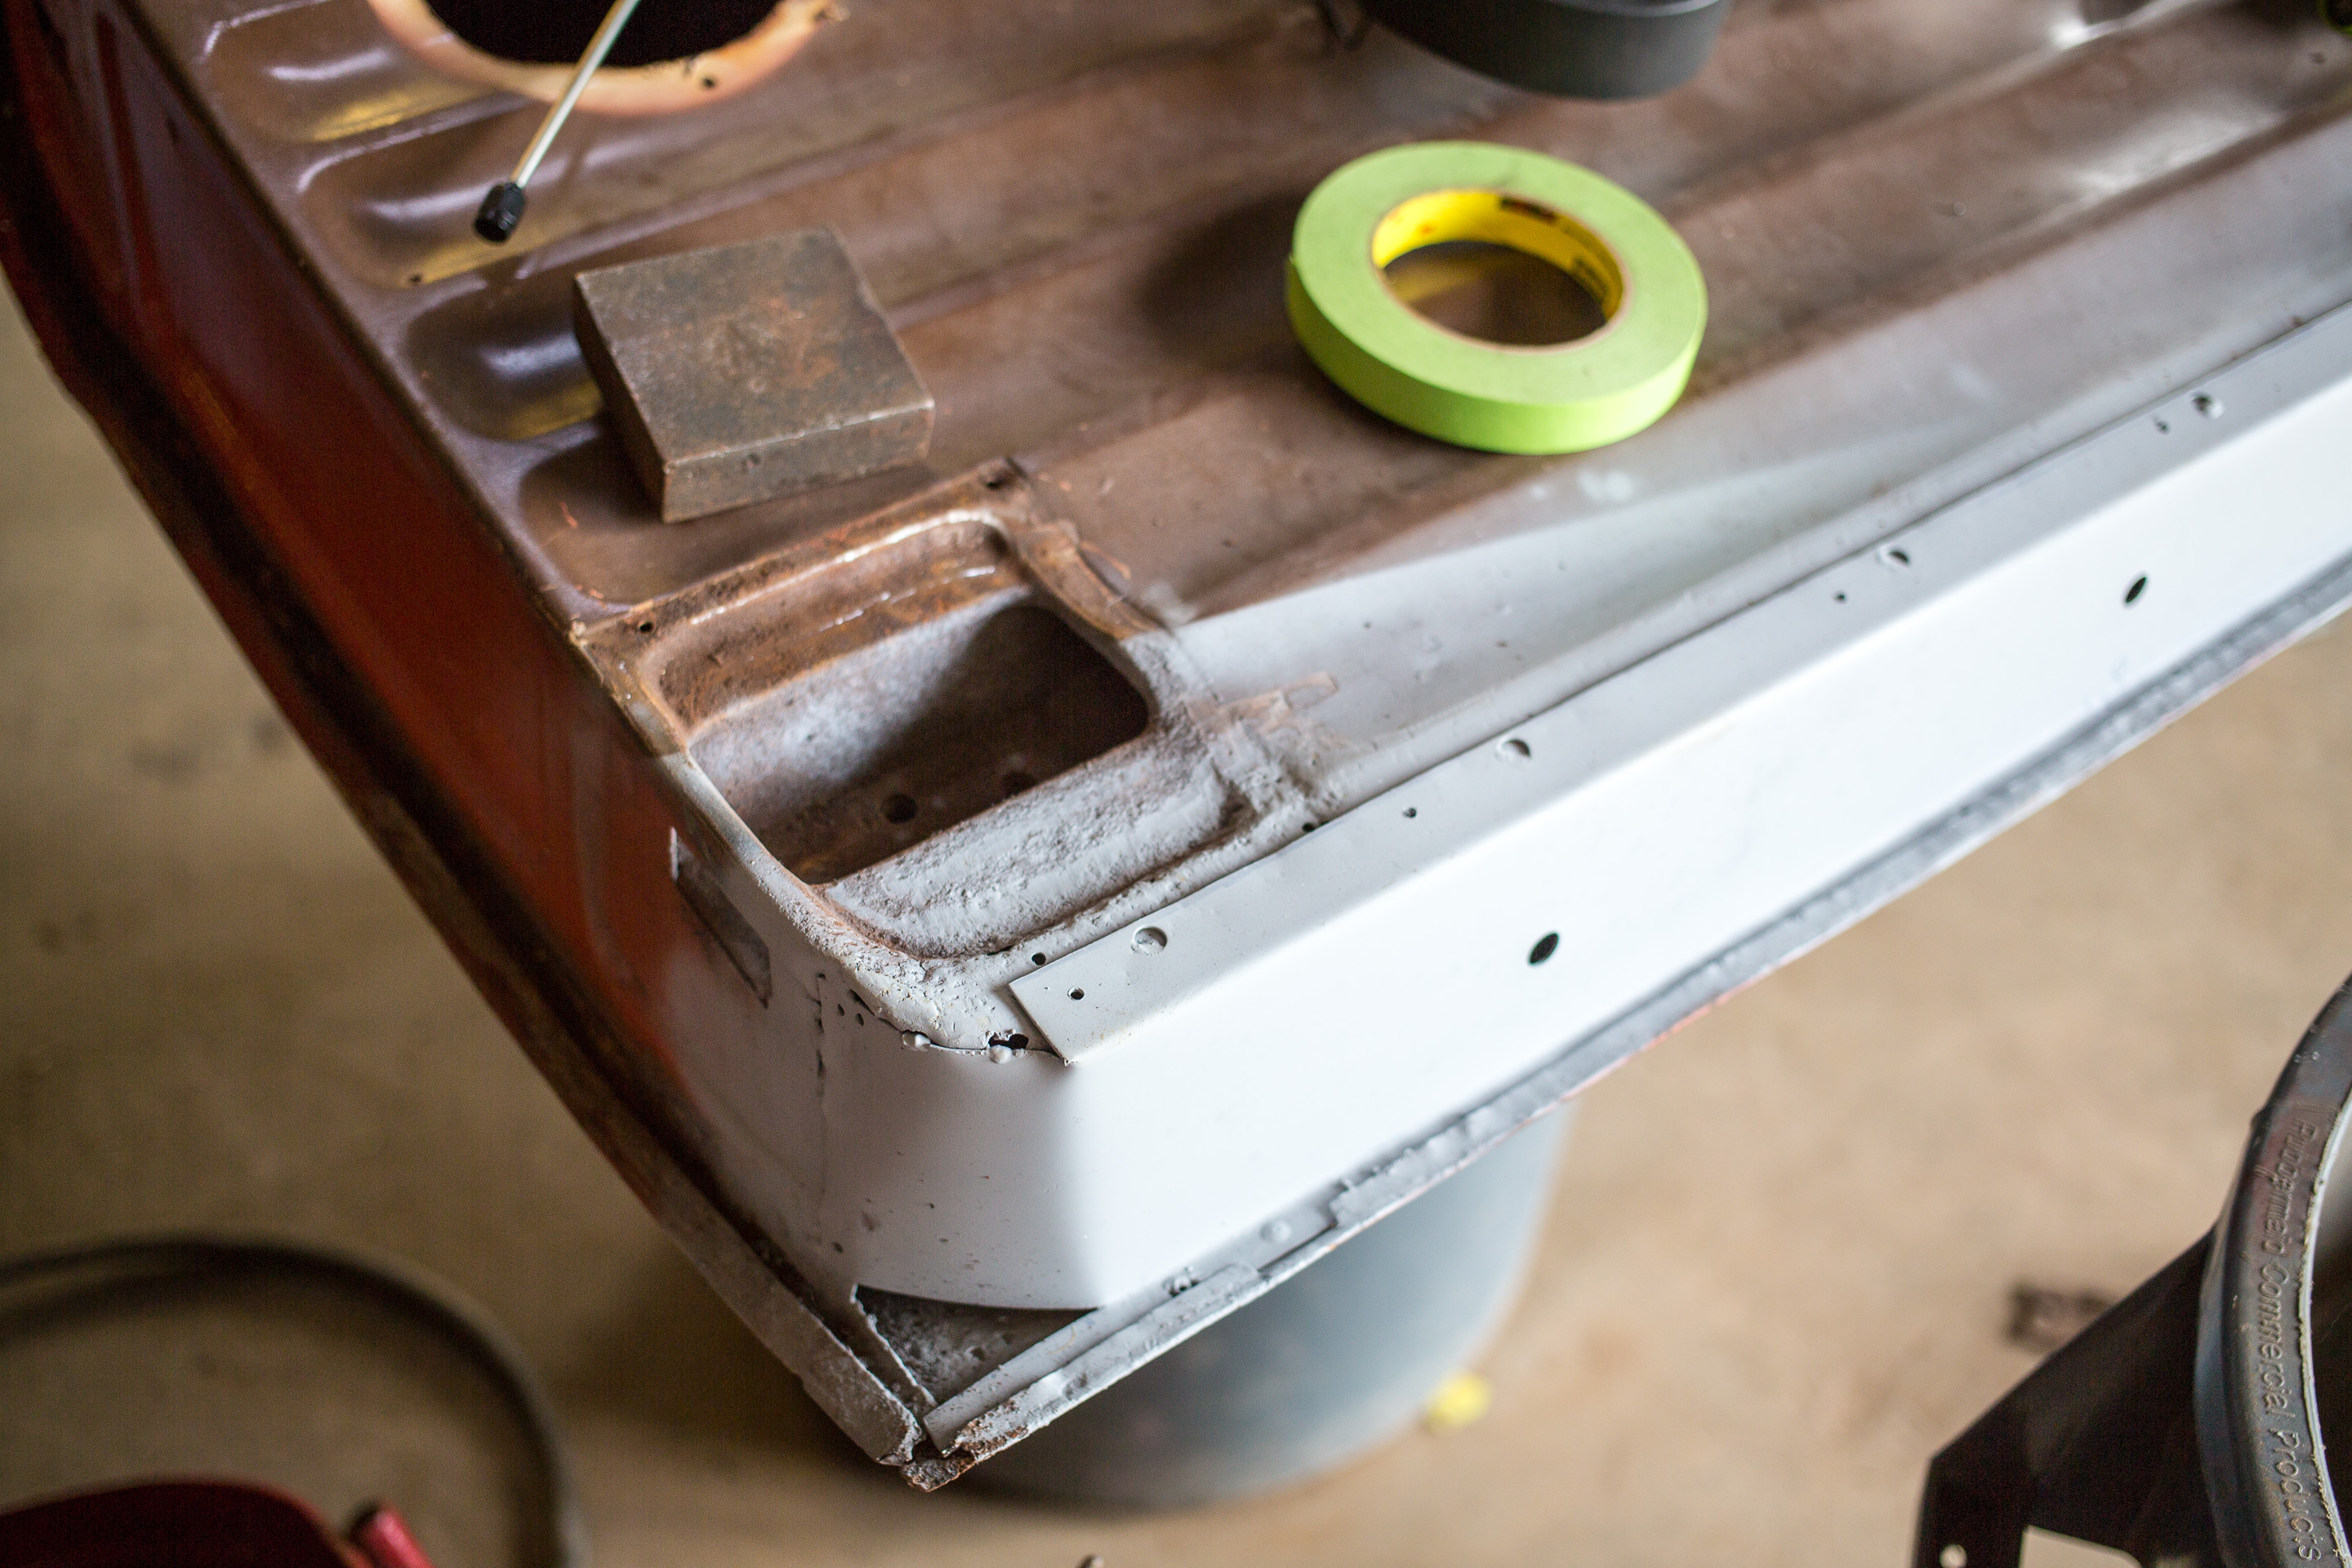
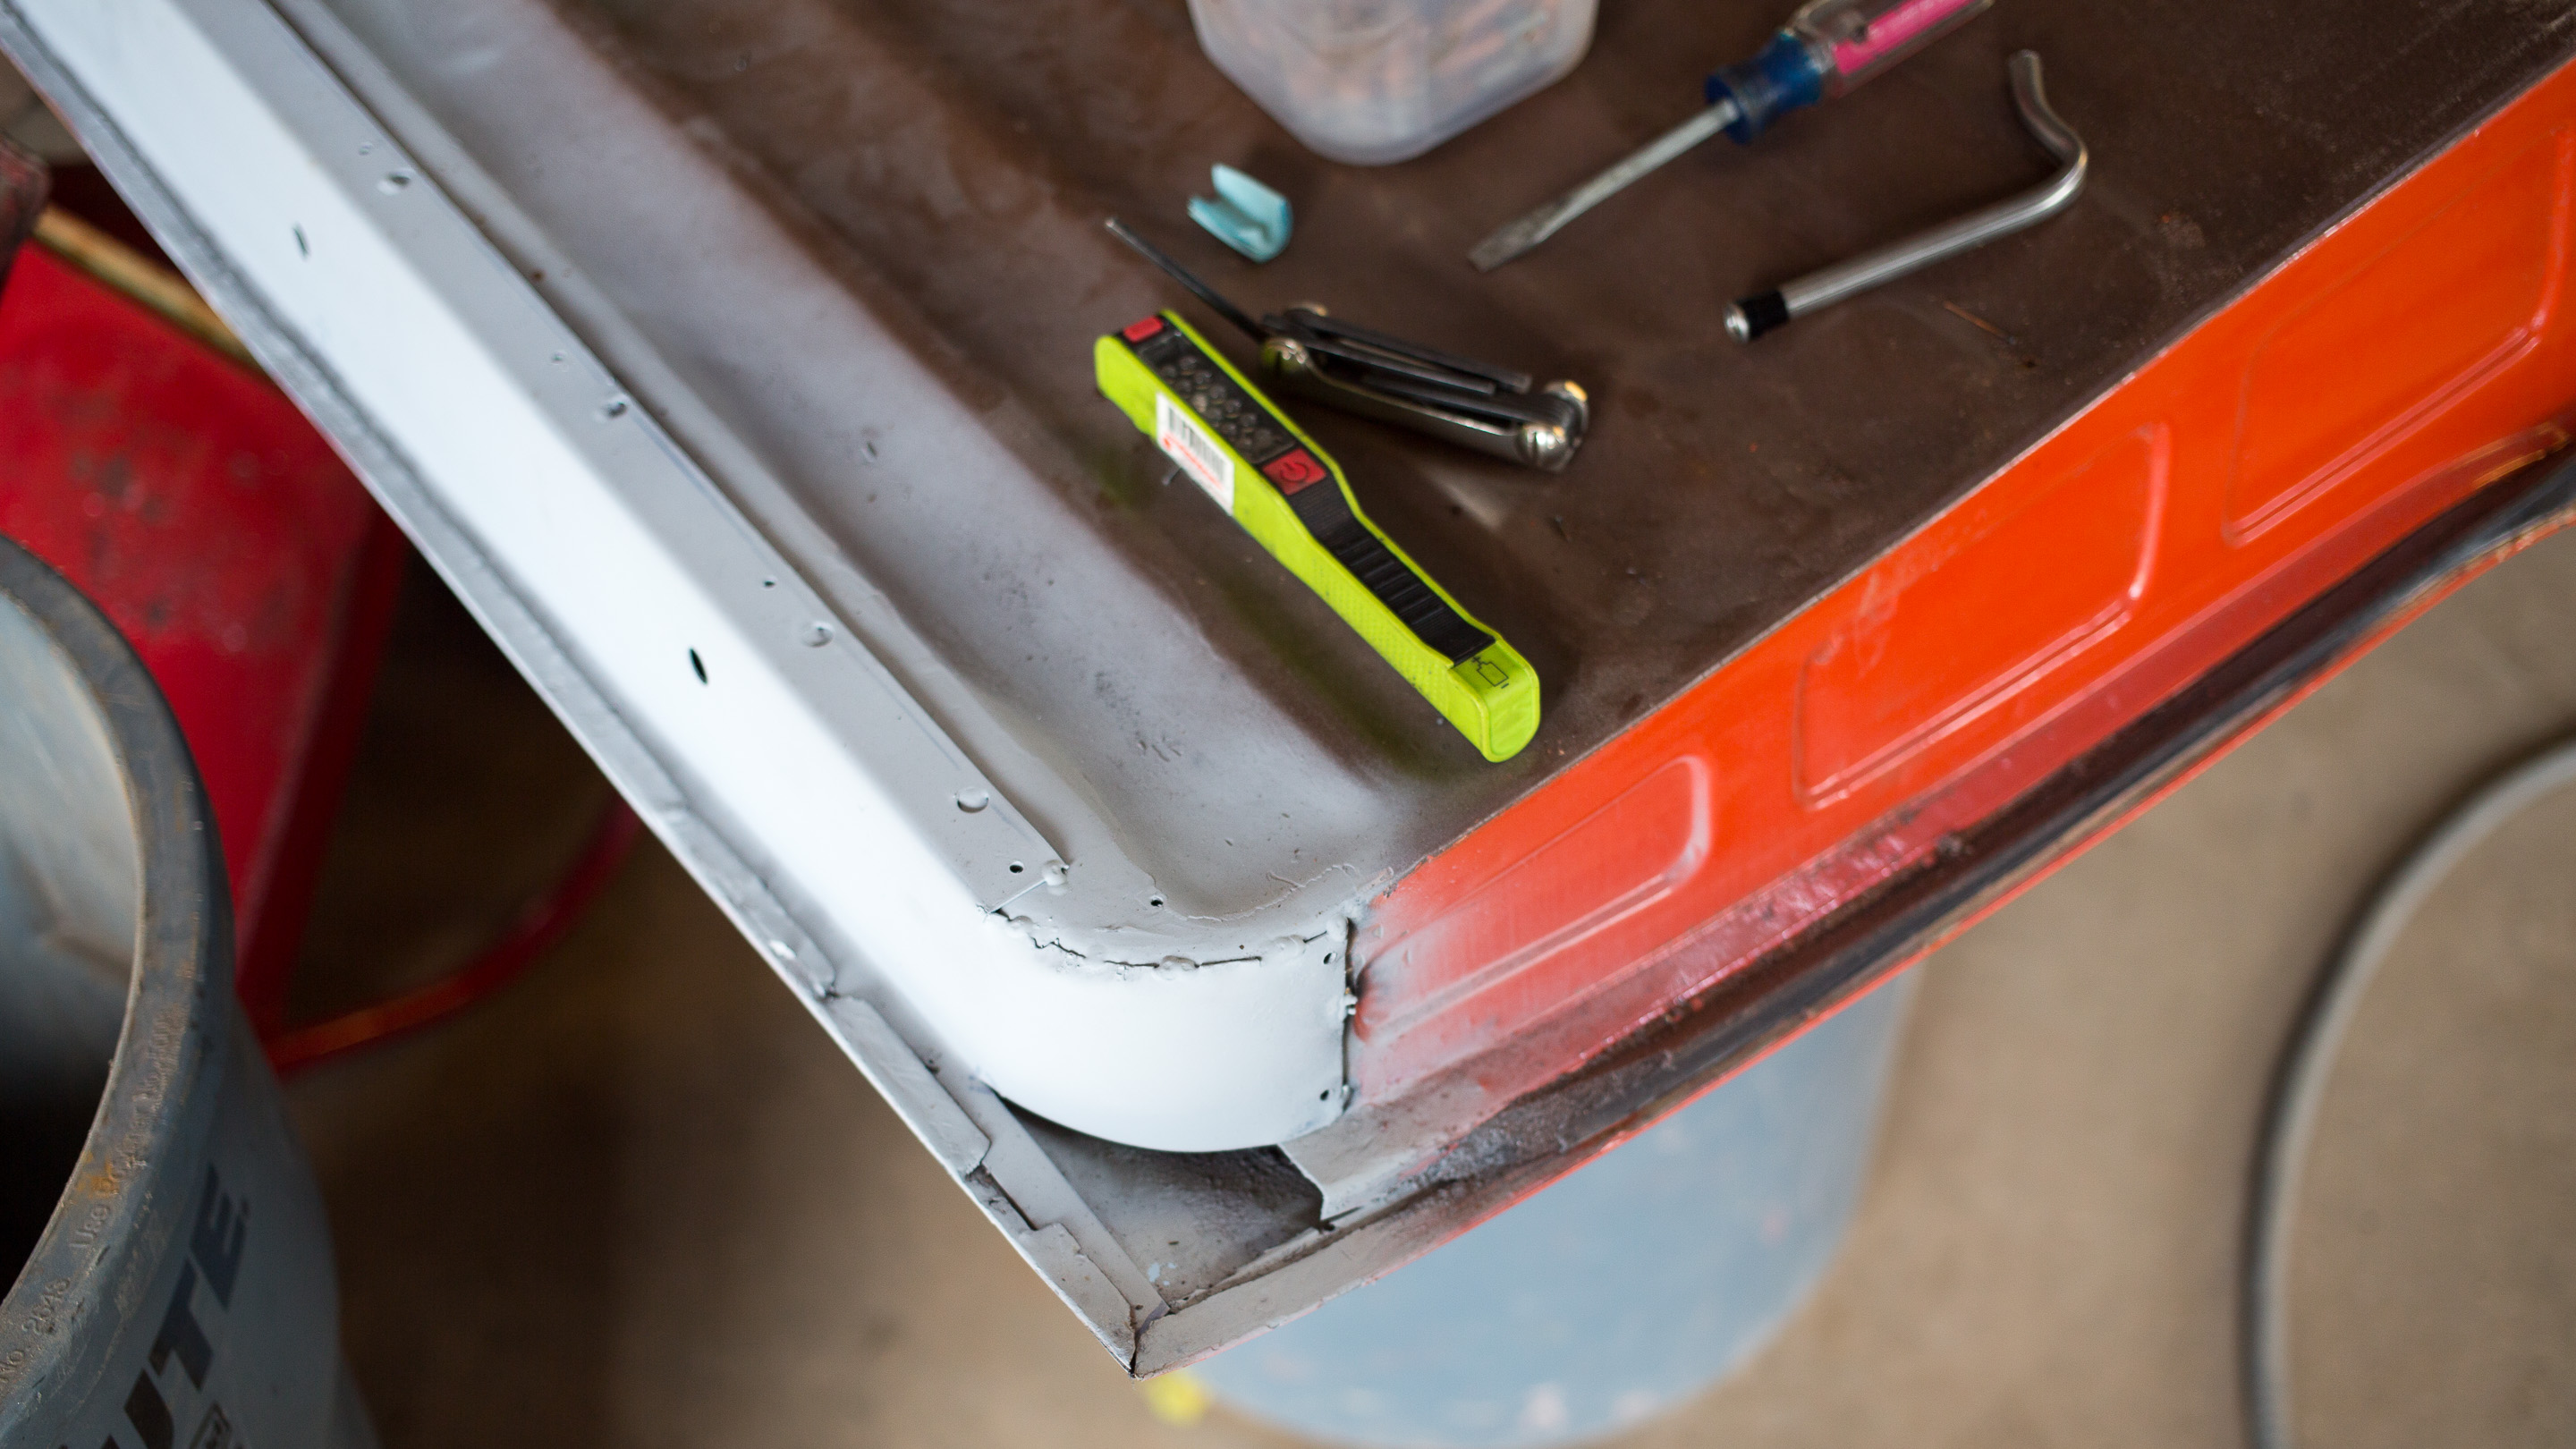
After the show we got Georges truck on the lift, The C10 wouldn't' start so the owner took it home to finish the wiring so I didn't have to work on that one's exhaust like I though I was going to. So the next step was to get the cab off Dad's truck and get started on the turbo plumbing. Here's the start of that while dad works out the cab's final sheetmetal so when it goes back on it will be with final paint.


Wow, time for a very long overdue update. I’ve been caught doing a boat load of paperwork and the new year / holiday season decided to catch us off guard but while I’ve not been posting we have not been idle.
So most of this started with two things. The intake tubing because of the turbo intake and the high pressure zone Jim kept wanting to use as a vent. The pressure at the cowl might have had a tiny effect but I’m 90% sure after reading up and getting some education for you guys on the forums that if there was any heat loss it would be minor to nonexistent. So I finally found a few videos that convinced Jim of the same thing. So it was decided that this cowl vent would be used to feed the turbo under the passenger butt.
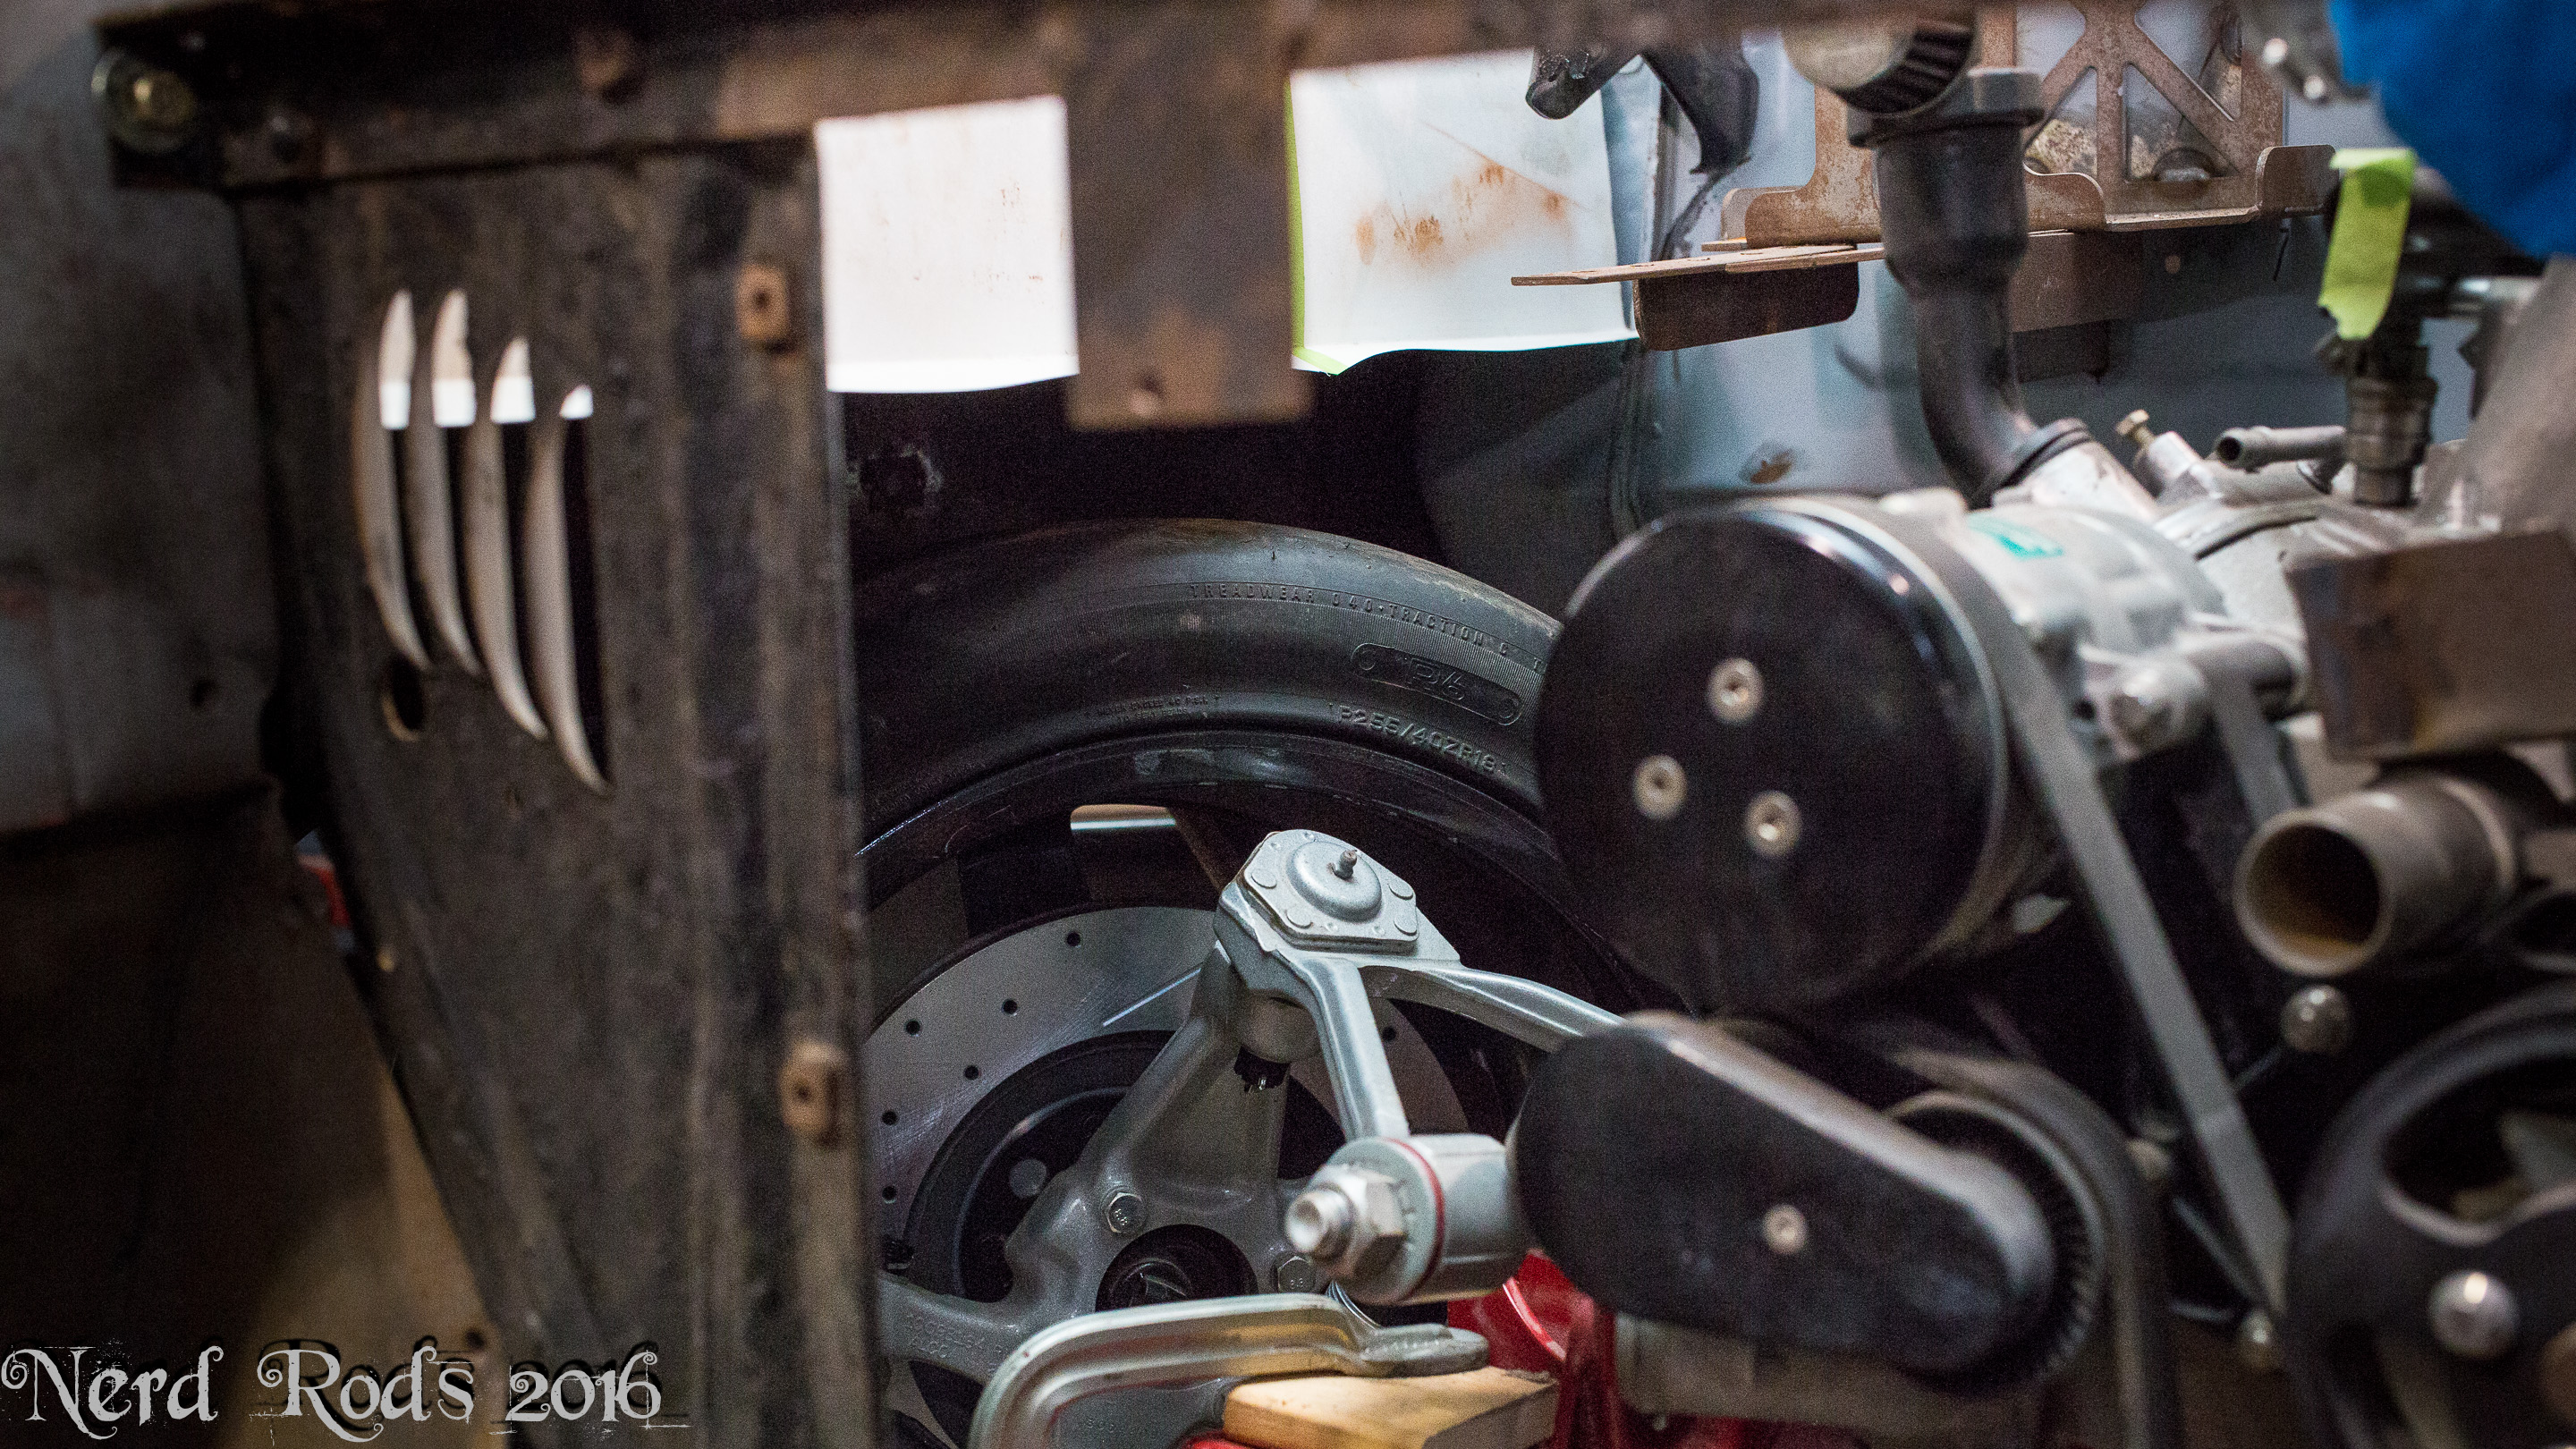
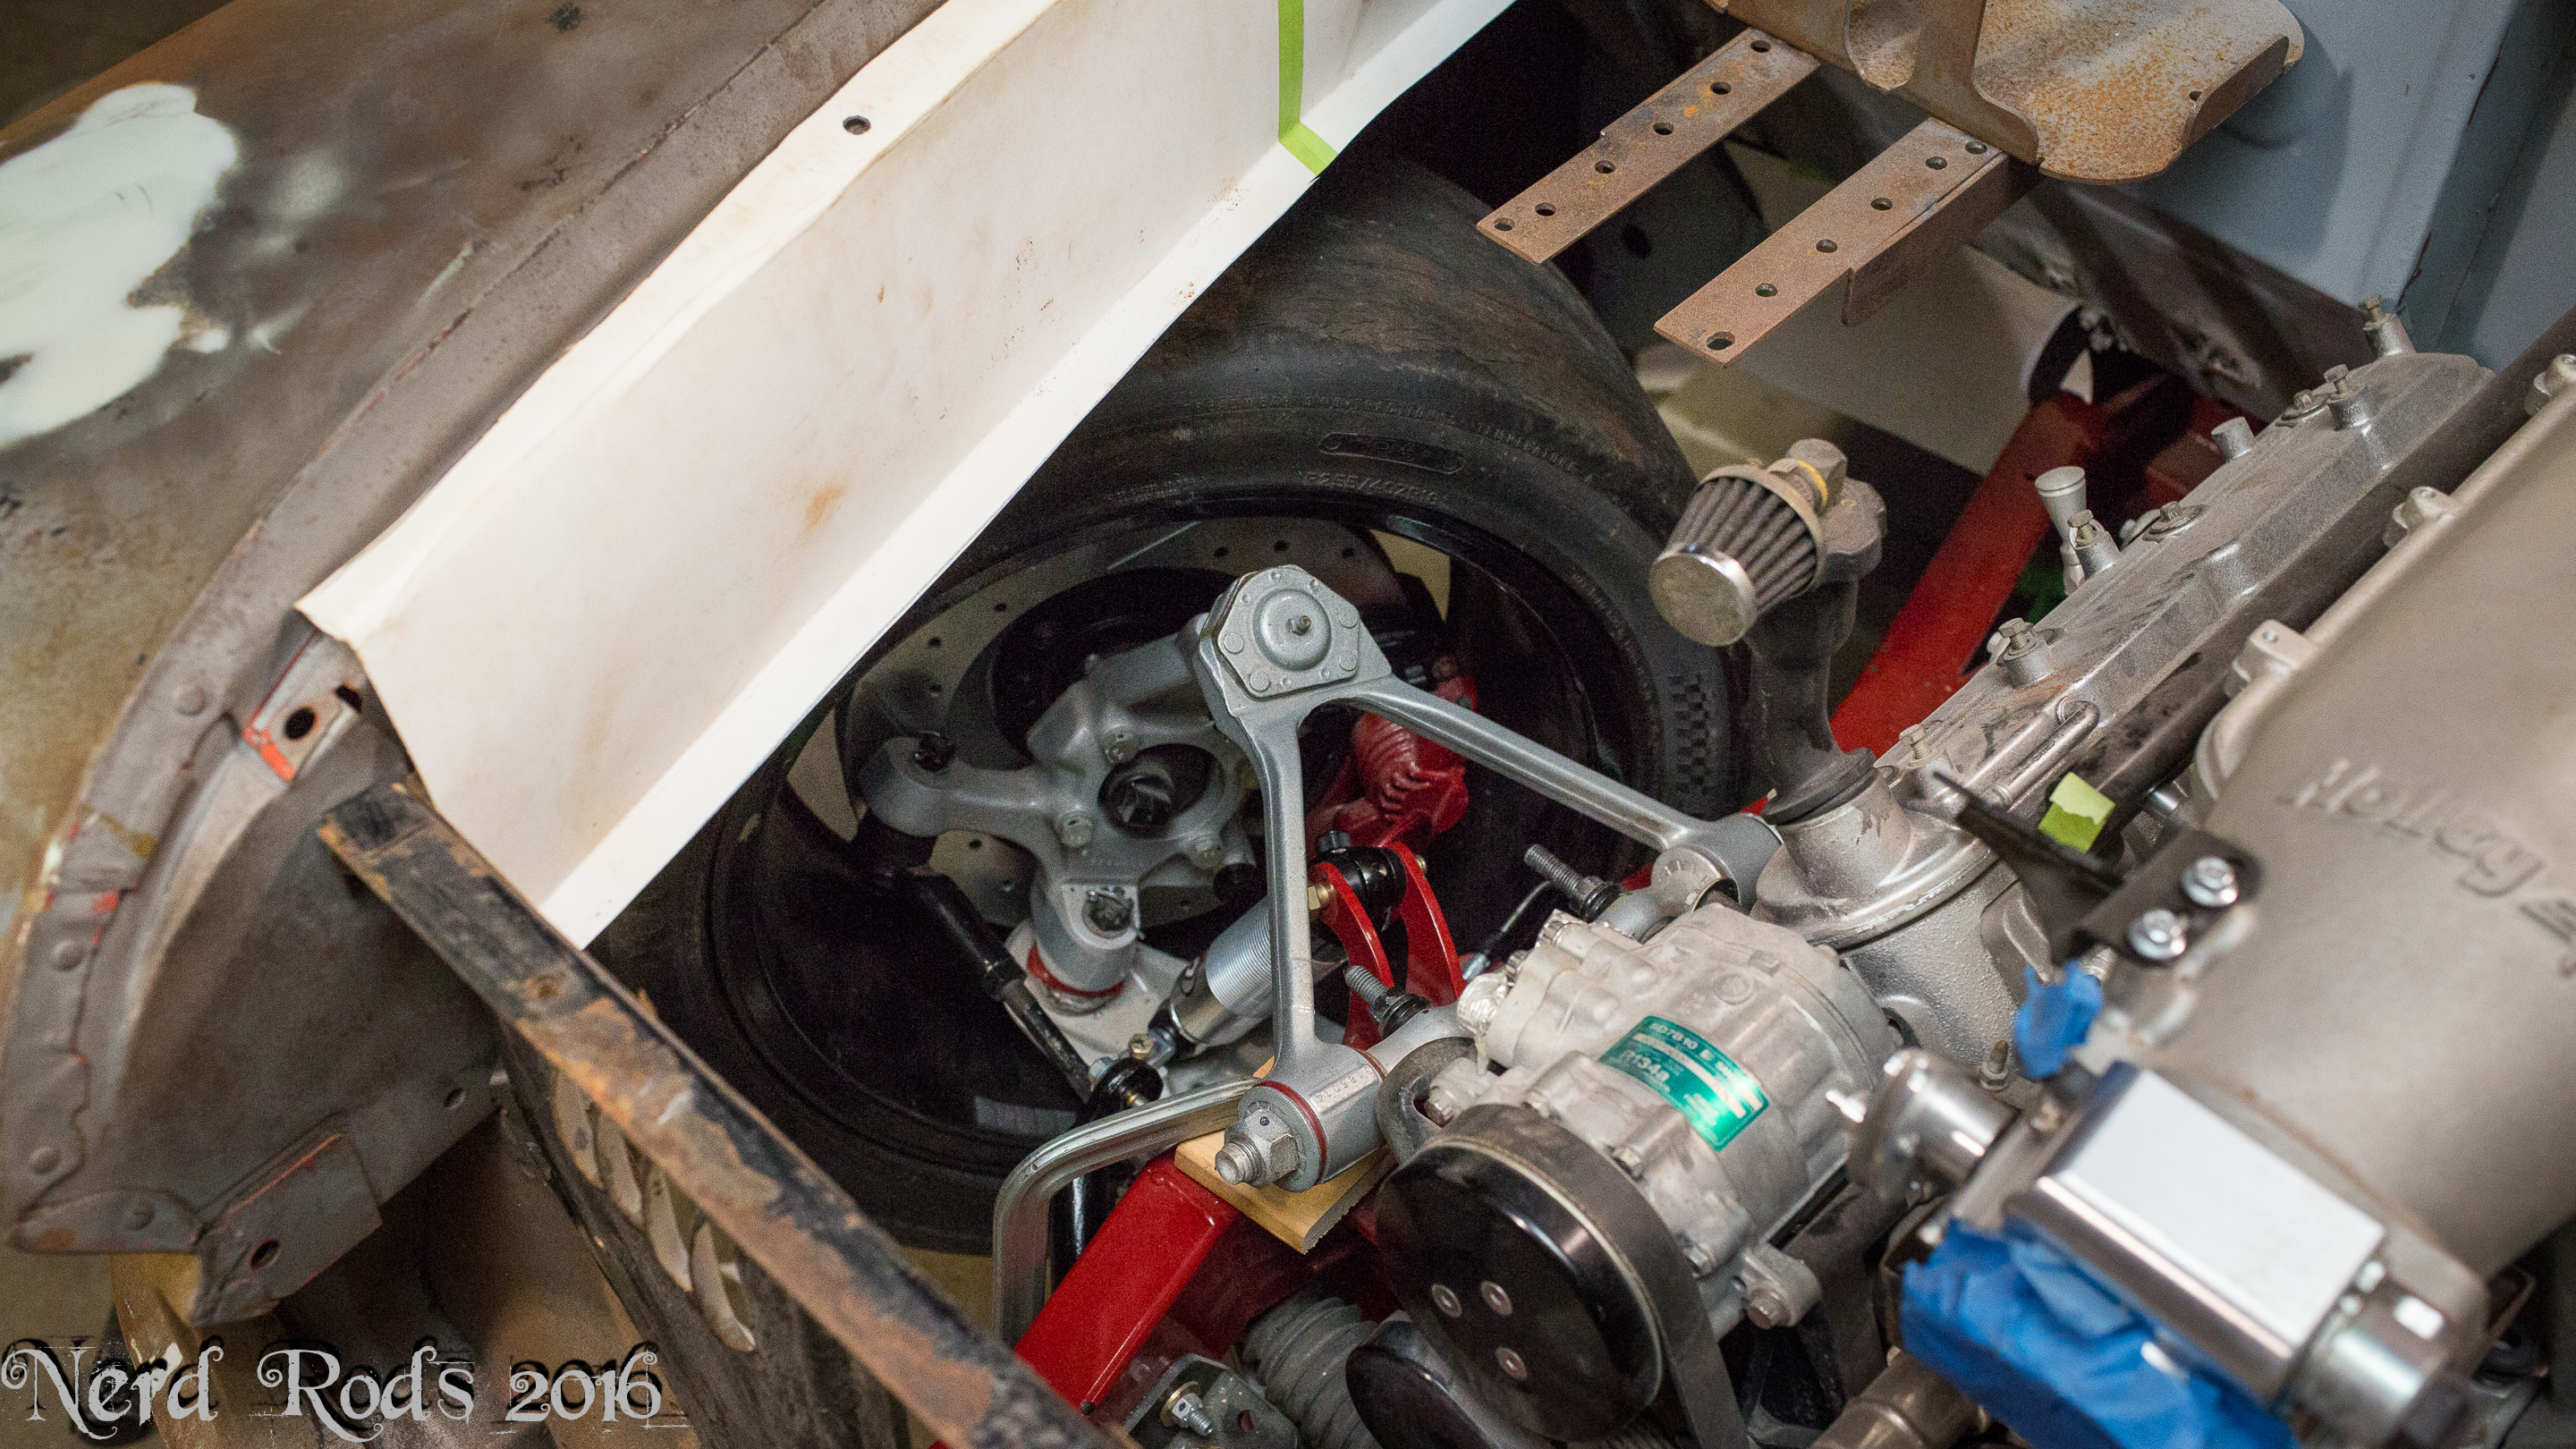
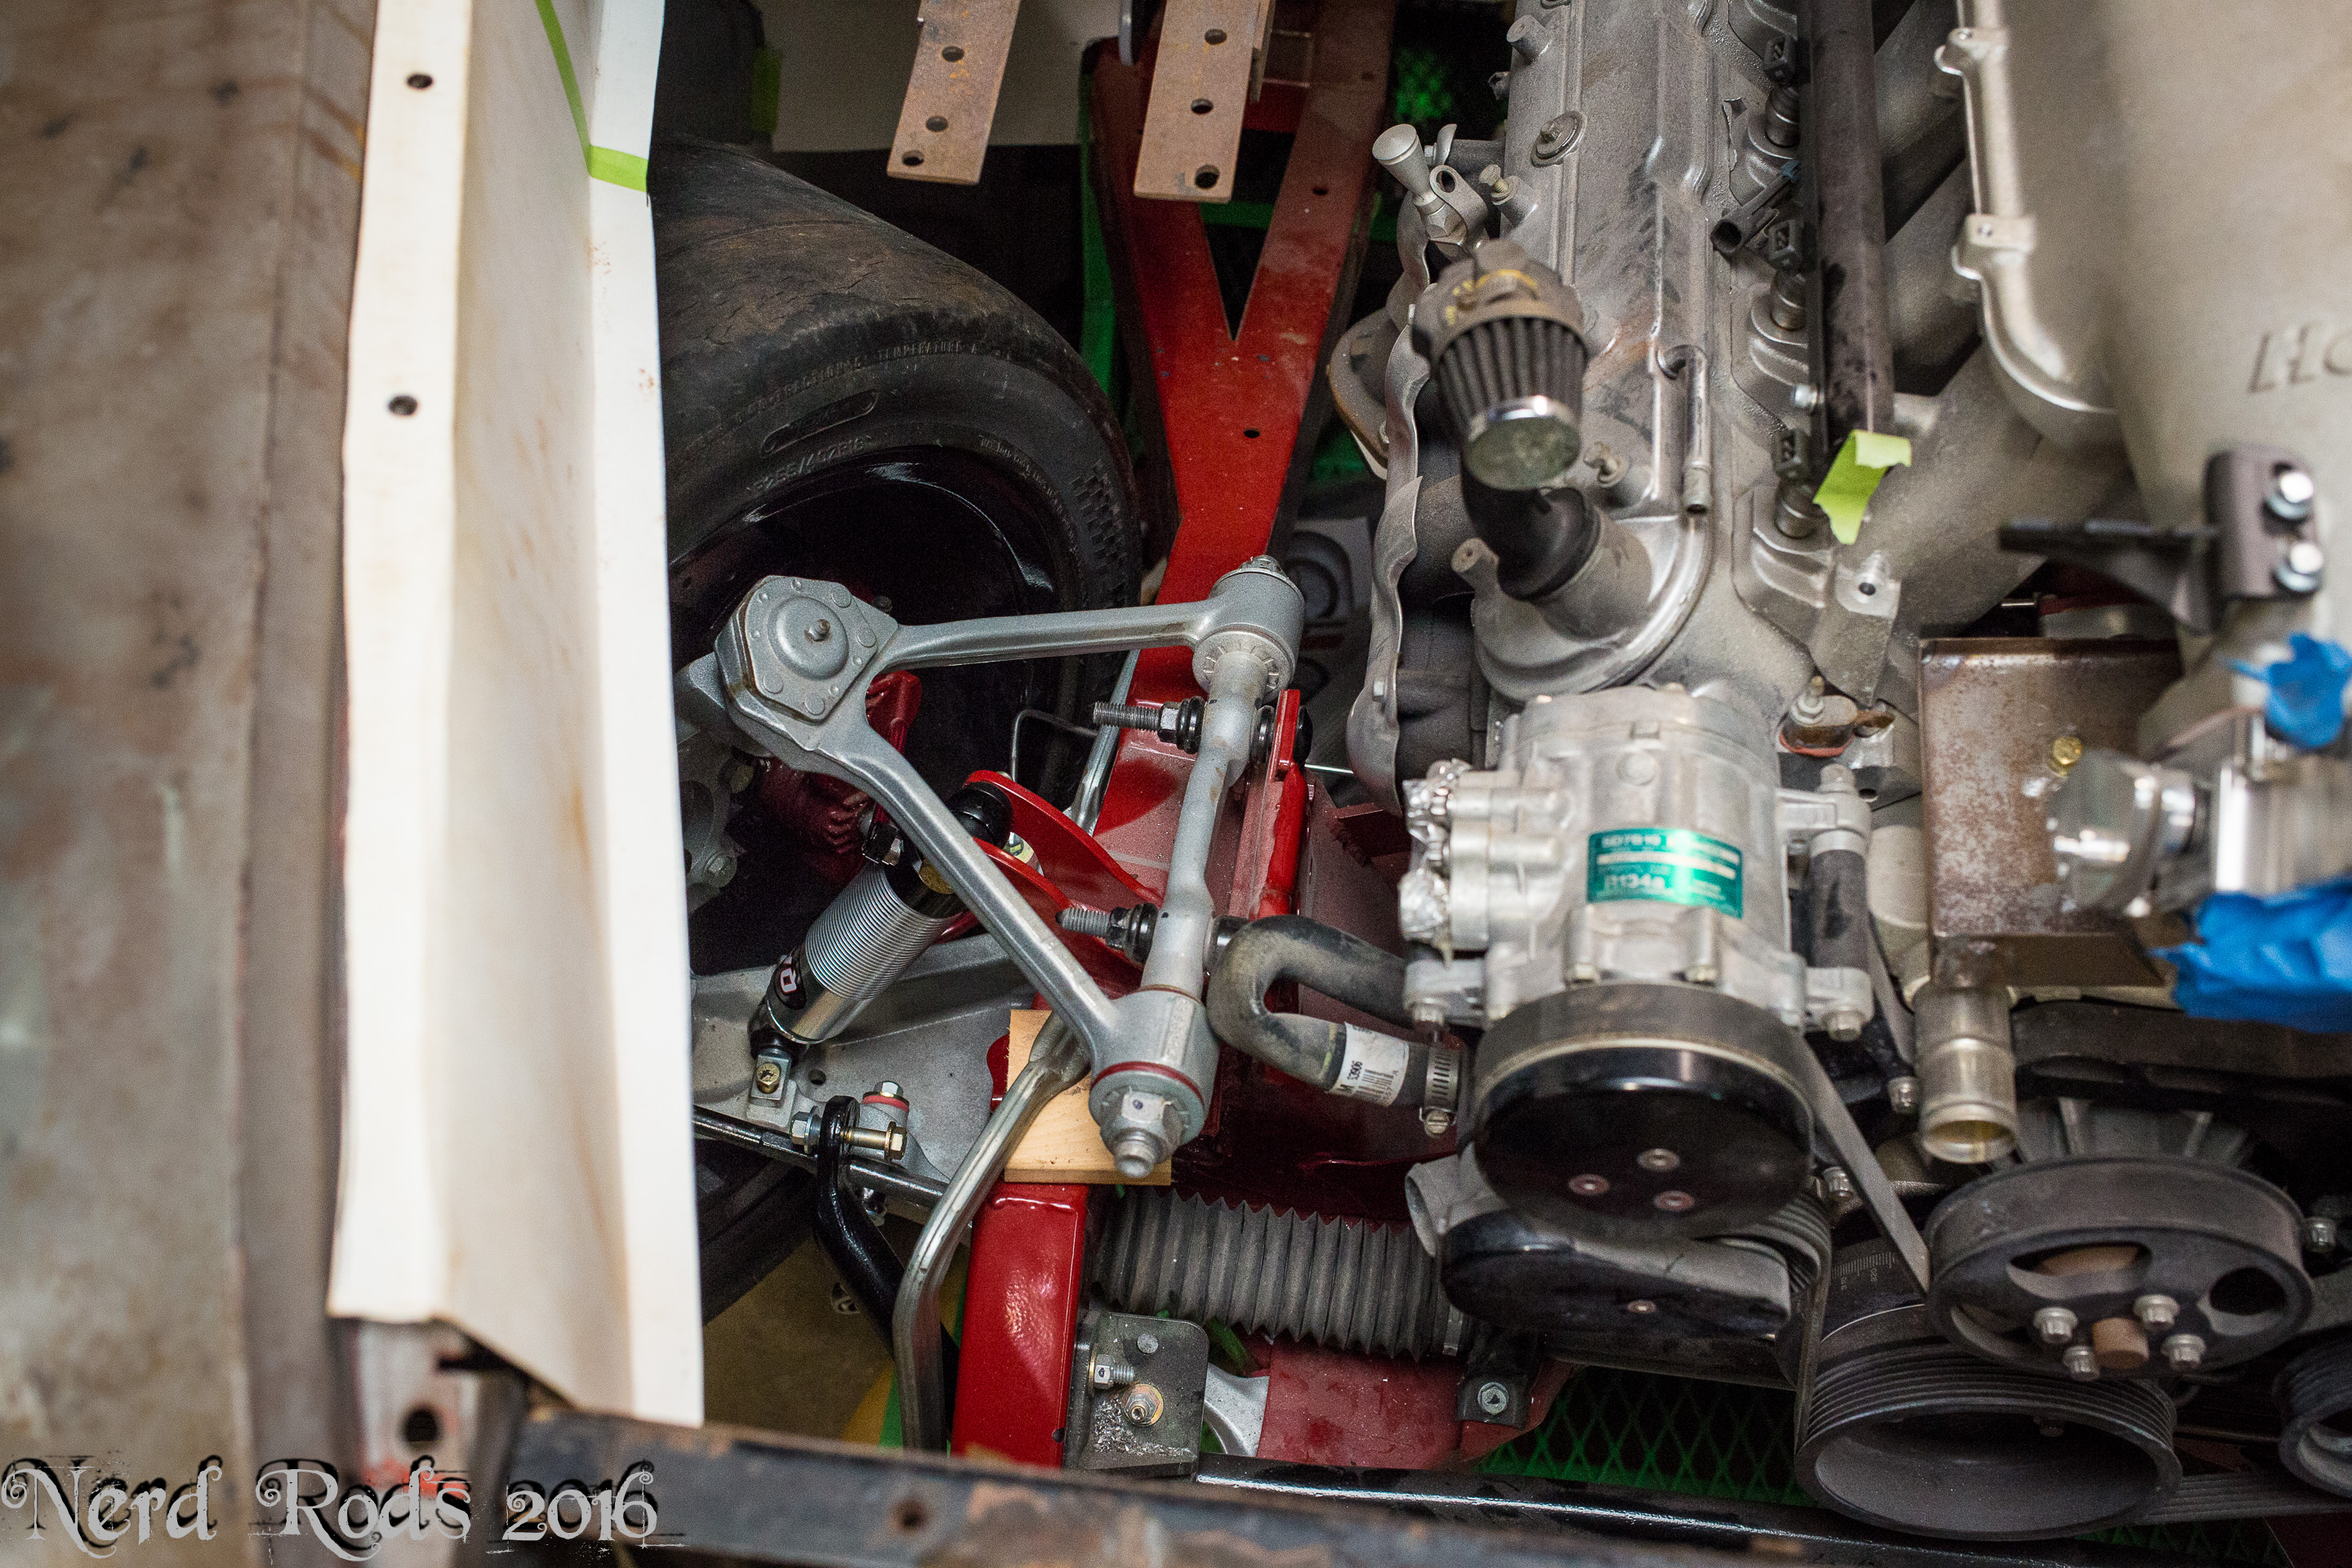
Next we decided to check for tire clearance, now that the truck would be considerably faster we wanted to make absolutely sure that we could get some larger tires on here later if we wanted to. So the worst point is full compression under full lock of turning. The spring came off and the tire went on. As you can see we found out the inner fender was going to be a problem.
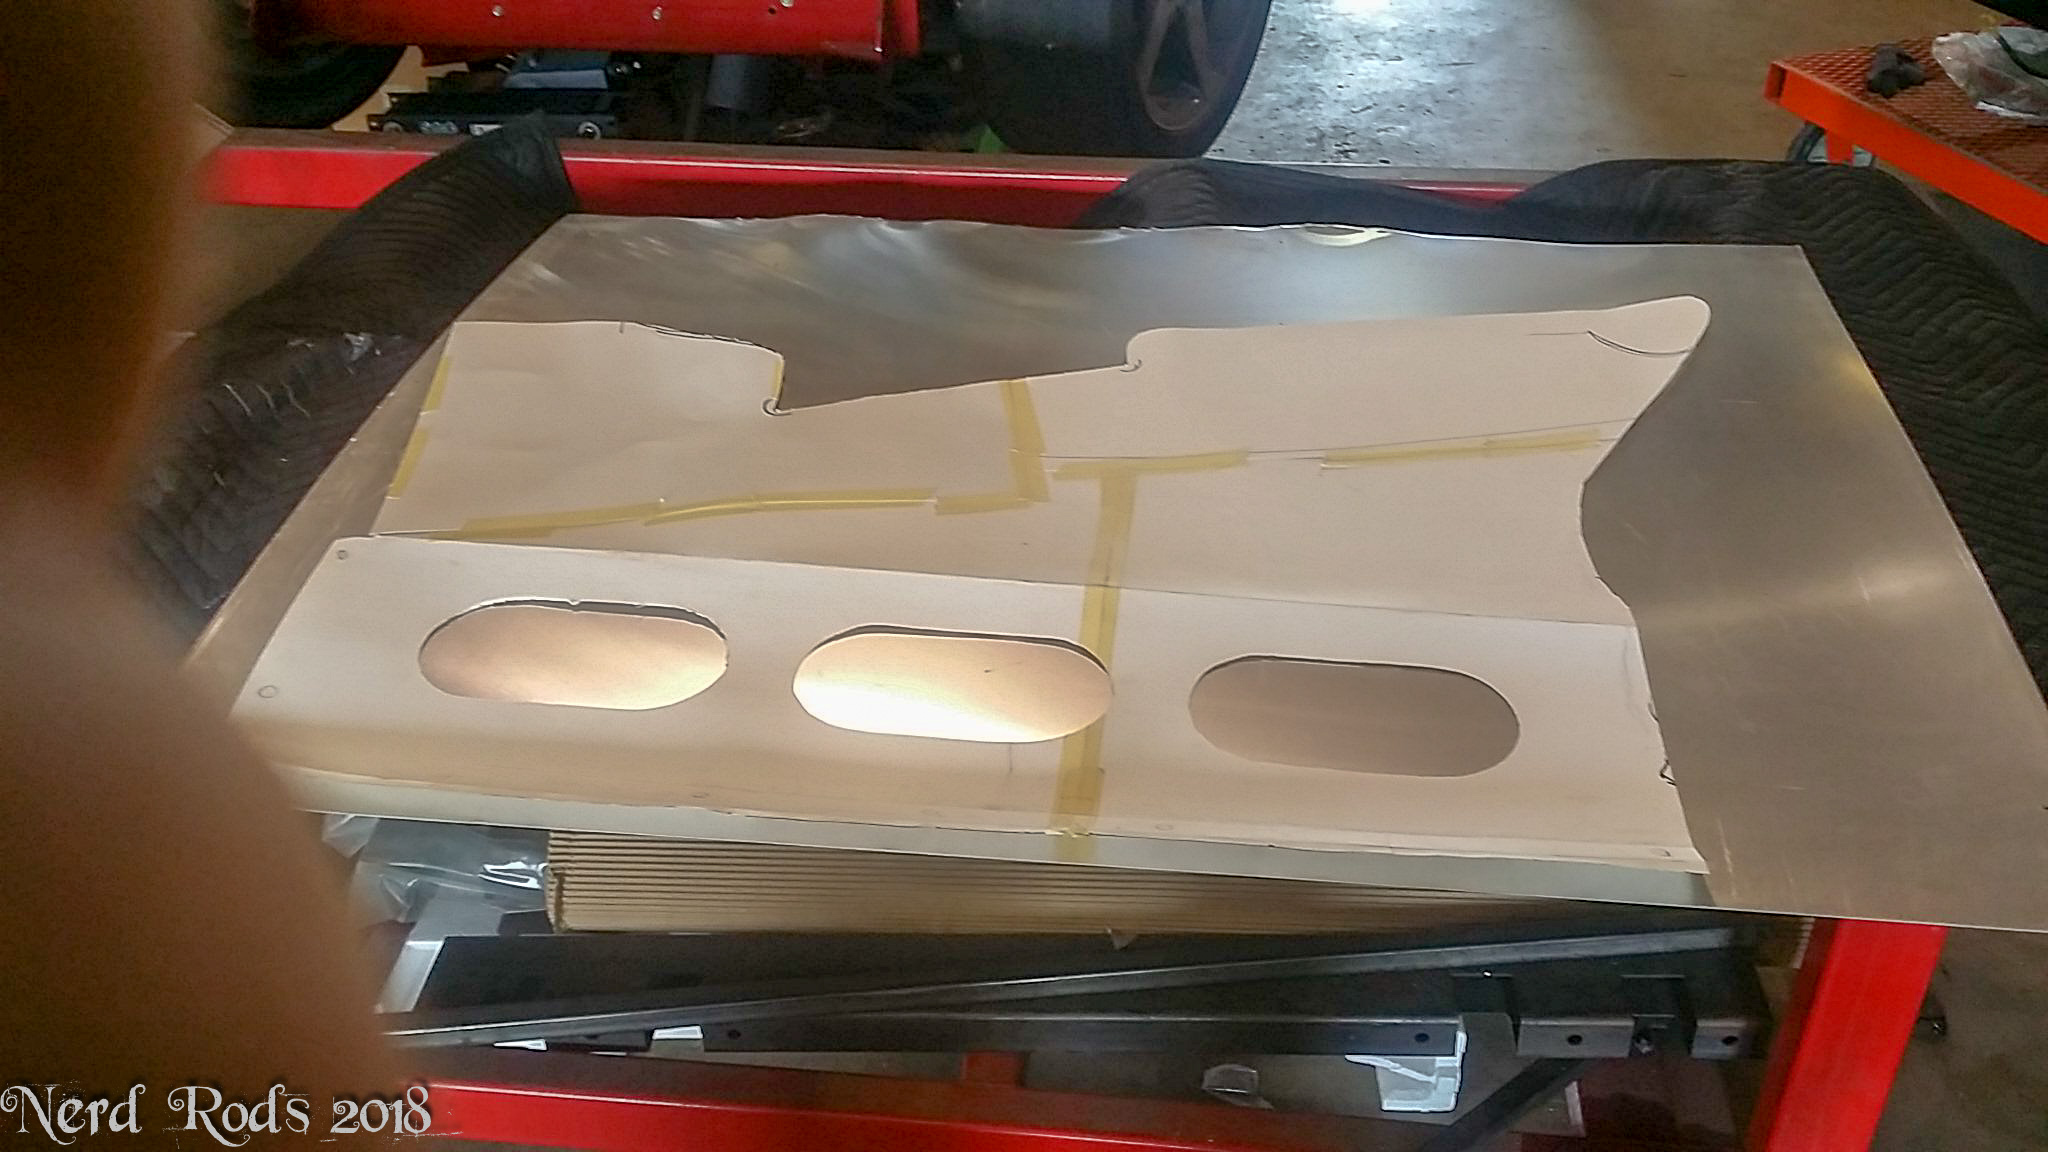
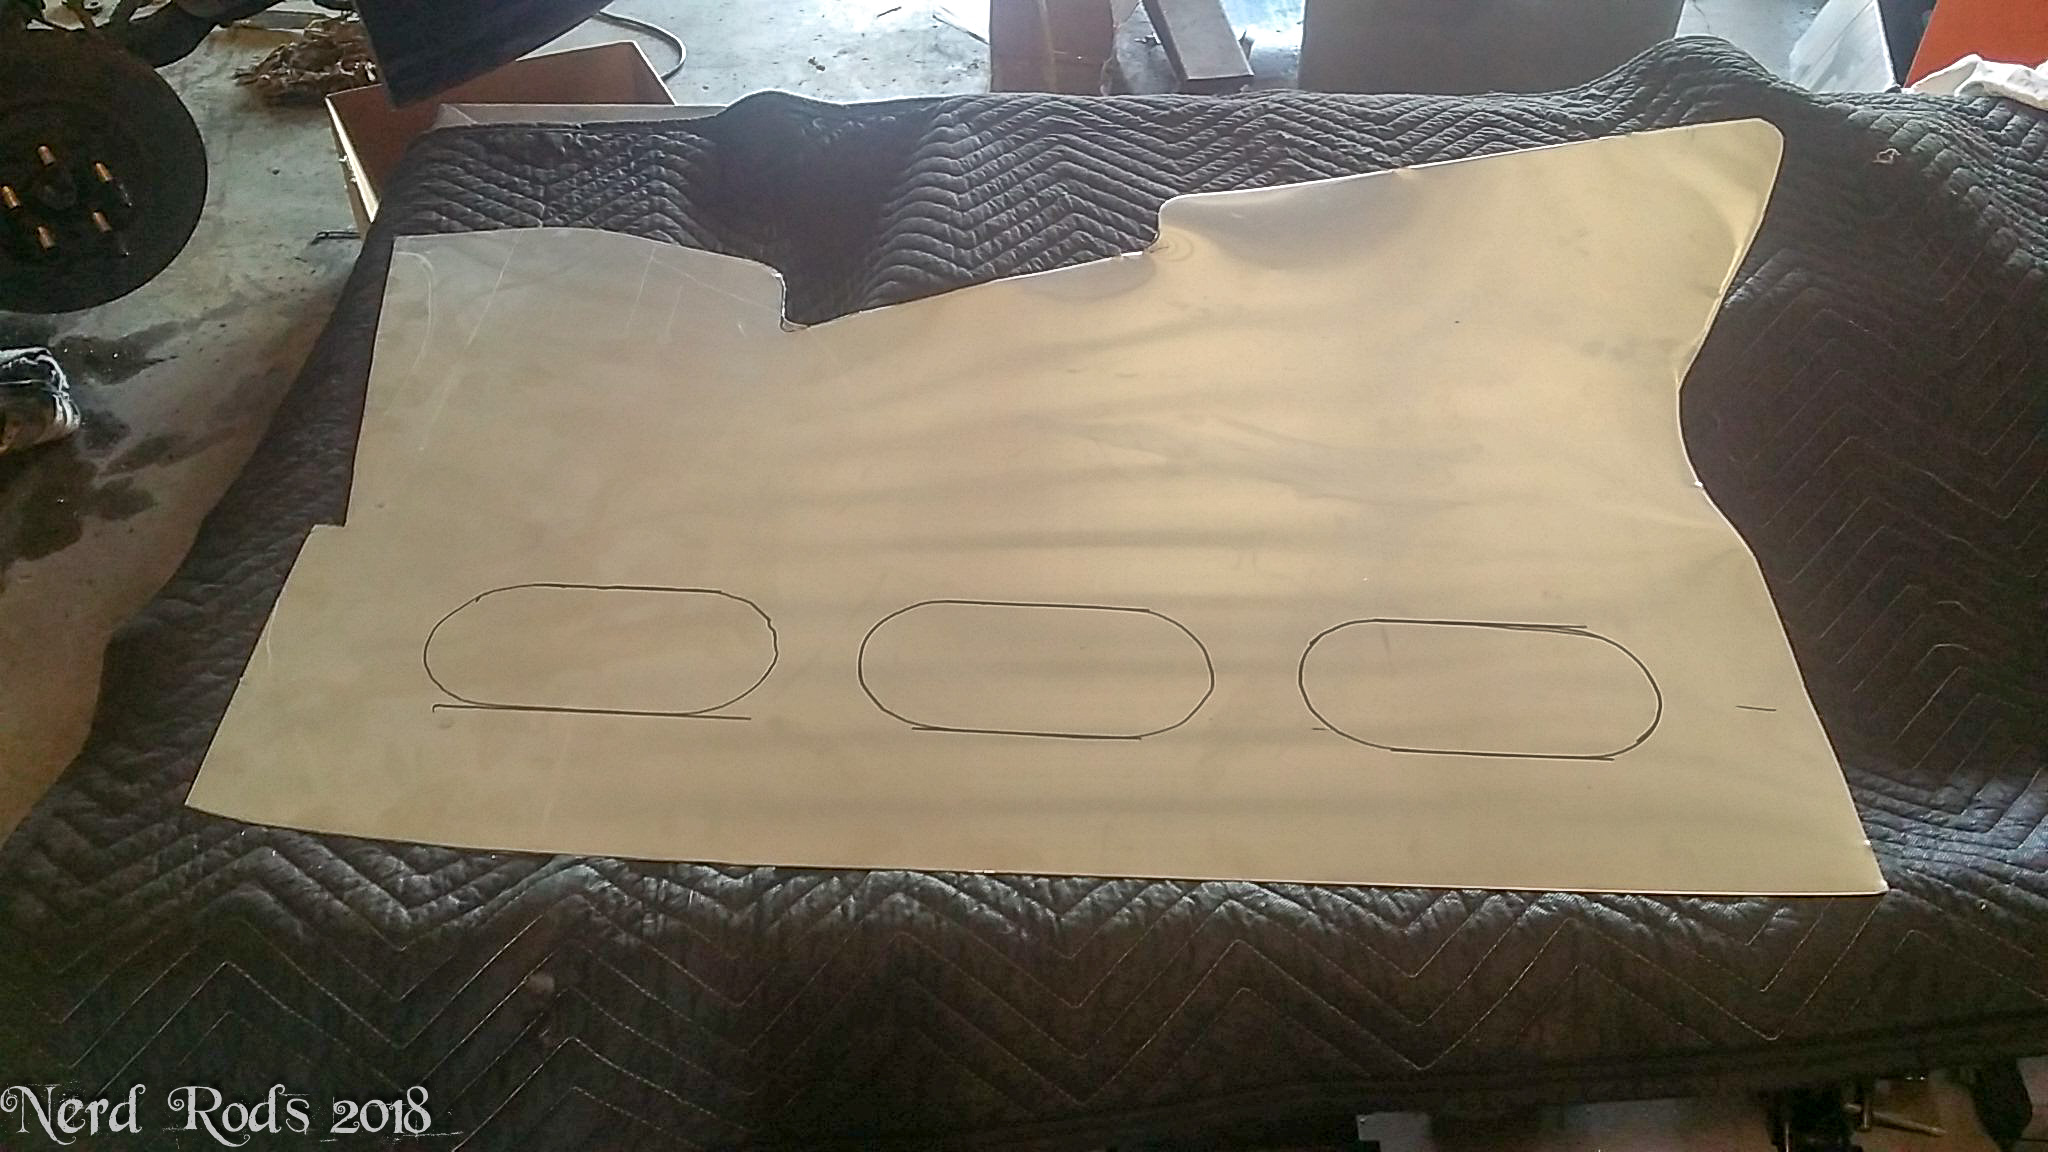
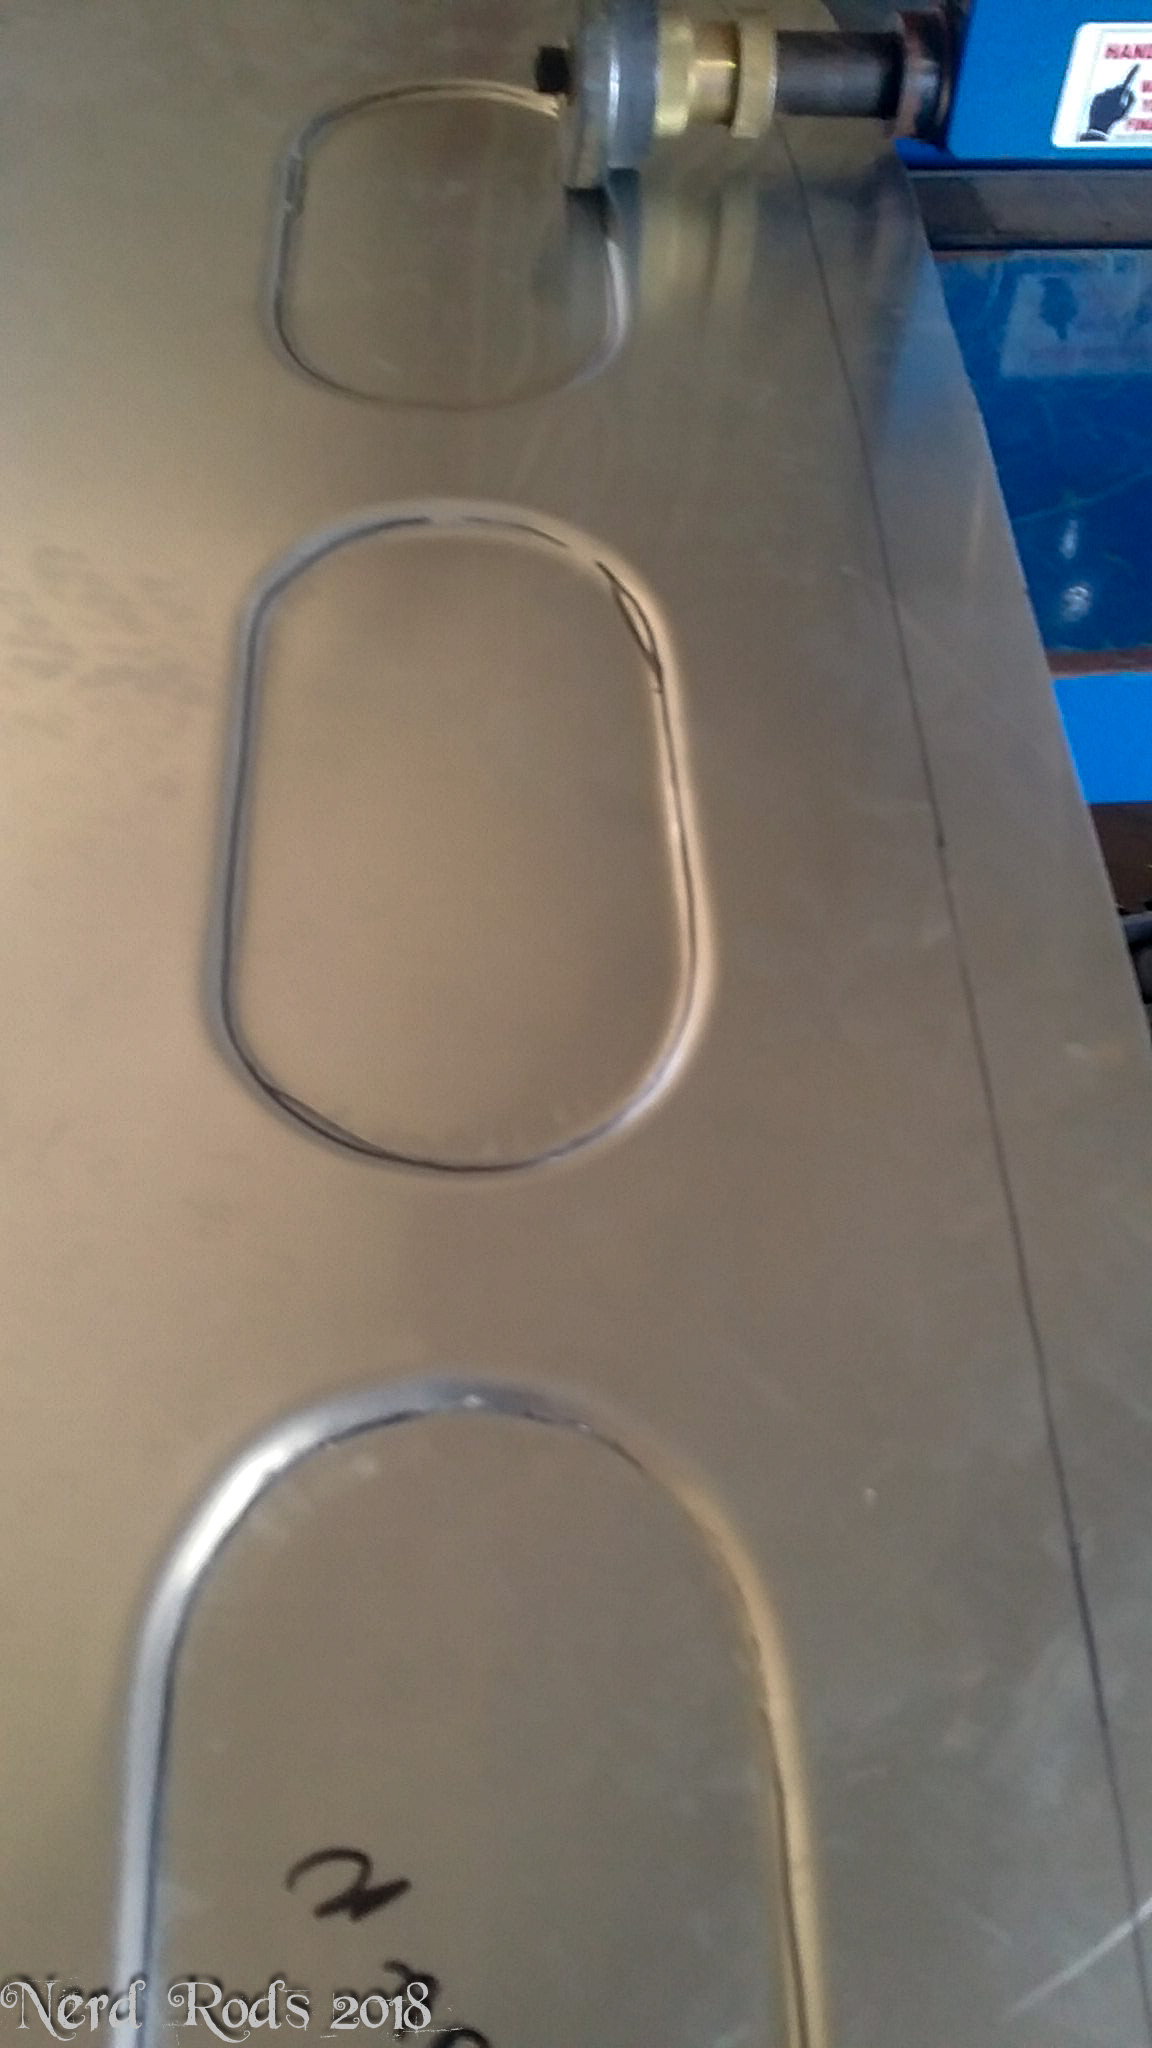
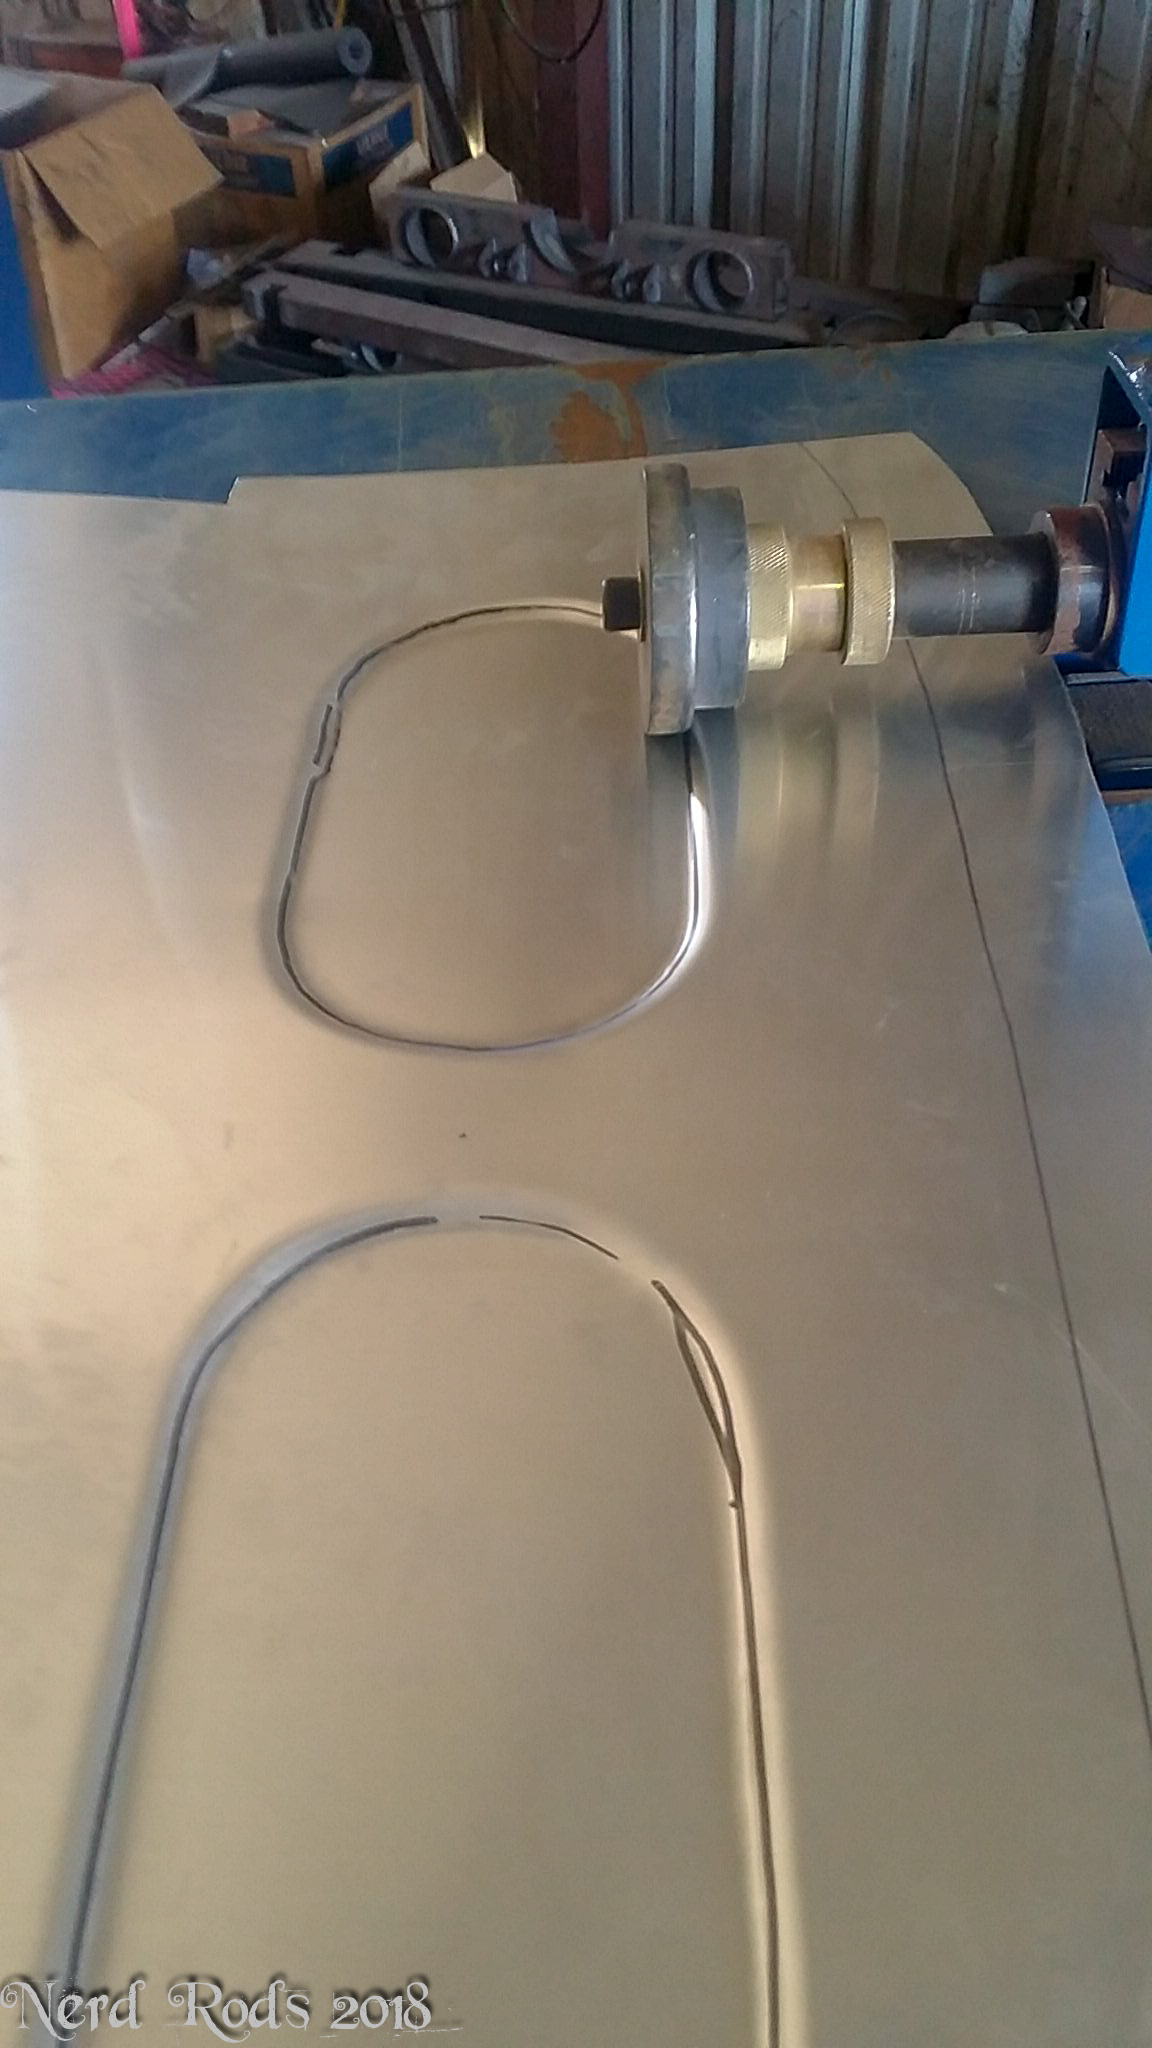
Perfect time to make something cooler and more suited to the firewall and so the custom inner fenders began. At first we planned to just modify the old ones until it became obvious to dad that making new ones would be much easier.

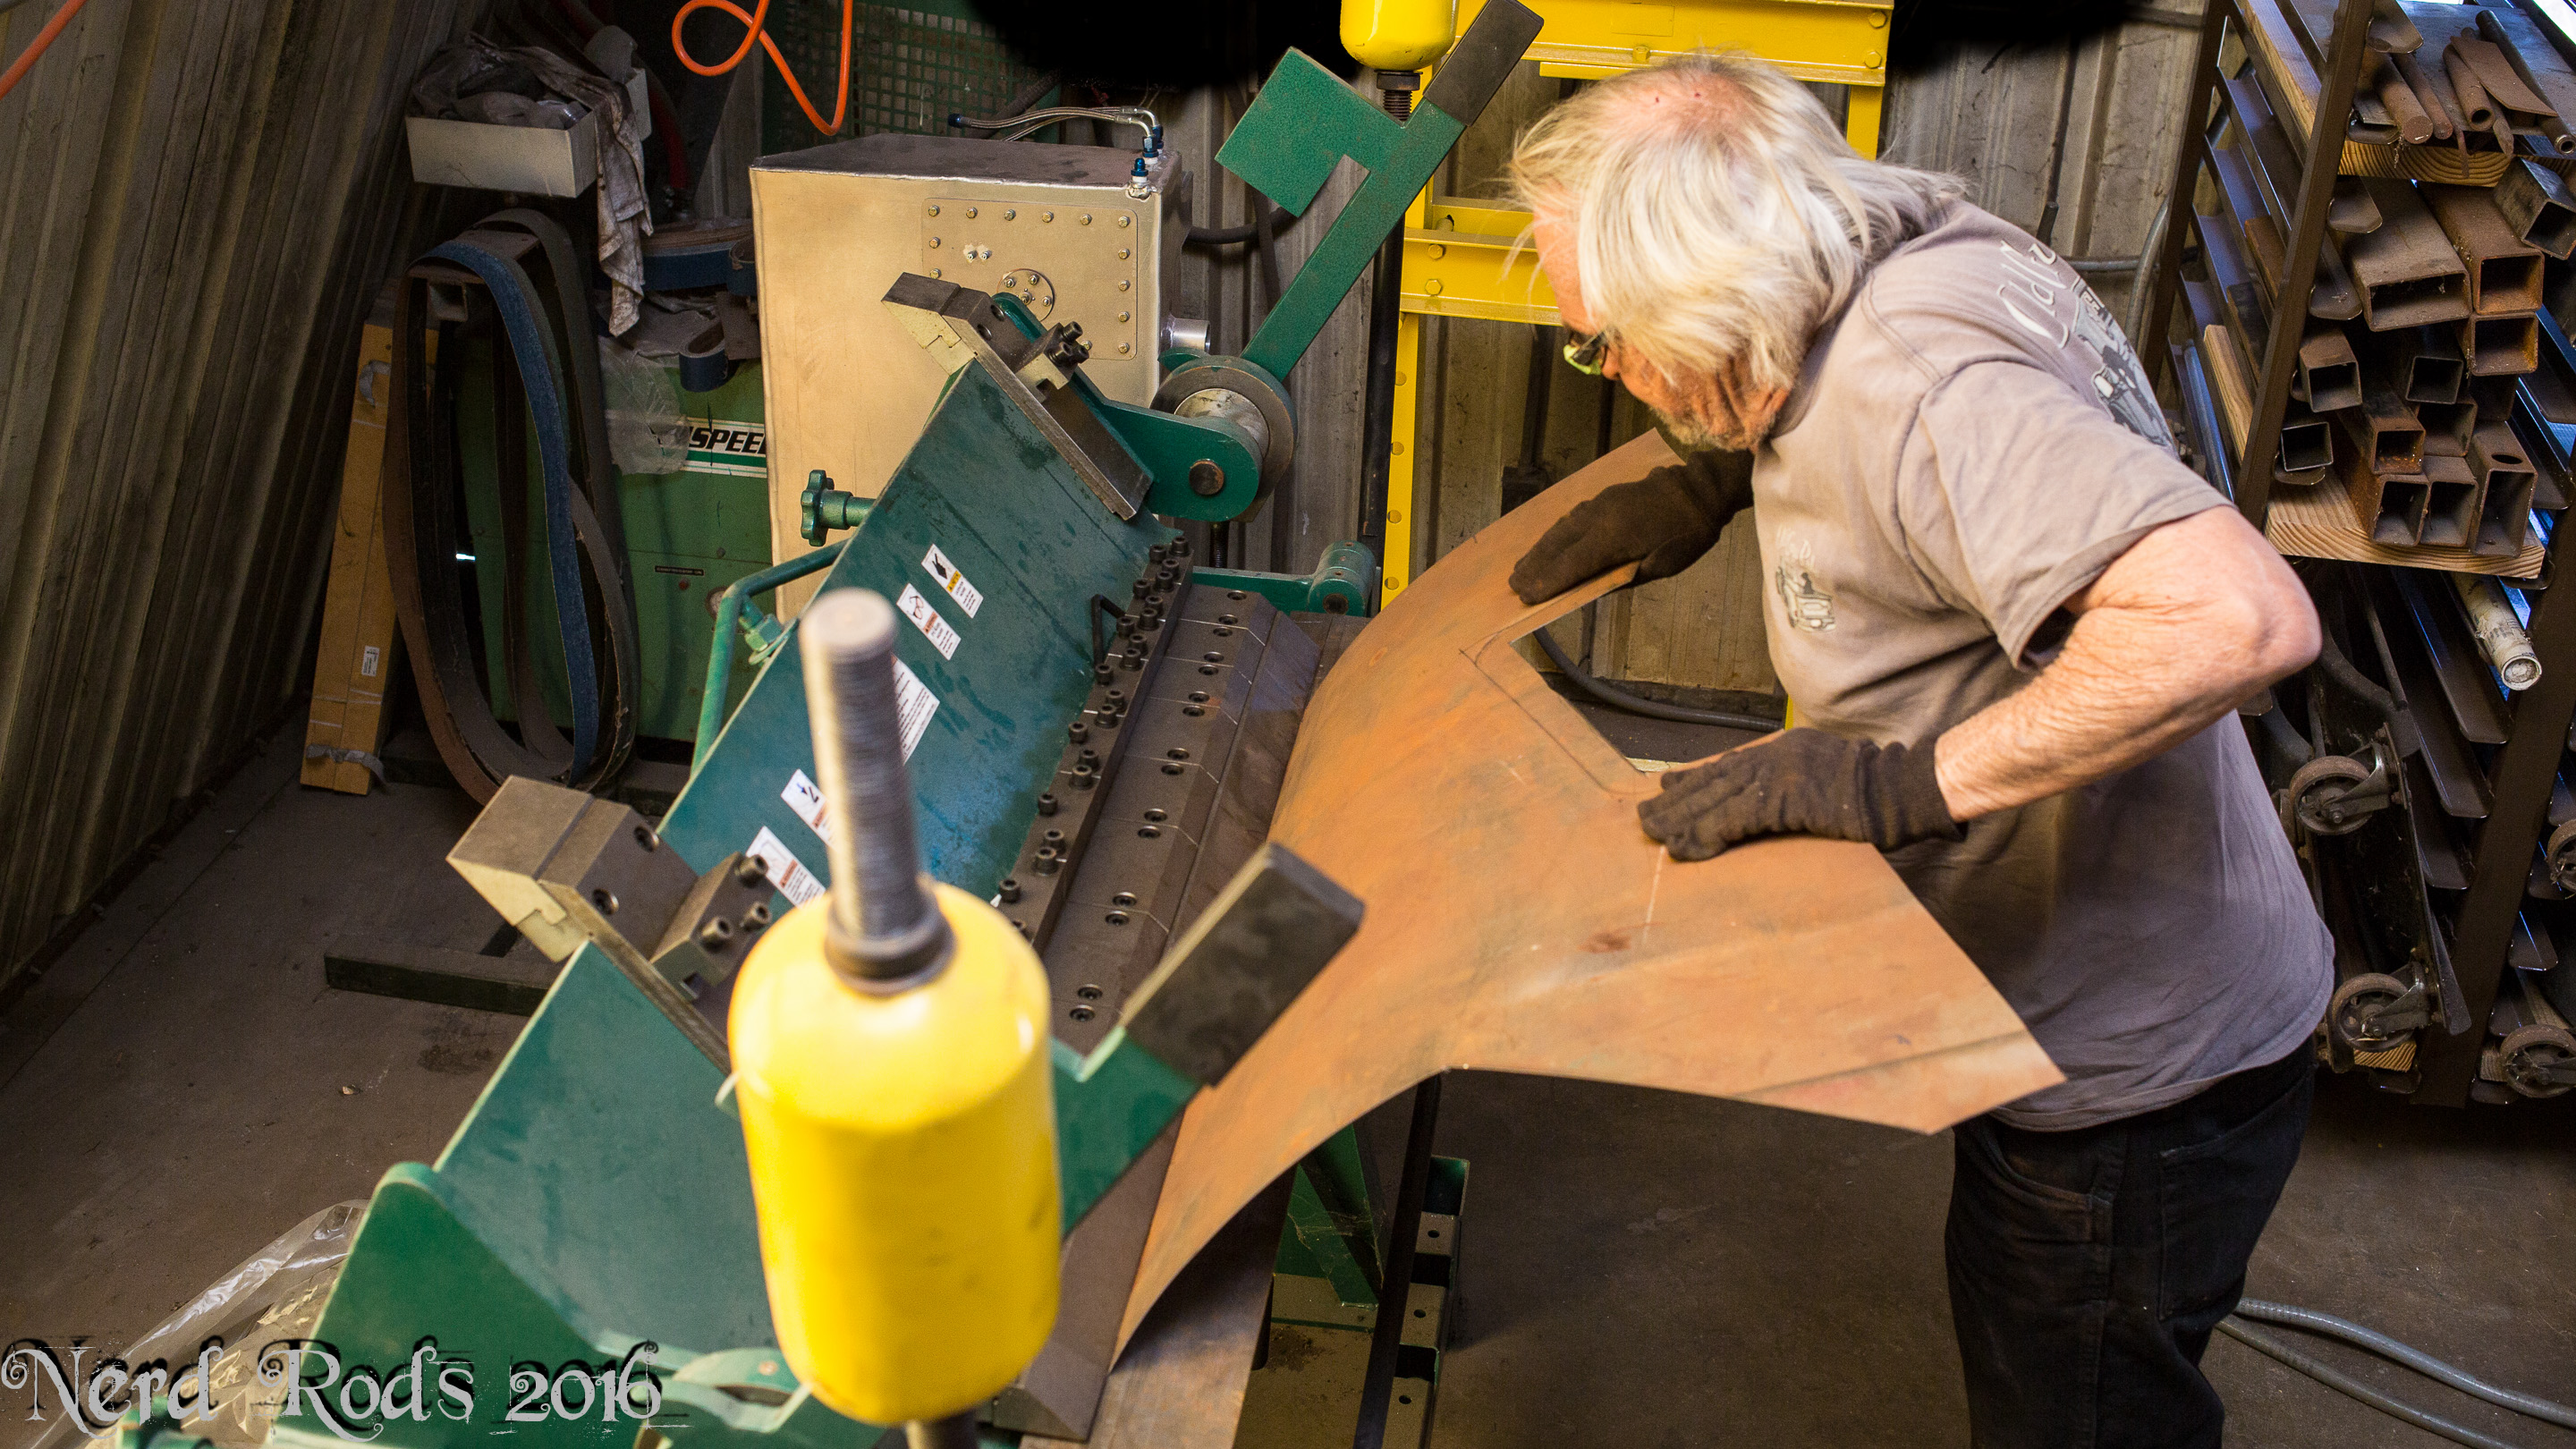
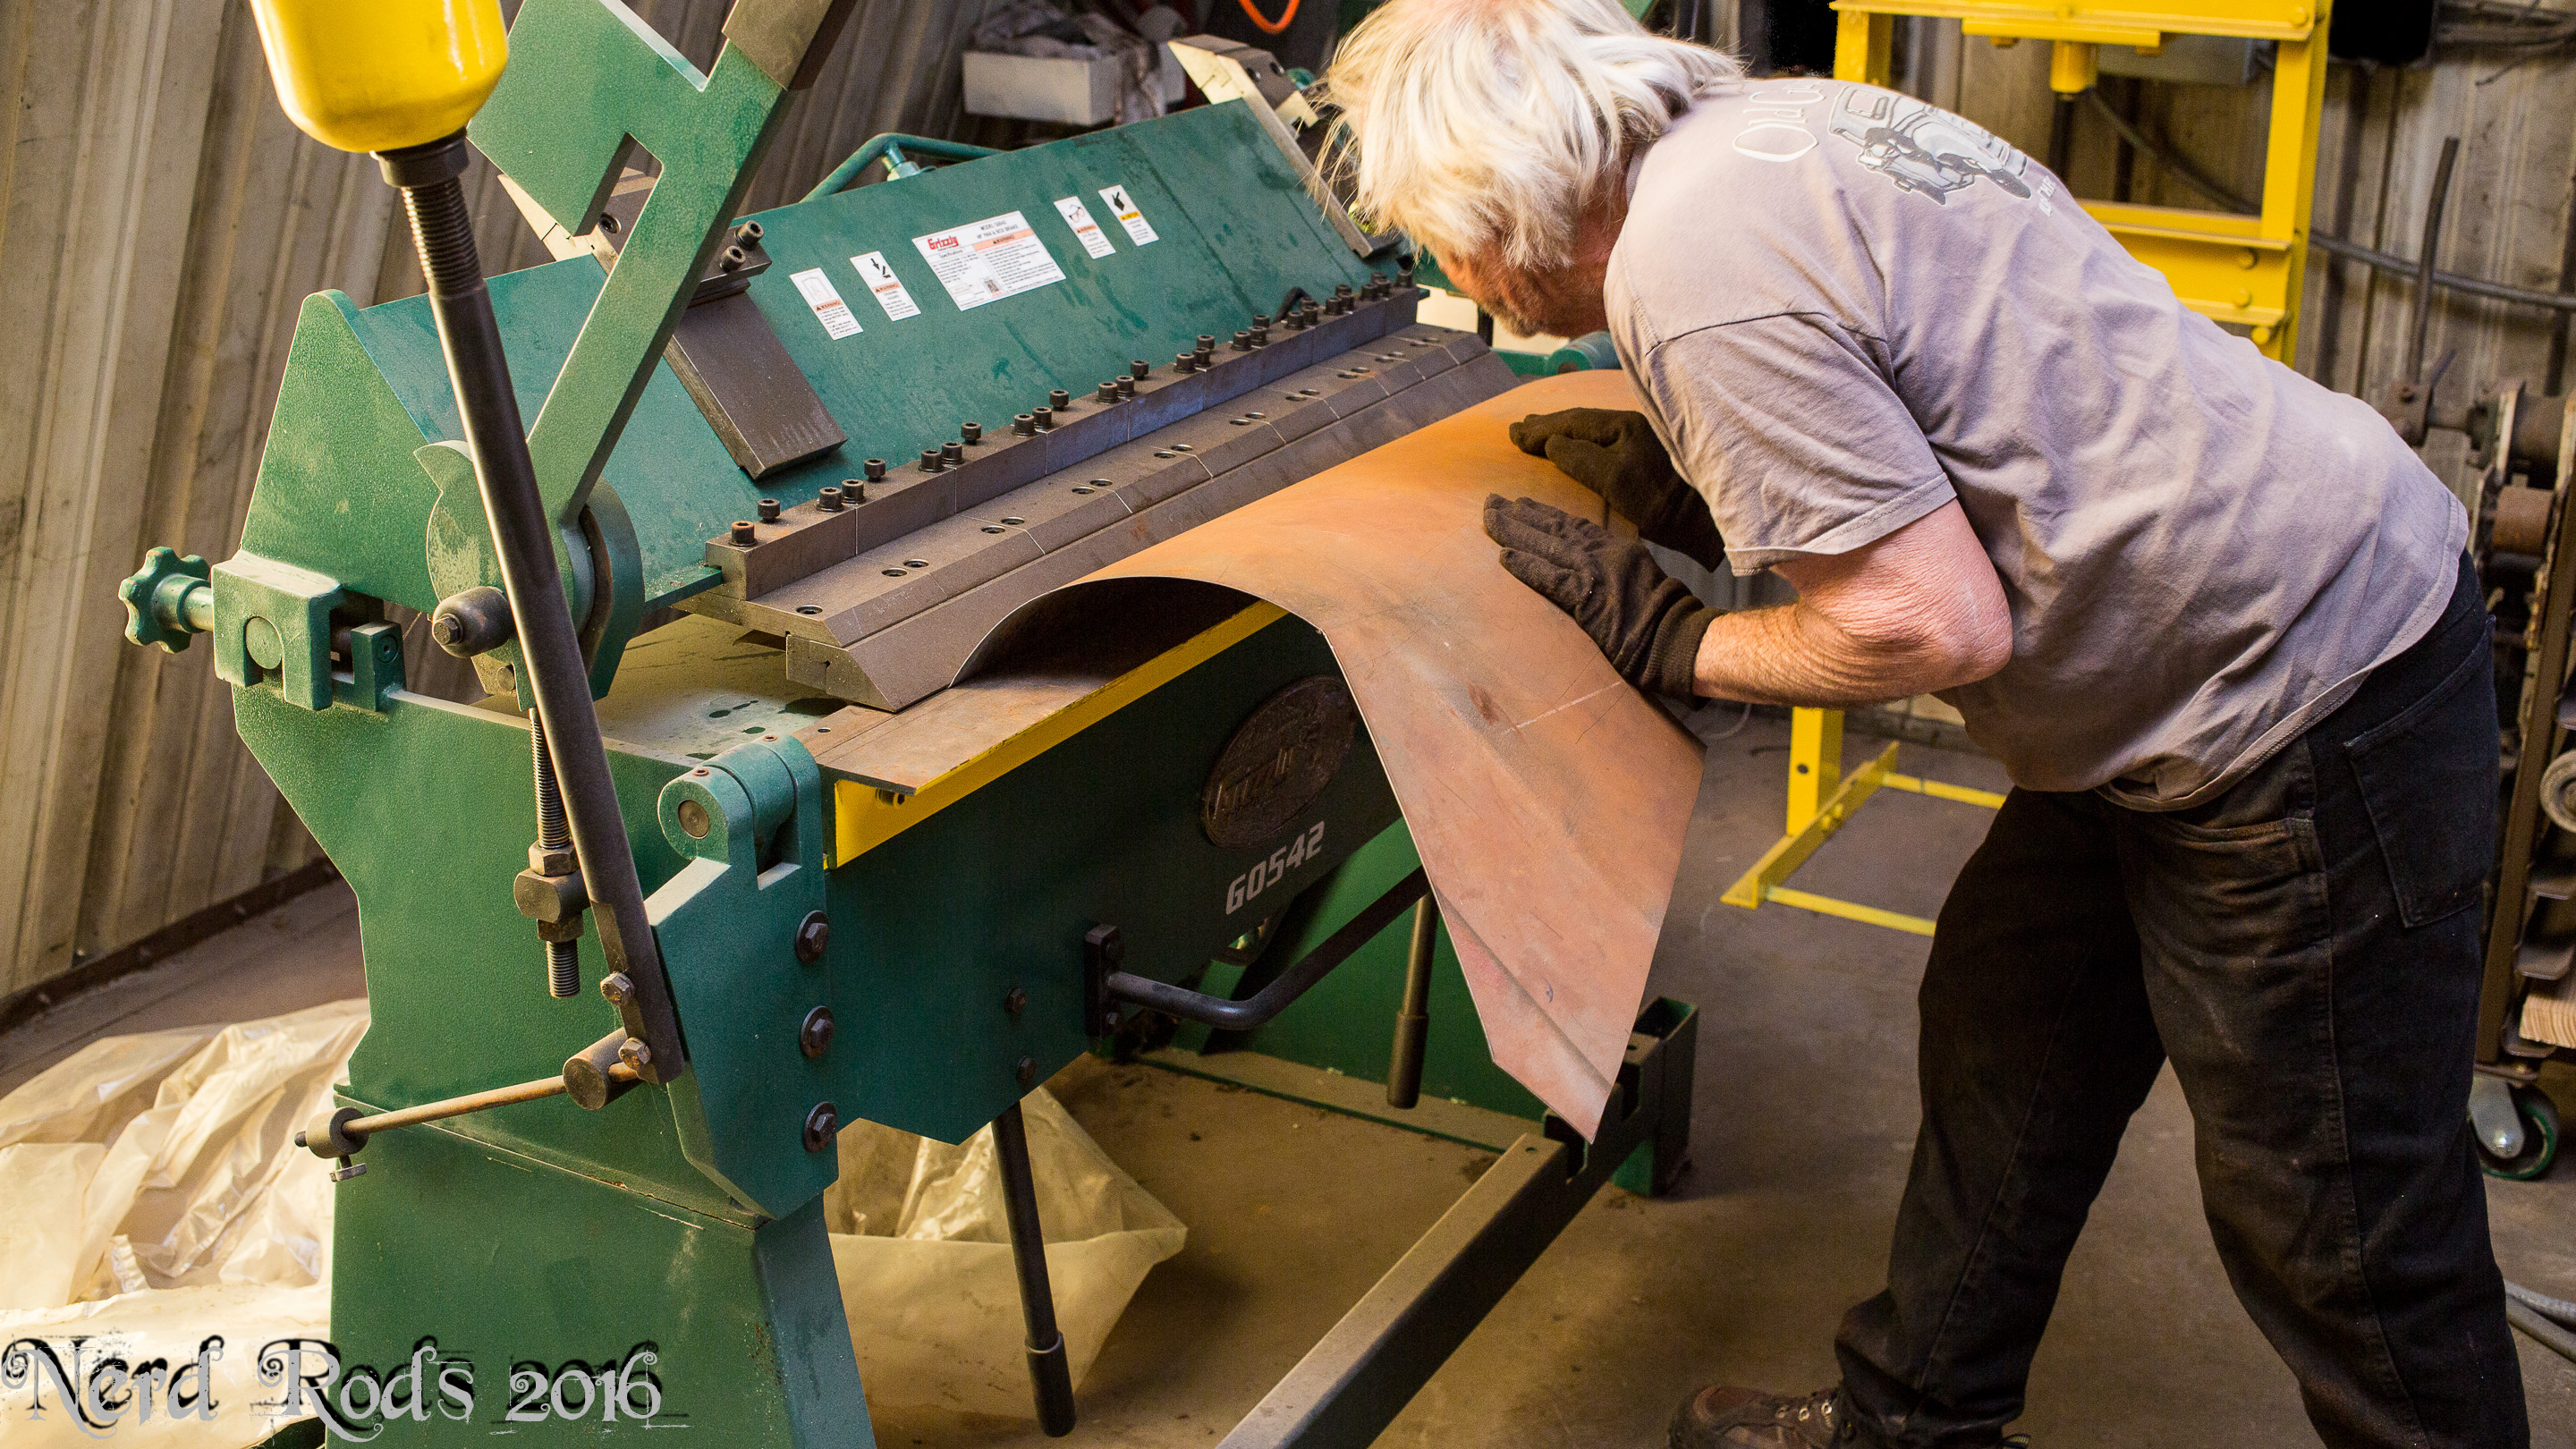
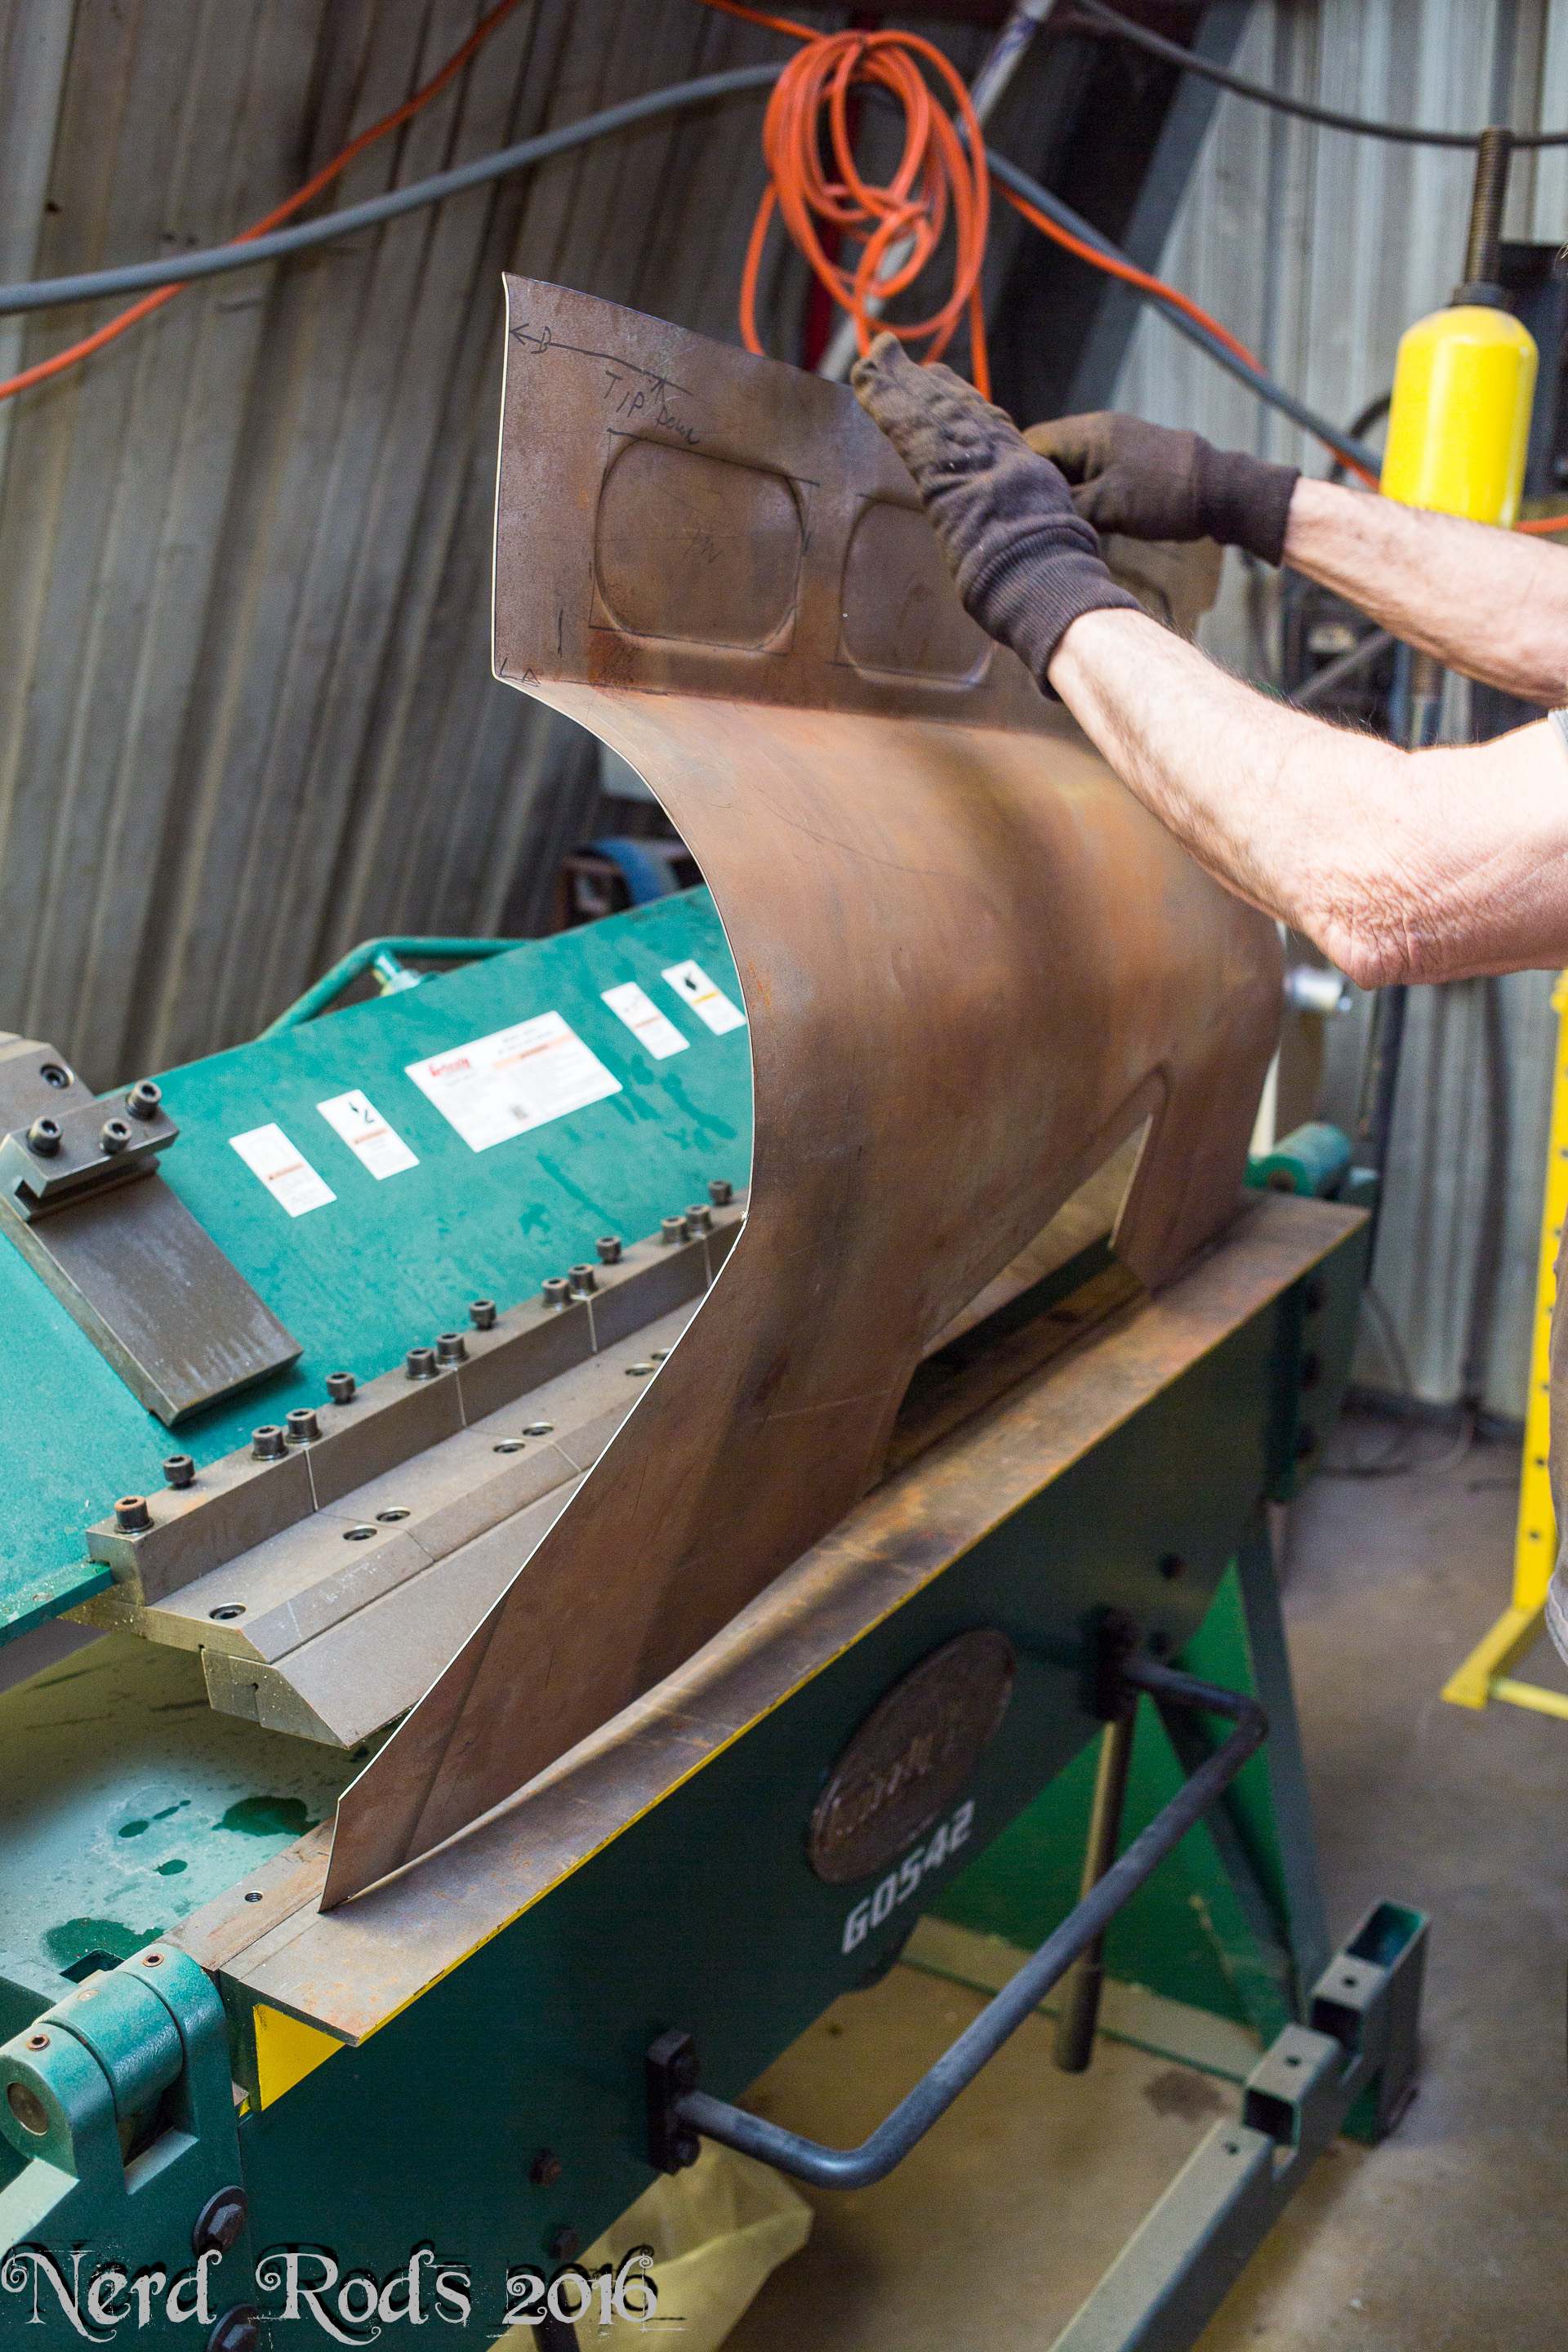
They turned out pretty epic if I do say so myself. We are talking about molding a set to make fiberglass versions later on or maybe some jigs for steel versions, we’ll see.
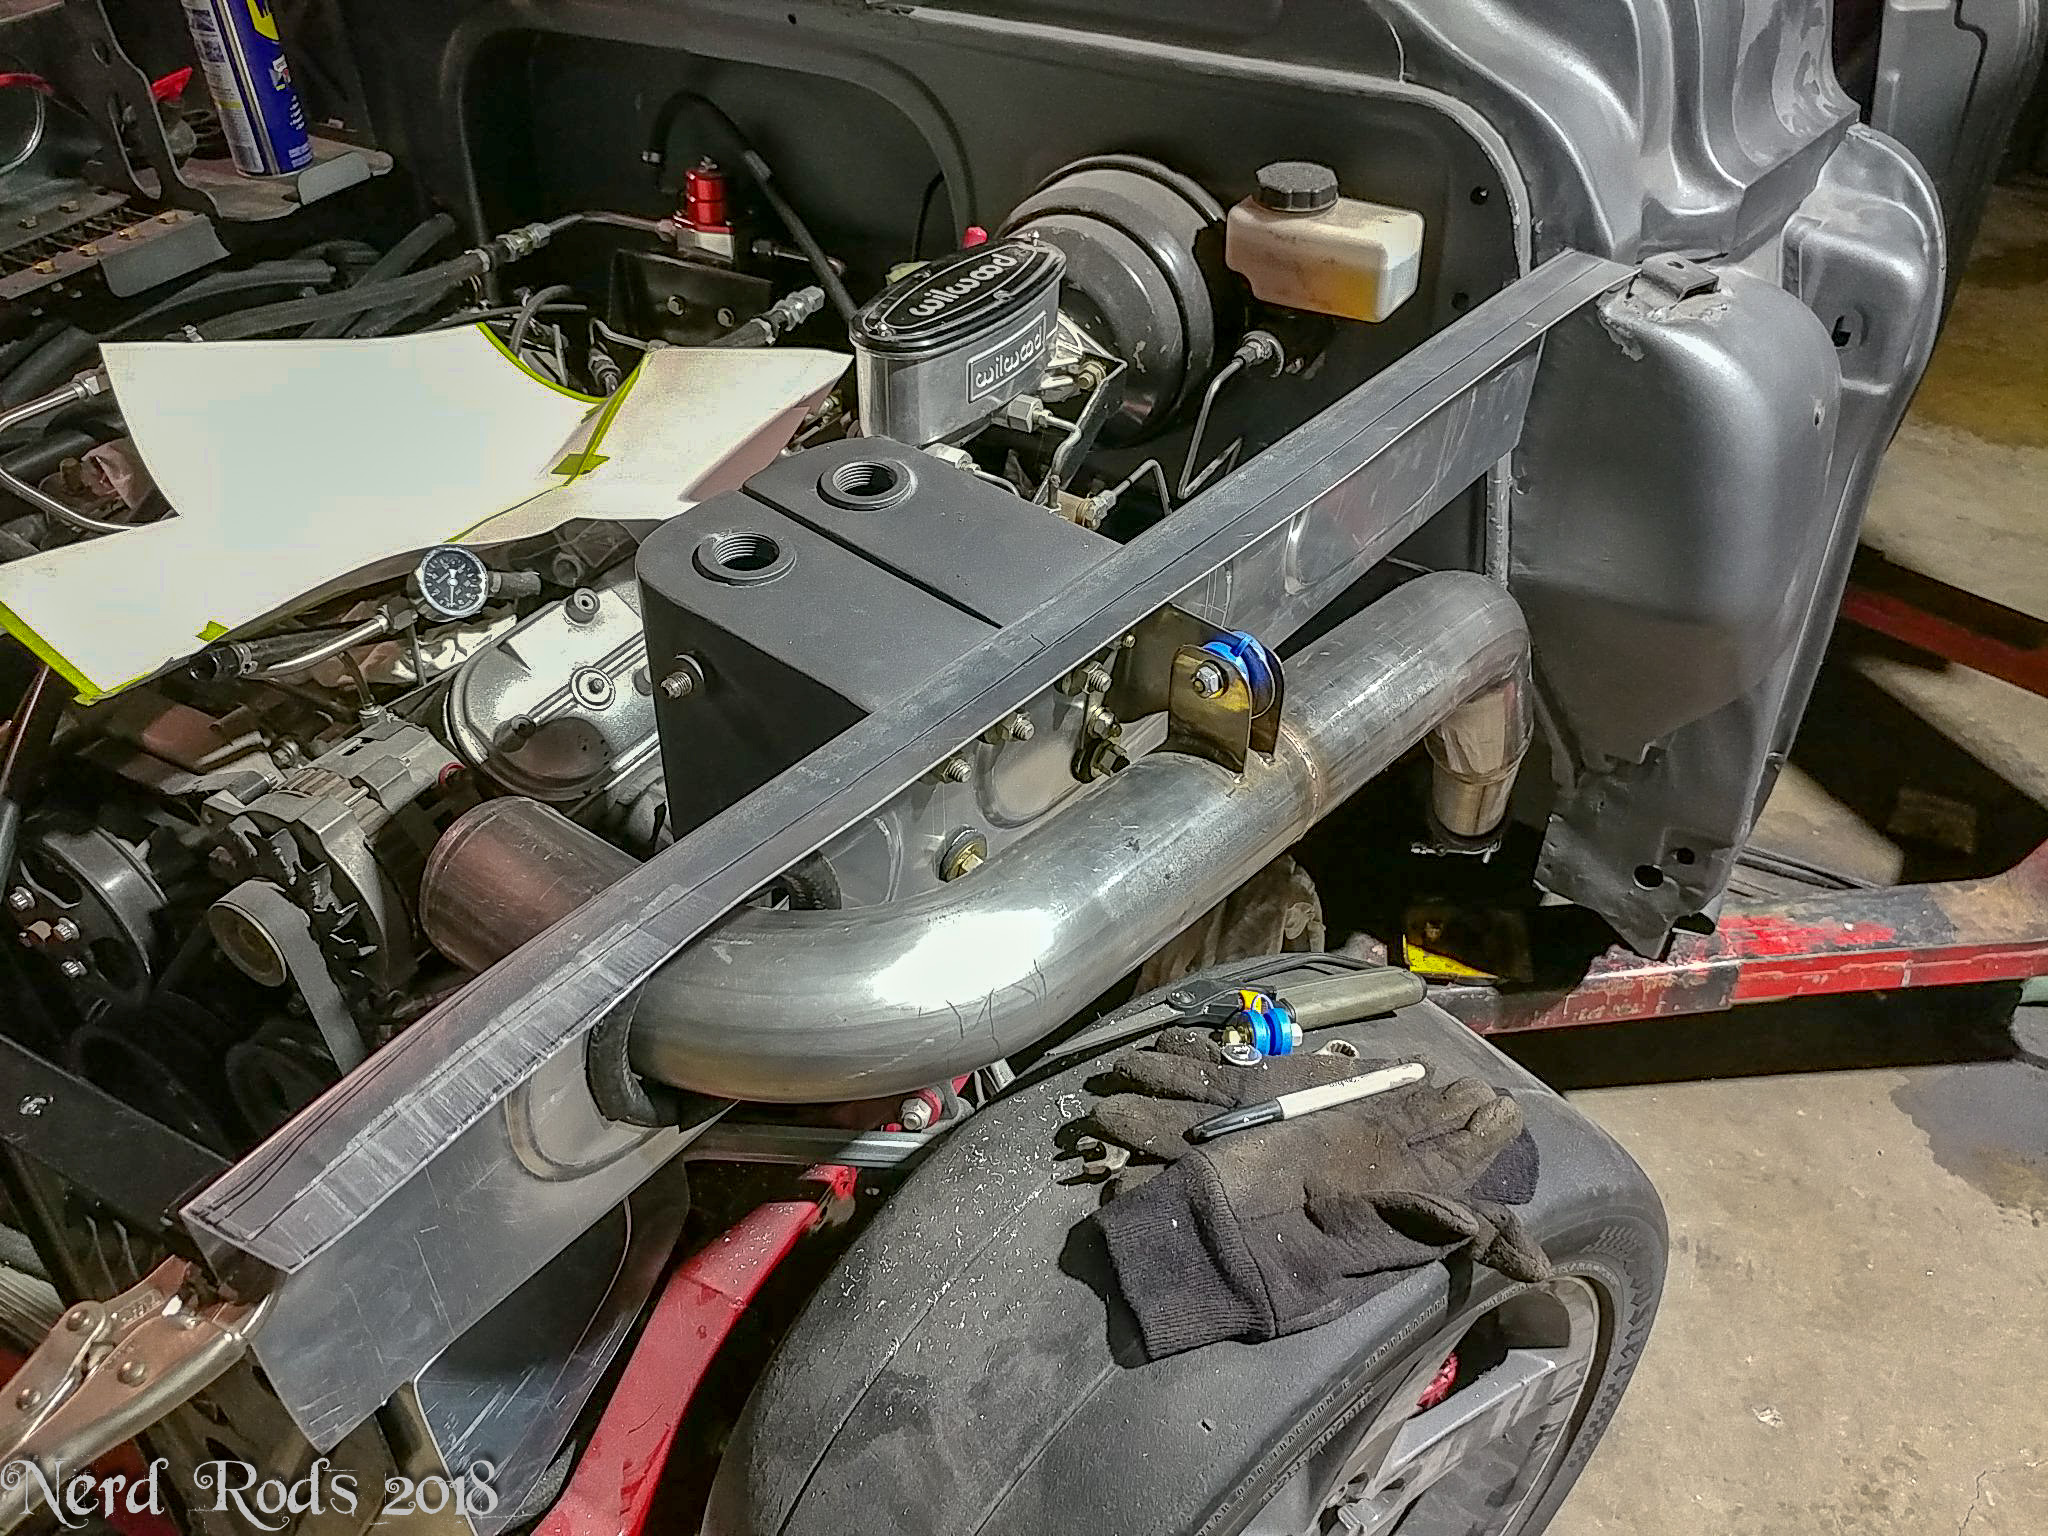
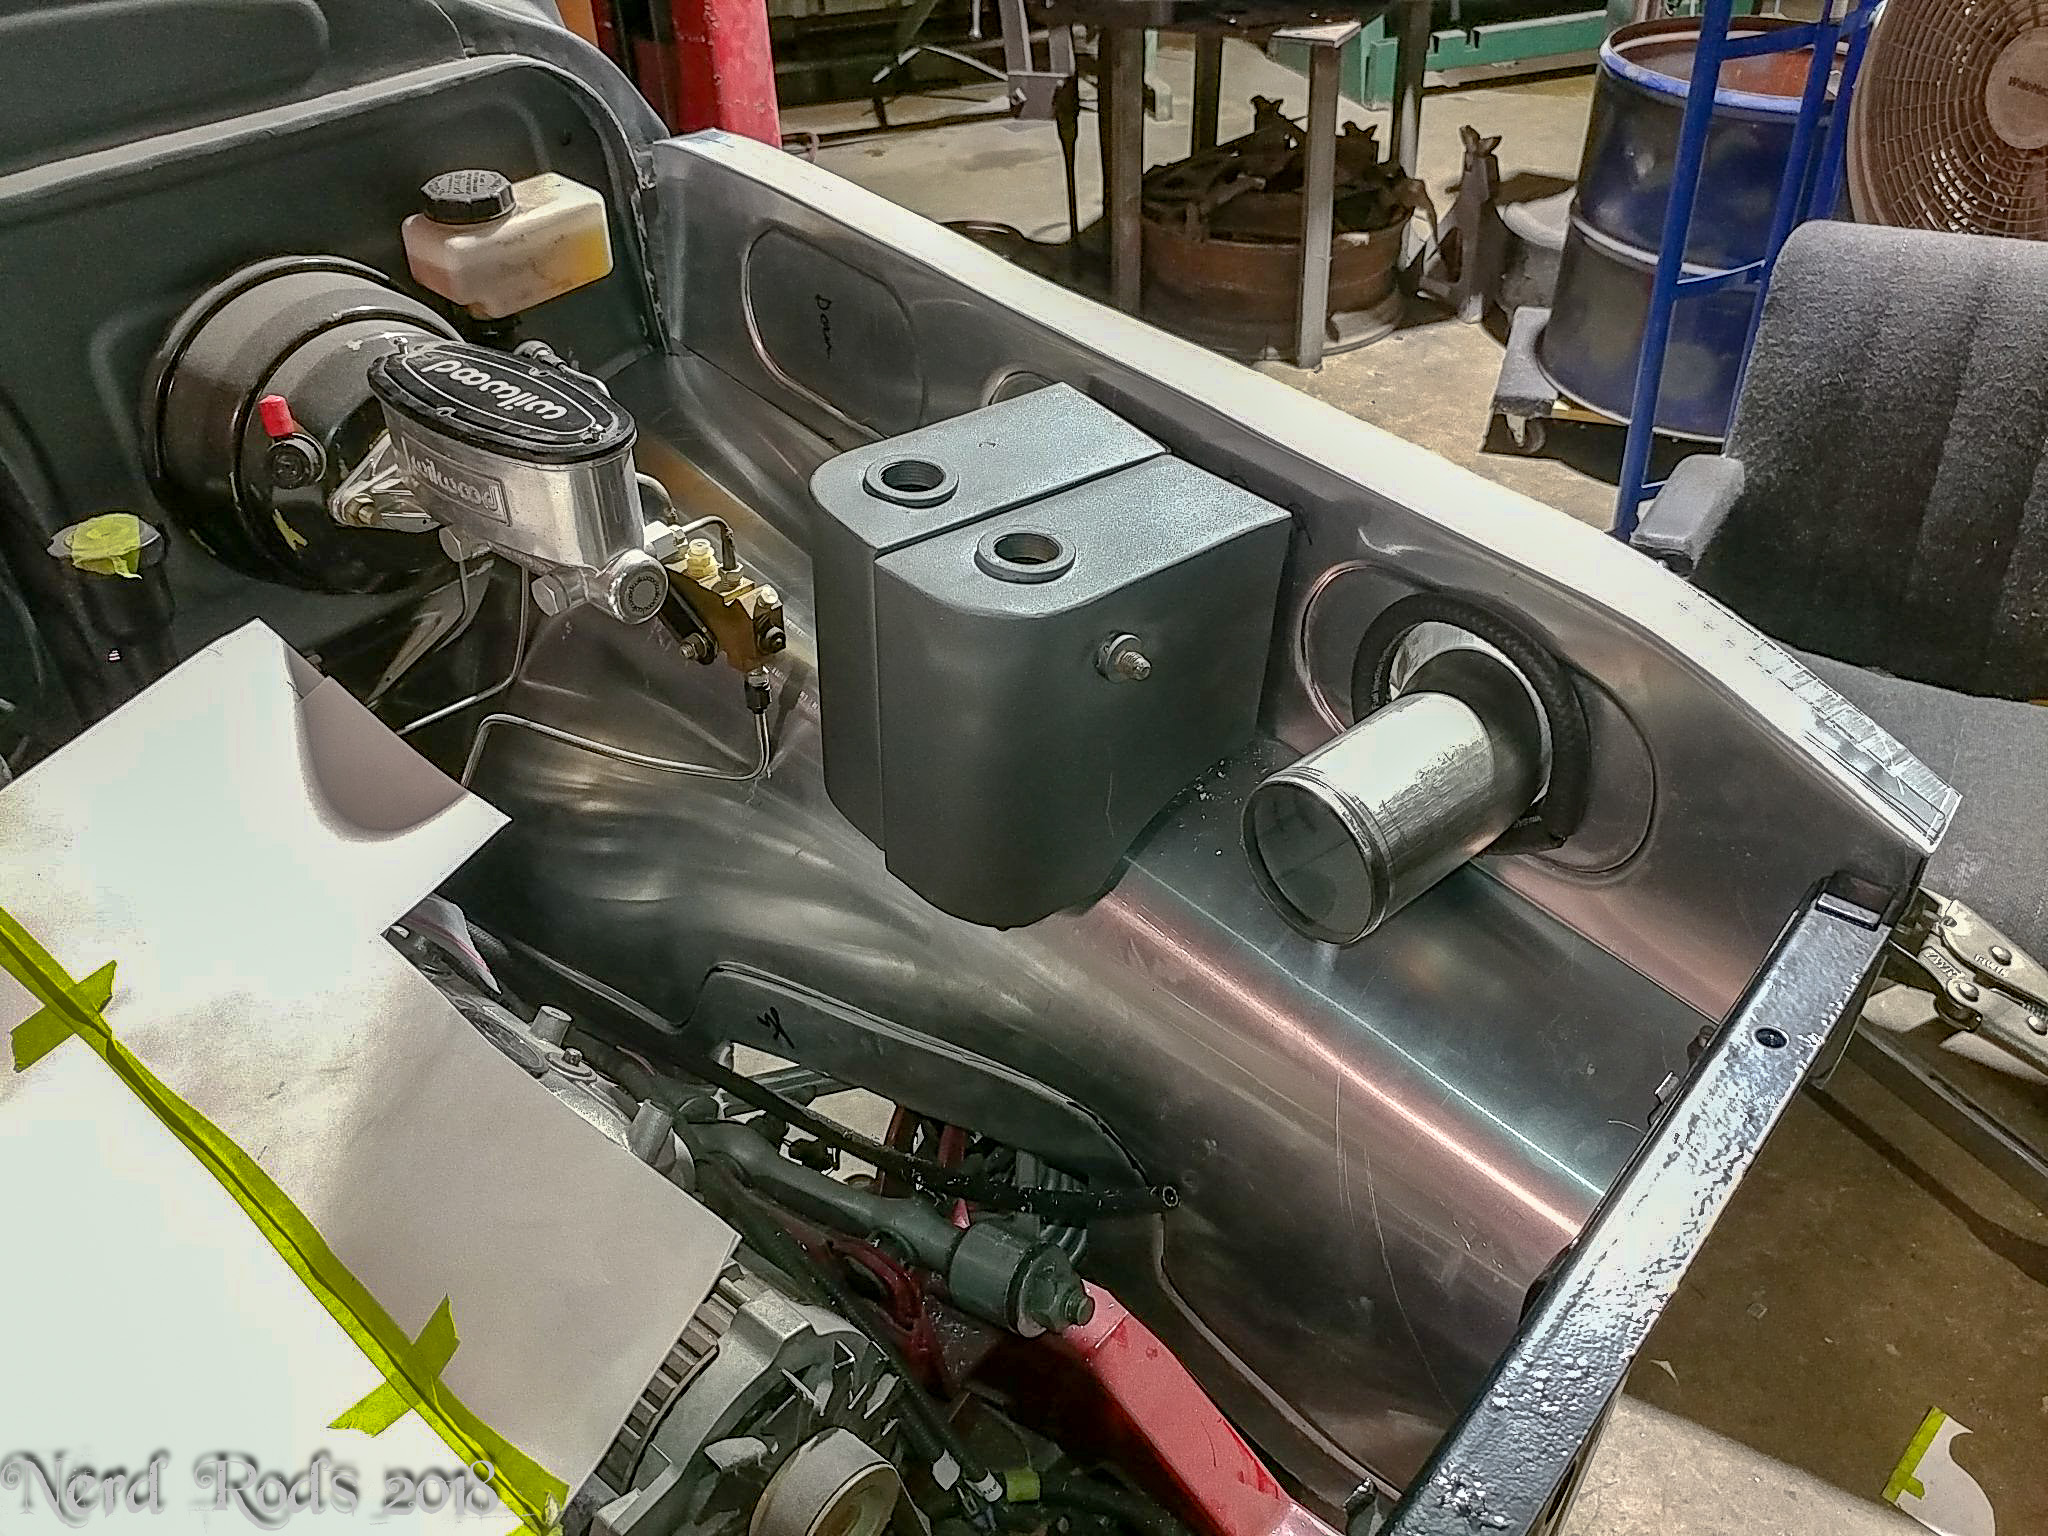
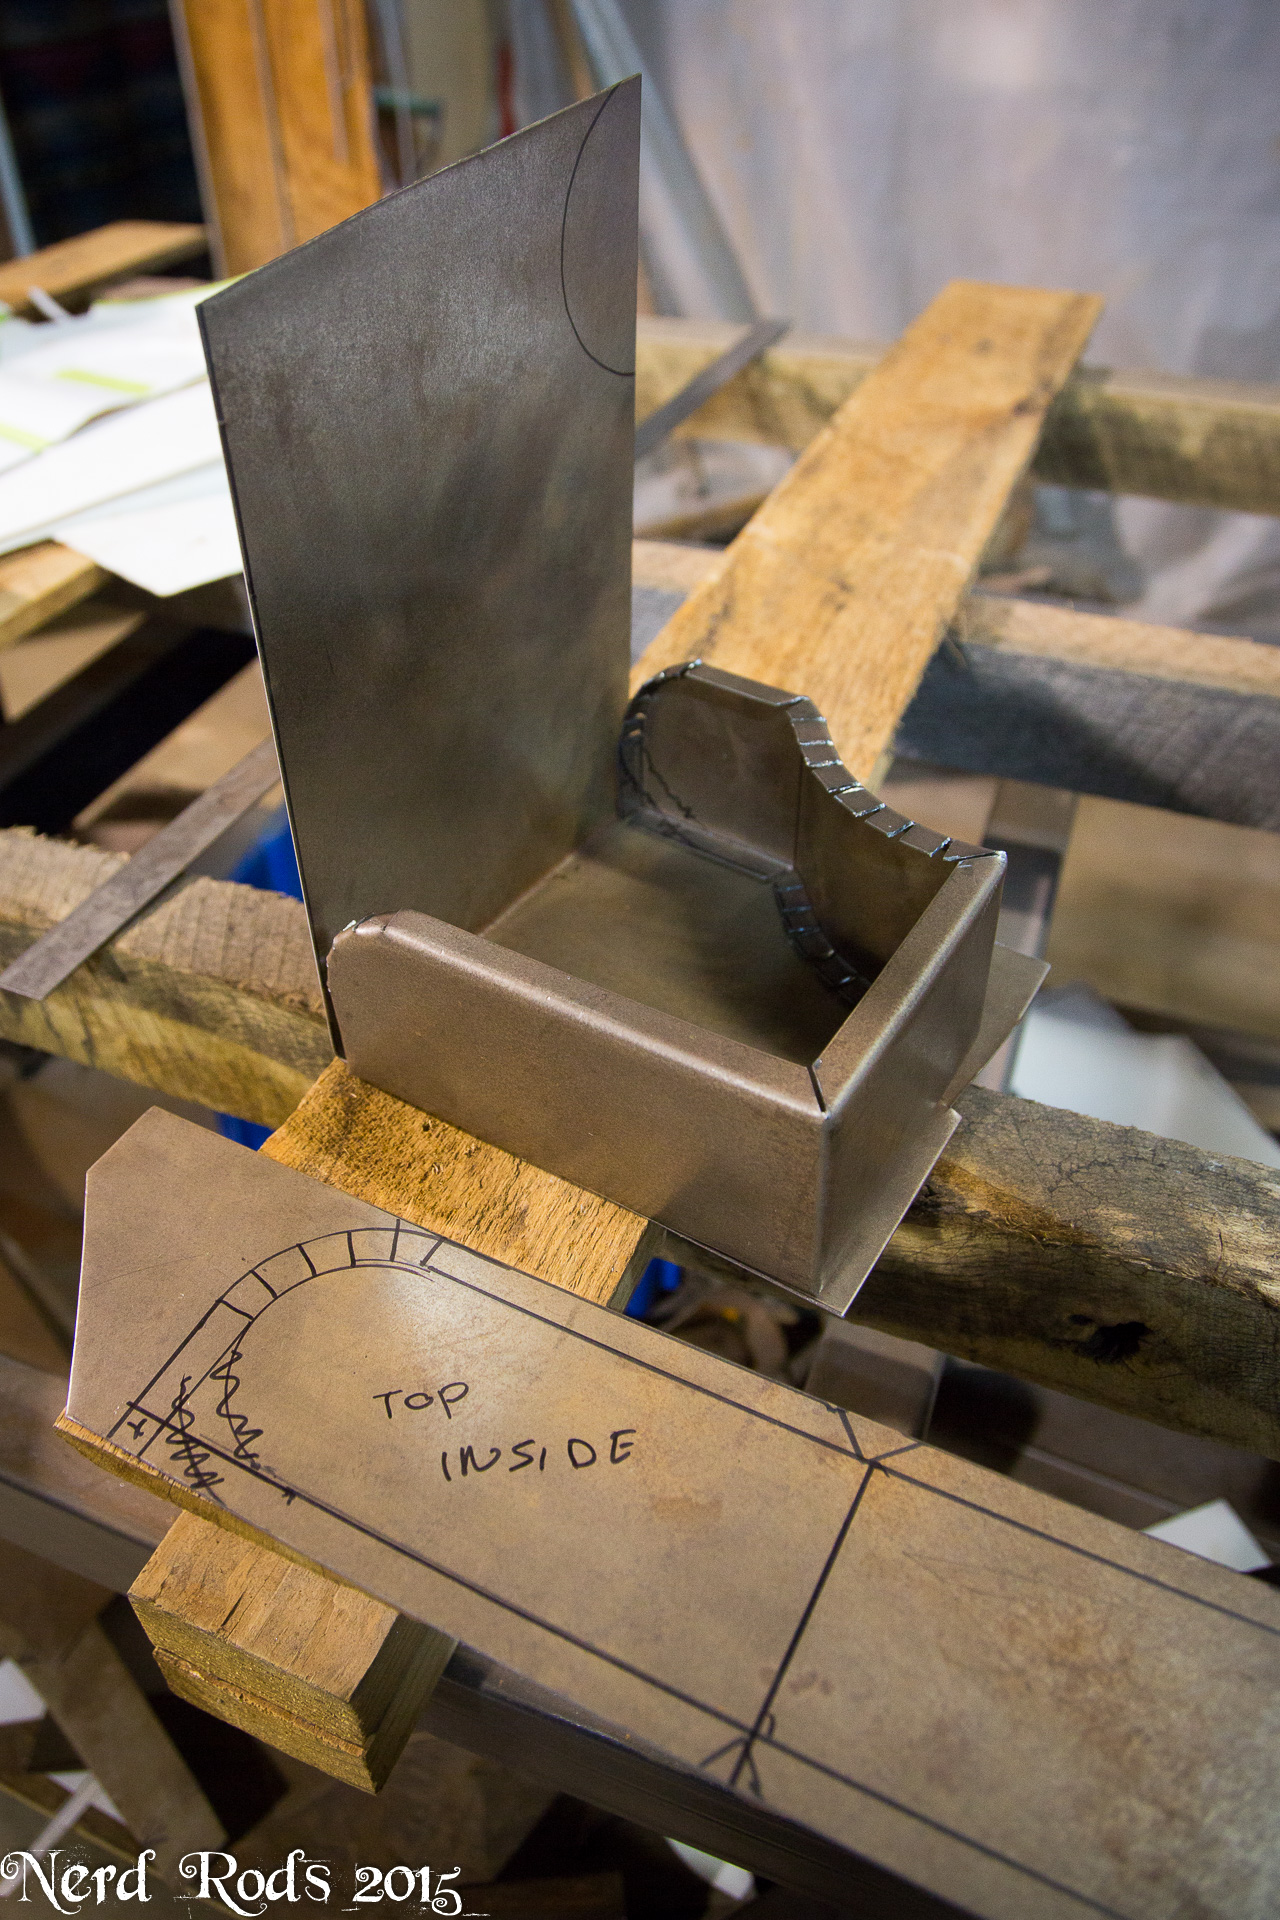
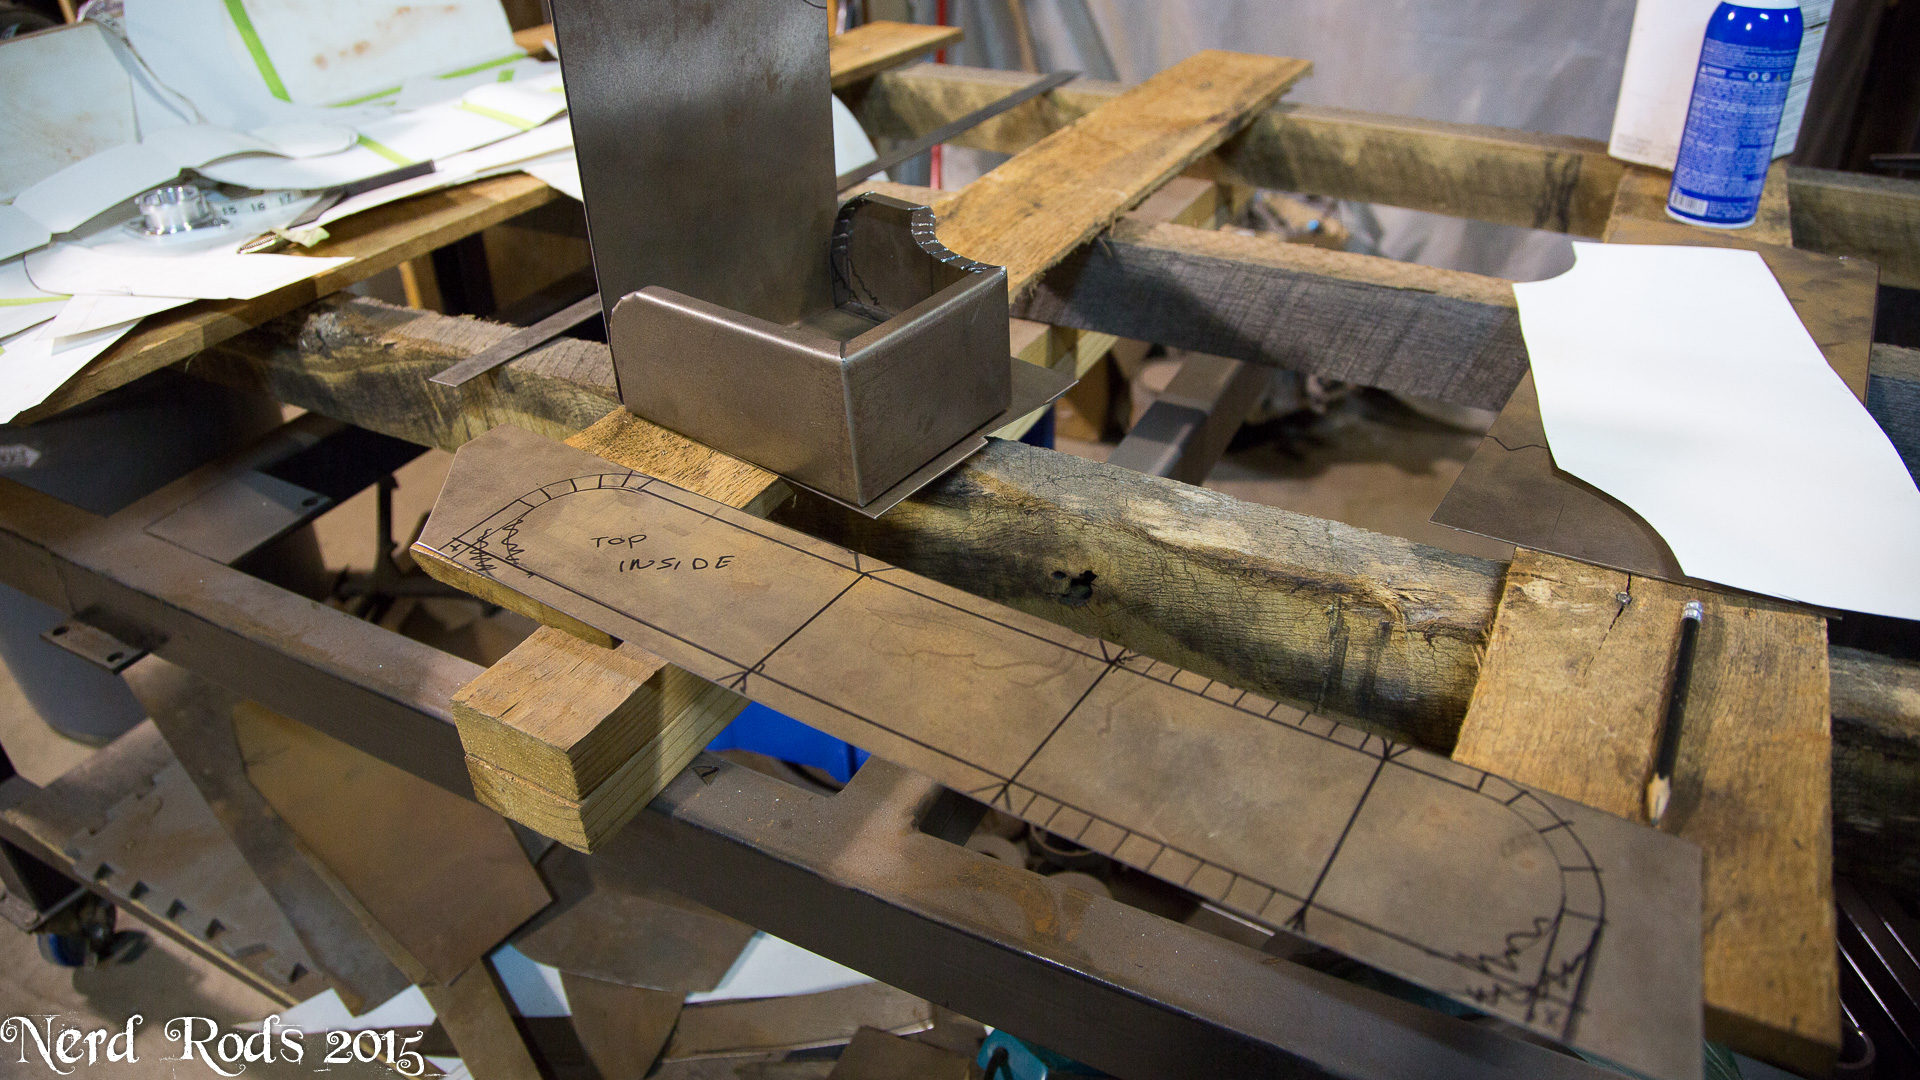
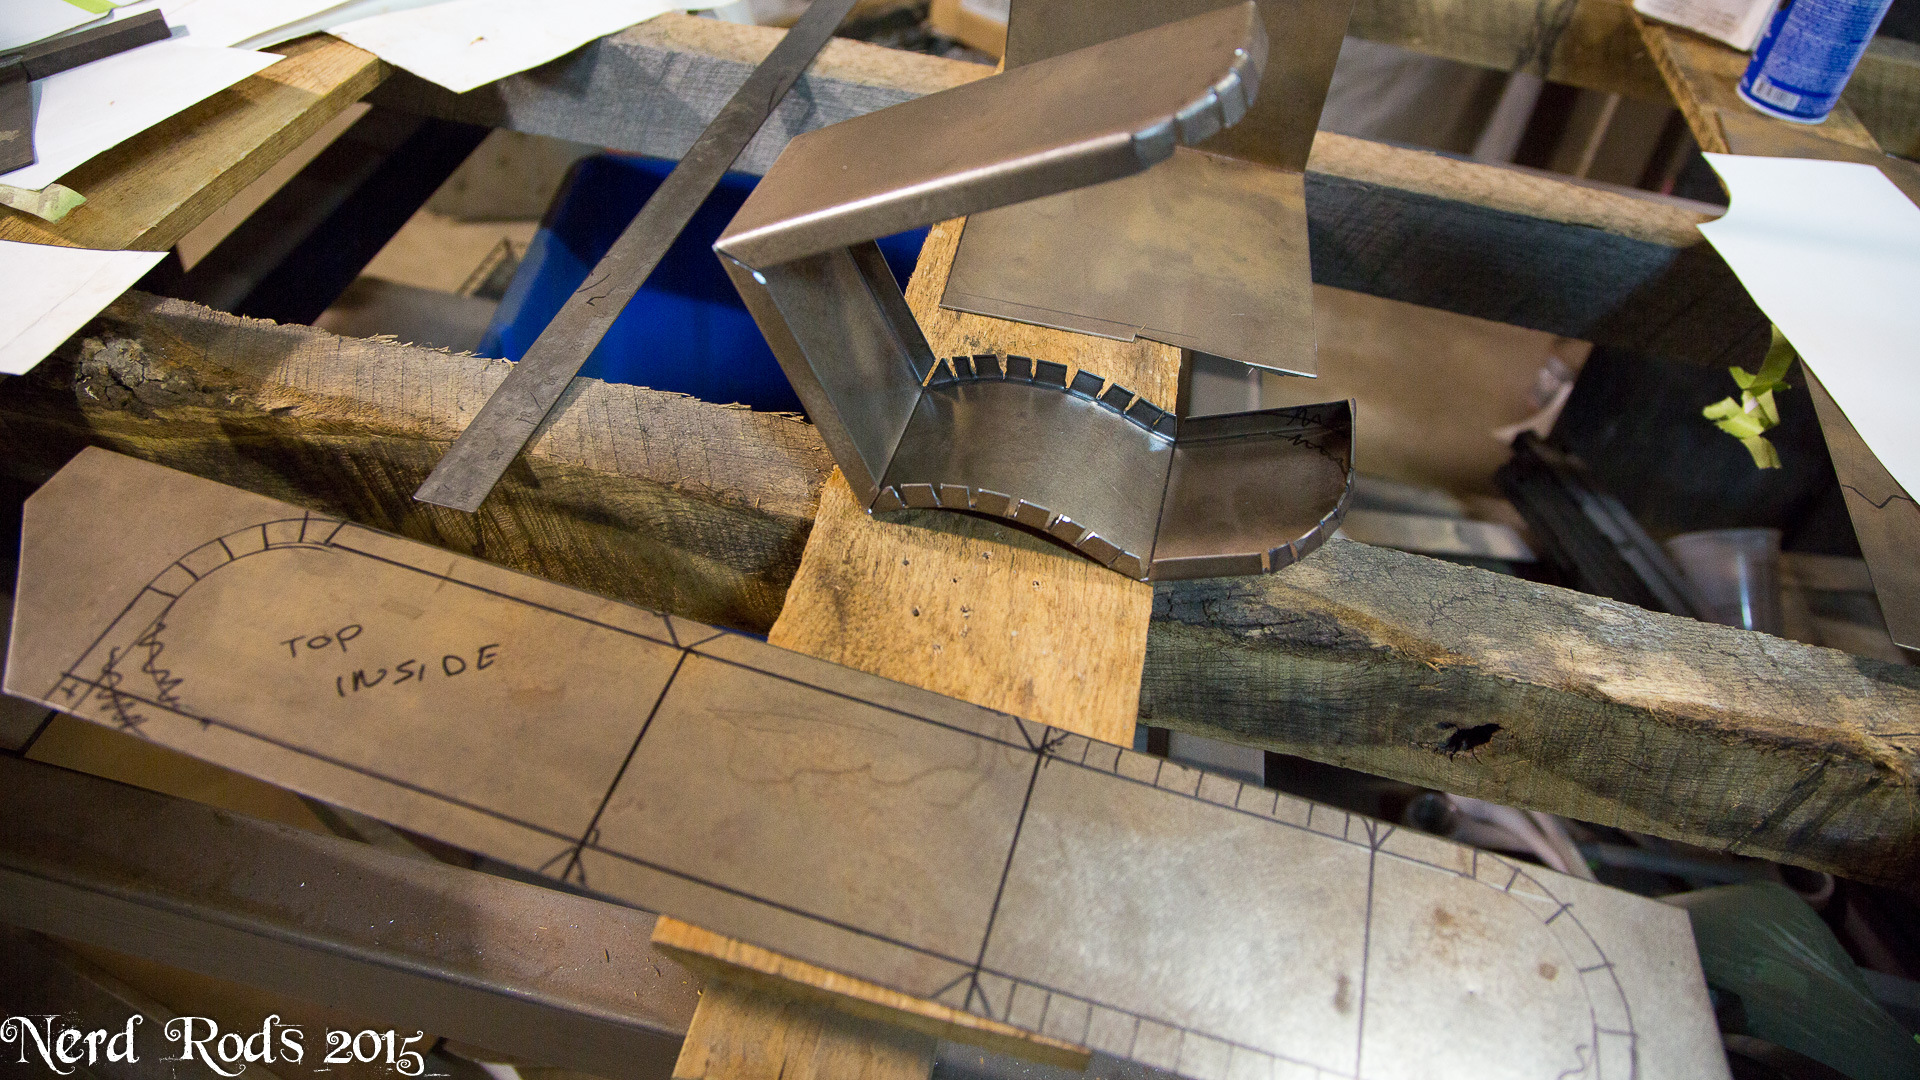
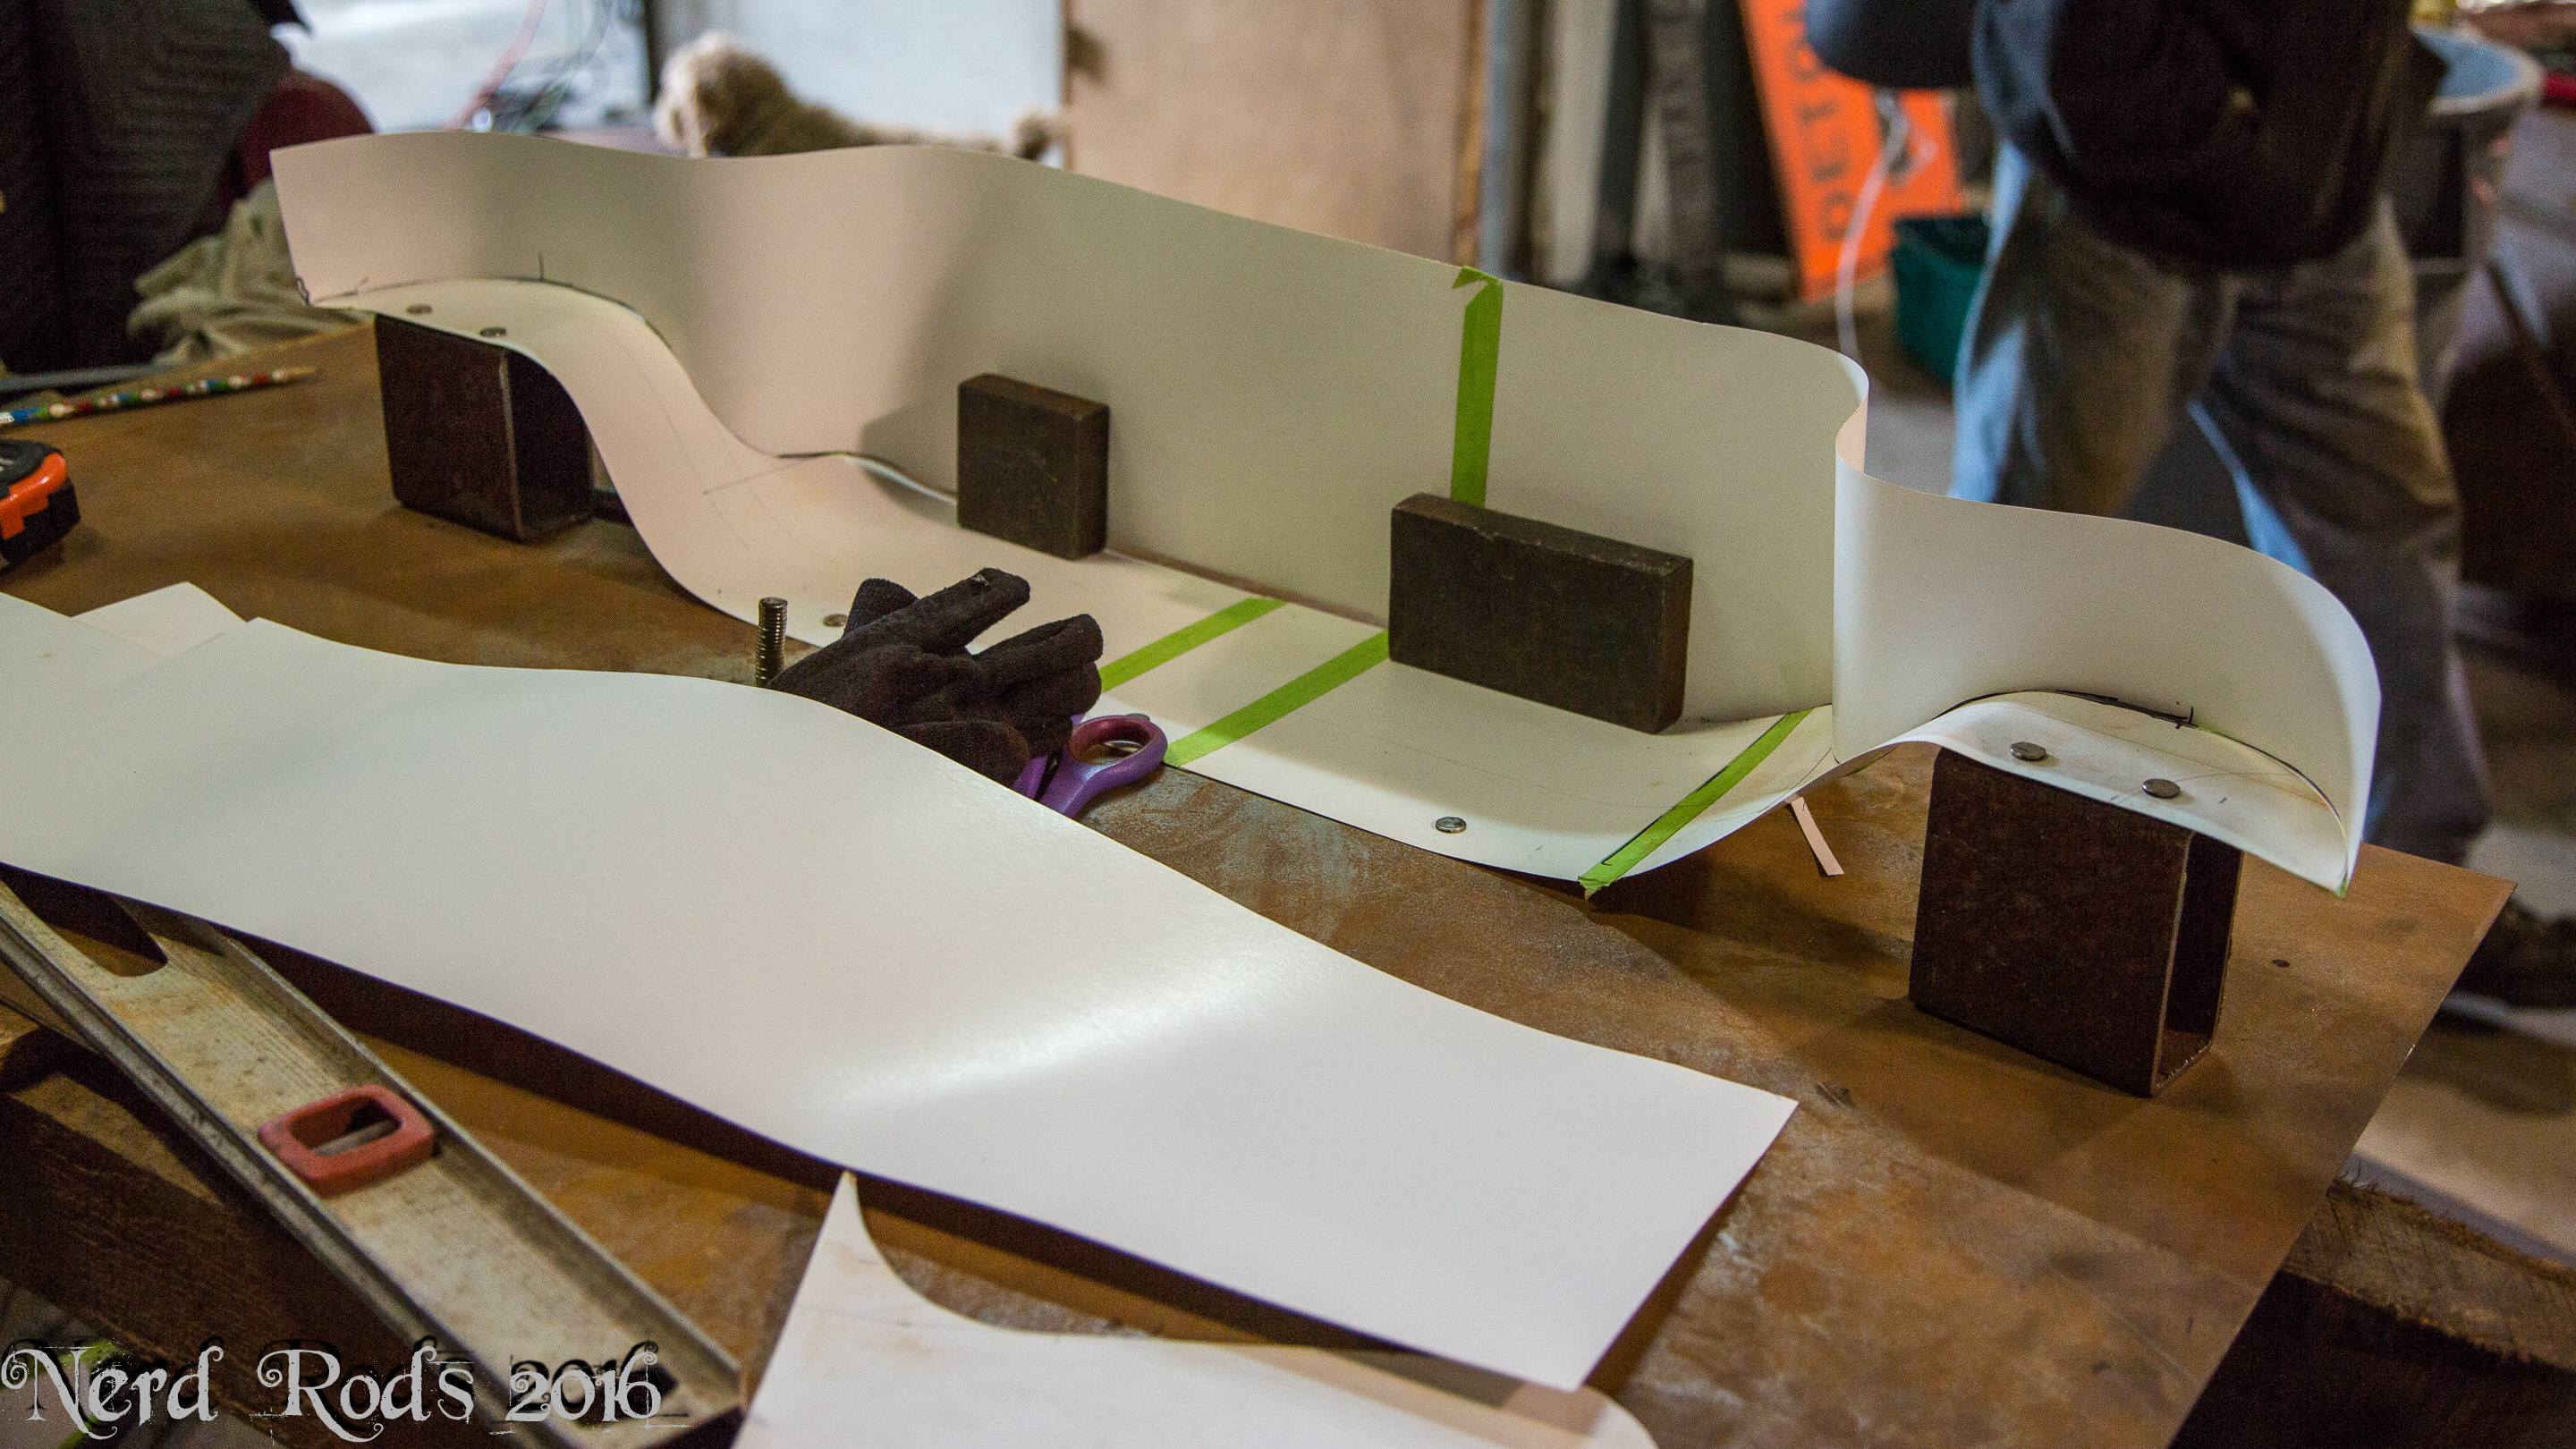
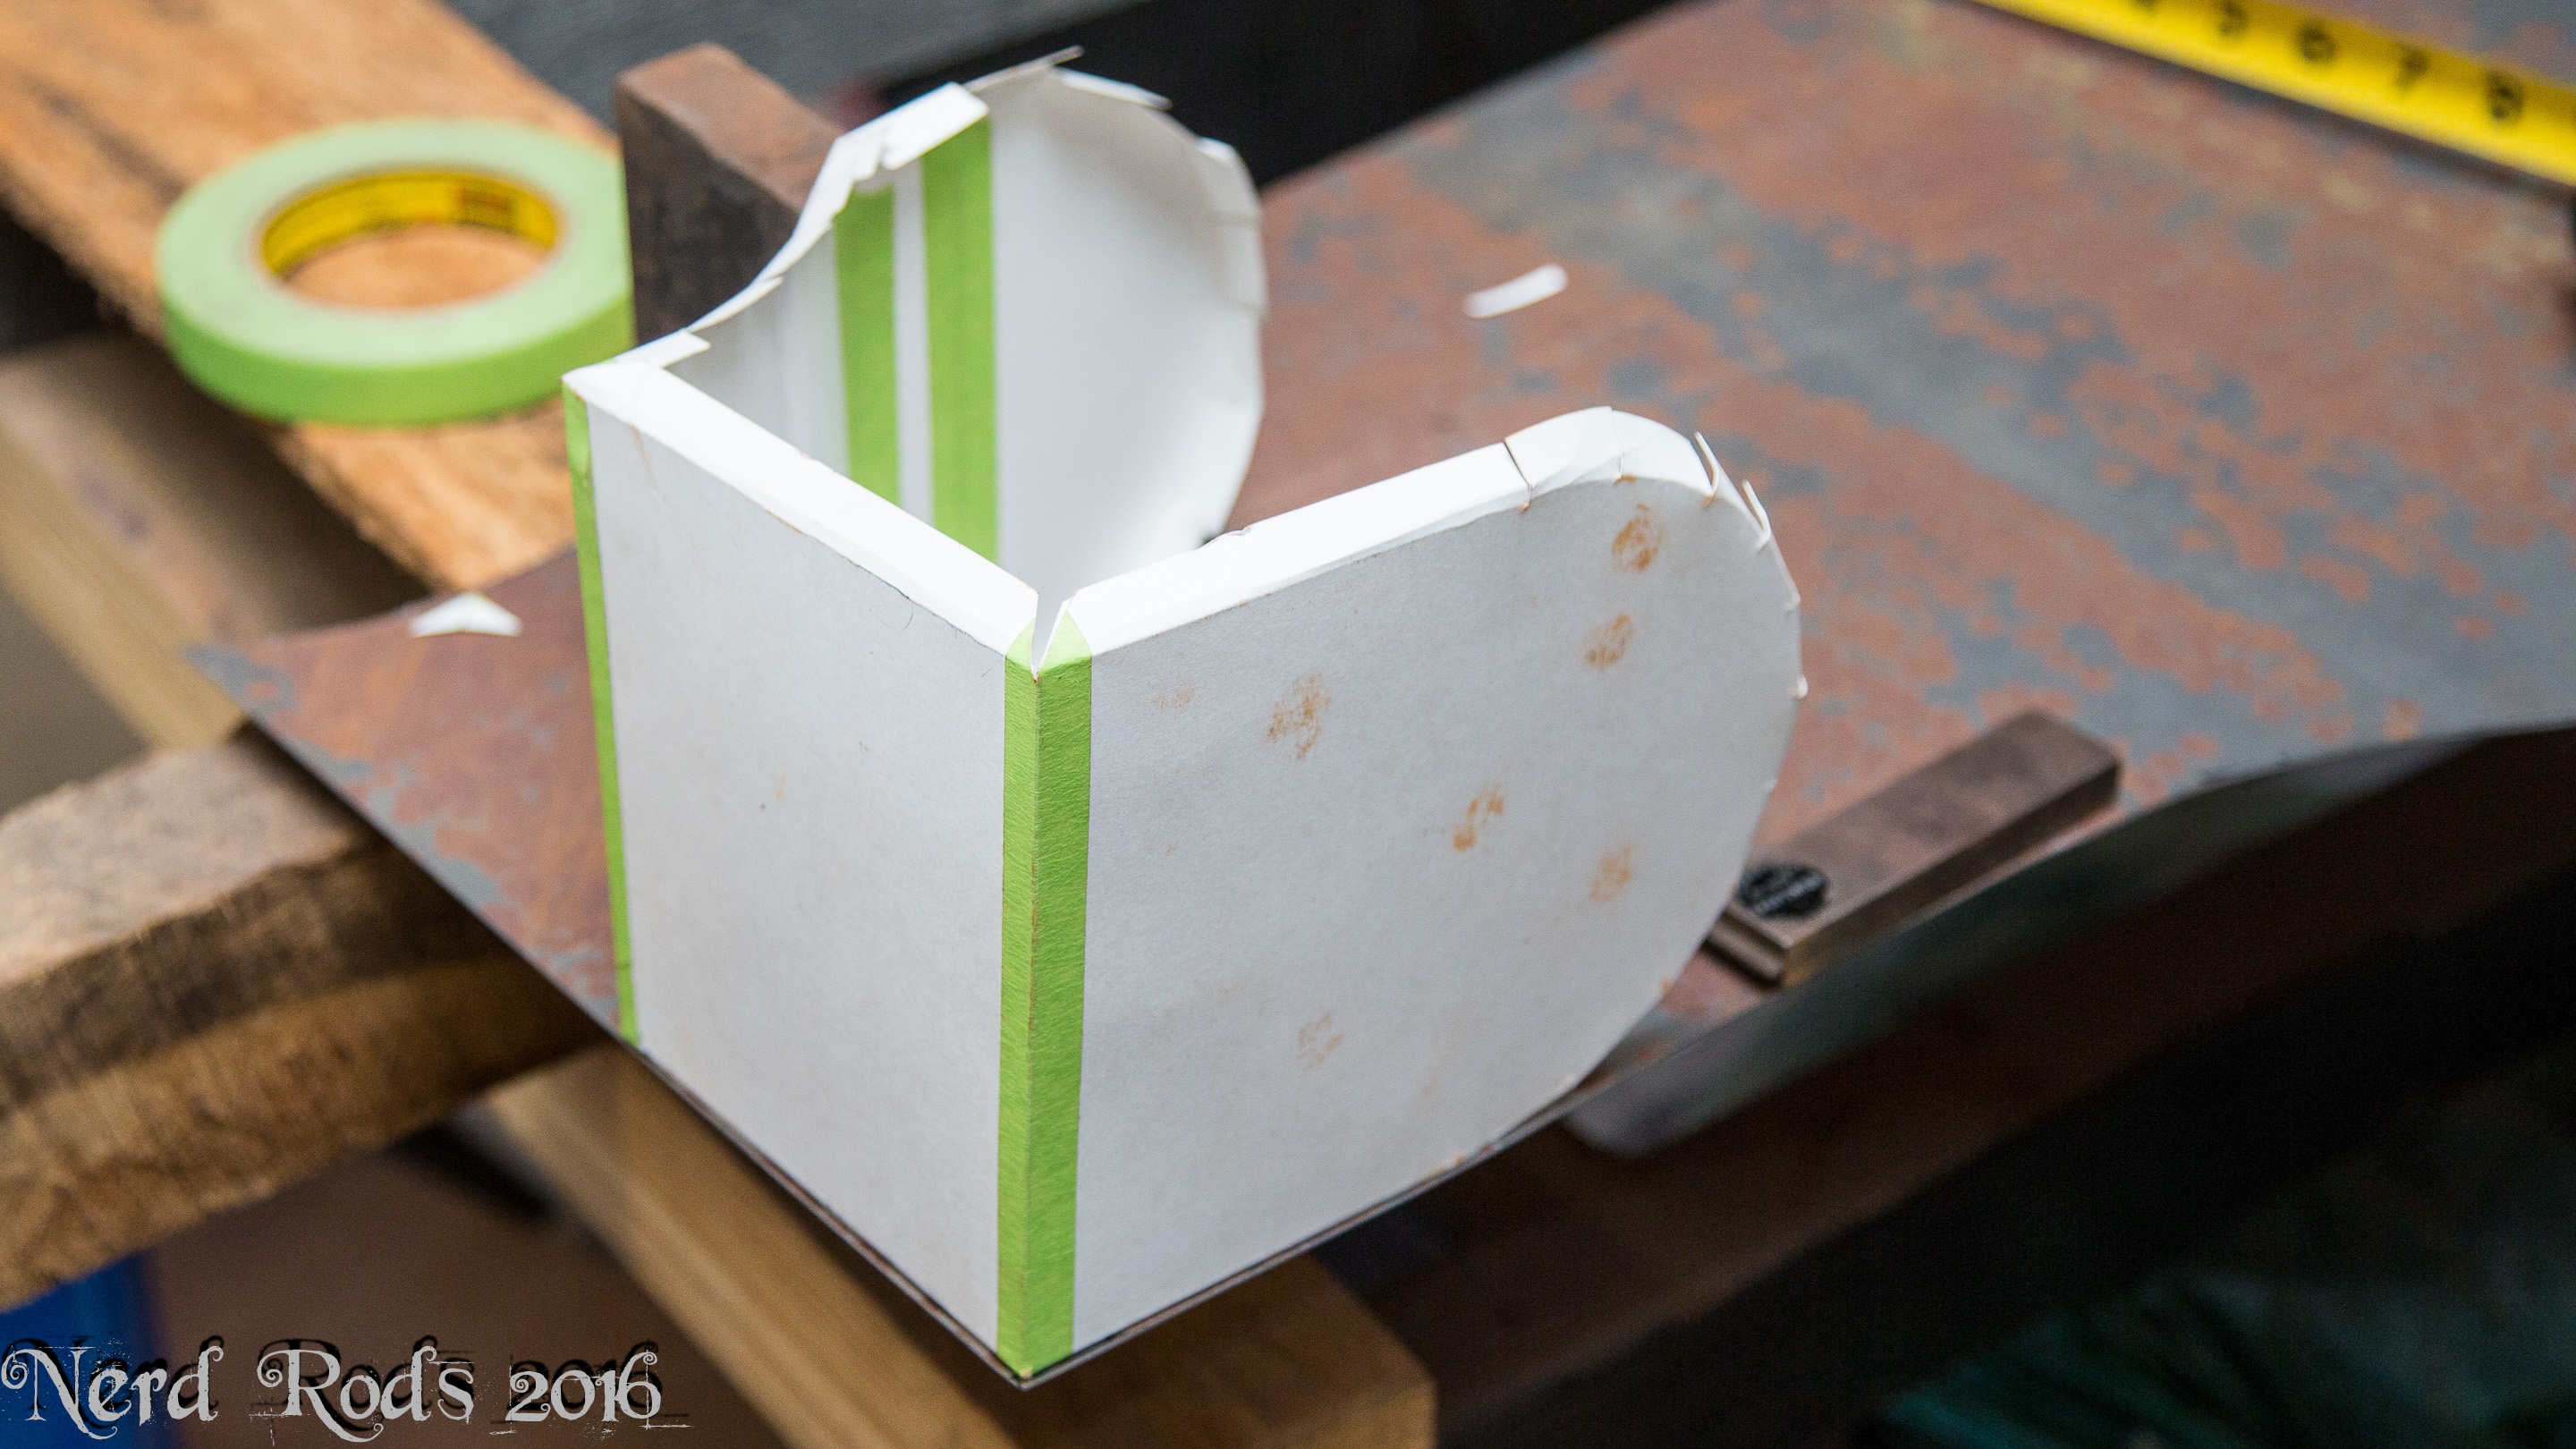
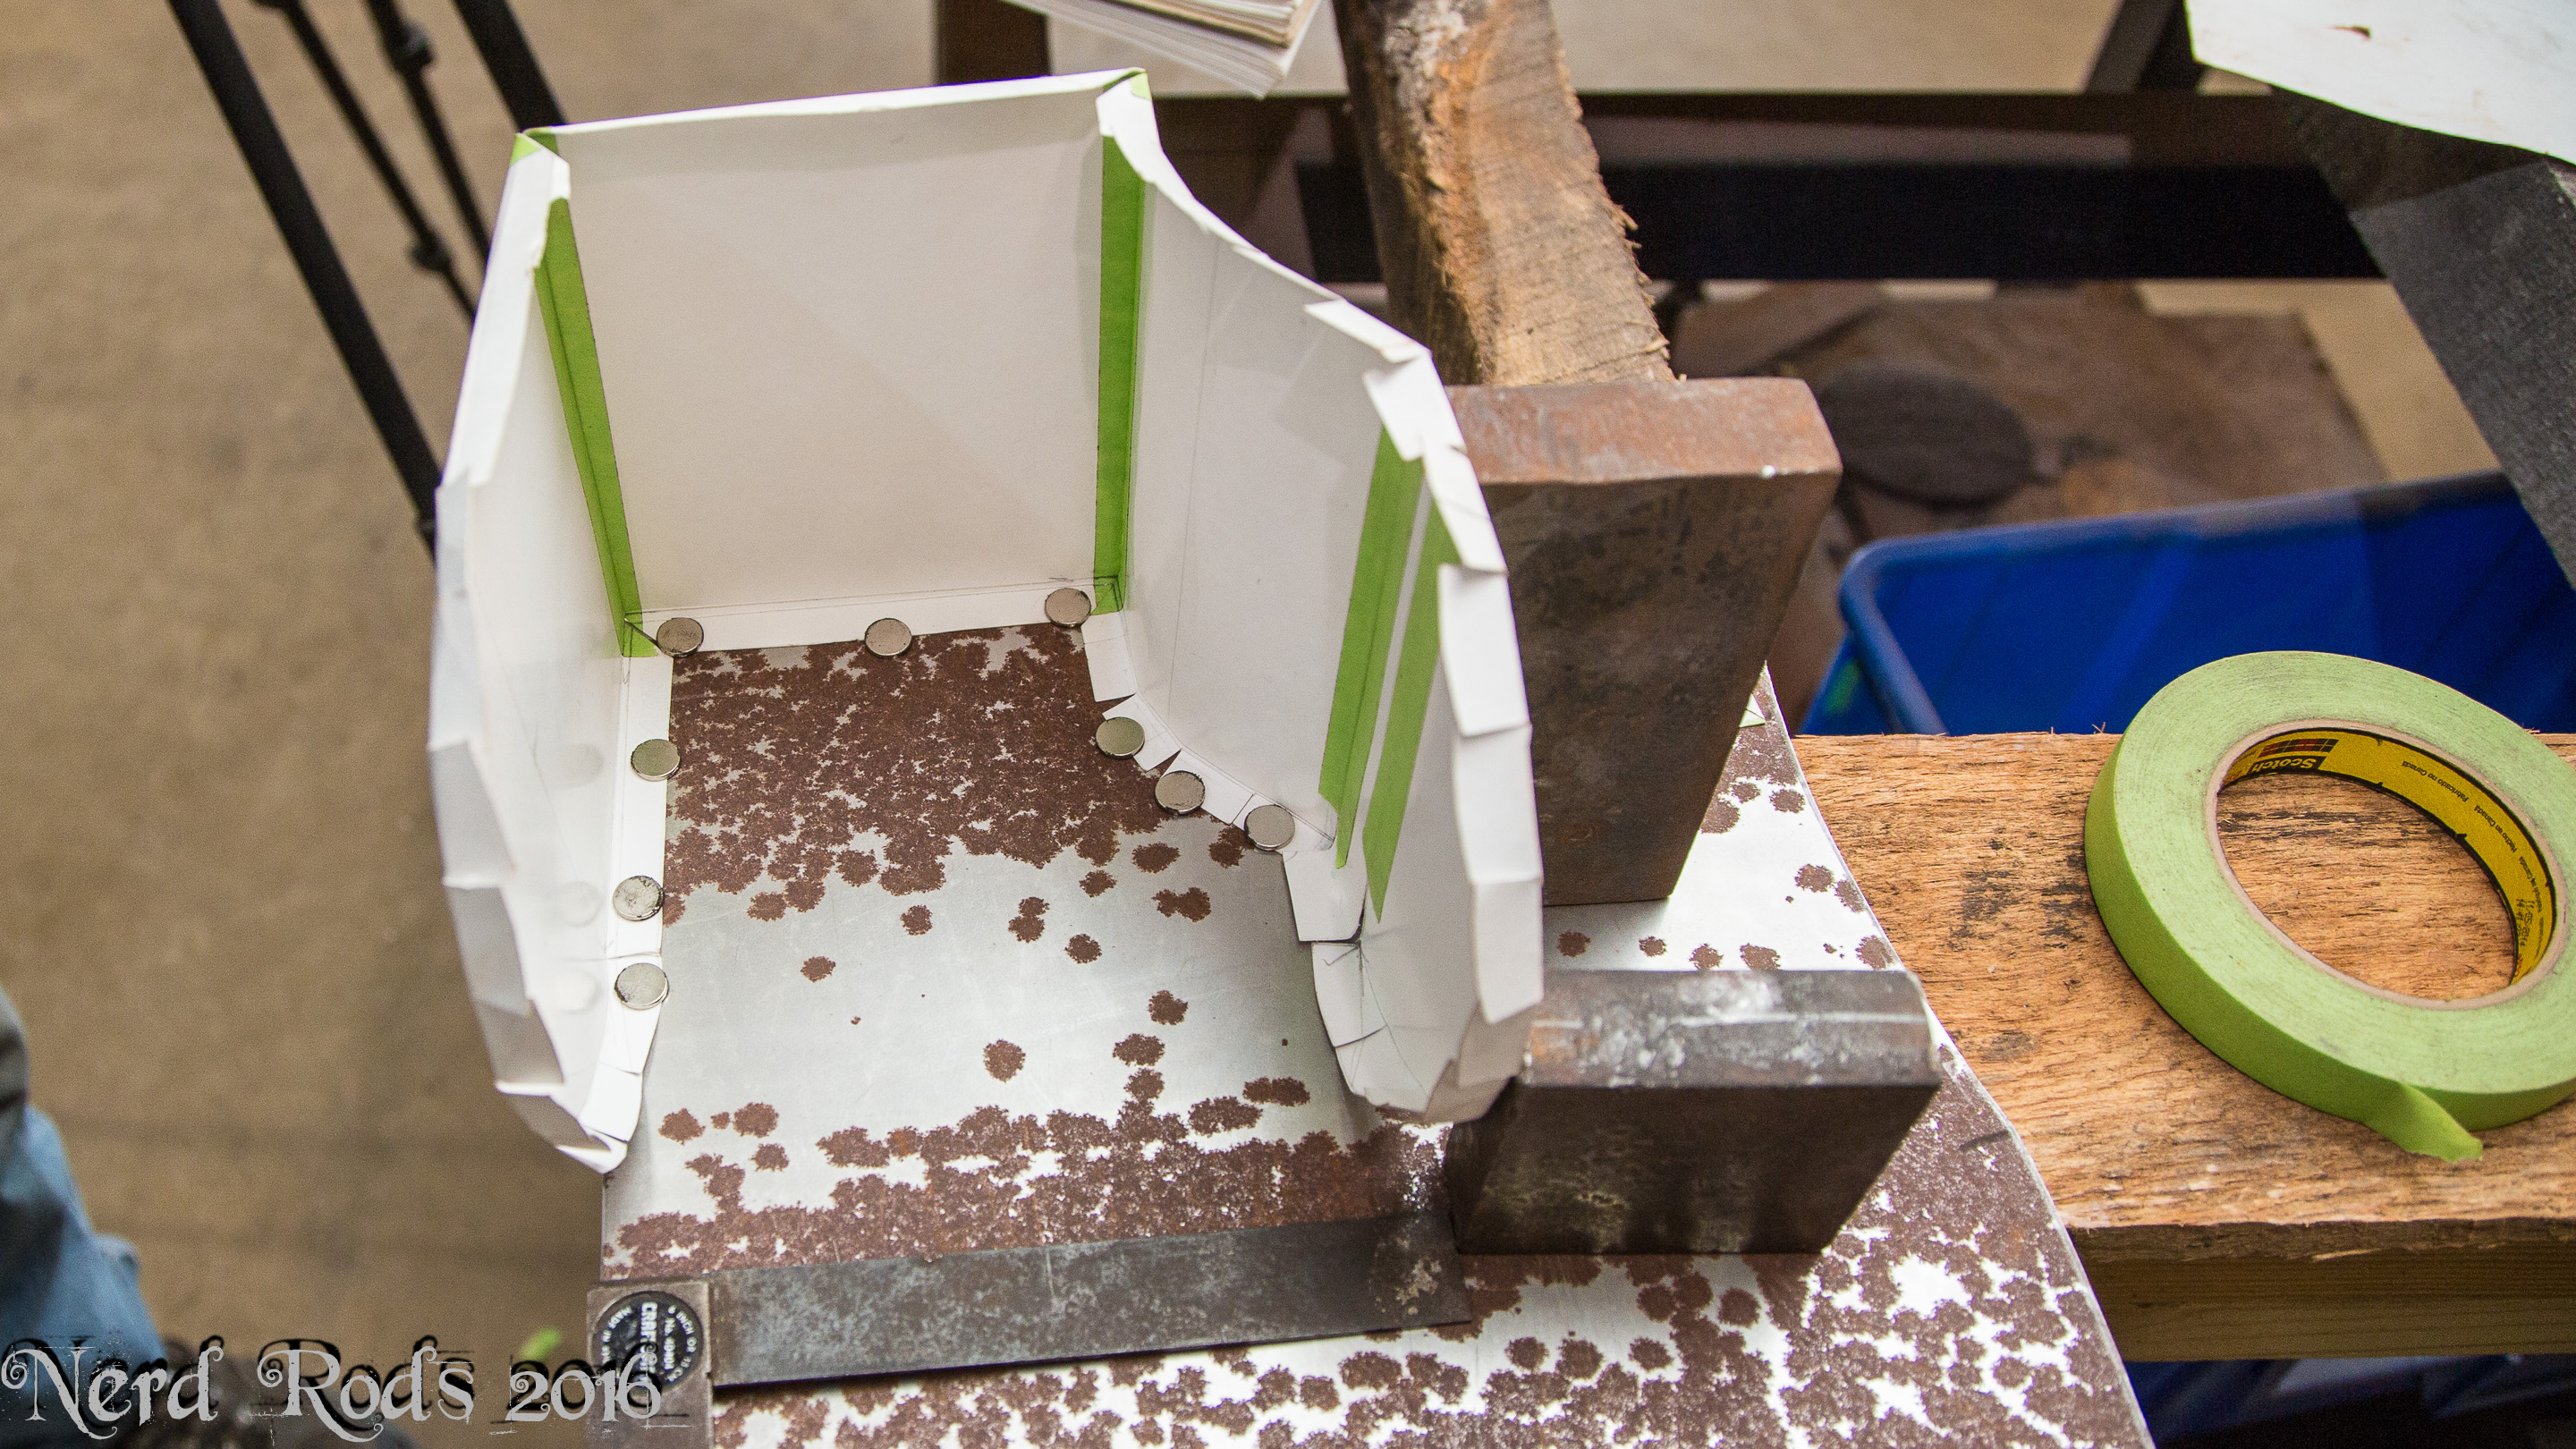
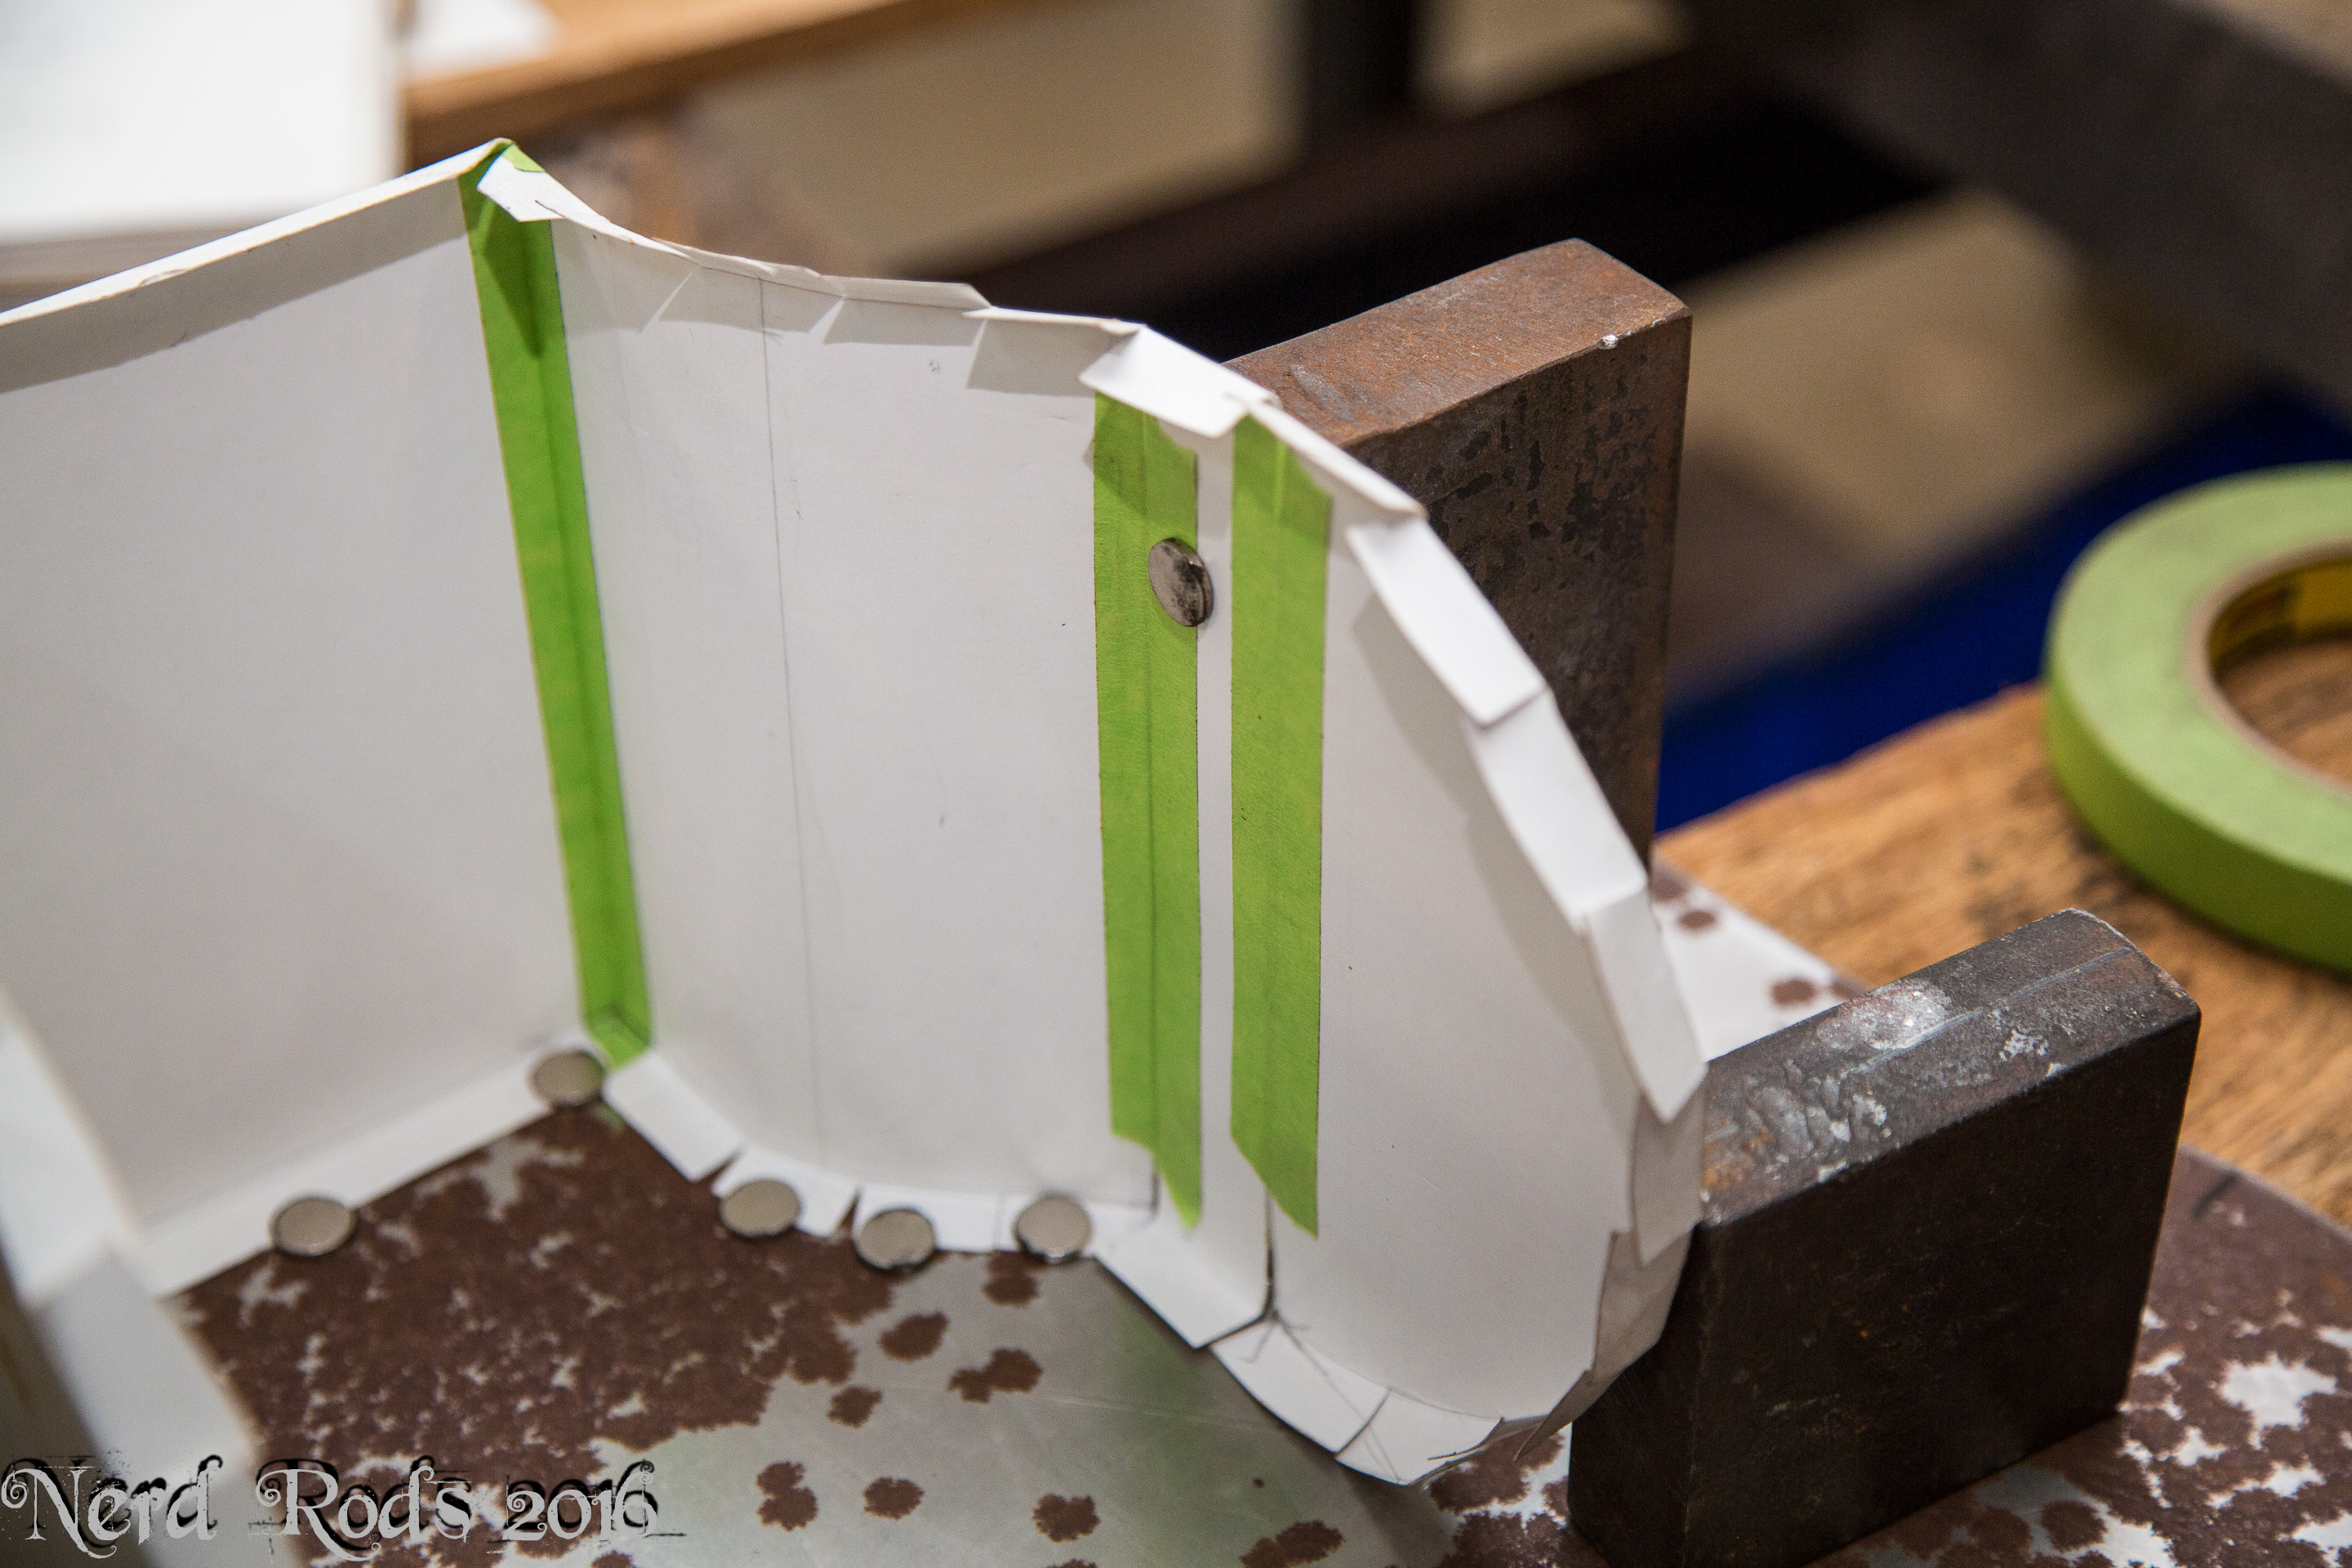
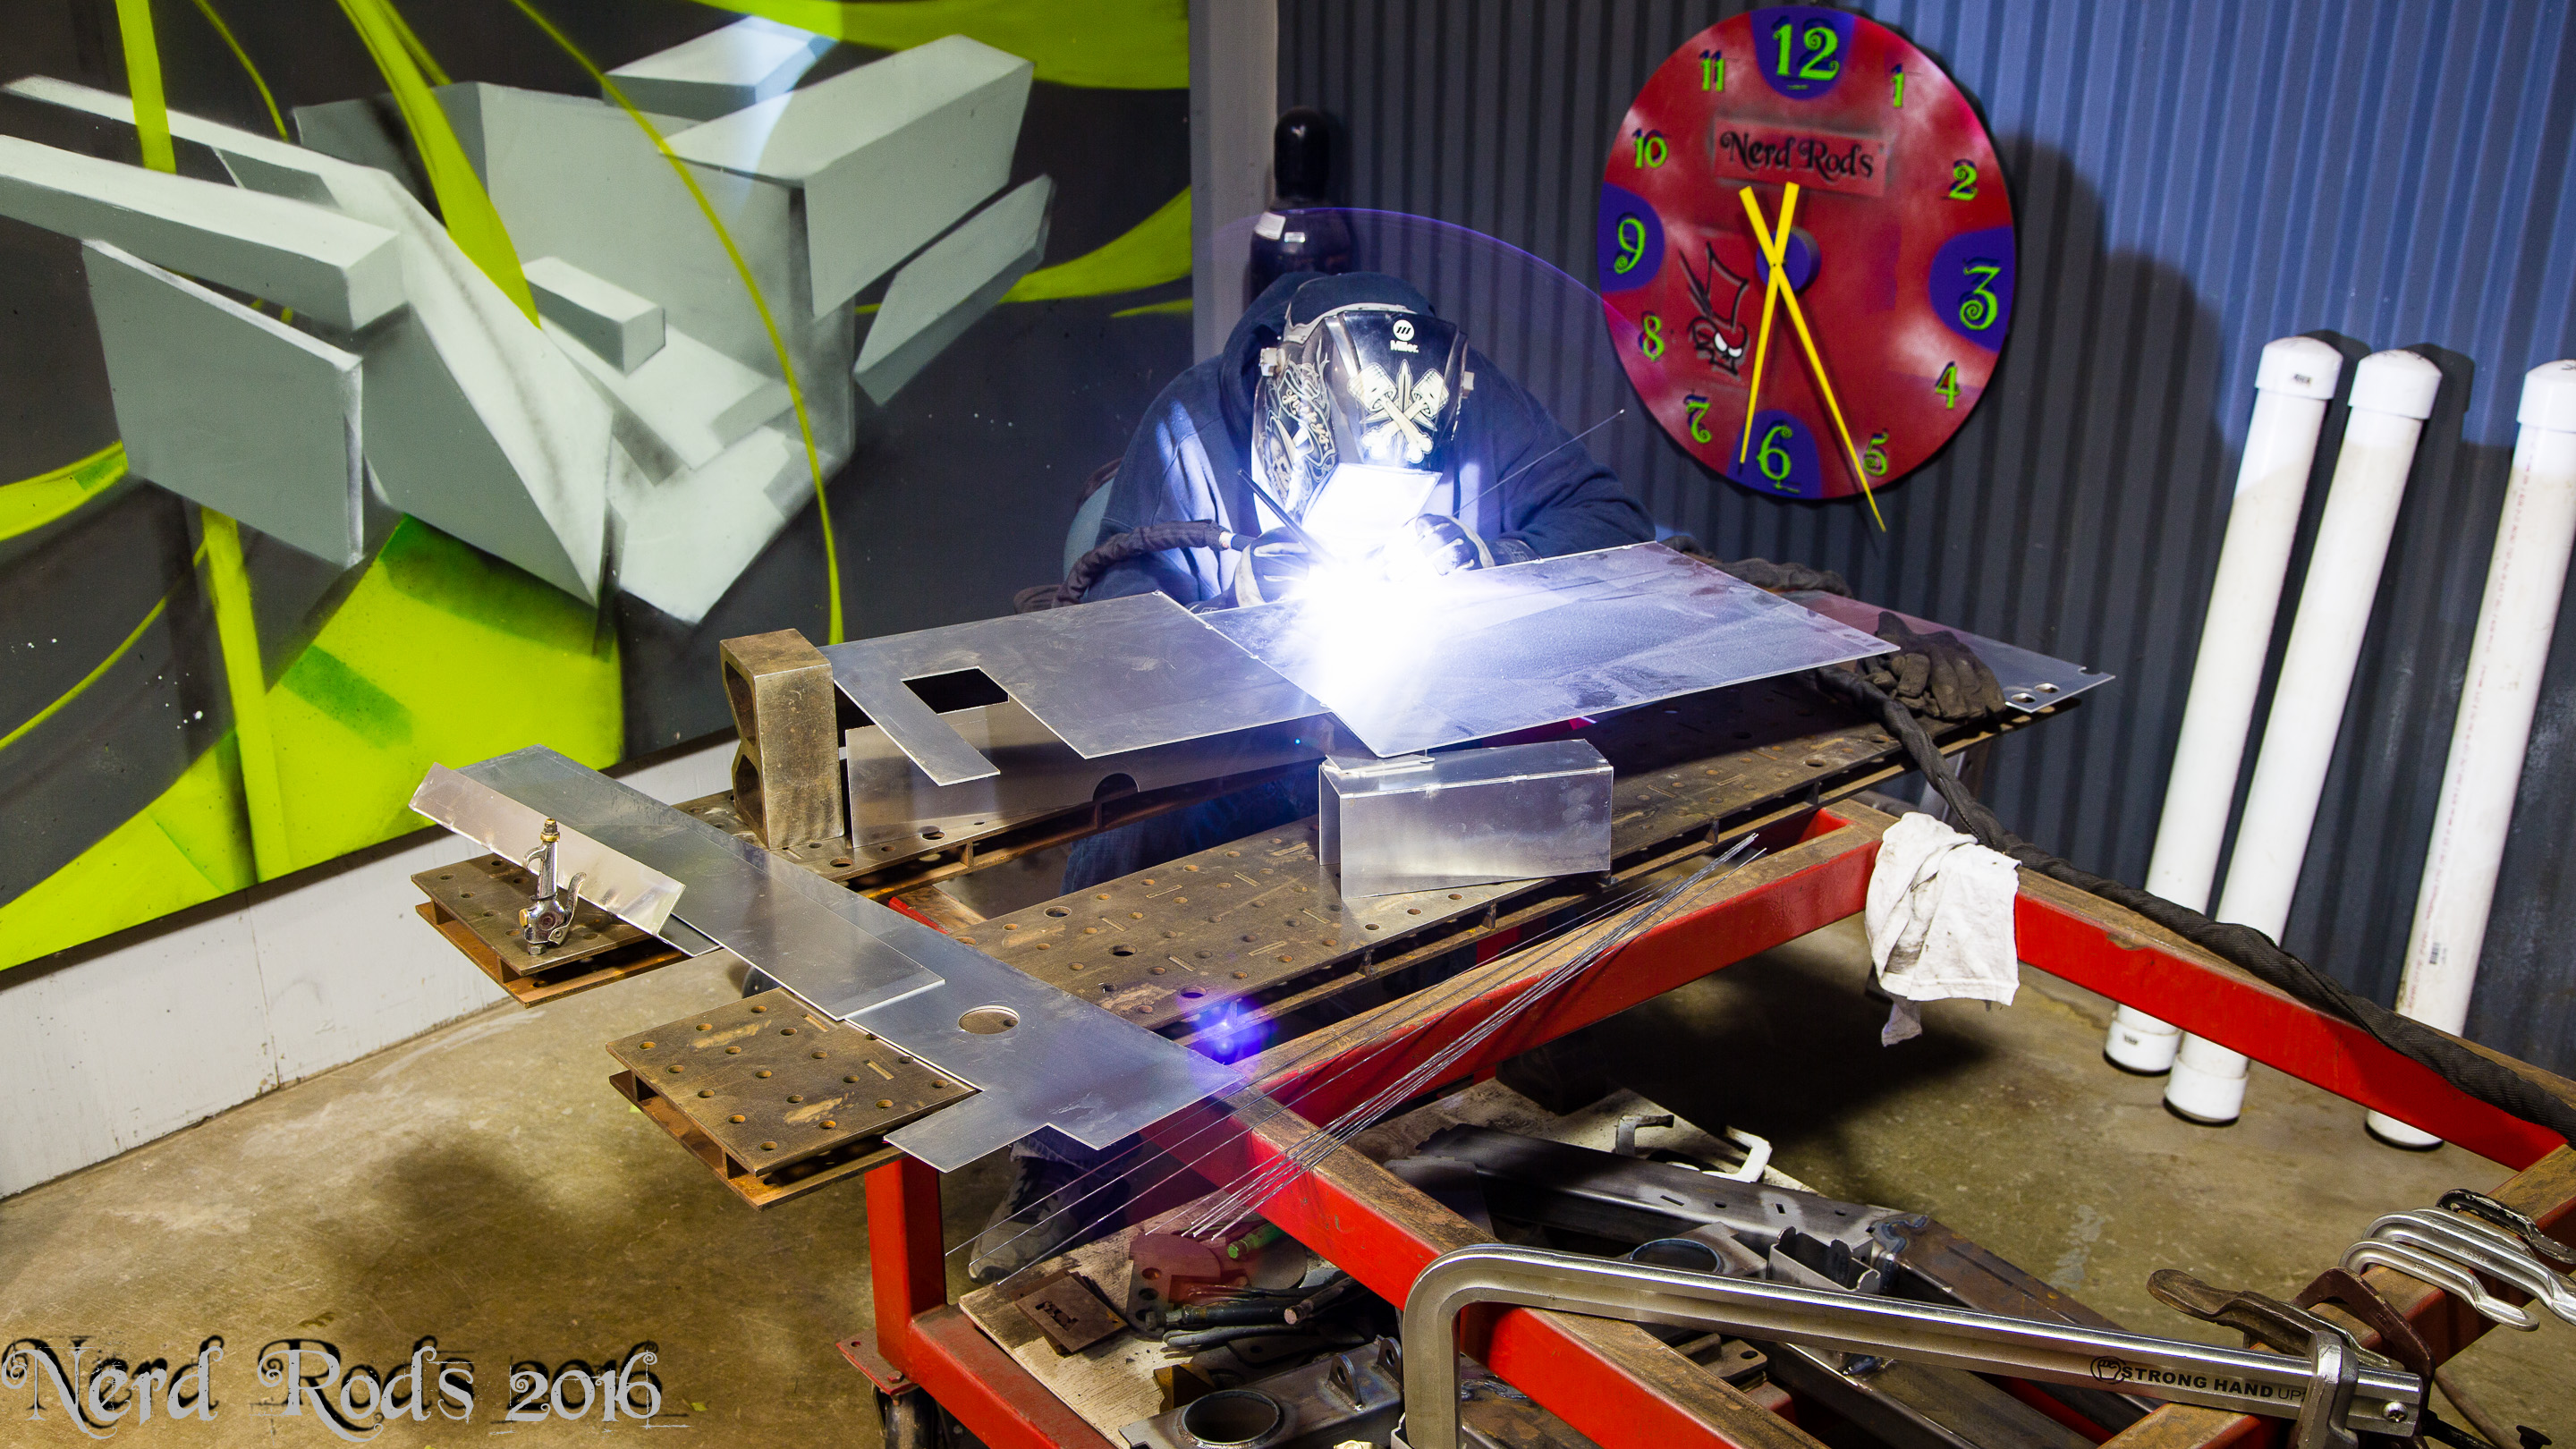
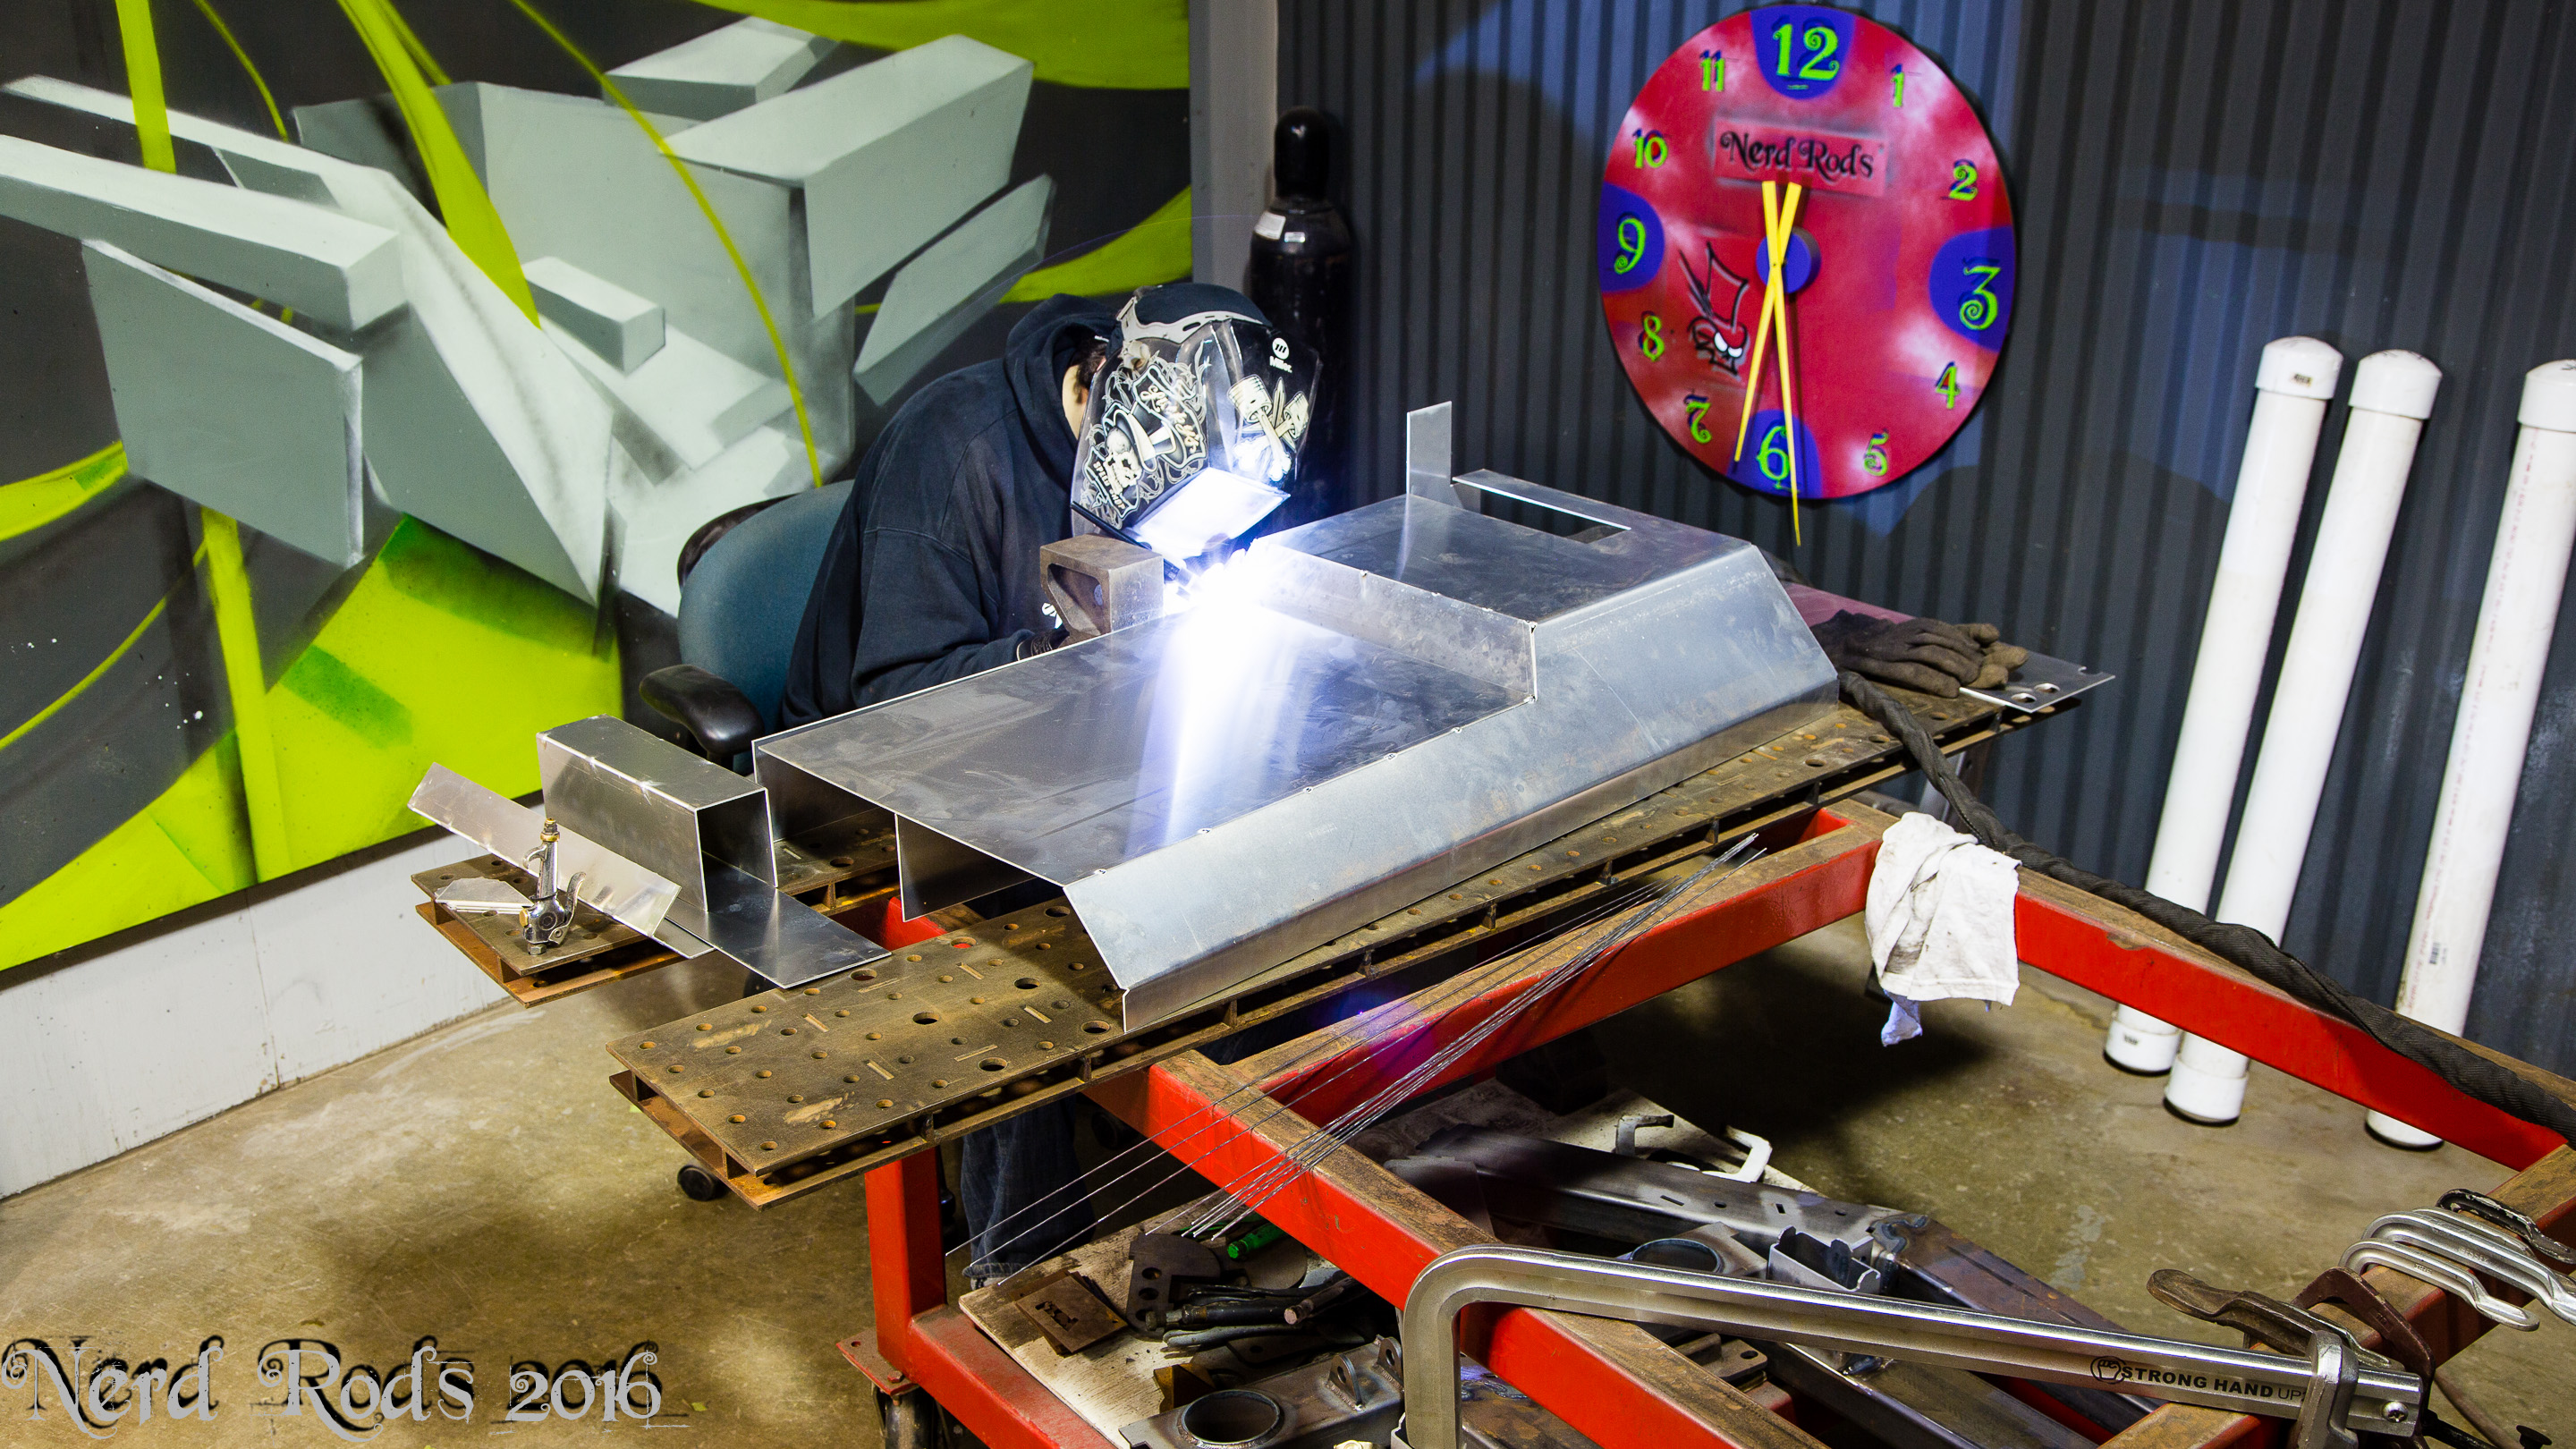
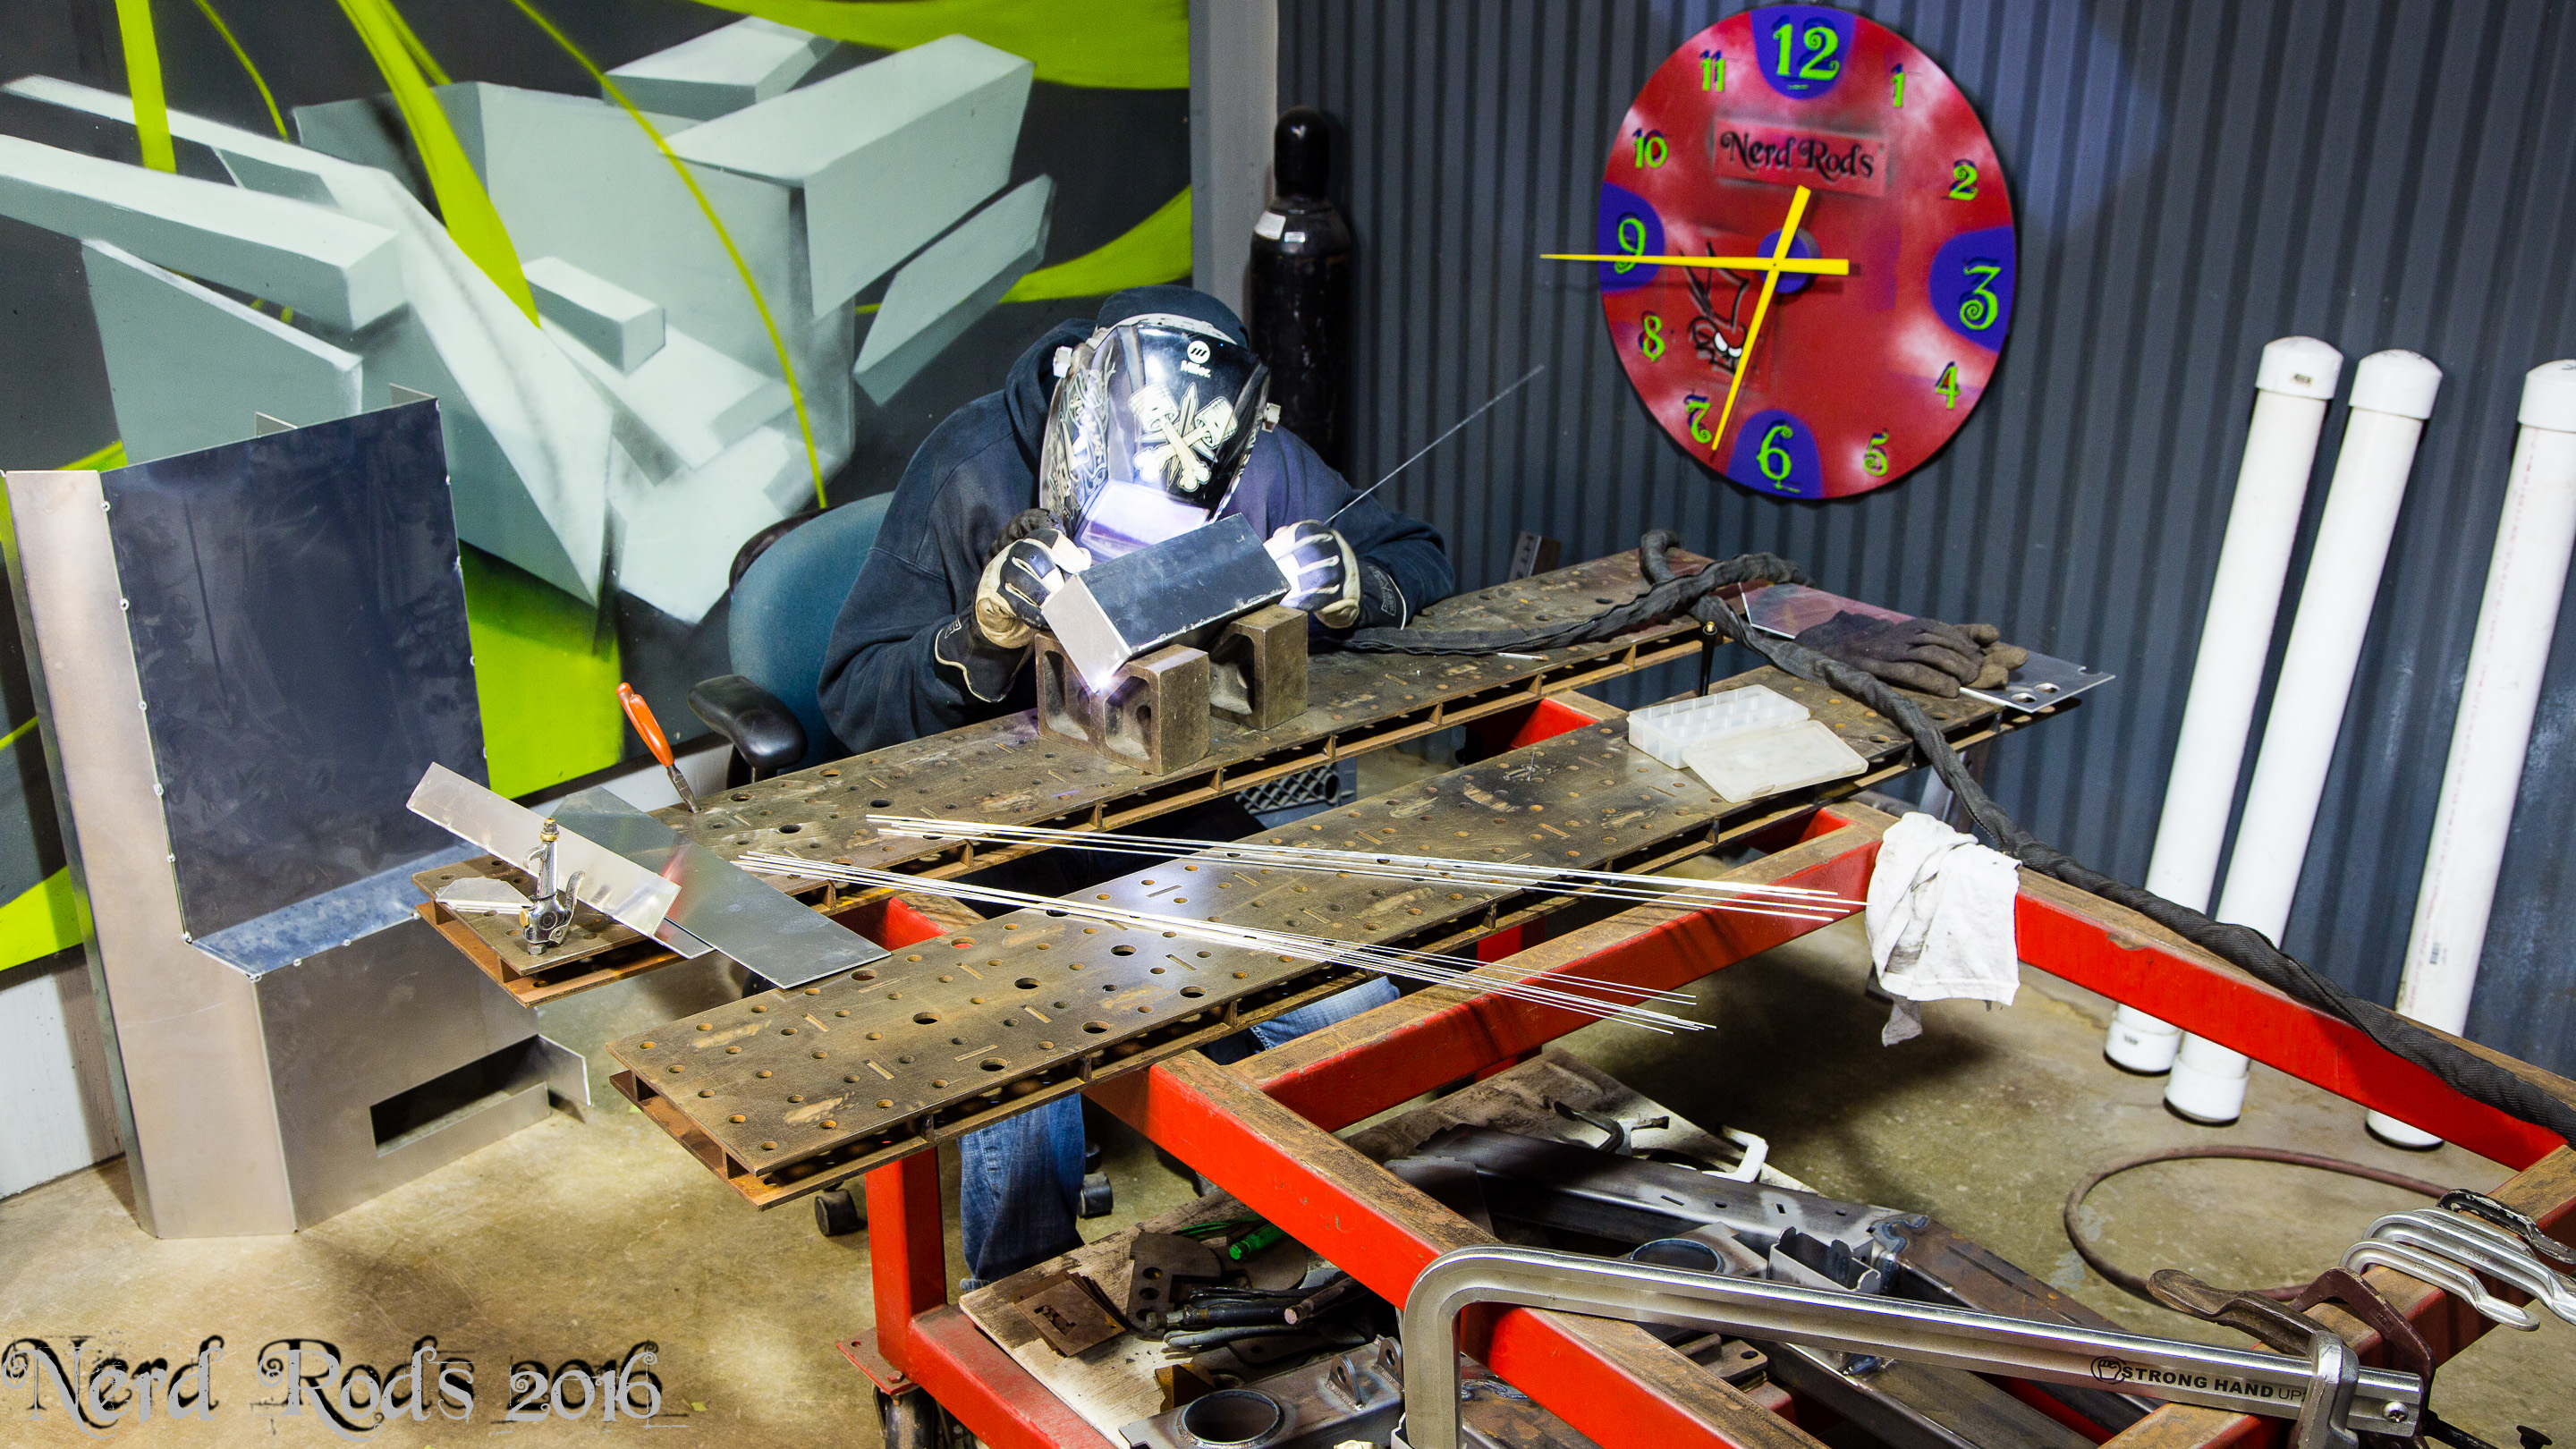
Then it was onto the boost box to feed the turbo. The paper one was the first version but it started getting way to complex so dad nixed it and ended up with the version you see here.
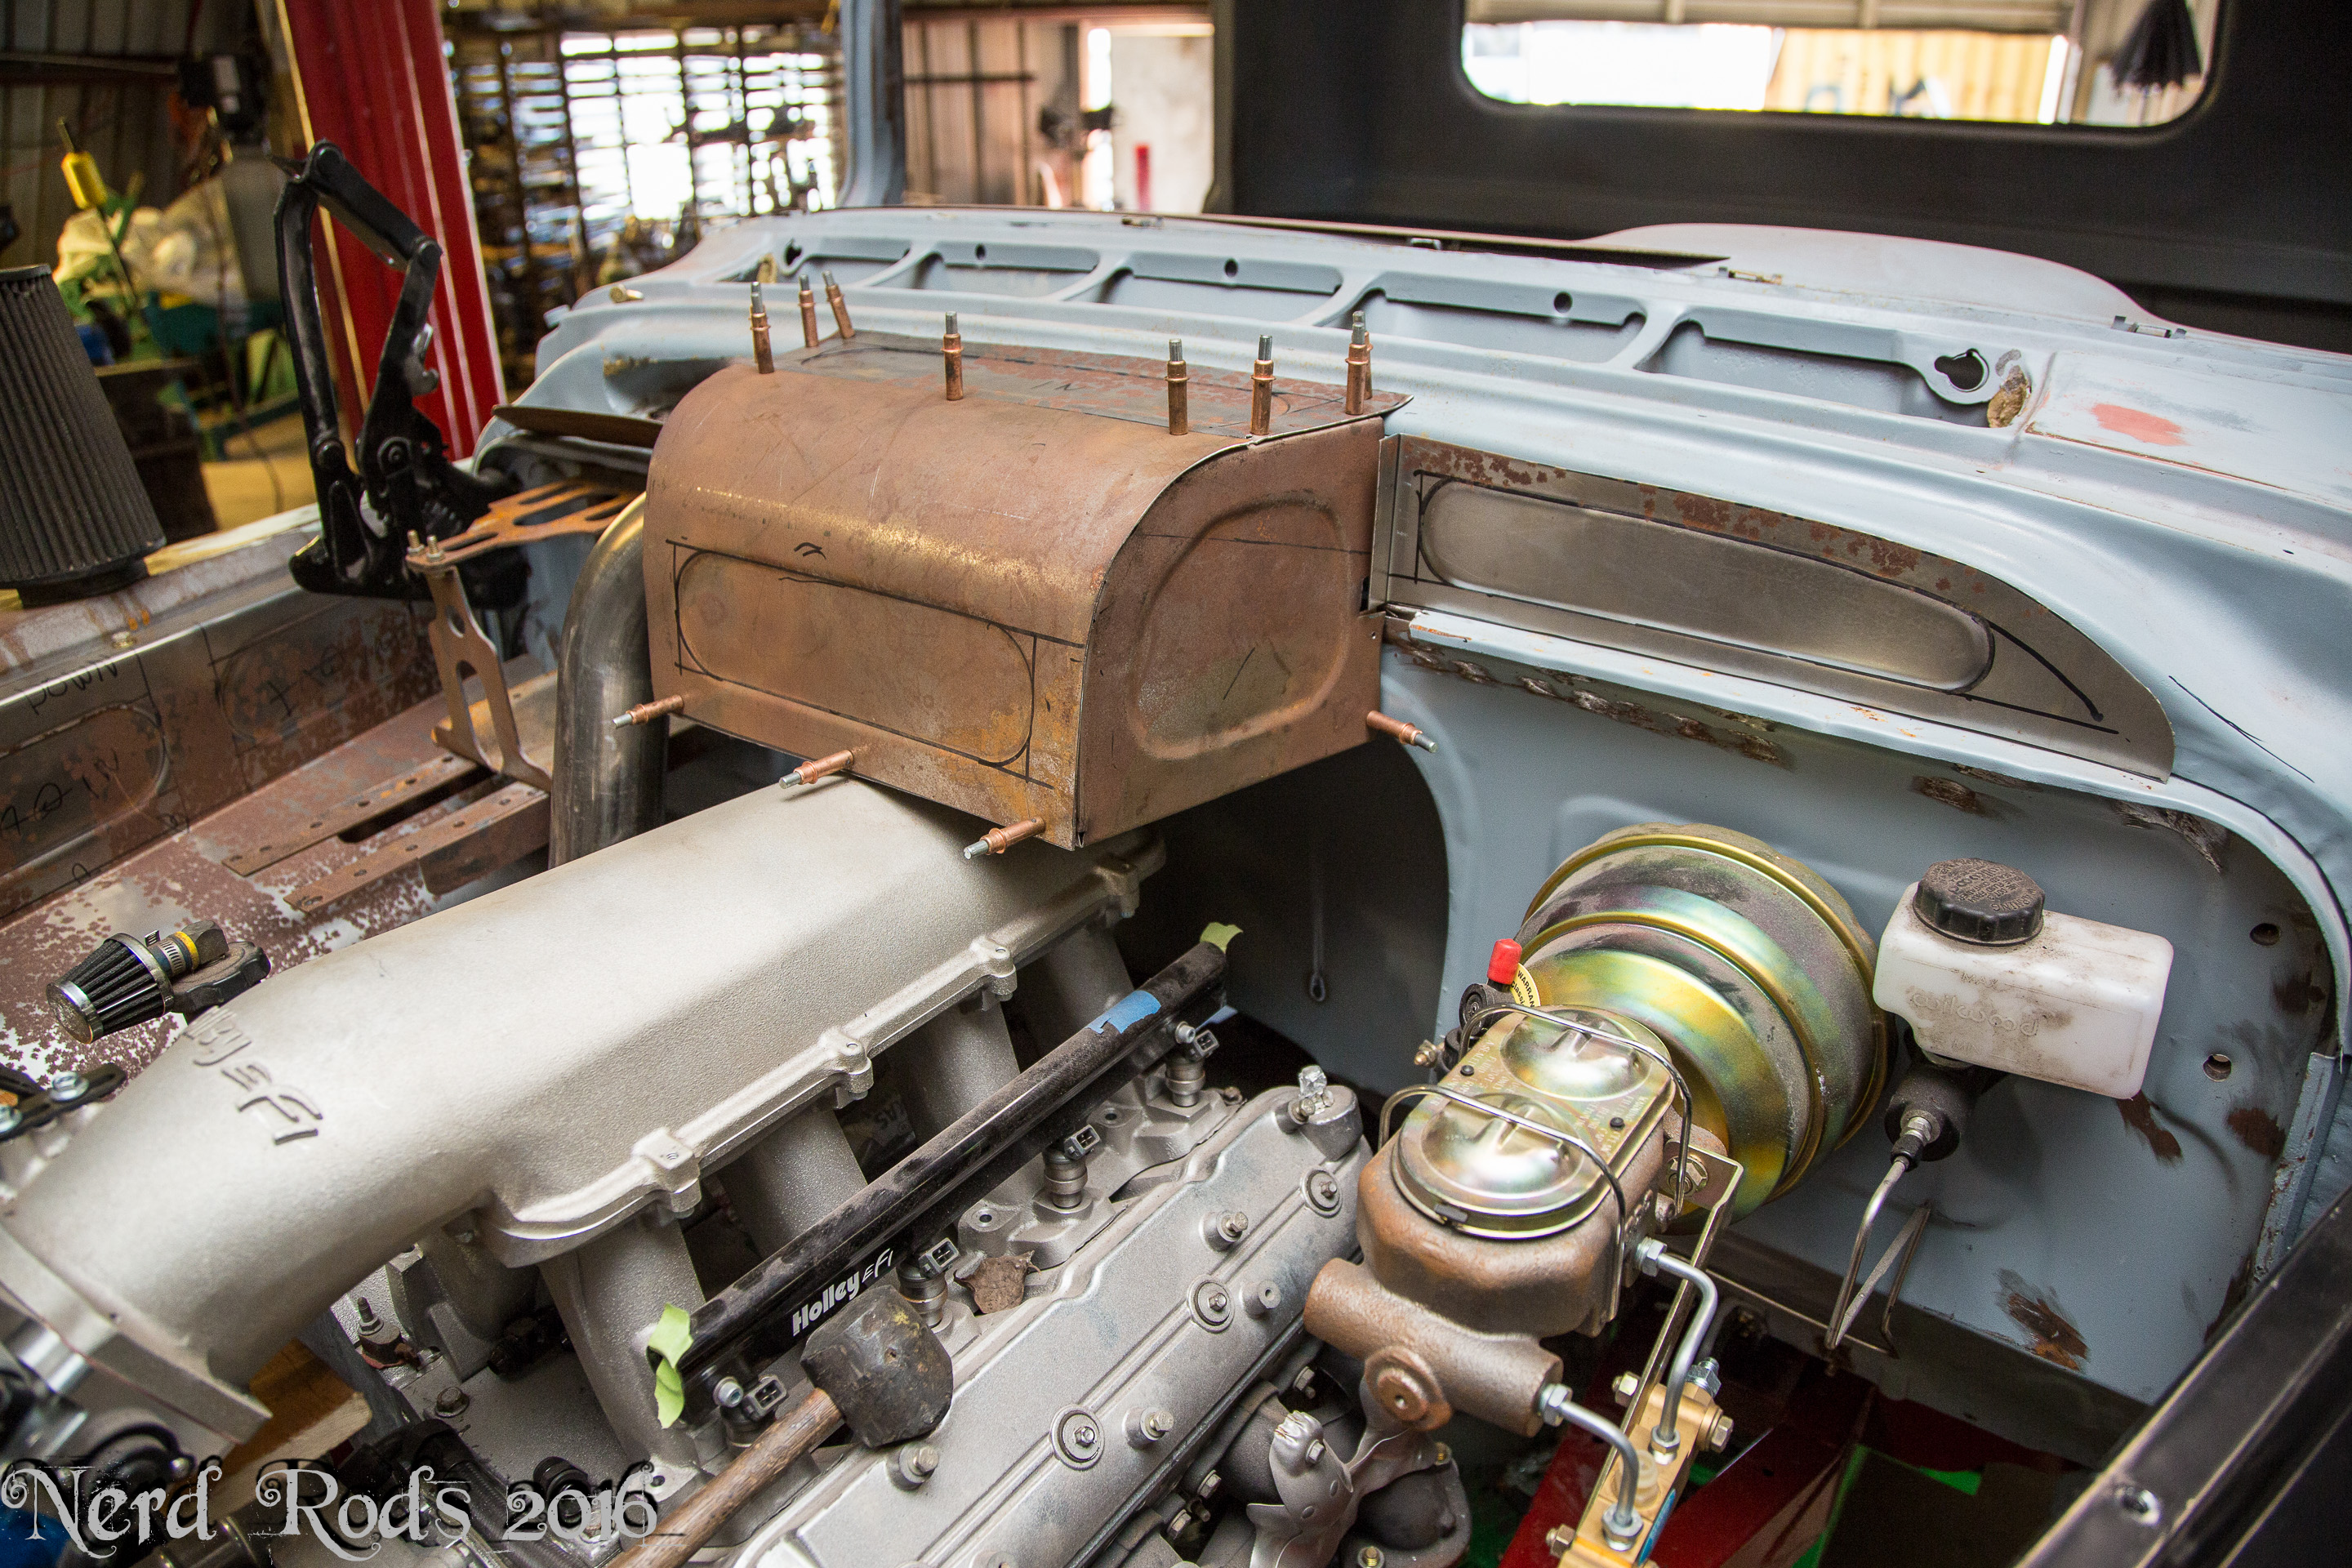
With the fenders done and the cowl induction finished we started talking about all the fluids this thing was going to need and a so Dad moved onto making matching boxes for the coolant over flow, high point steam box and power steering reservoir.
Meanwhile I’m working on a timelapse video of the fuel tank build.
More much sooner than this last gap. I'm also going to update George's project in the next few days.
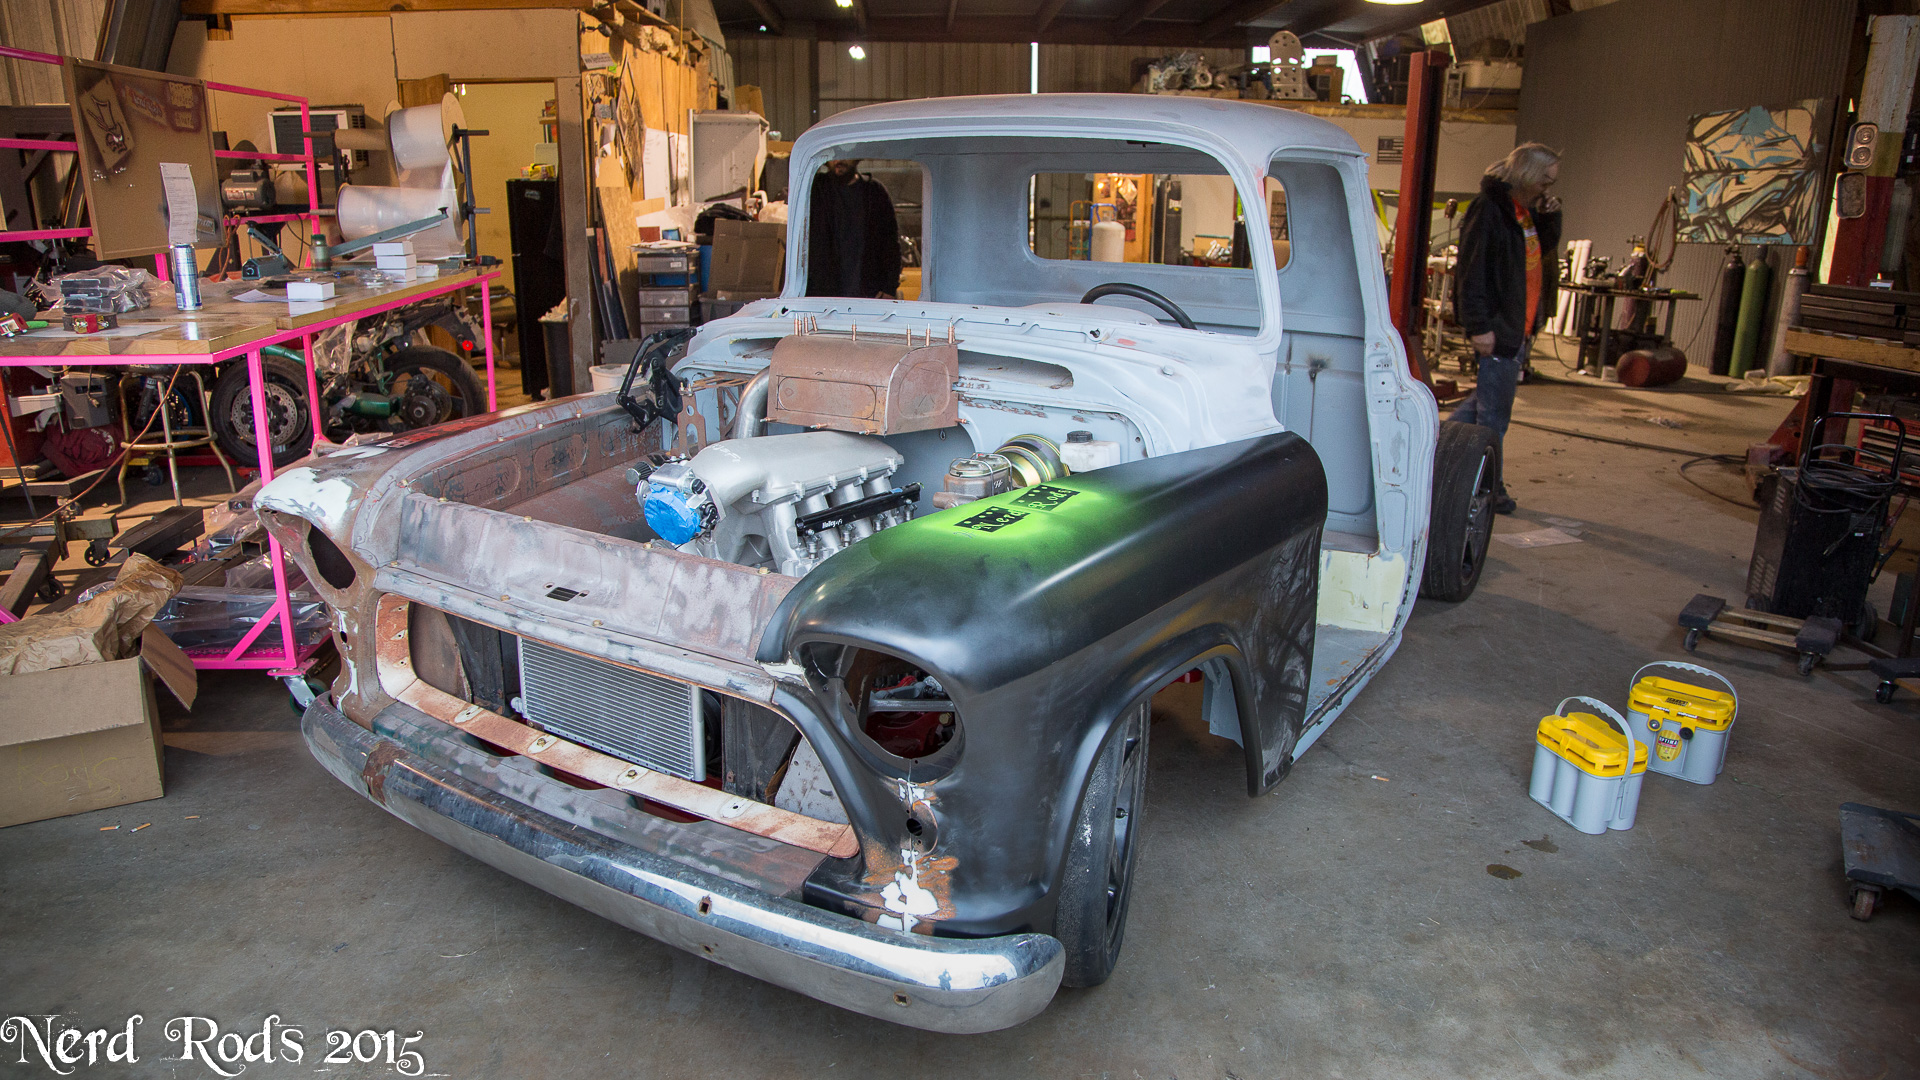
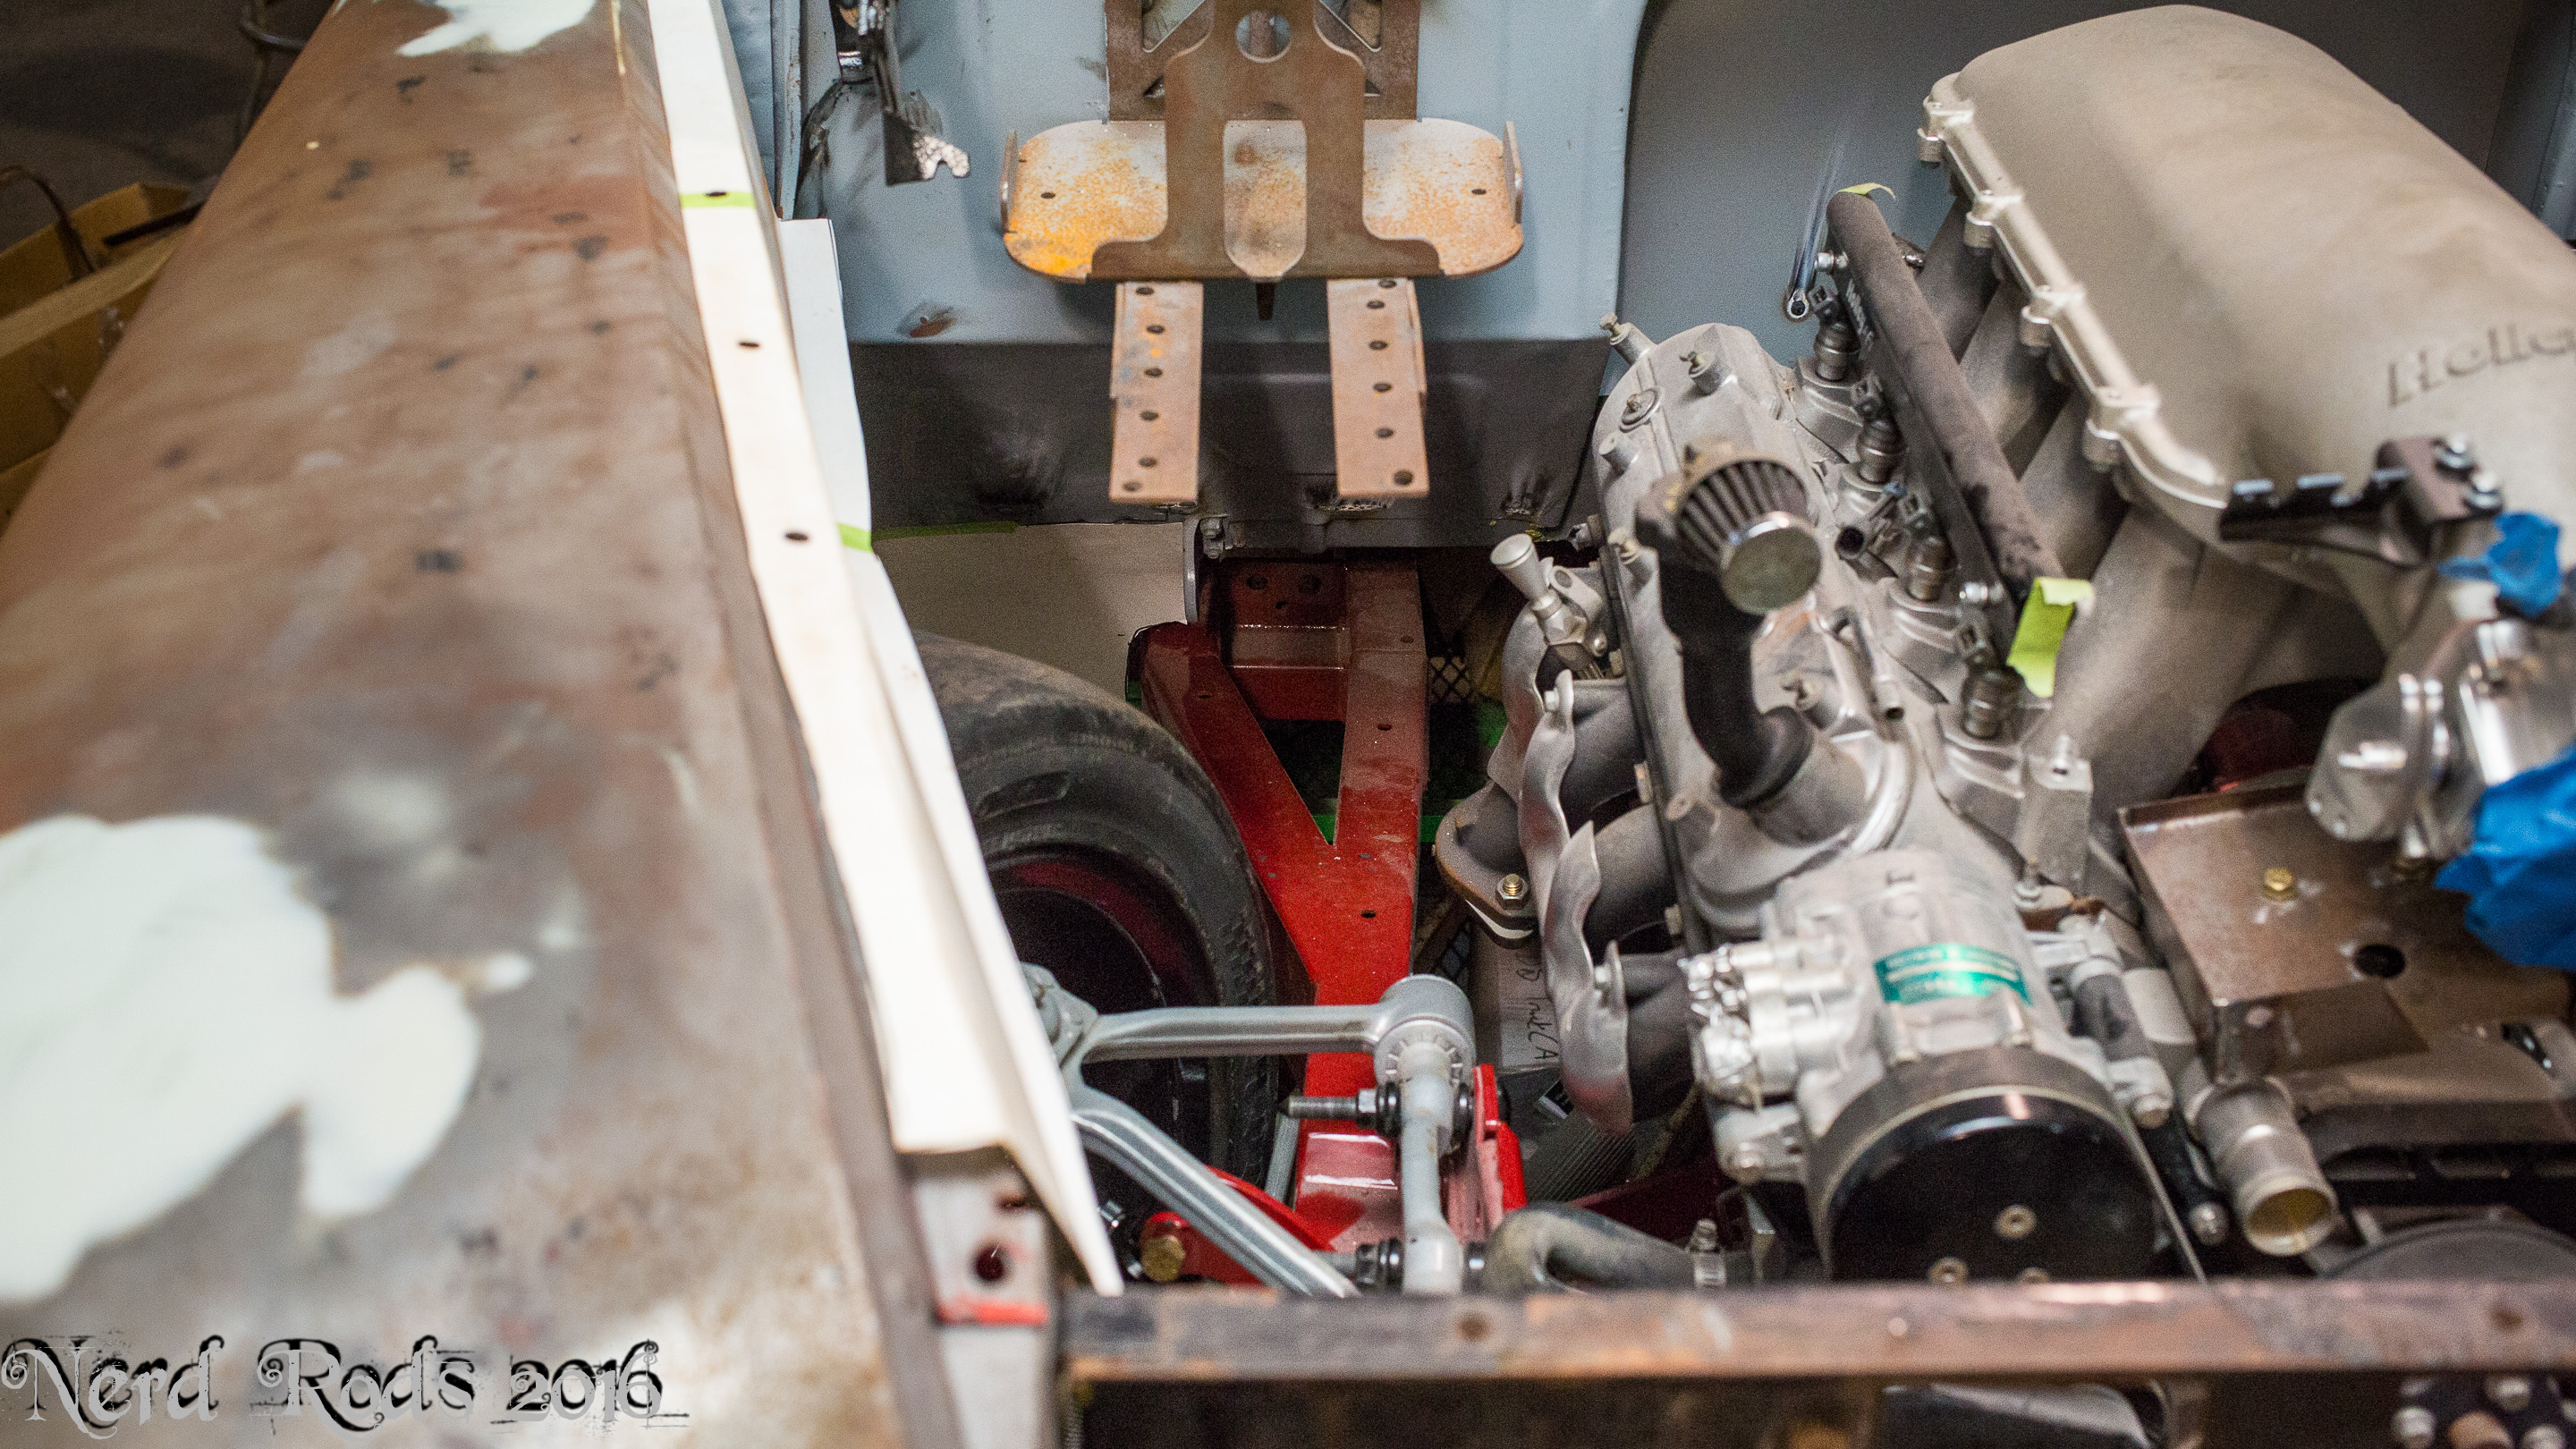
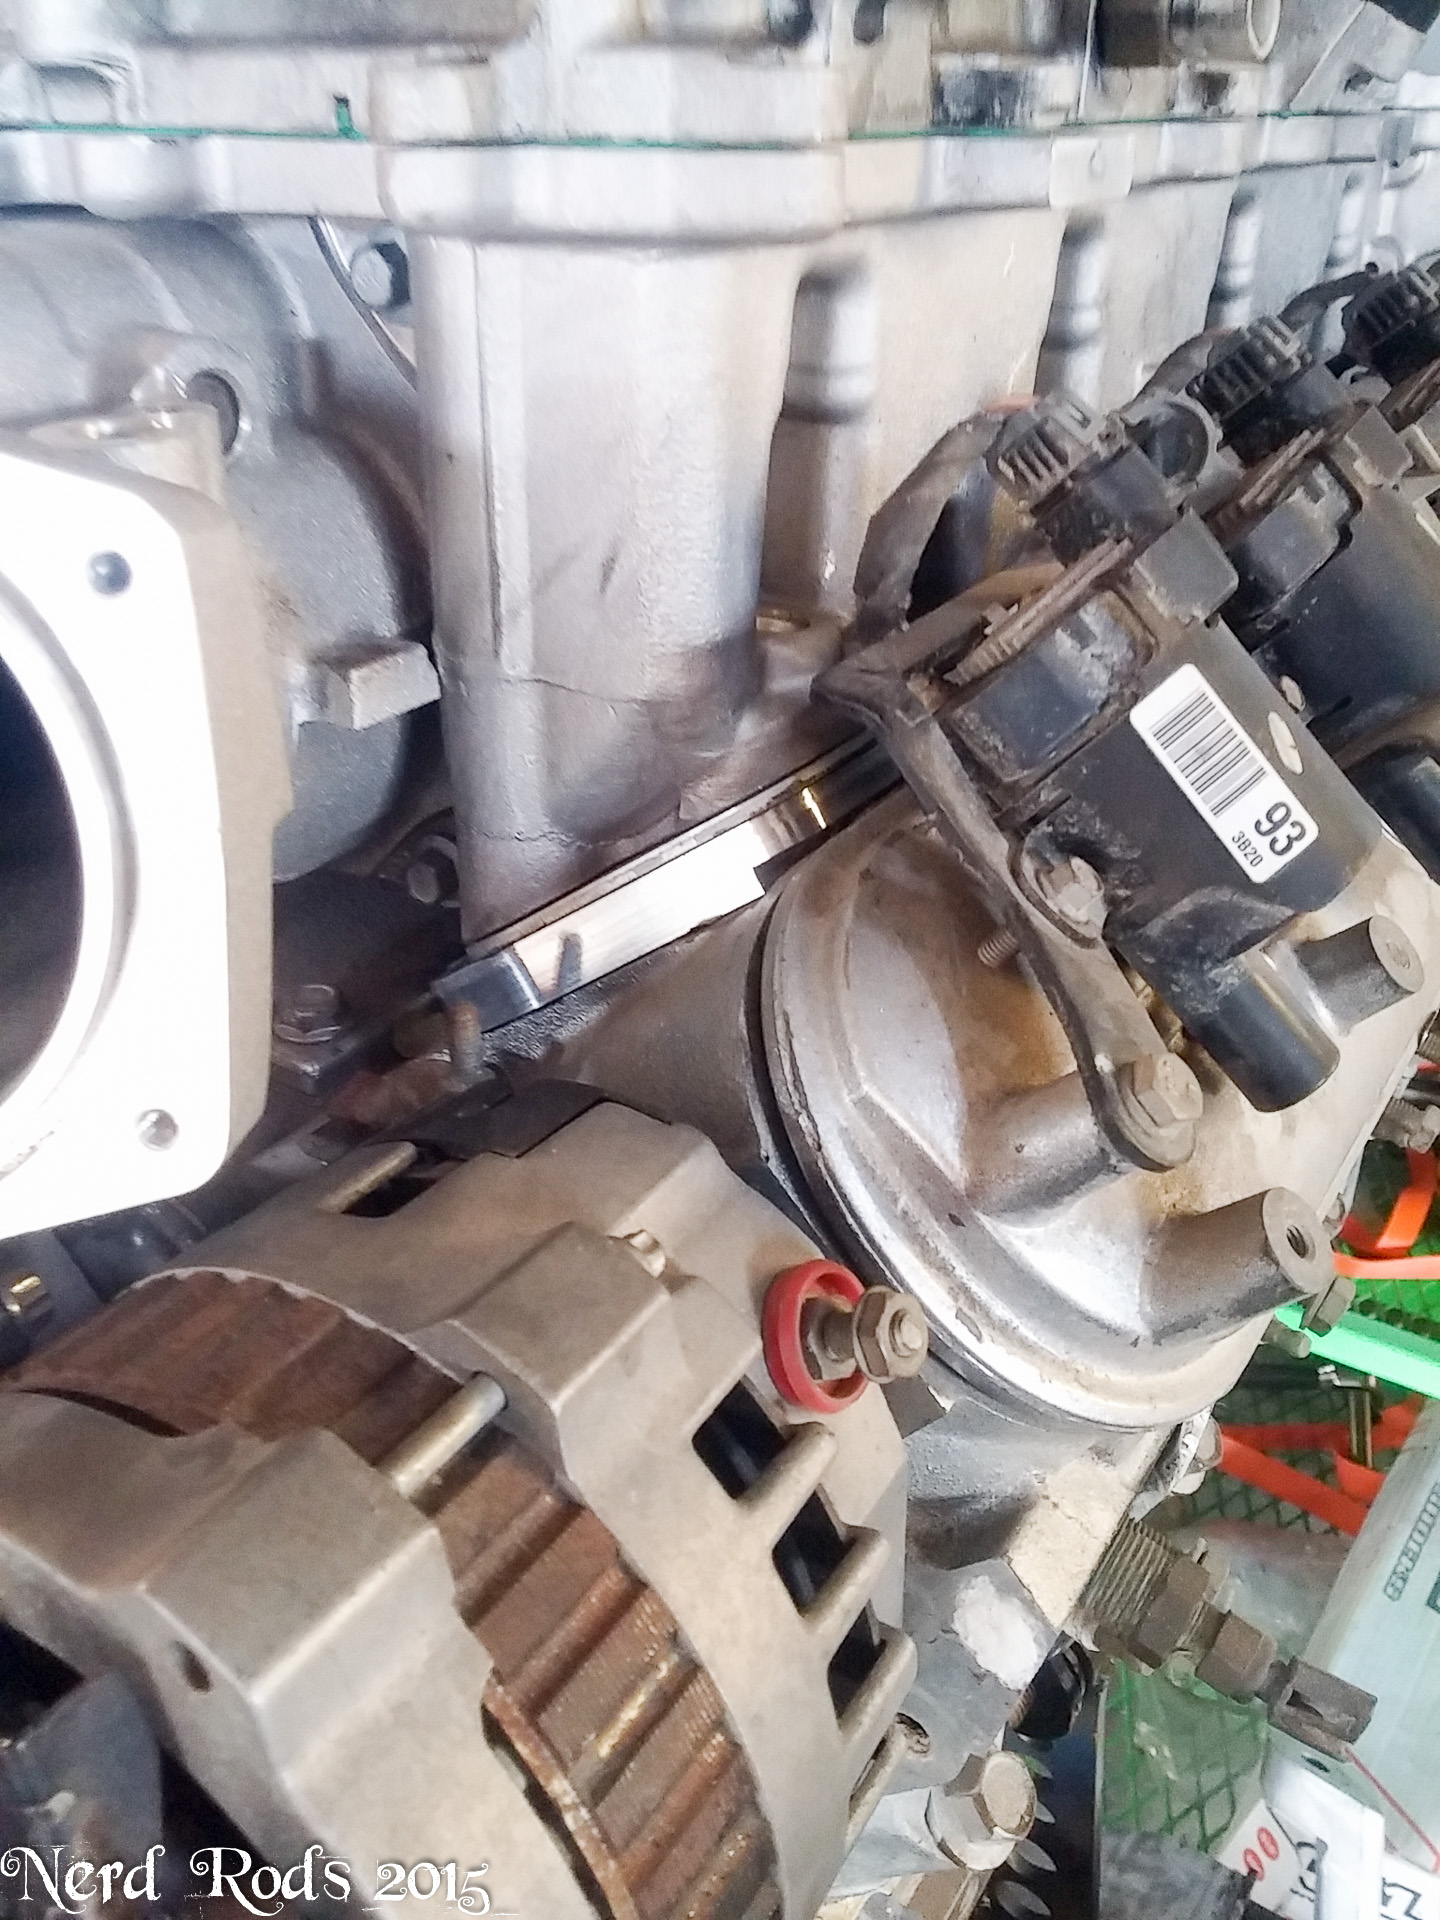
So it turns out this was part of the turbo trade since he won't need it any longer. Man that high rise and 105mm TB look mean on there. Jim also mocked up the inner fenders to get them cut down at the bottom to clear the A frames and suspension.

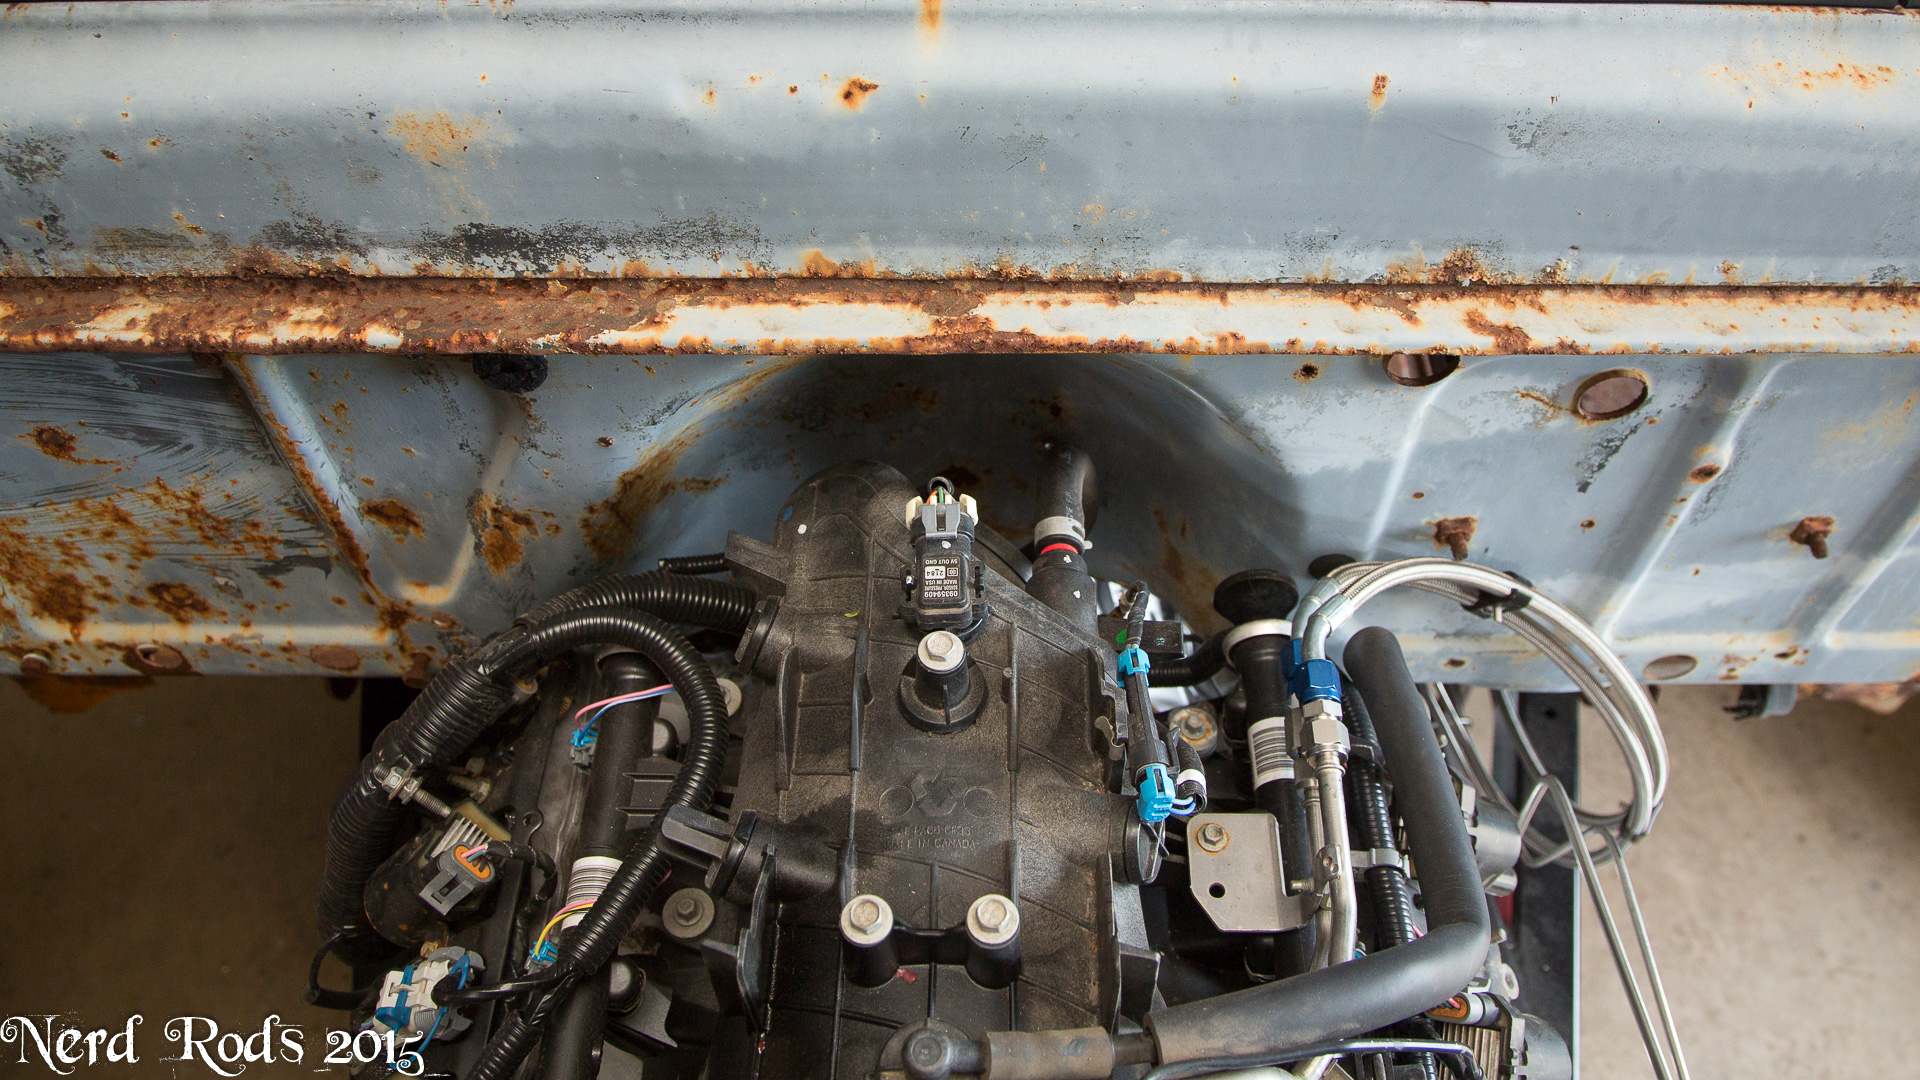
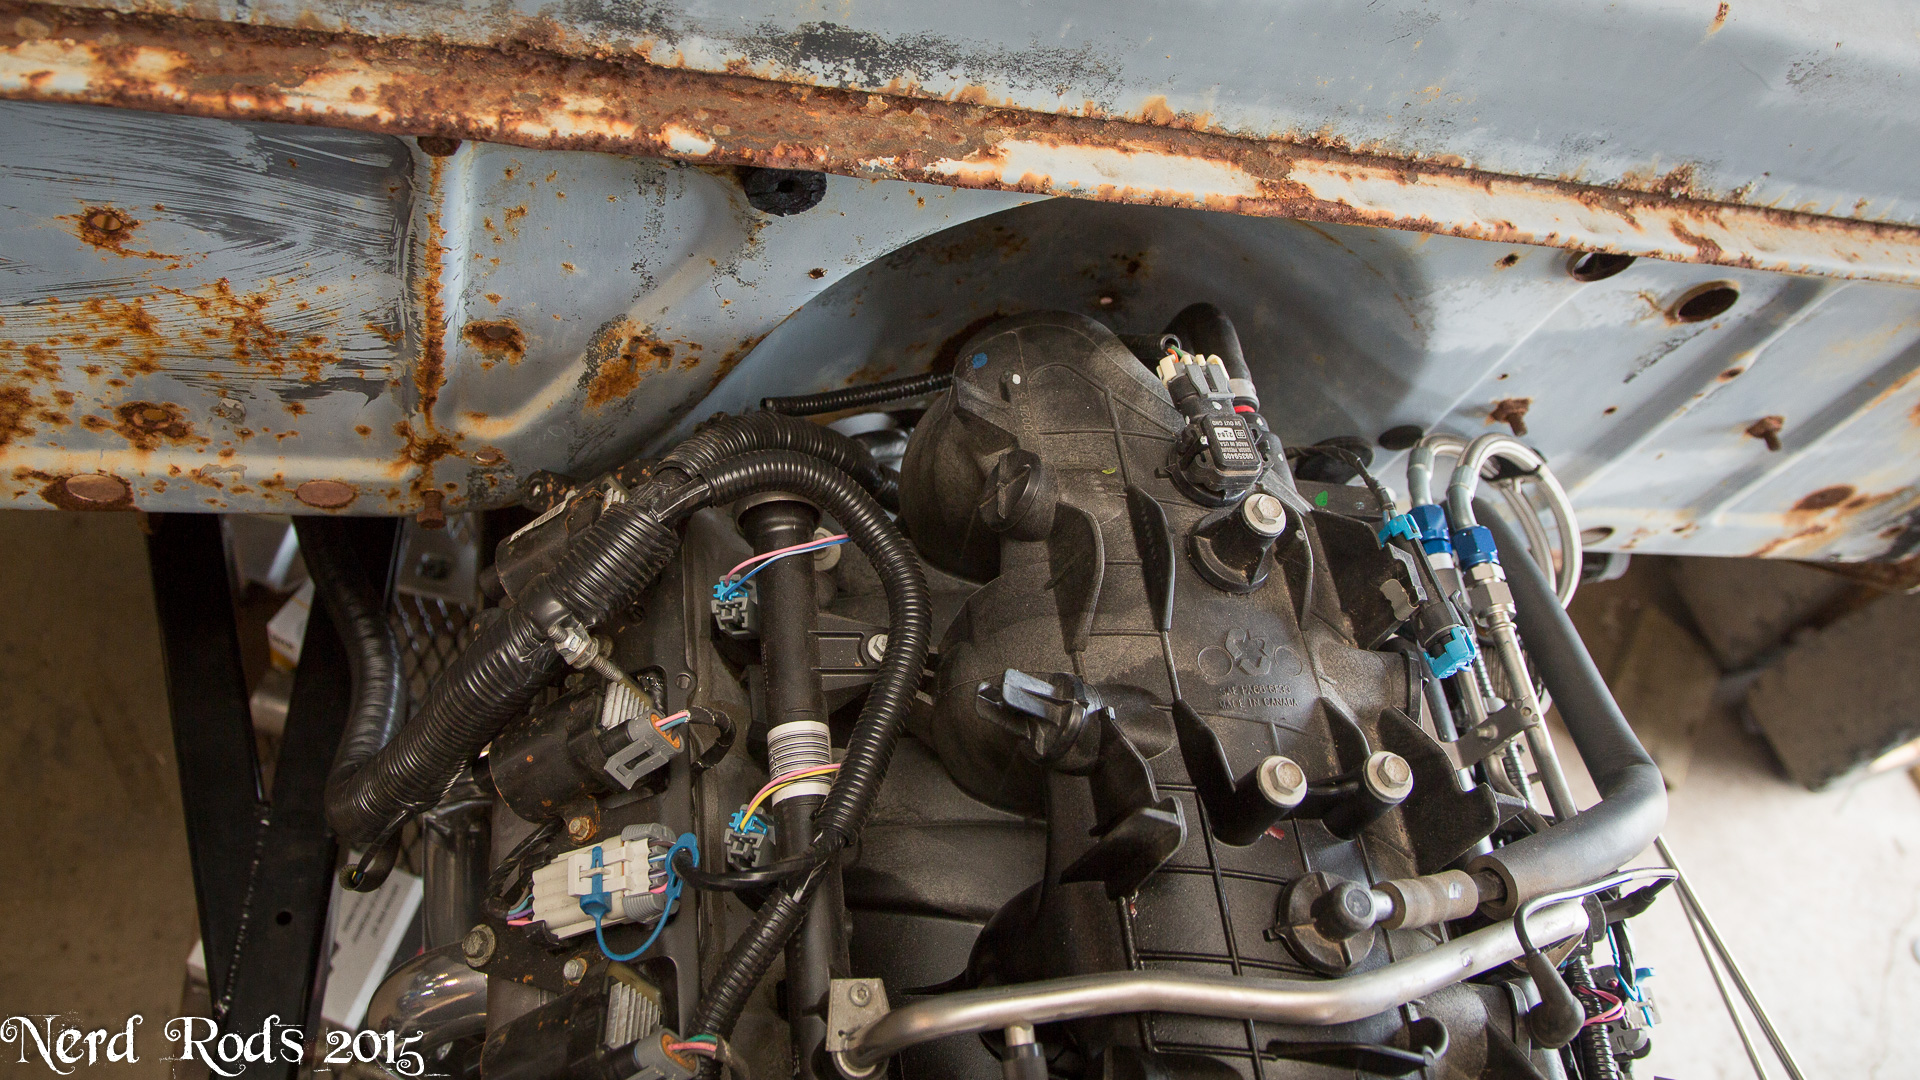
We're also looking at room for the turbo piping and other clearances on both sides of the engine. Thinking about a liquid to air intercooler as well as some other goodies under here. Mostly AC and Heater lines and dust protection from the environment. I'd like to keep it clean under the hood as best as possible.
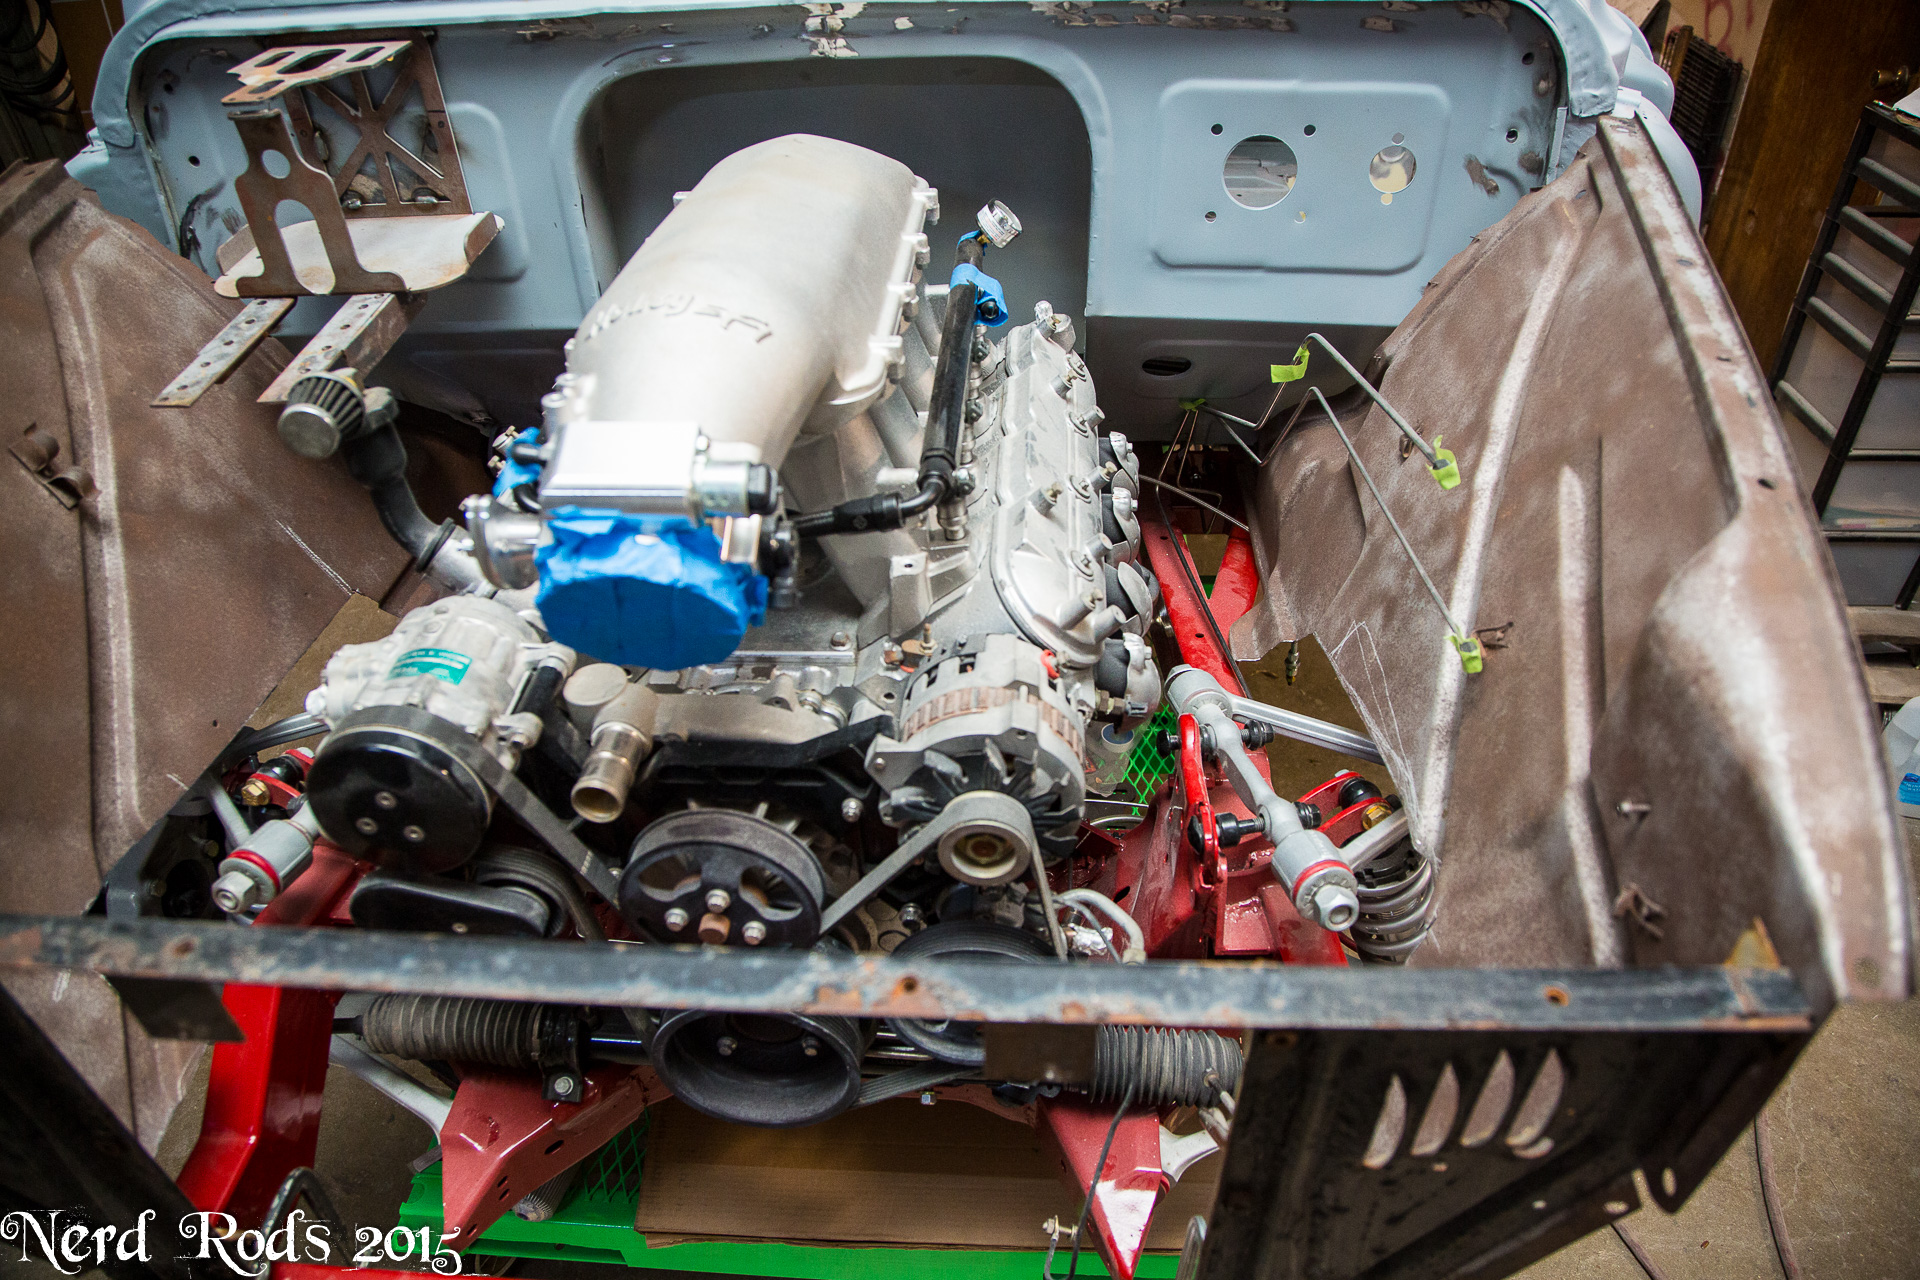

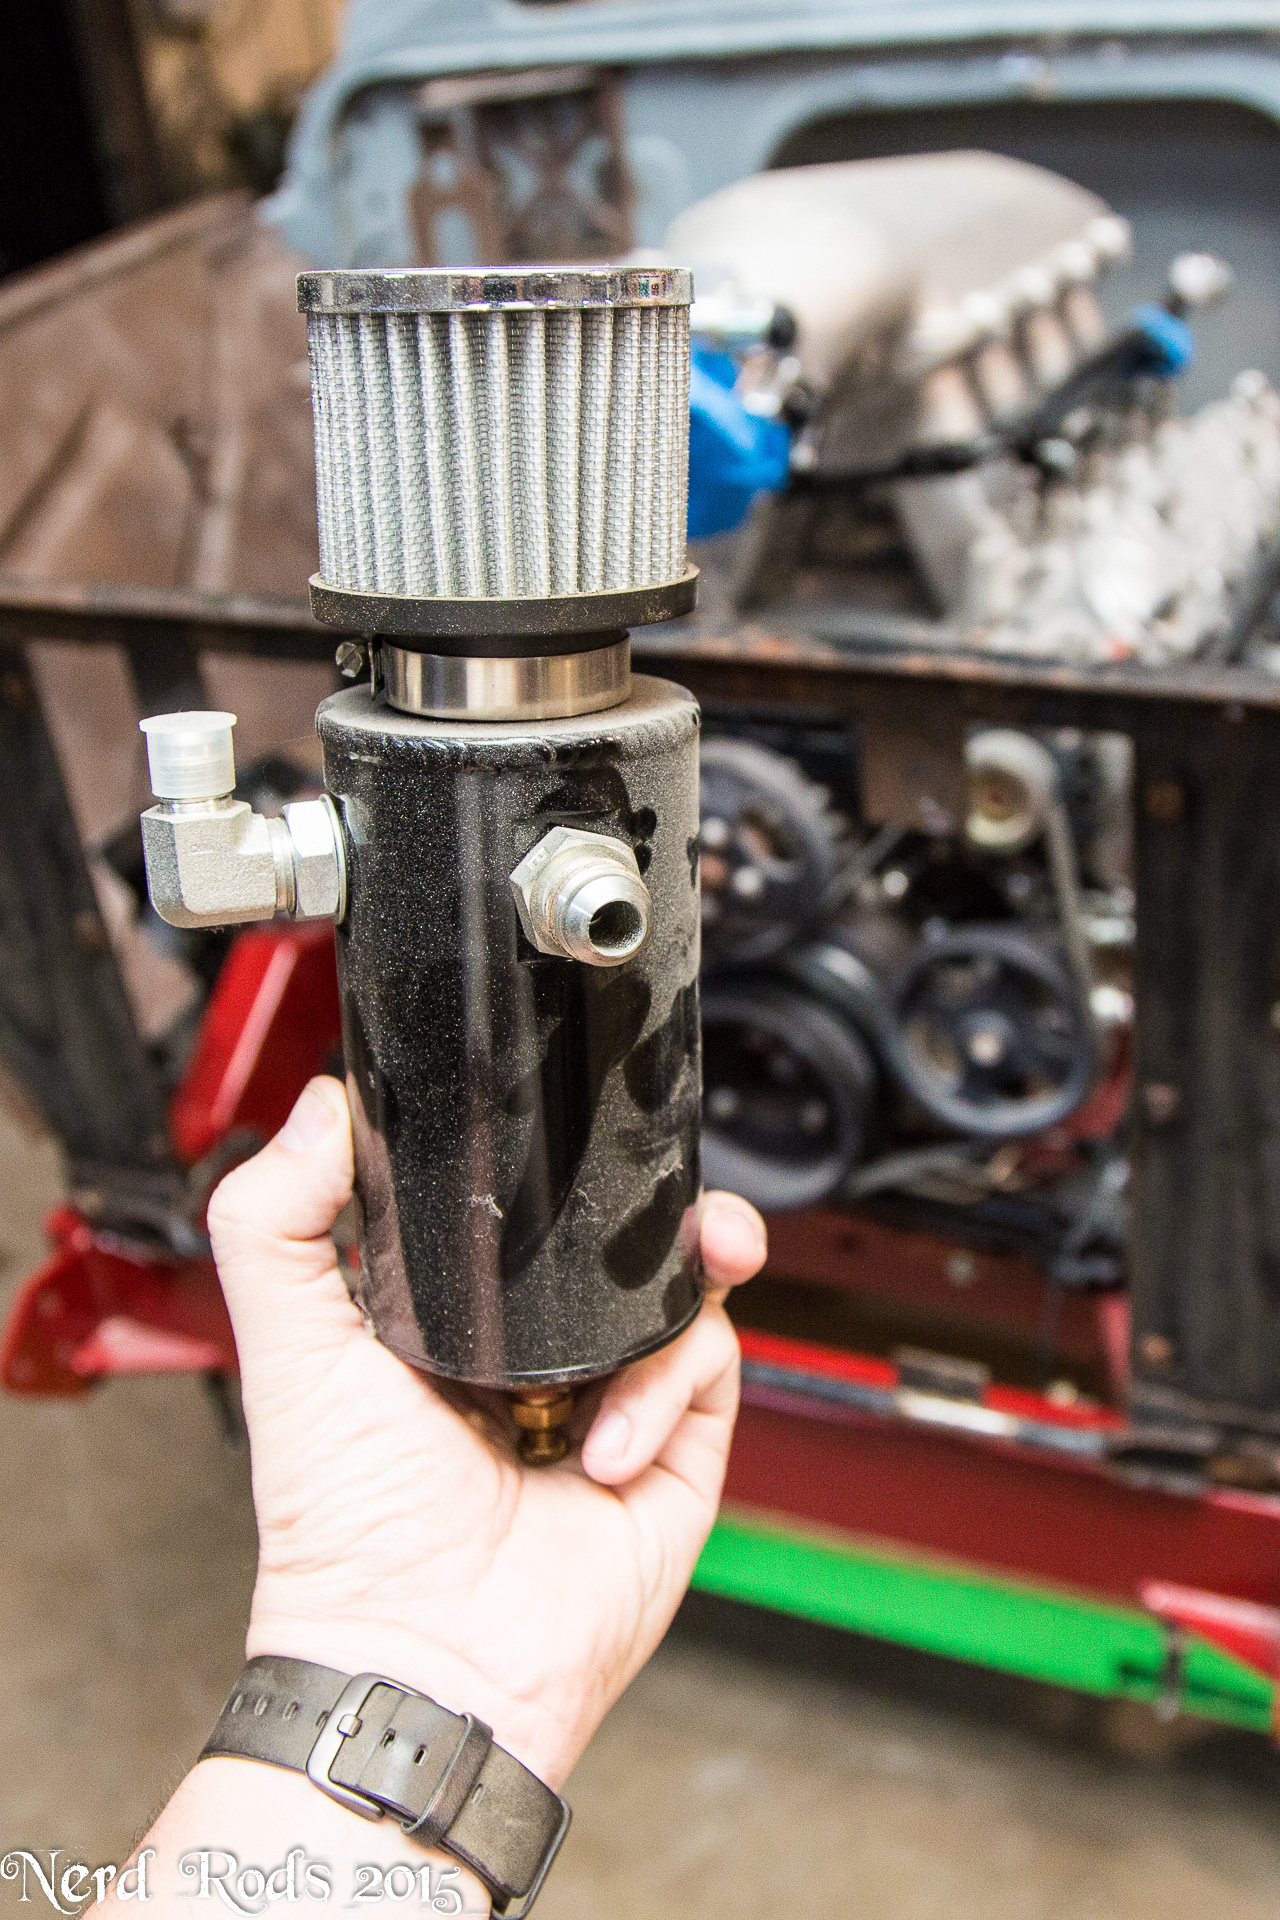
We're looking at room for the crank case breather and air oil separation as well in this setup. This is something I feel like so many people overlook so here's some math to help you think about it and to keep in mind when doing your breathers. This is a 6.0L (366 CID) motor, with peak 7 PSI of boost we will effectively have a 9.0L (549 CID) motor making 100% aspiration. Now think about the rings. They seal good, but not that good. If you do a leak down test you can see 10-20% blow by on the rings and that's still acceptable for a motor to be able to run down the road. Top of the line, super fresh, racing motors might be able to hold all but 5% in the cylinder. So for the sake of argument this used truck motor will leak 10% of its air into the crank case. Let me show you how much air that is.
7000 RPM's Red Line
6.0L Displacement @ 7 psi boost is about 9.0L
10% blow by
(7000 RPM's / 2) * 9.0 Liters = (31500) Liters of Air per Minute.
28.3162 Liters = 1 Cubic Foot
31500 LPM / 28.3162 CF = 1112.414 CFM Cubic Feet a Minute
1112.414 CFM * .1 (10% blow by) = 111.2414 CFM Blowing into the crank case
111.2414 CFM / 60 Seconds = 18.5402 CFS
18 cubic feet of air a second blowing past the rings and into the crank case. That's a 3'x3'x2' box of air, EVERY SECOND!
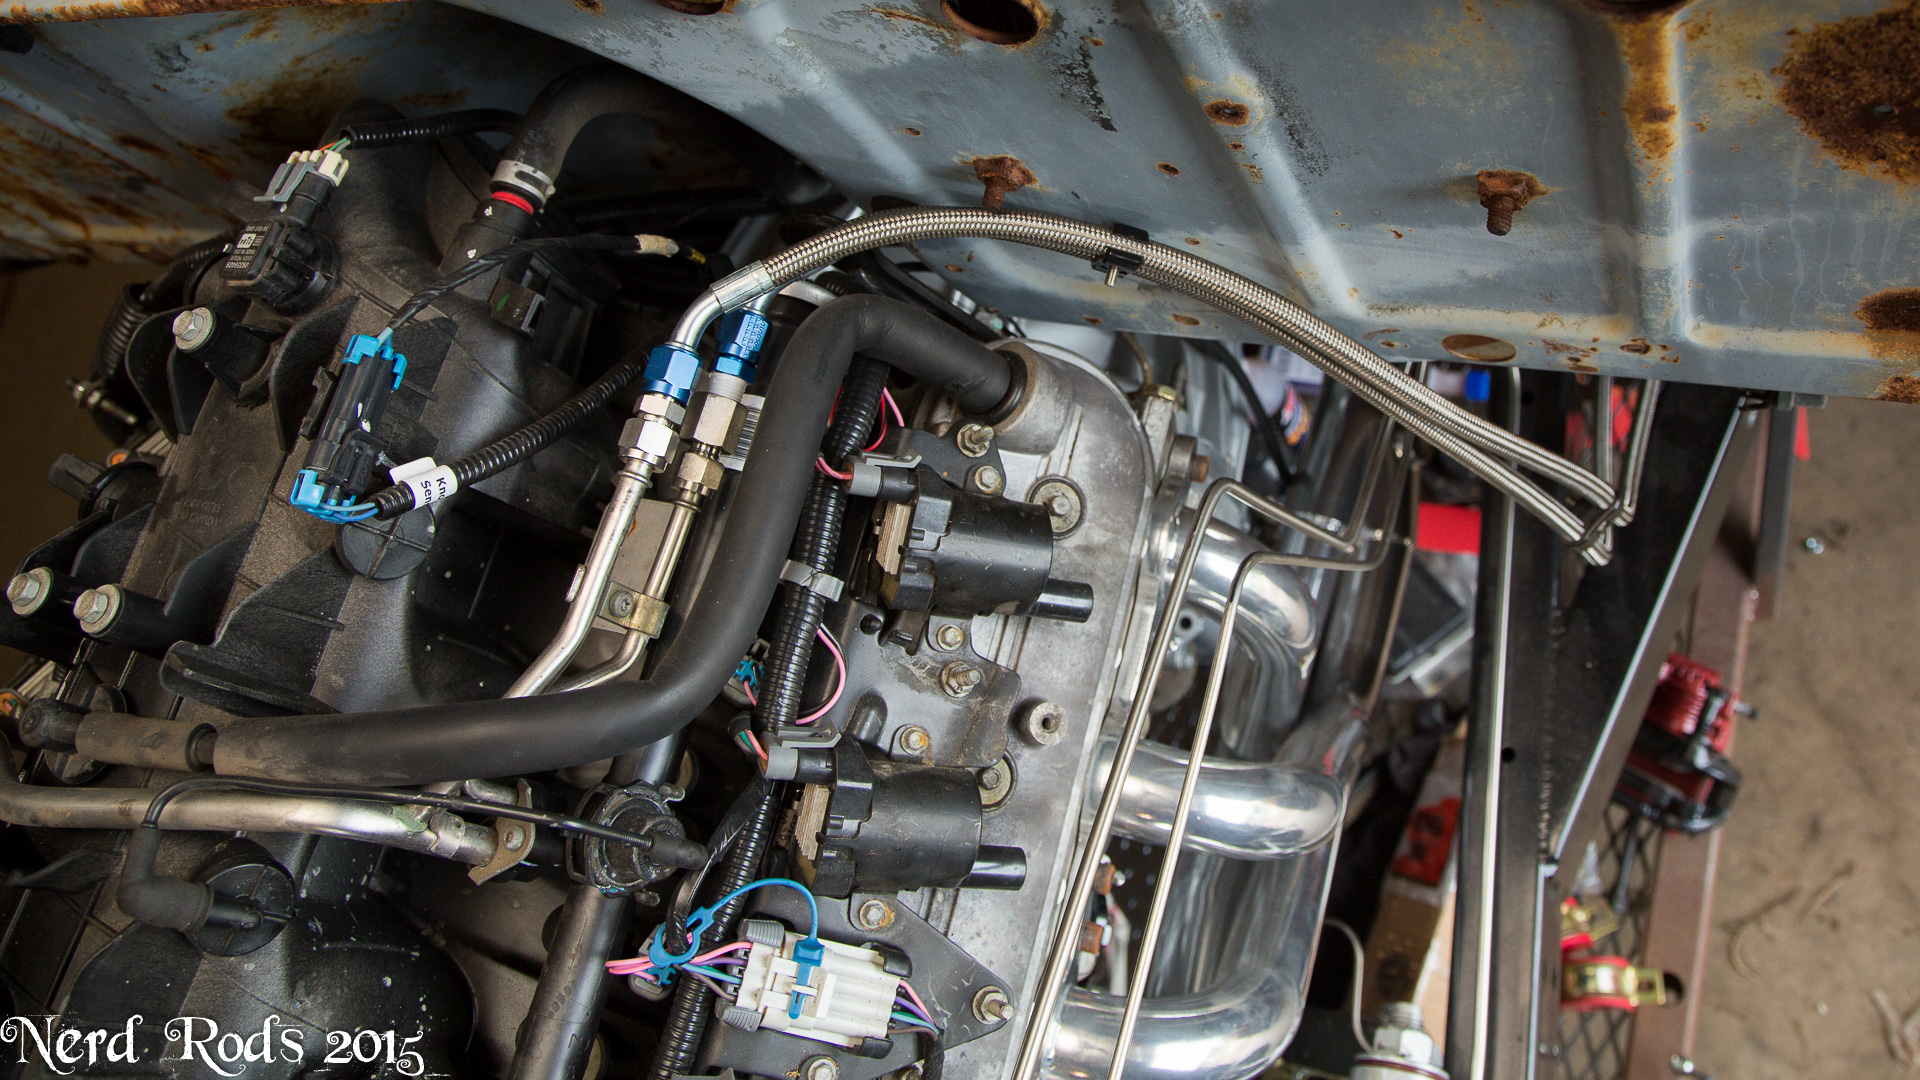
All of that has to go thorough those two little 3/8's AN-6 hoses on top of the valve covers that are pressed on their barbs by hand I might add. Back pressure galore slowing down your pistons! So we're adding AN-8 weld on bungs to the valve covers and one, possibly two, lines to the valley cover to get the air out of the crank case so the pistons will have as little resistance as possible going down. If this were an emission car I would vent the oil catch can to the front of the turbo so it could suck down the fumes but that's a long stinking way for this project so we're just going with the breather on the catch can for this one.
Amazon Find!
And the money shot!
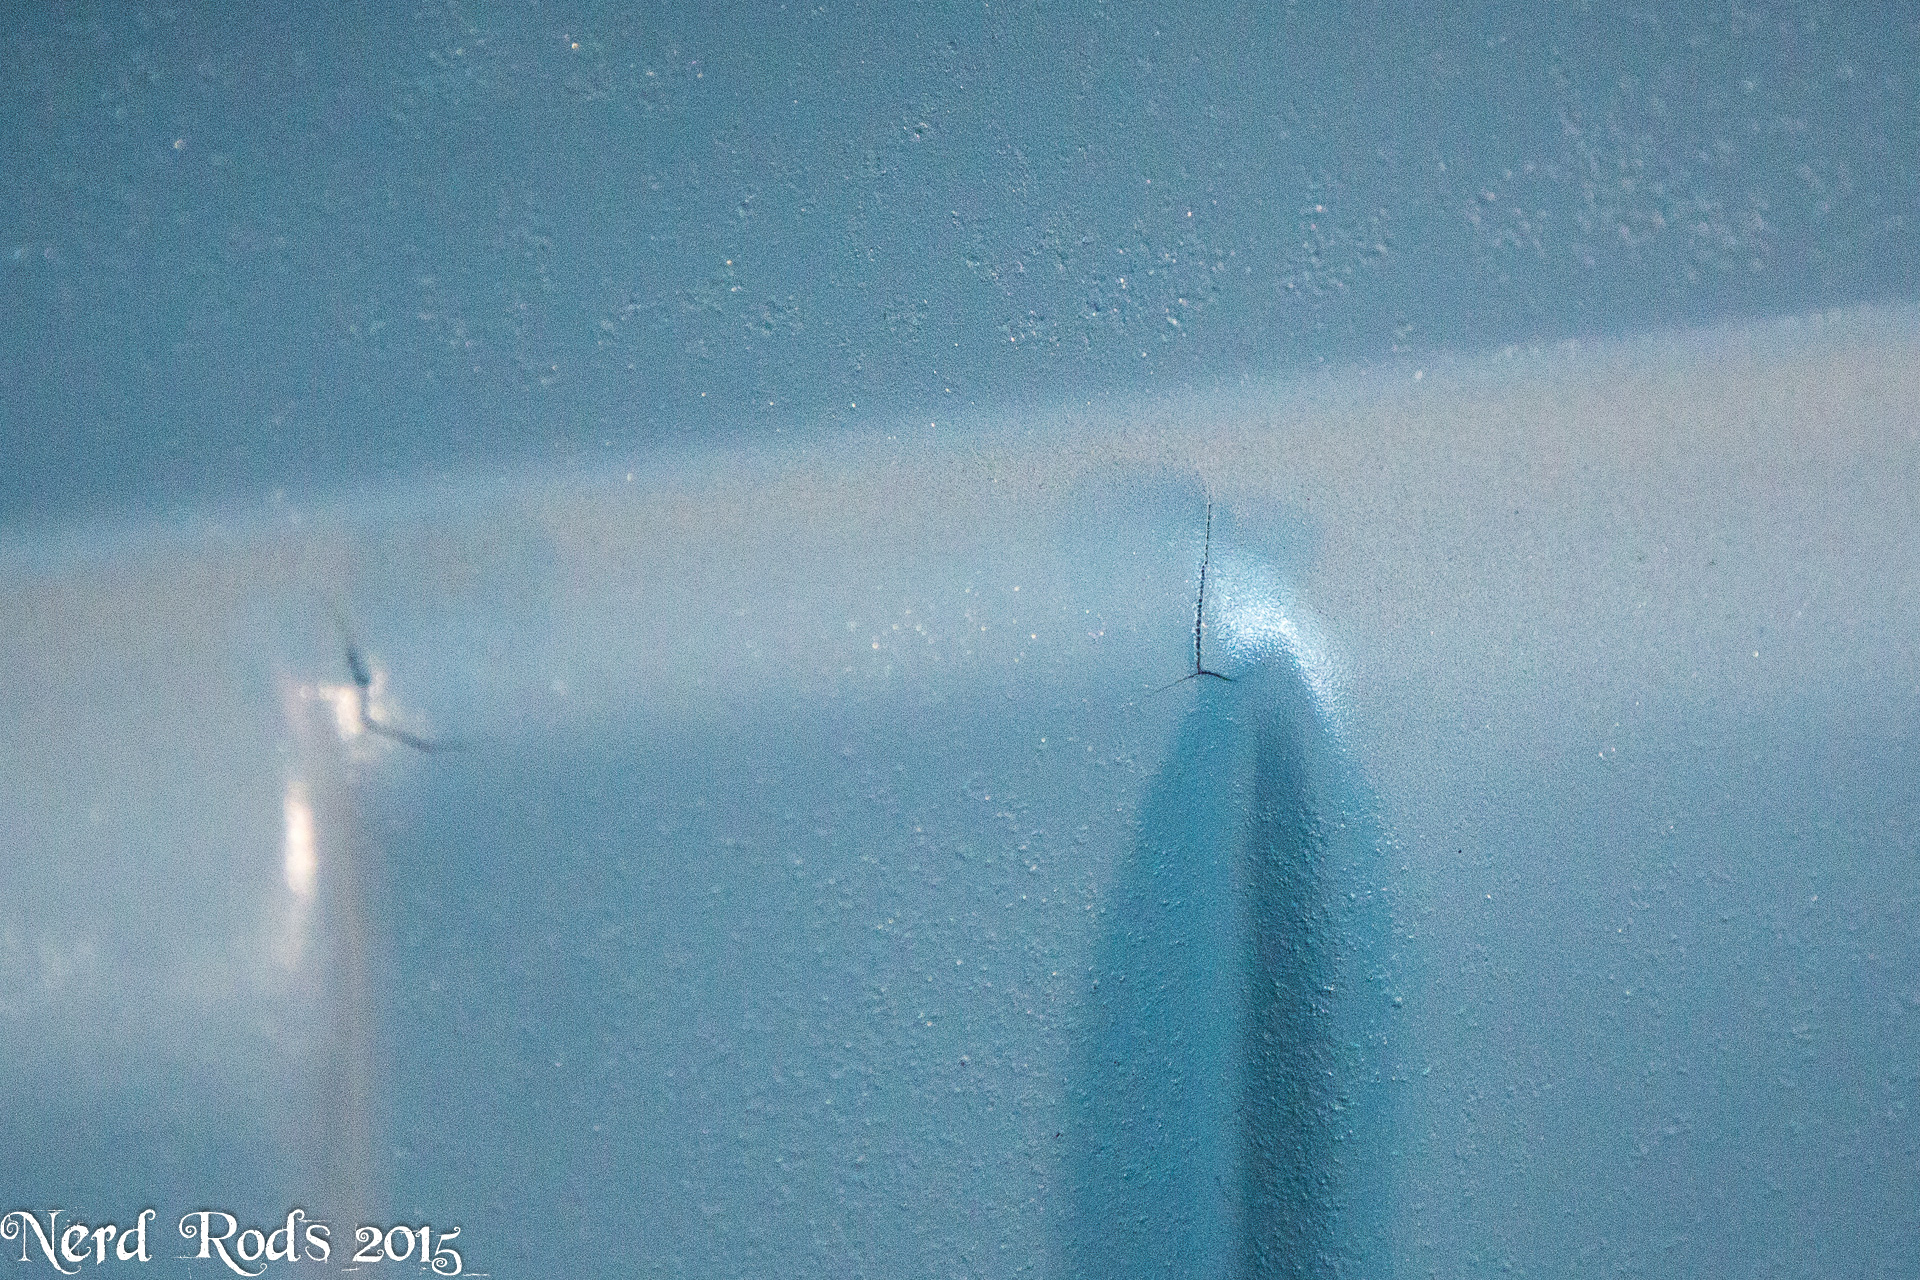
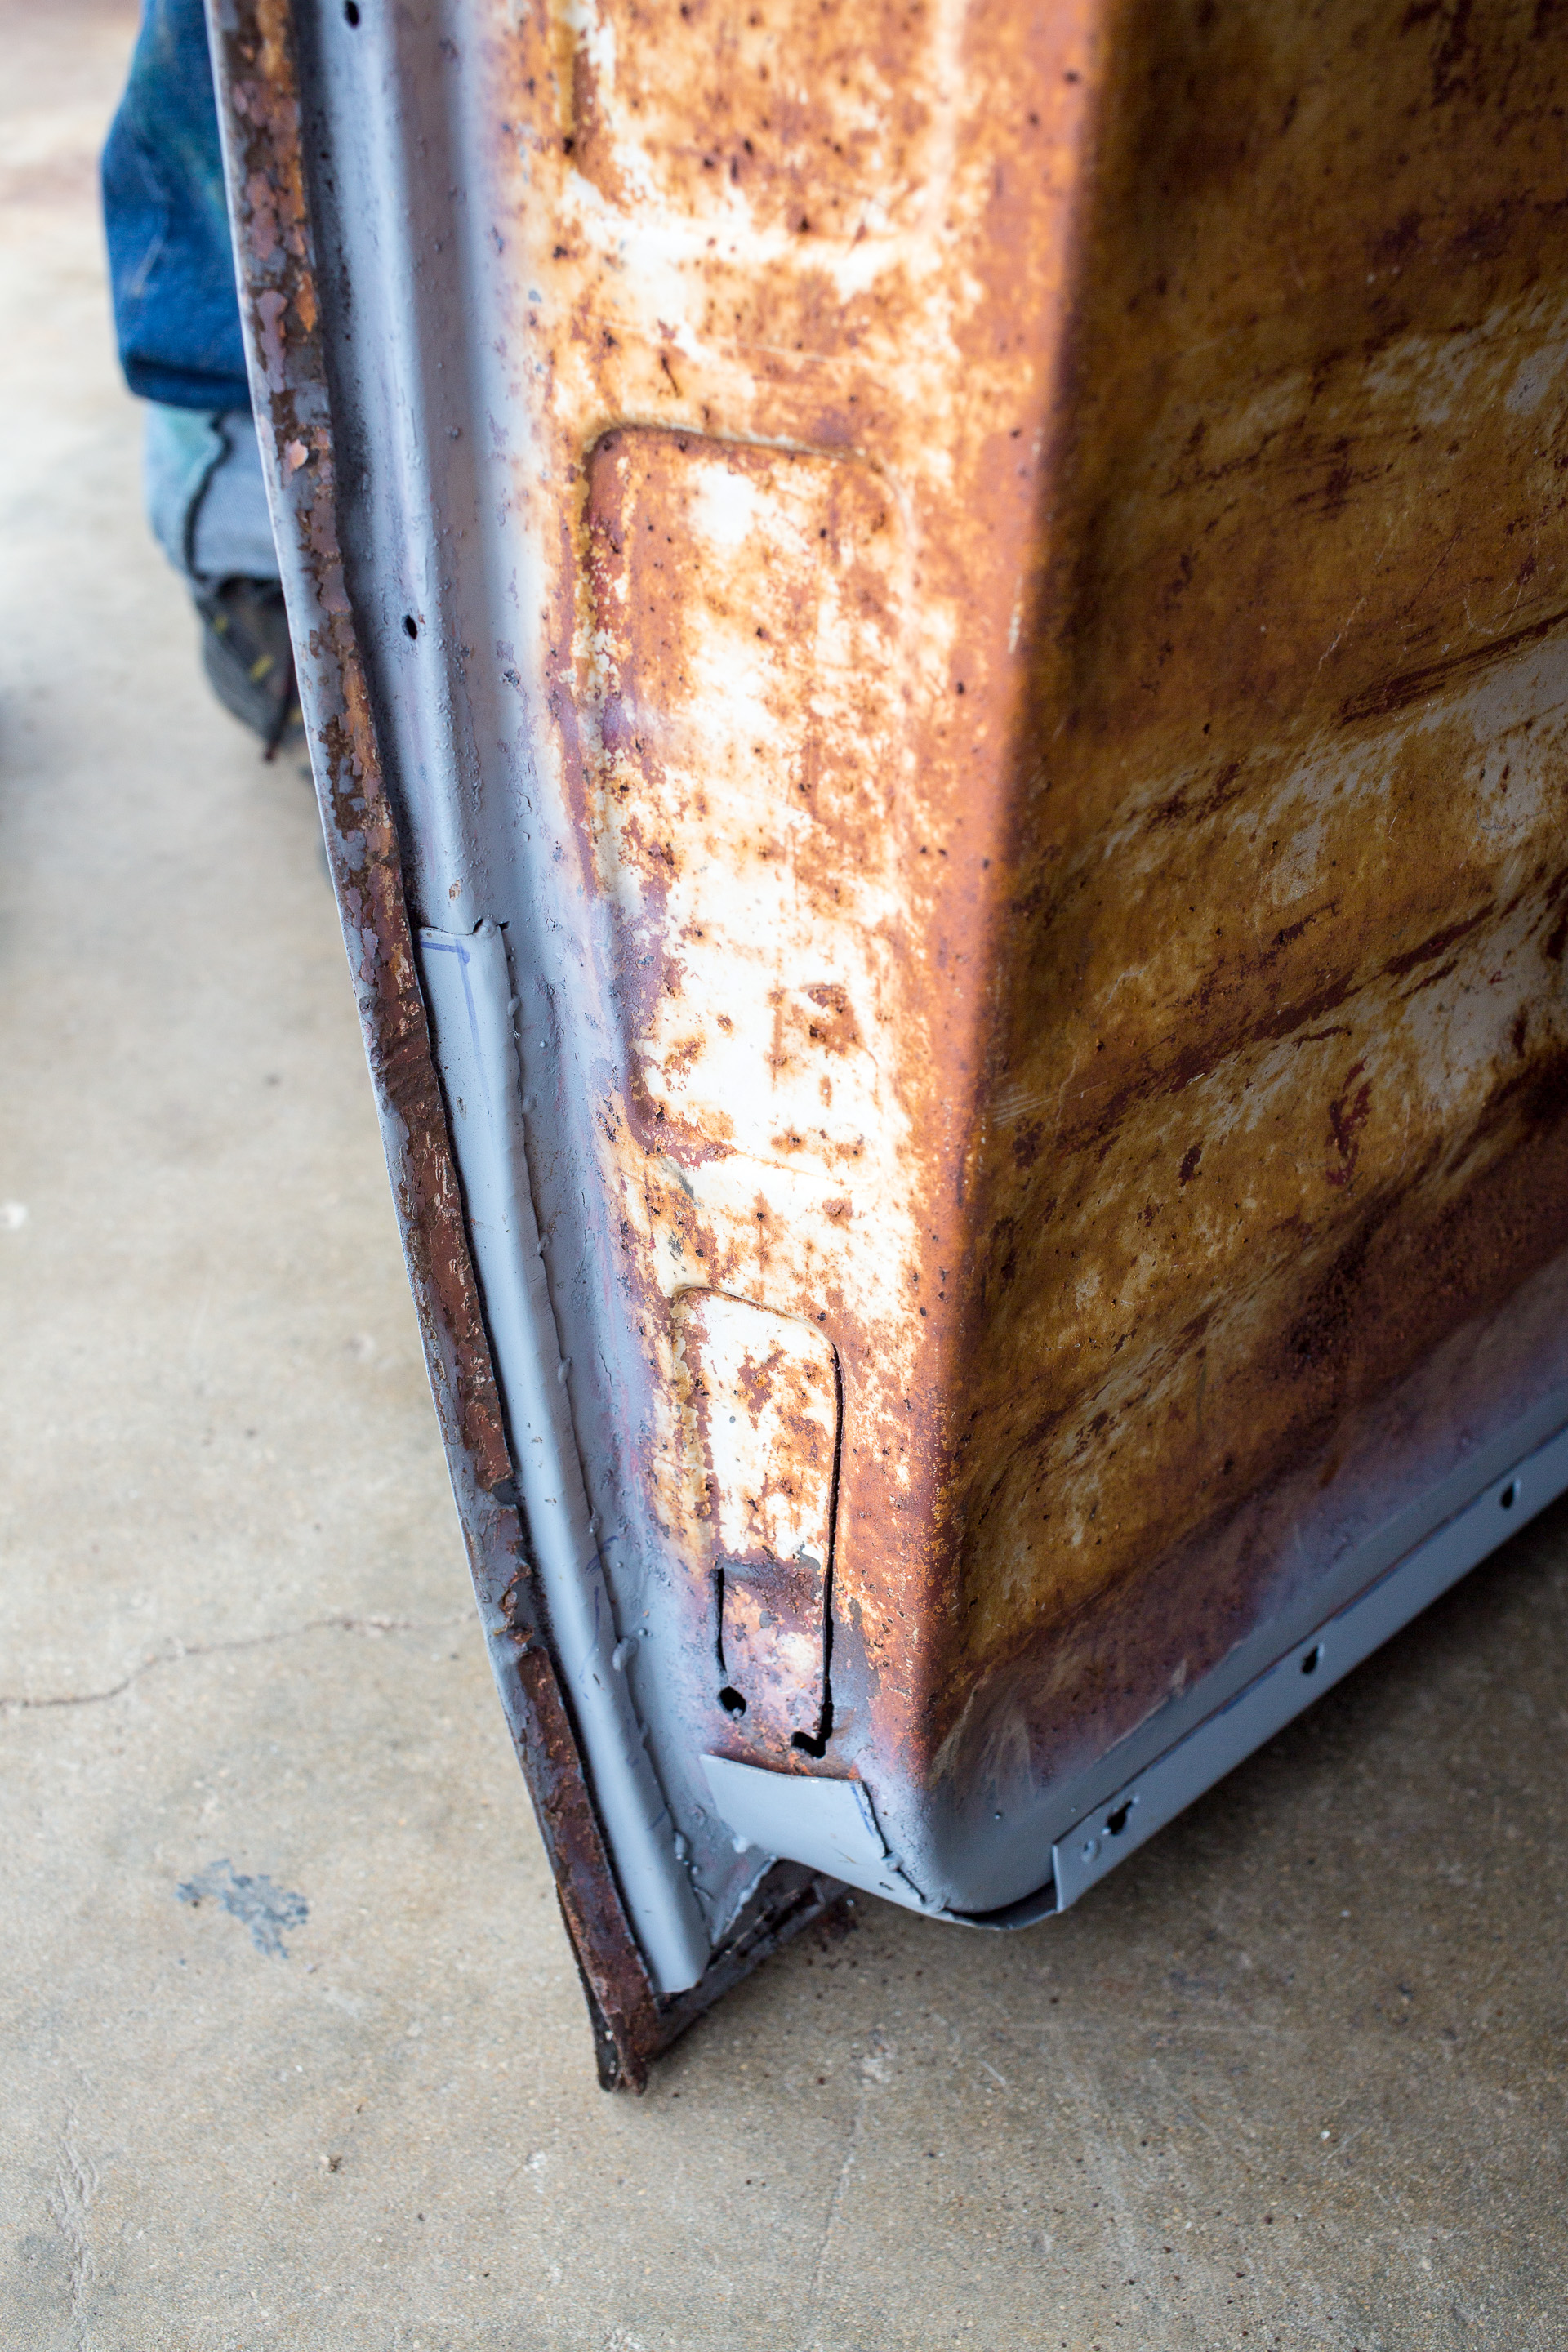
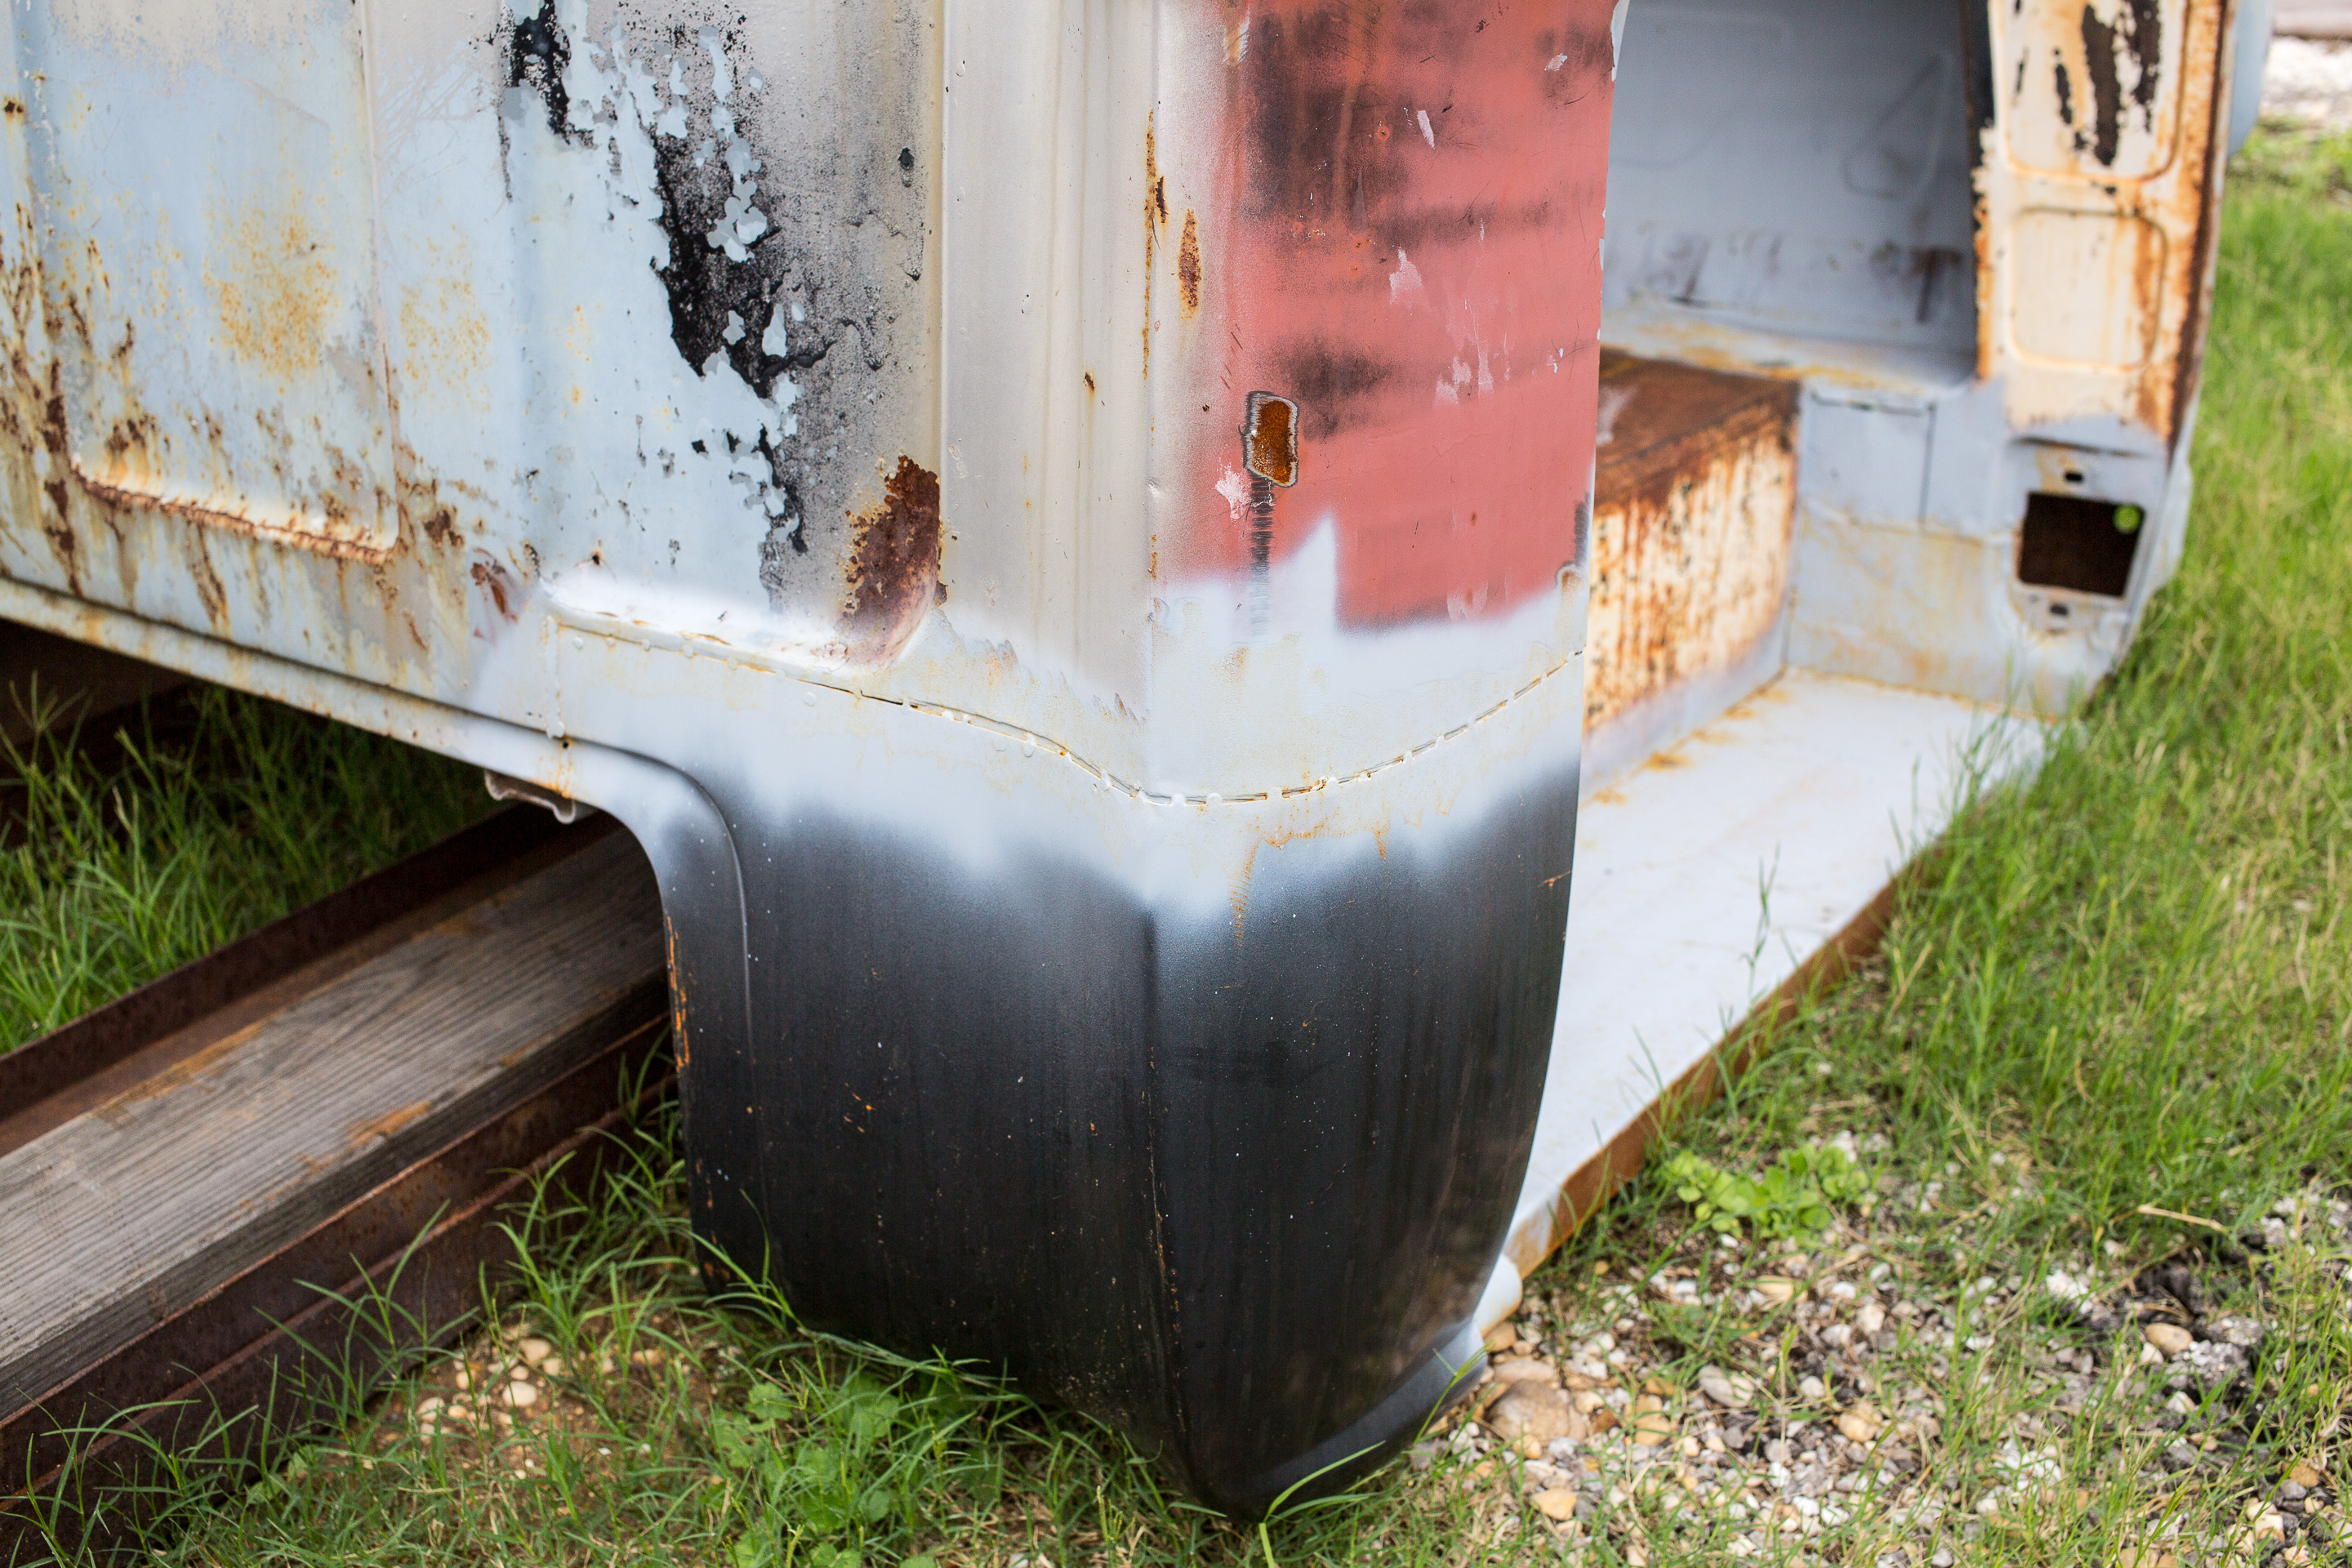
On the body work front we keep finding little things like these two cracks in the metal. But Jim's chipping away at it and working on mounts for the Infinity box wiring as well as the creature comforters.
Updated 2015.OCT.06
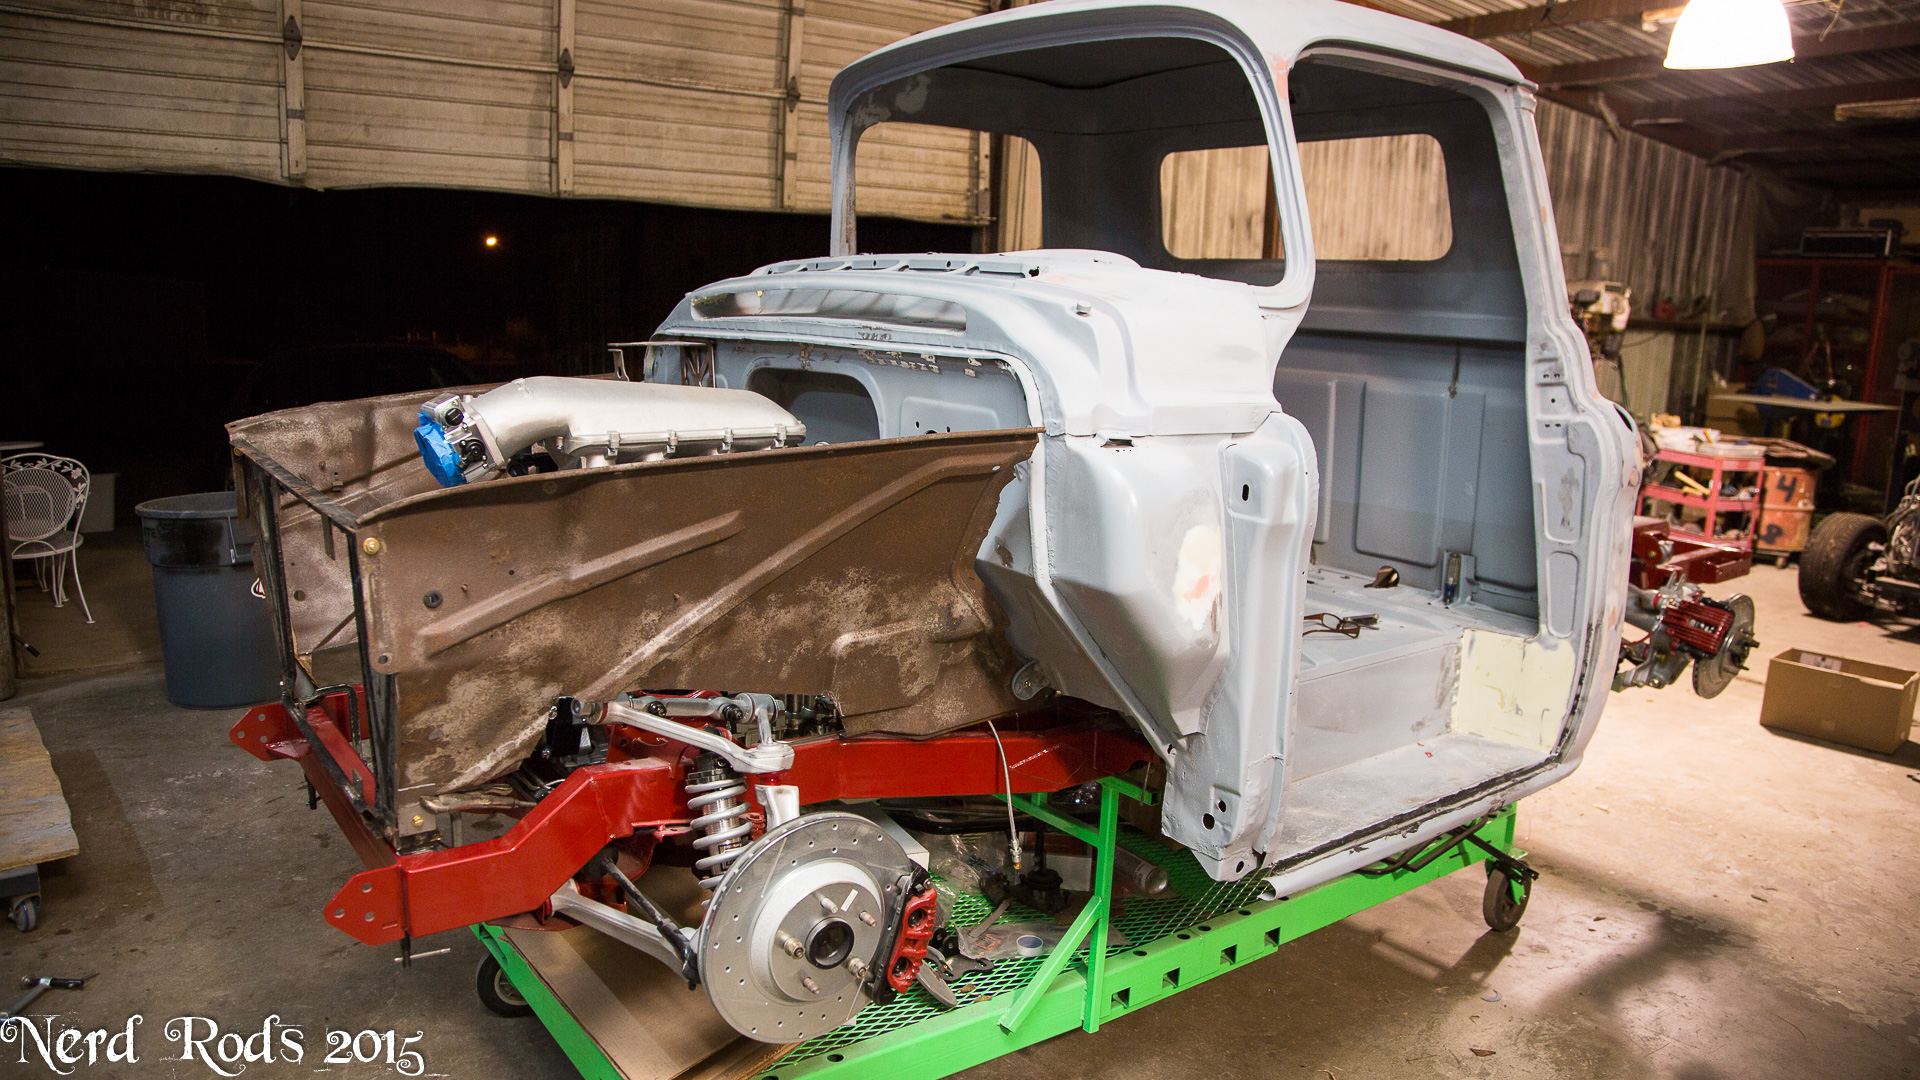
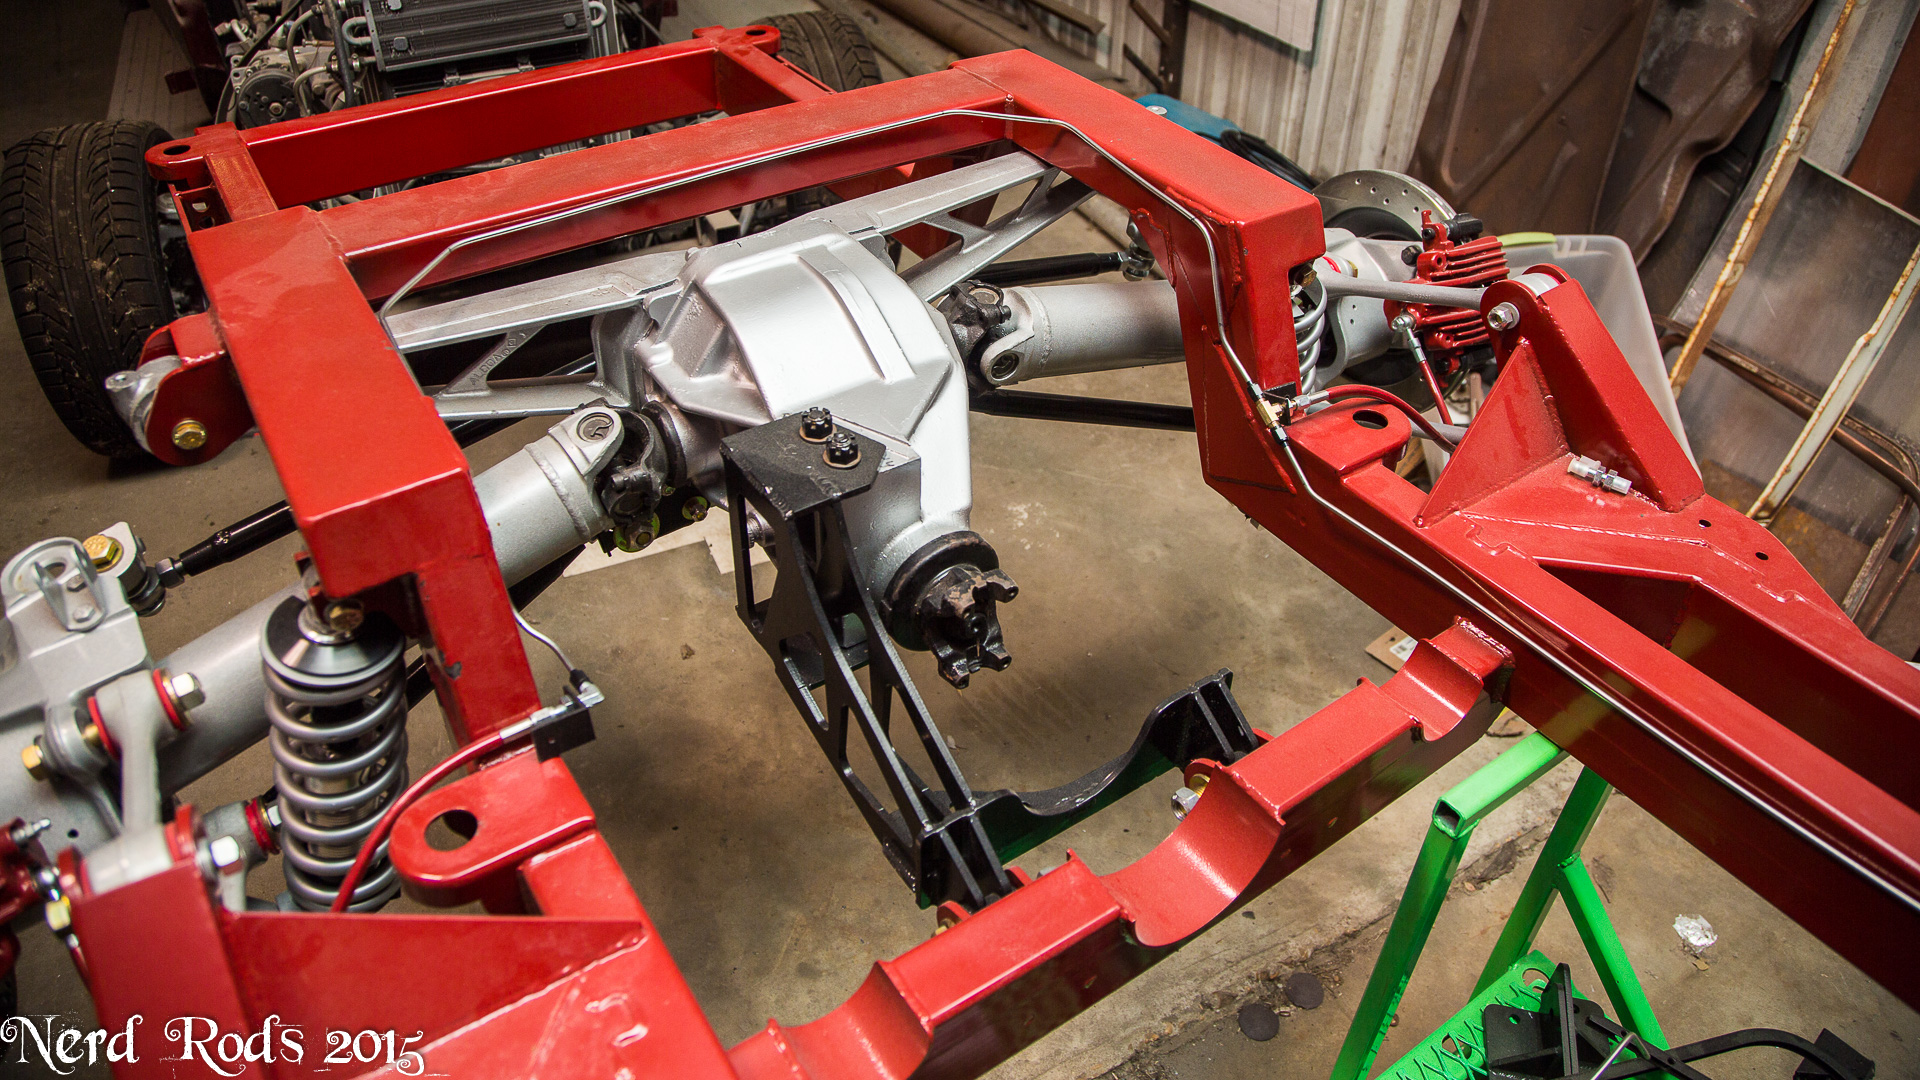
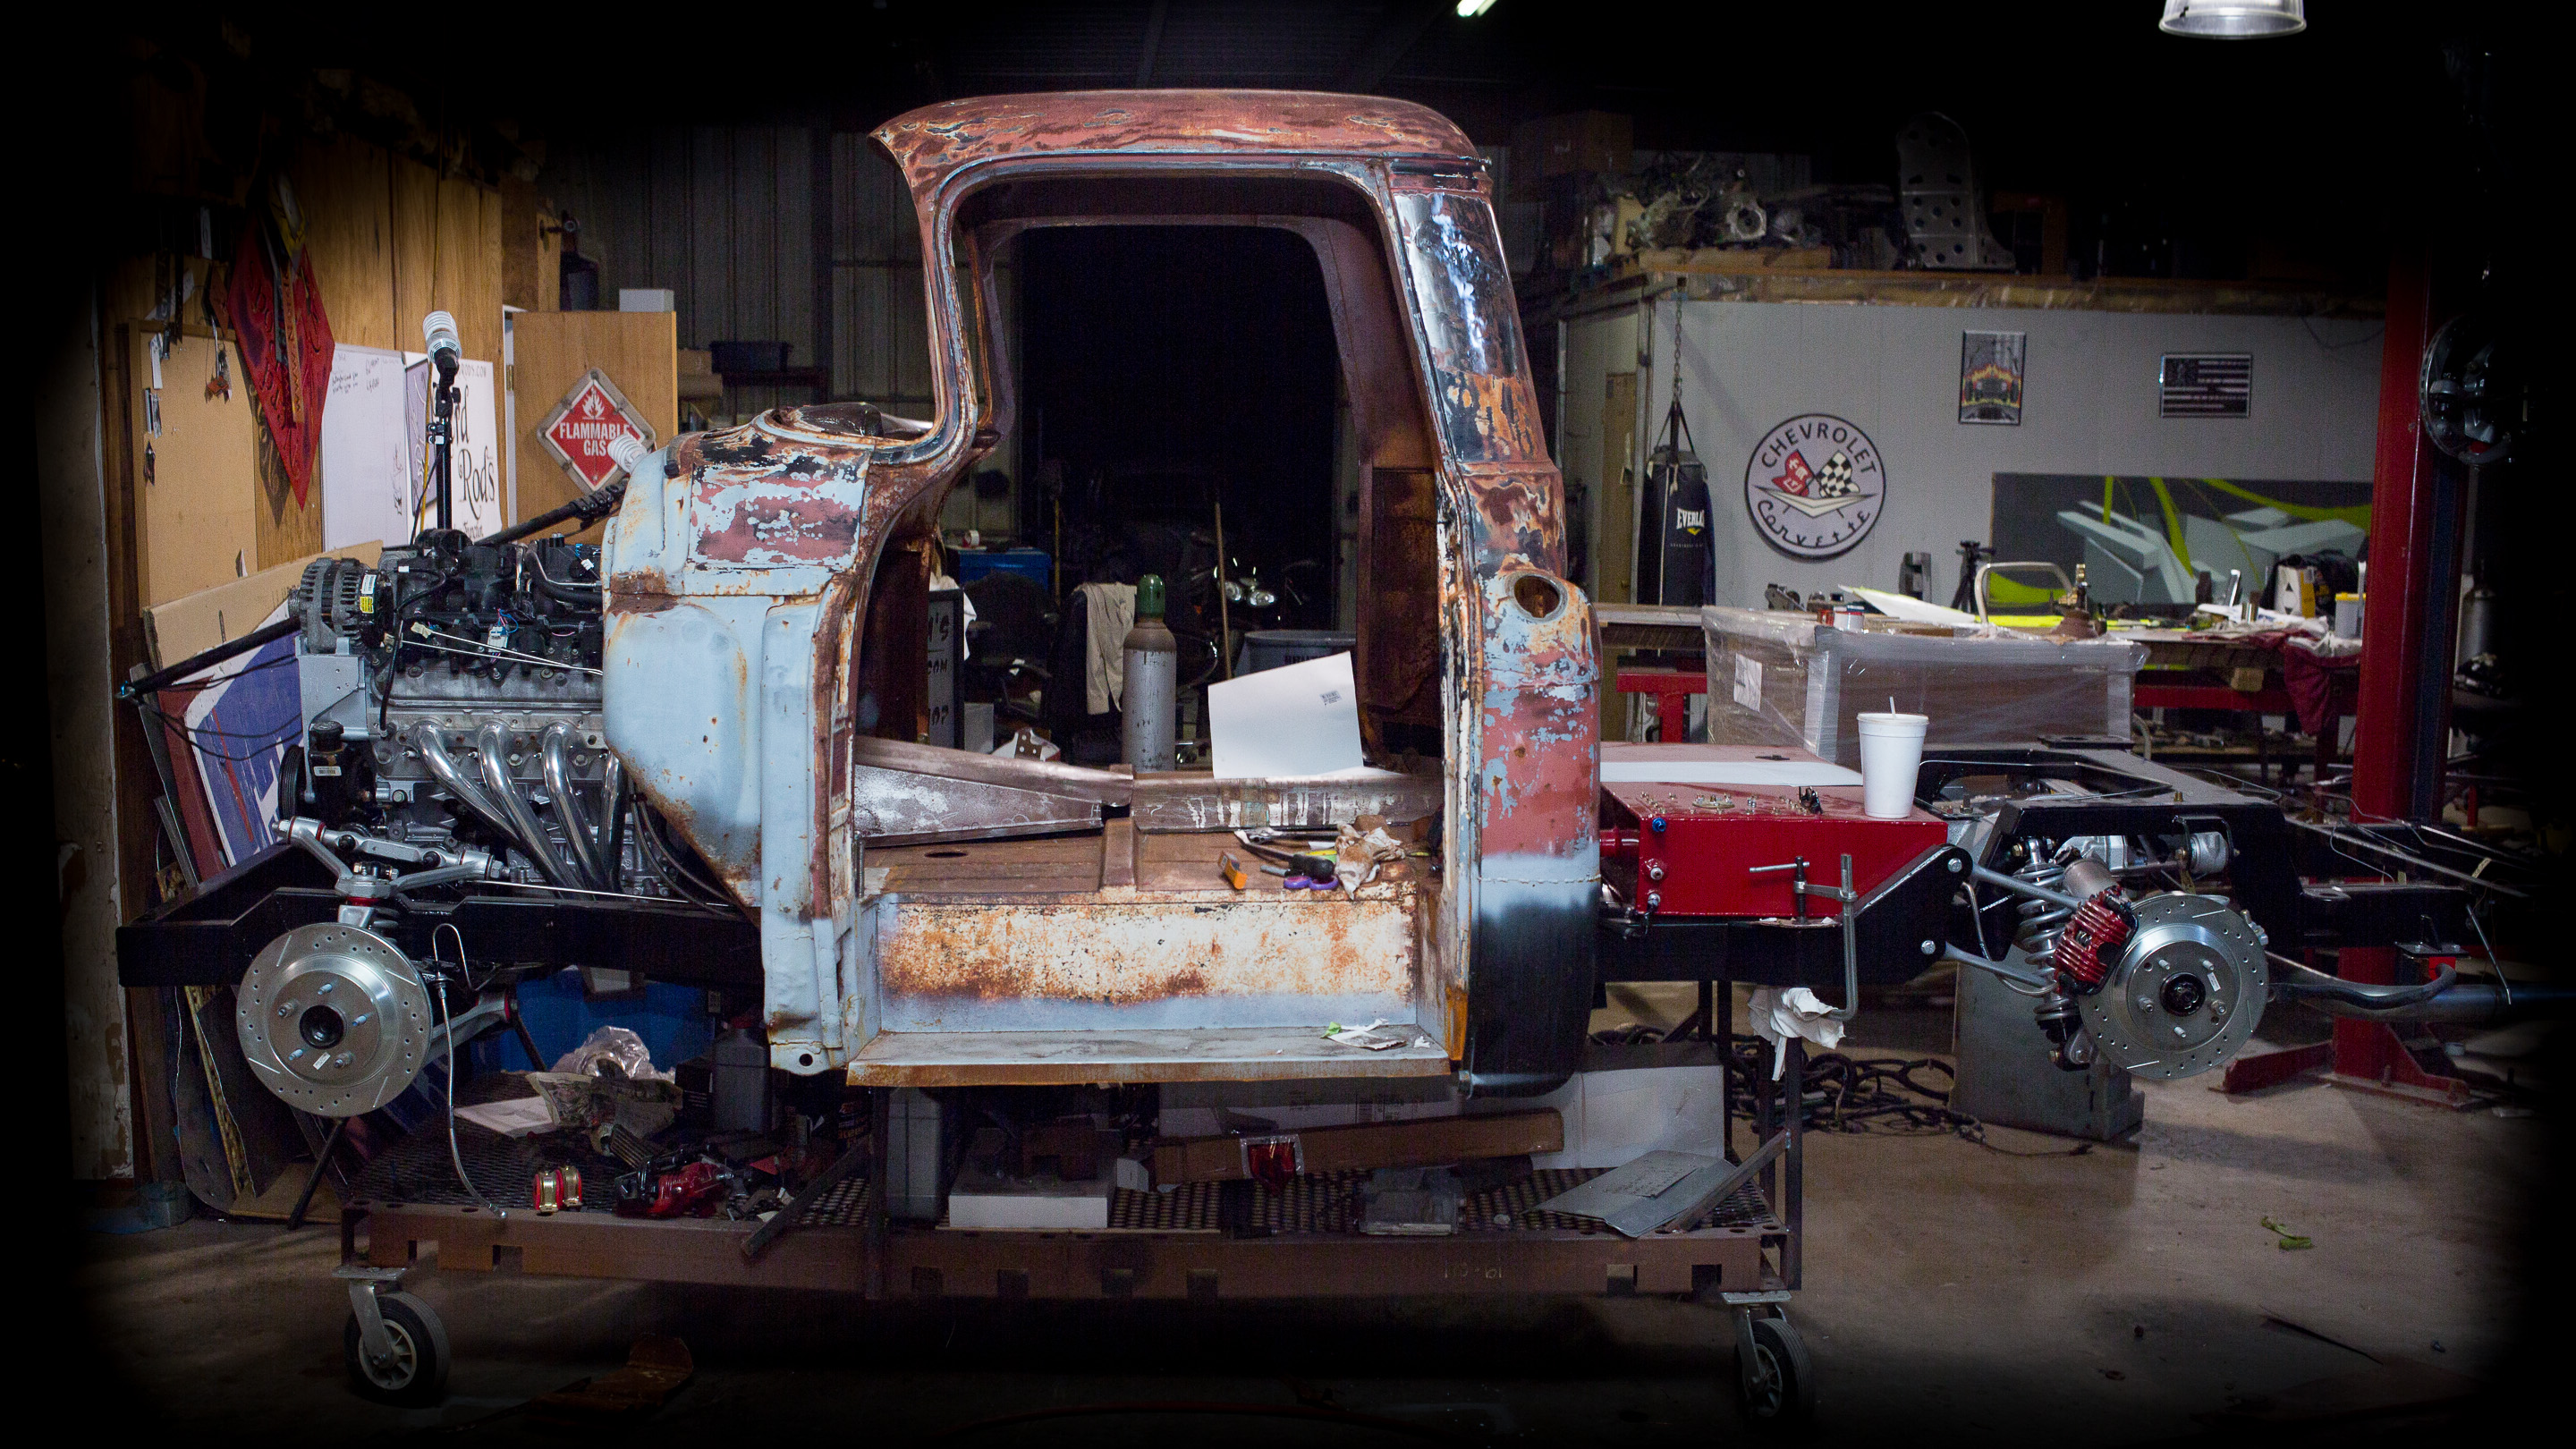
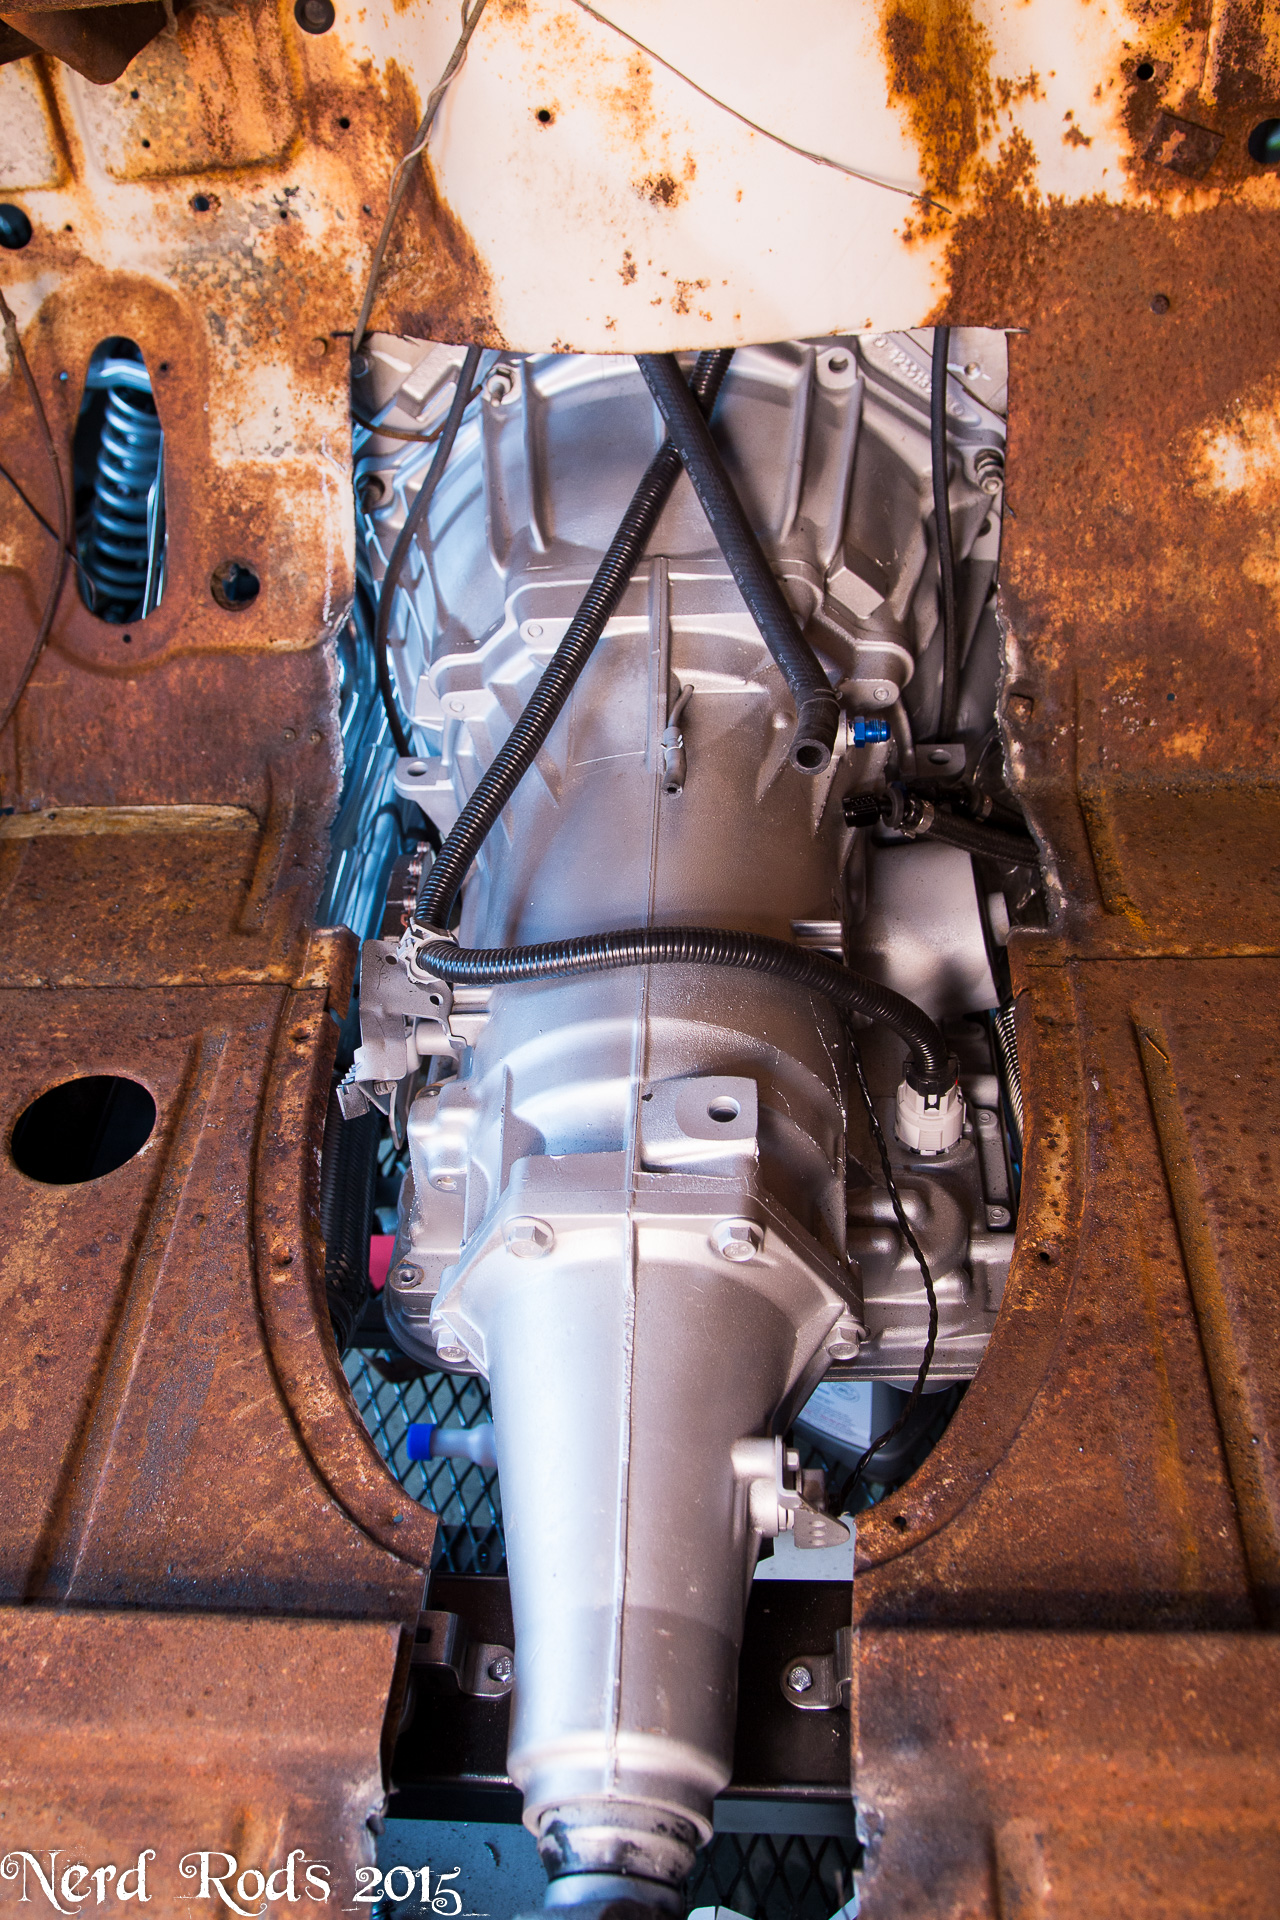
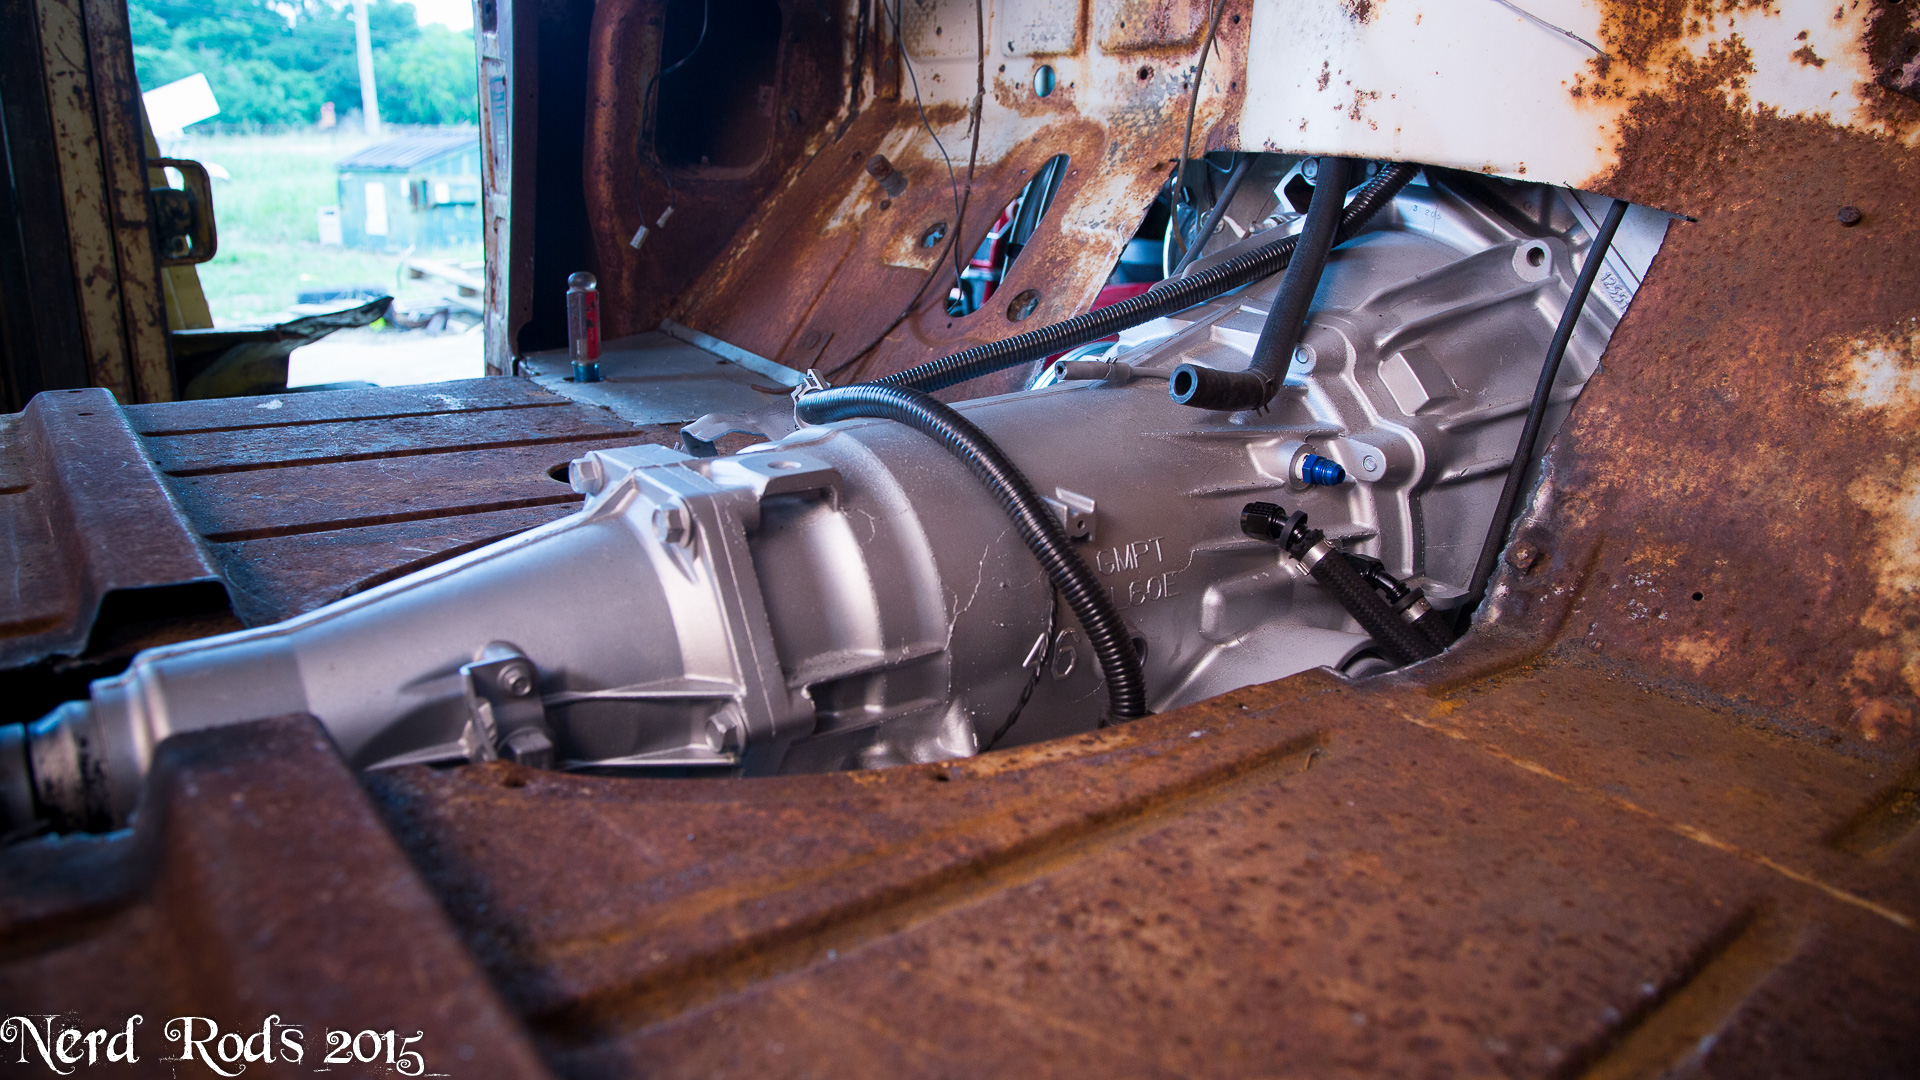
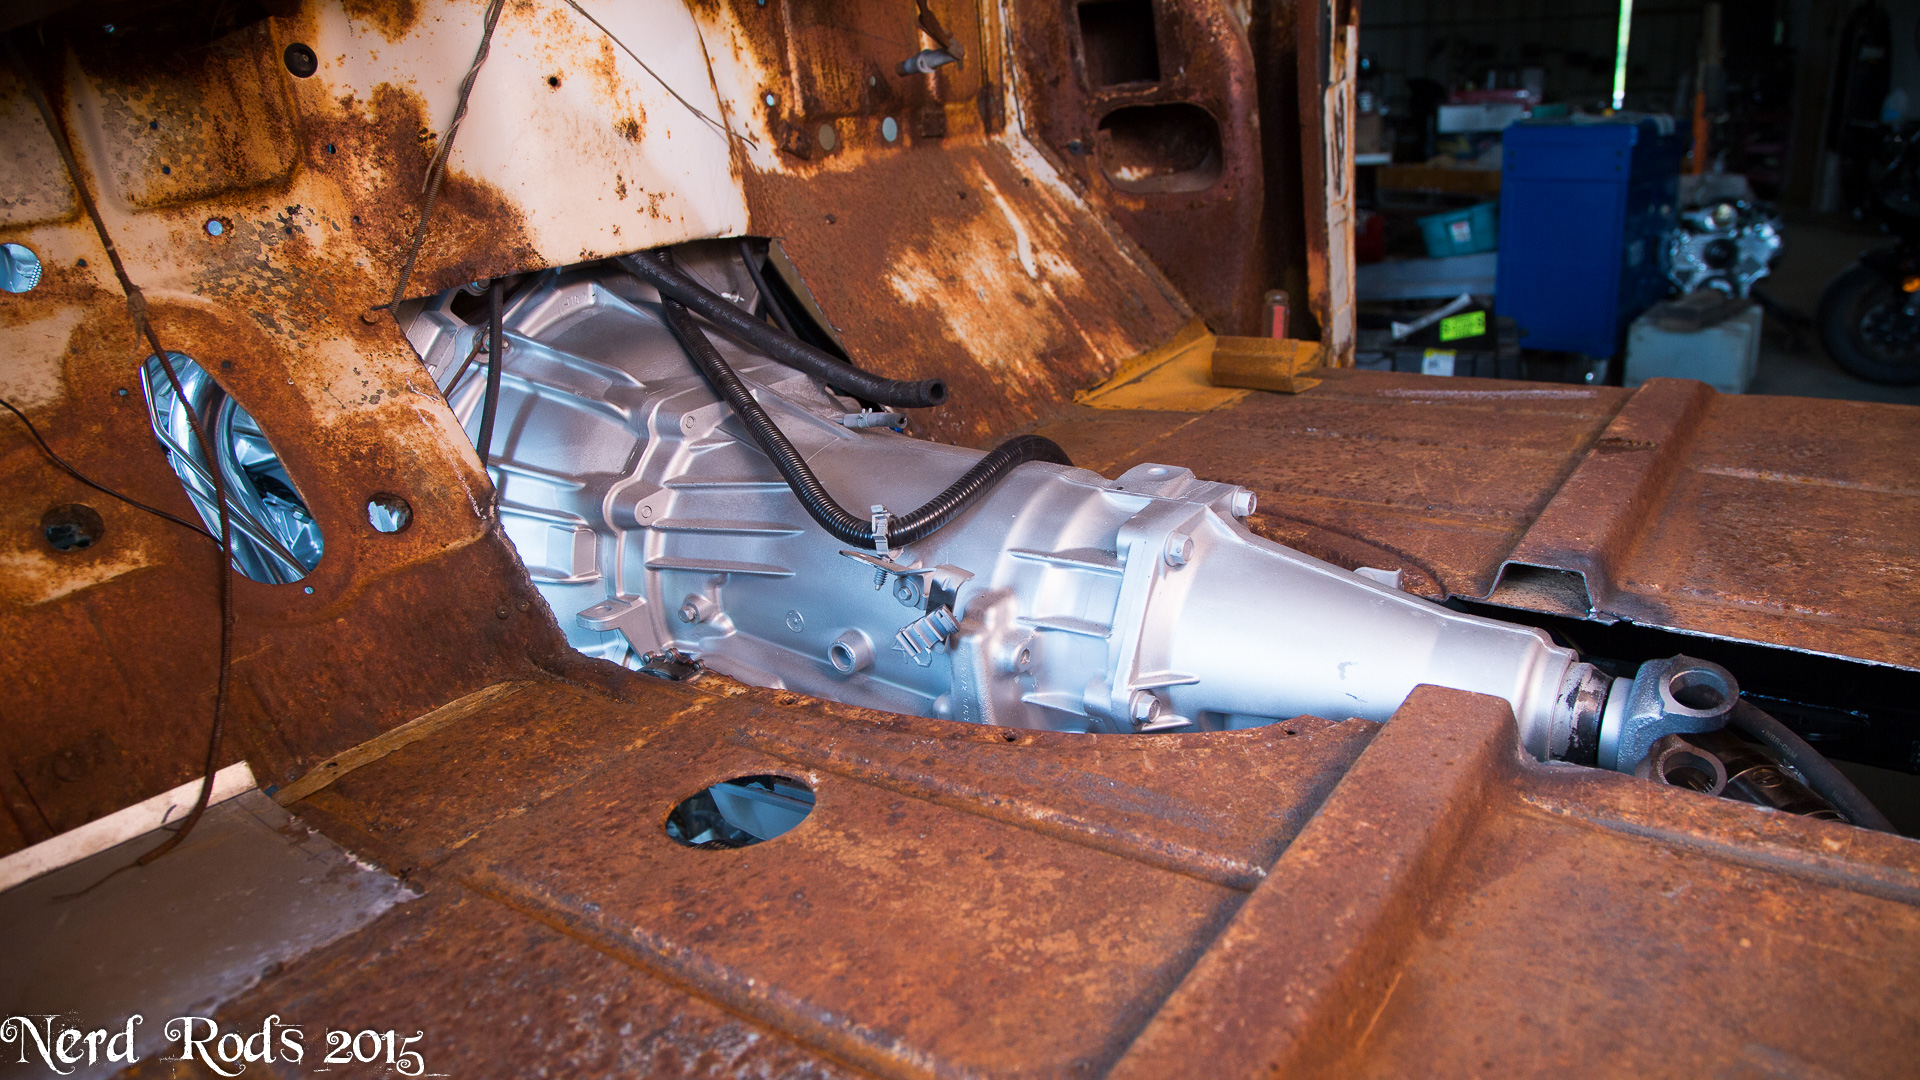
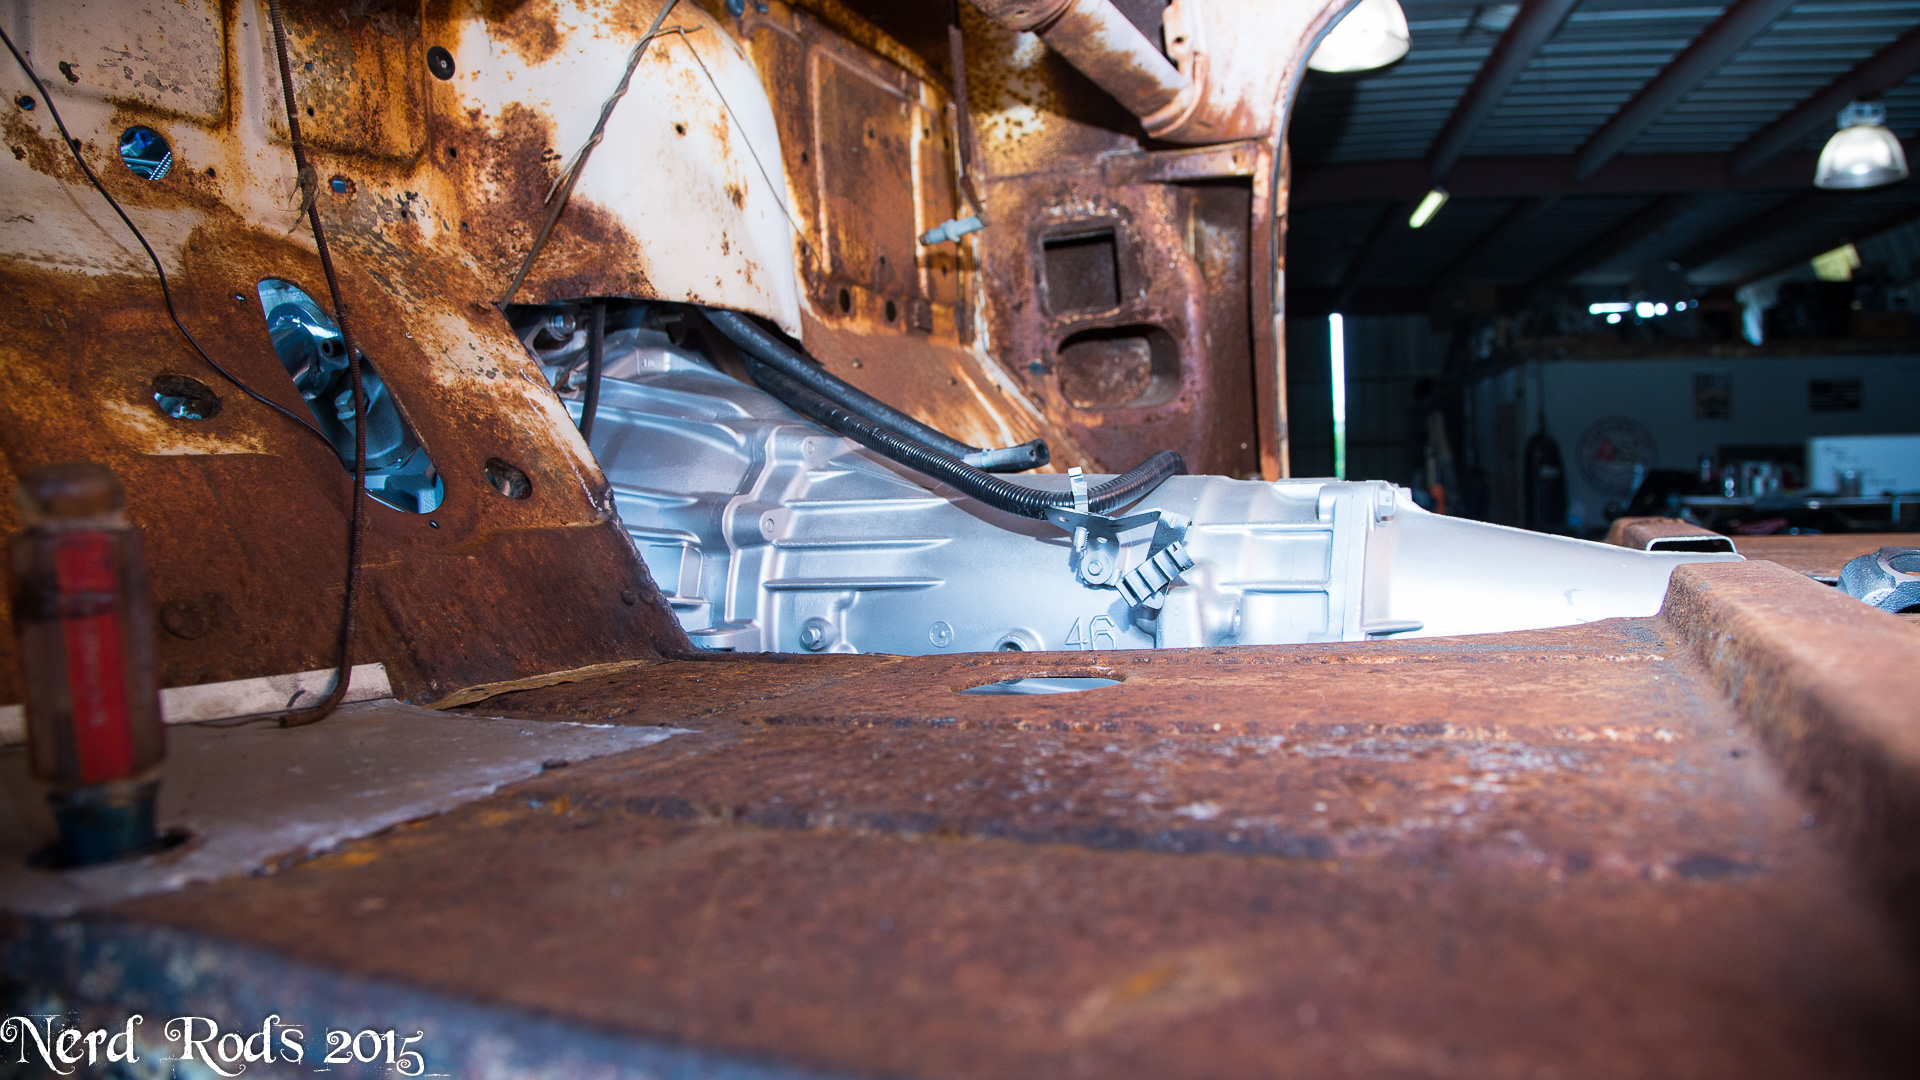
So as you might have seen in the video the chassis is together and the motor and transmission are both in.
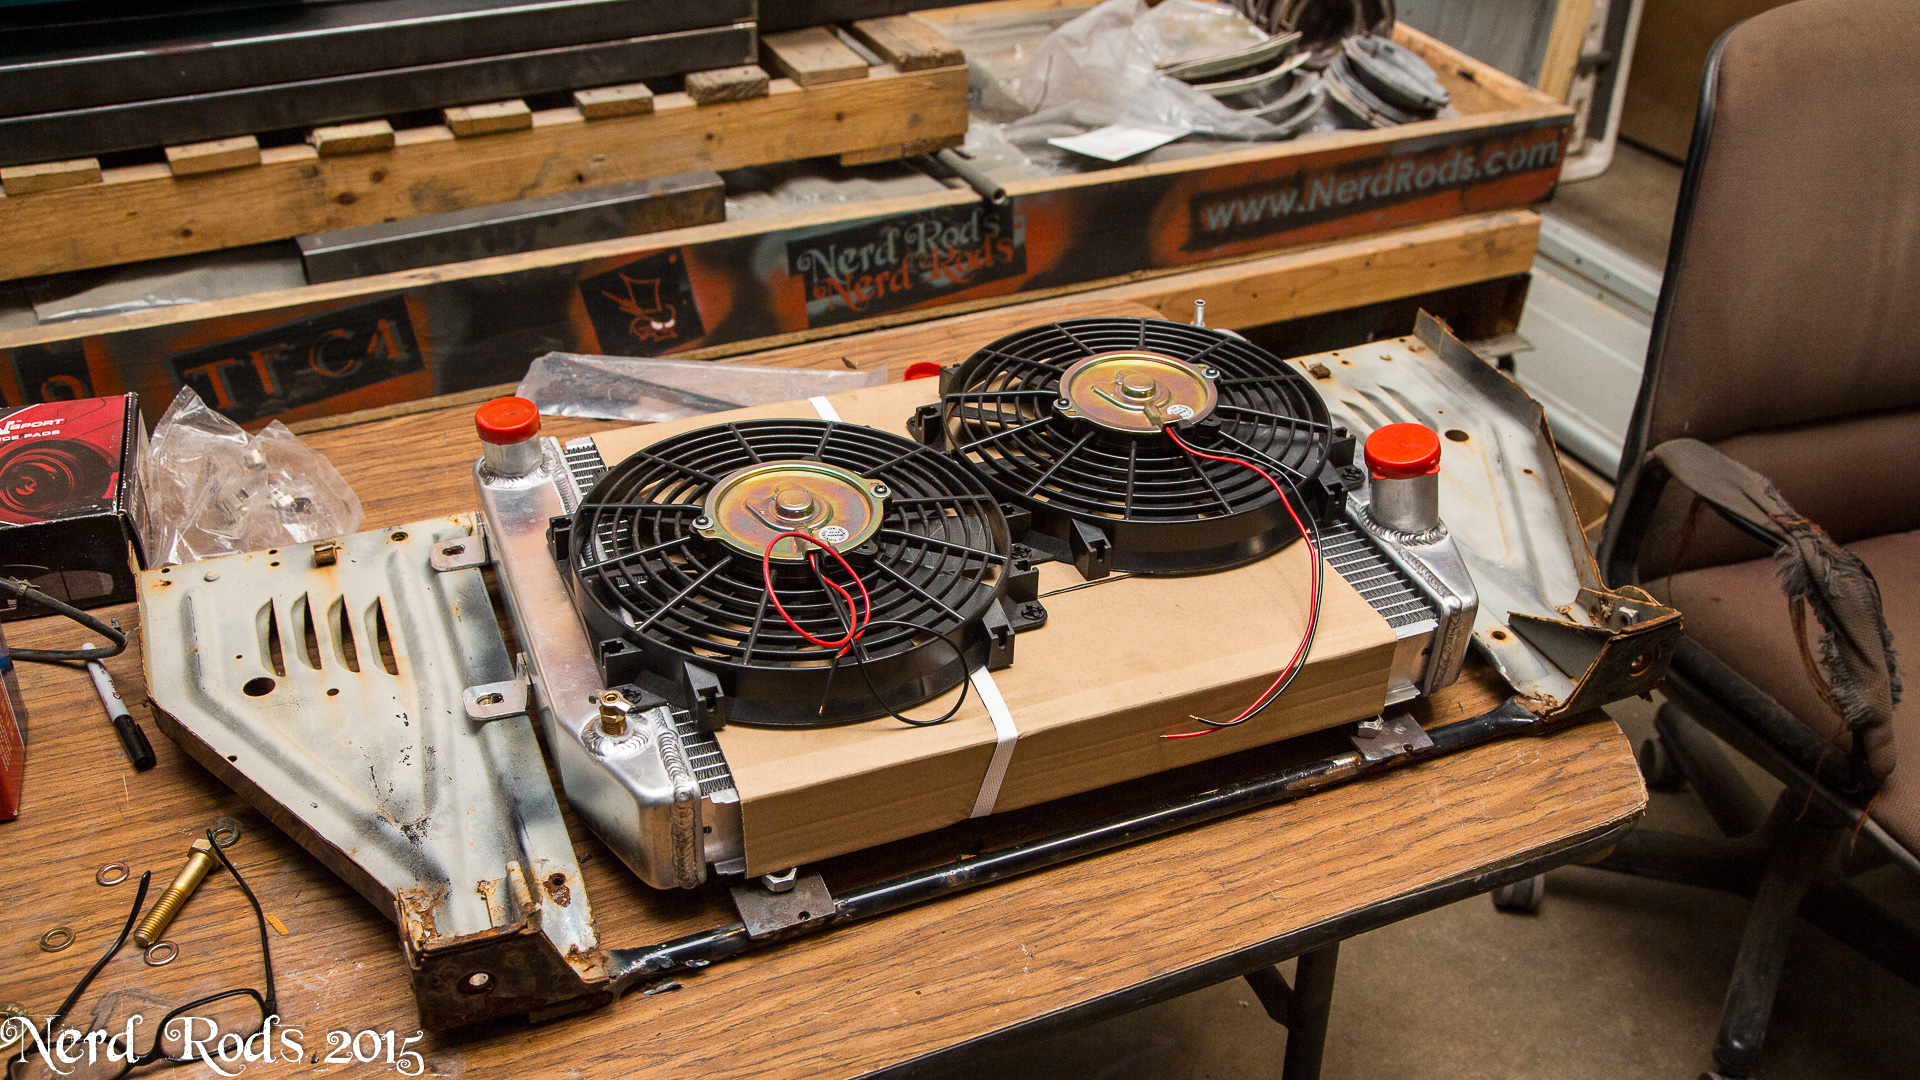
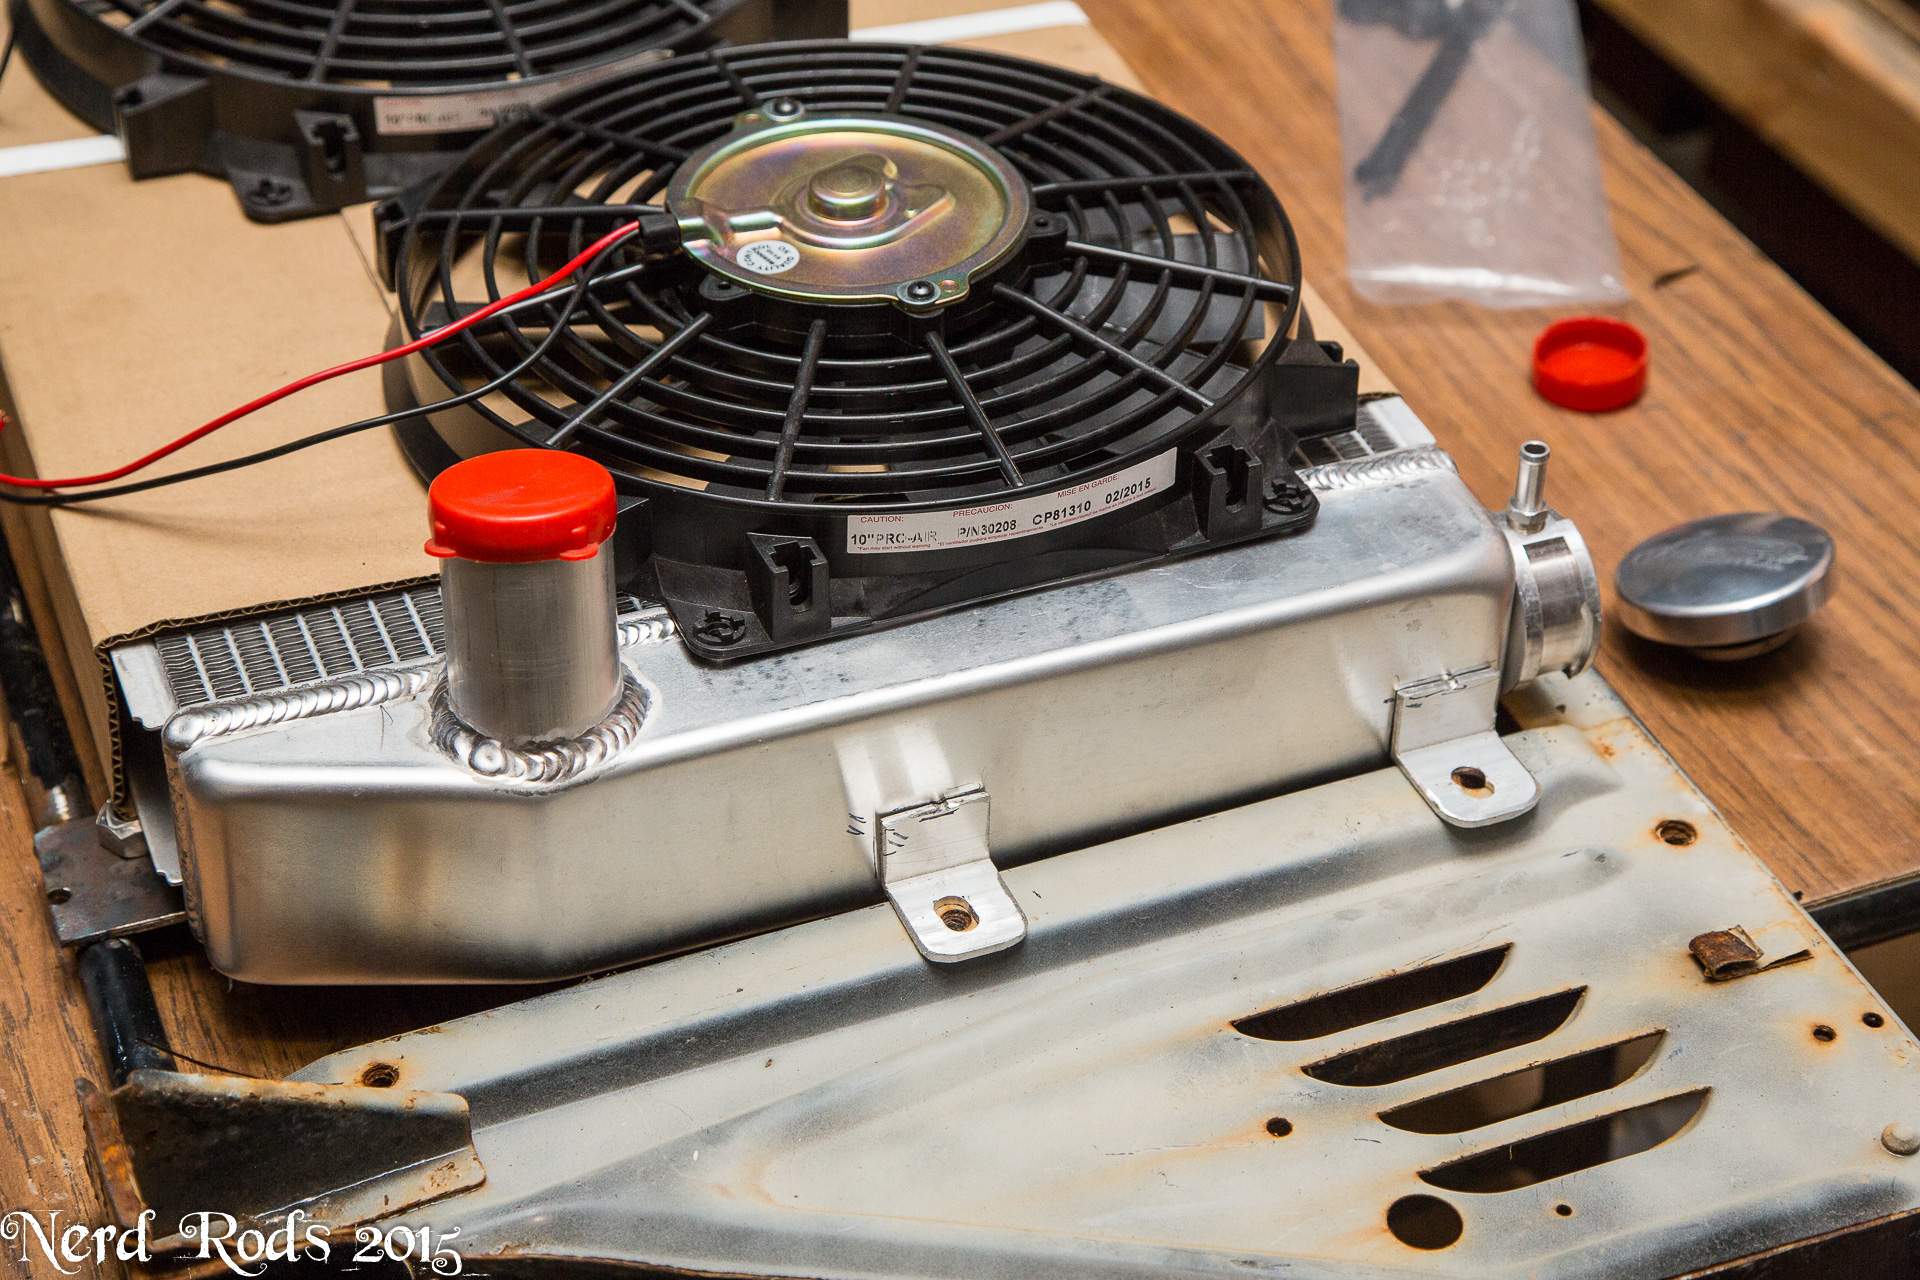
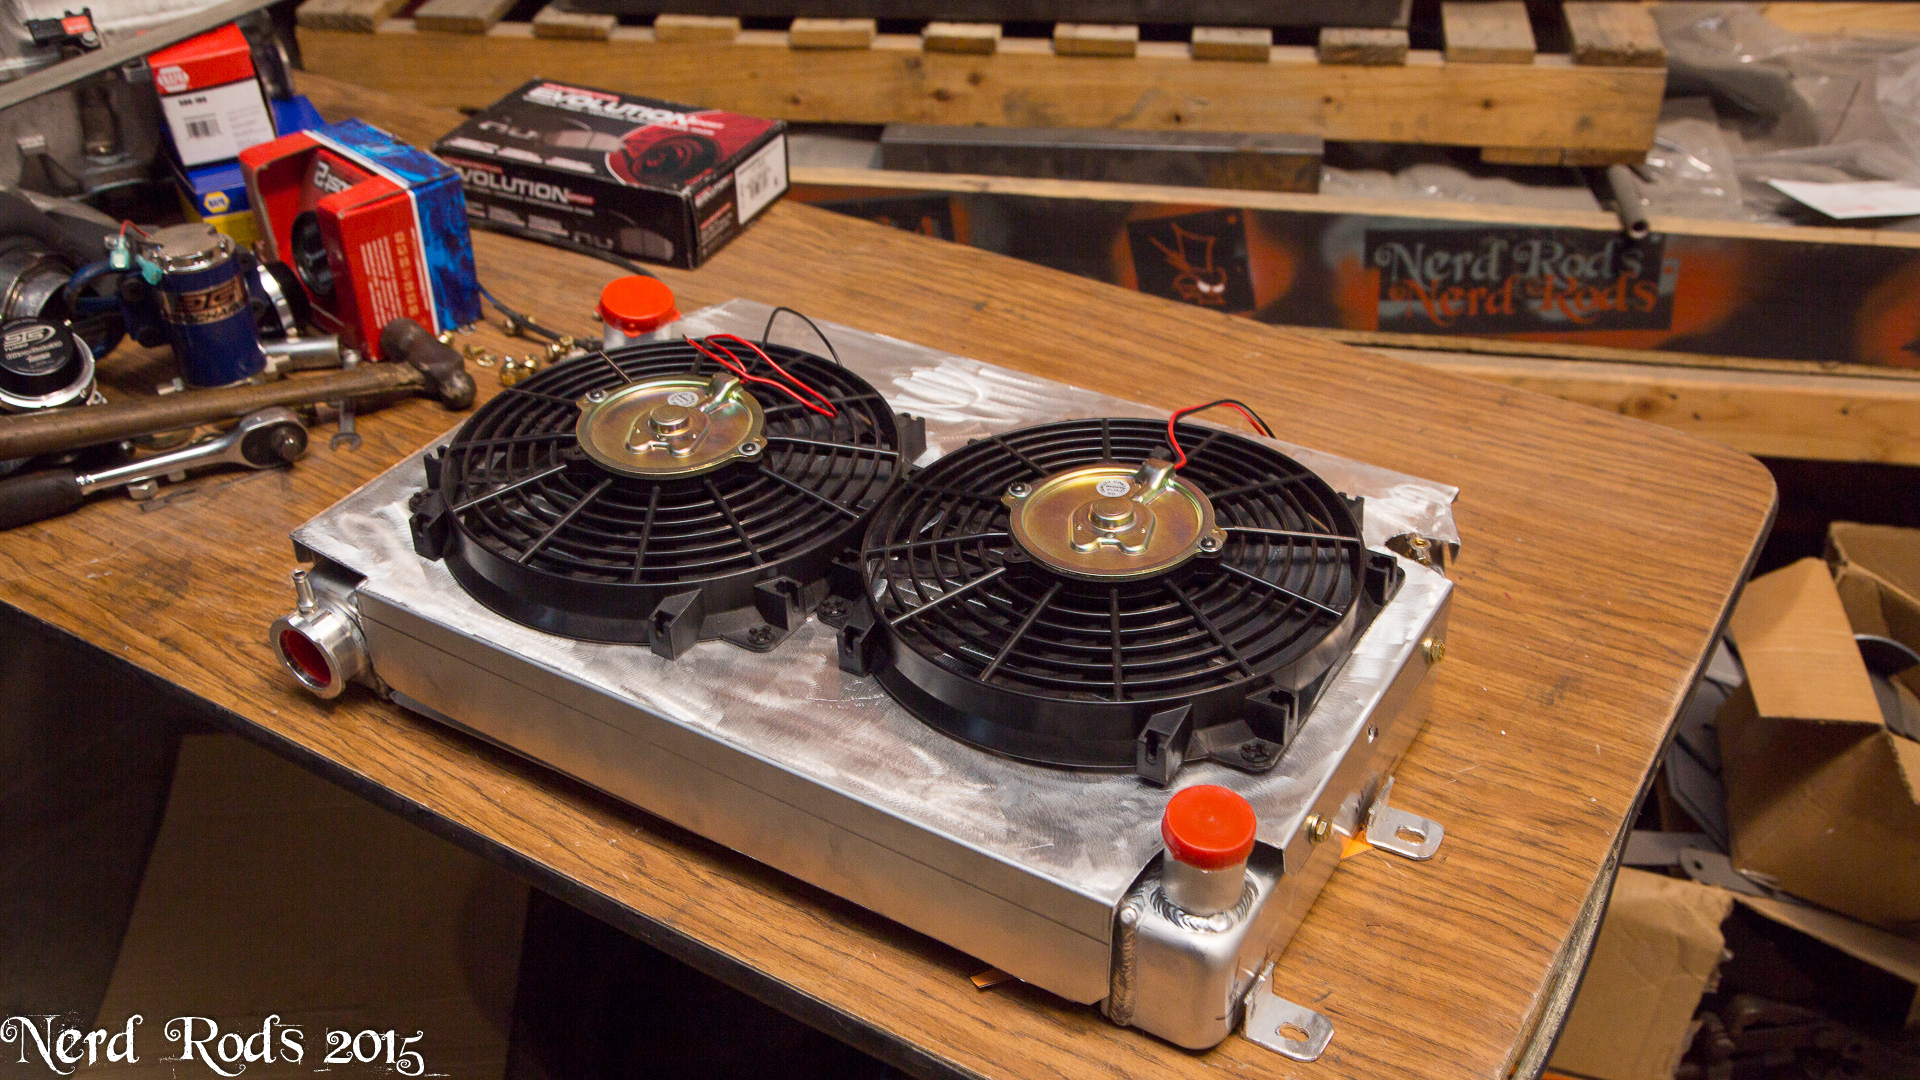
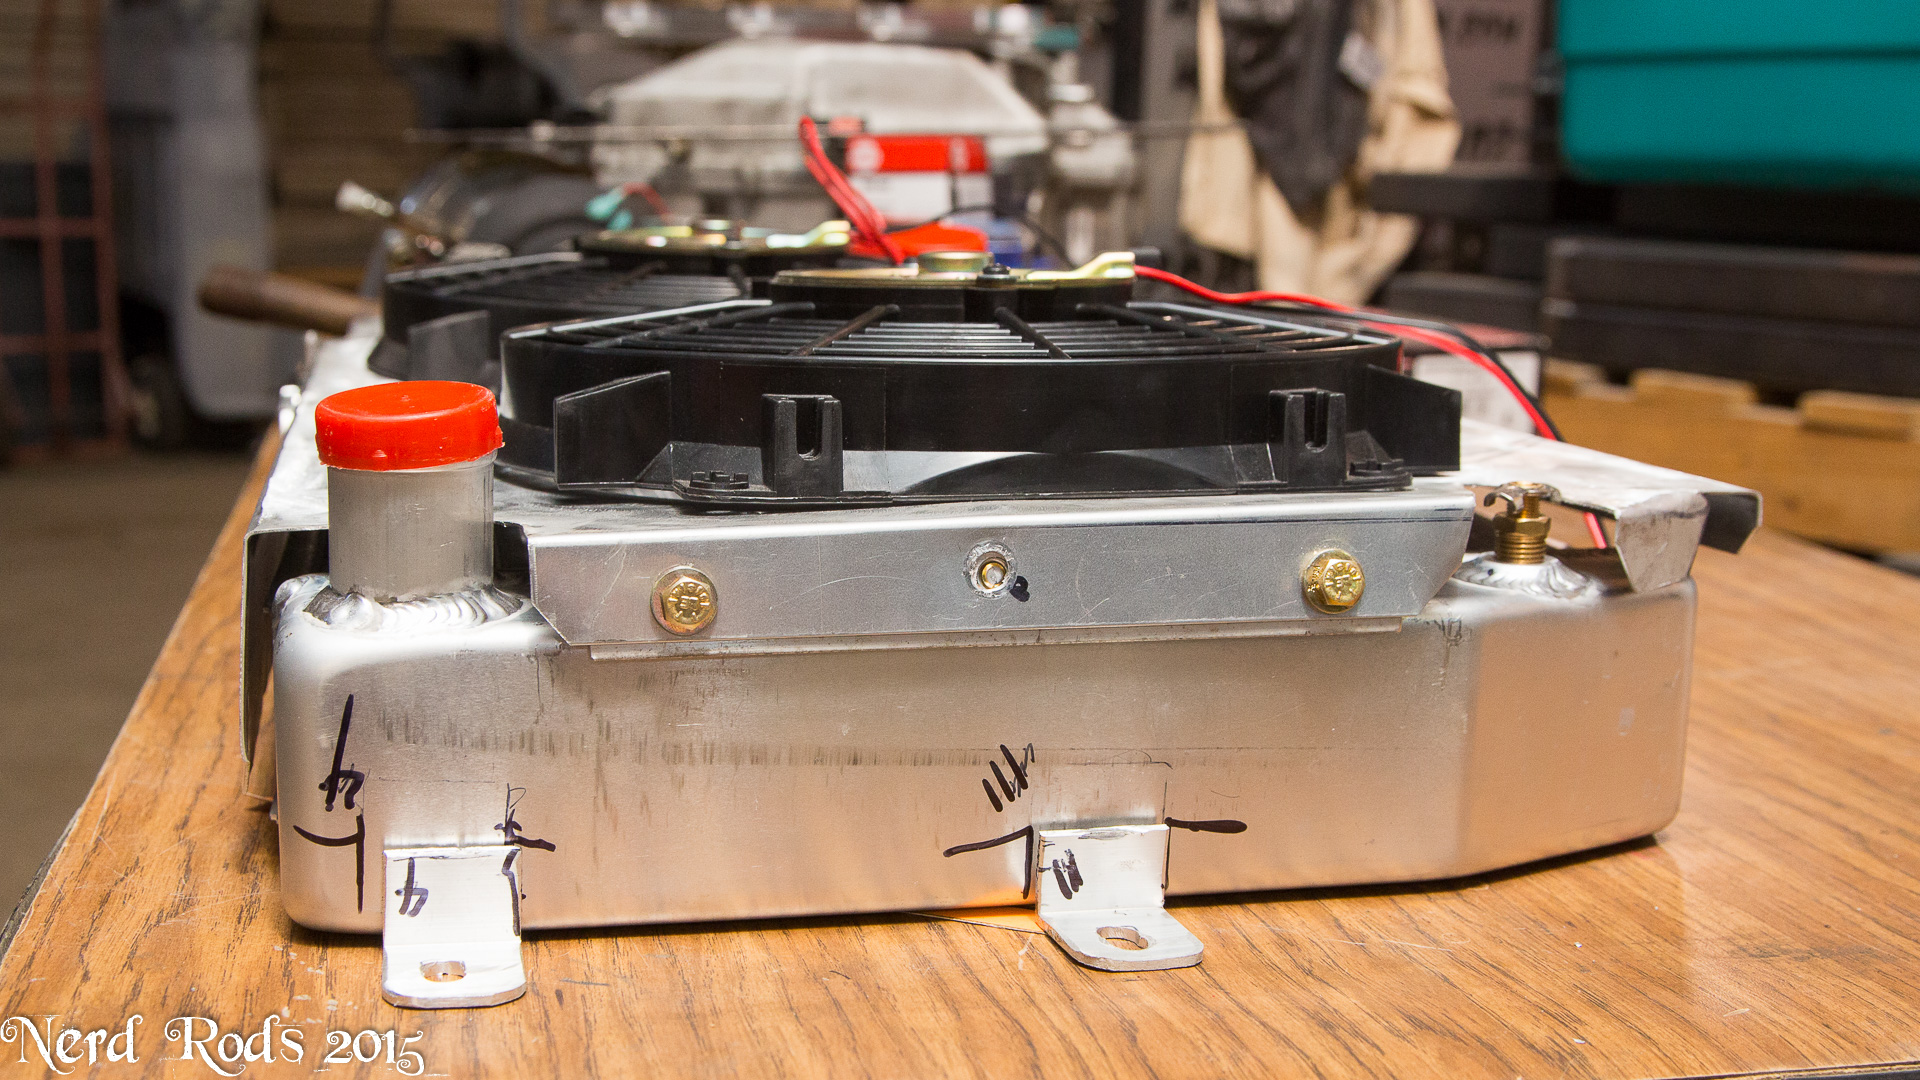
Dad got the radiator should made up to fit out generic Griffin Radiator (188.17 Part # 1-25201-X) The PRC Condenser Core ( 120.00 after shipping, its not on their site so you have to call them about it ), and some cheap summit fans (85.94 Summit Racing Cooling Fans, Quantity 2, Part # SUM-G4901 42.97 Each) I updated all this on the first page for the totals as well for people keeping up with pricing. Made up a few tabs to hold it to the stock core support and not I just need to weld it all up.
Body work continues, he keeps finding "just one more thing"..... I was afraid of this. And so Dad's Down and Dirty just became Dad's Down and Dangerous. We'll see how much longer he keeps up at it but I think its going to end up pretty darn nice when he's finished.
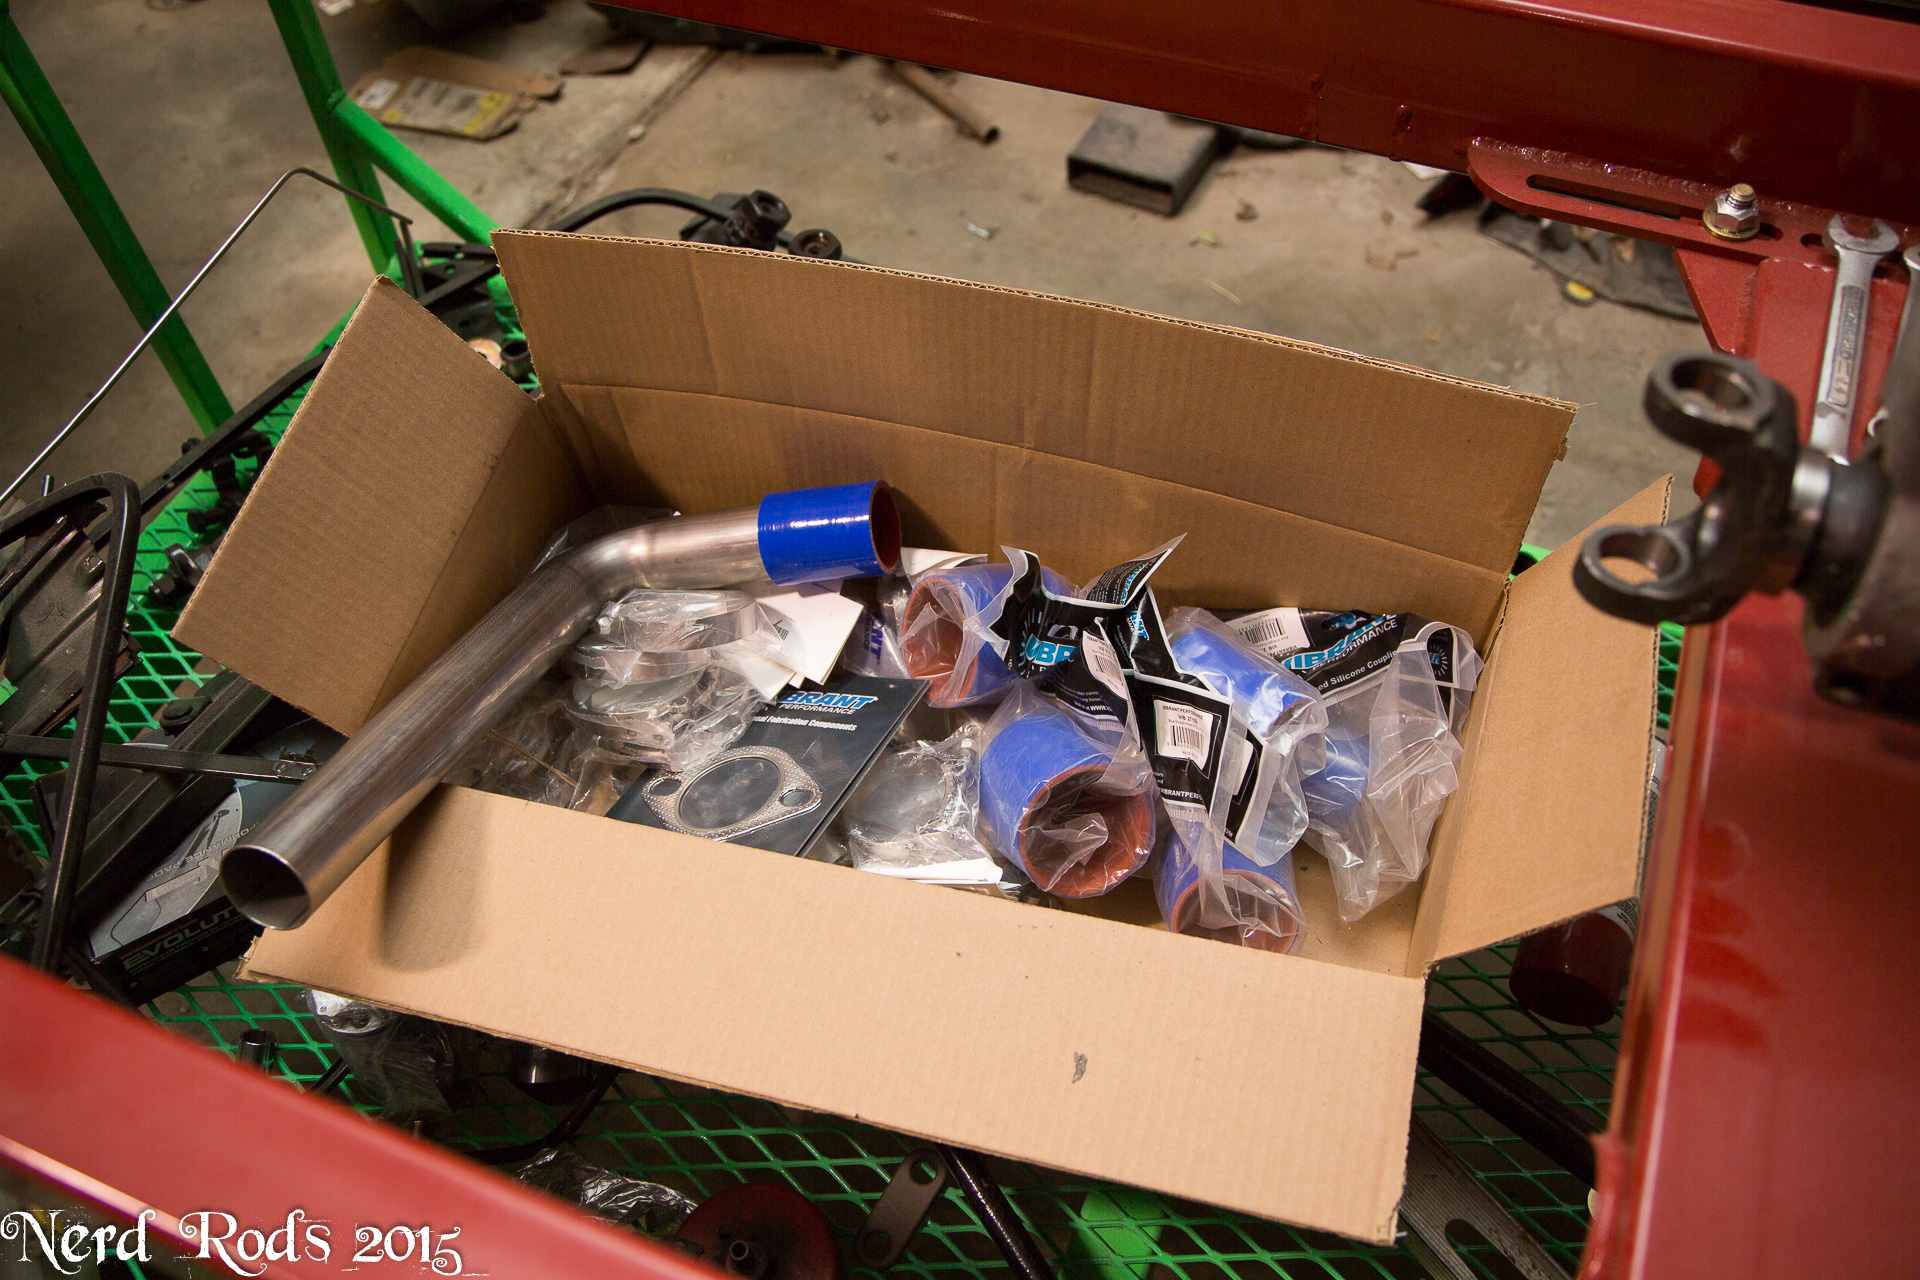
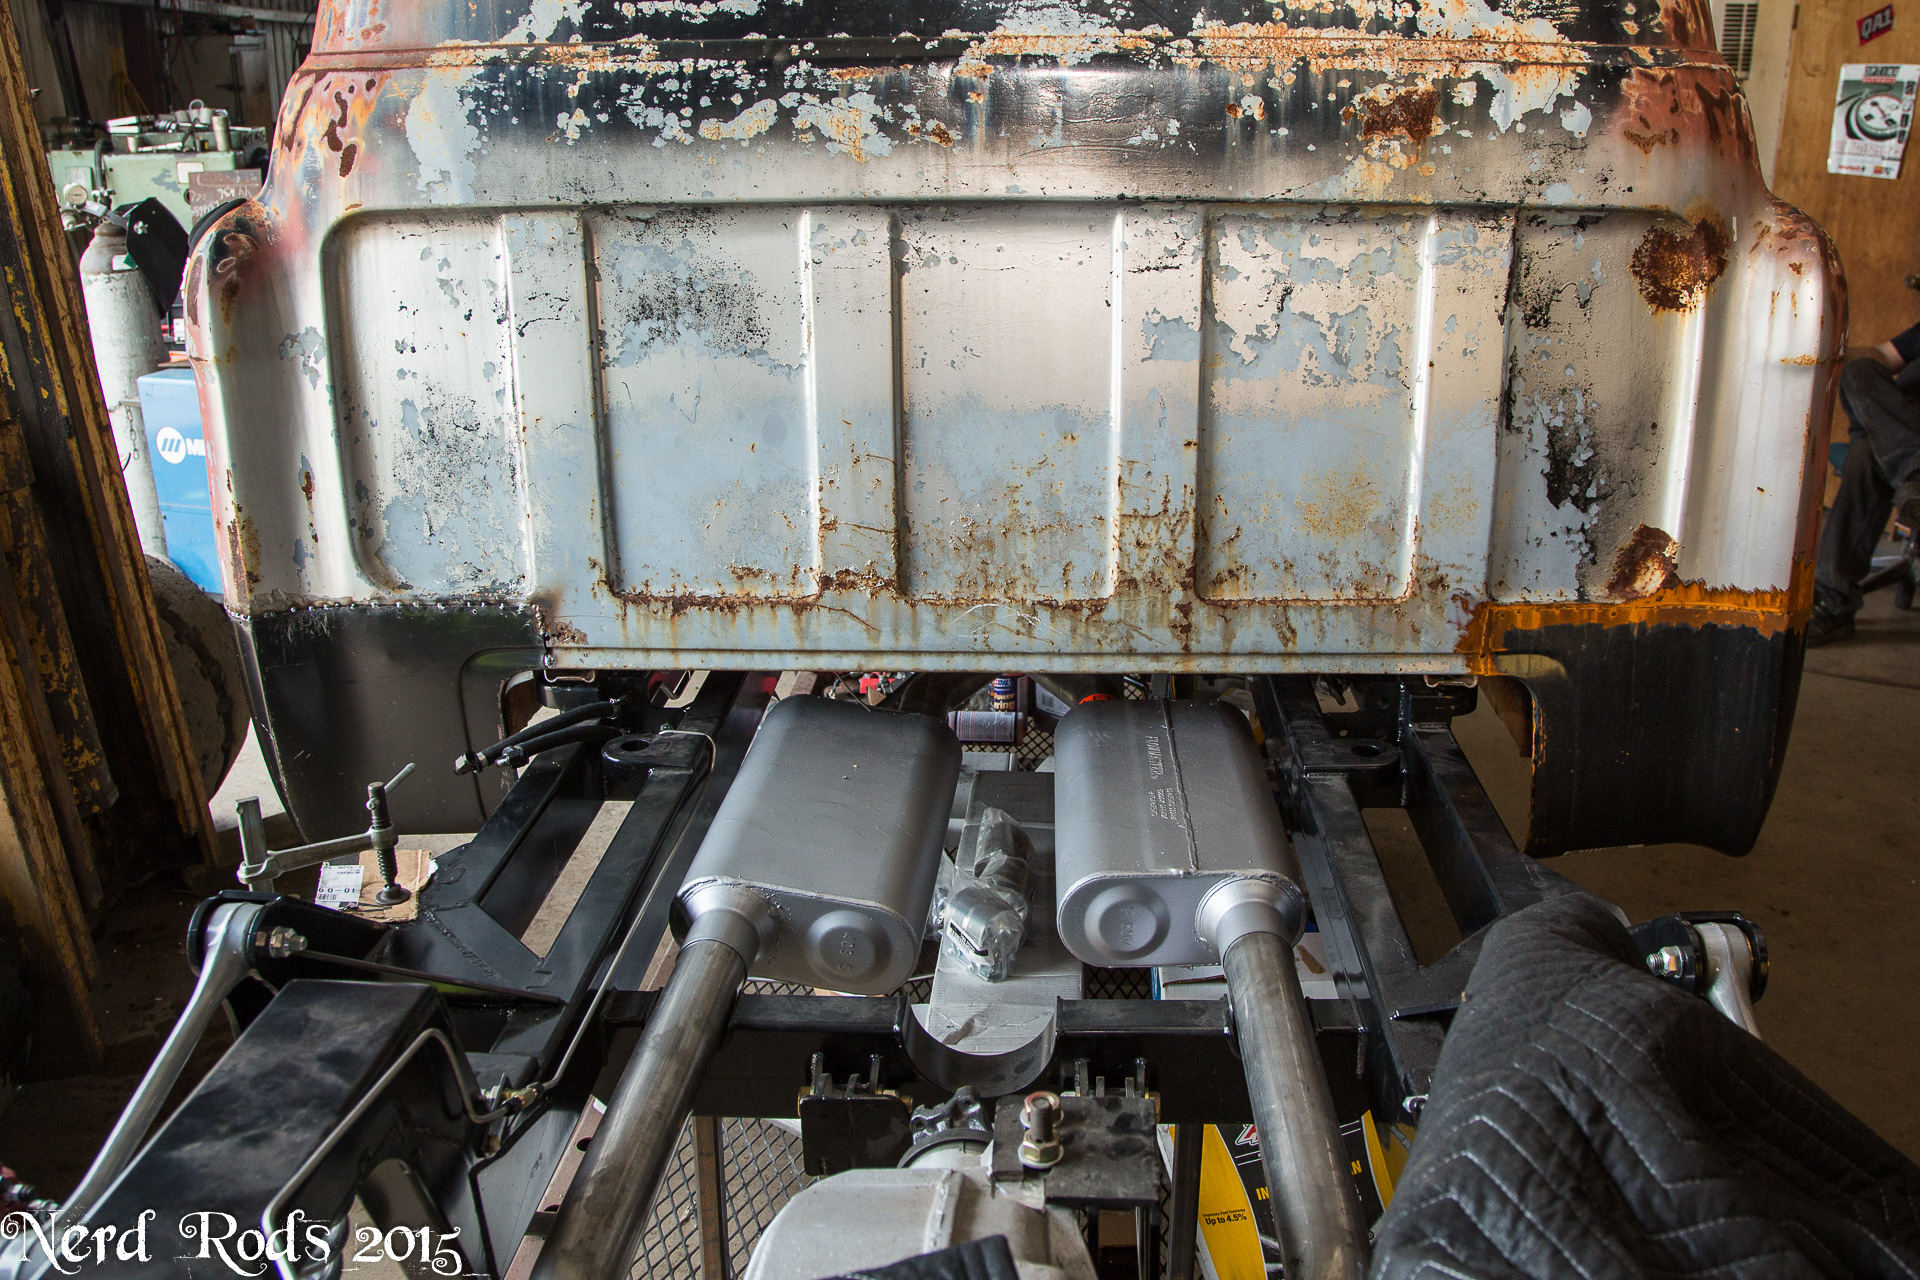
The hard lines are going down and we are getting the turbo system layout worked out as well. Should look something like this but with 2.5" off the headers into a 3" into the turbo. Then 3" out of the turbo into a dual 2.5" out the back.
Updated 2015.SEPT.25
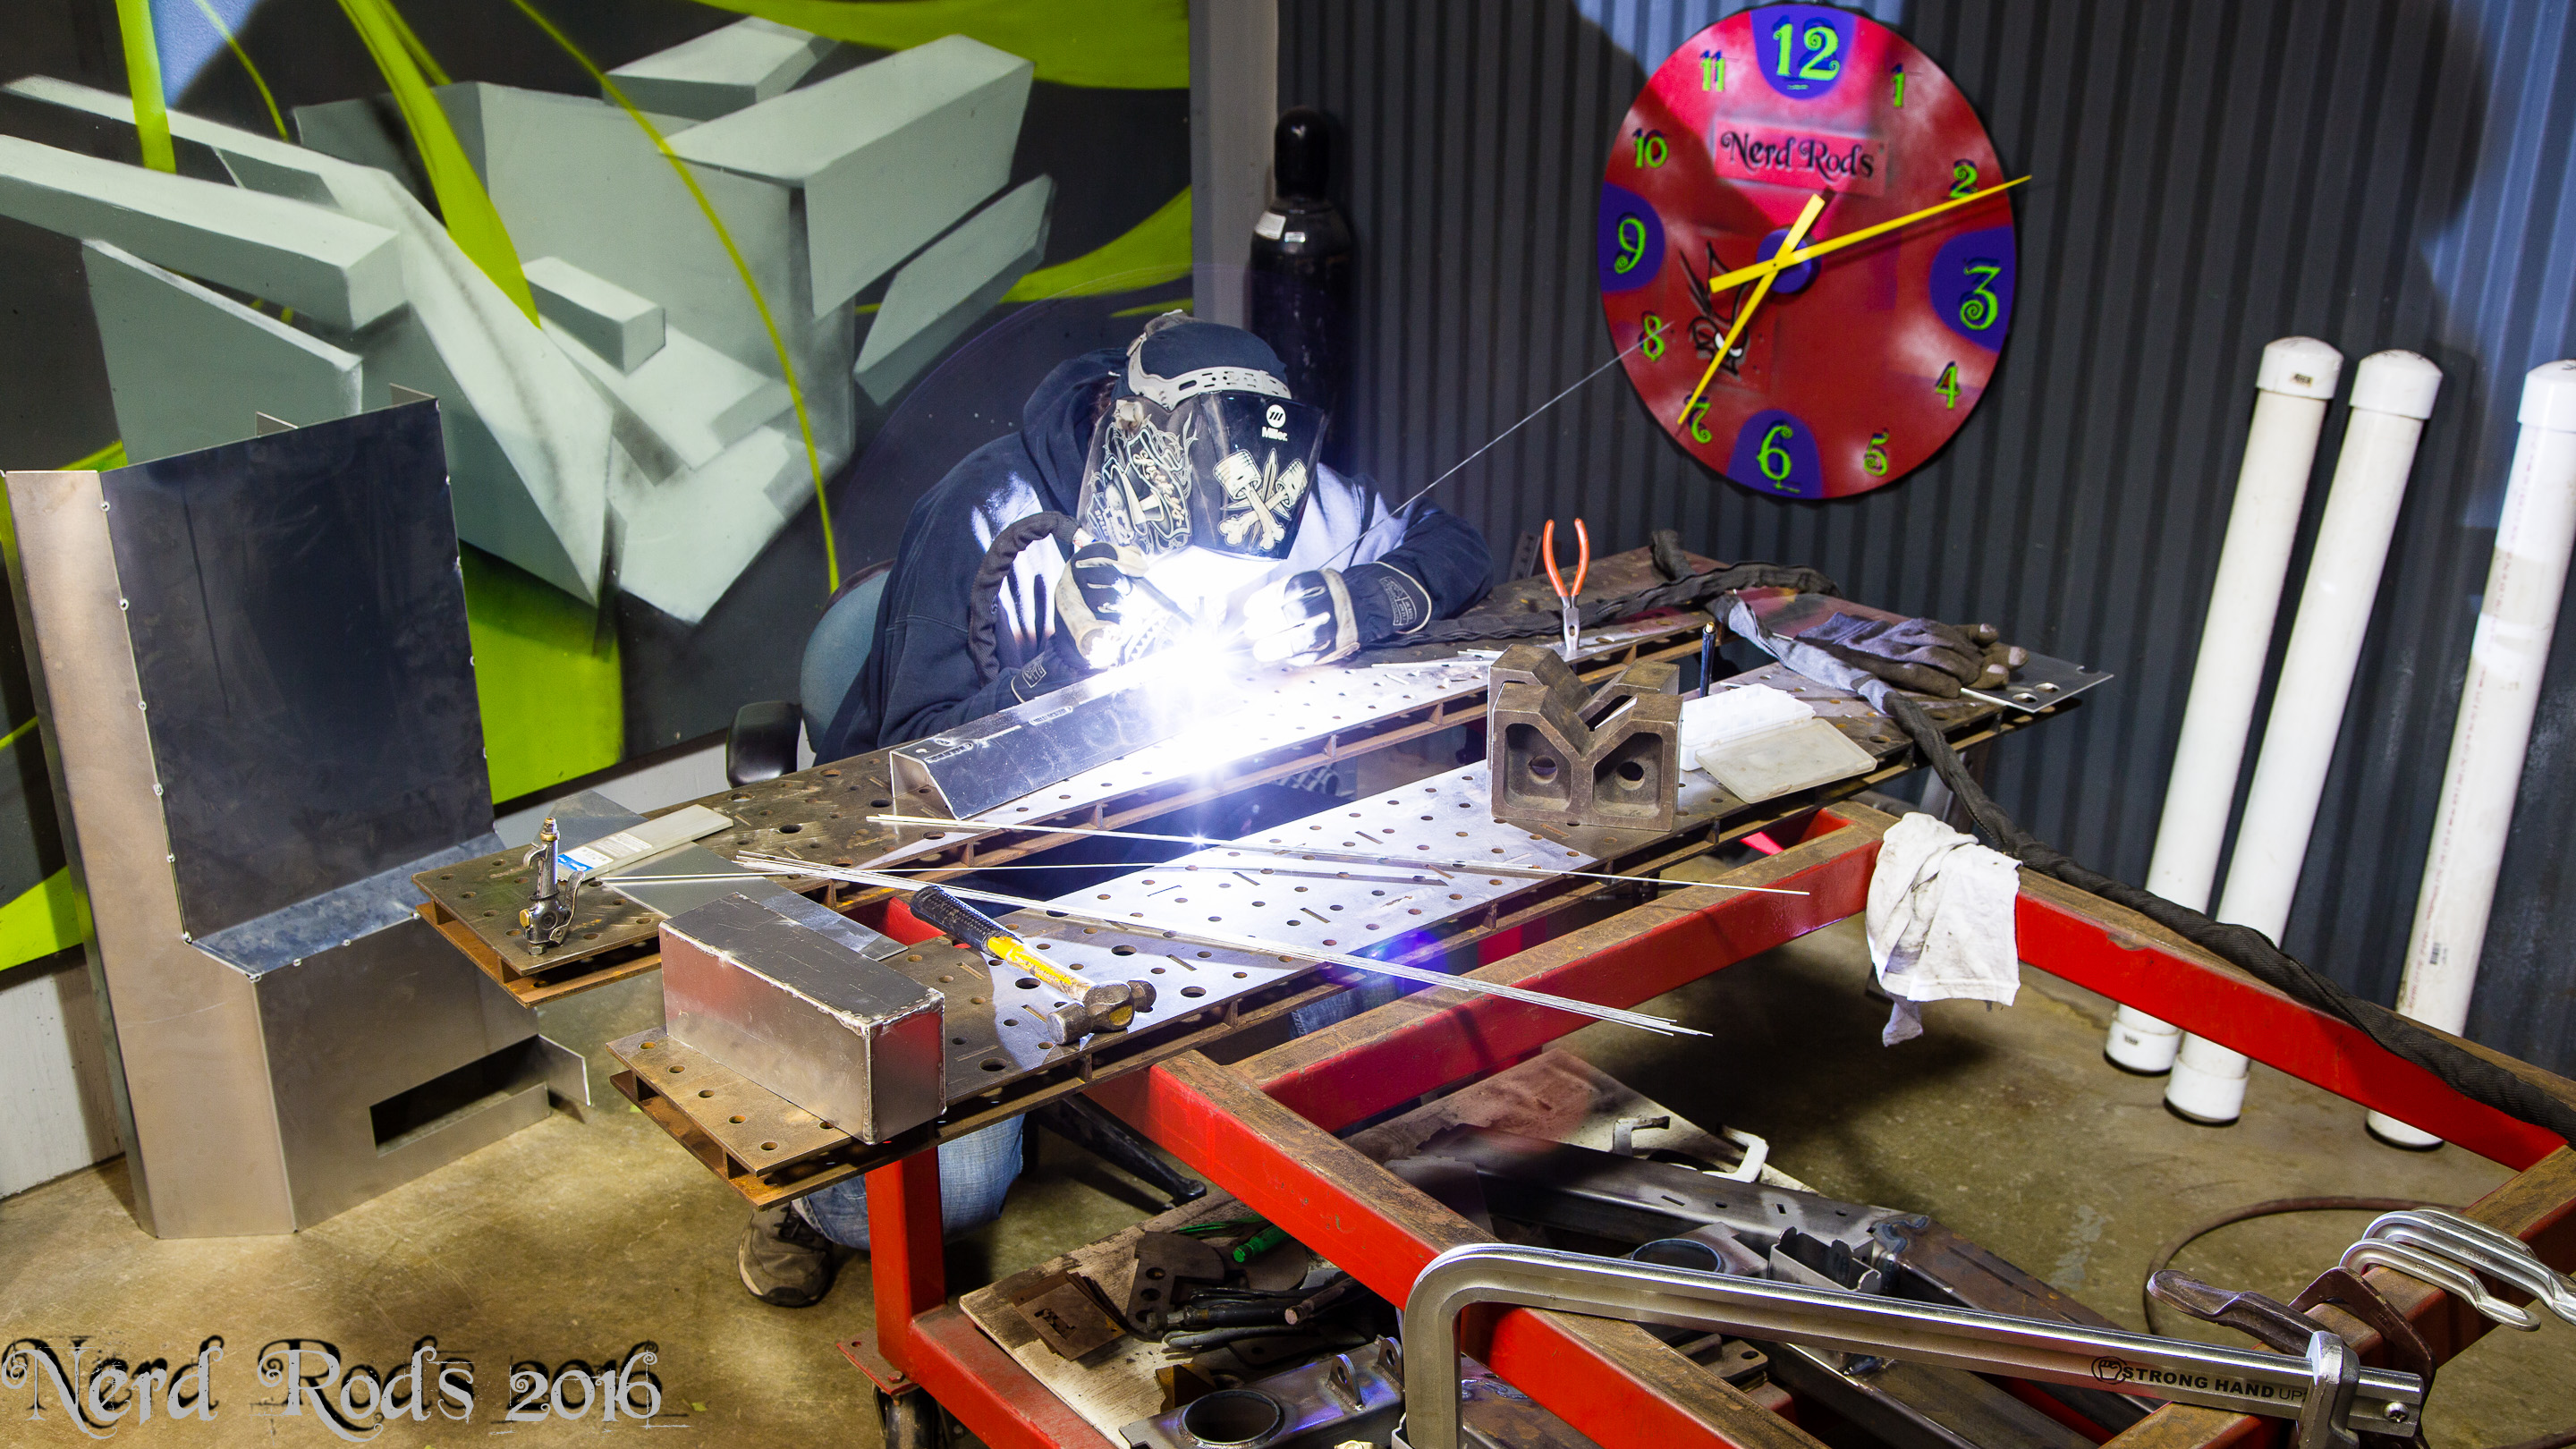
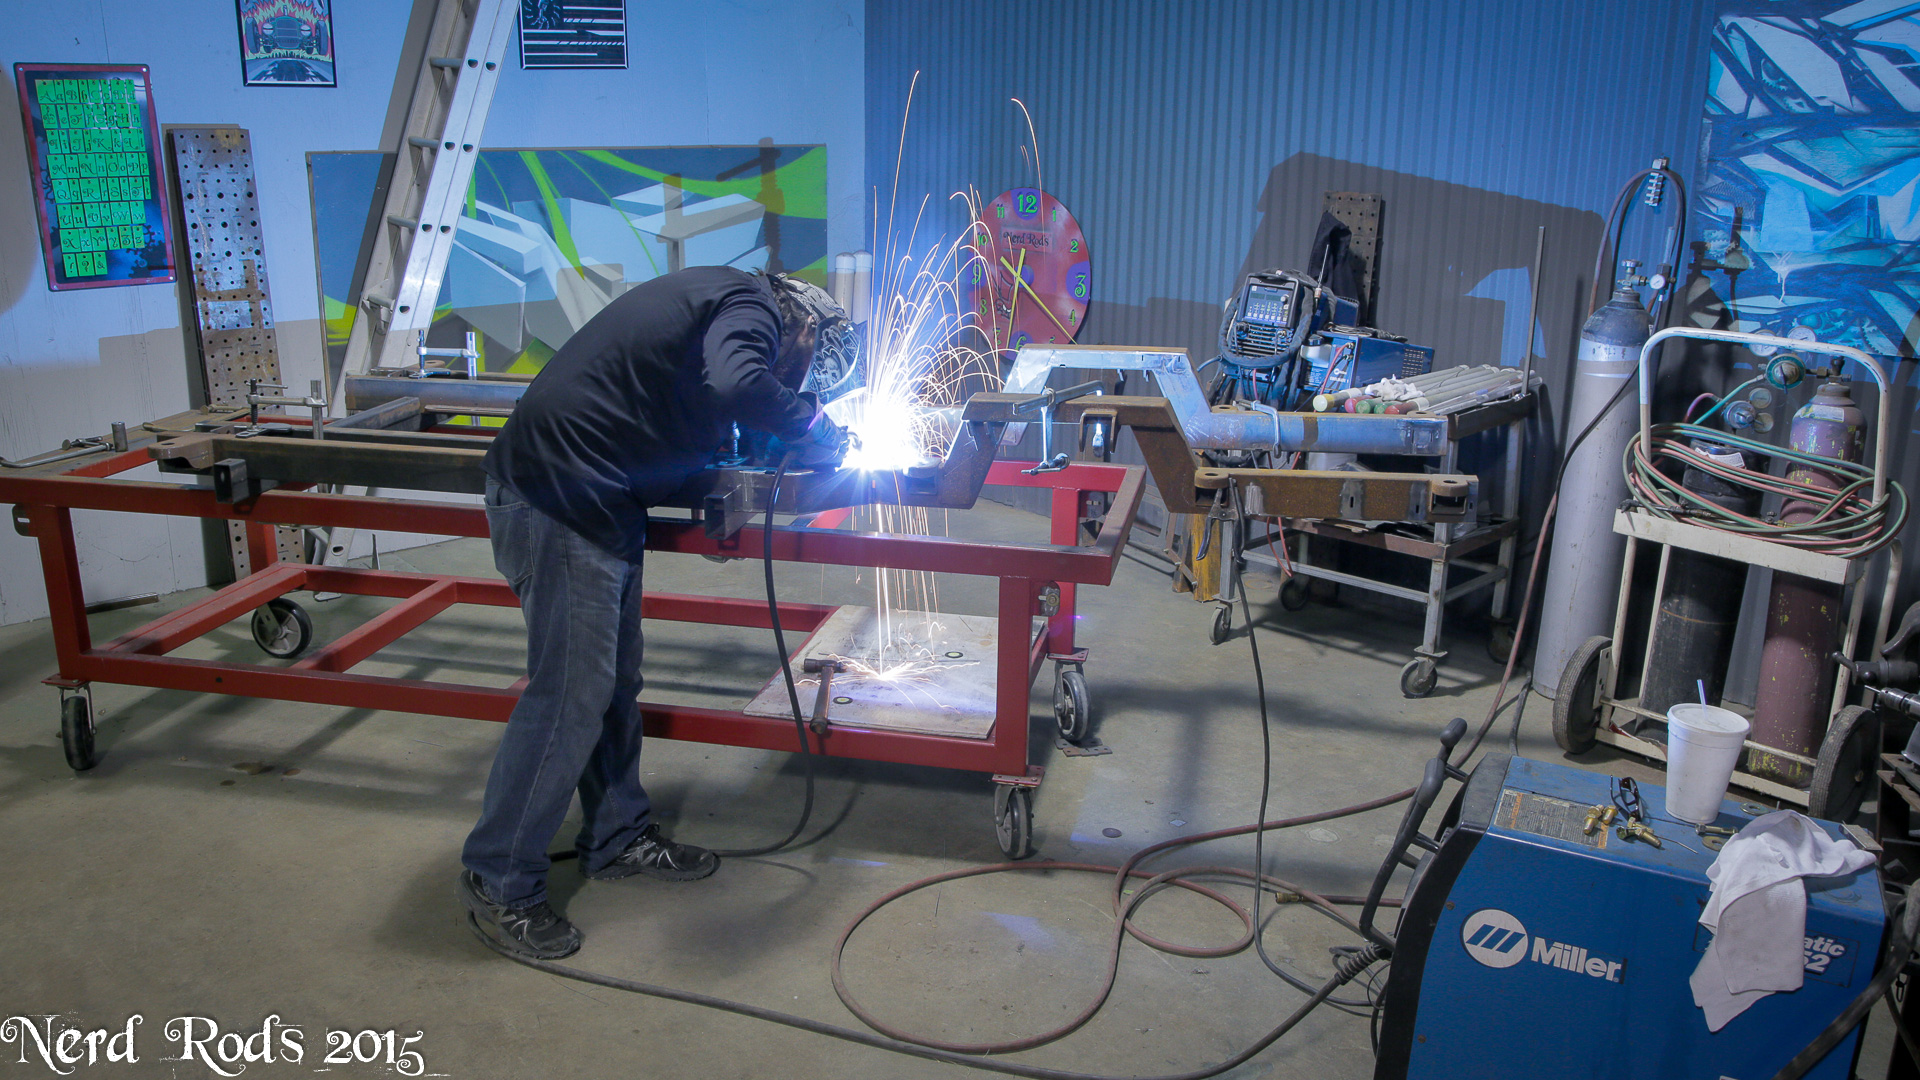
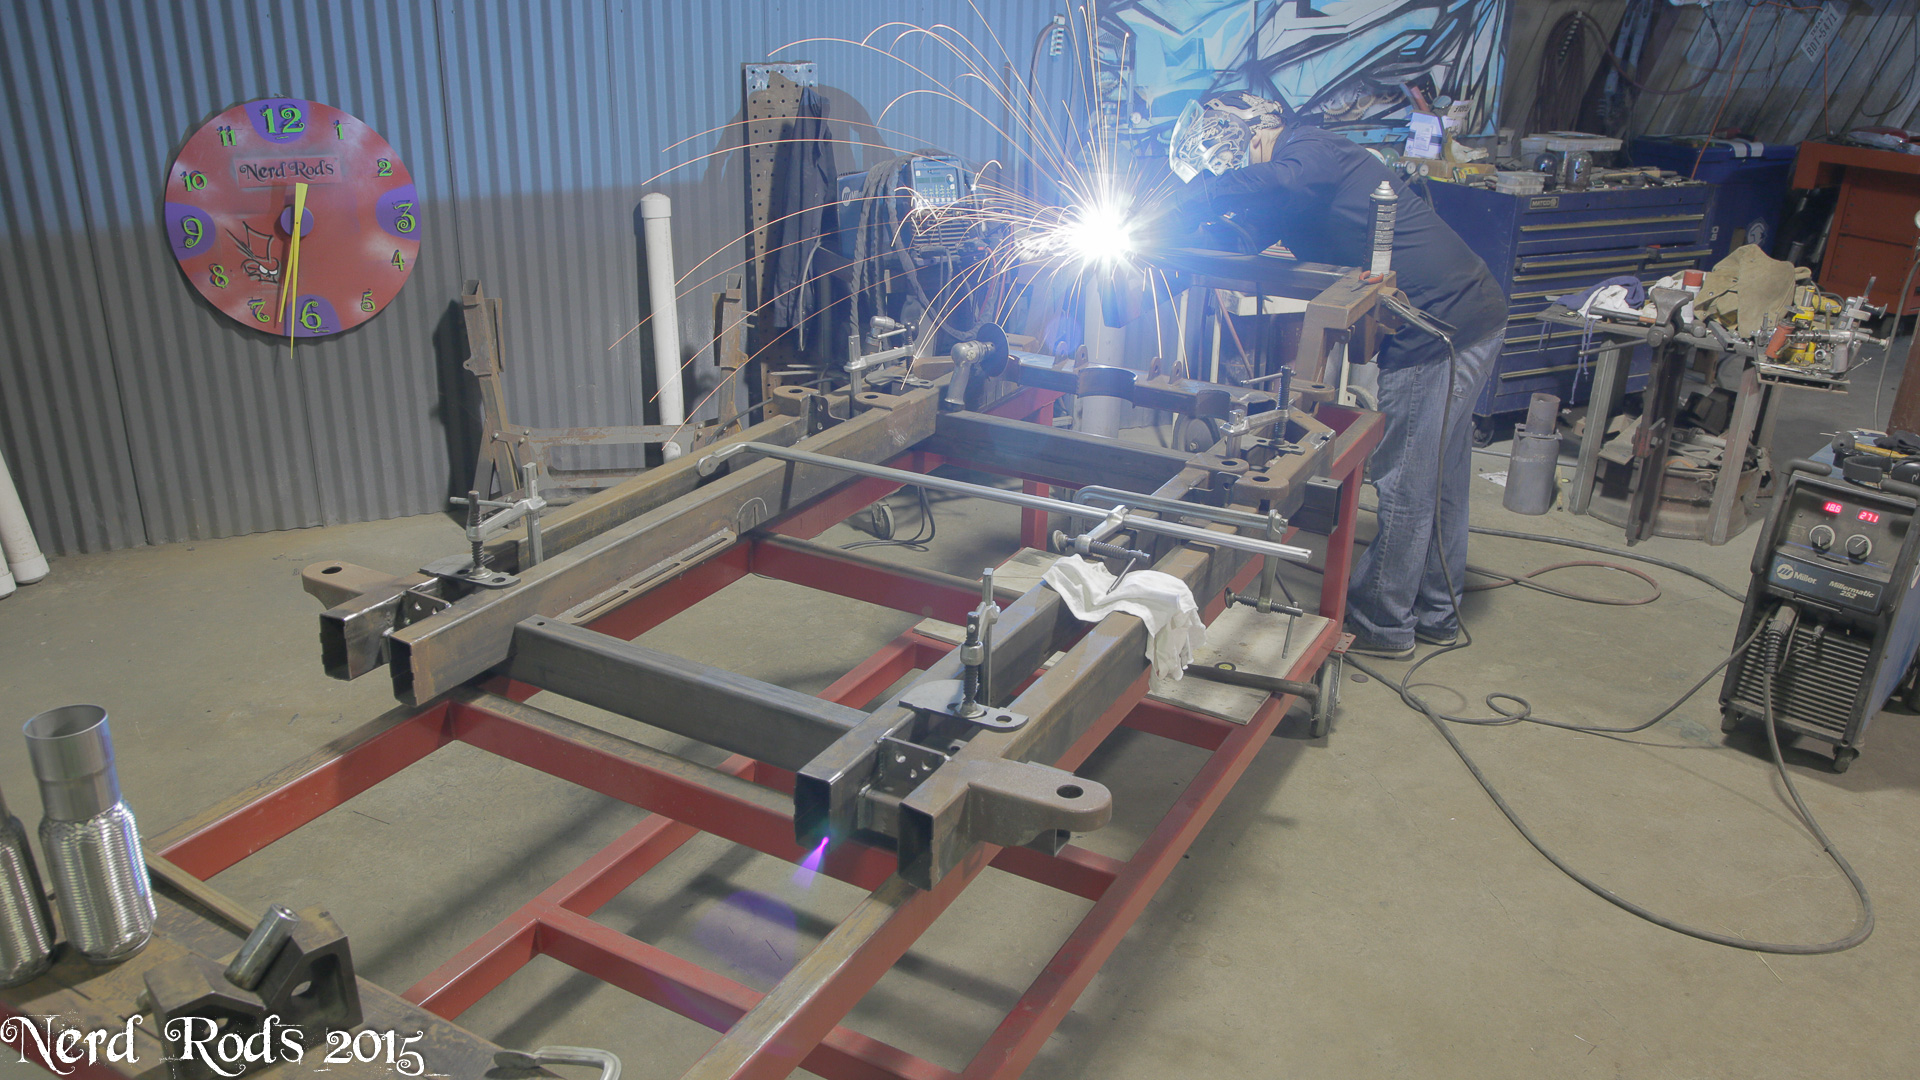
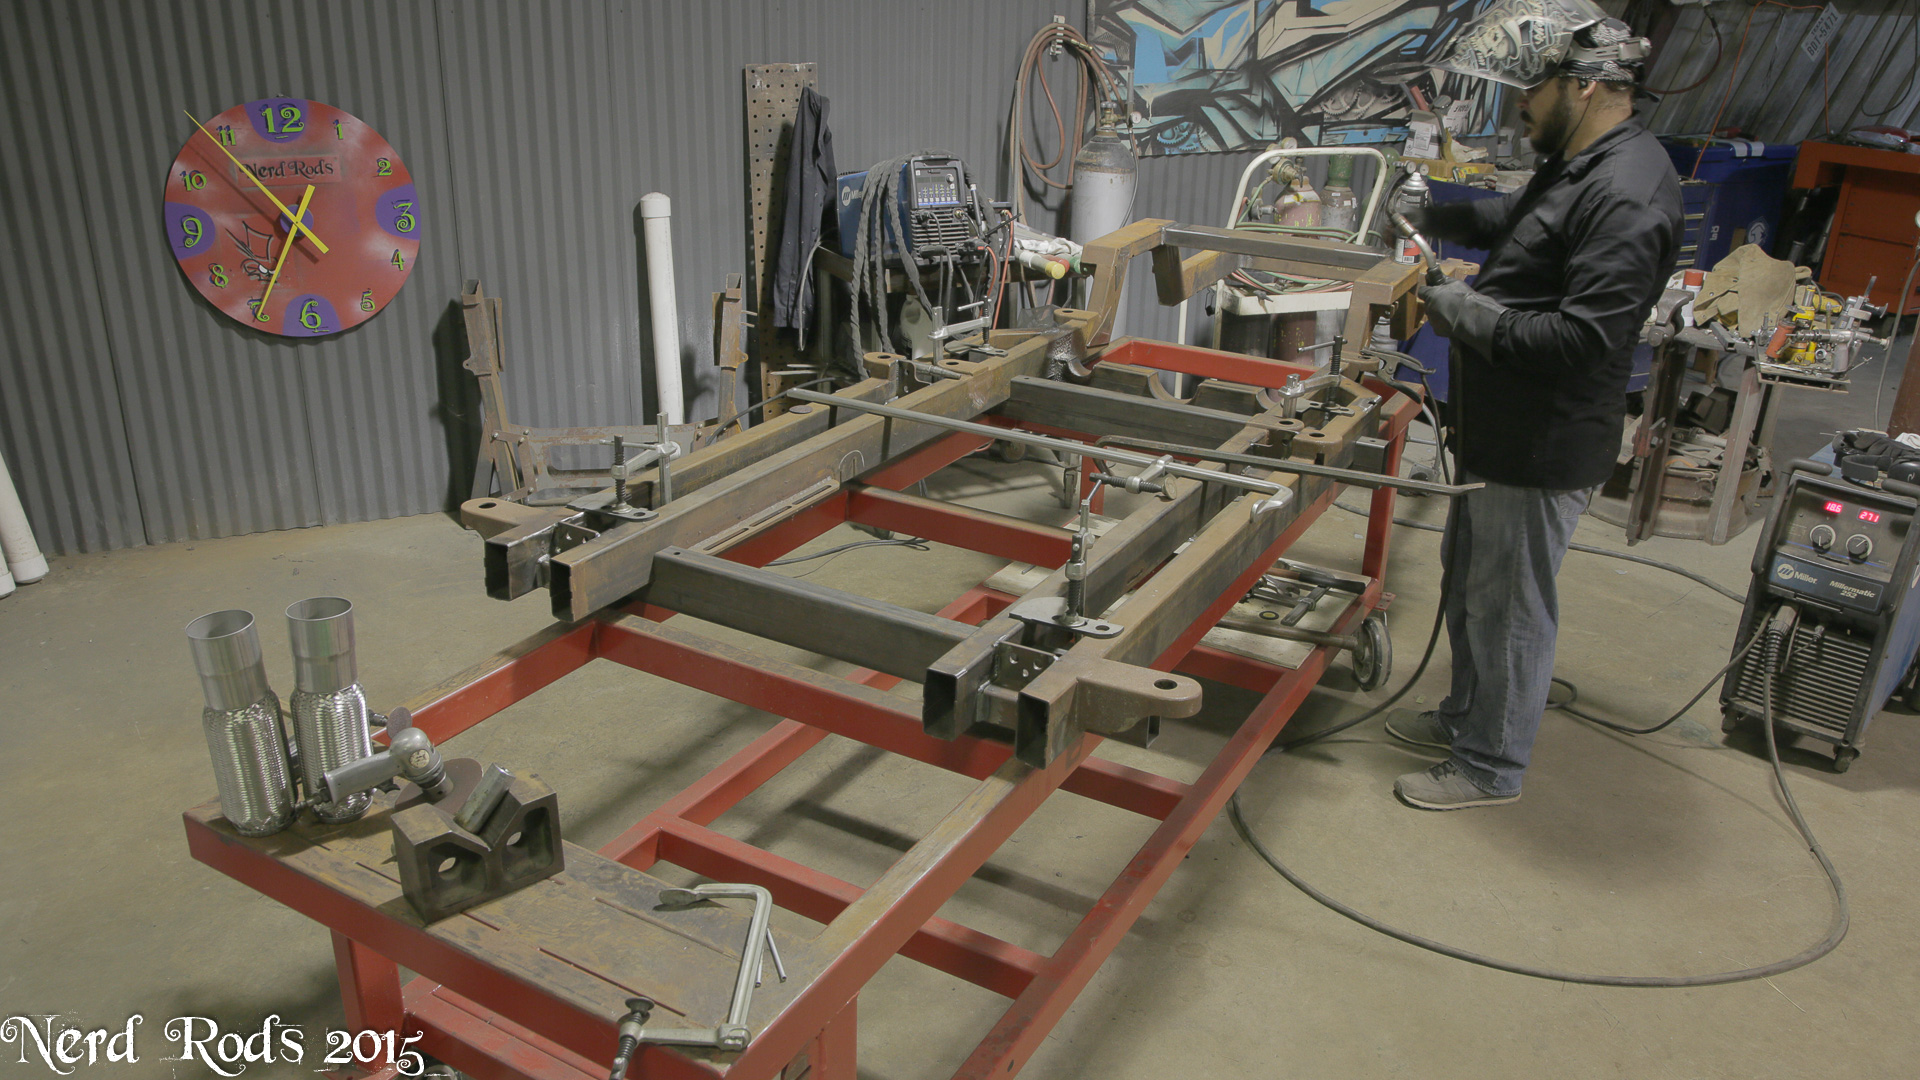
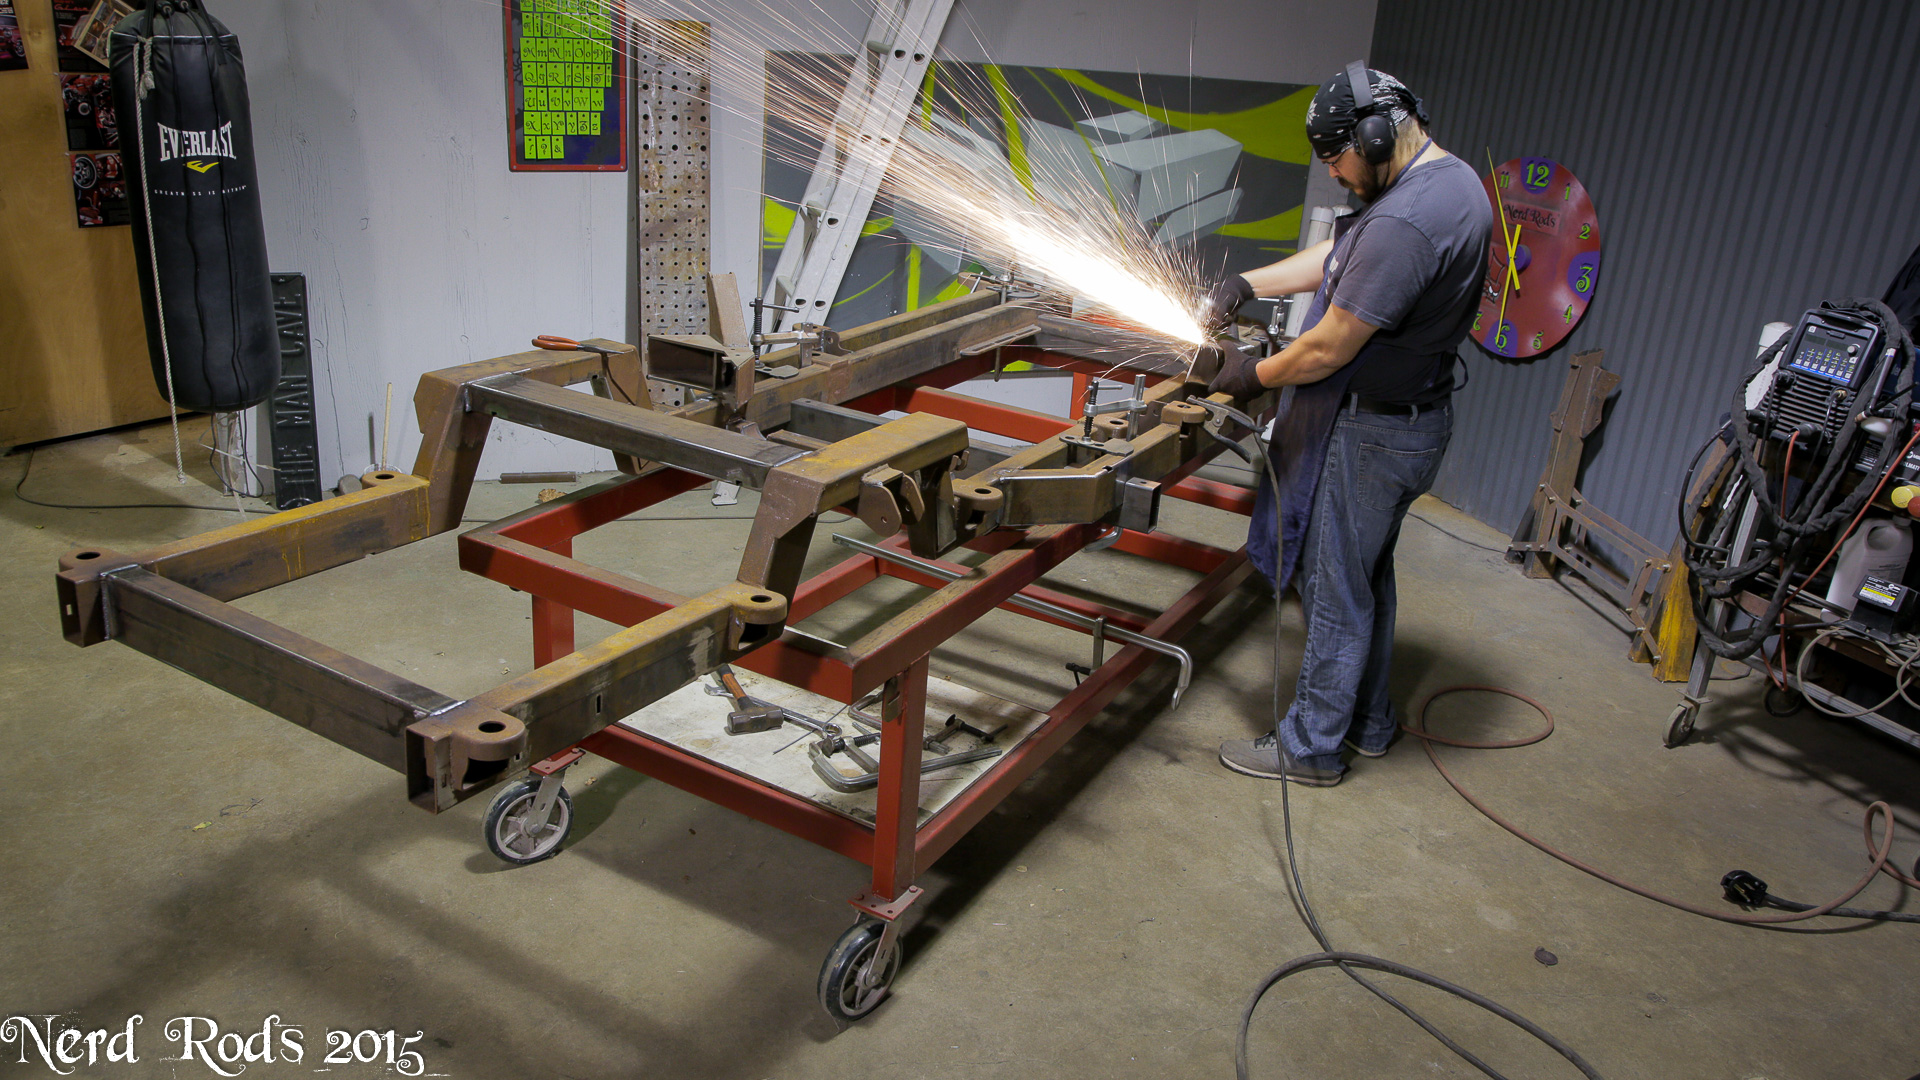
Video Update and the MIG welding timelapse of the frame getting wrapped up.
Updated 2015.SEPT.21
This has been one of those weeks where one thing lead to another and its a bit long winded to explain. So if you don't feel like reading here's the easy link to the pictures. Photo Gallery
So Dad's 70th birthday is coming up and I wanted to give him something he wasn't expecting. I didn't just give him my 4:10 diff and 6 speed for no reason other than fun. I wanted to put a good power adder on it and those were necessary if they were to survive. So I got him an LSA supercharger thanks to their falling prices. I pick this guy up for less than a grand with the adapter plates so they would work on the cathedral port heads
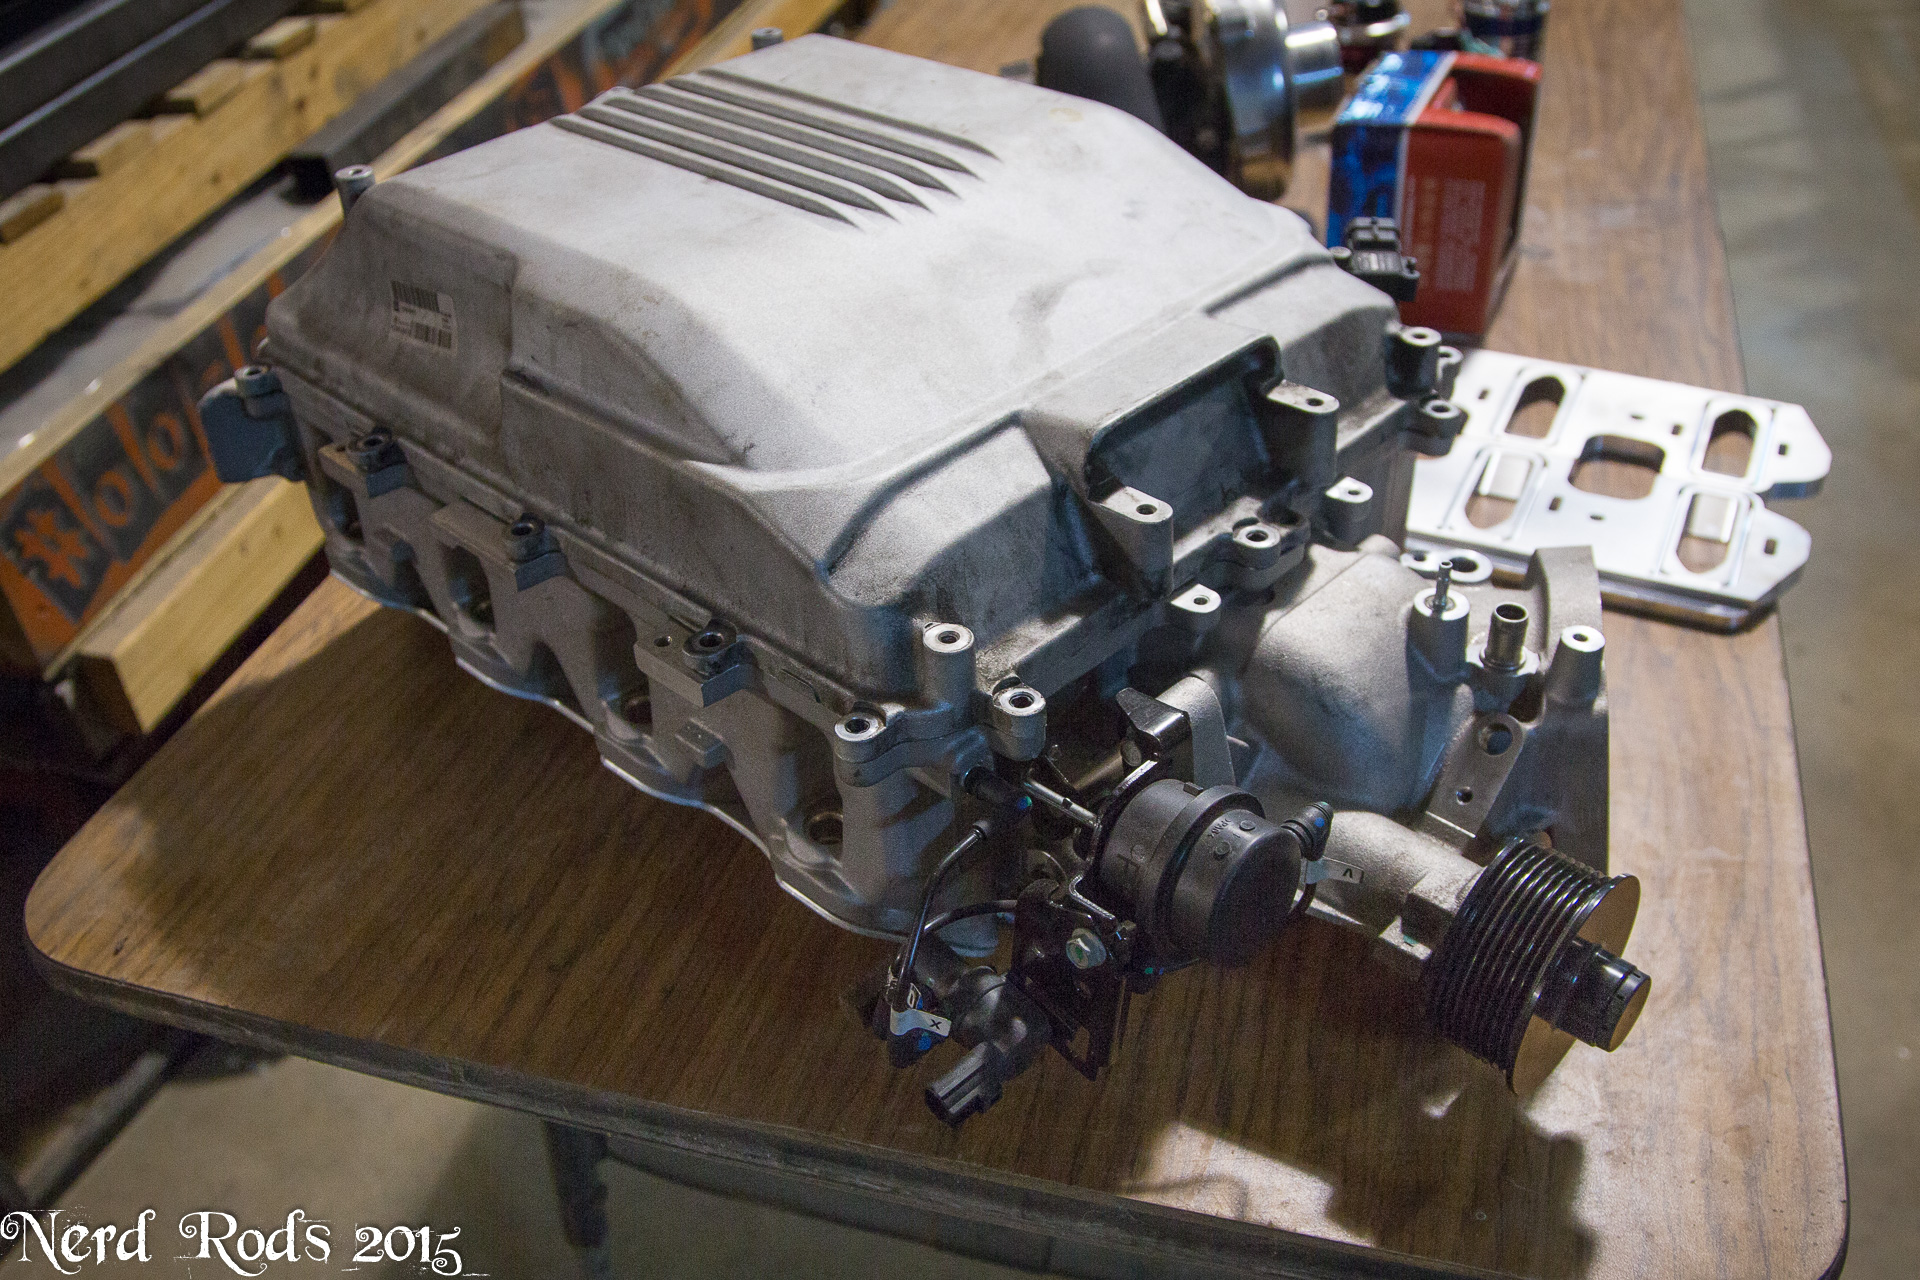
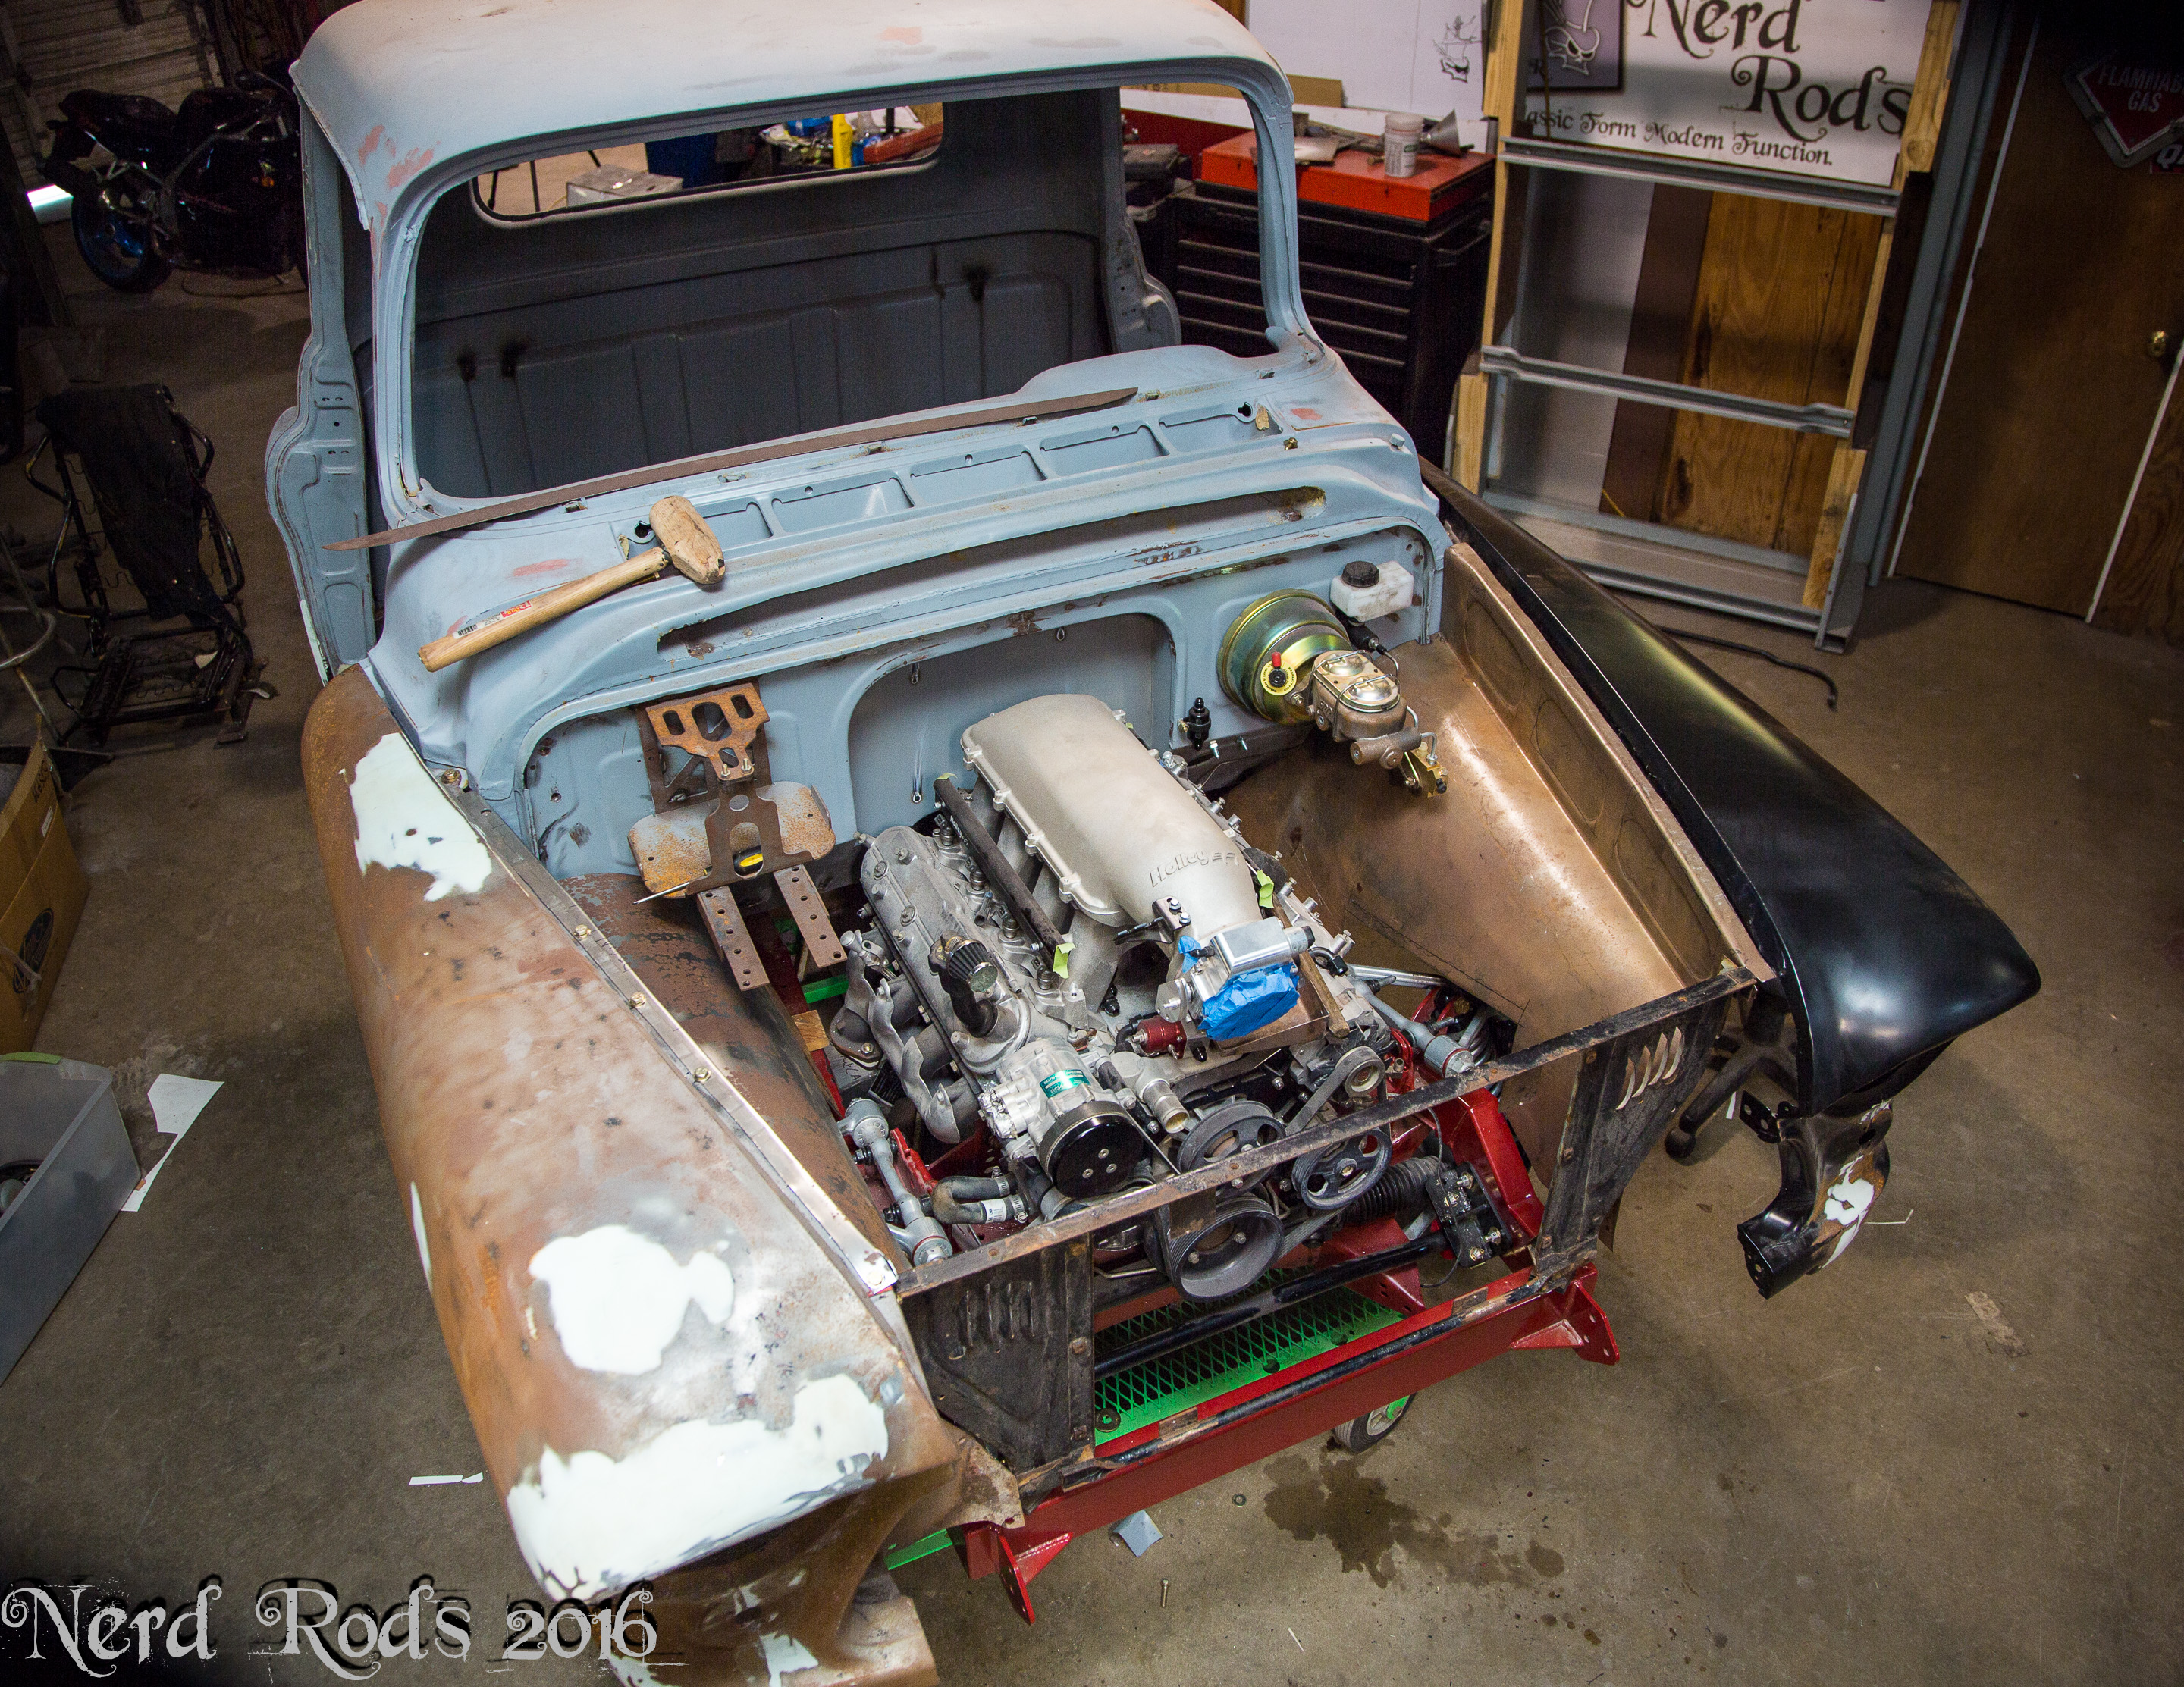
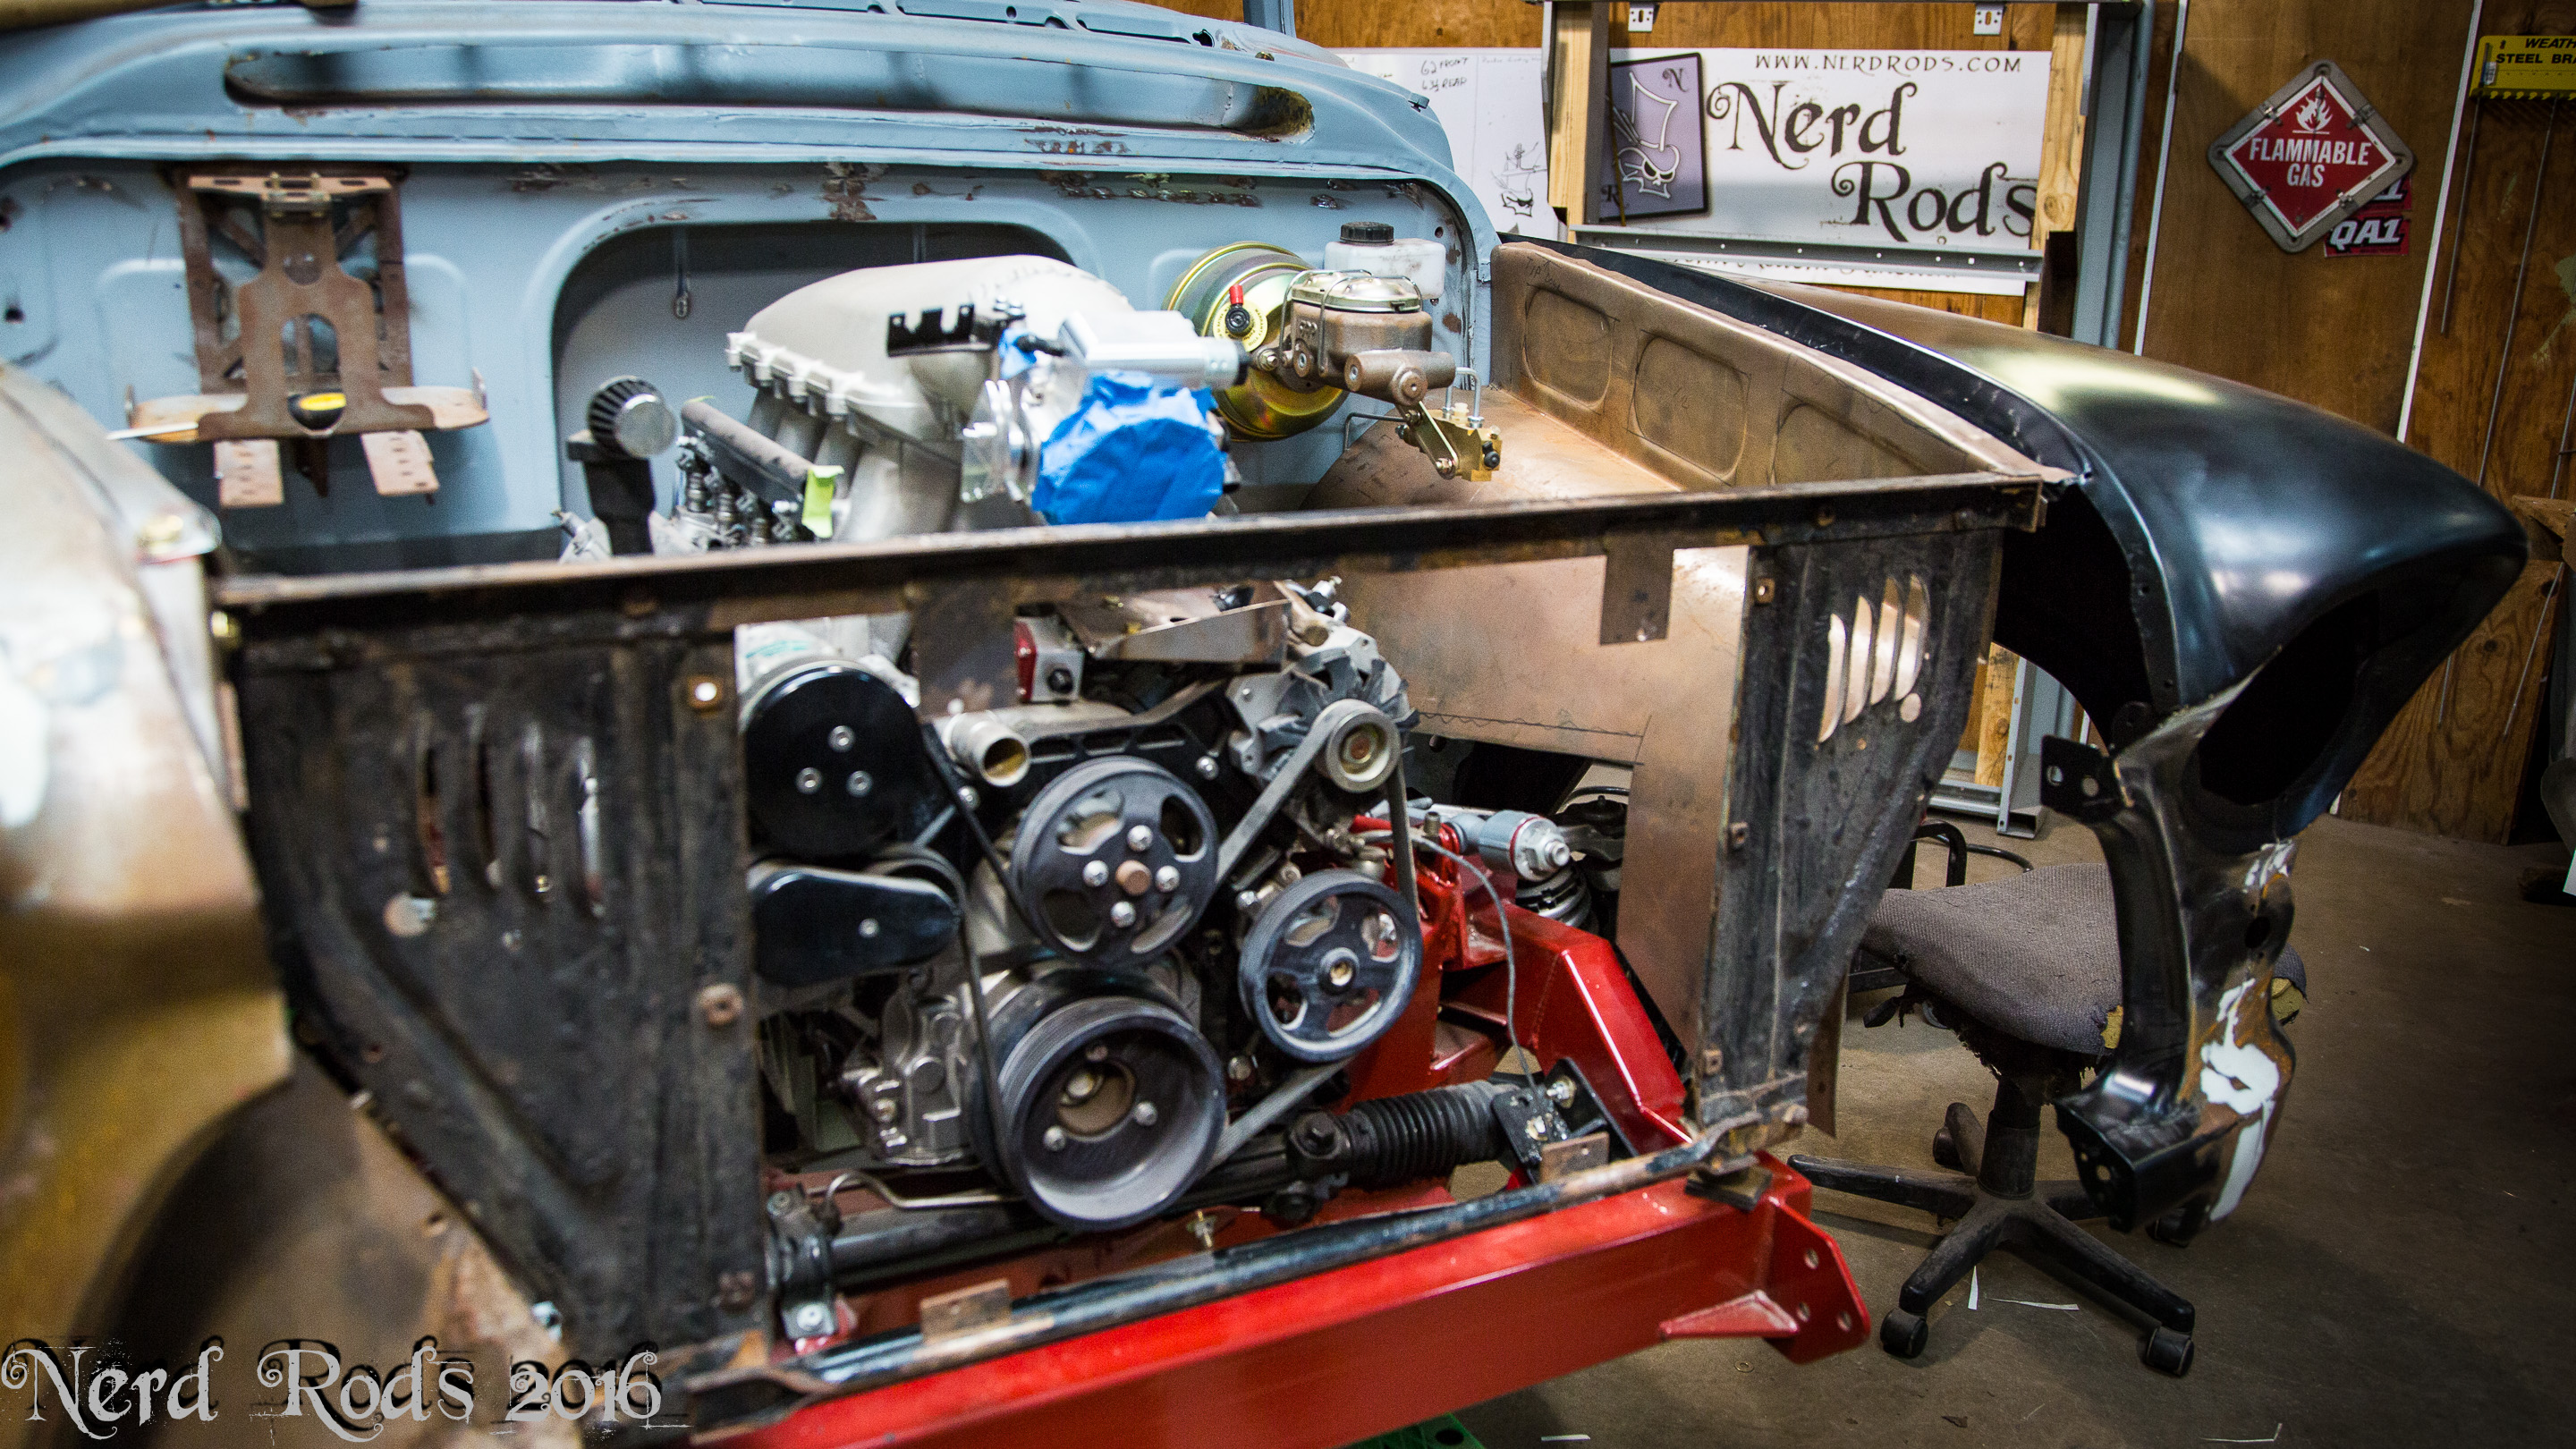
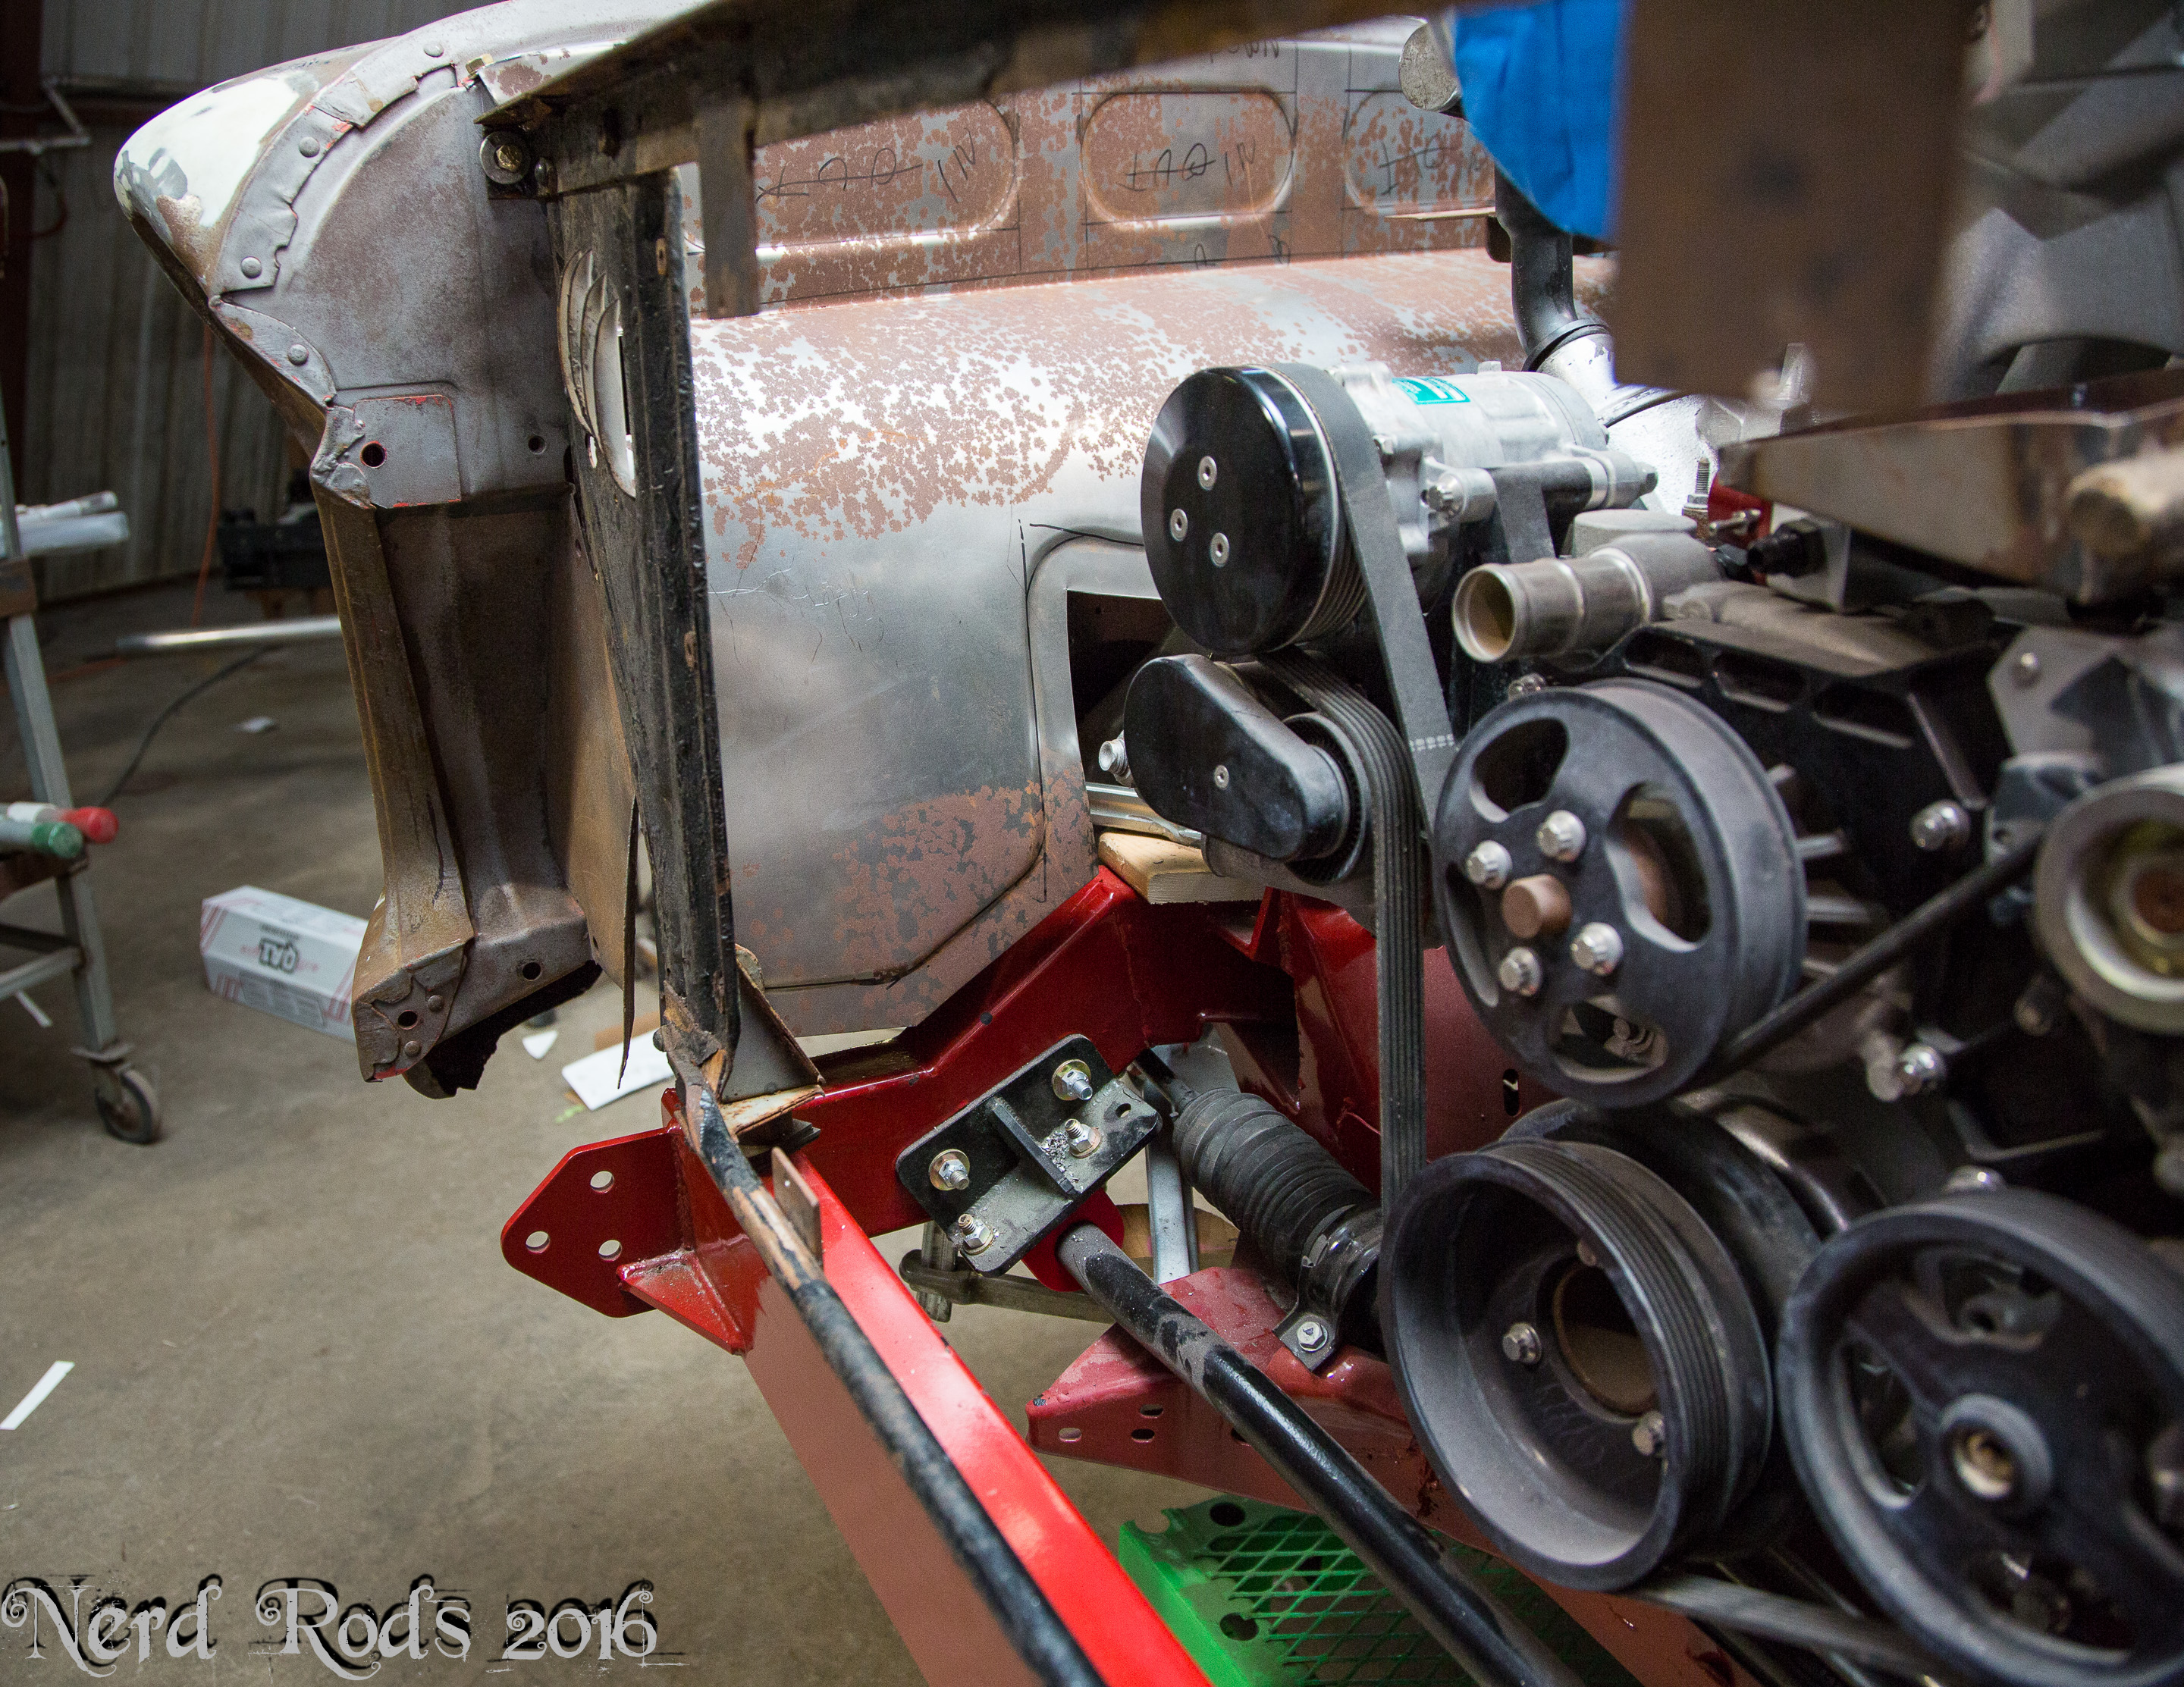
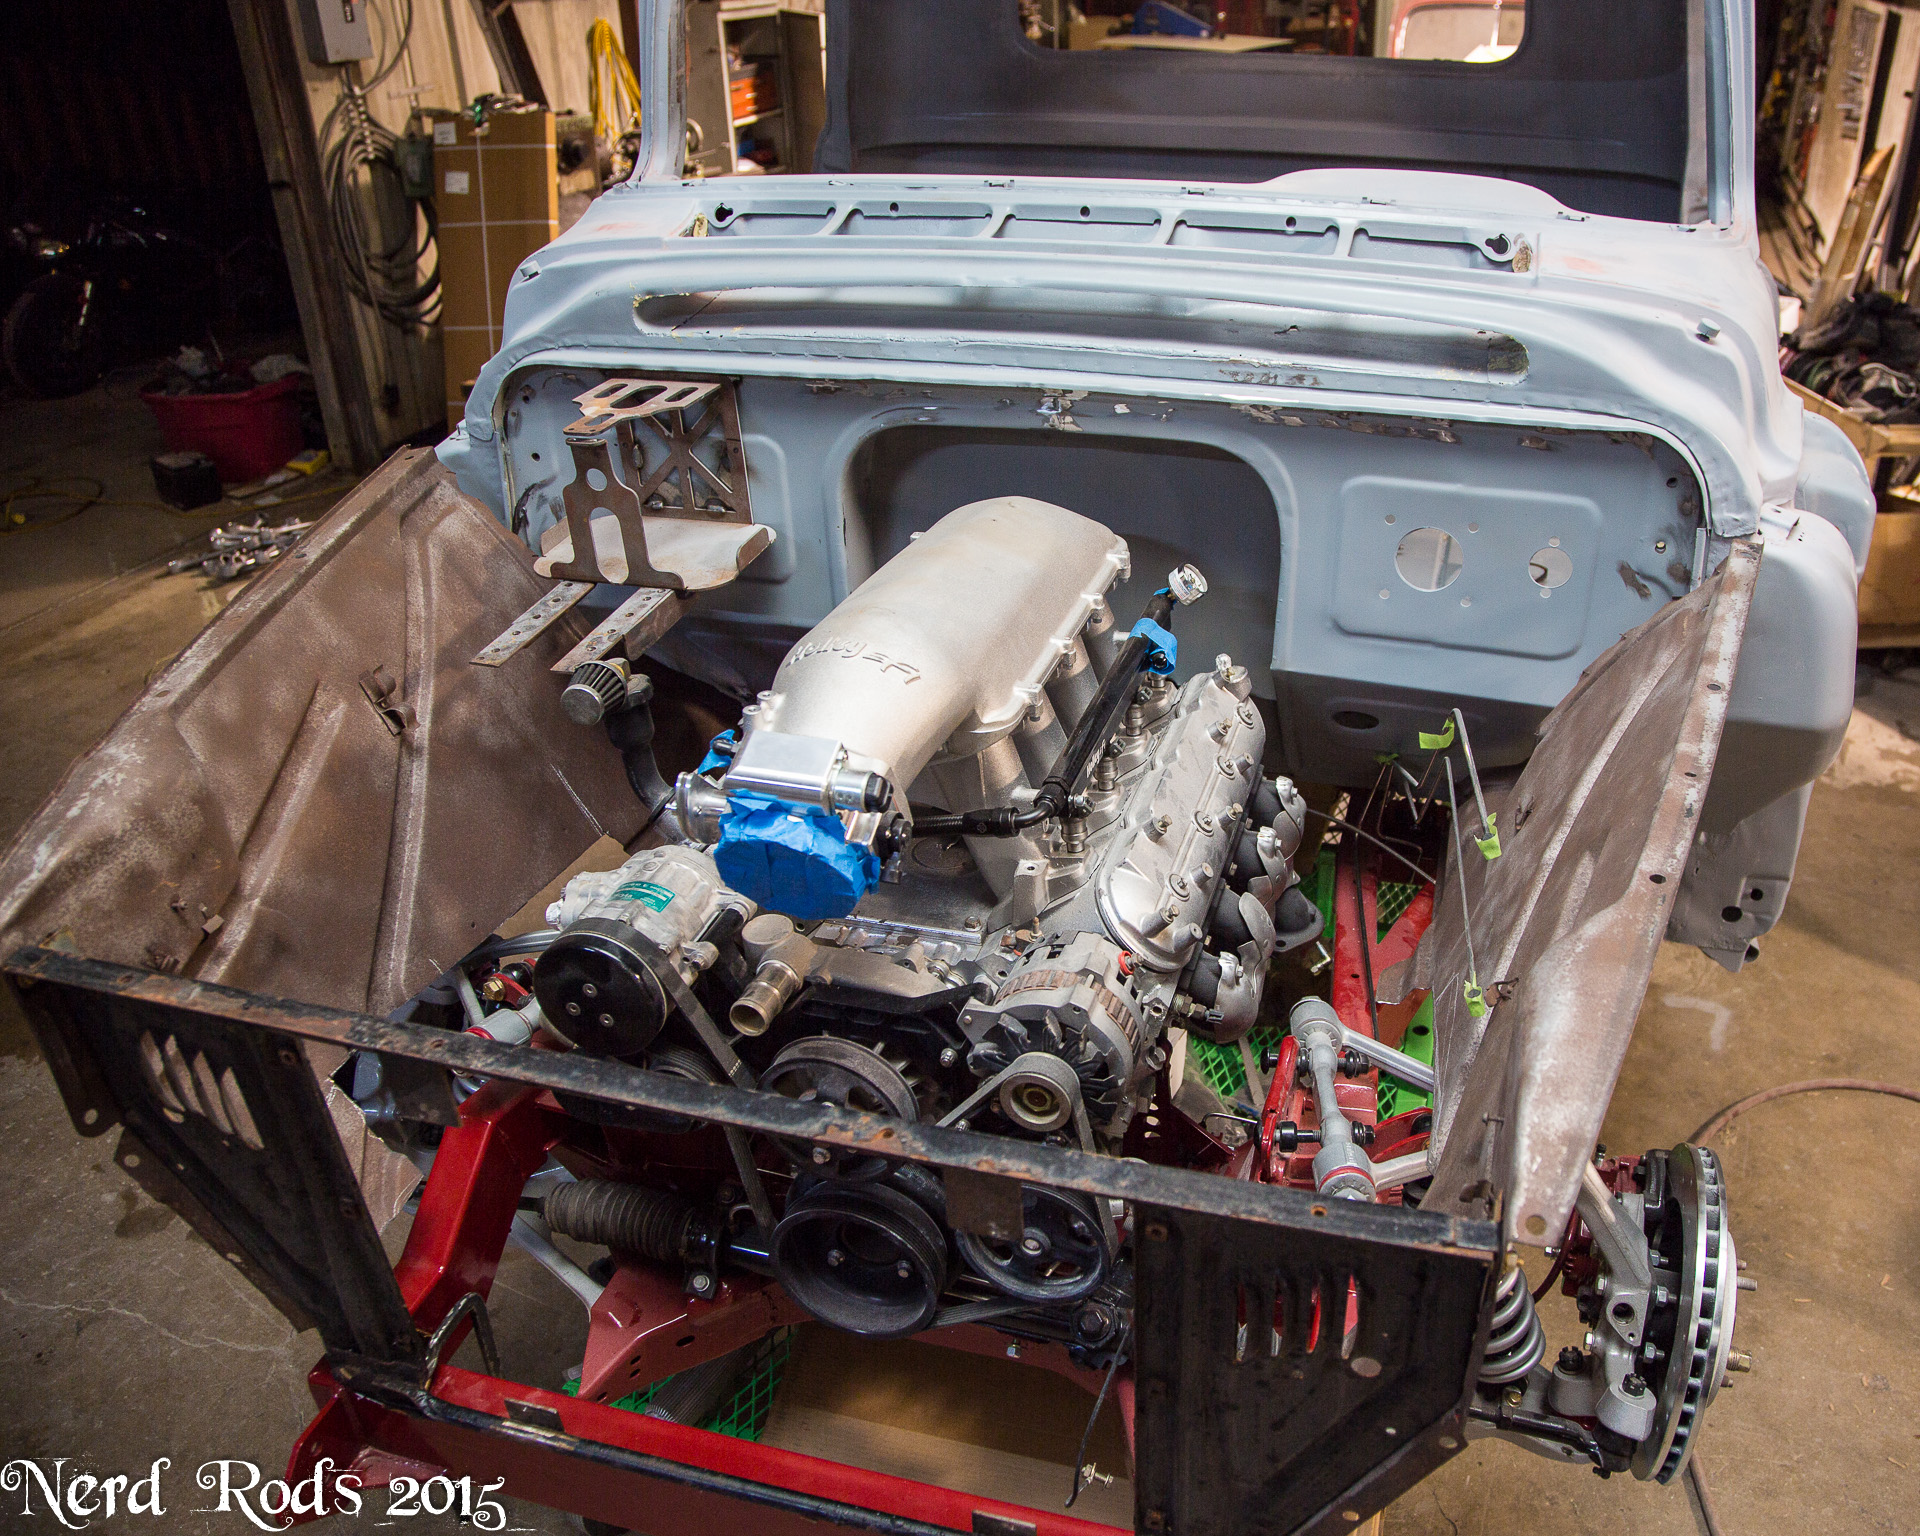
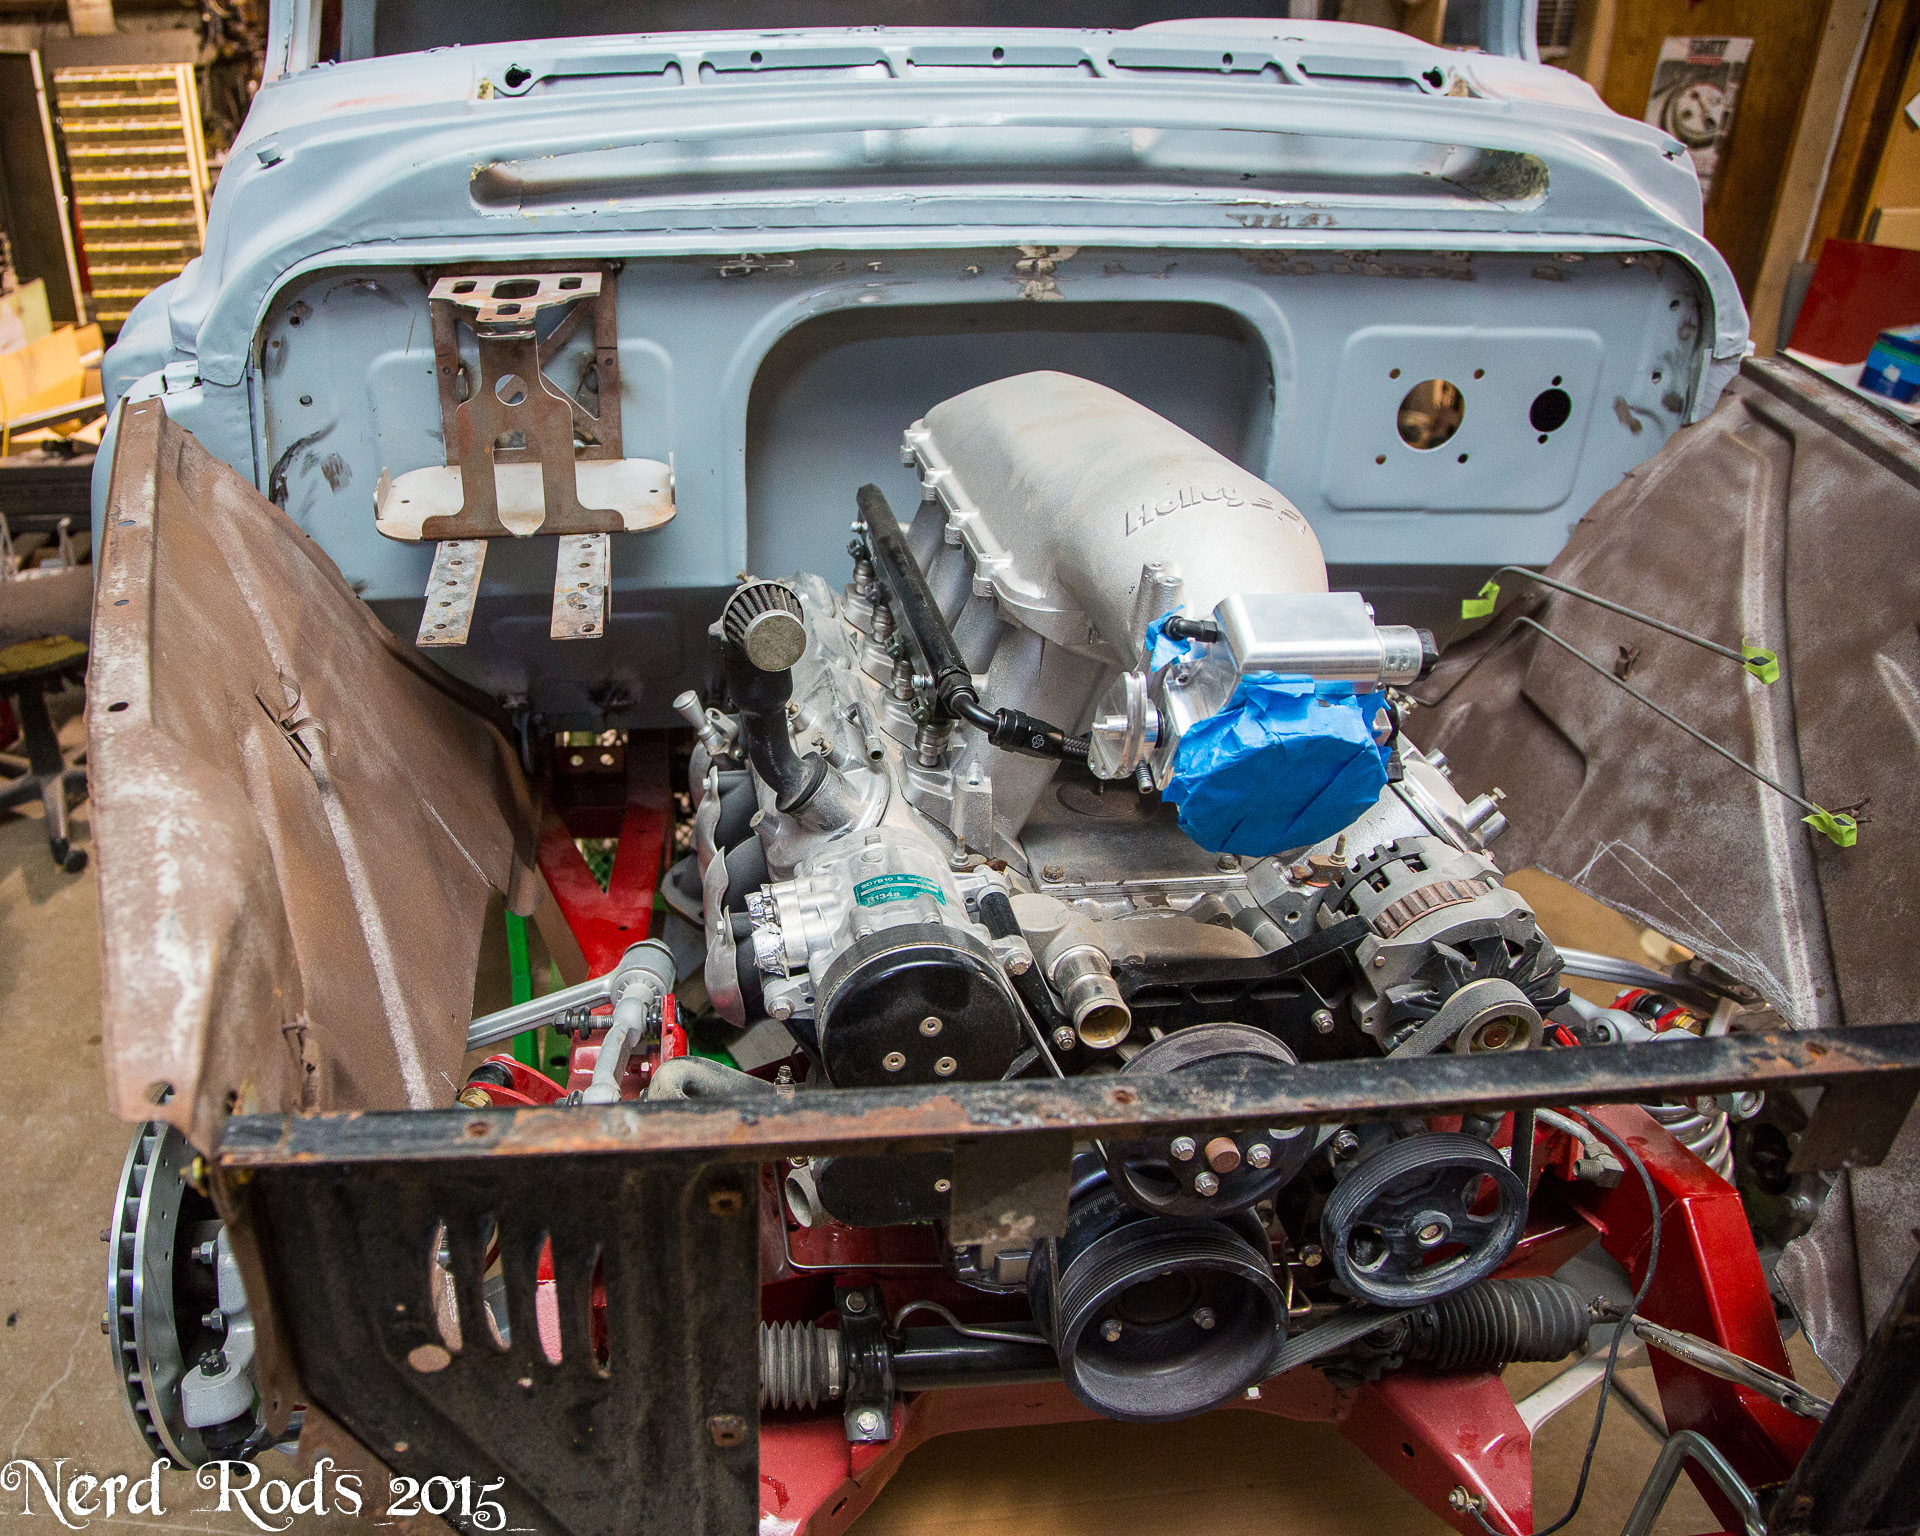
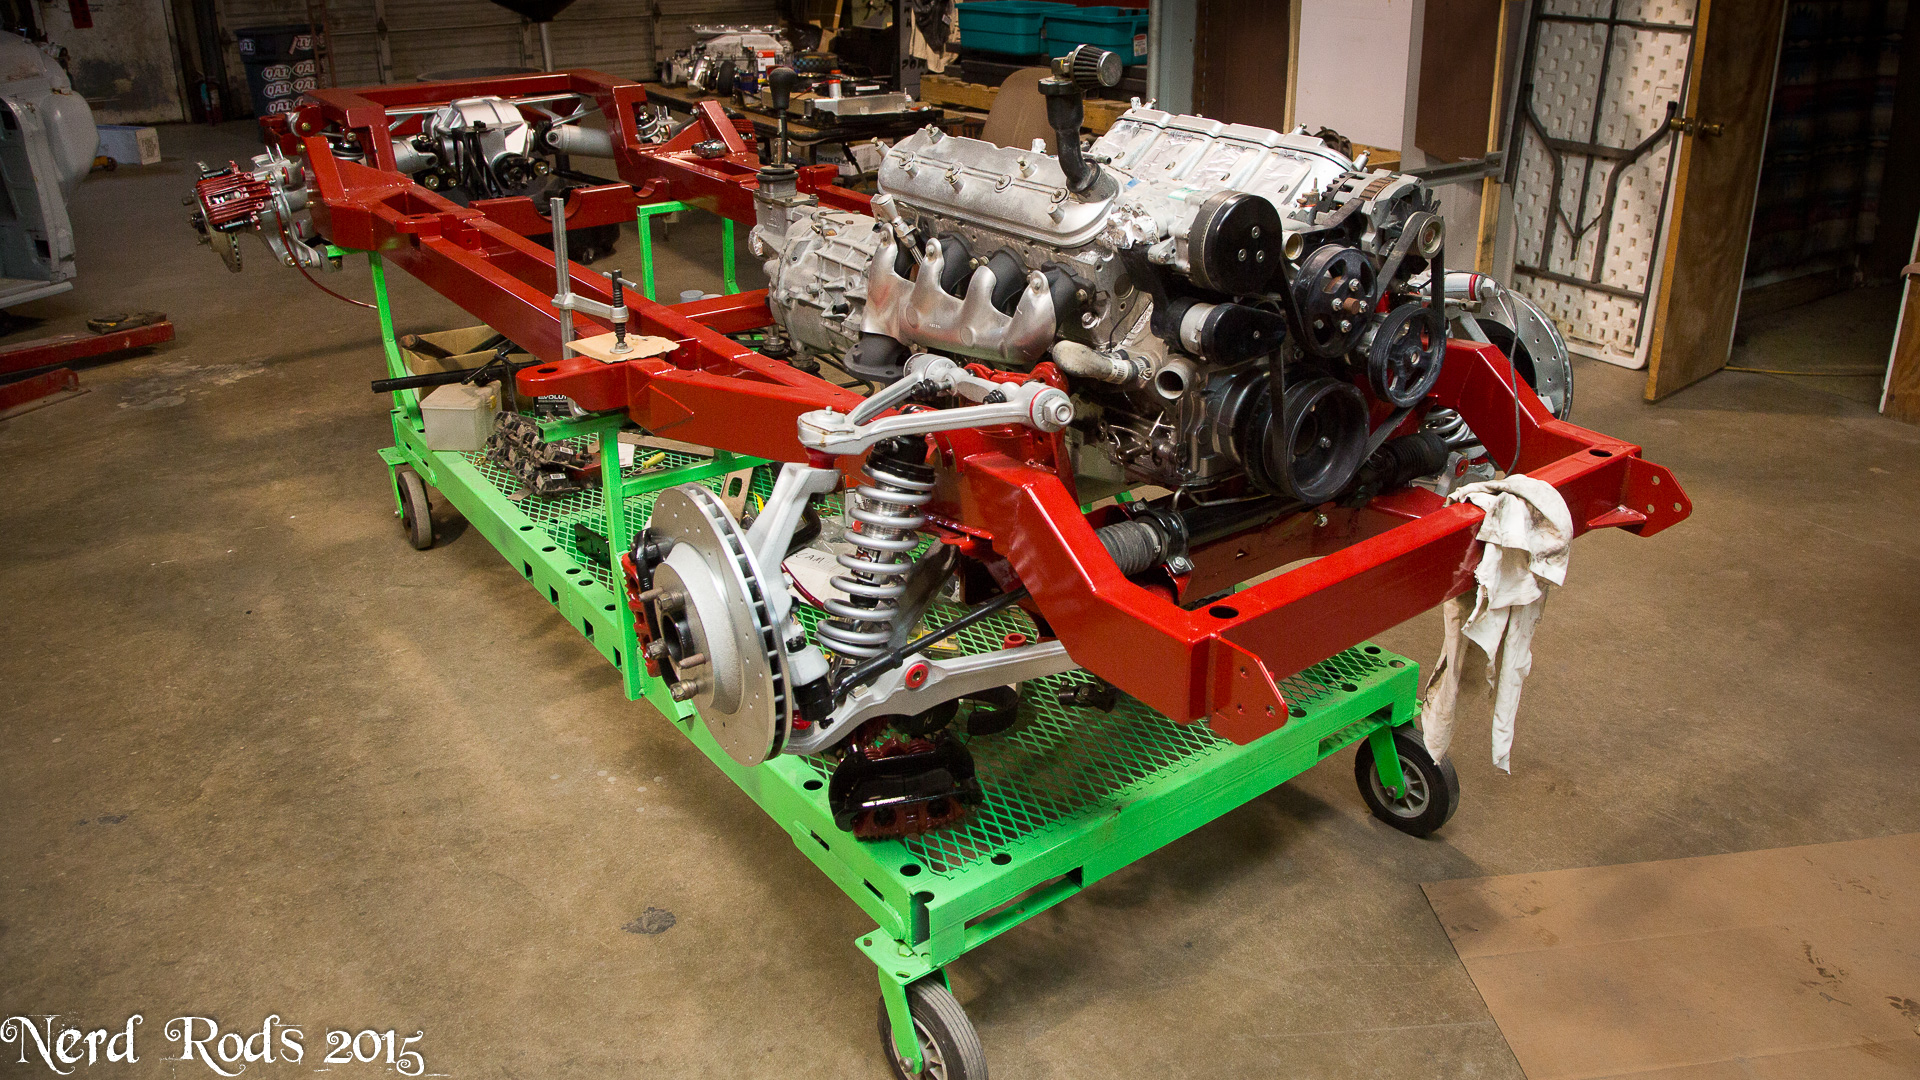
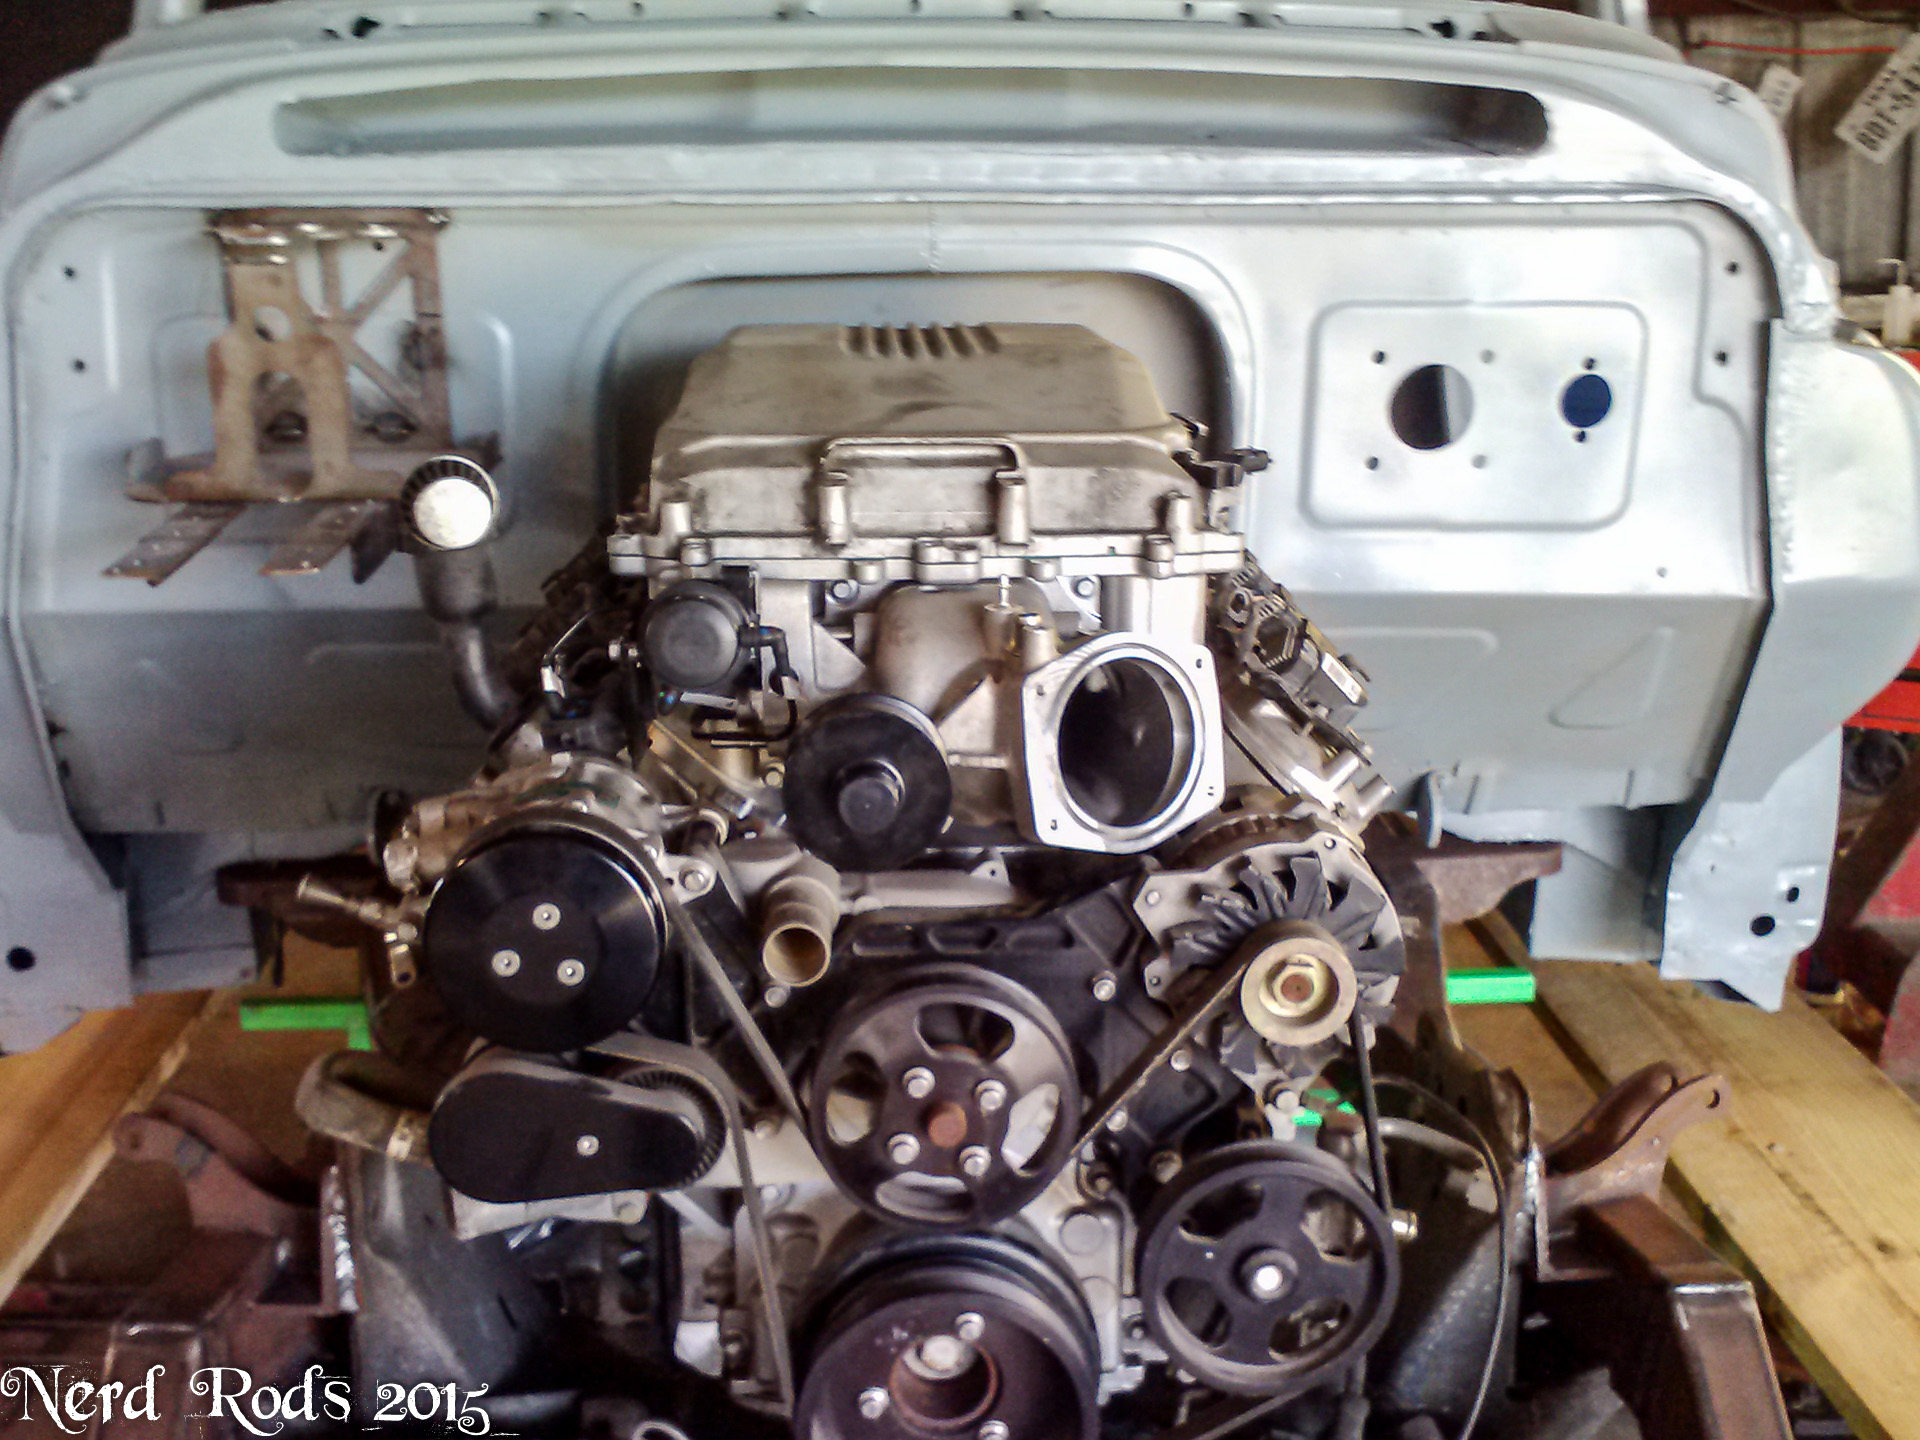
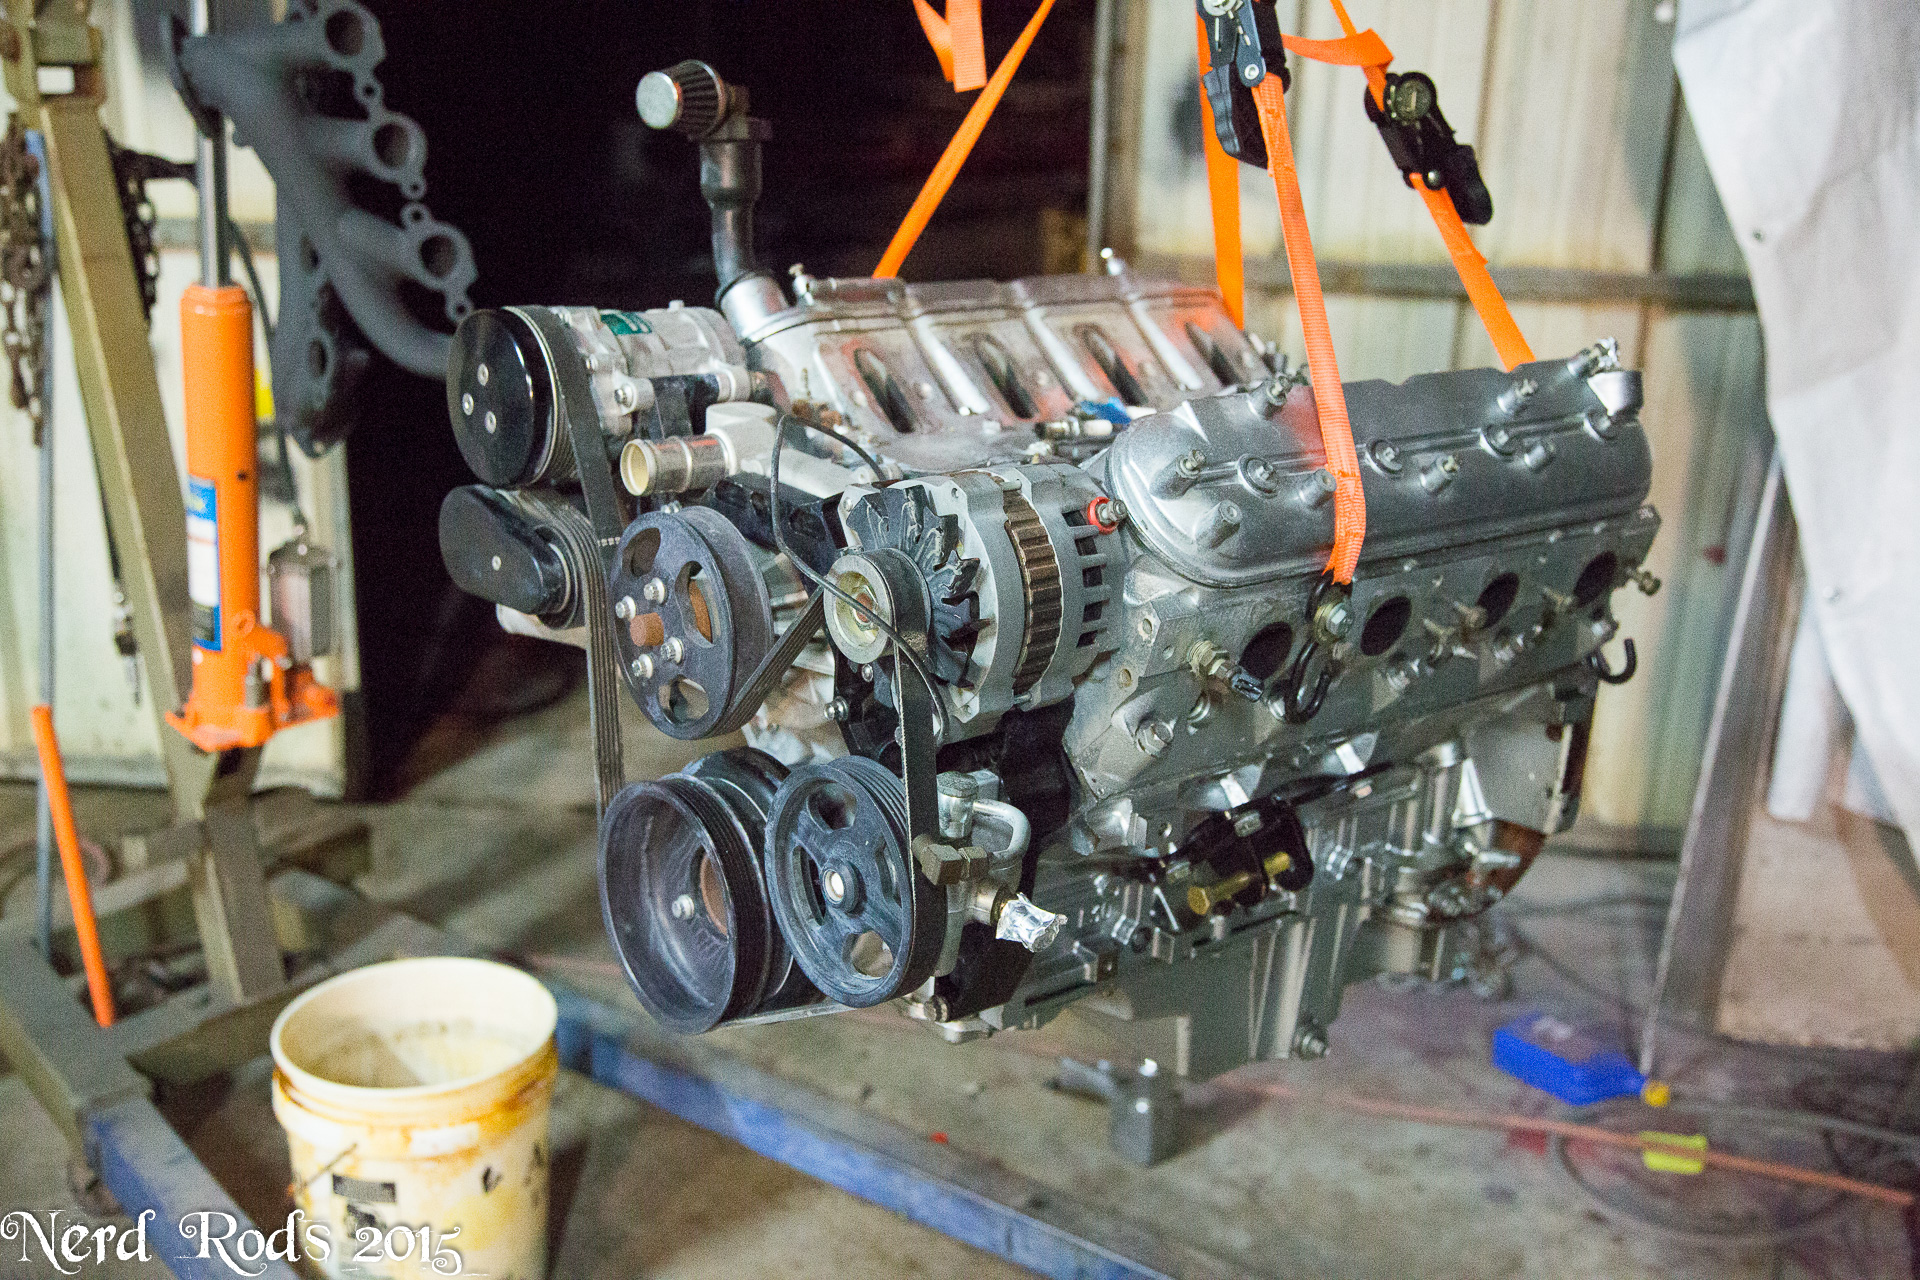
And we obviously need to make sure it fit the firewall before we went to far with the project. This is with my Vintage Air Pulley system and LS1 Camaro Oil Pan on the motor from the old PT-57. We just wanted to drop it in the frame and make sure it all worked out.
With that confirmed the frame was ready for powder coat. Dad was getting busy slamming the chassis together after it came out of the oven.
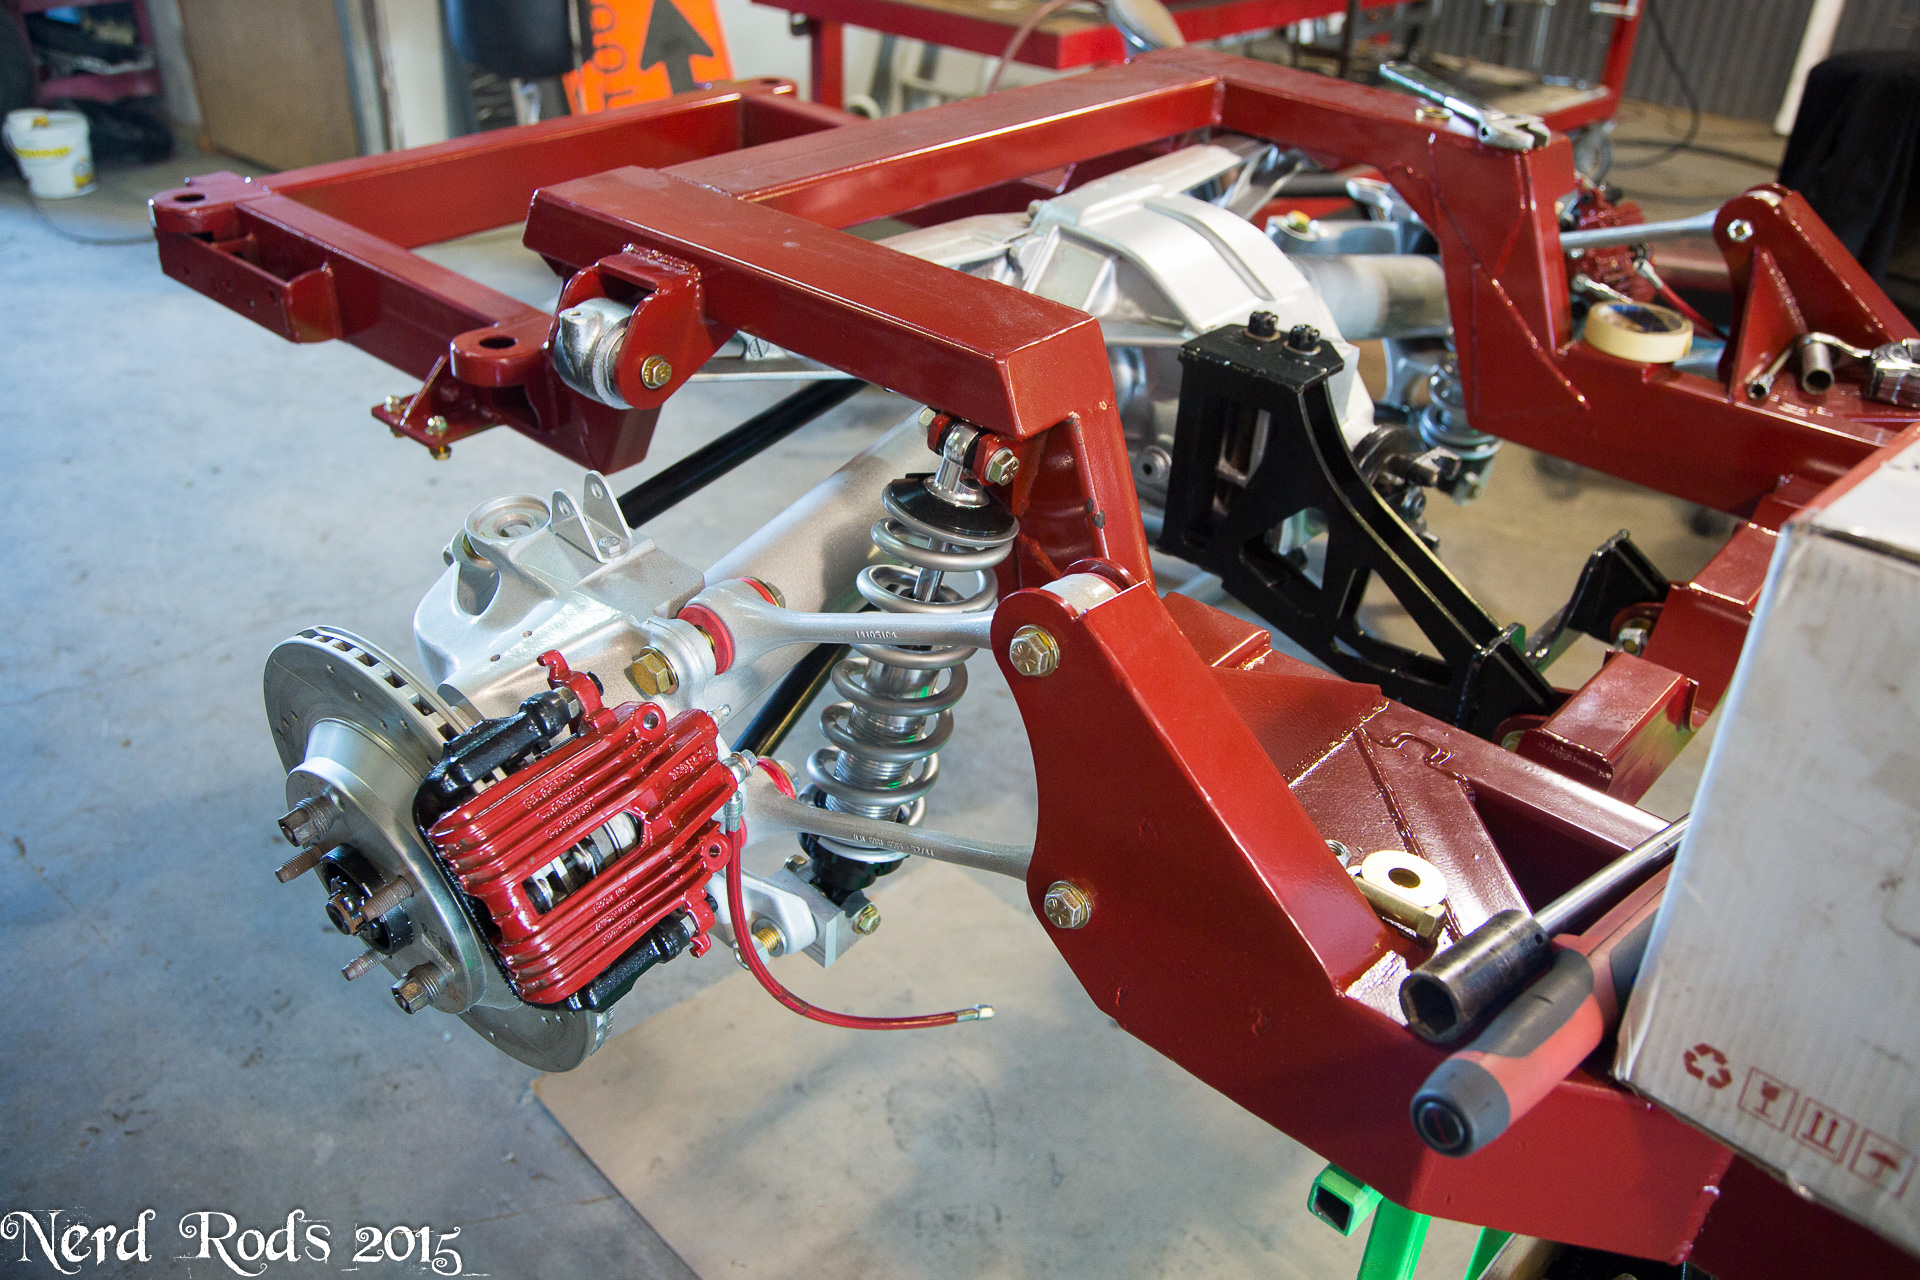
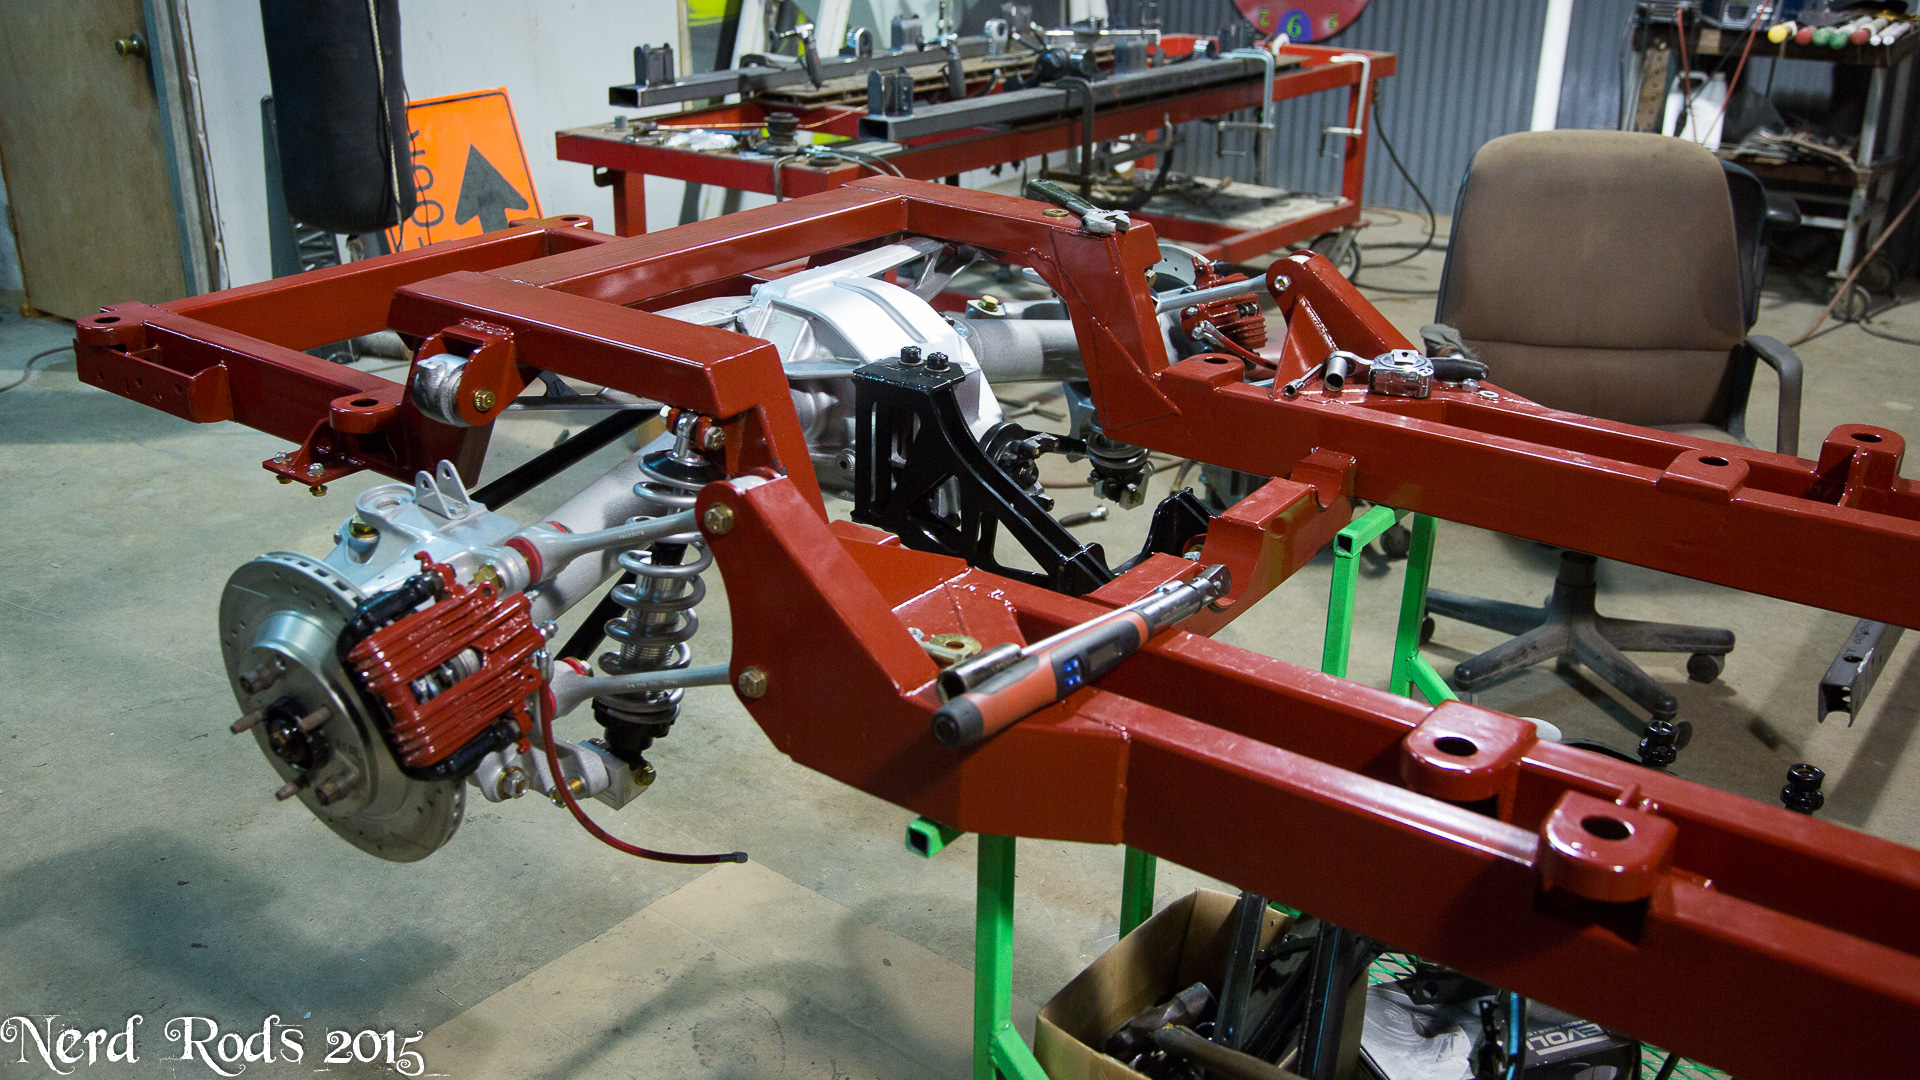
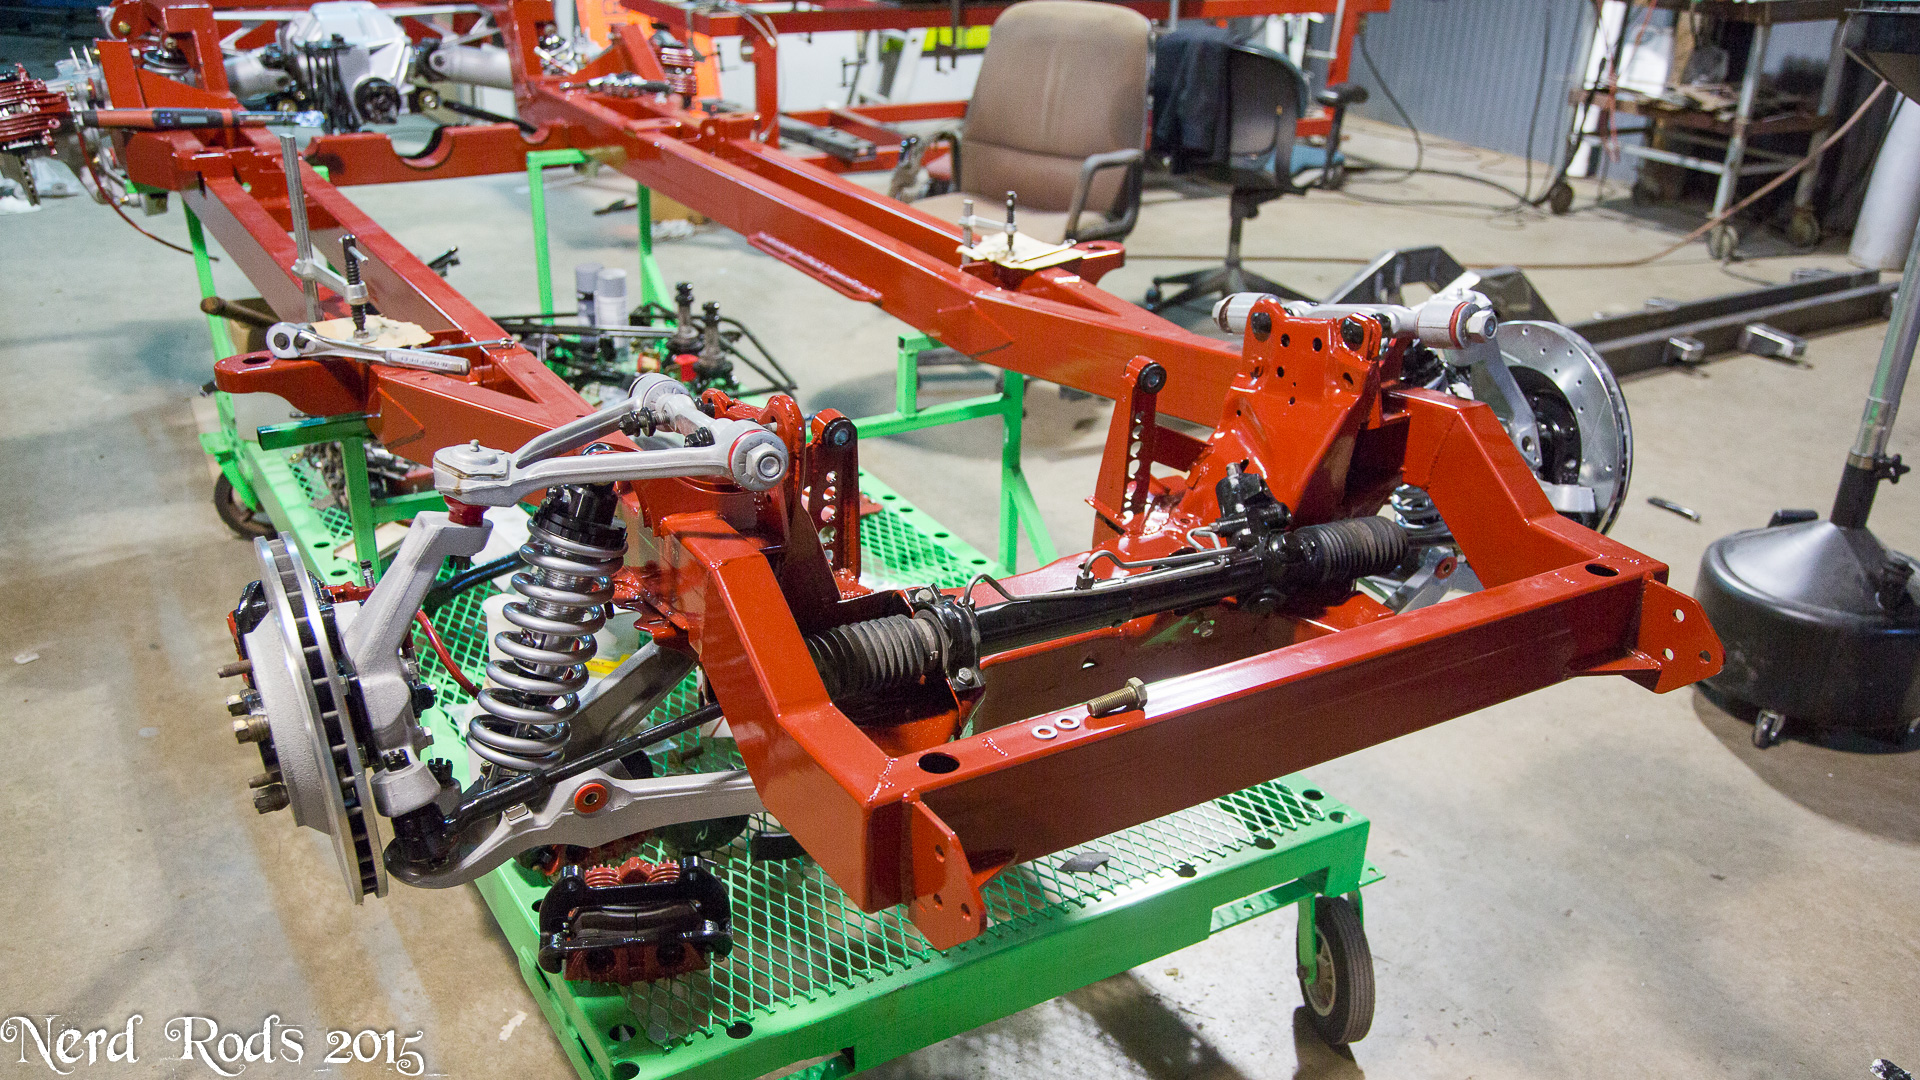
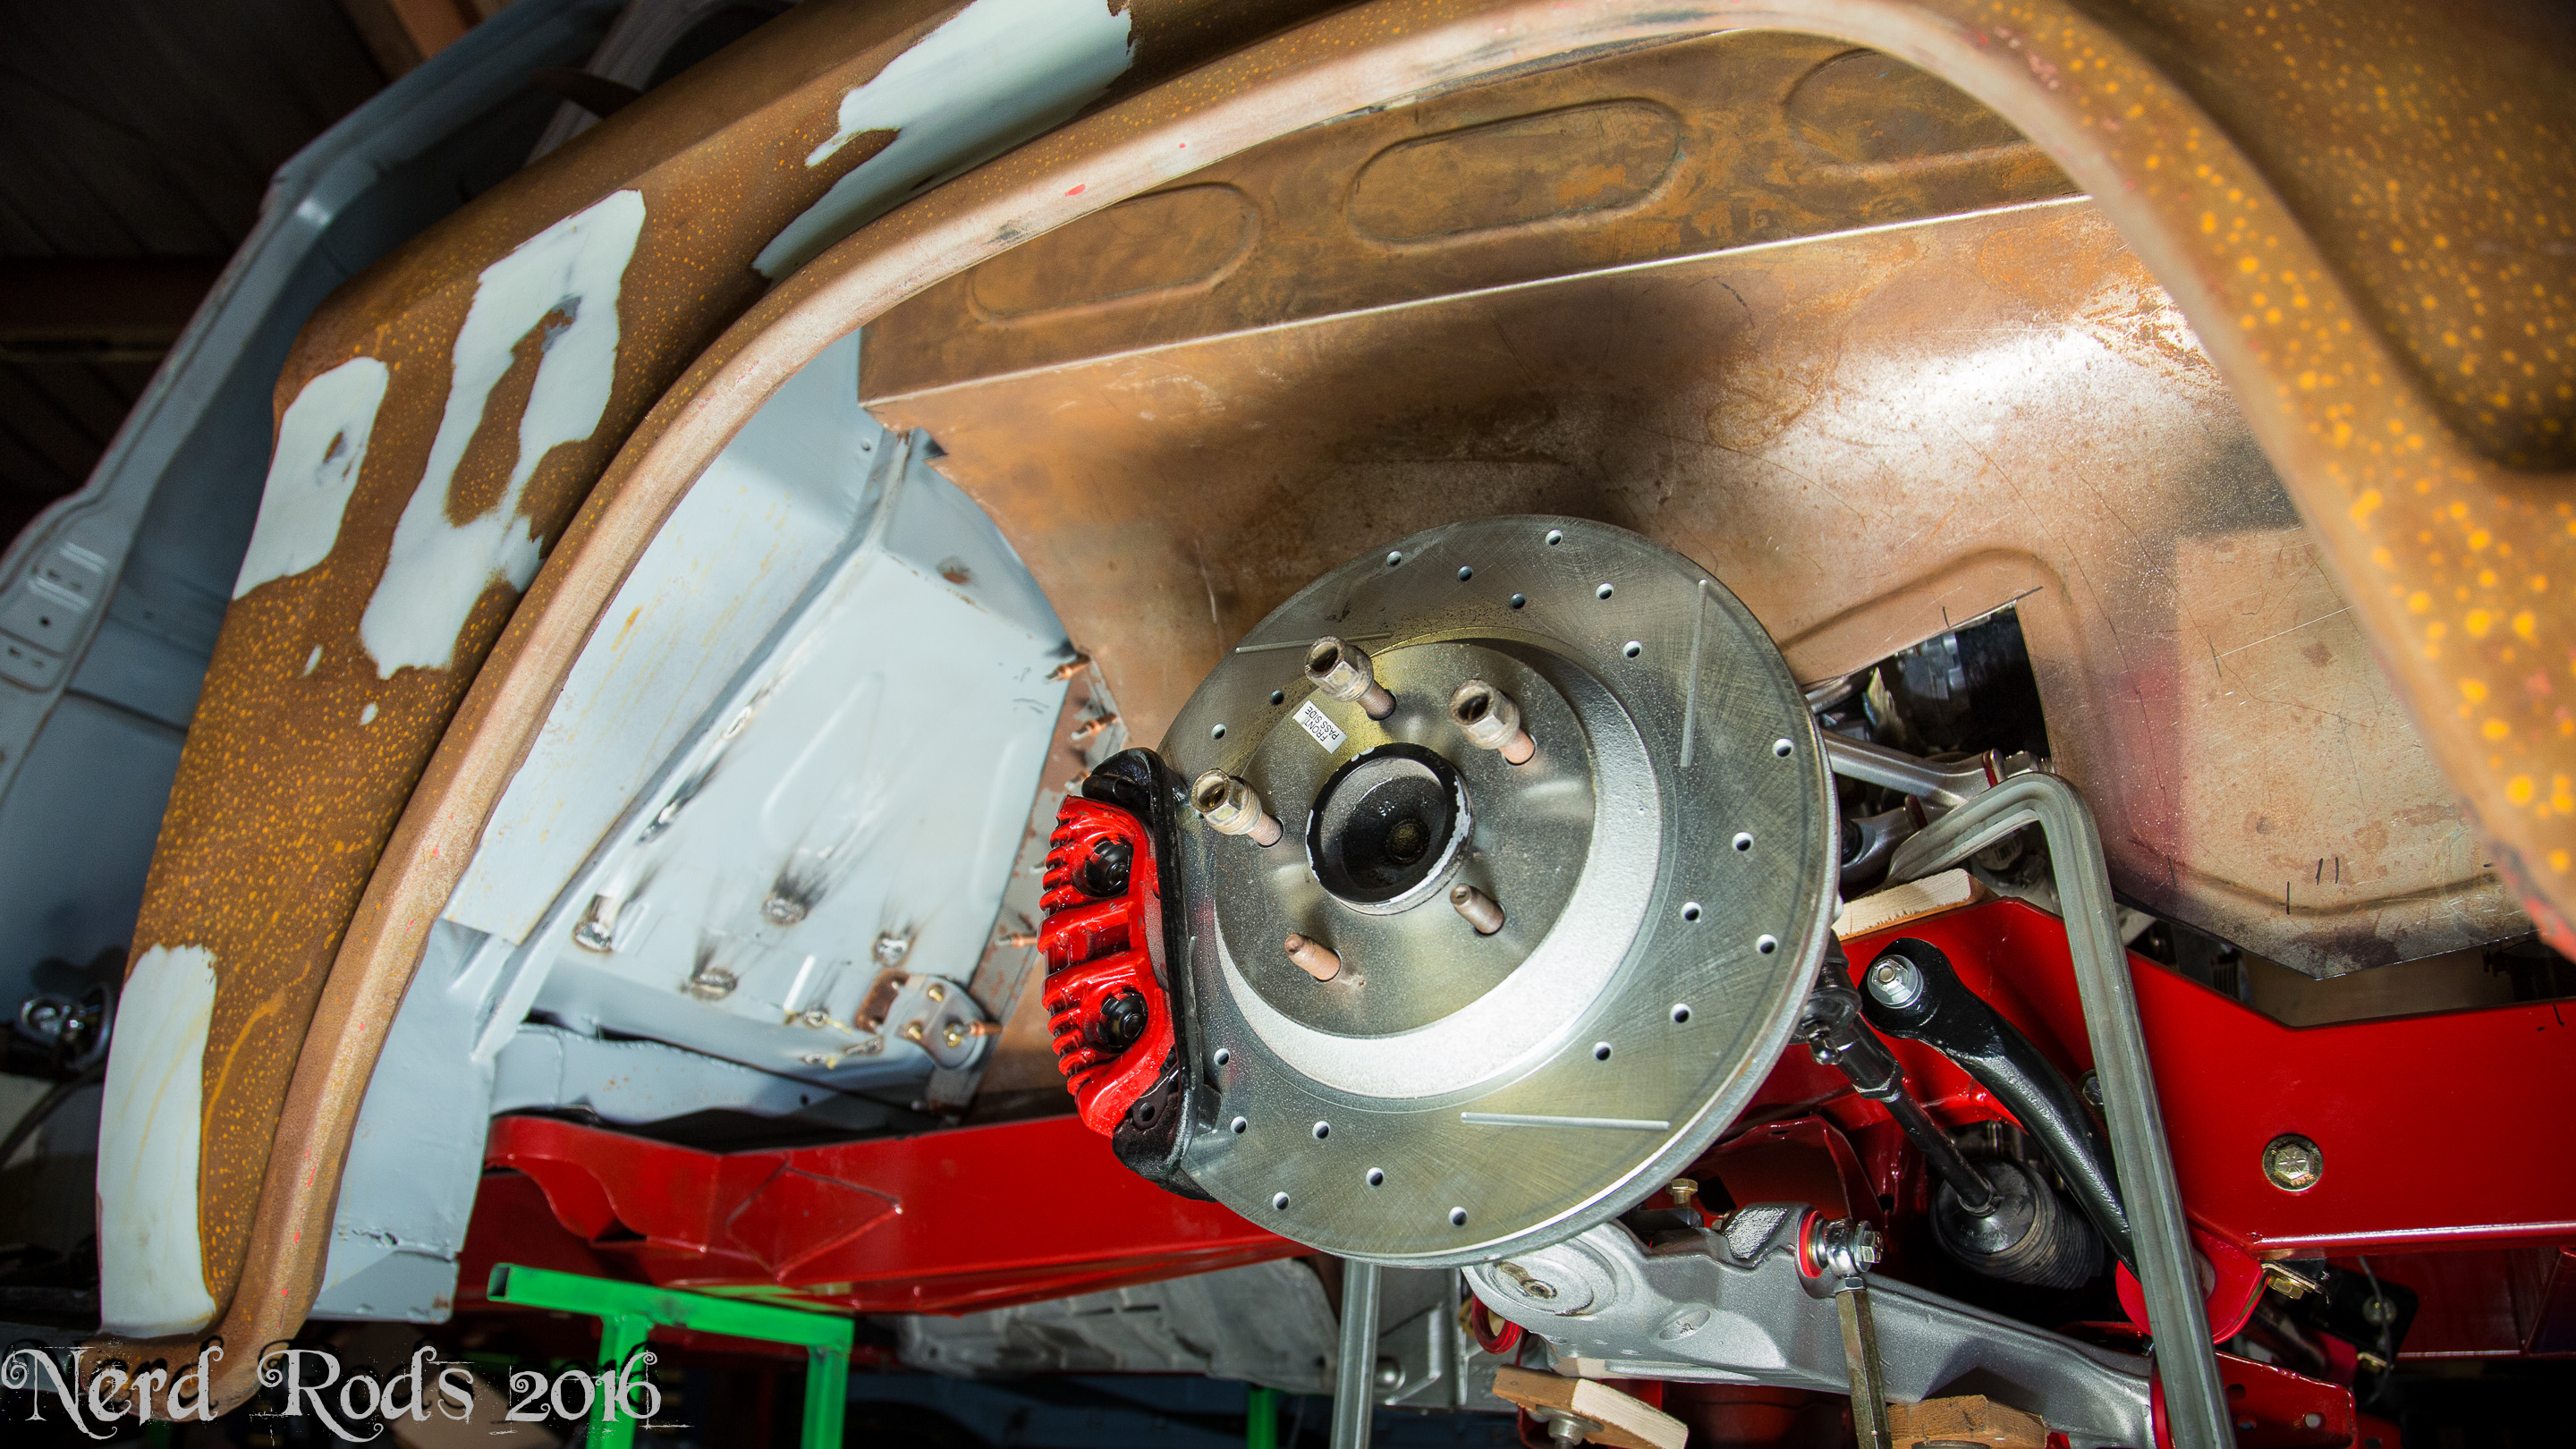
We've also been saving a set of the big 13" brakes for one of our projects.
So some of you follow us on the Facetubes or Twitter and those guys get a bit more of an update since I can just snap a photos and stab it to the net nice and quick. One of my customers saw the supercharger and we started talking. He had an STS Single turbo for his project but the super charger will actually make his life easier. I was still trying to work out an affordable pulley system (www.lssimple.net is what I was looking at BTW) and the fuel rail is an additional cost I wasn't looking forward to either since the LSA has a very unique system thanks to its pocketed fuel injectors and I was going to need some real headers to keep from choking the motor. So I asked if he wanted to trade. He said yes. (insert evil laugh)
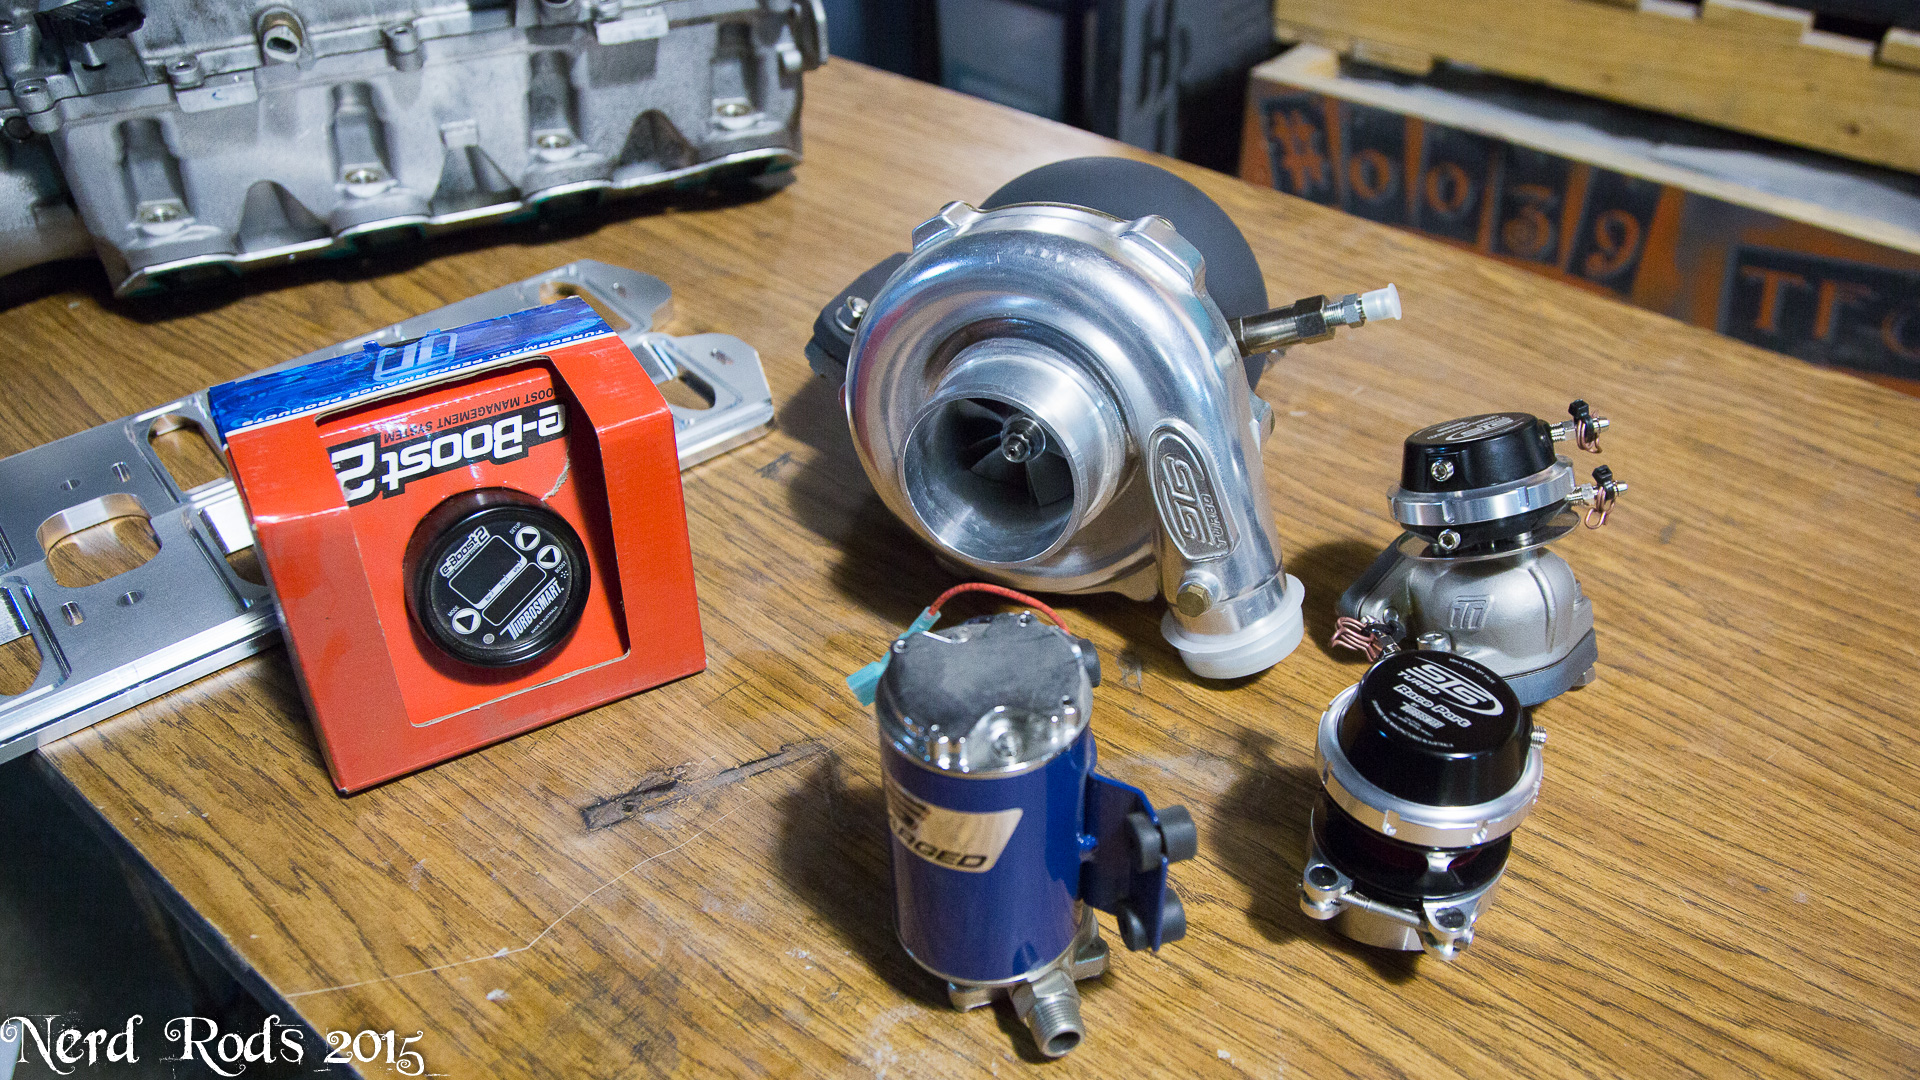
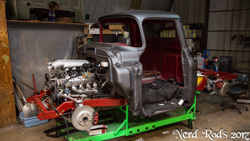
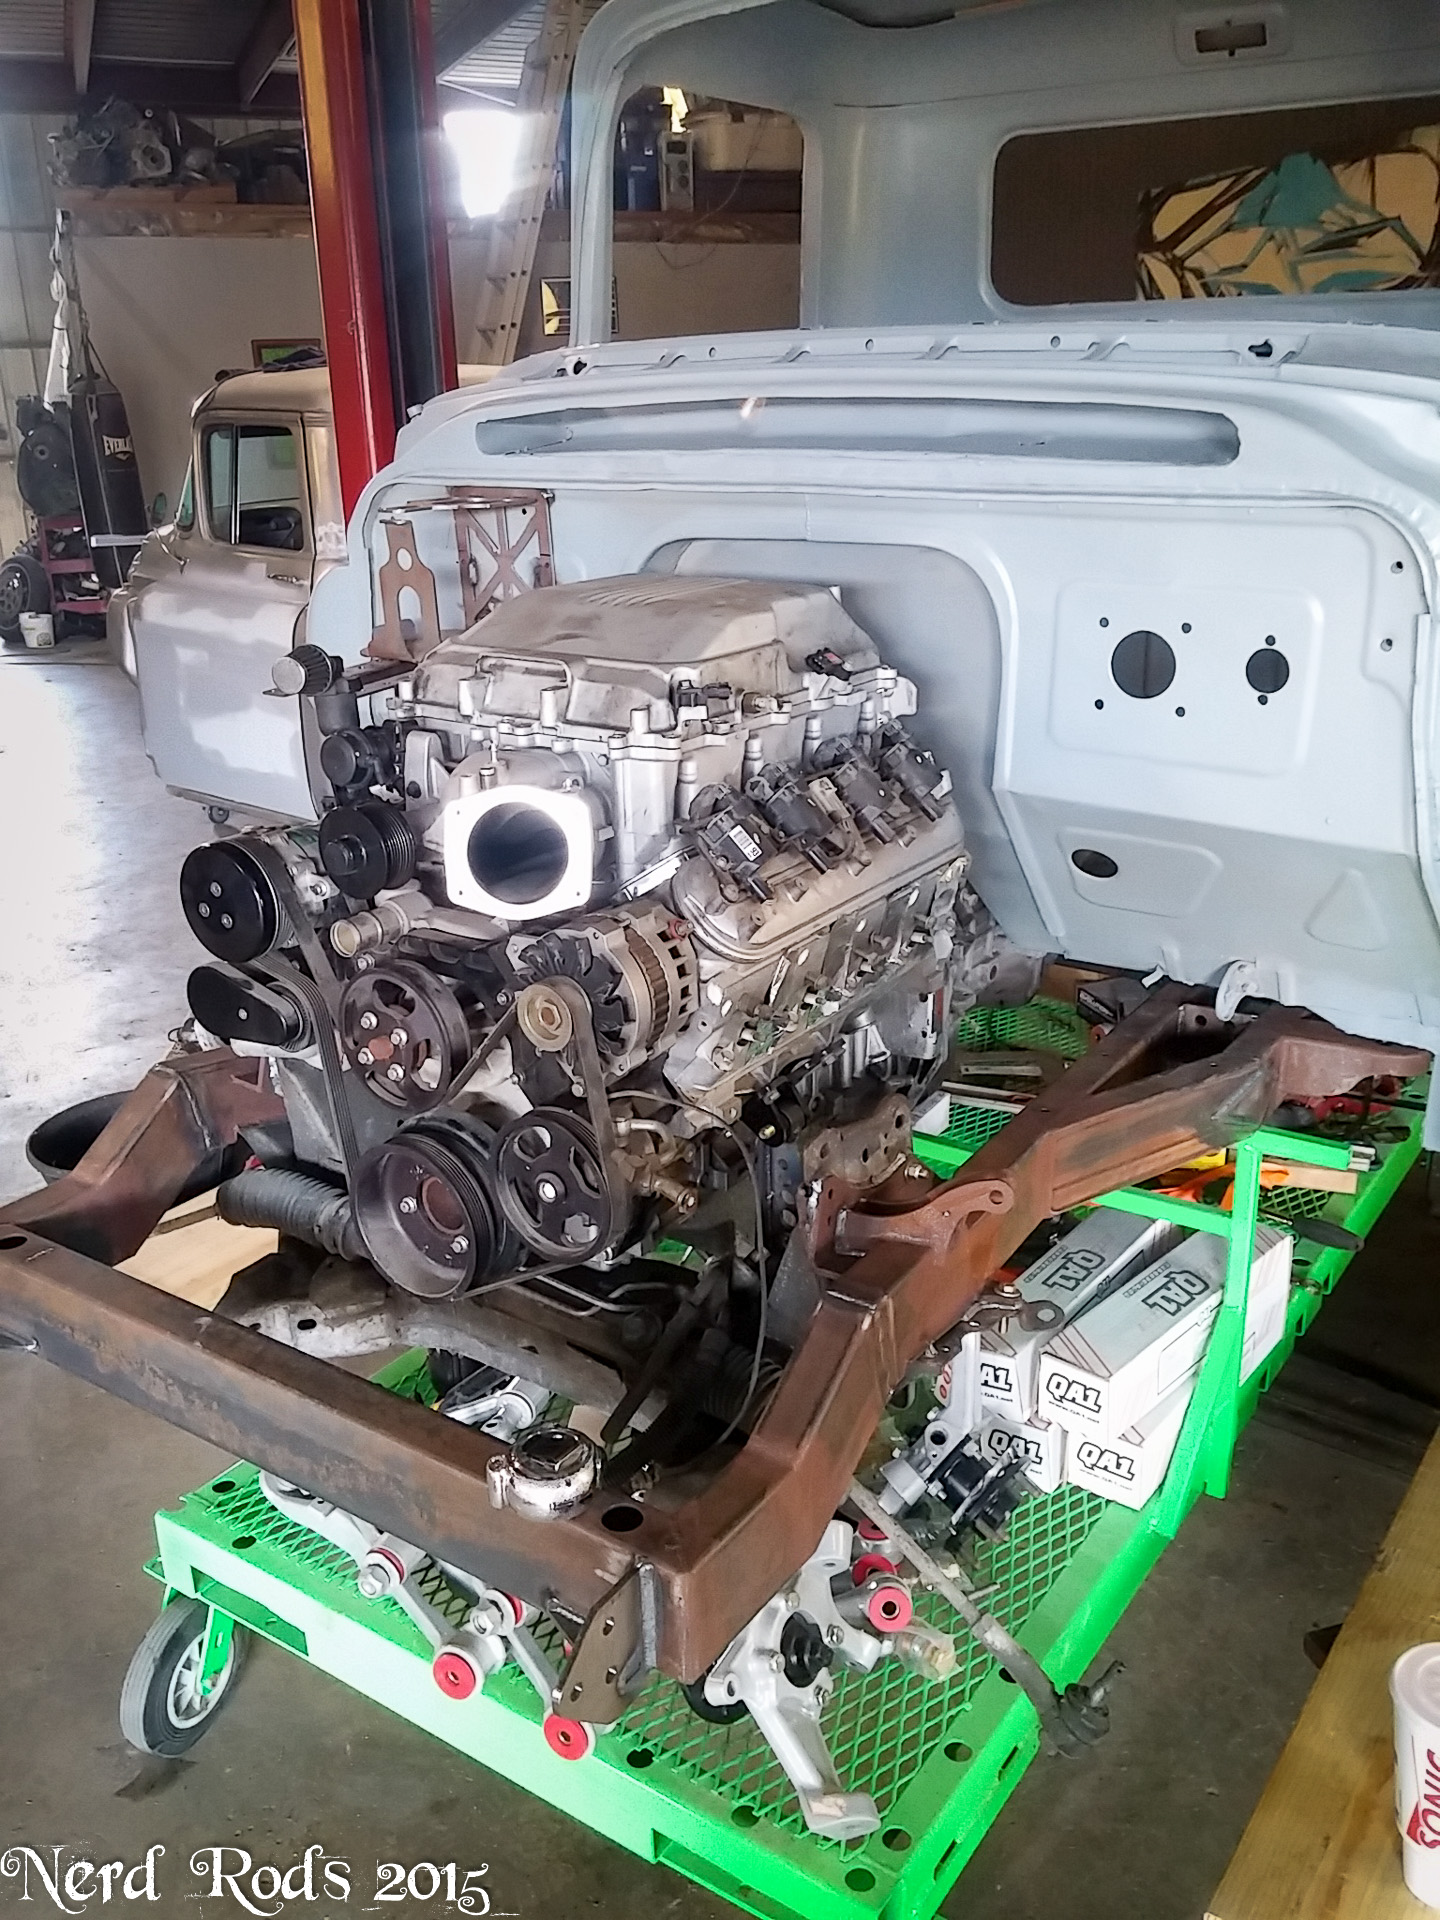
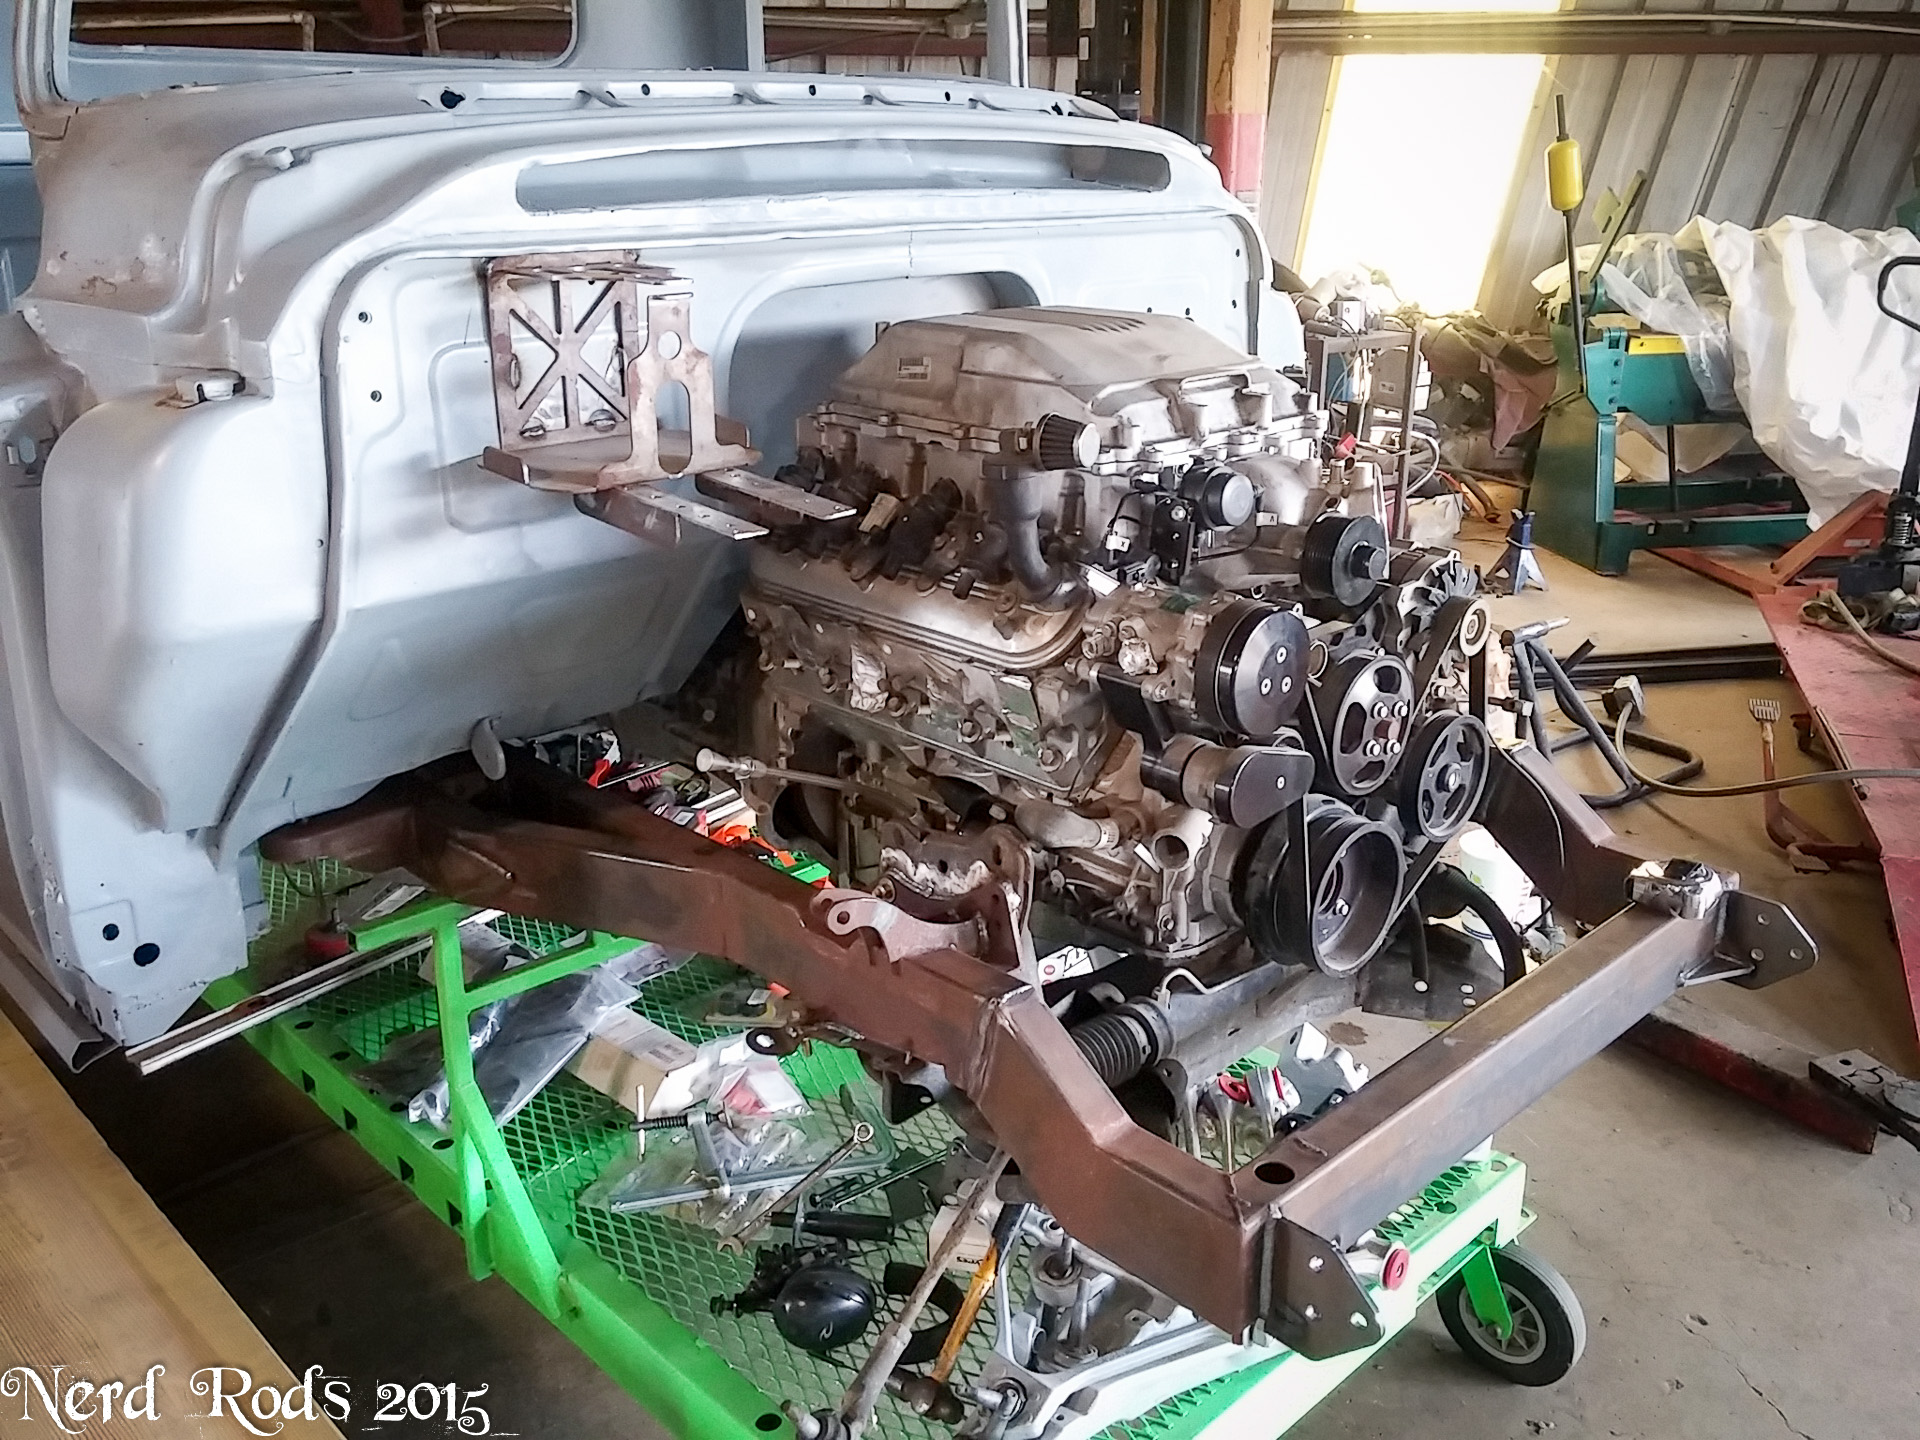
So that got me thinking "Well we'll need a turbo cam and so I'll need to pull that one out of my 6.0L in the corner from the PT-57 and then take off its pulleys and move all that over to Dad's 5.3.......... OR, I could be lazy and just put the 6.0L in his truck." And so thanks to my laziness dad now has a 6.0L LQ4 with single turbo for his truck. Should be in the 550HP range really easily. That motor with twins and the same gear ratios did well over 567RWHP on the dyno a few years back so this should be a cake walk.
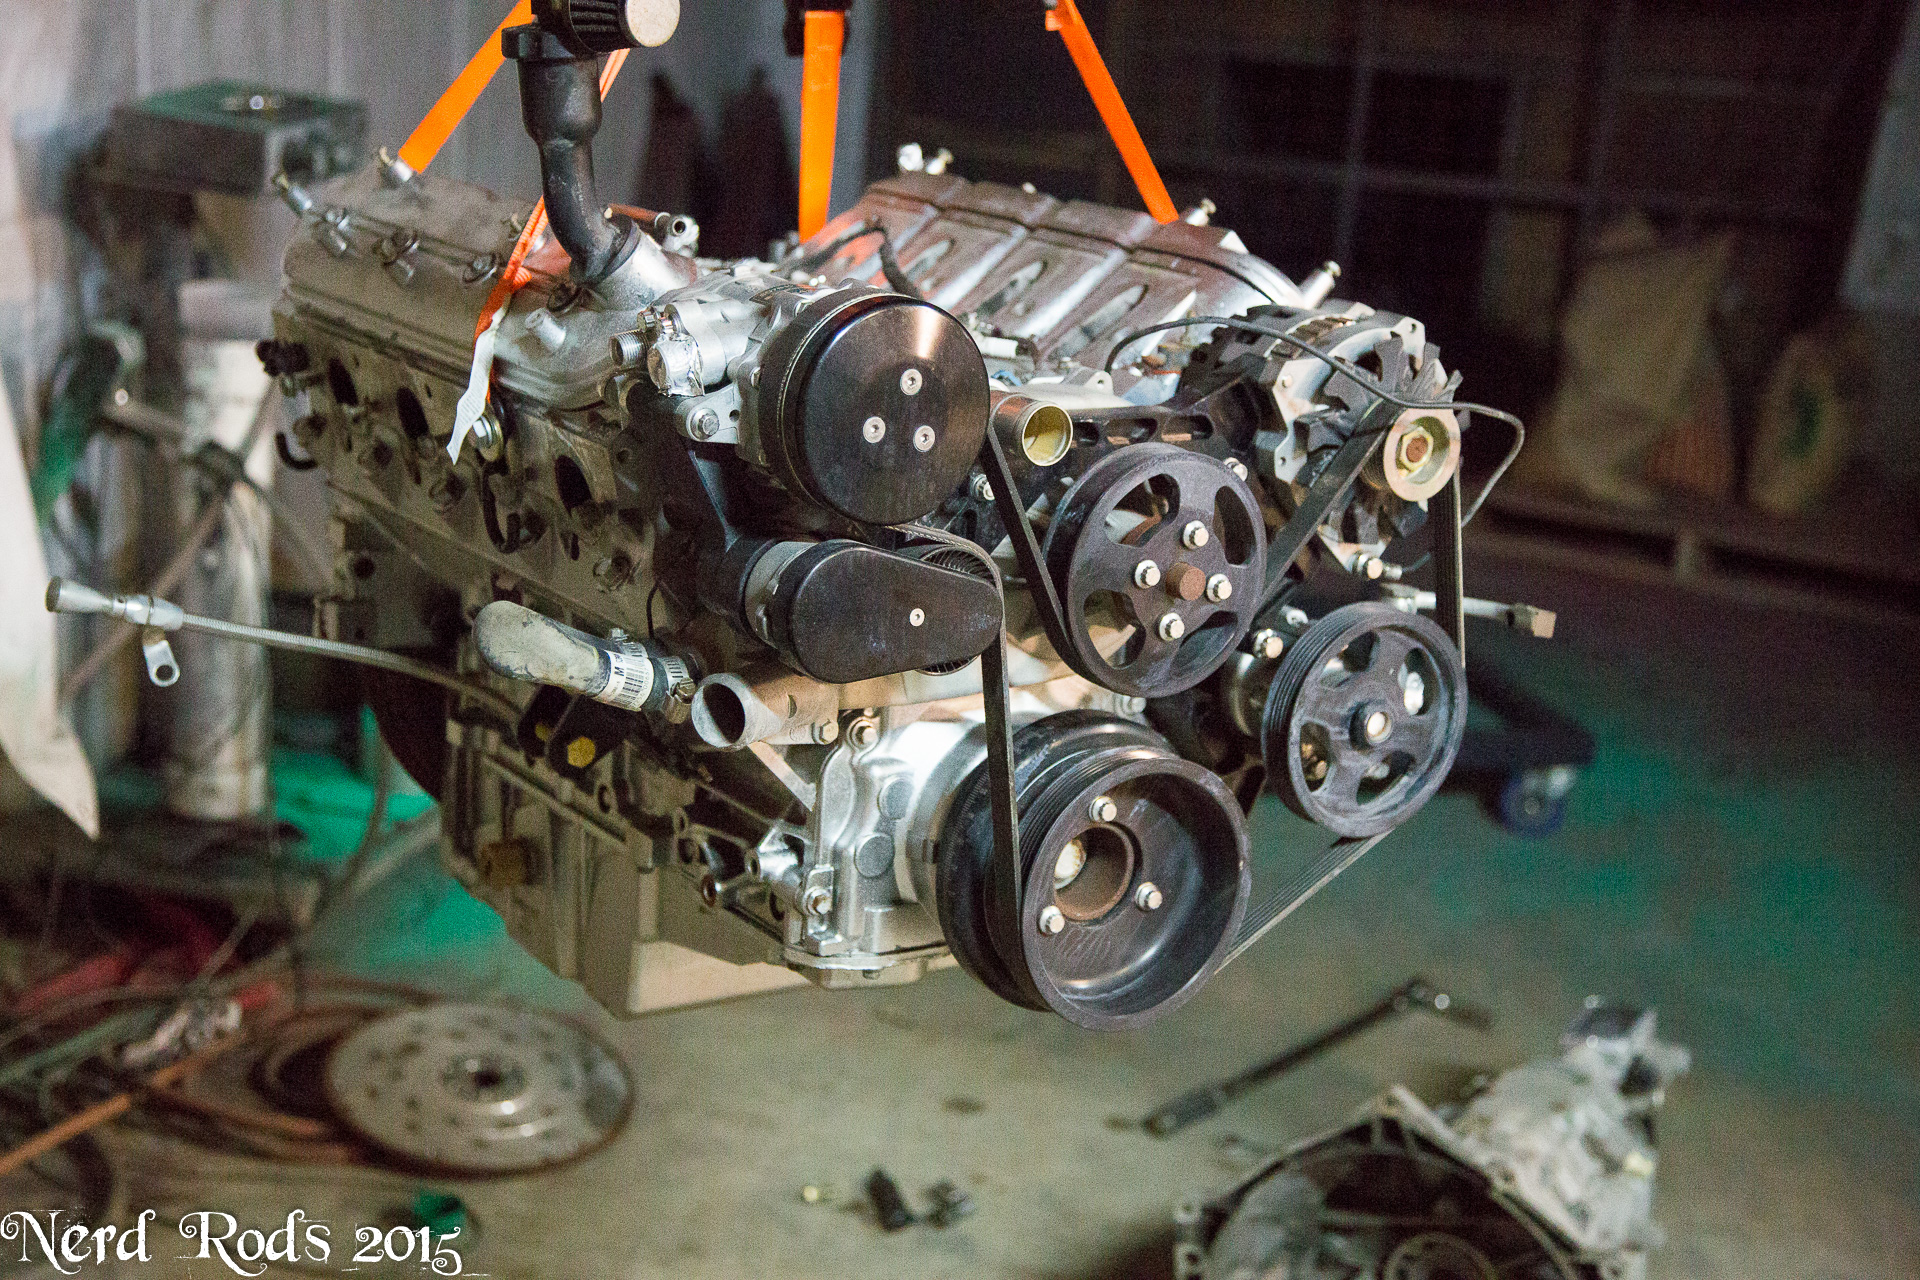
The motor goes in the chassis this afternoon. More to come ASAP.
Updated 2015.SEPT.07
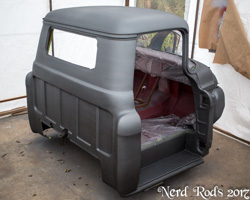
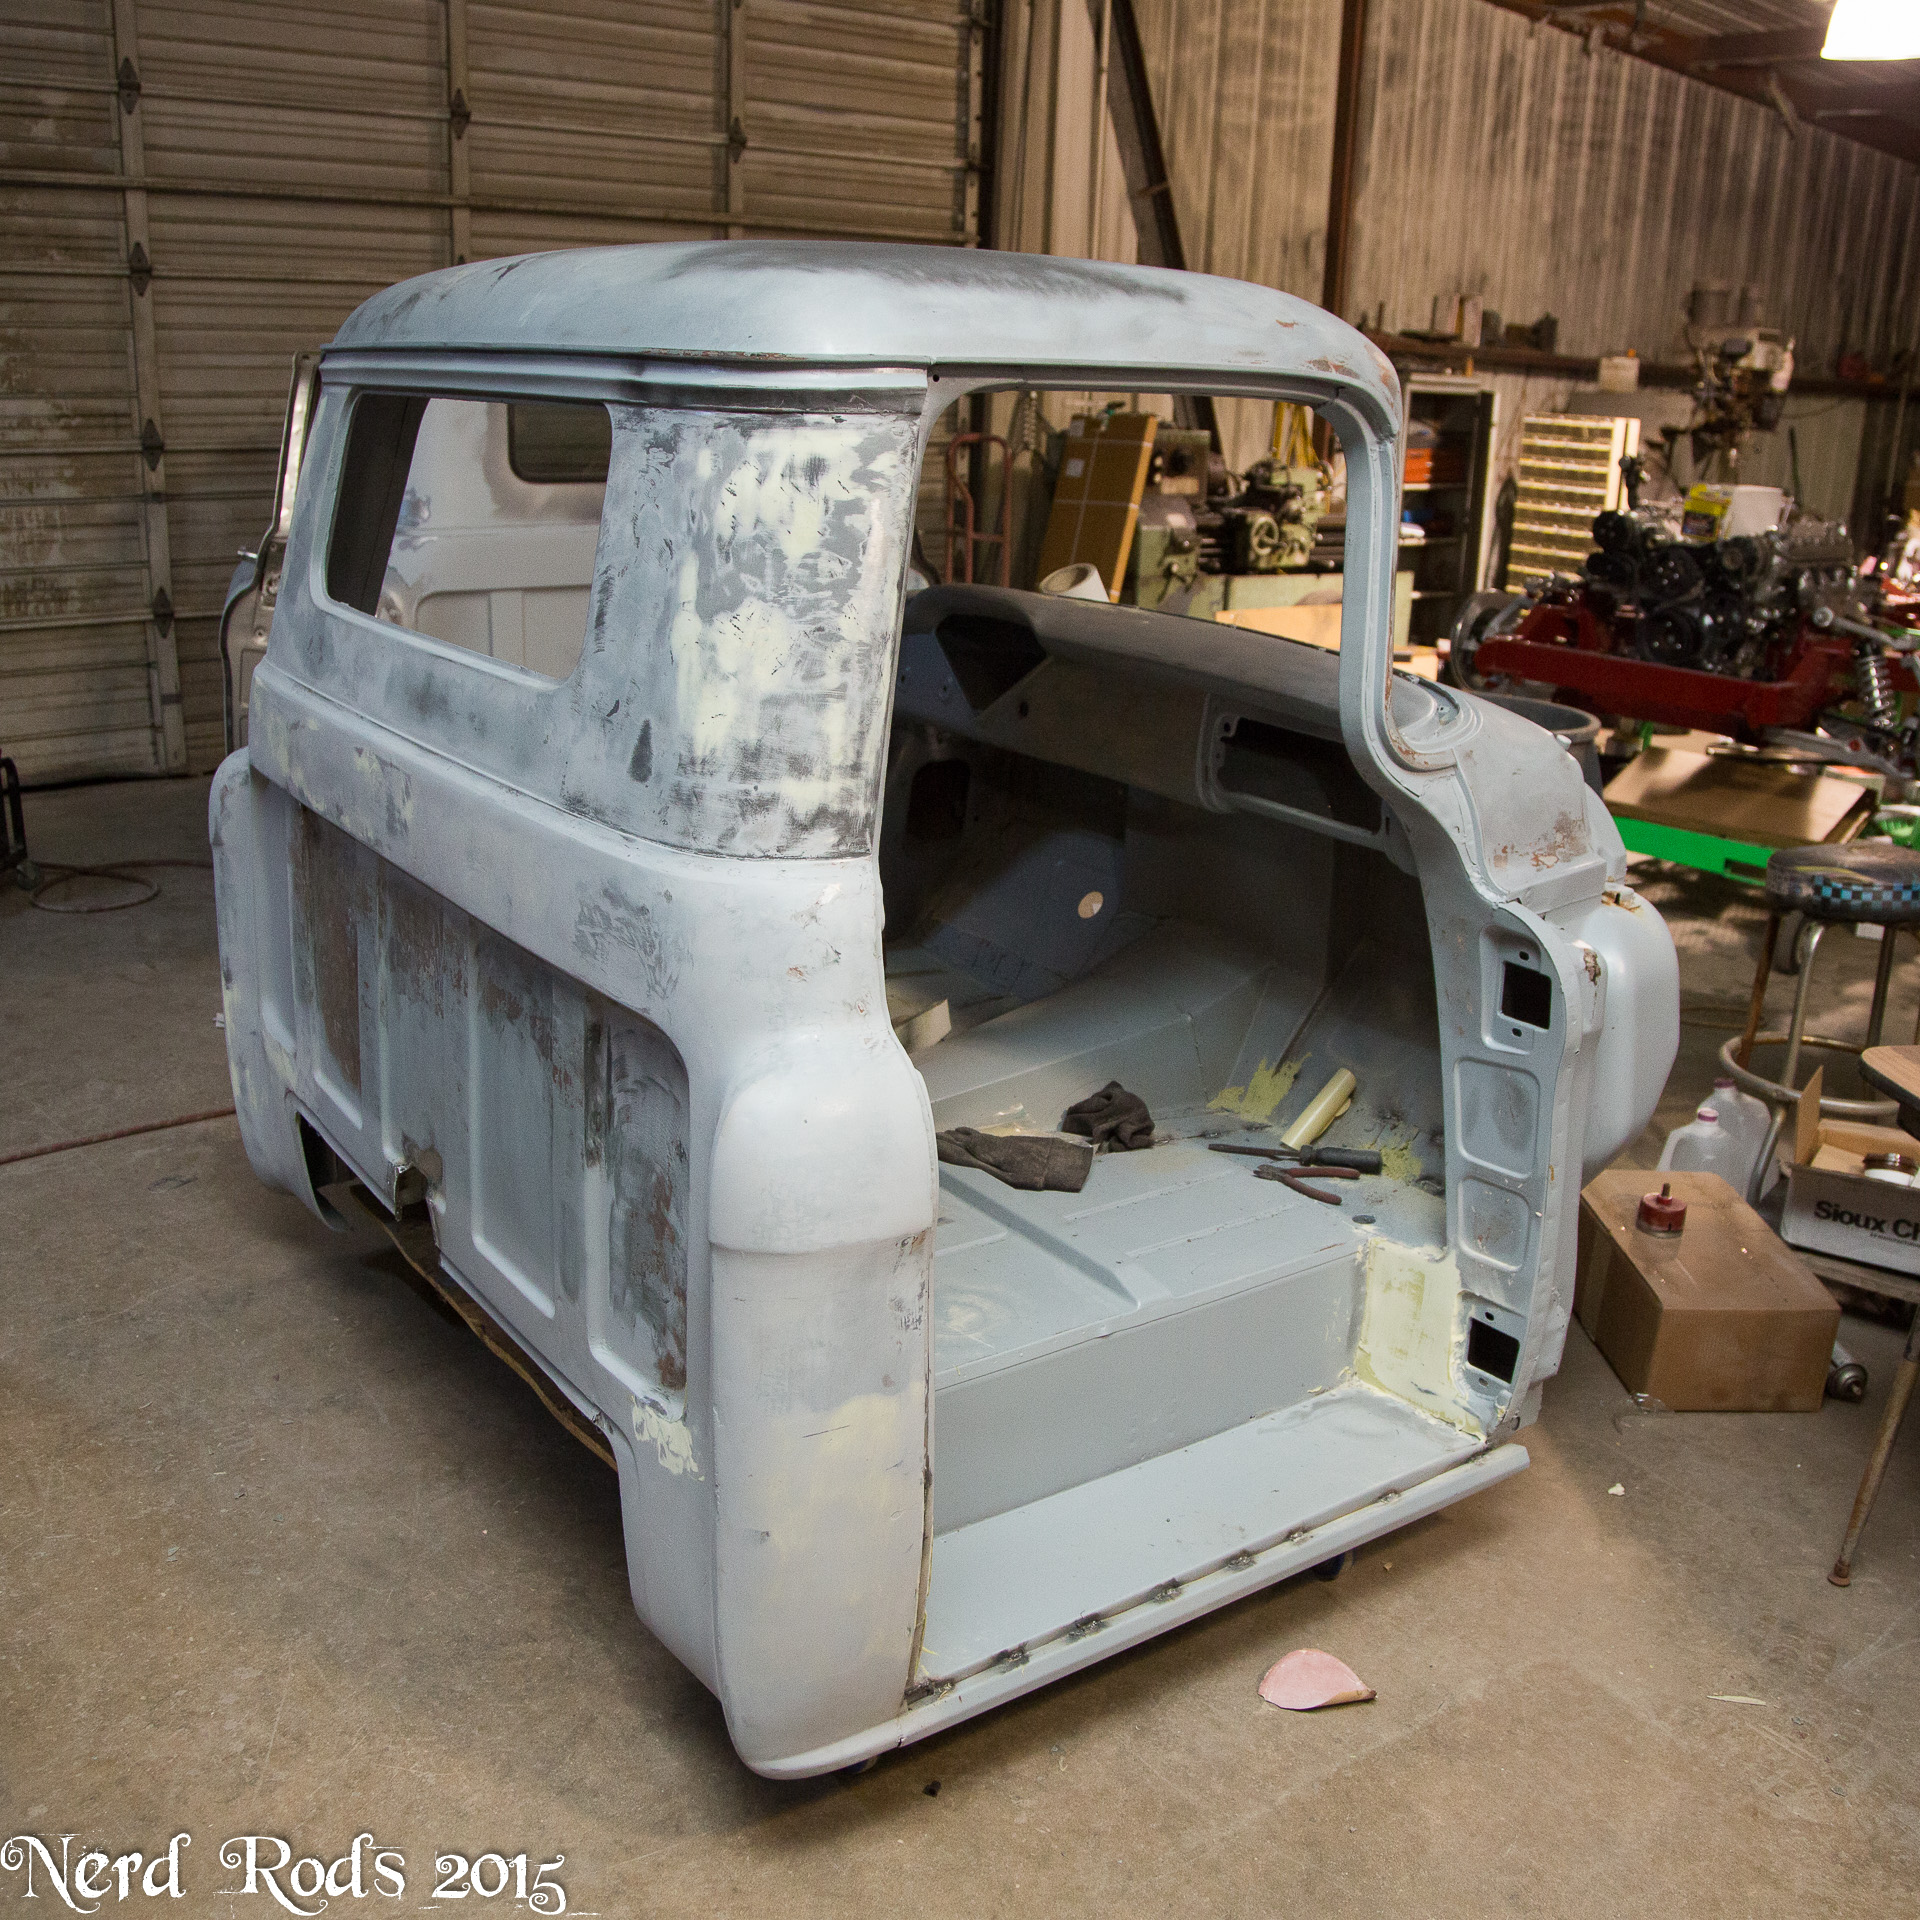
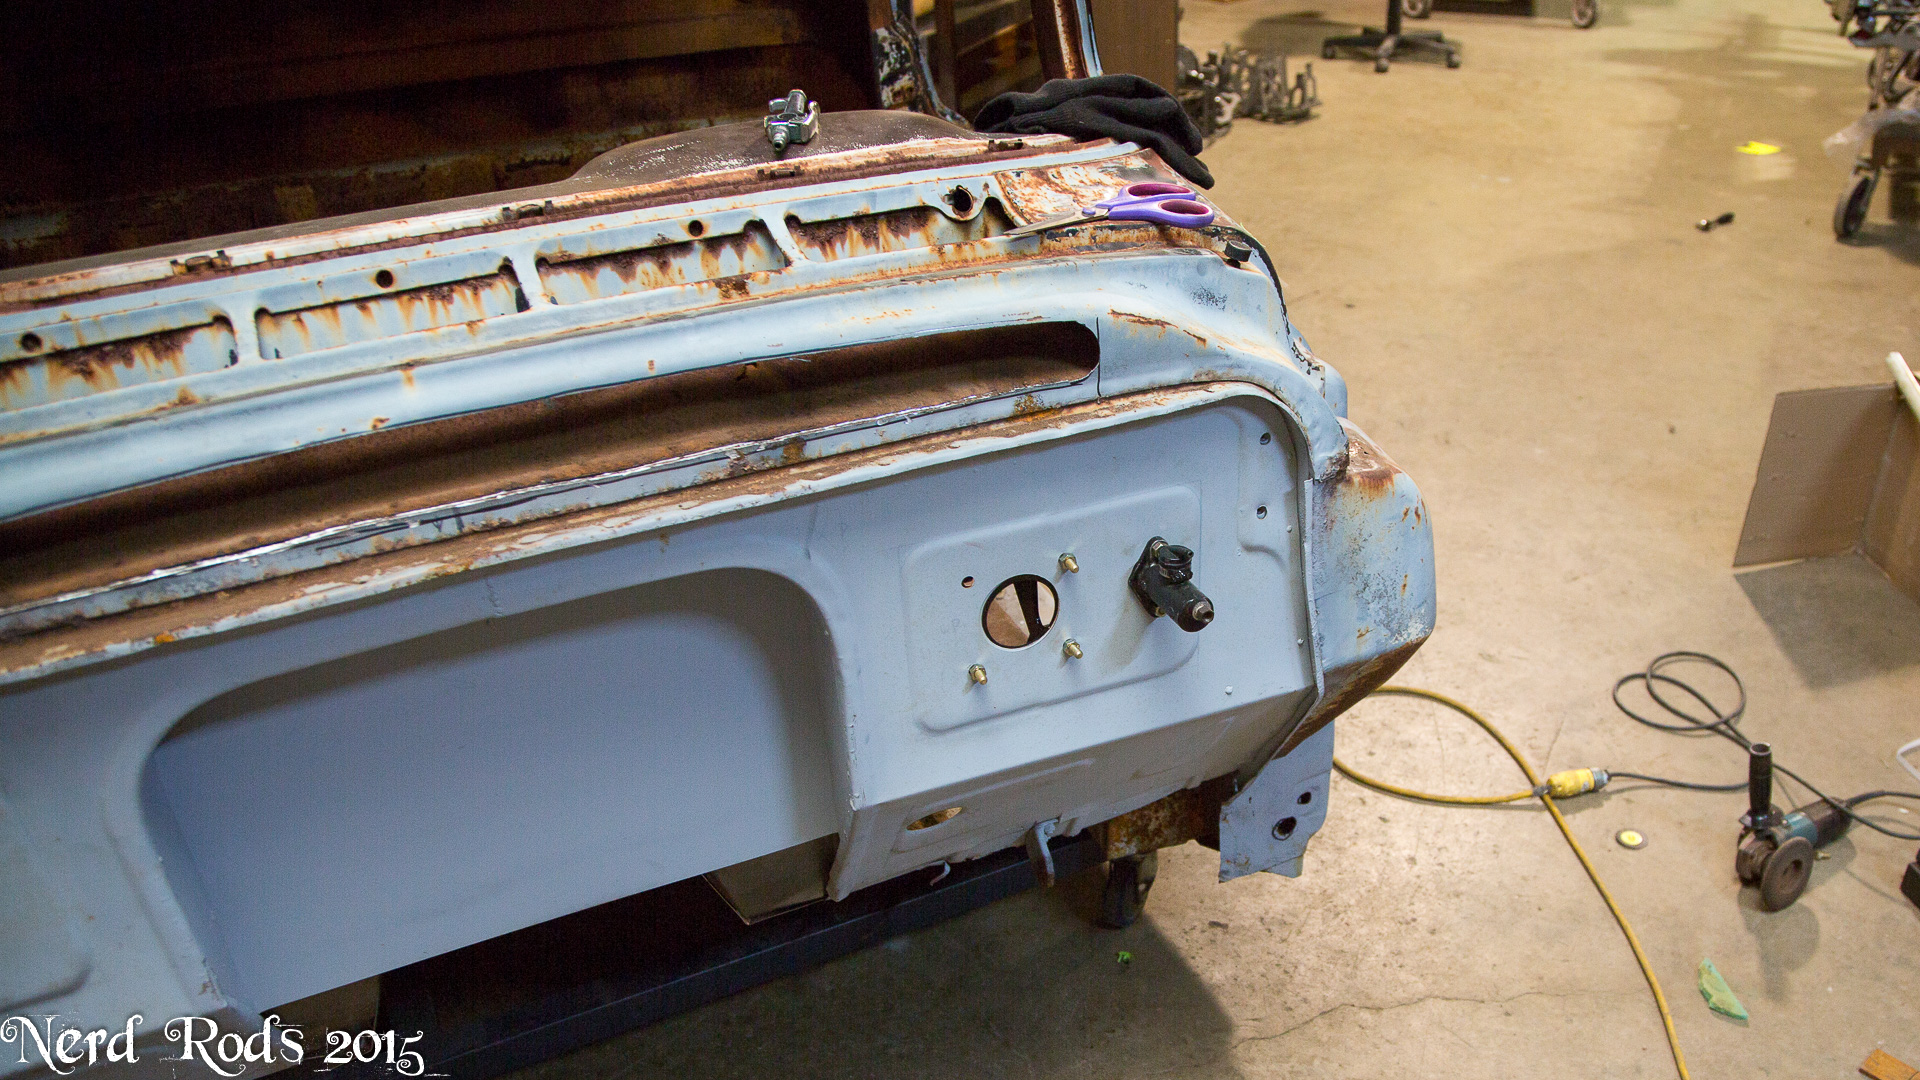
Powder coat Primed the cab so we could get as much of the tiny hard to reach inner spaces covered with the elector static powder. All under the dash and in every nook and cranny was the main goal.
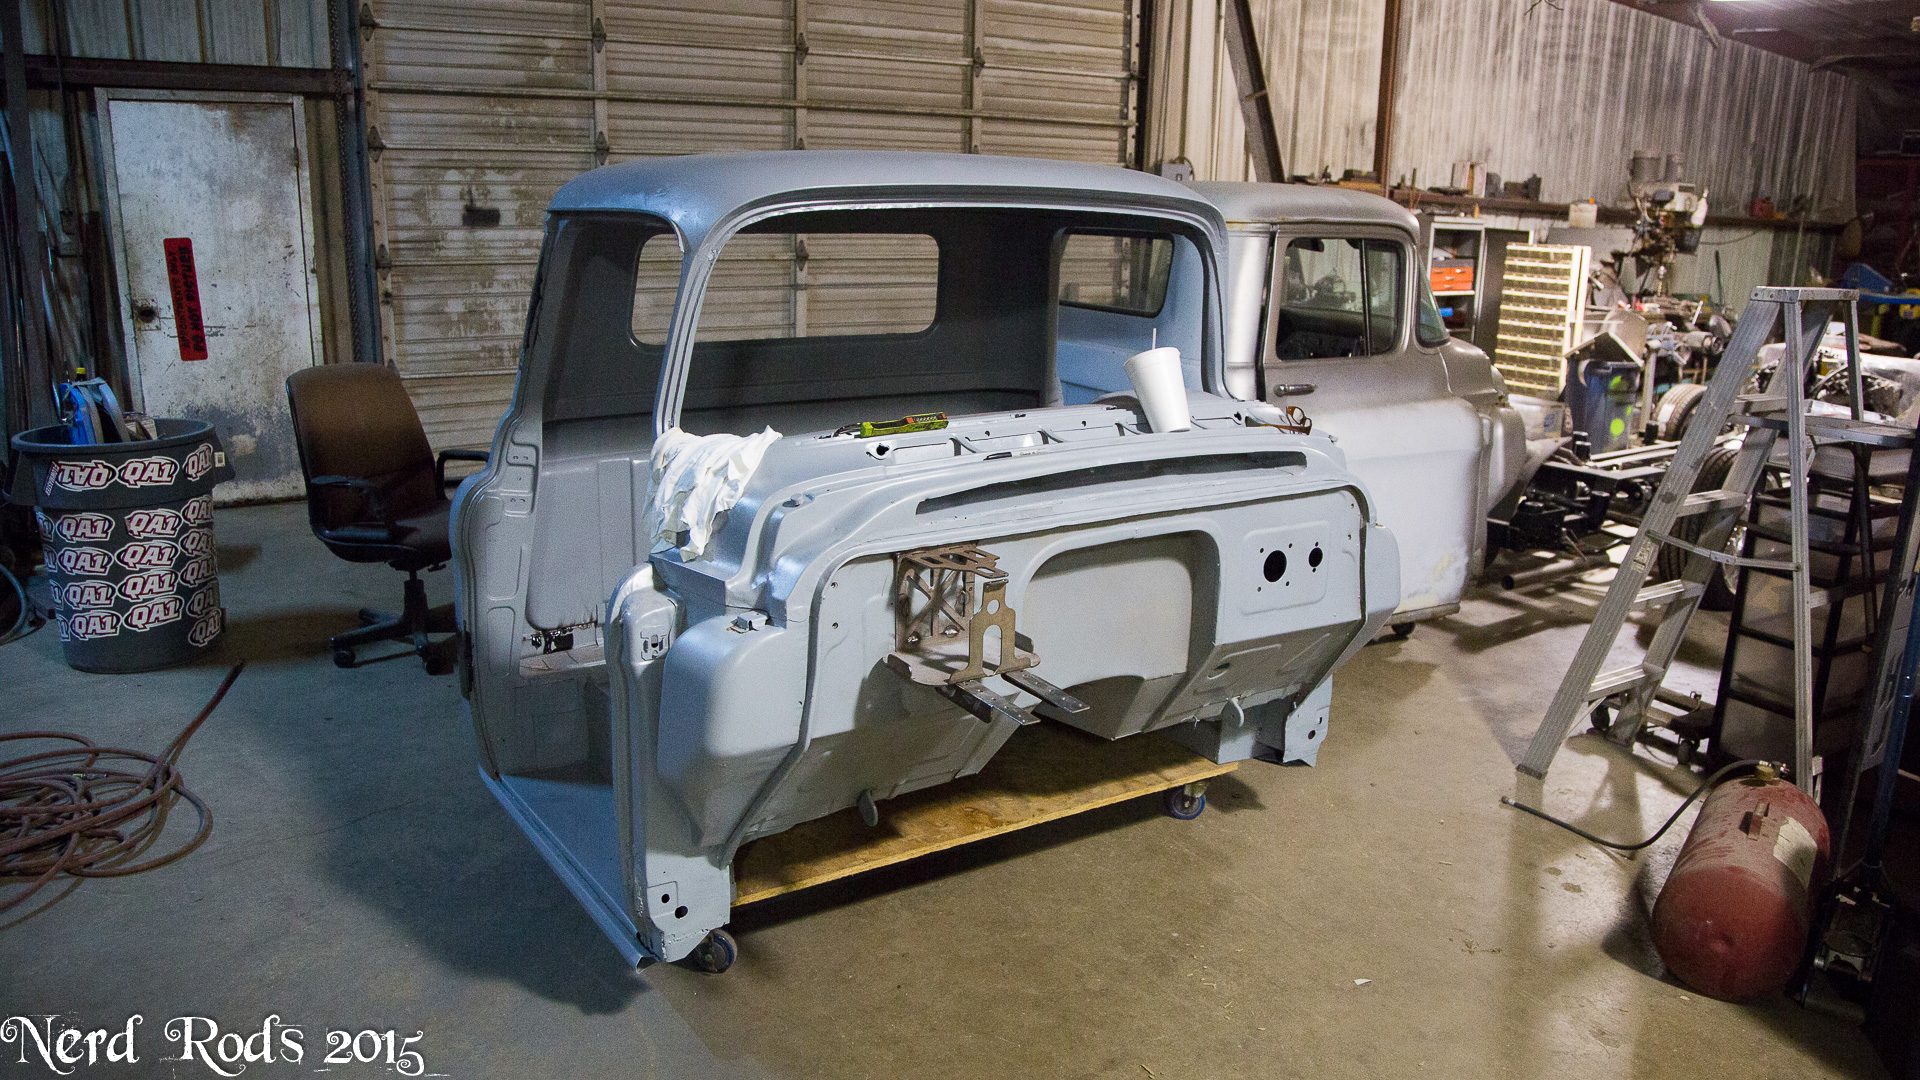
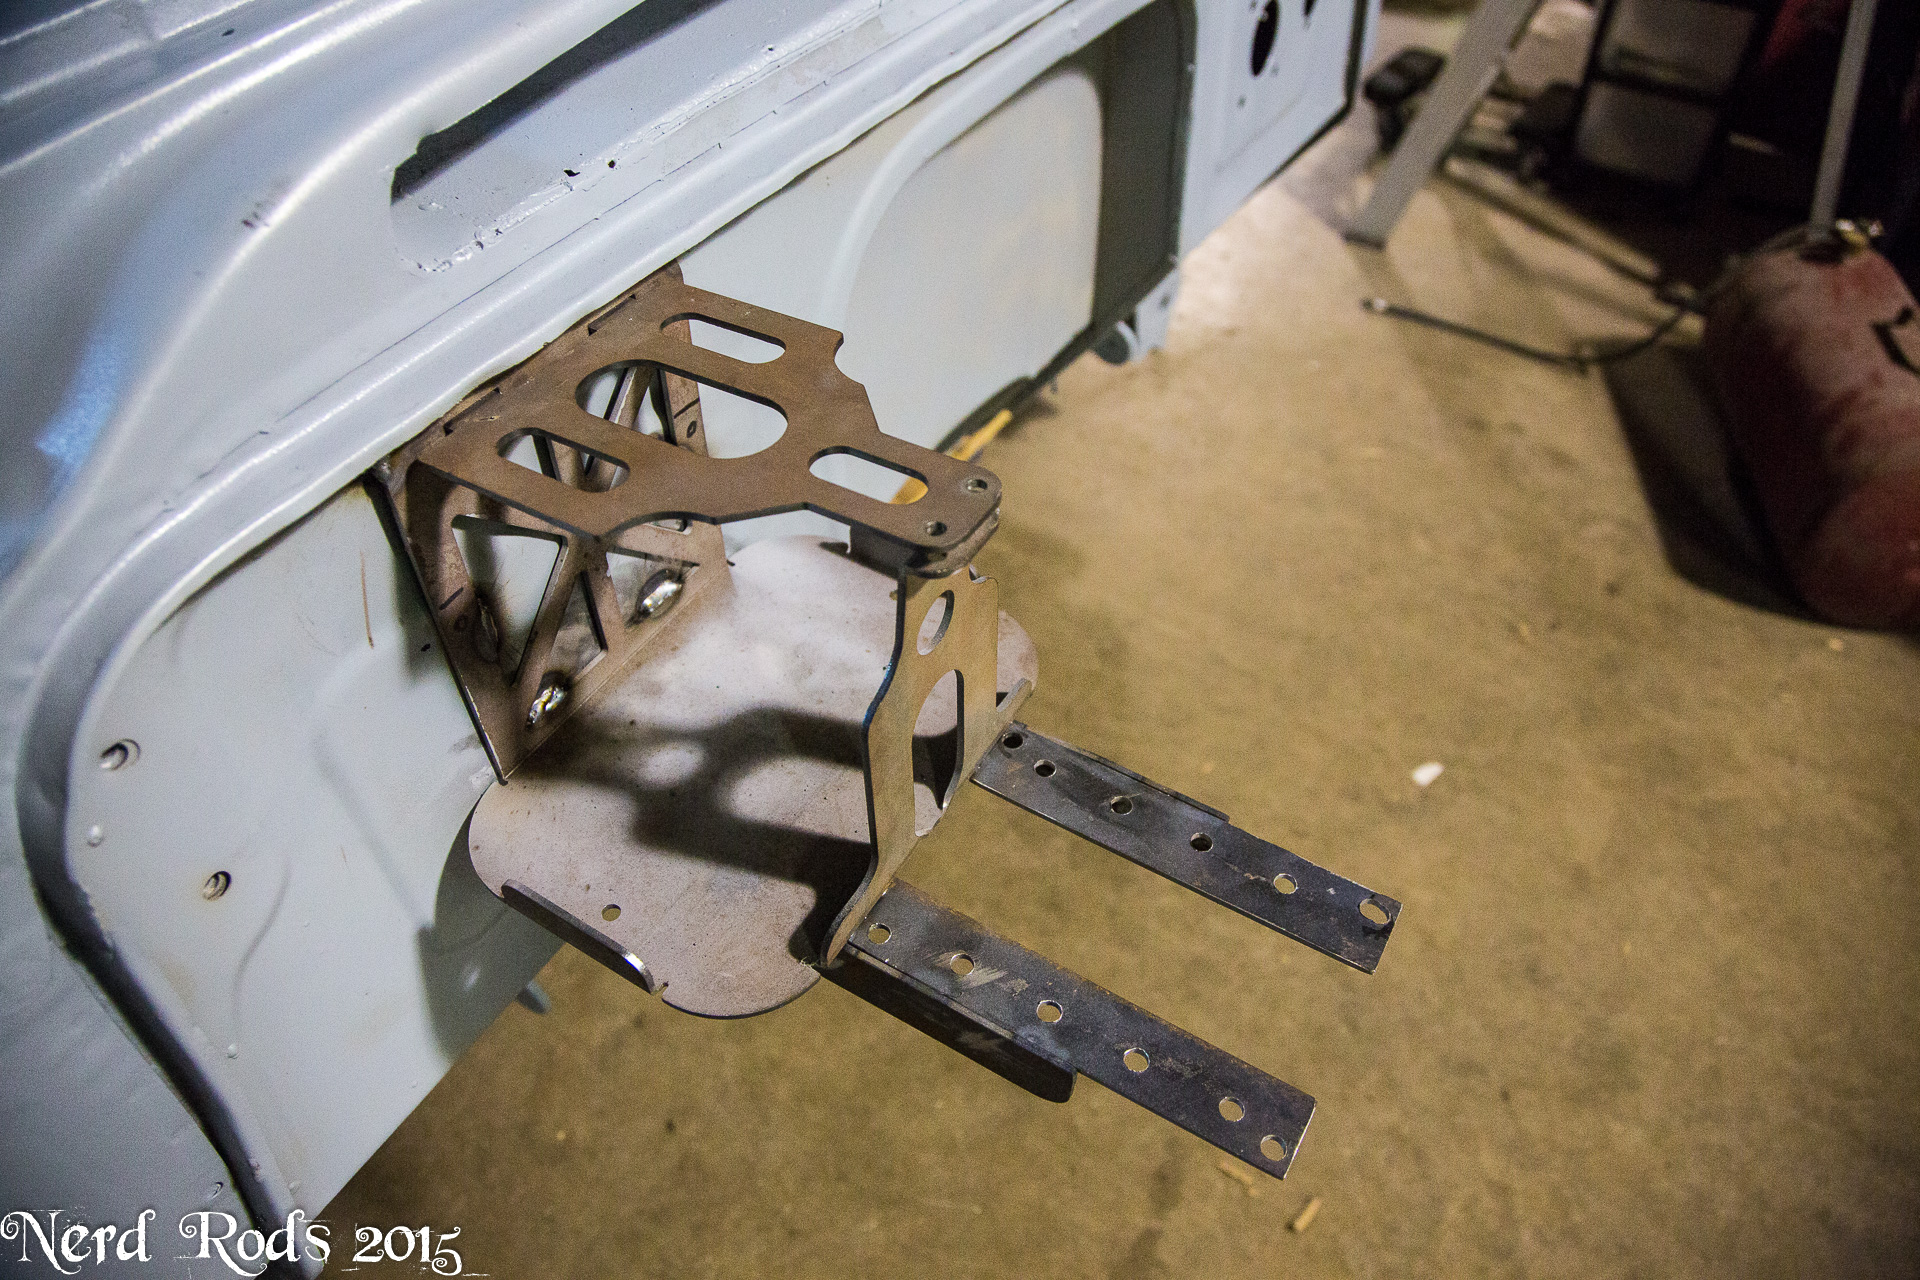
Firewall mounted battery box with mounting for the Infinity Power System Power Cell and Master Fuses
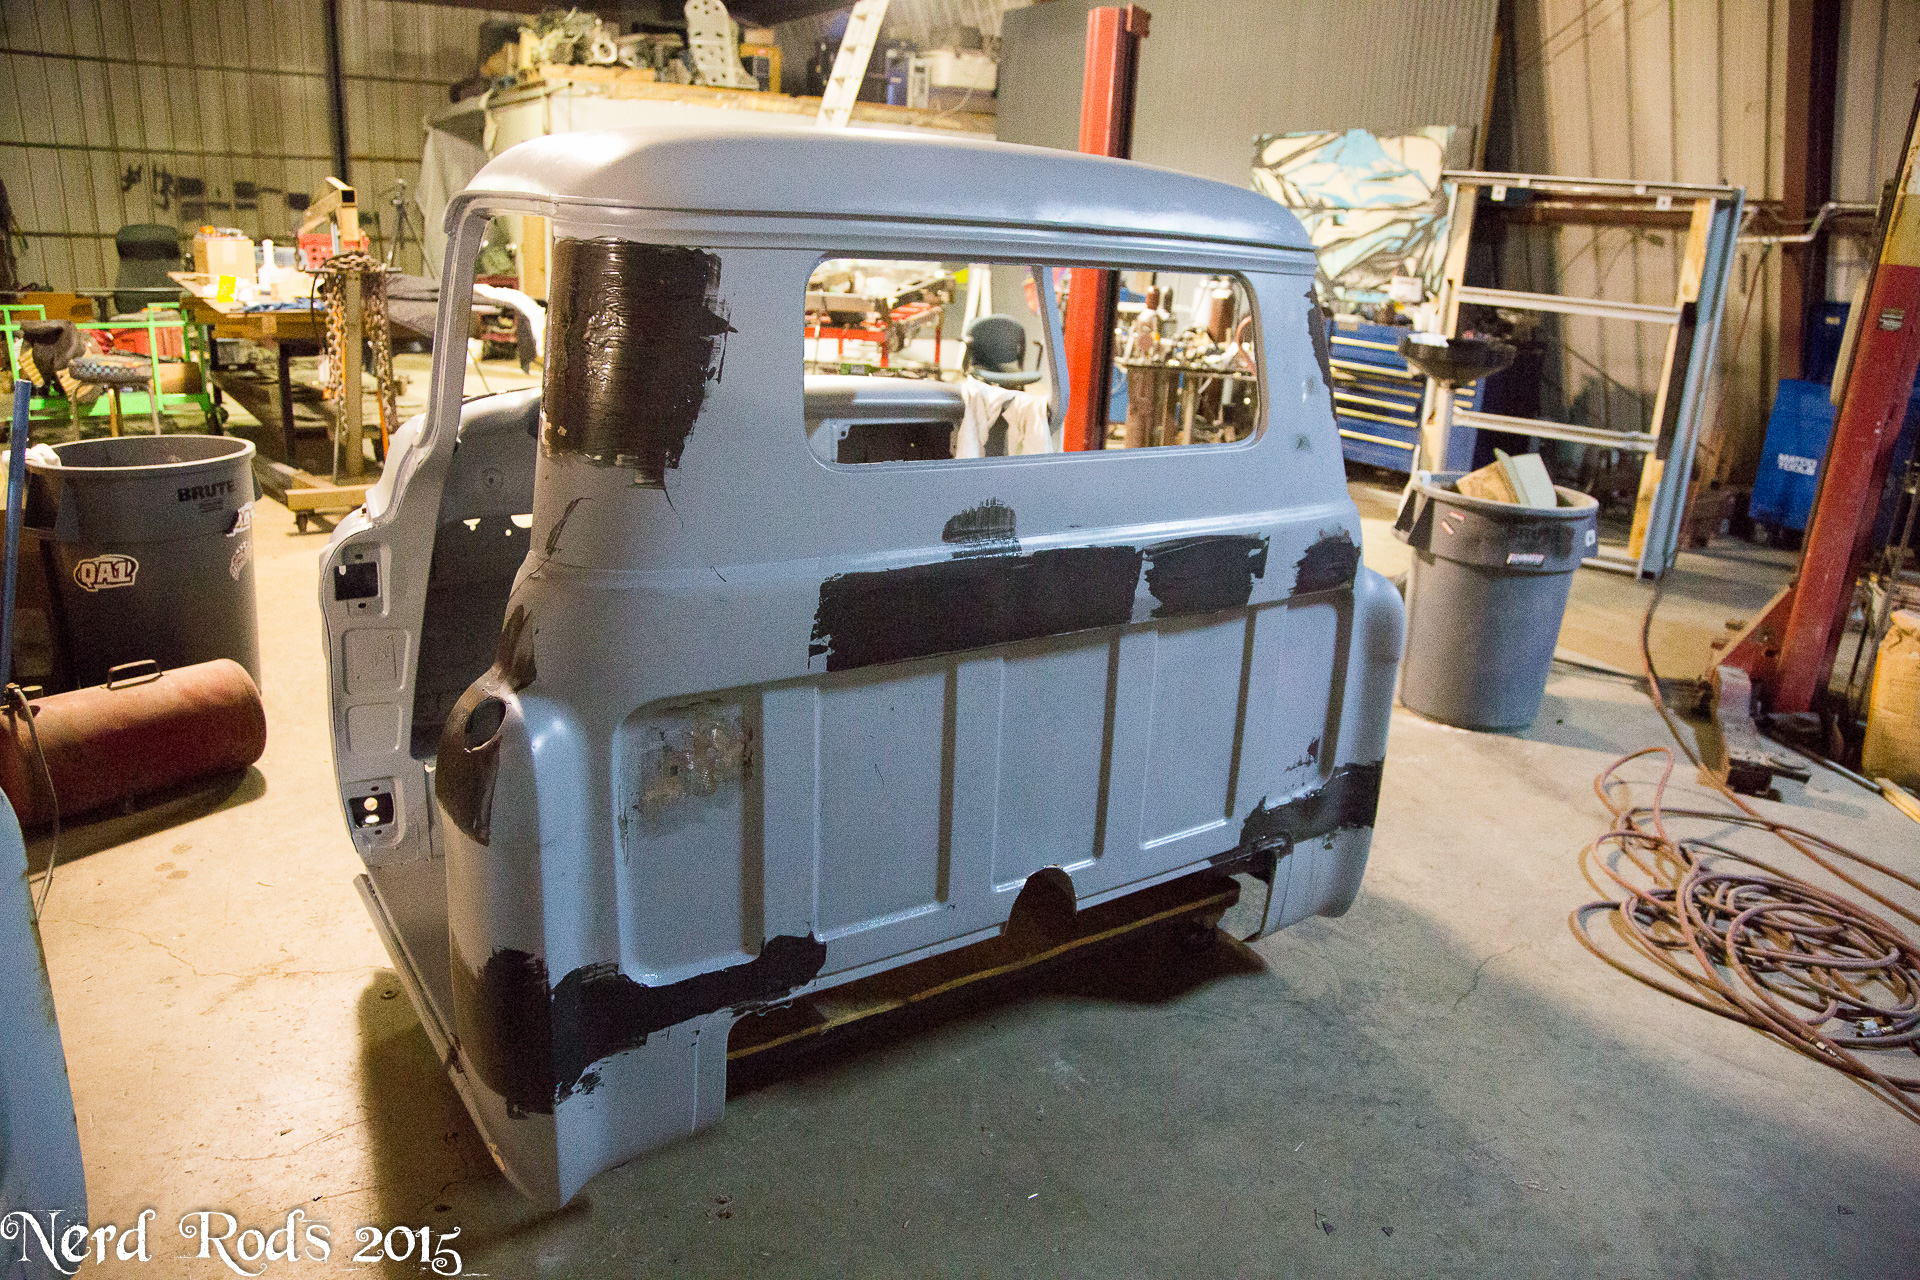
Dad starting on the body work for all the little dings that couldn't be hamerd out
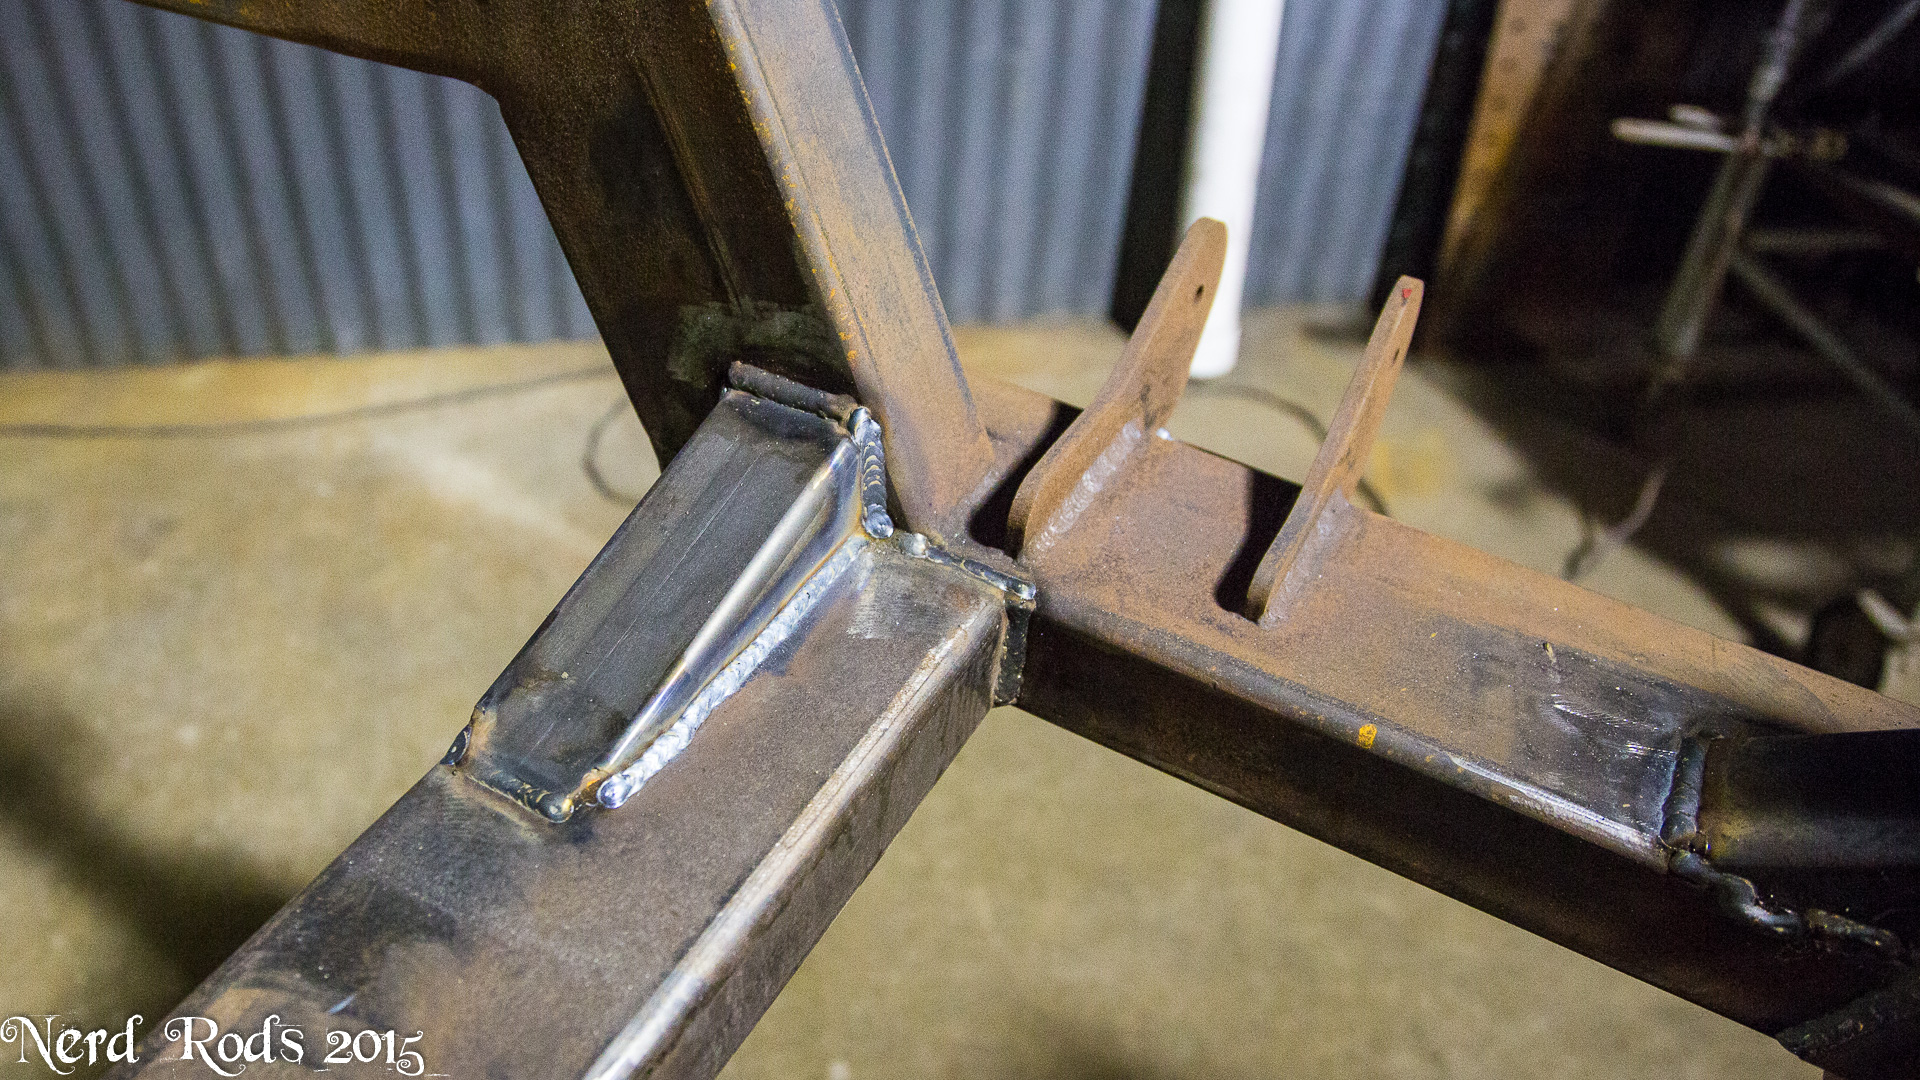
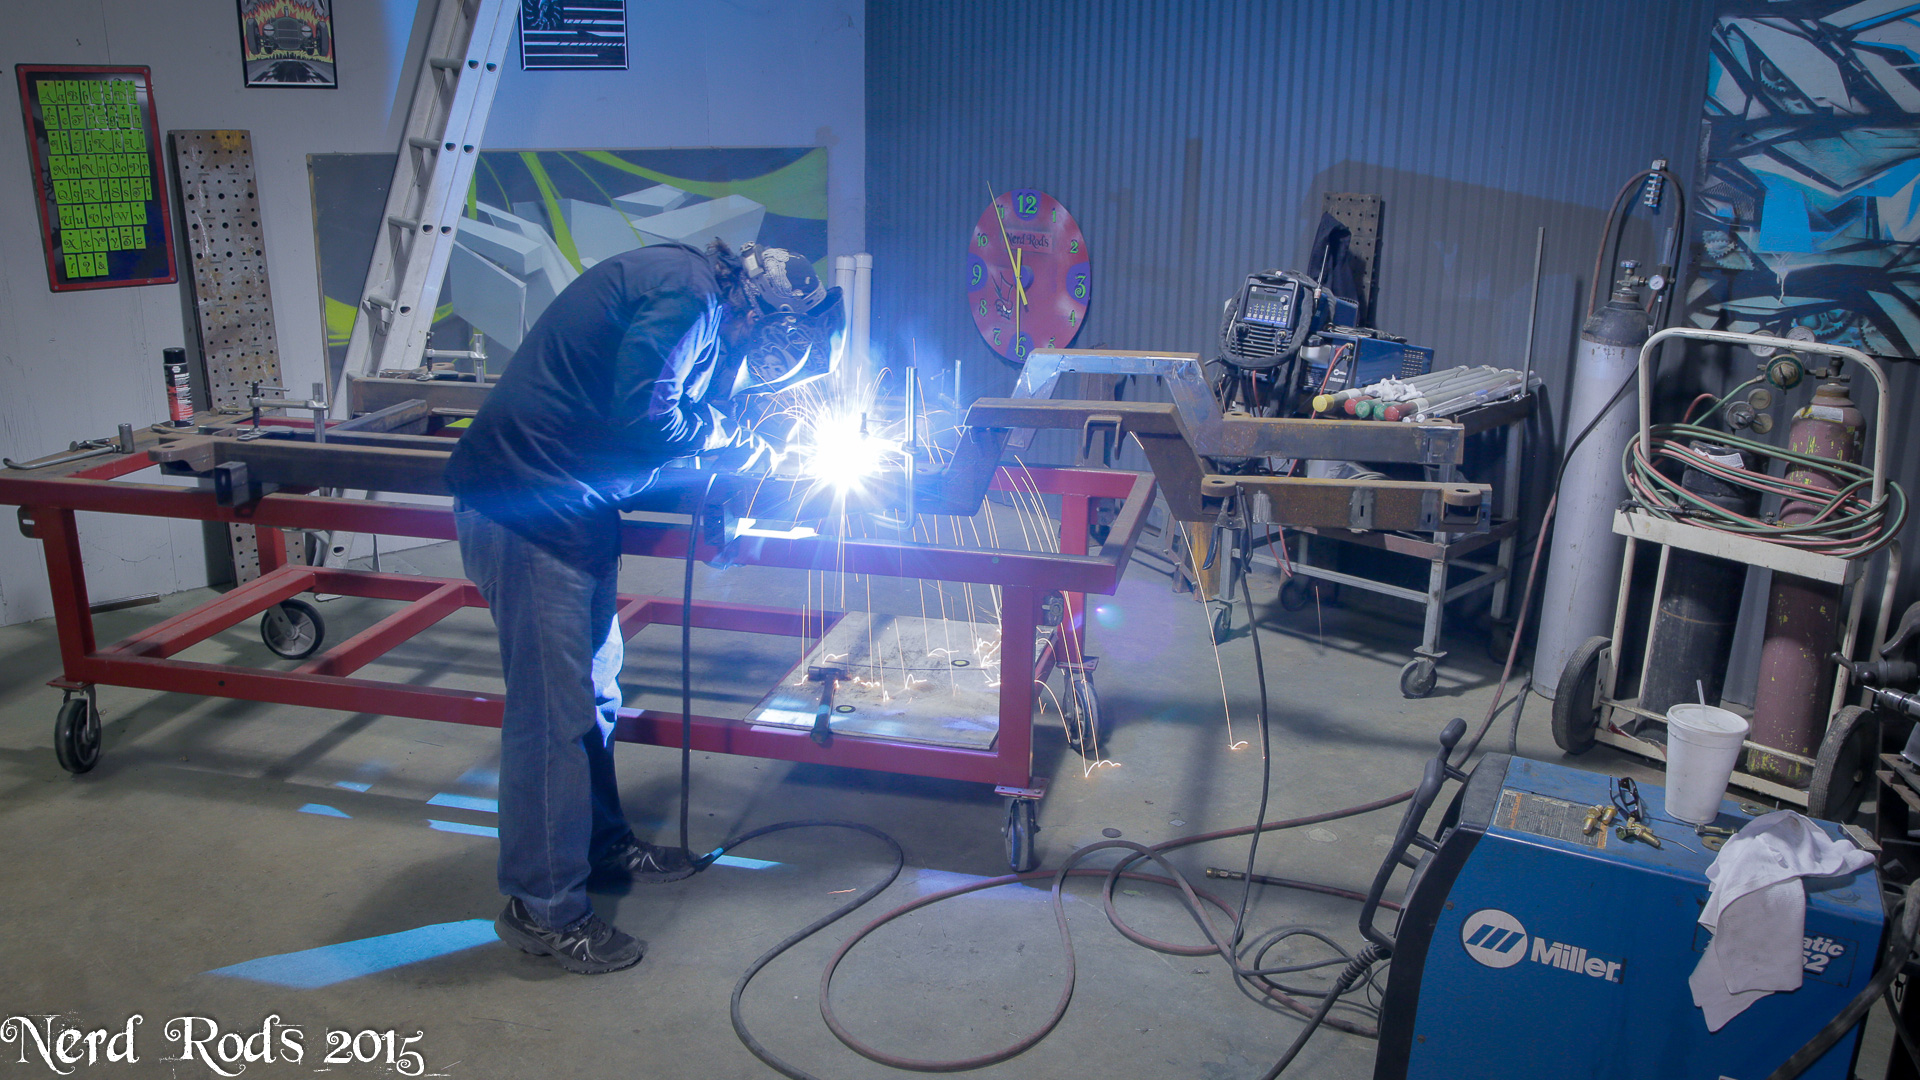
I'm almost finished with the frame and the time lapse. I hate MIG welding because it doesn't have the artistry of TIG and the welds will never be as good but it is much faster.
Dad starting on the body work for all the little dings that couldn't be hamerd out
More soon I should be done with the frame later tonight and we hope to blast and powder coat it this week.
Updated 2015.AUG.29
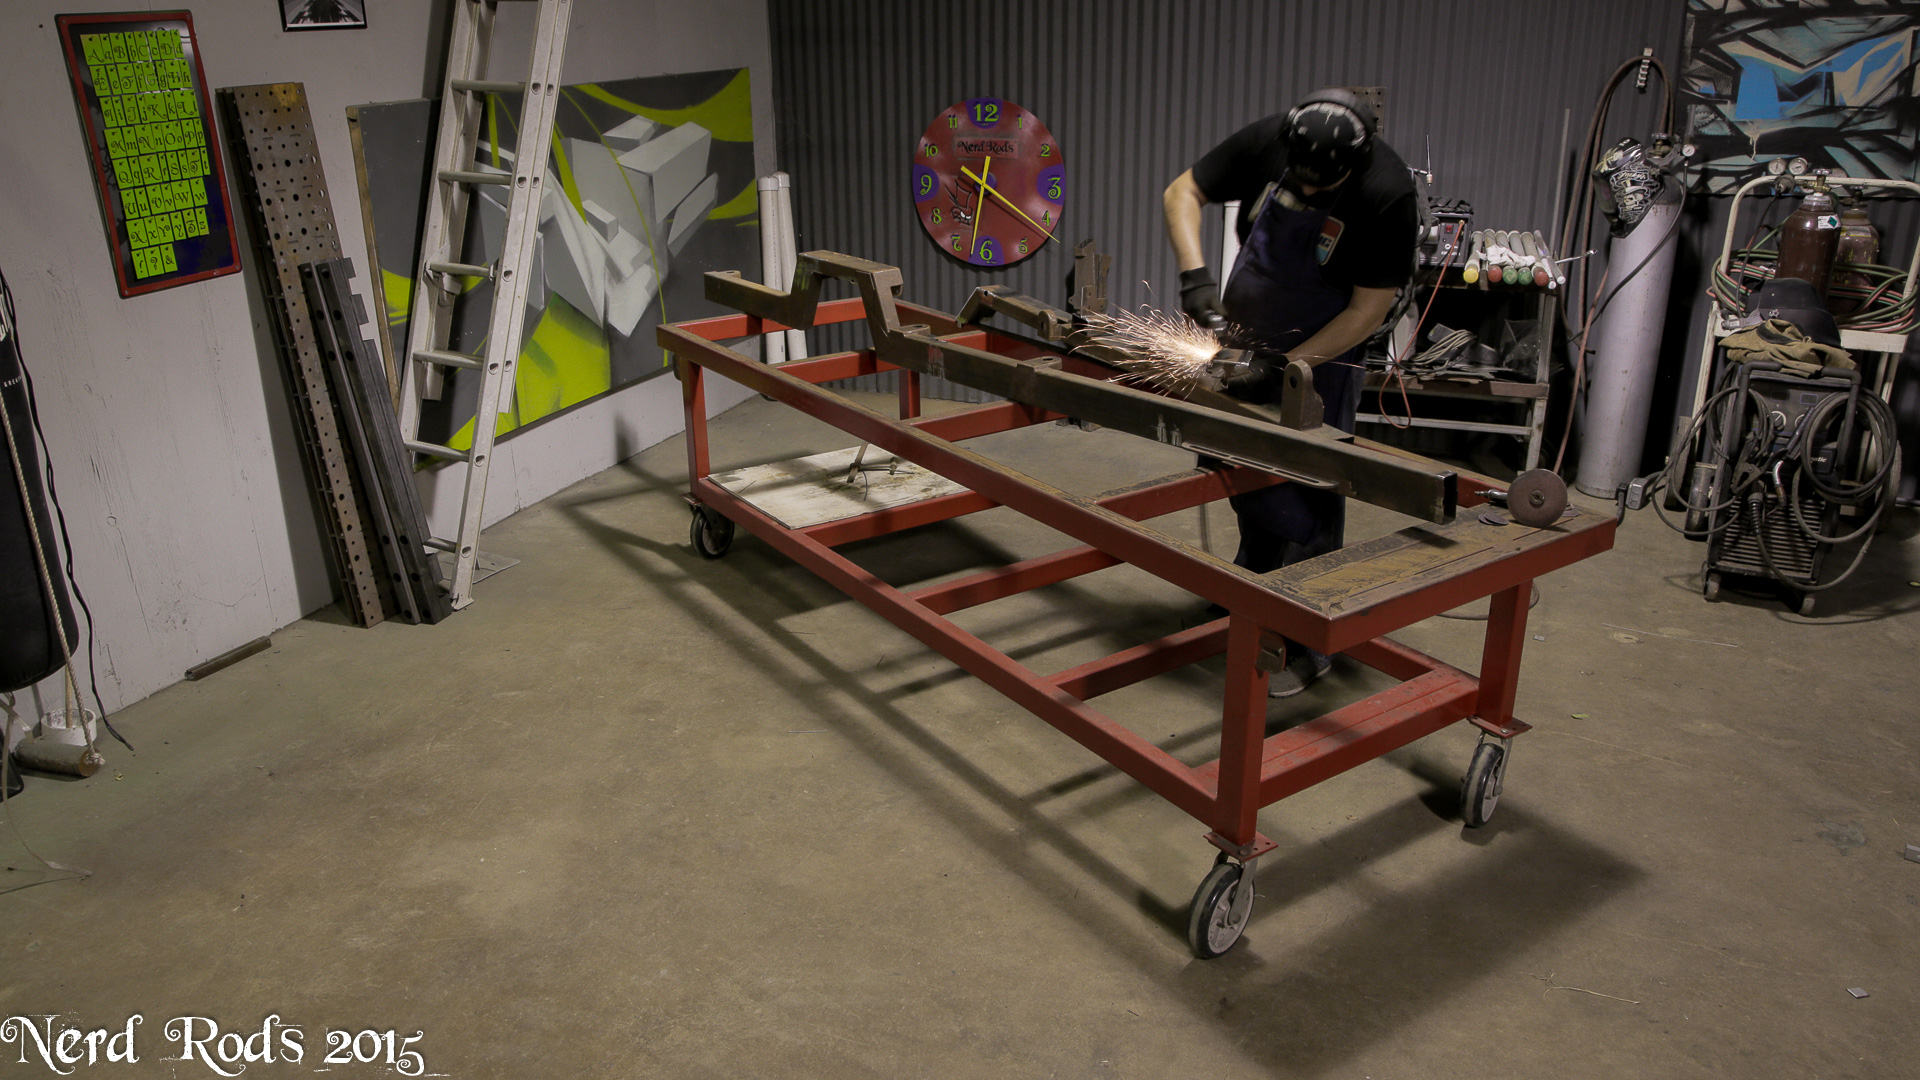
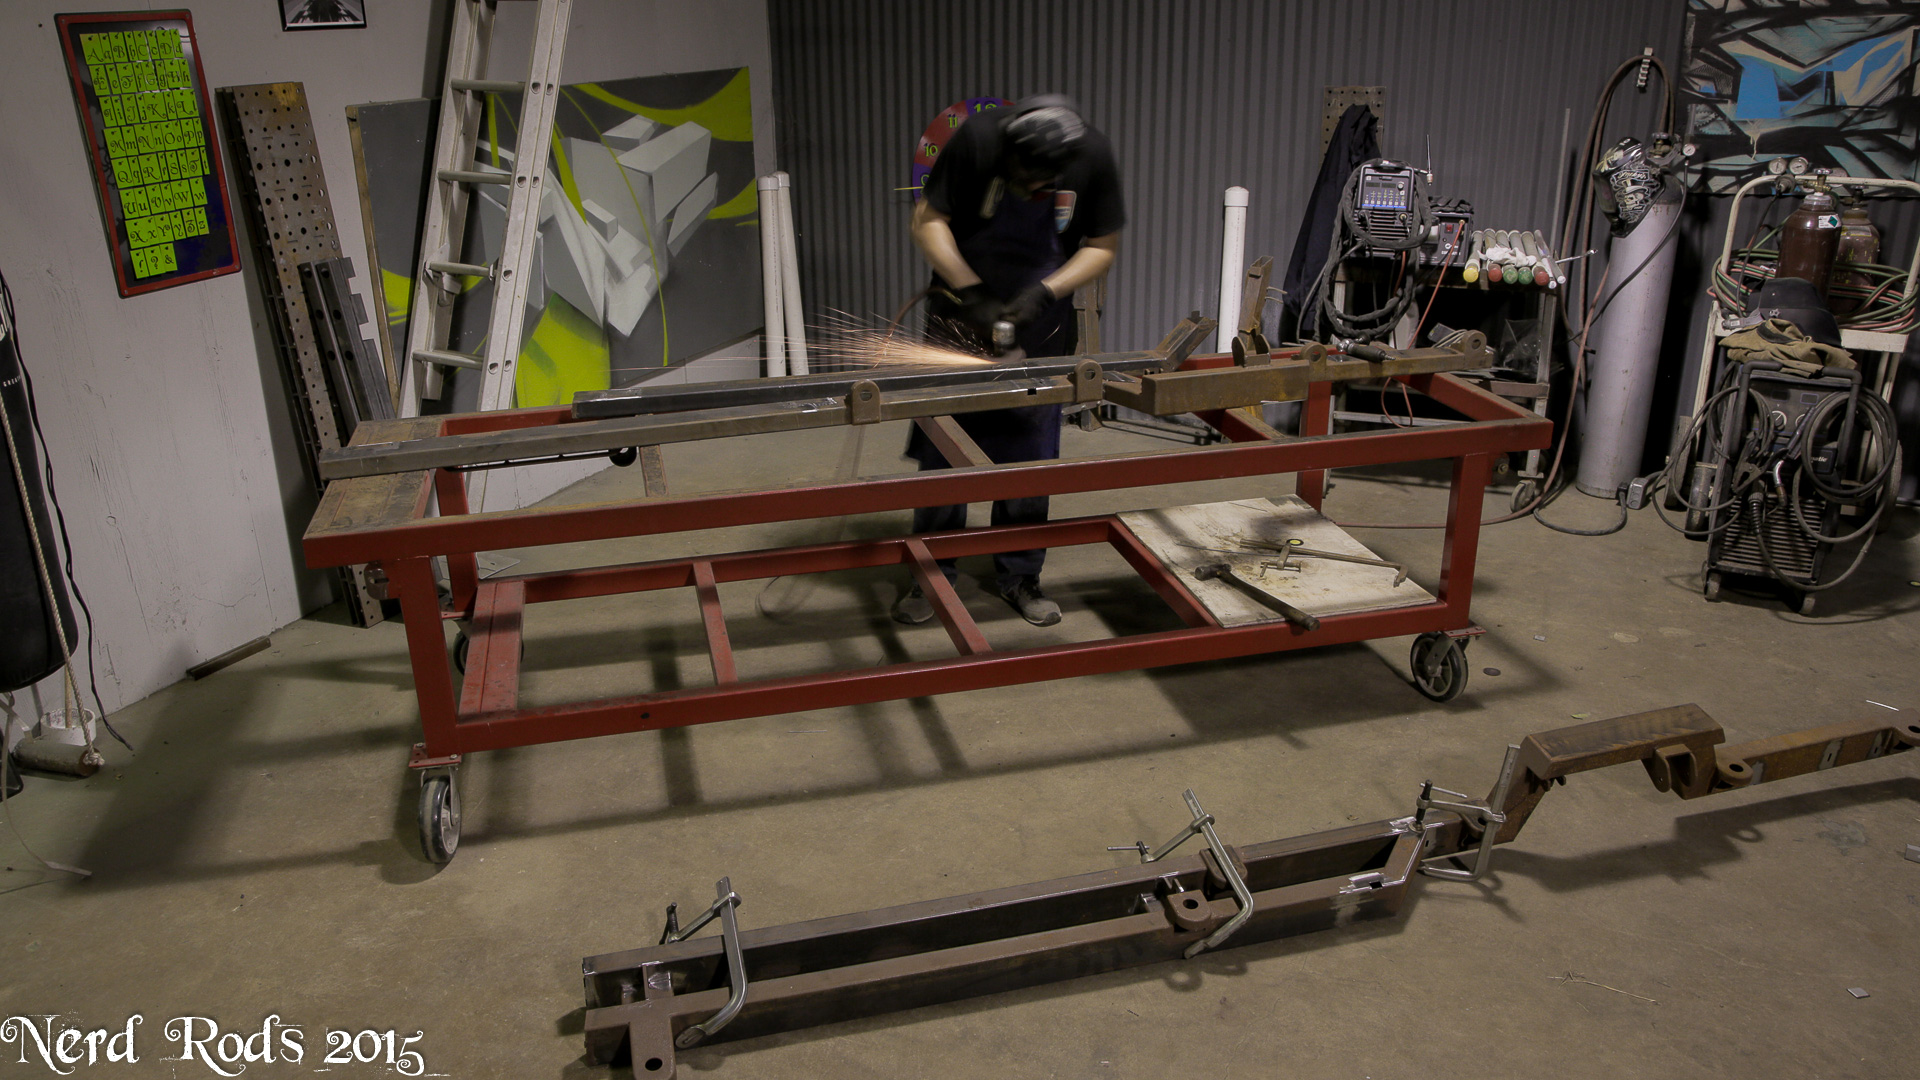
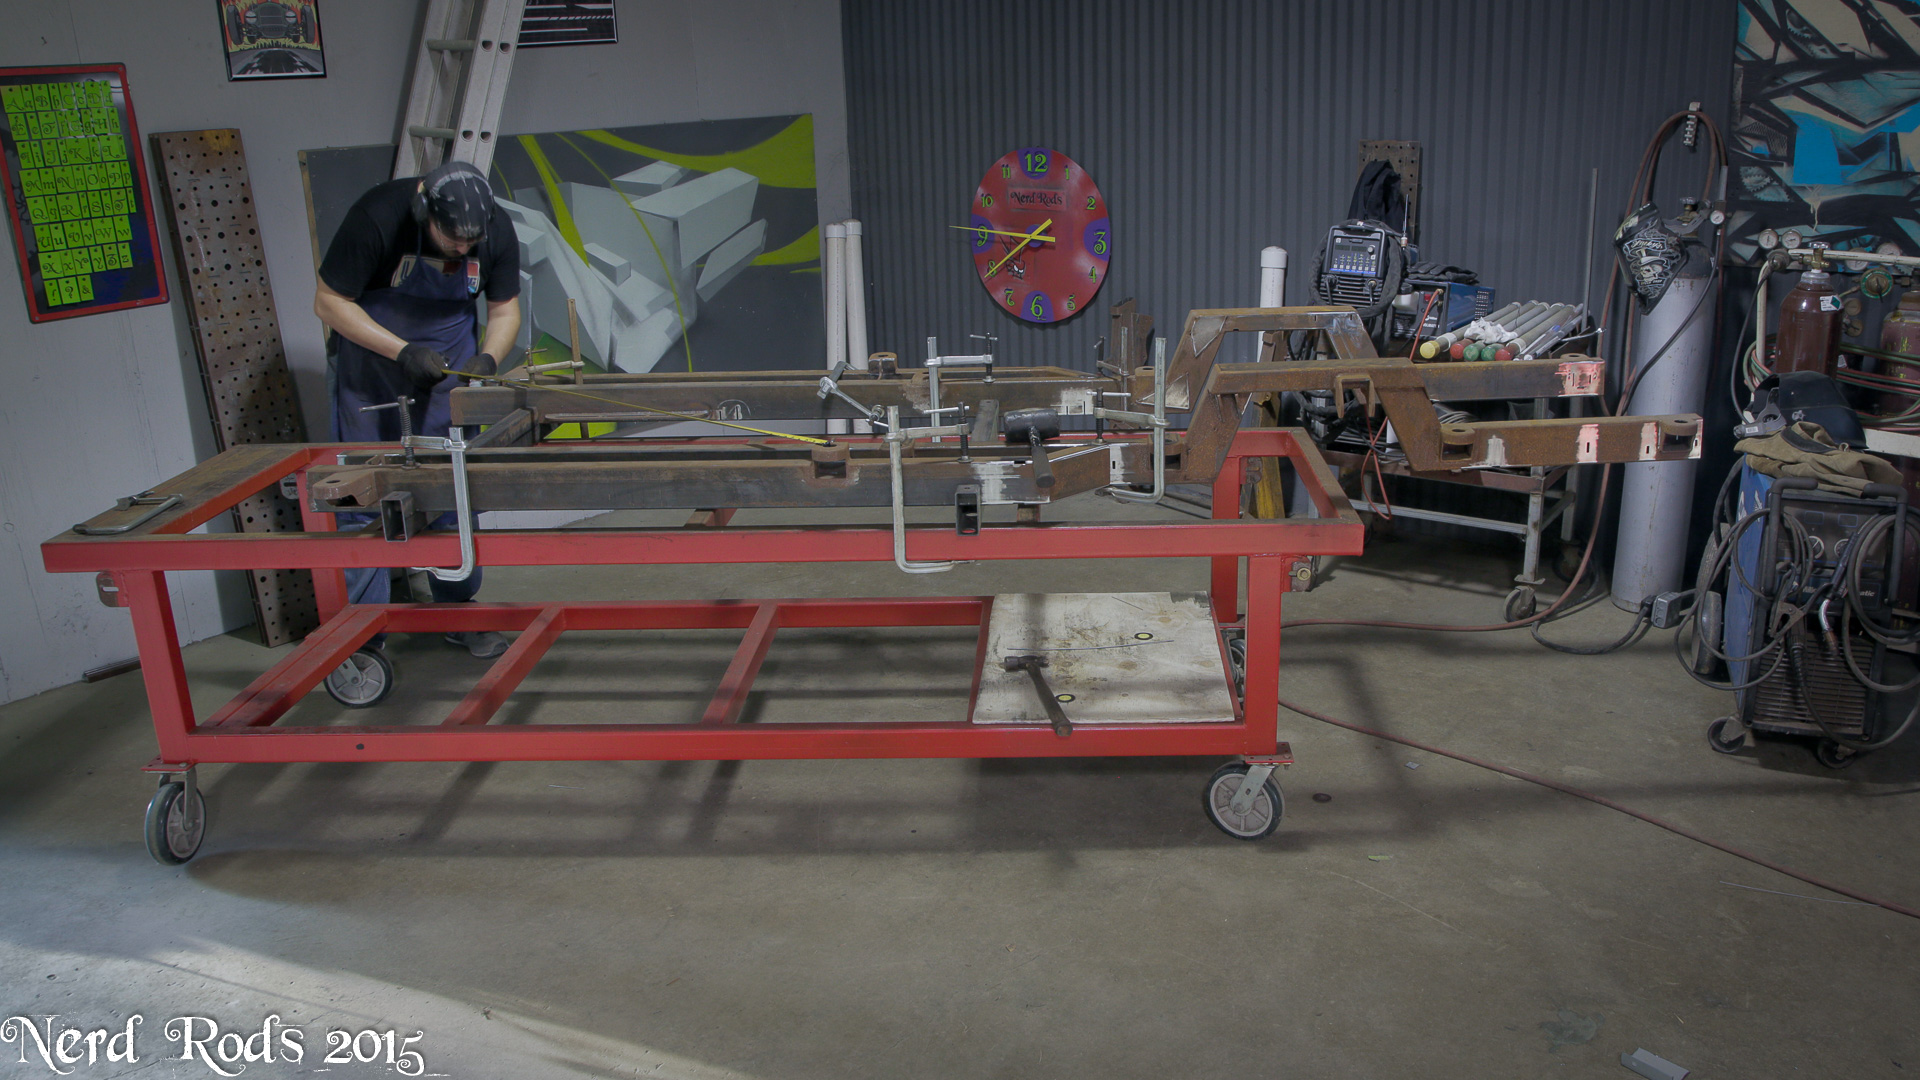
I've been working on a timelapse of Dad's frame simply because I'm MIG welding it. We get a lot of people who think you can't MIG the frames simply because I don't. So this one get's the end if its assembly MIG'd. Here are a few stills from the timelapse process.


Dad's got the clutch pedal worked out and mounted. Its all out getting powder coated
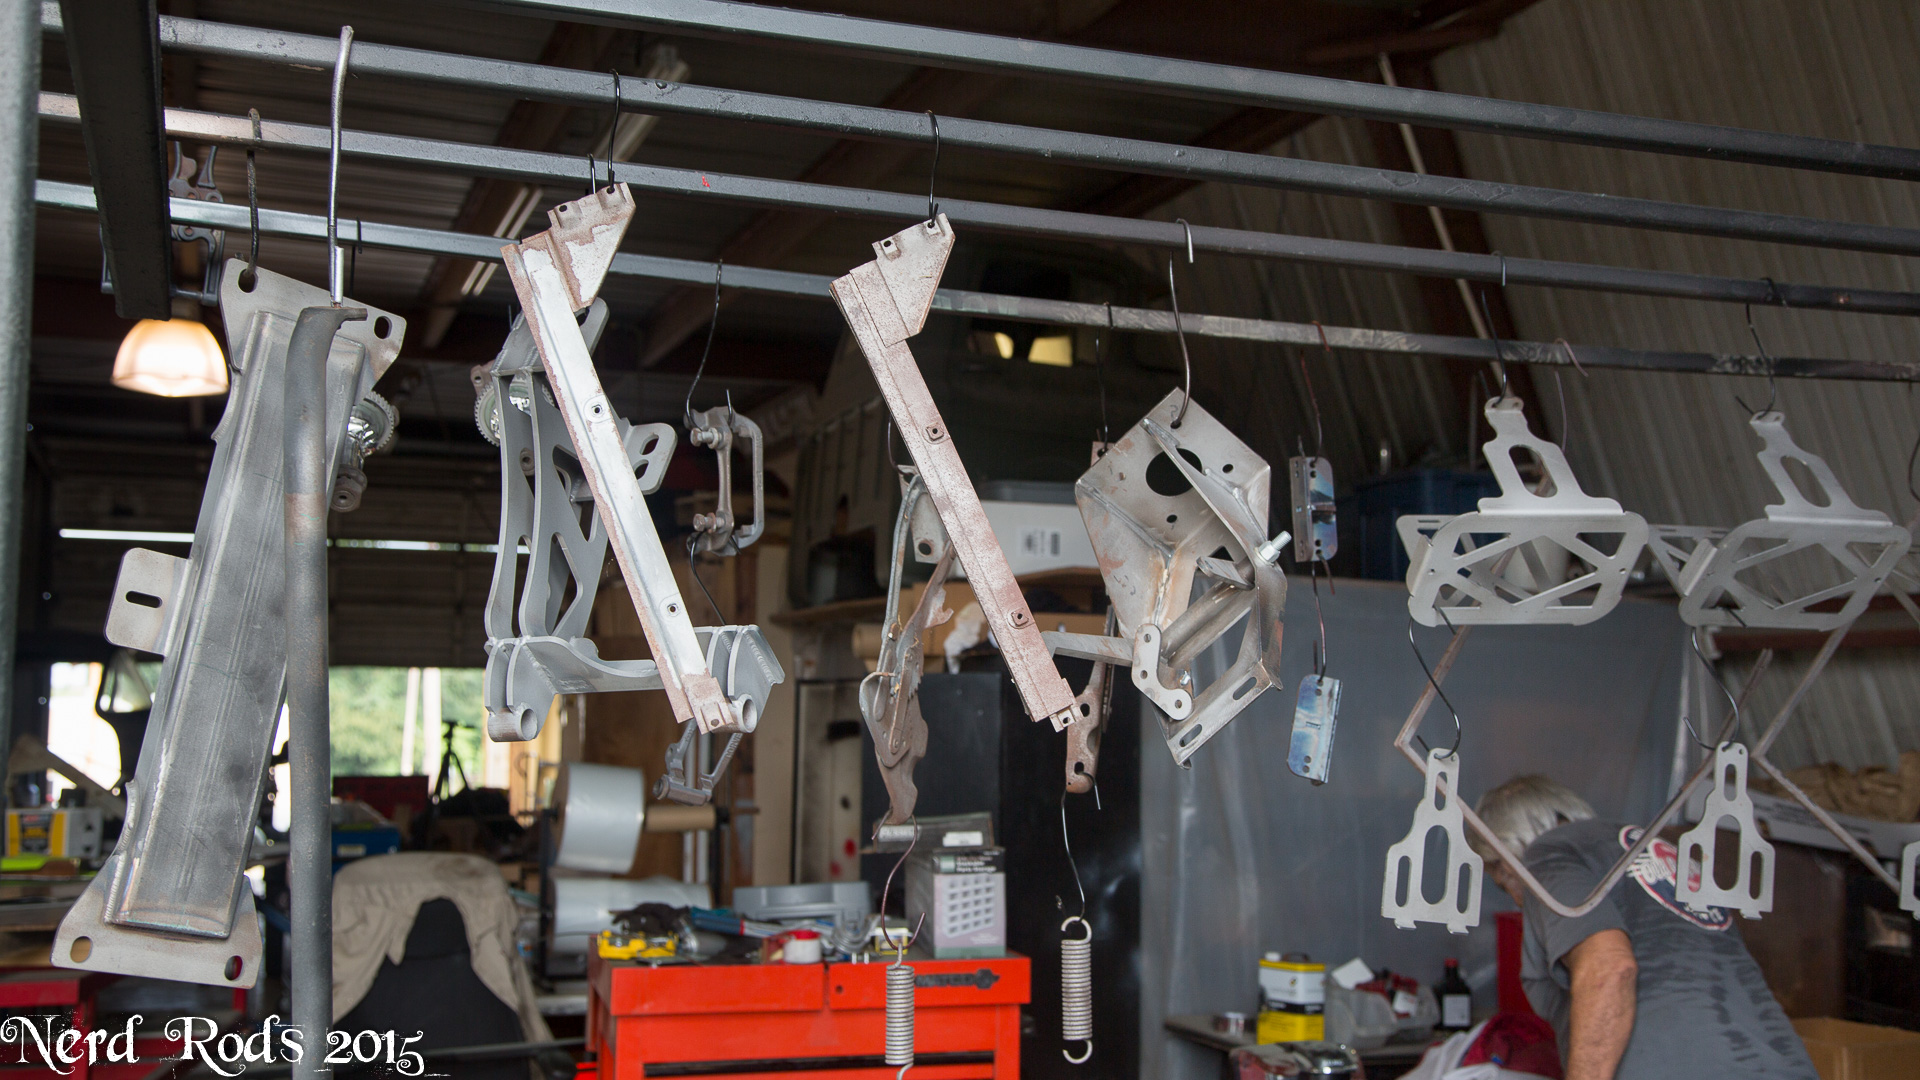
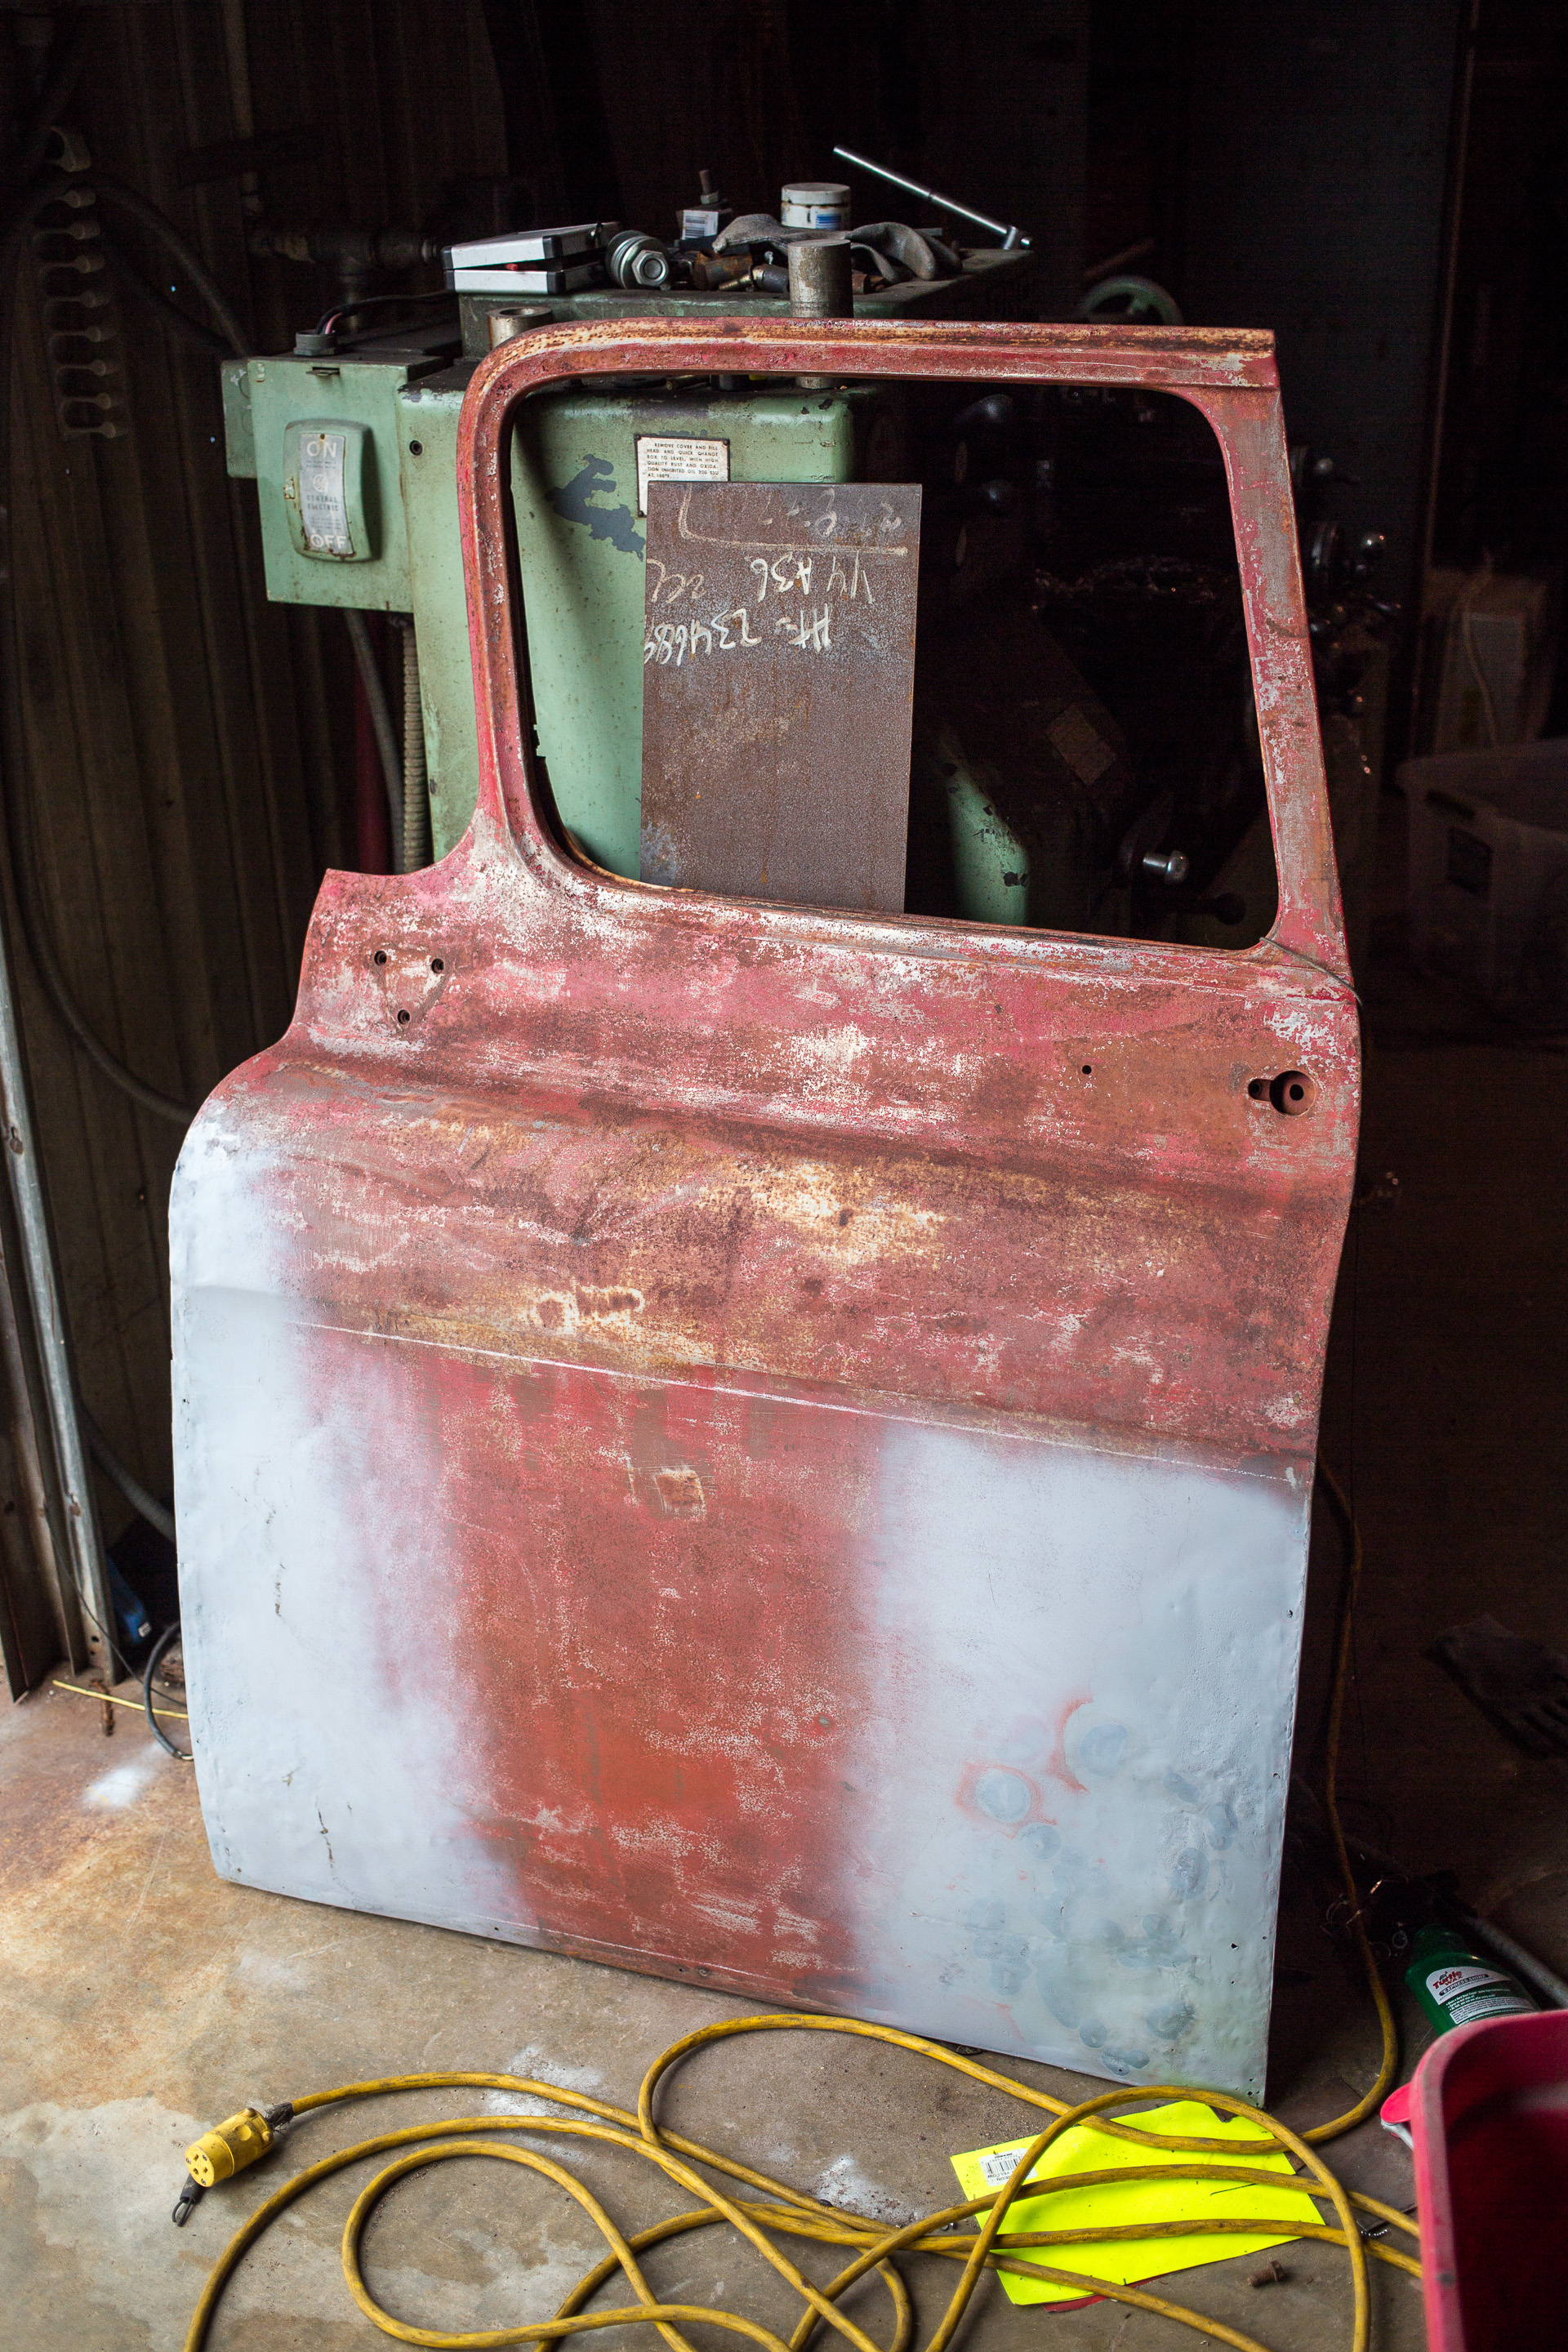
Suspension is all powder coated and getting ready to go together and the sheetmetal list is getting shorter. A customer got new doors and gave us his old ones so Jim has another door to cut pieces off of.
We also have a new toy in the shop that's probably going to end up on Dad's truck to make it a bit more fun. He turns 70 in November so I think he'll enjoy it.
Updated 2015.JUL.23
Huge thanks to our frined Tyler for doing a quick cartoon rendering of the D3 for us. You can check out his work at TylerRichlen.blogspot.com/
Updated 2015.JUL.07
Just a quick FYI for some guys who've asked questions about the project, the goal is cheap not crap. So while we are reworking and saving things we would other wise tell someone to toss when the D3 is said and done I hope for it to be a 40-50k dollar truck for no where near that much in it and a project that most guys at home can look at and think "I can do that" for most of the project.
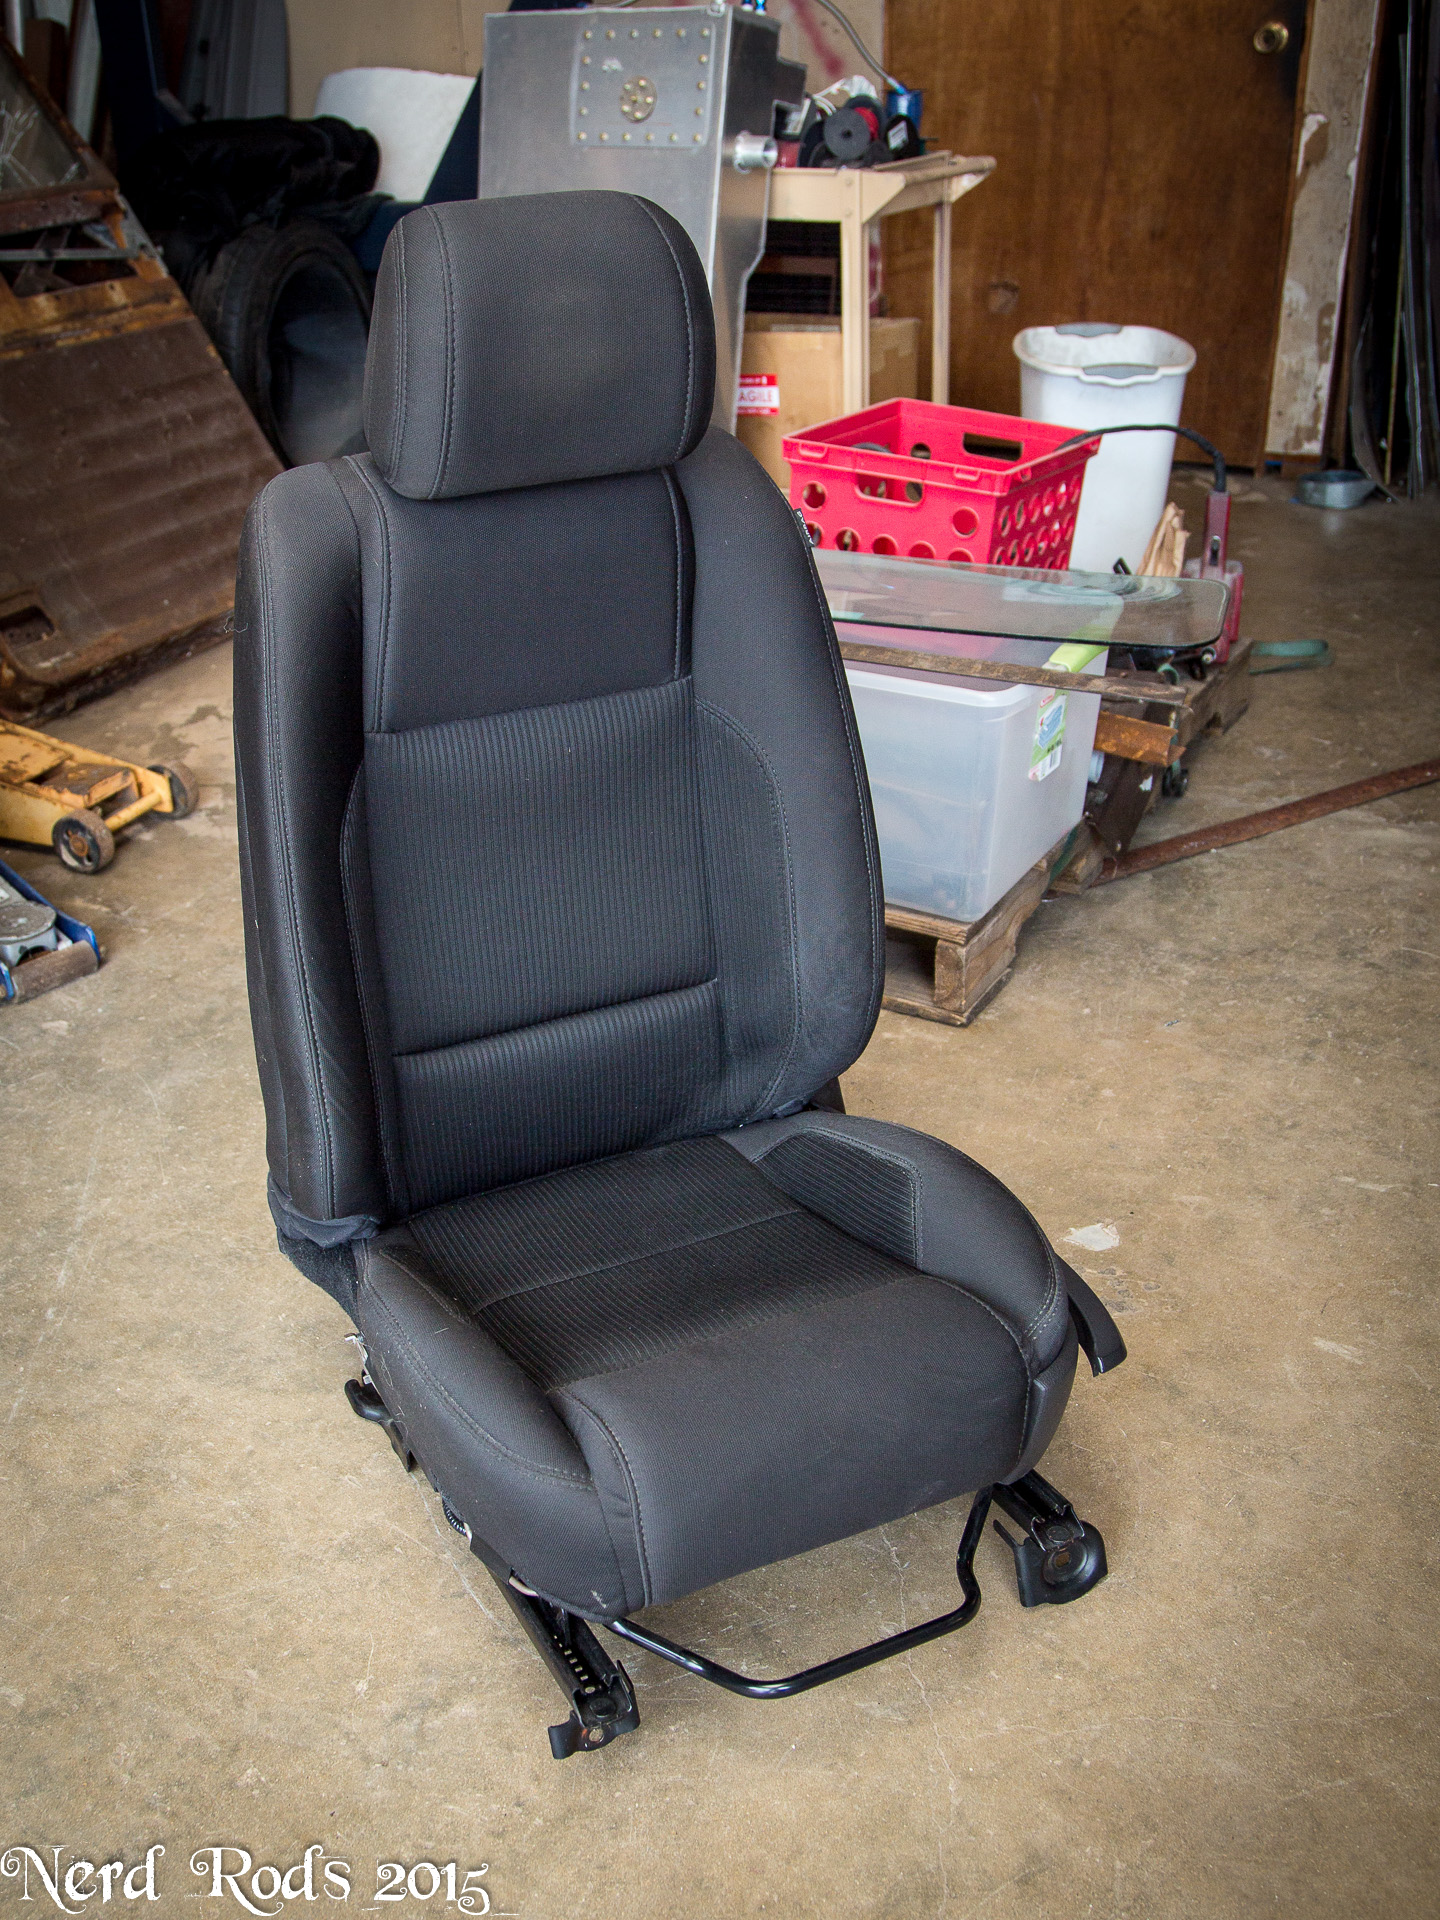
We picked up a NICE set of 2011 Mustang seats from a local guy who pulled them for race seats. These would have worked very well if they were not as thick in the back. If we were running the automatic we would have used these guys for sure but with the stick there just wasn't any room to work the pedals comfortably. I'm 6'2" with a 36" inseam so I'm the measuring stick for this stuff.
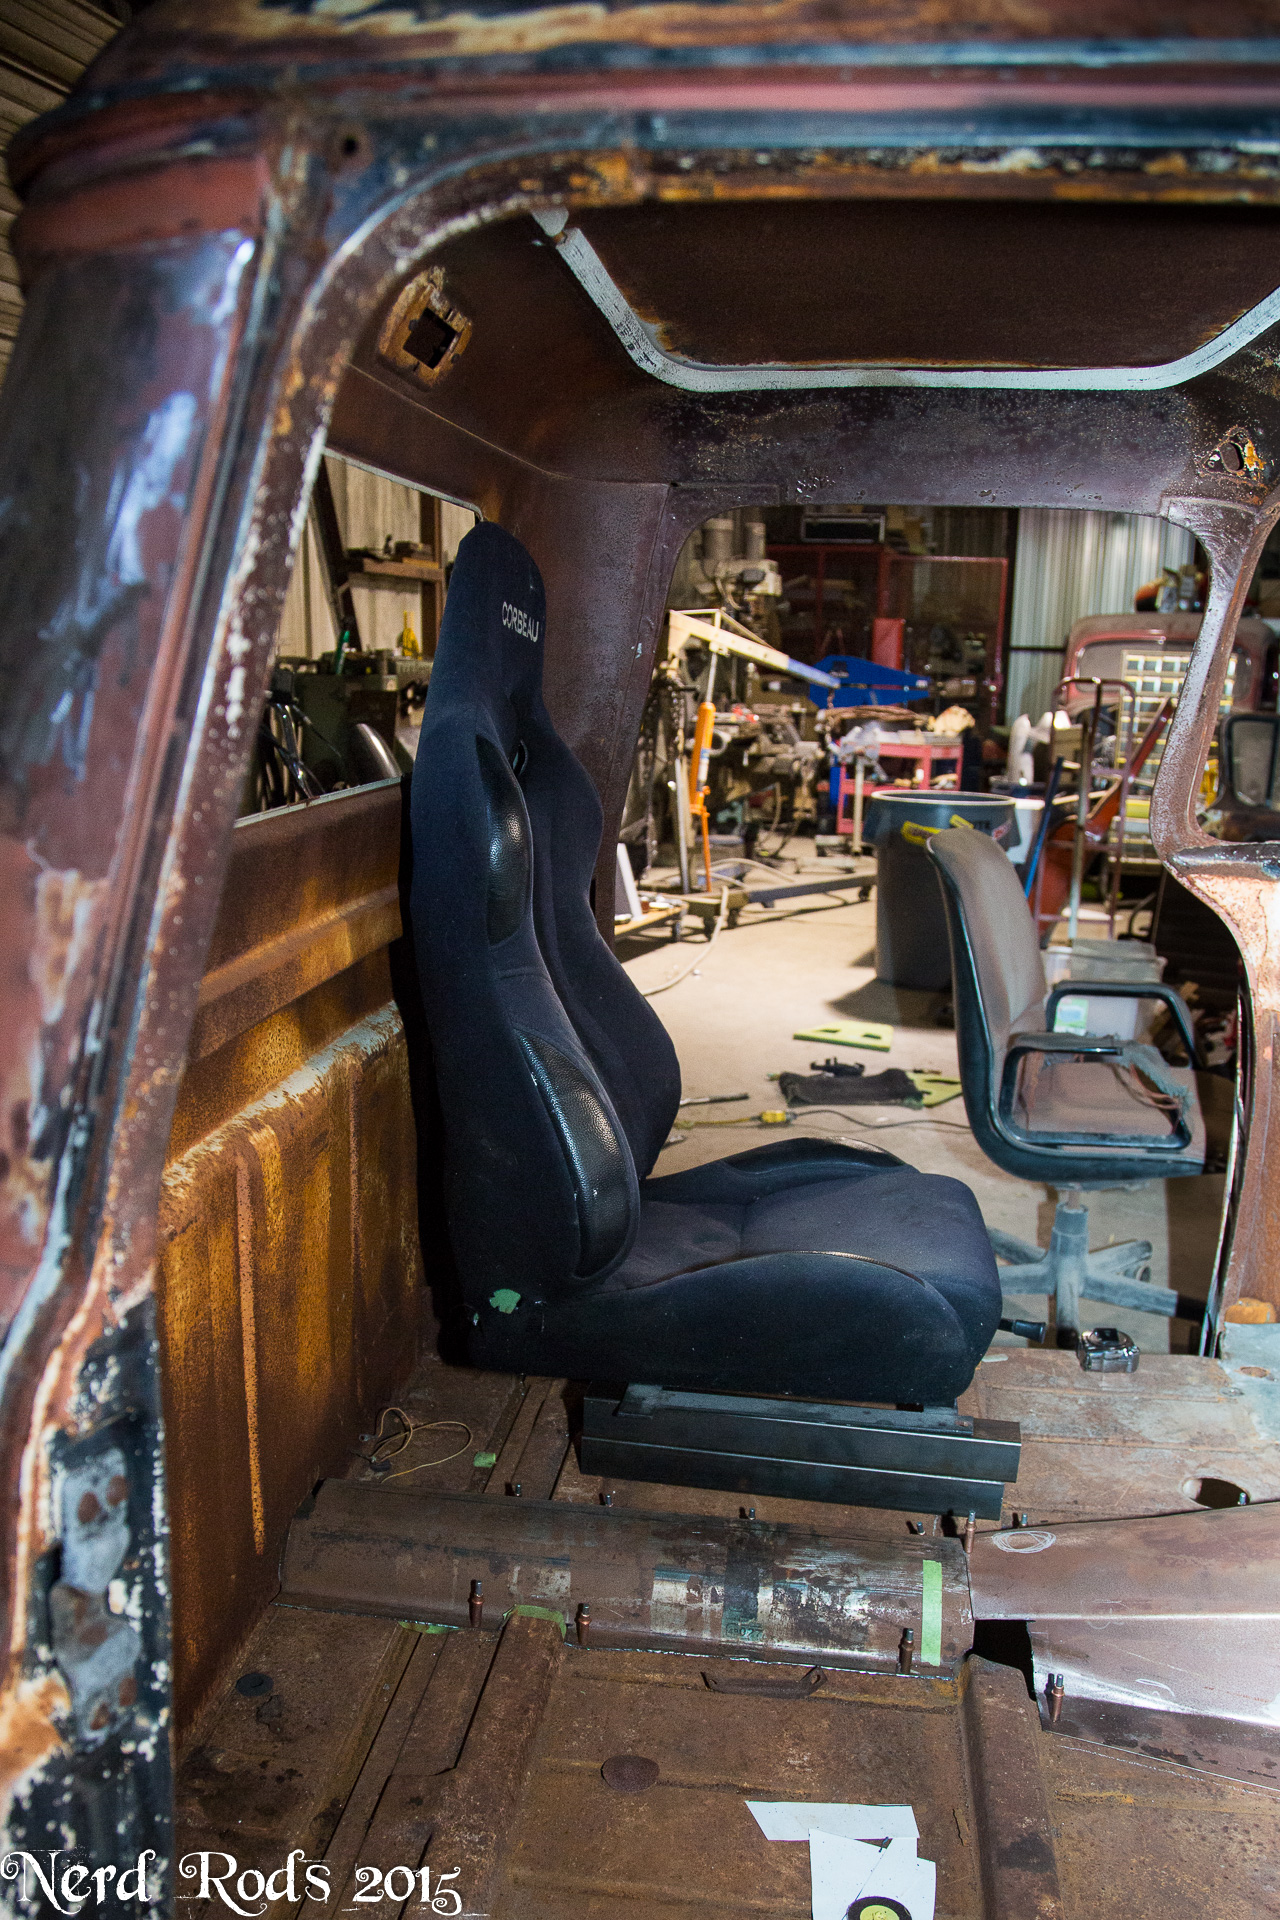
So I had this set of Corbeau racing seats that were to narrow for us fat boys (I'm 250 38 waist and Jim's 210 with a 34 waist so not that bad) and so Jim took the skin off and bent the bolsters out. We're also going to cut it down a bit and make it more shapely for the truck but the key thing is that this moved the driver back just under 6 inches and this will be Dad's new daily driver so it needs to be comfortable.
Aerodynamics and heat reduction mods!
This turned into a cal-induction after I finally got the aerodynamic concept through to dad.
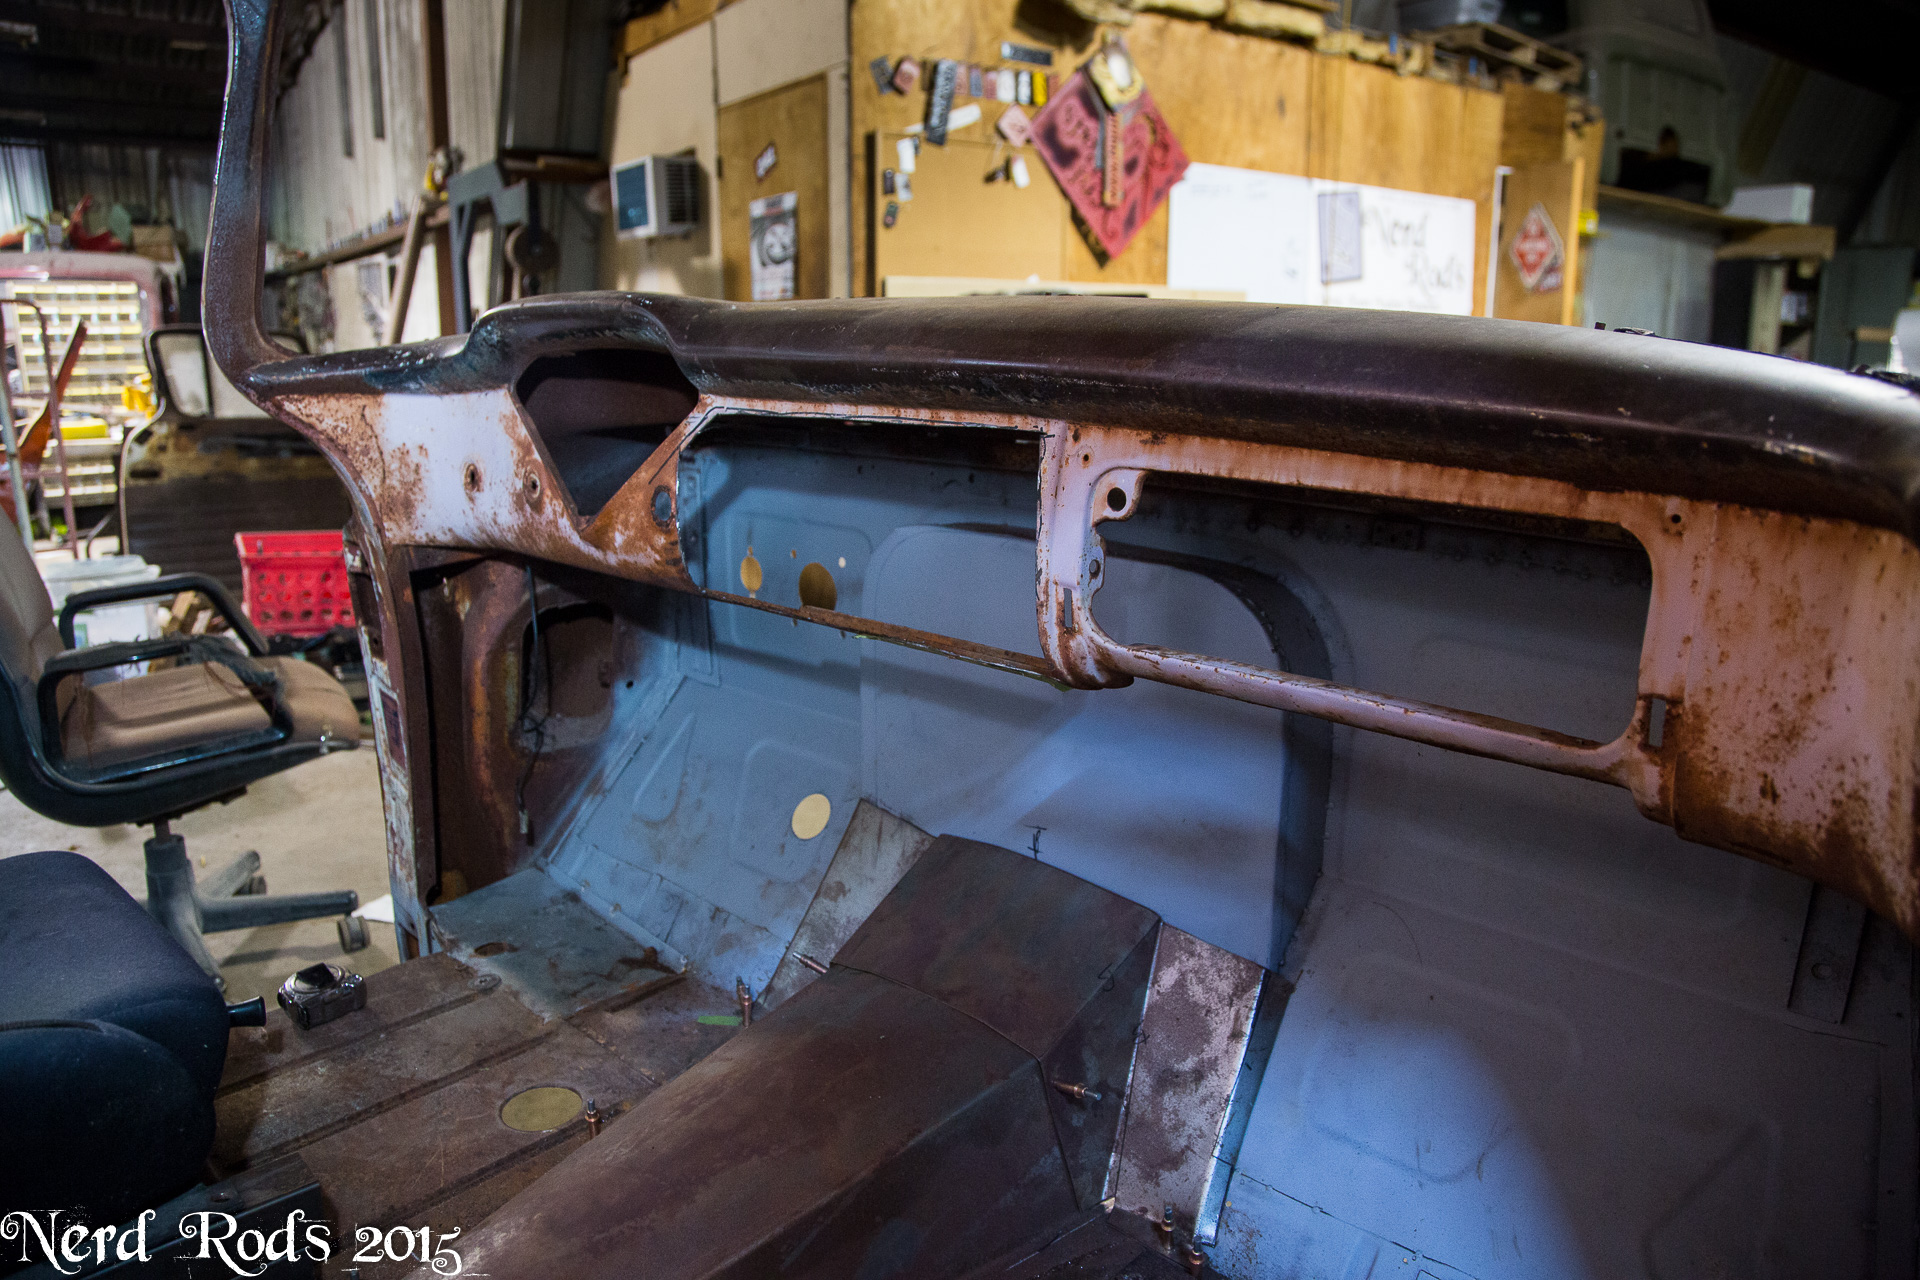
We're blocking off the vents inside the truck and by opening this whole slot up along the dash the vent will now function as a heat exit for the truck giving a high rear location for the under hood to escape. This will stop air from going in the radiator and out under the truck where it will create lift. Next dad's also going to add a lip so that any water coming in will run off the sides instead of onto the motor.
And he's cutting an a smooth section of dash to clean the insides up a bit.
Updated 2015.JUN.30
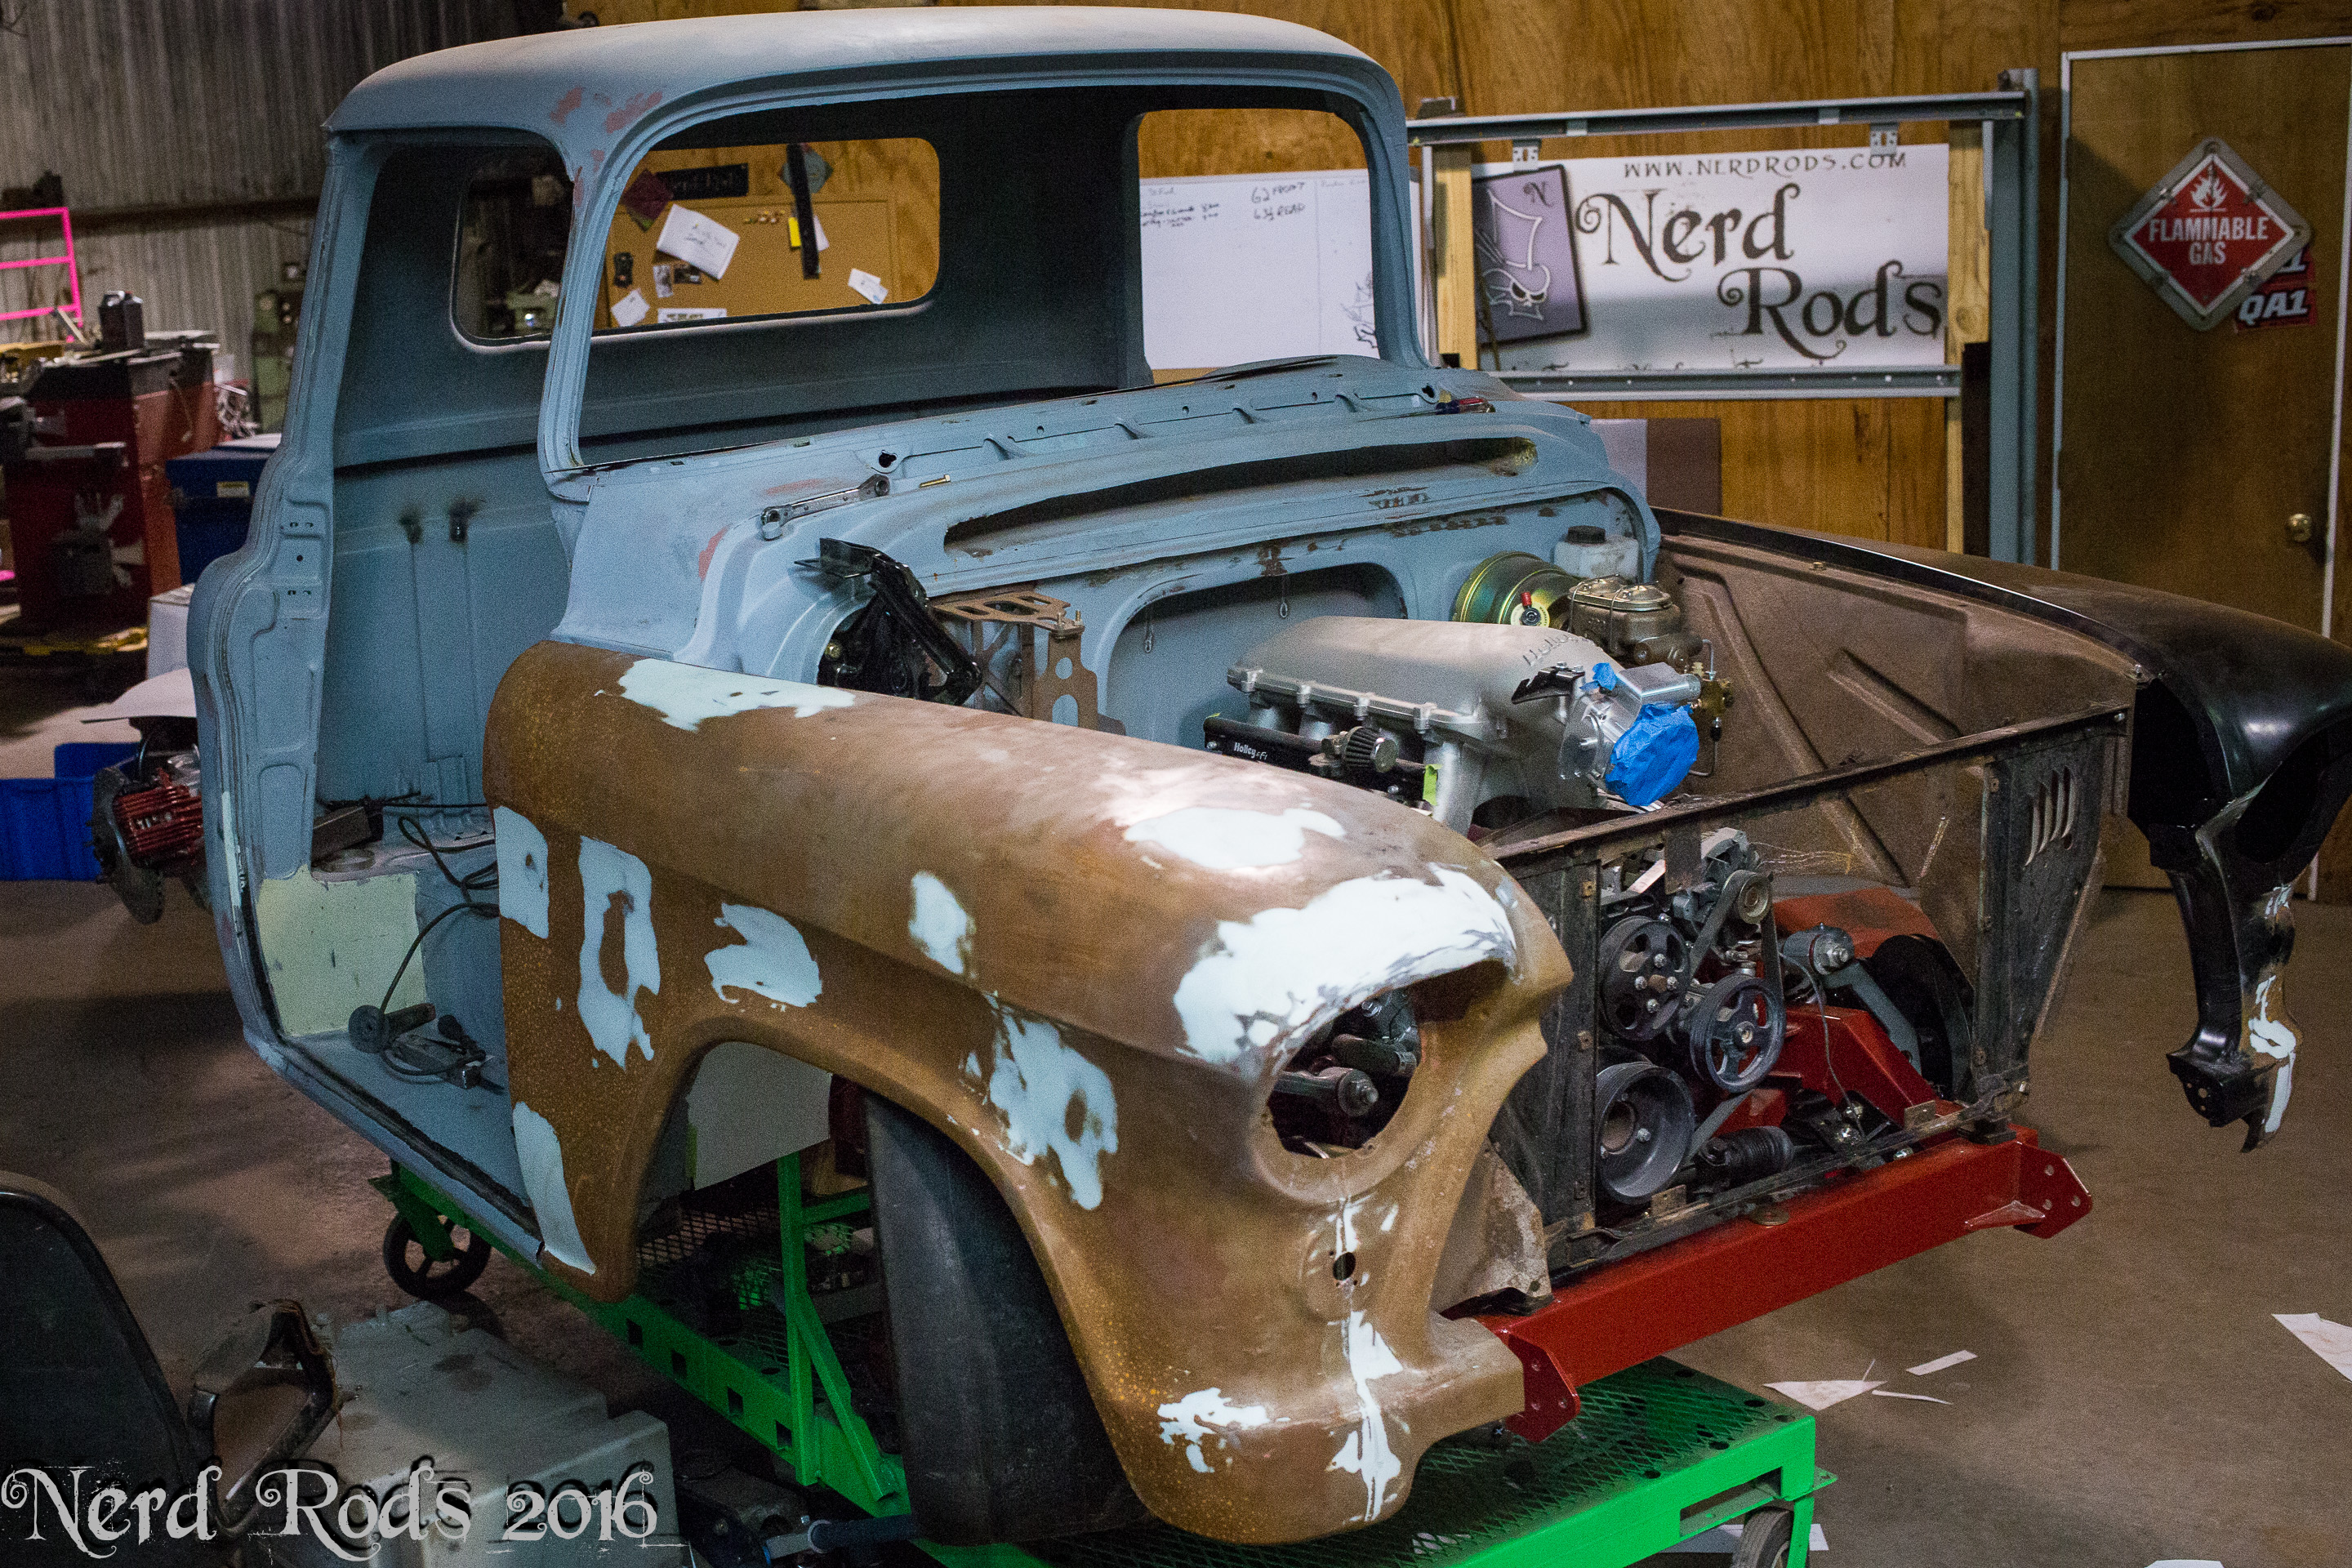
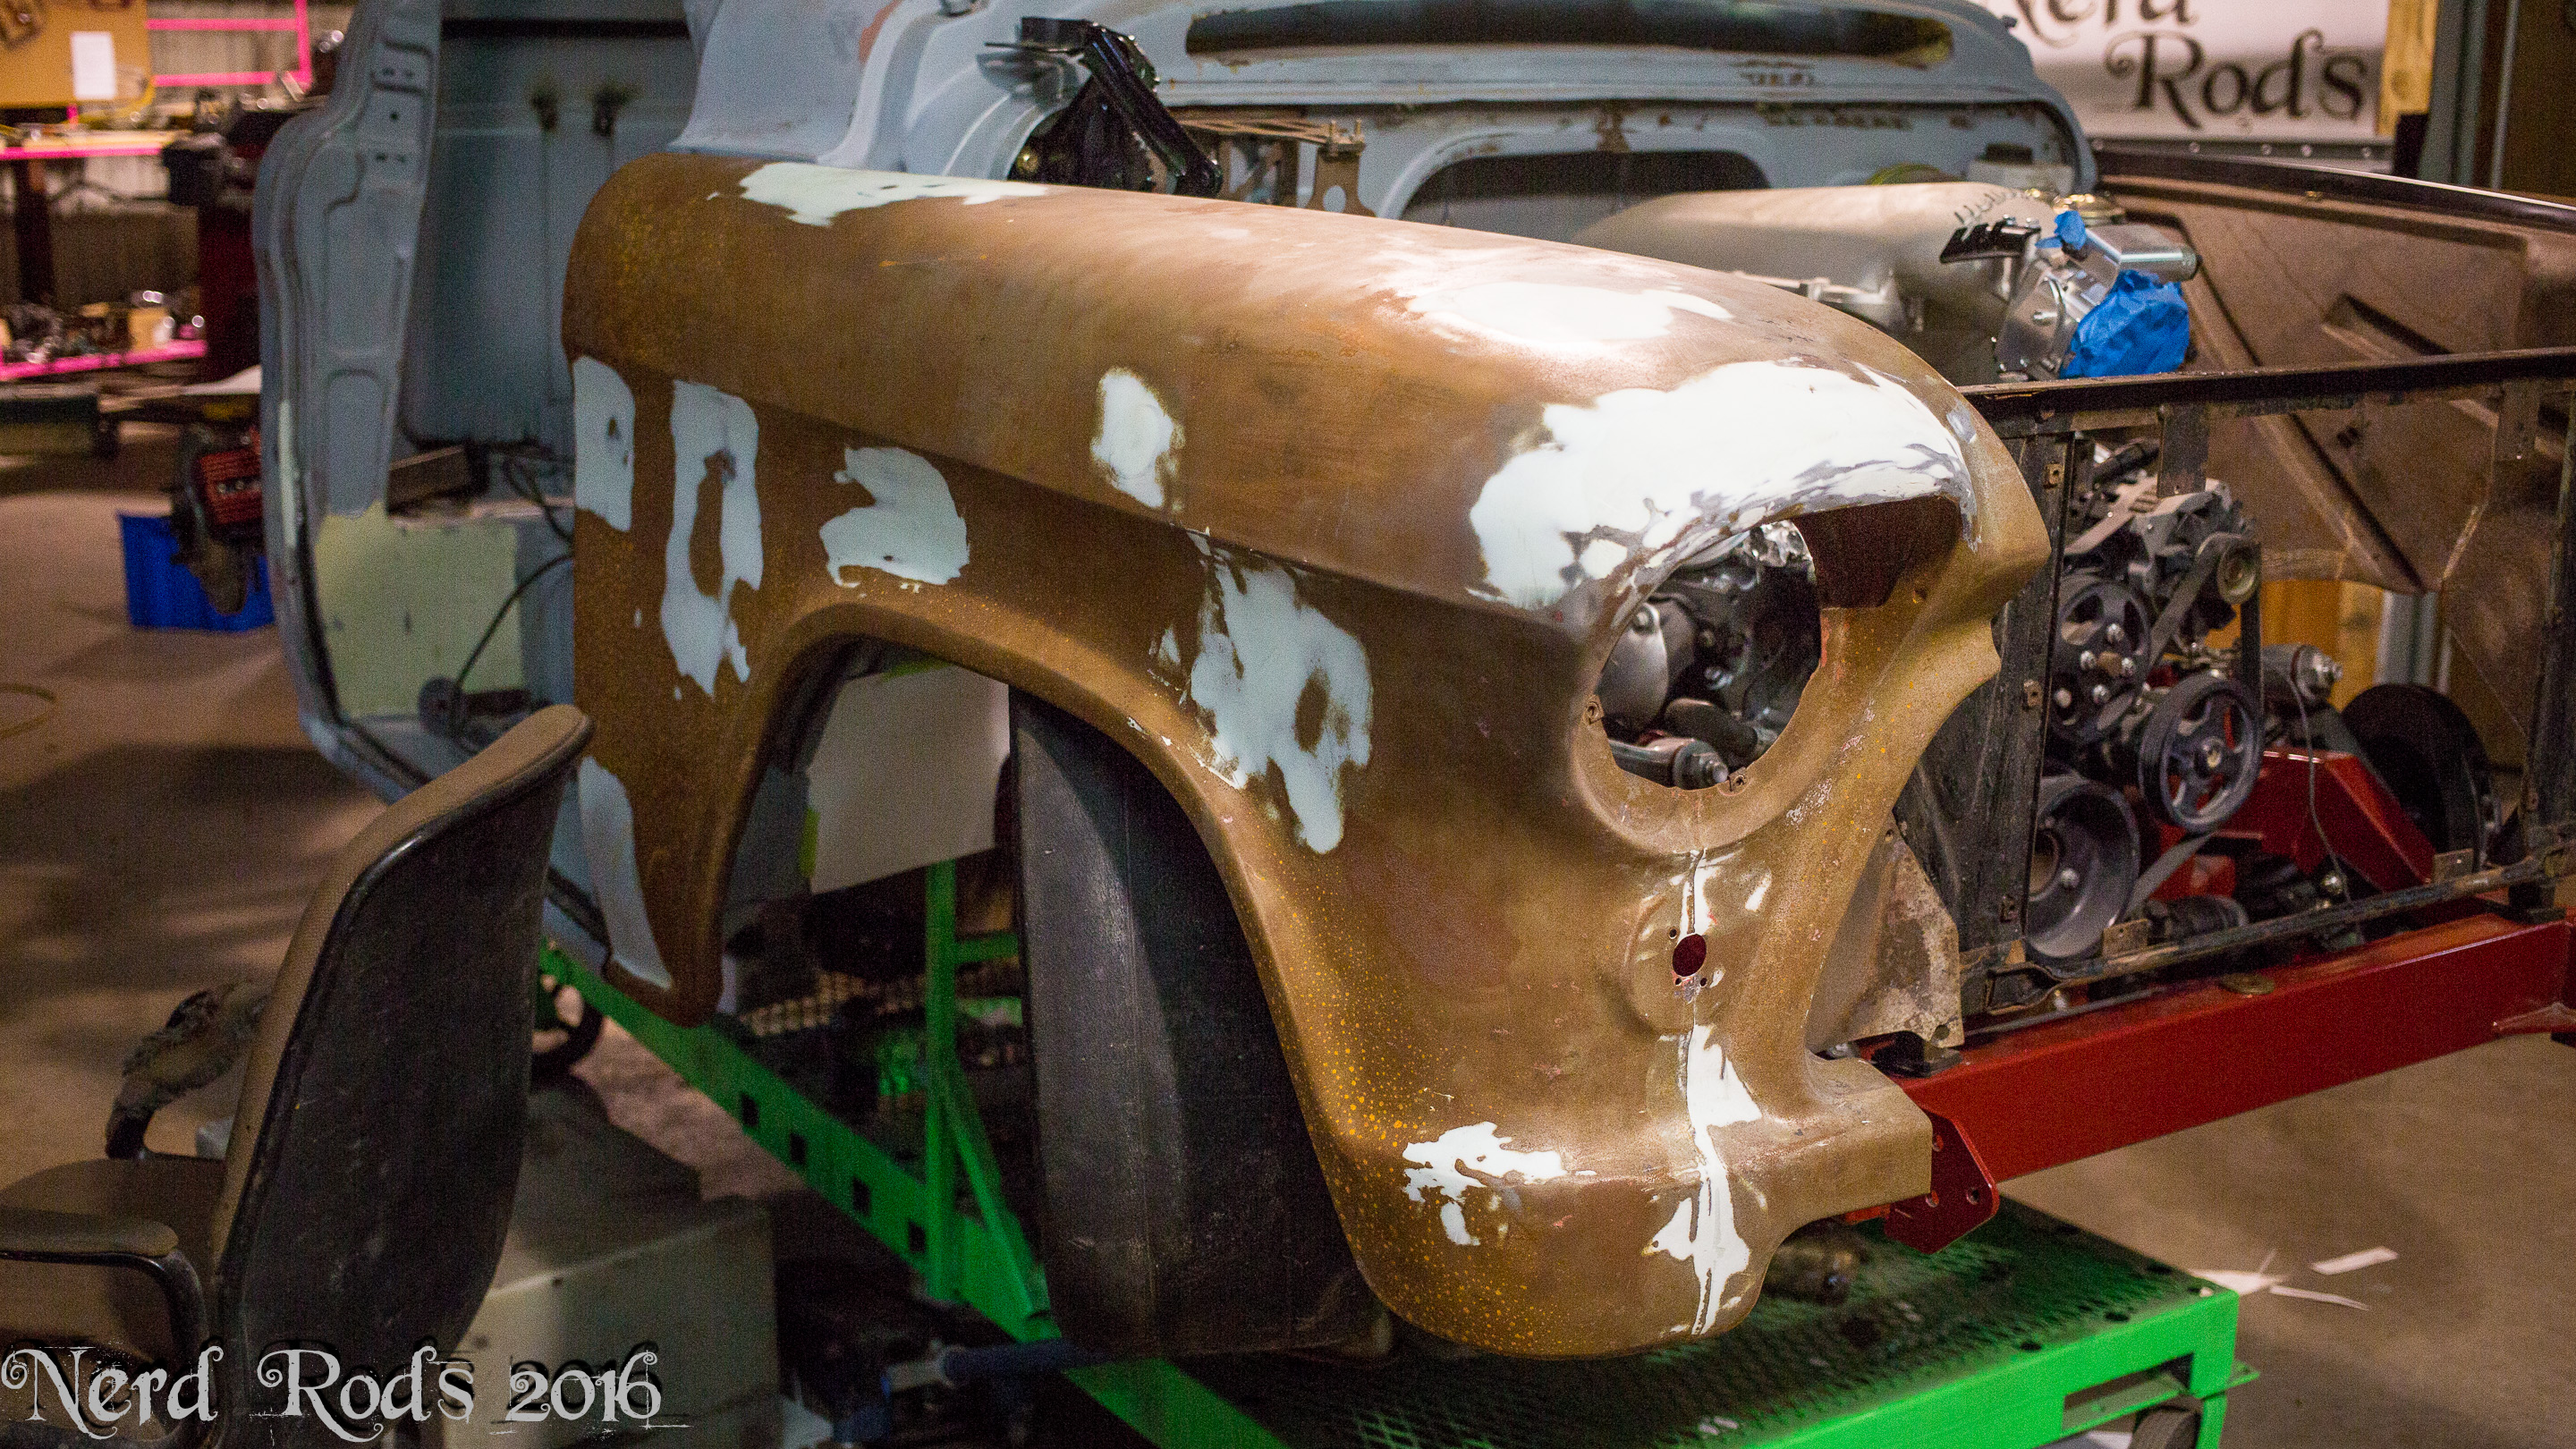
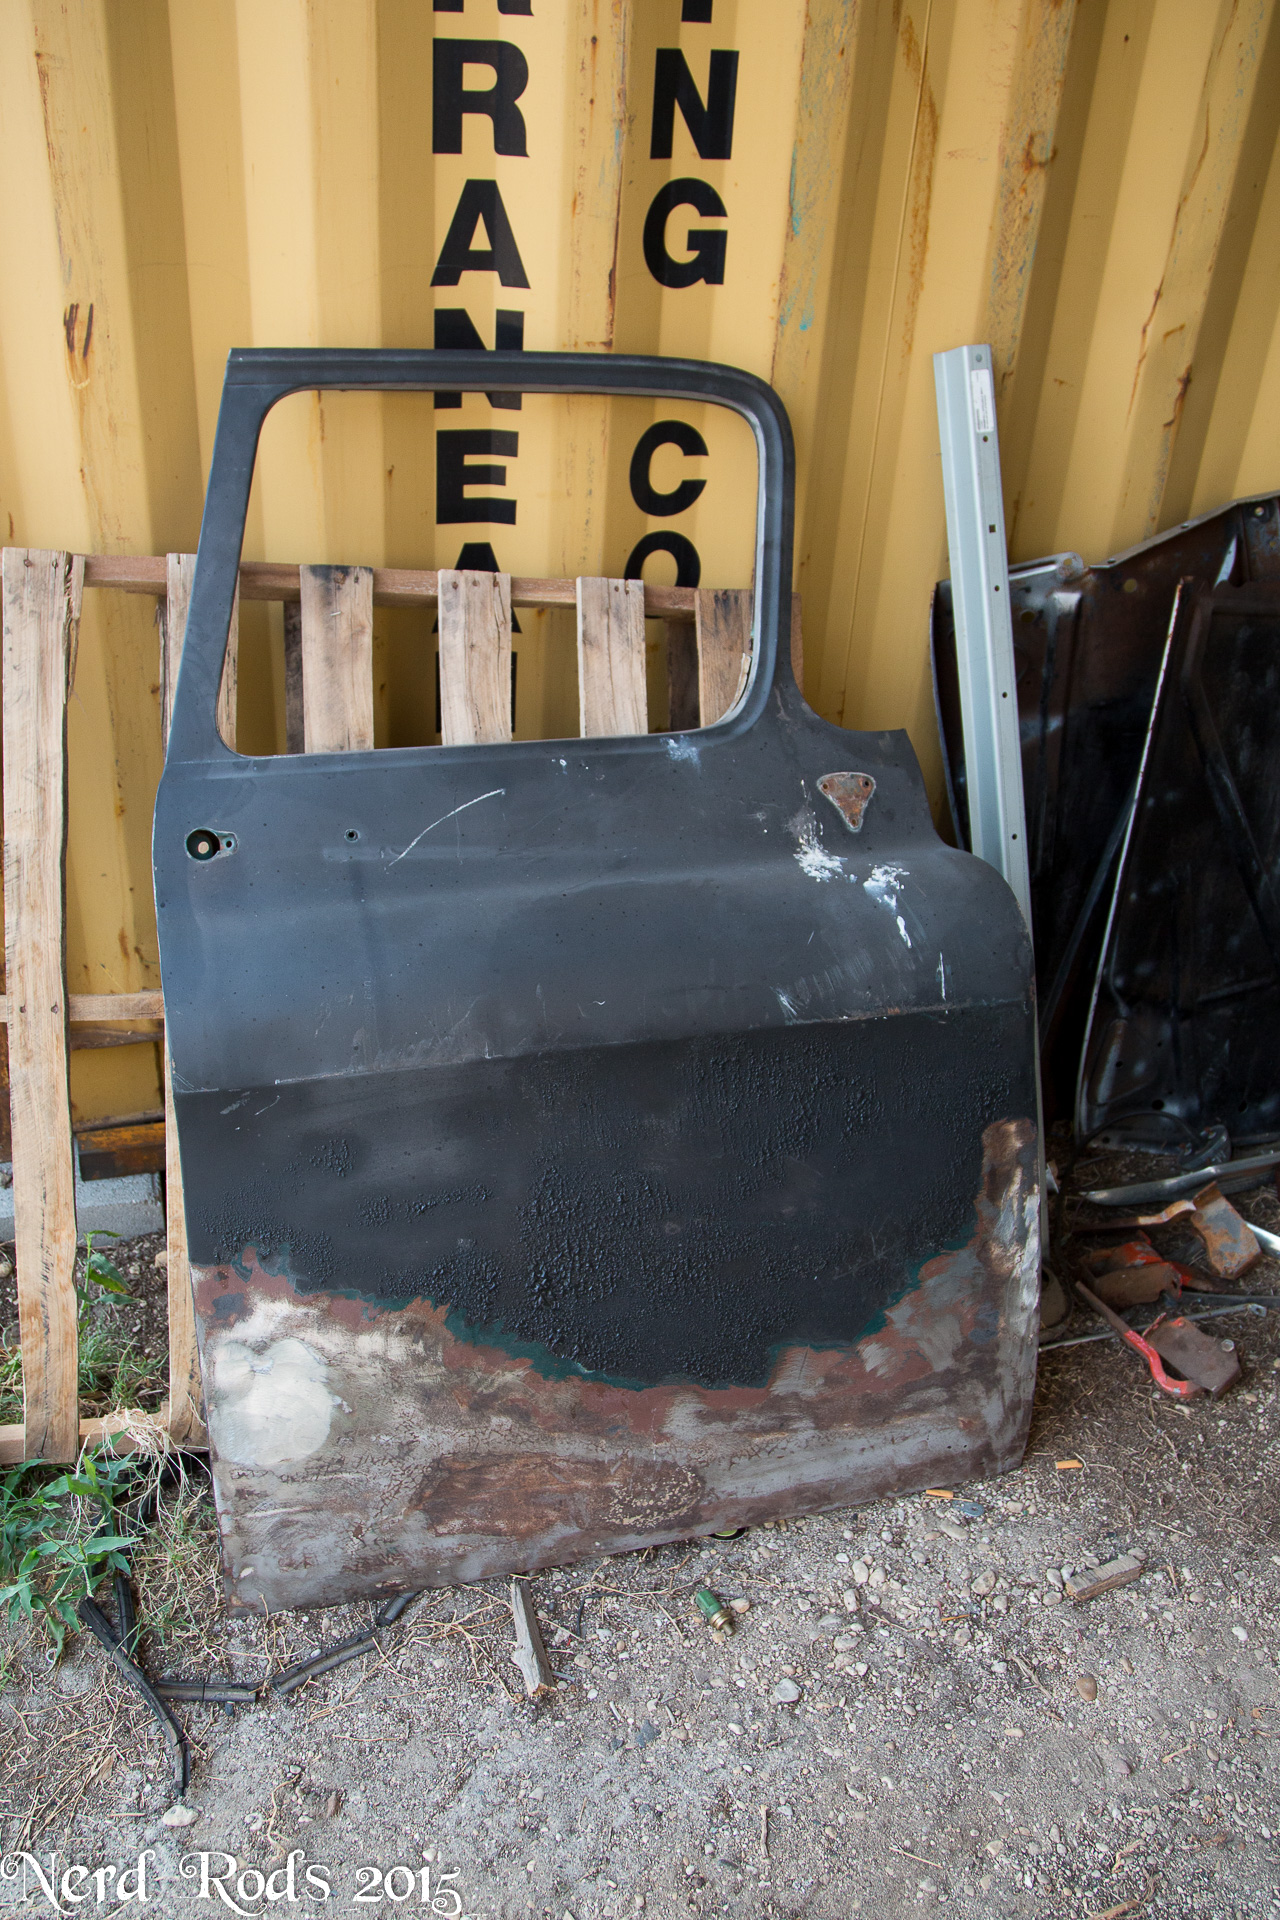
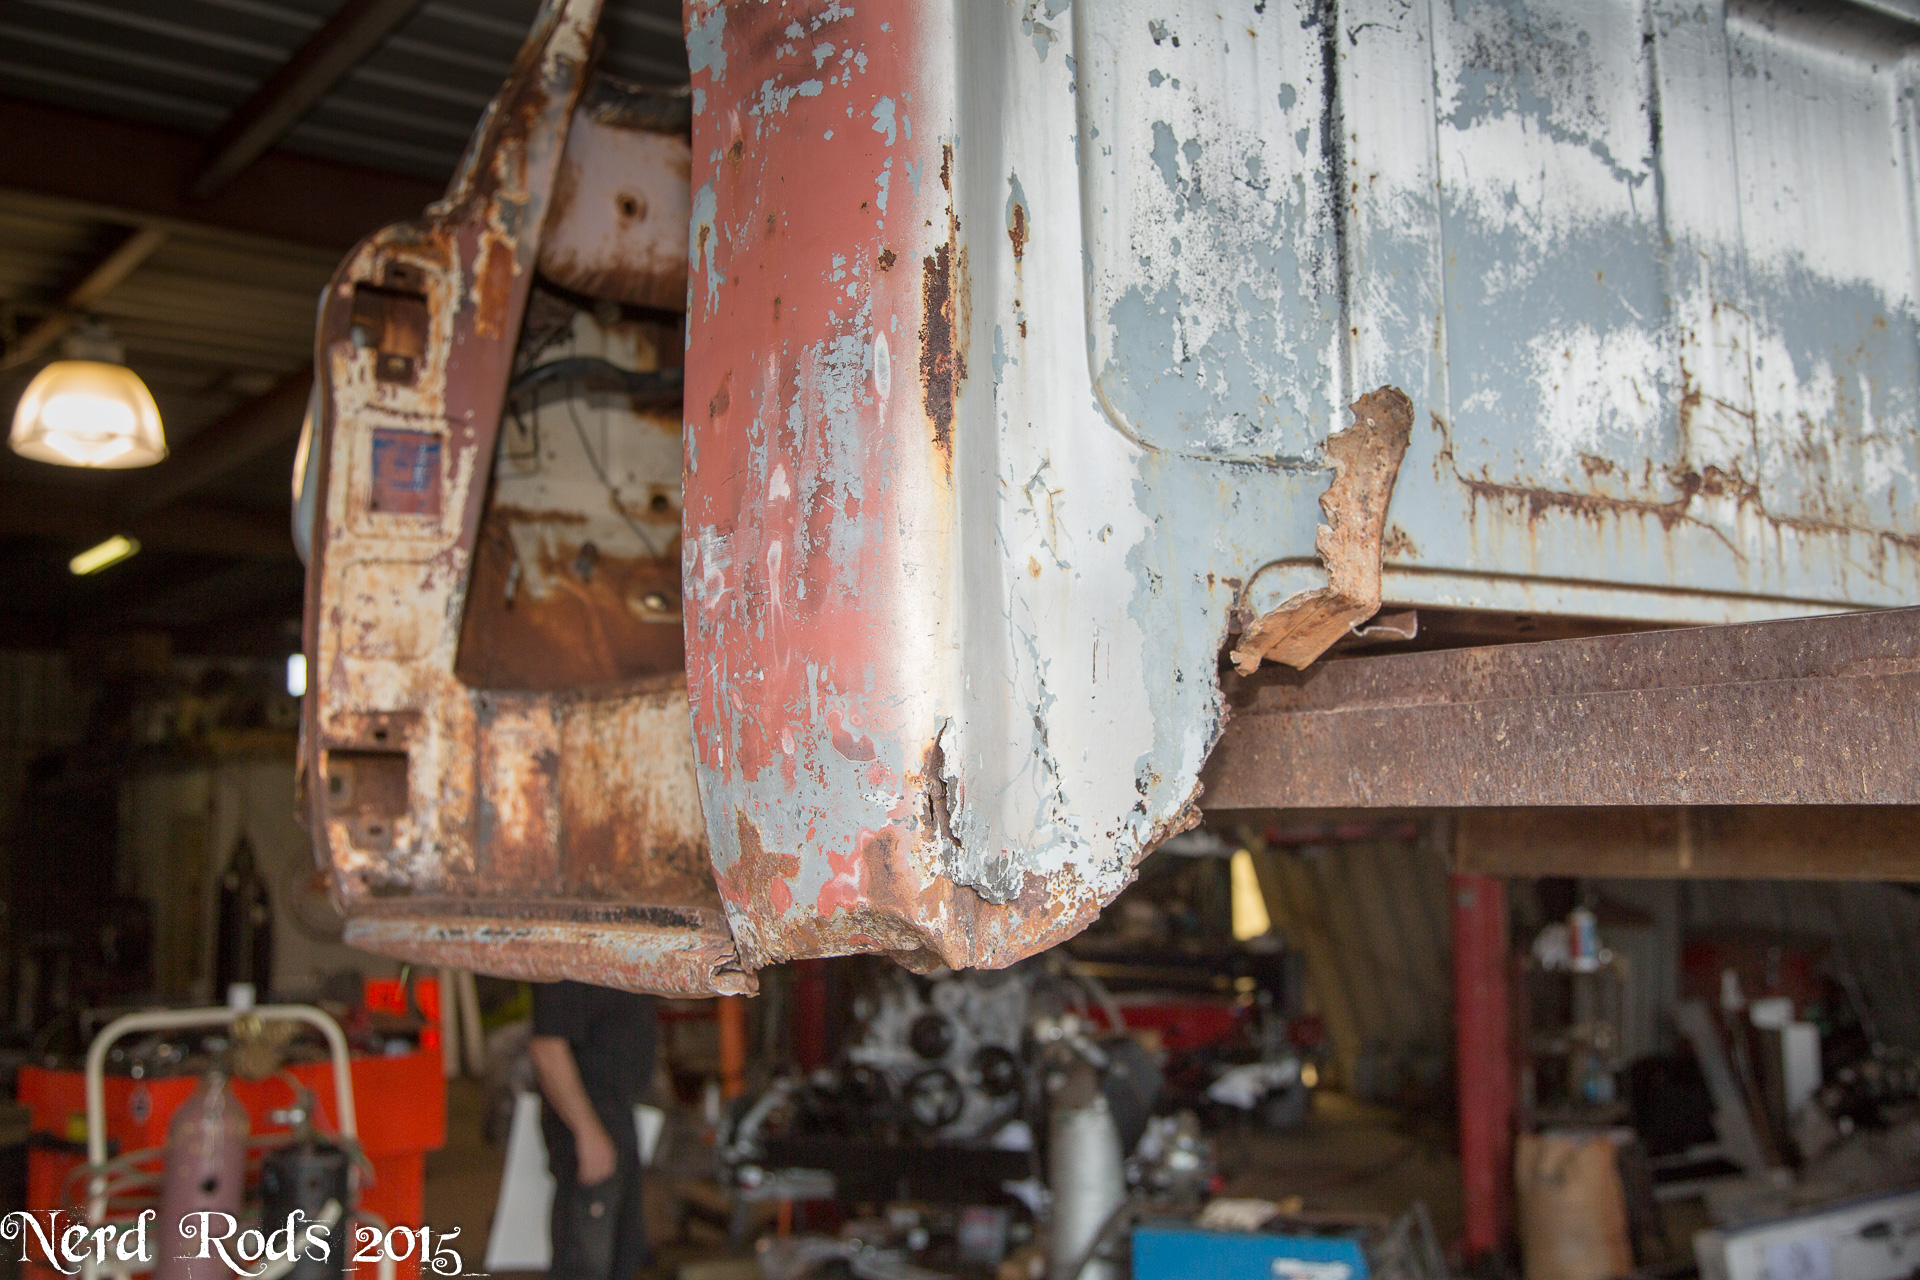
The Drives doors are a bit of a mess. We're trying to save it but we cut the best parts of 3 different doors together and the skin is still a bit worrying and we might have to break down and replace it.

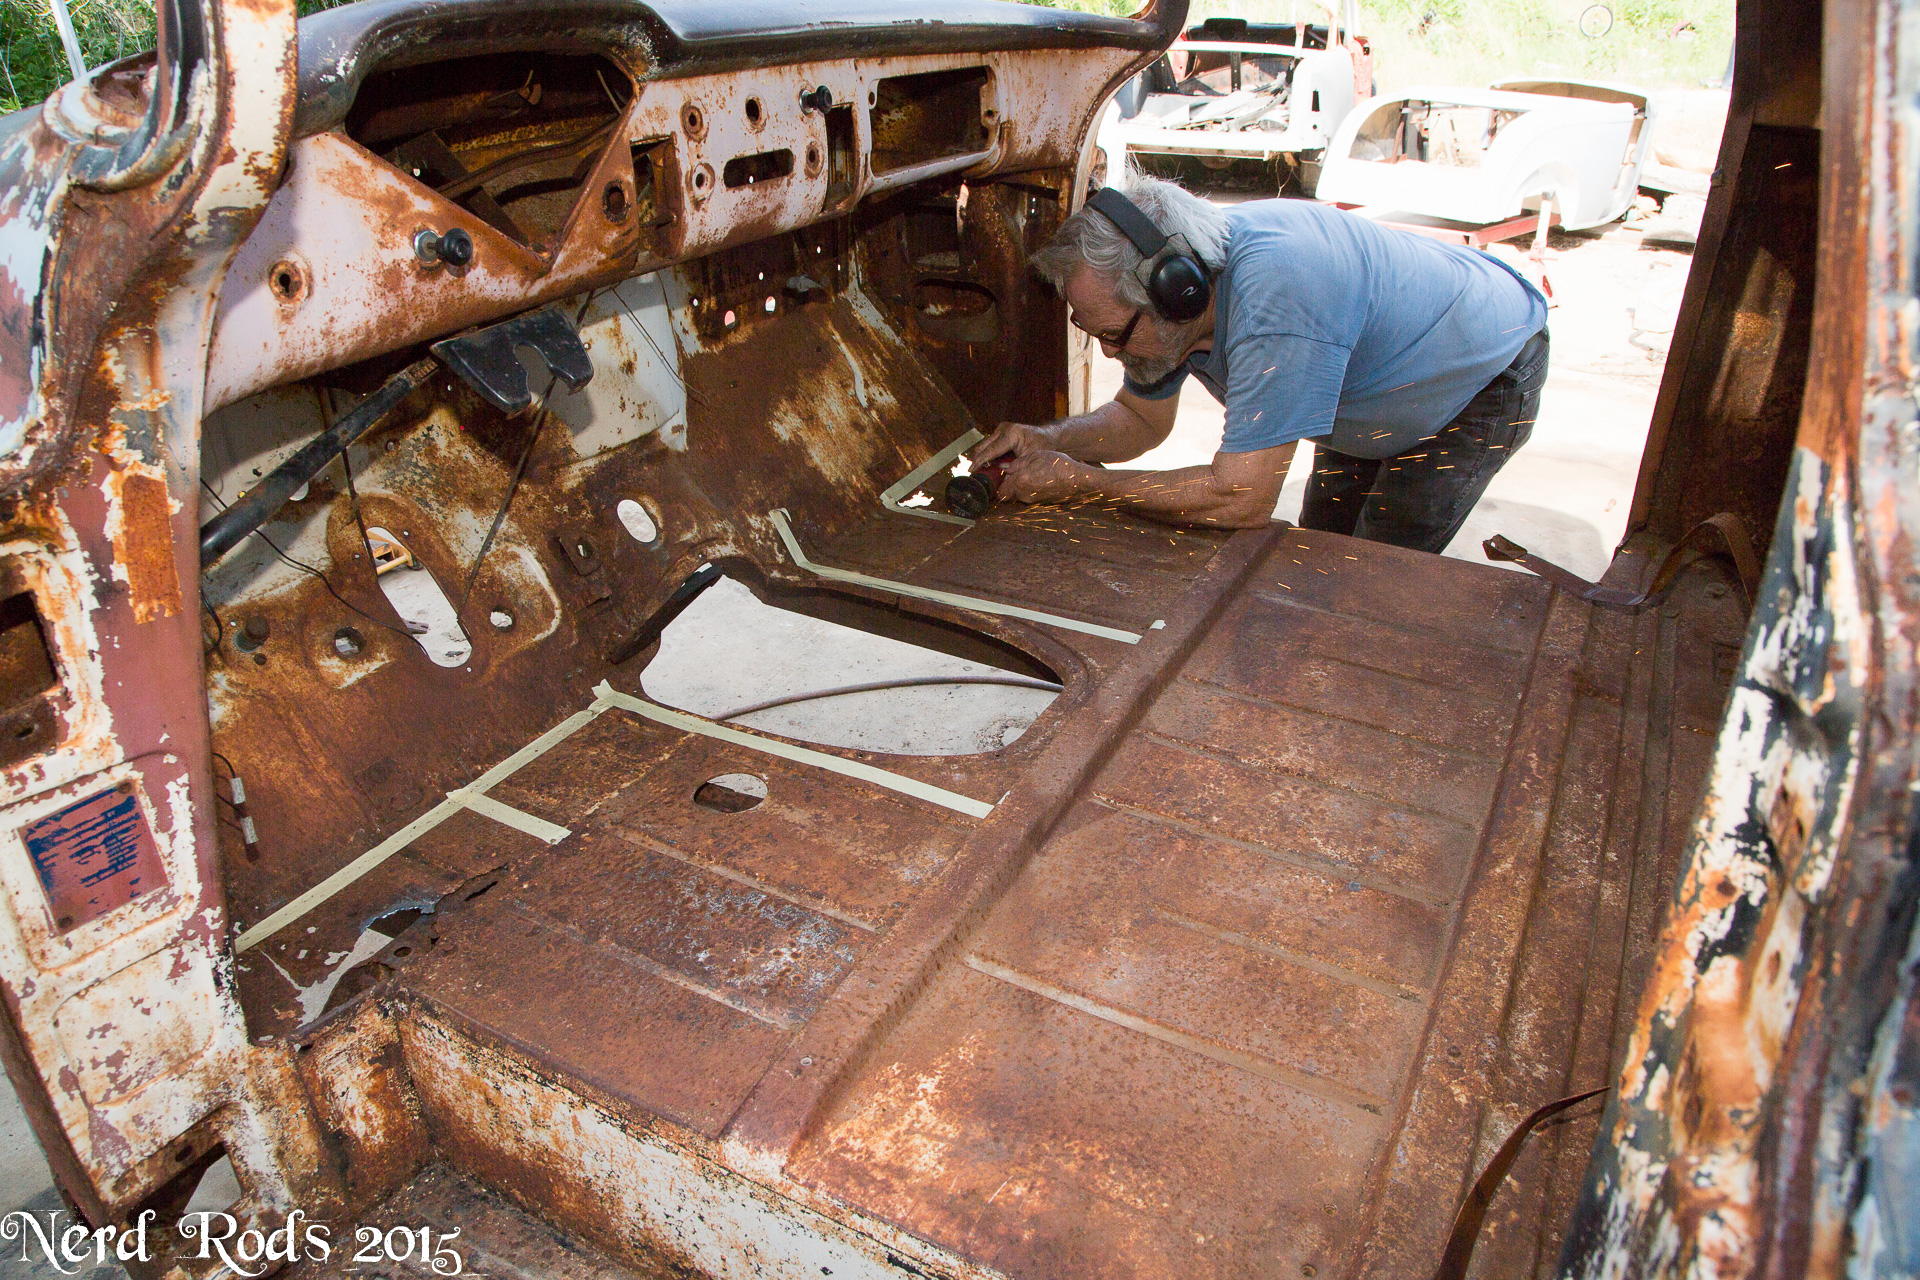
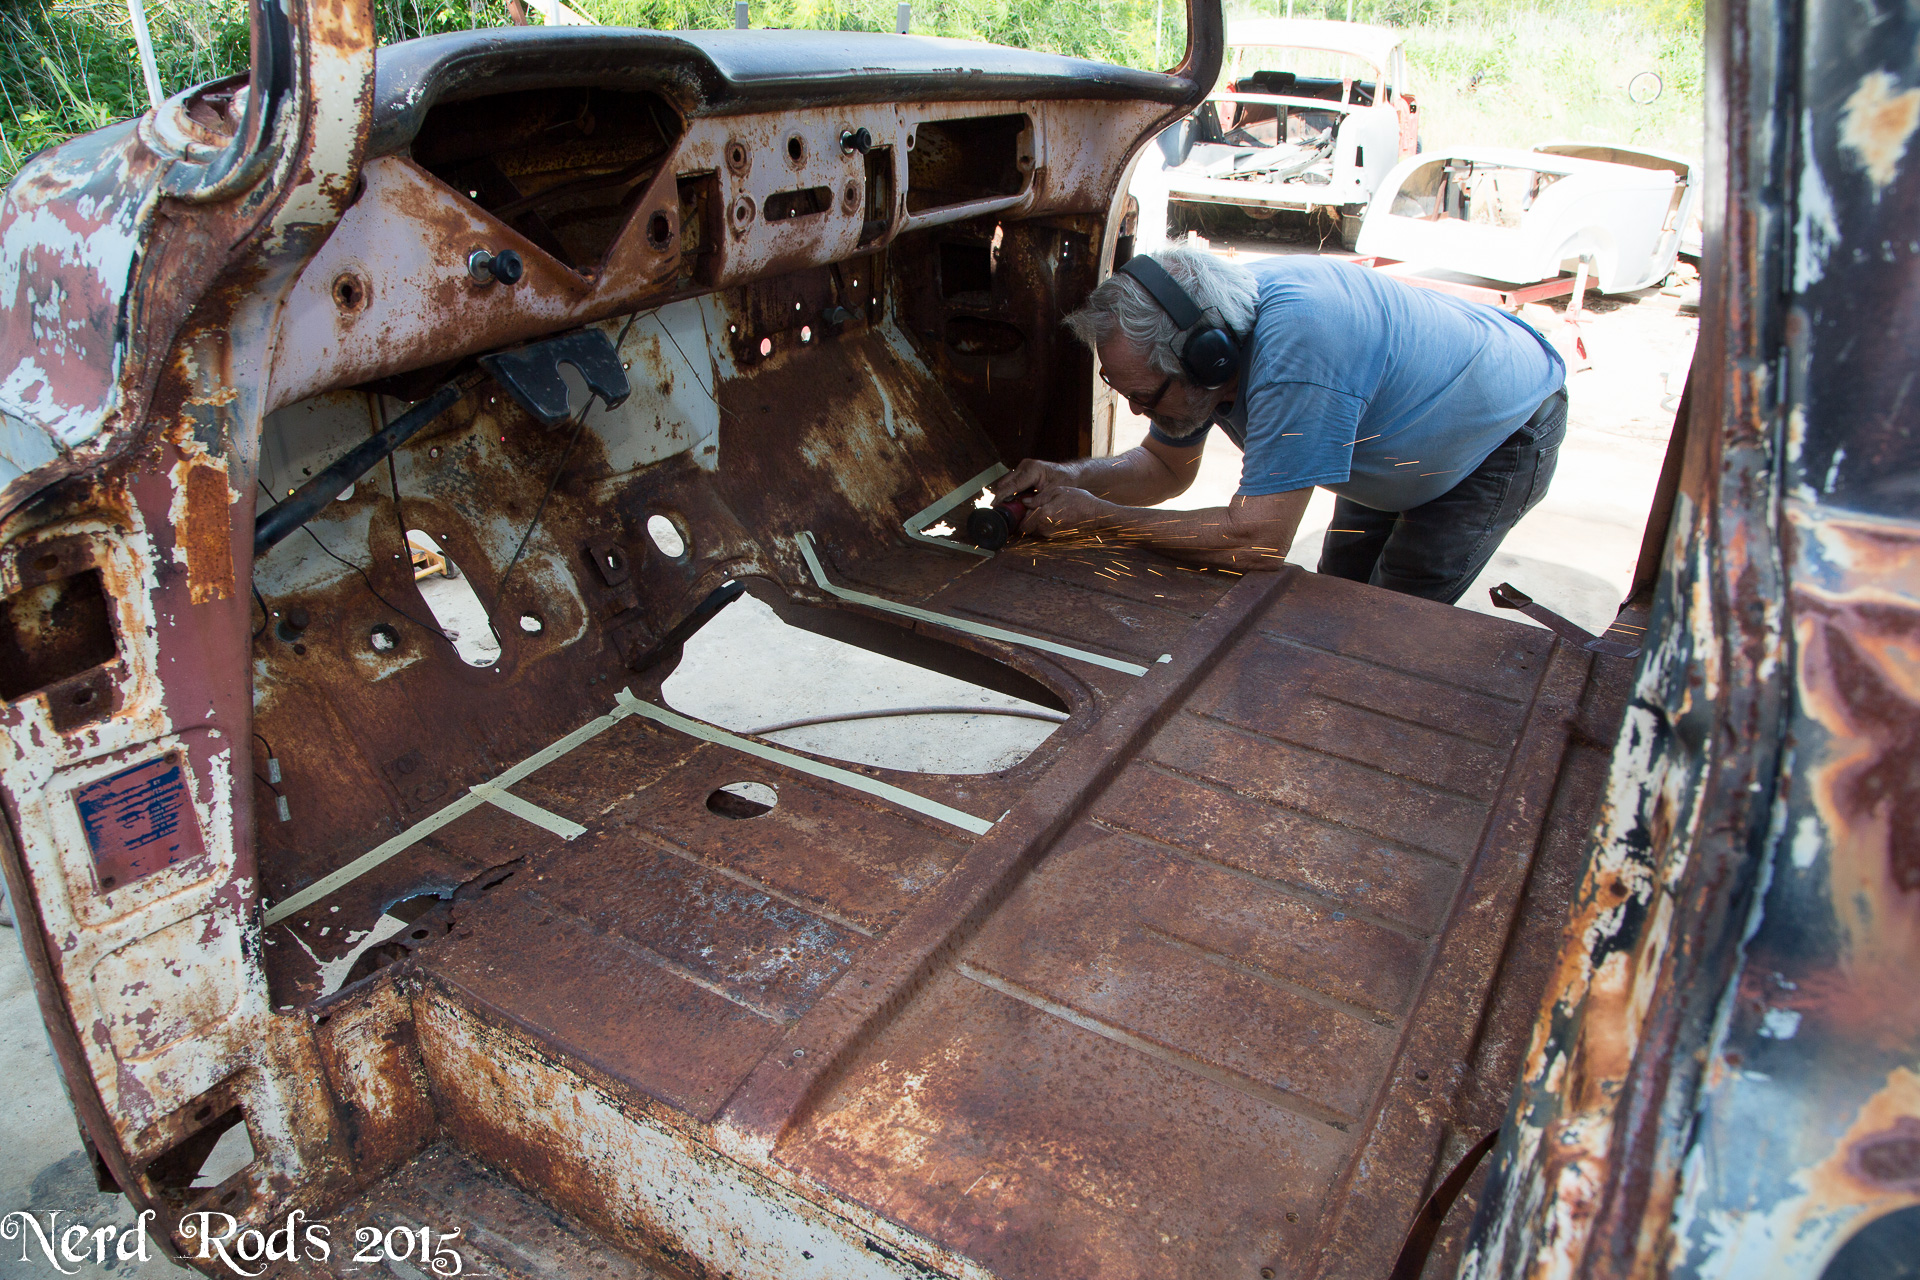
The Cab Firewall is also mostly done, I wish I had more photos of the process but I've had my own pile of stuff to do.
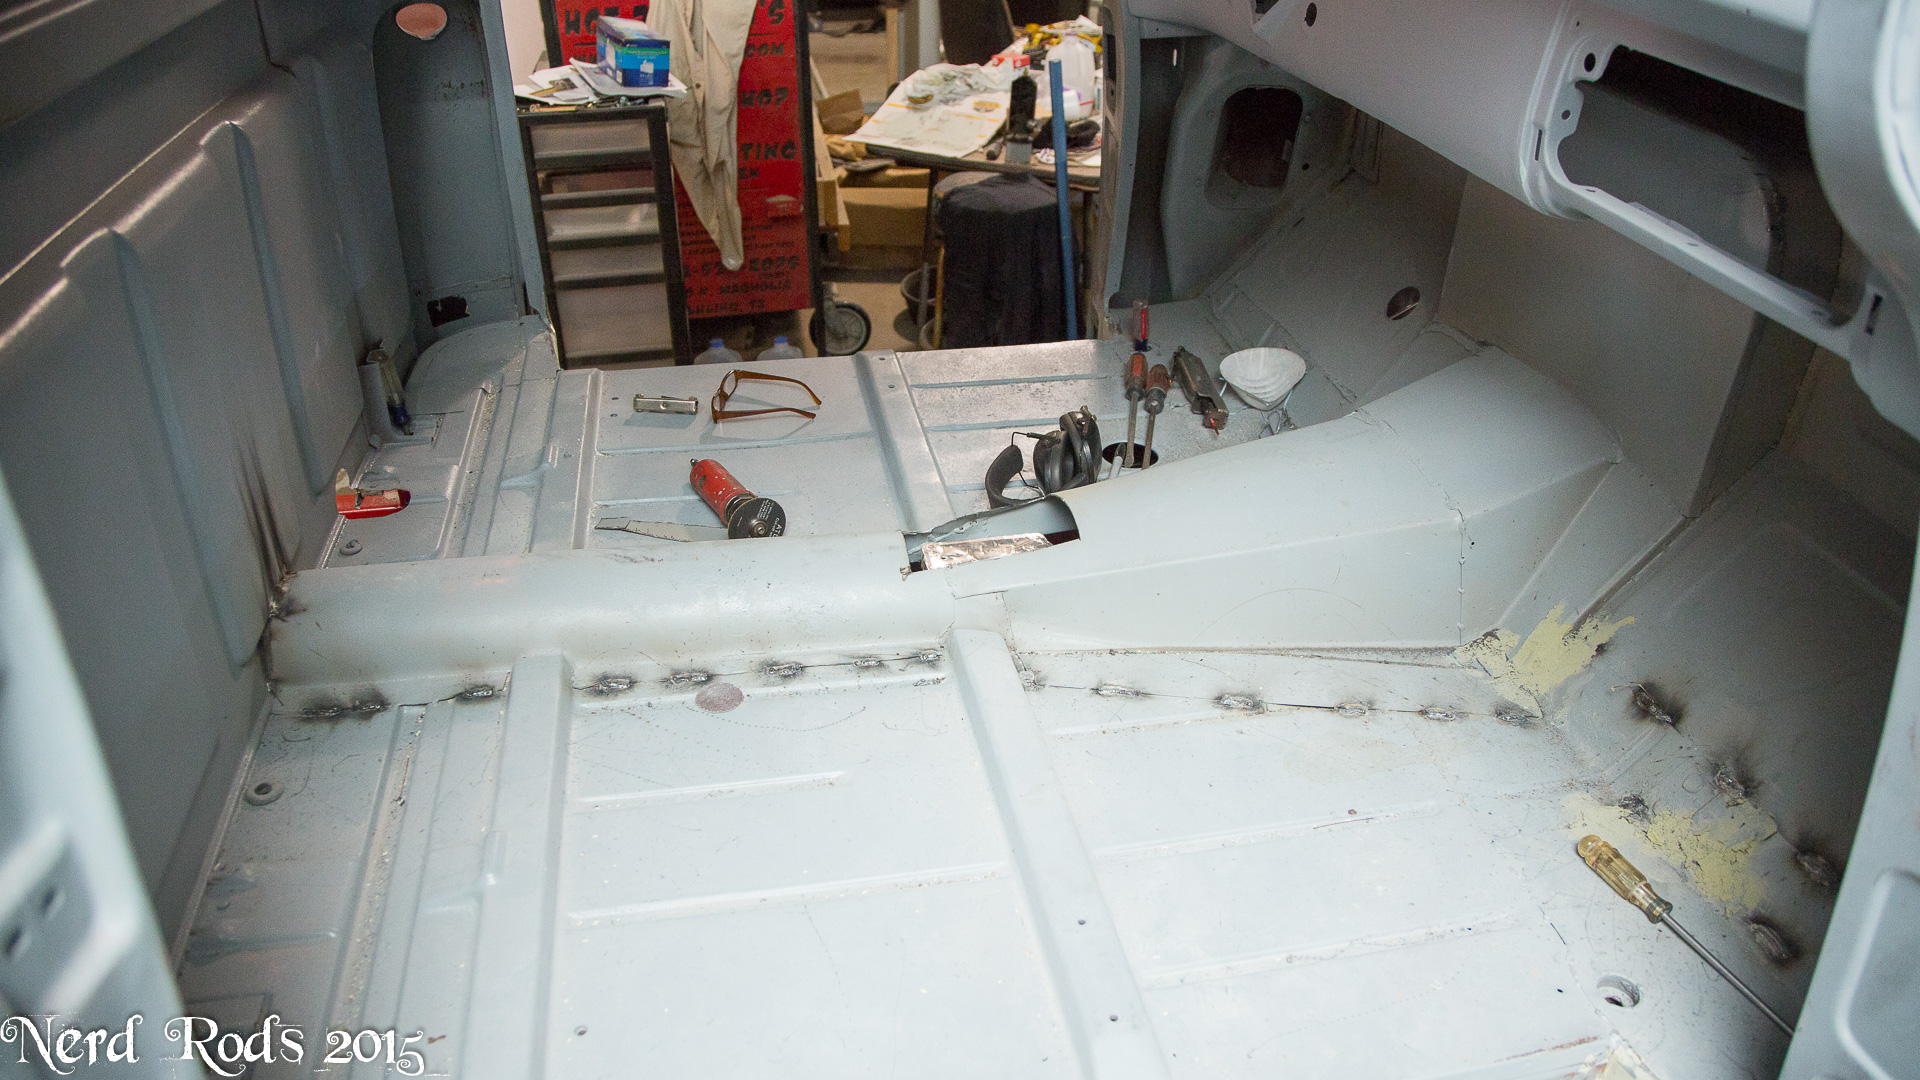
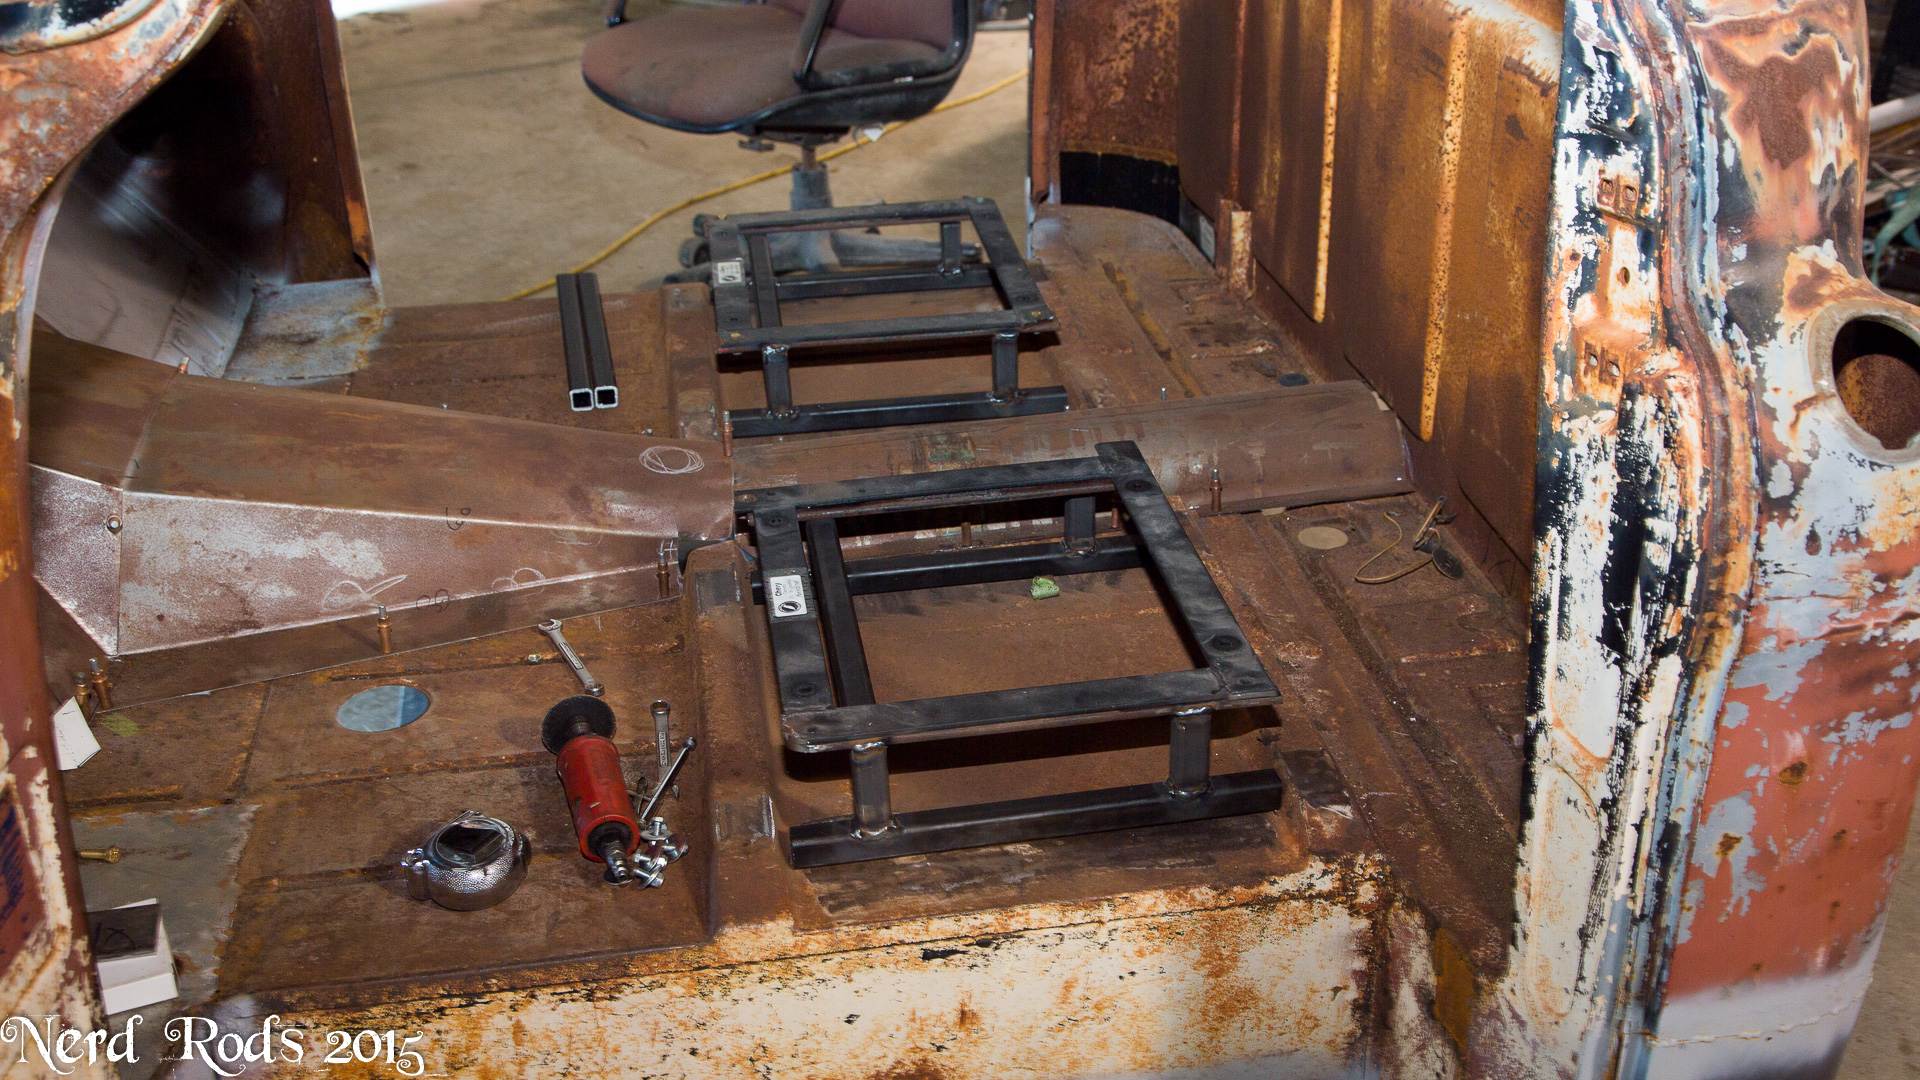
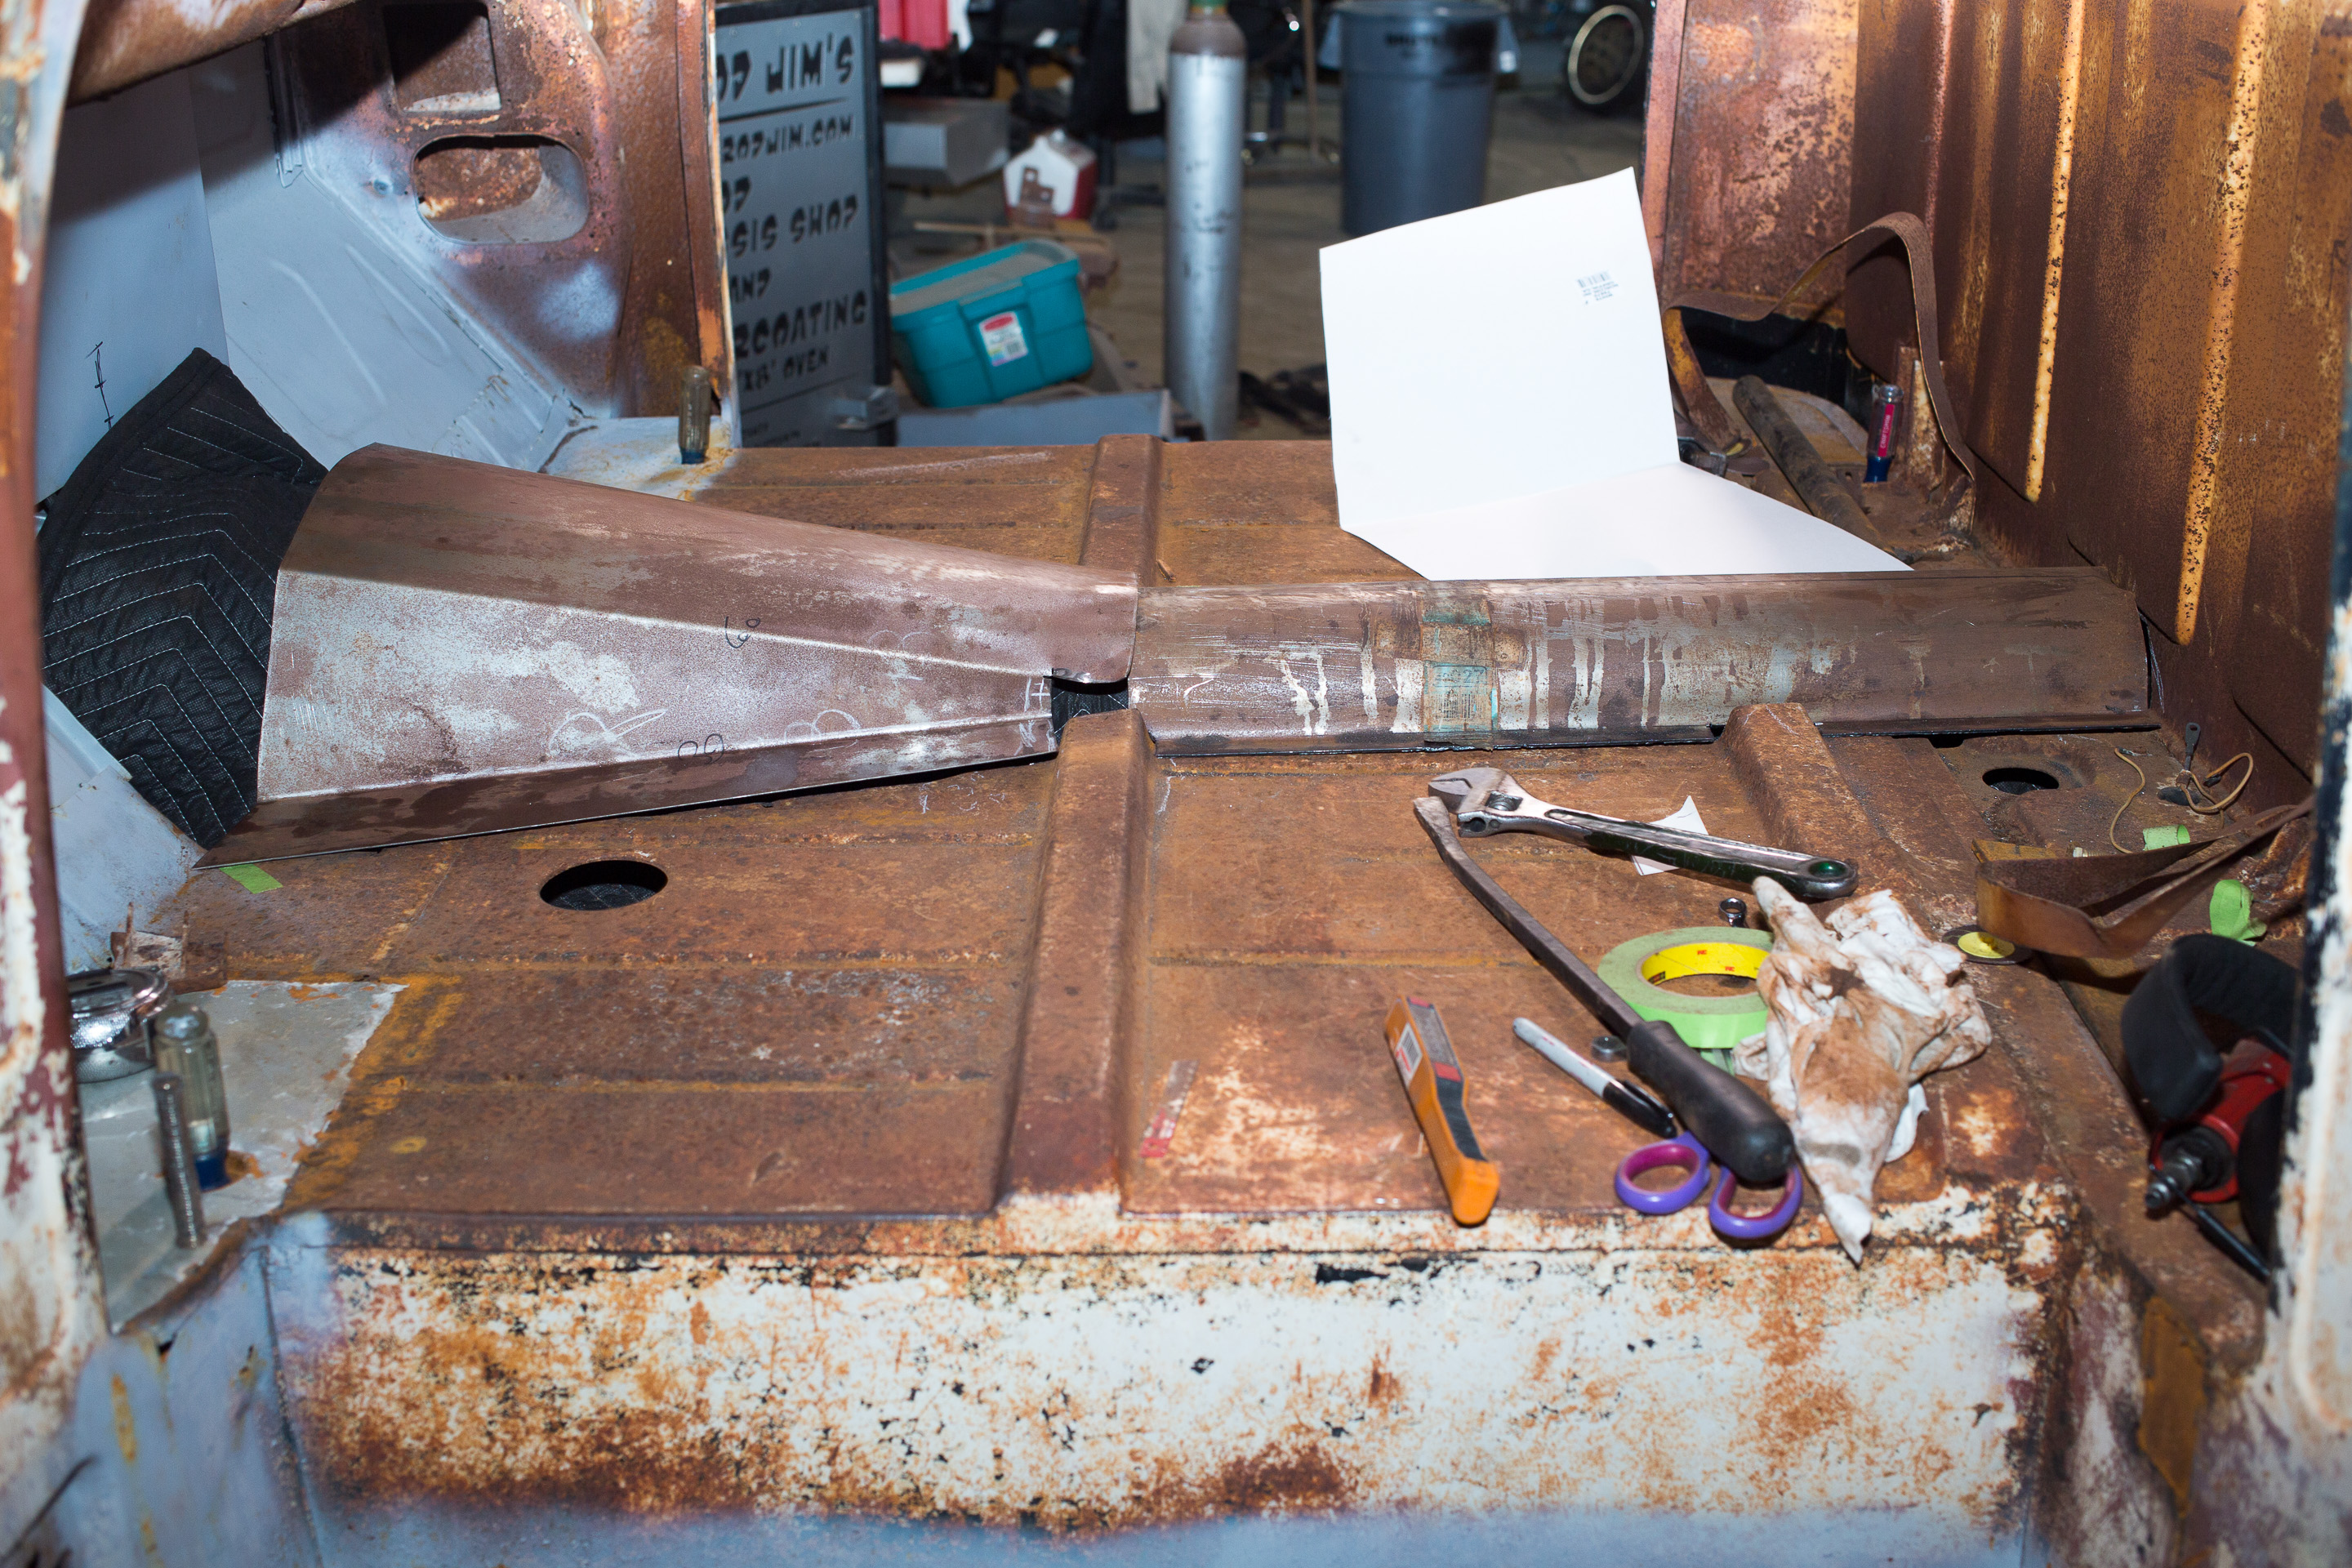
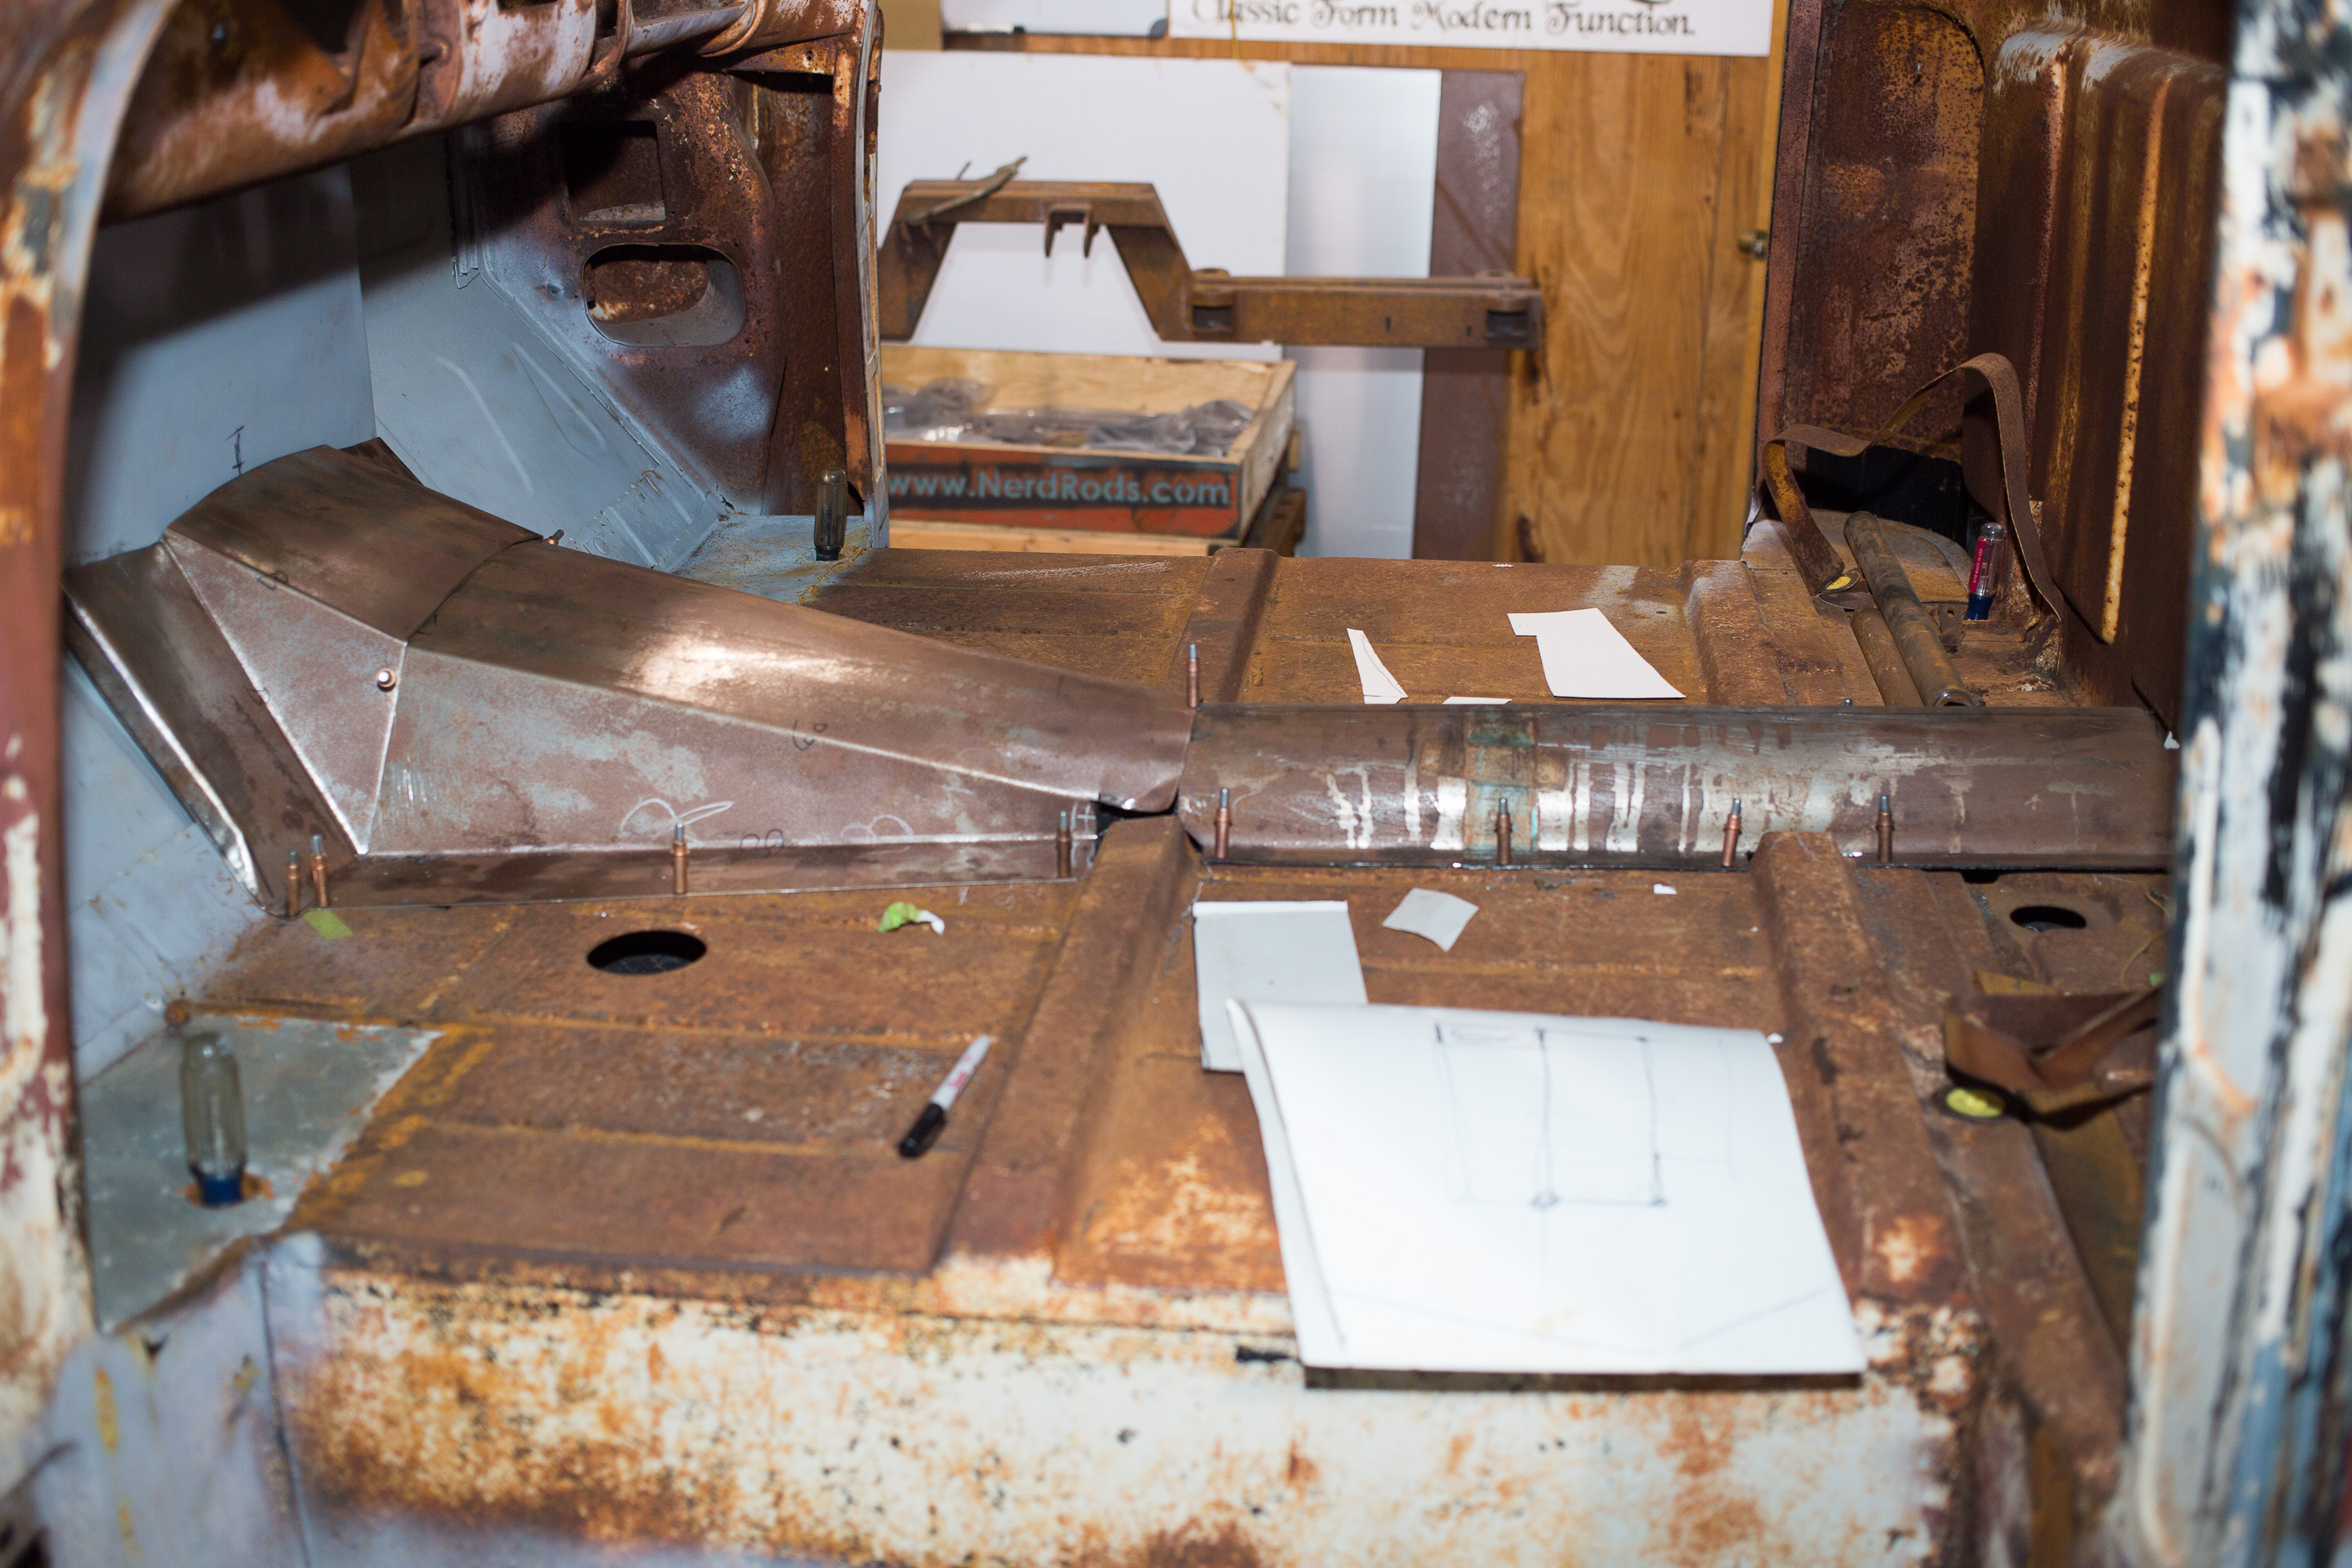
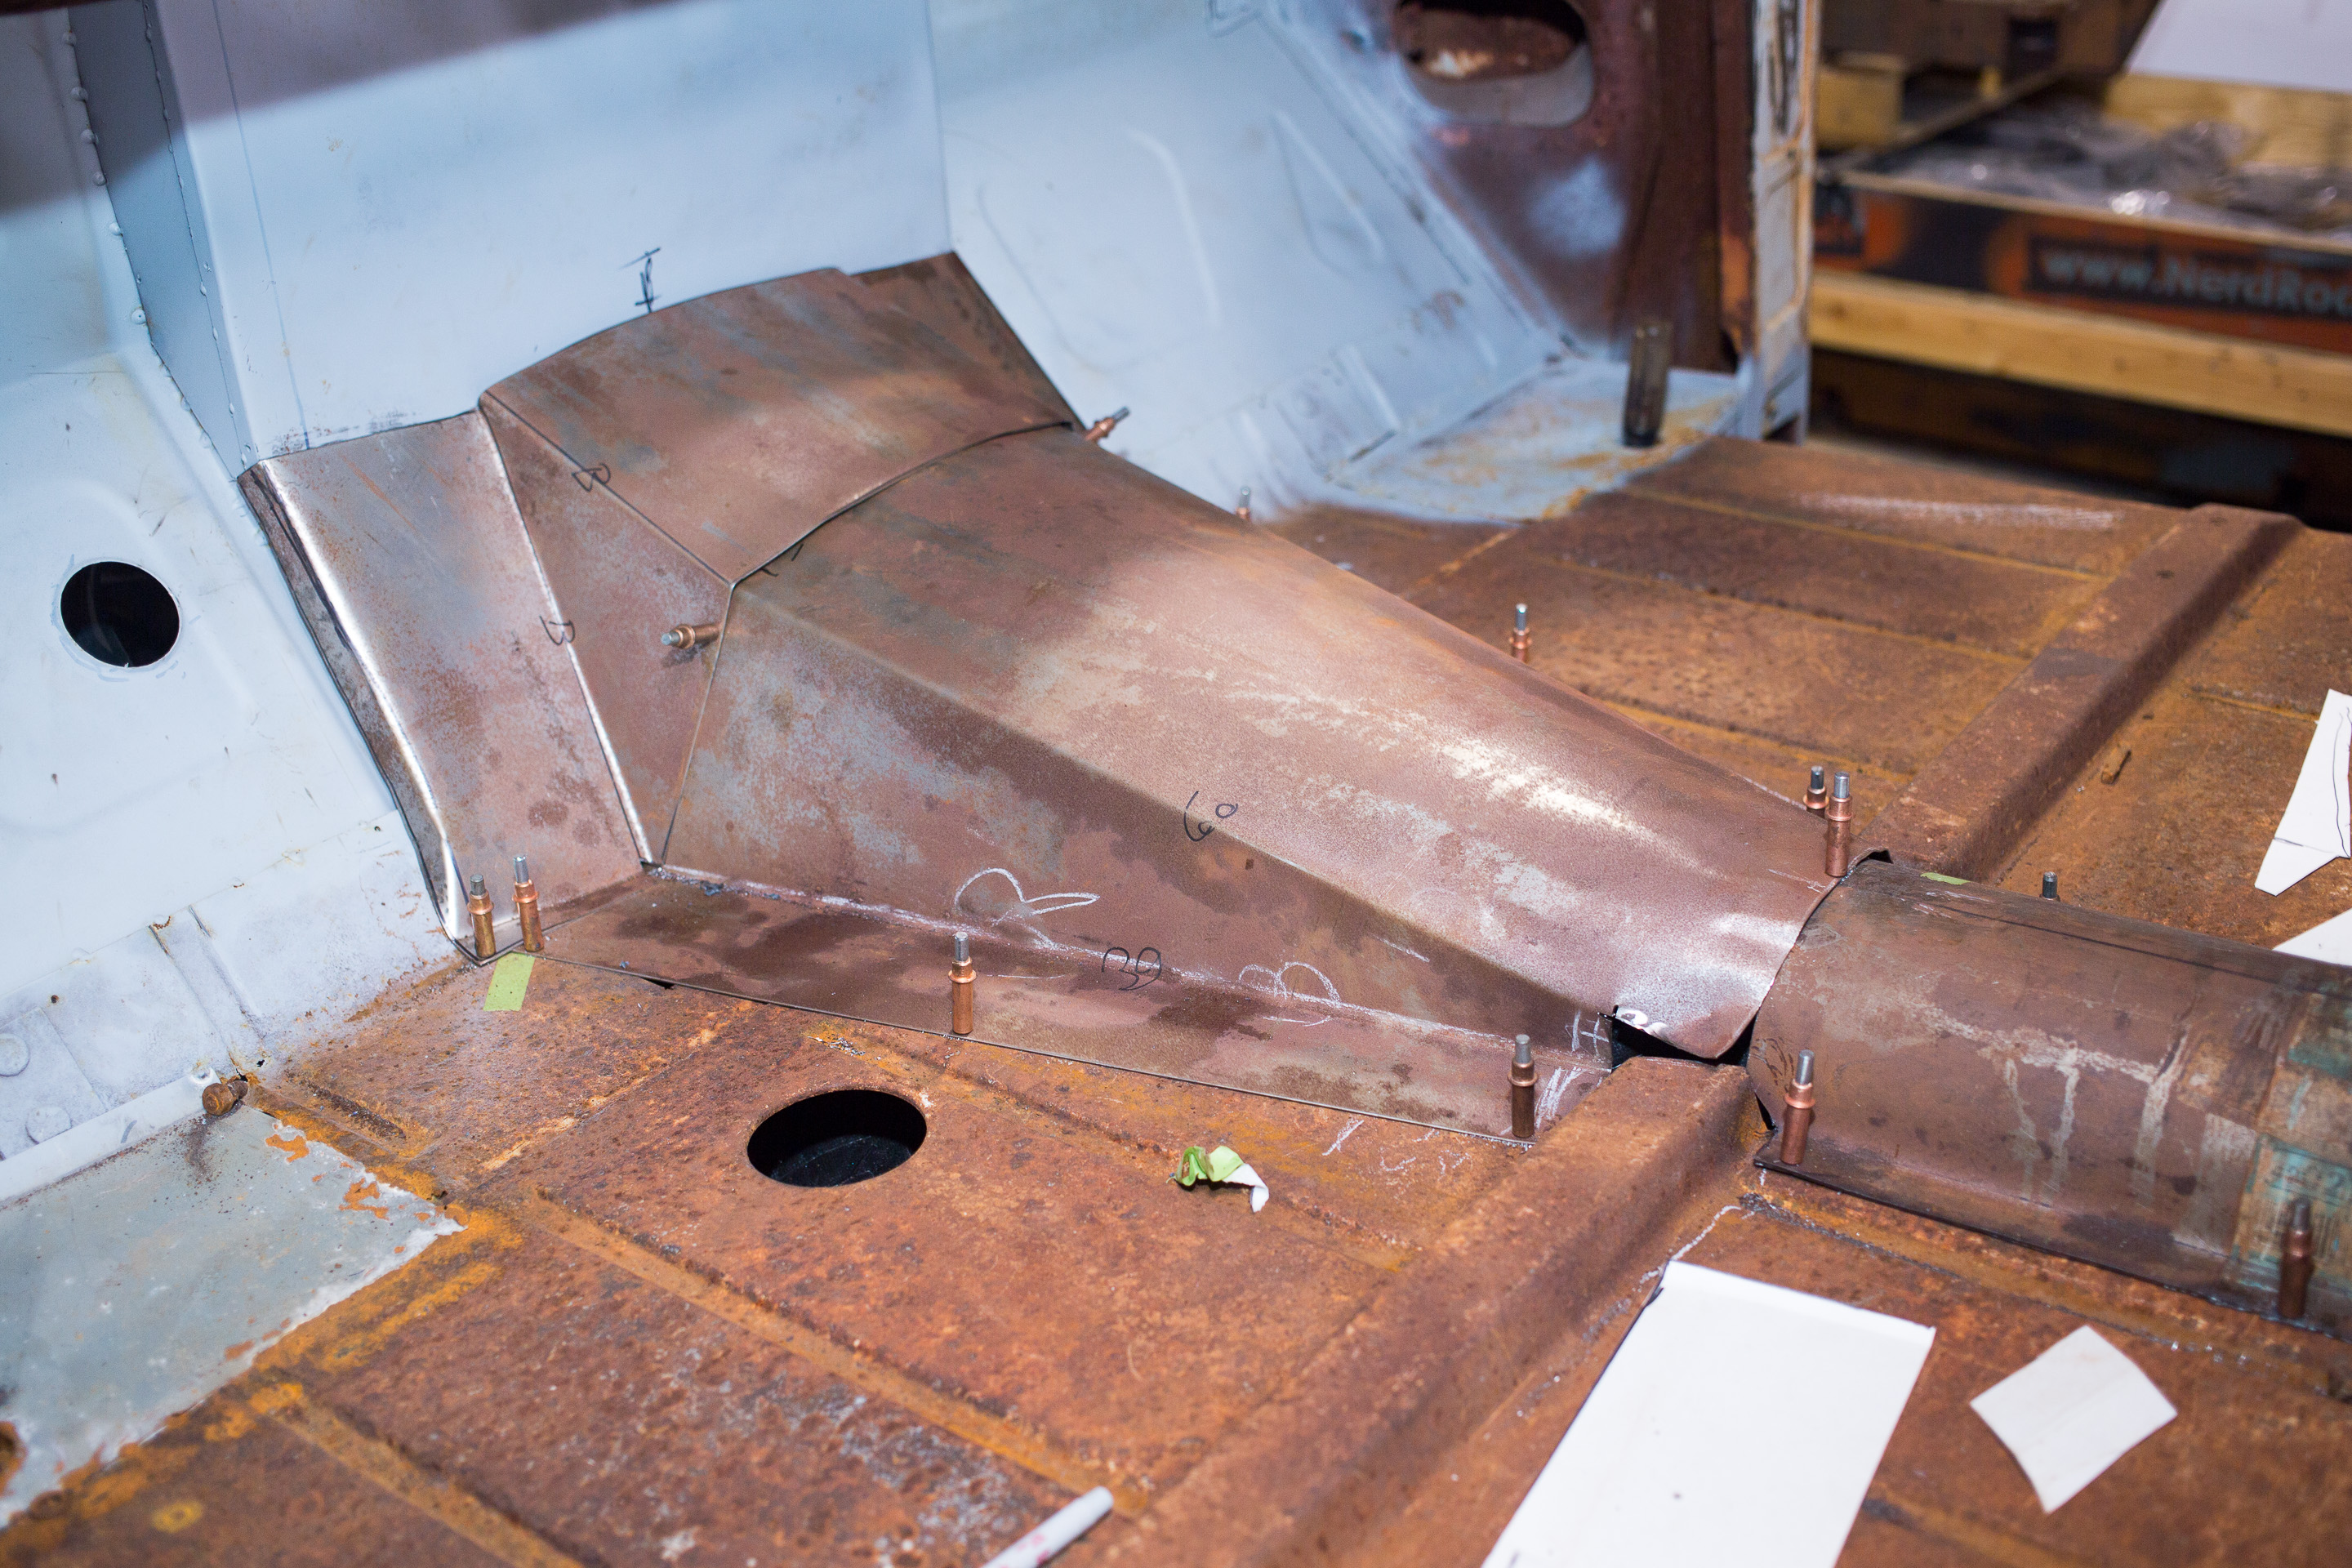
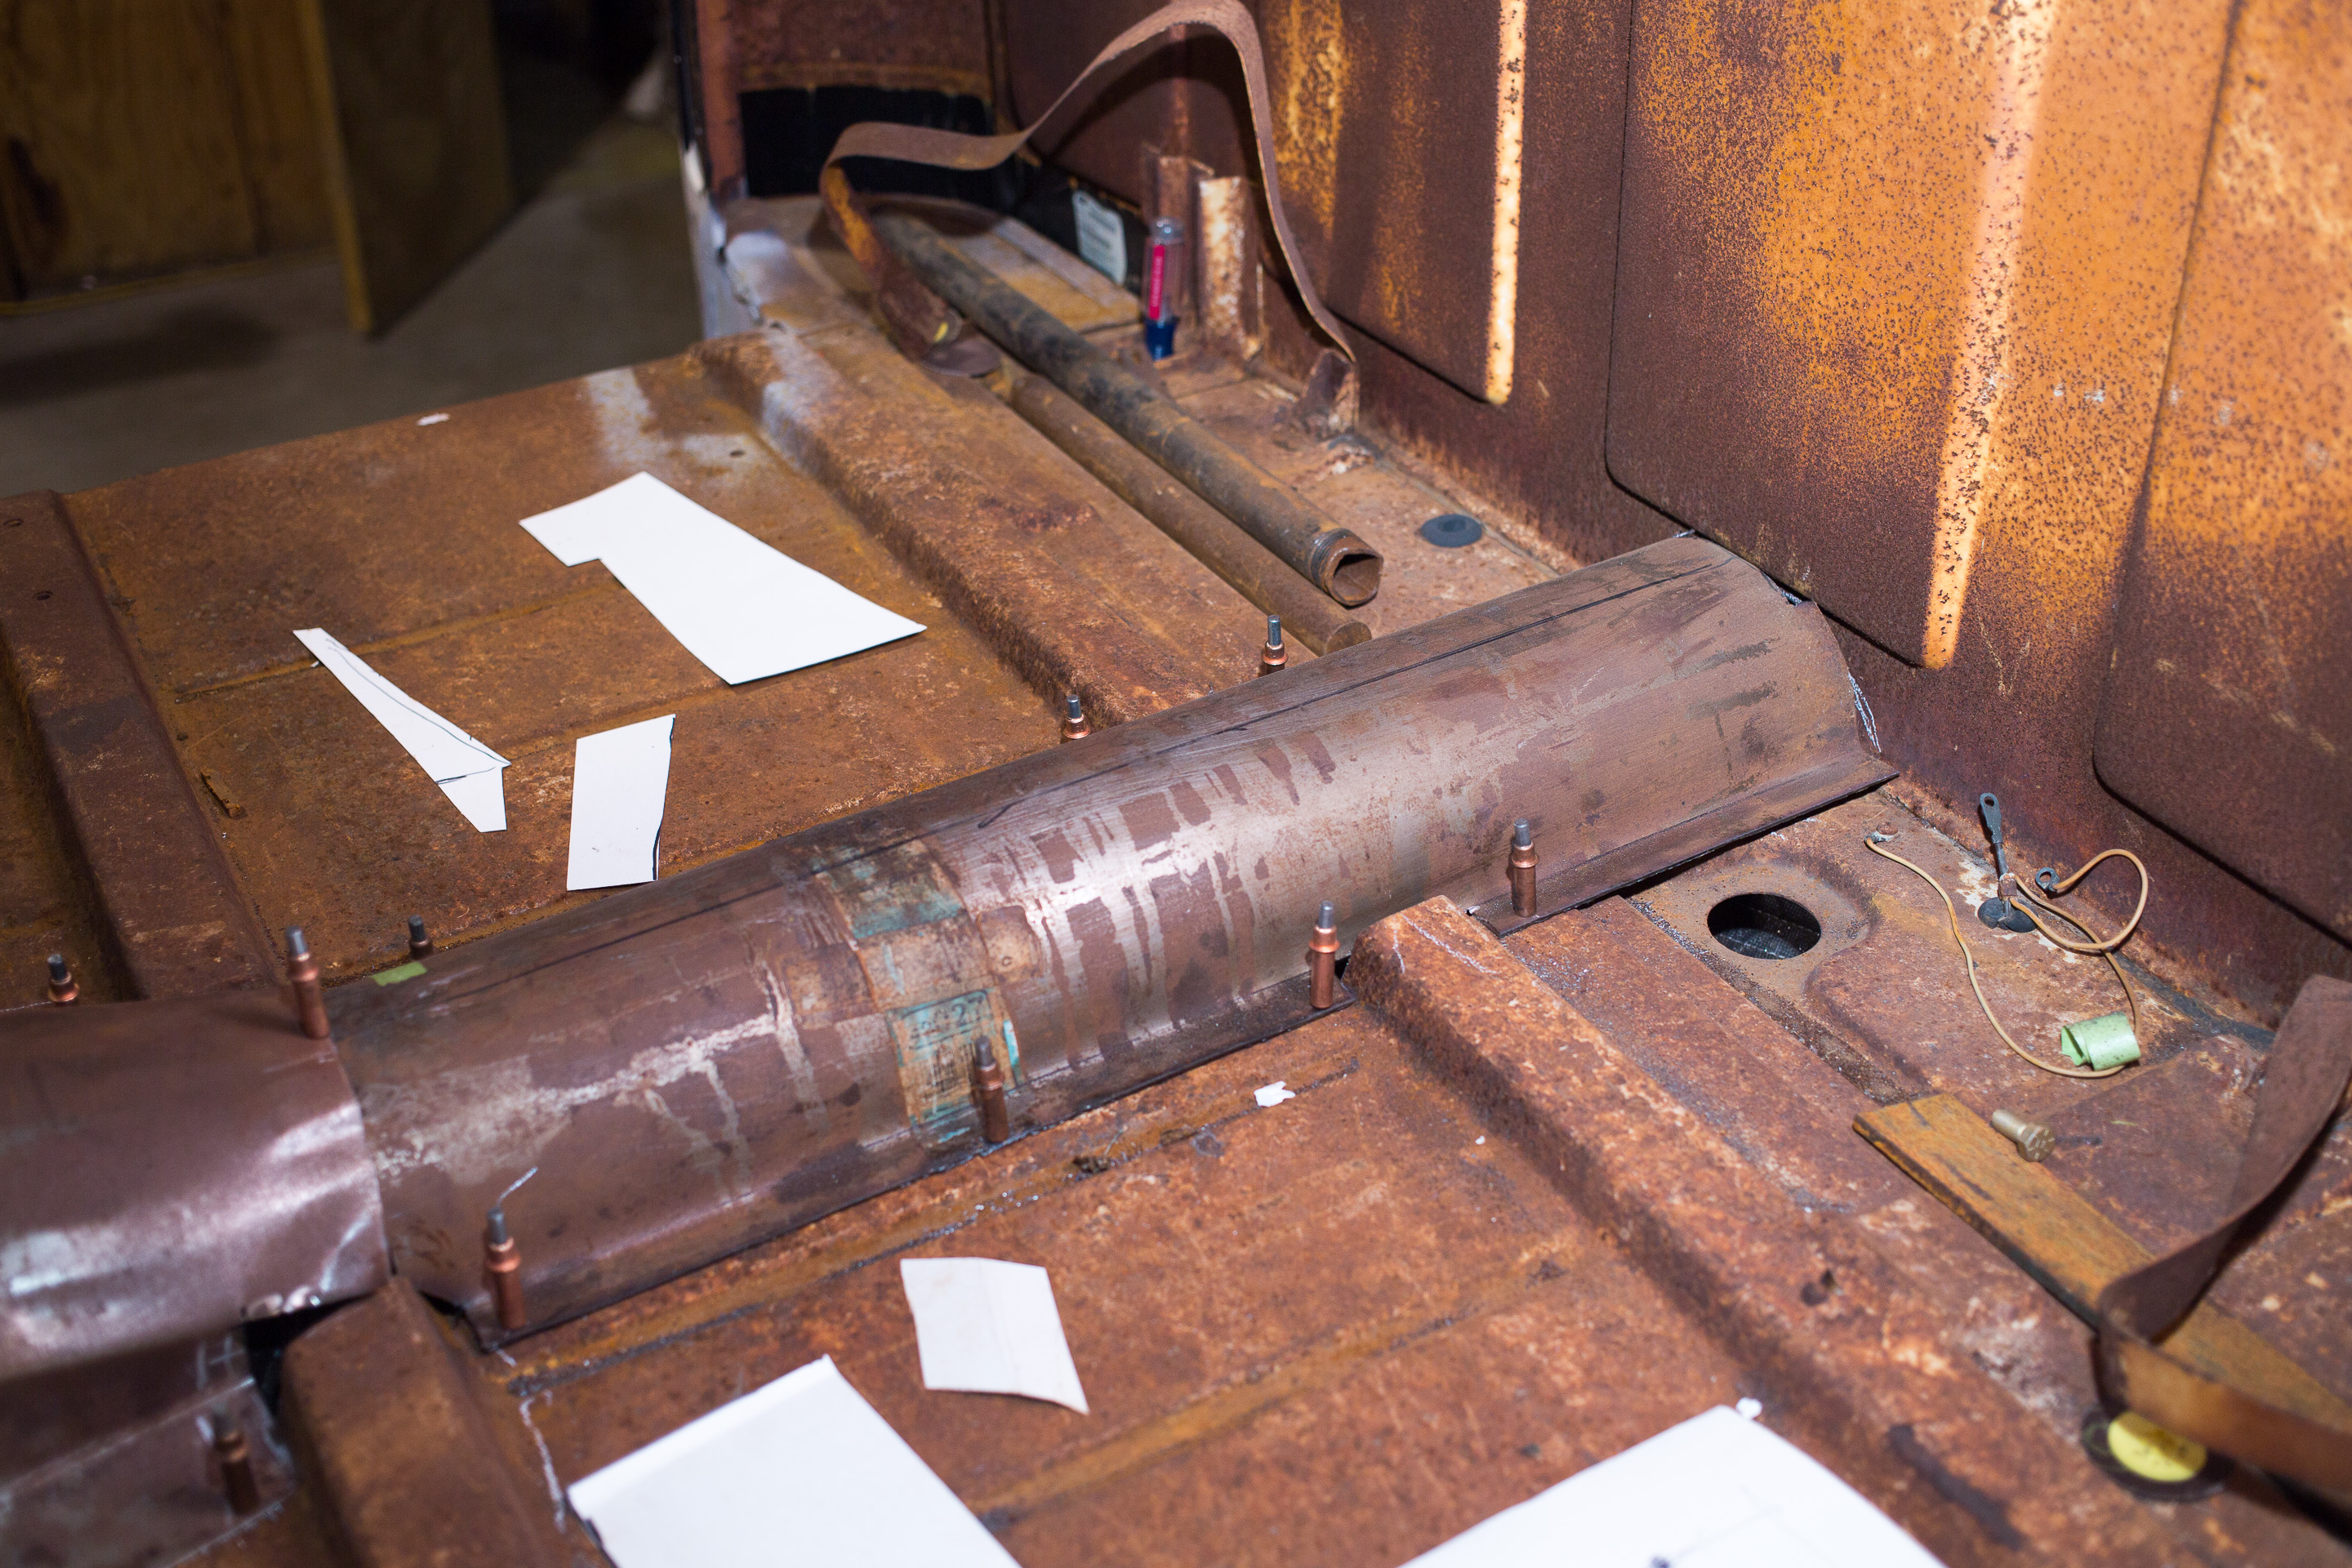
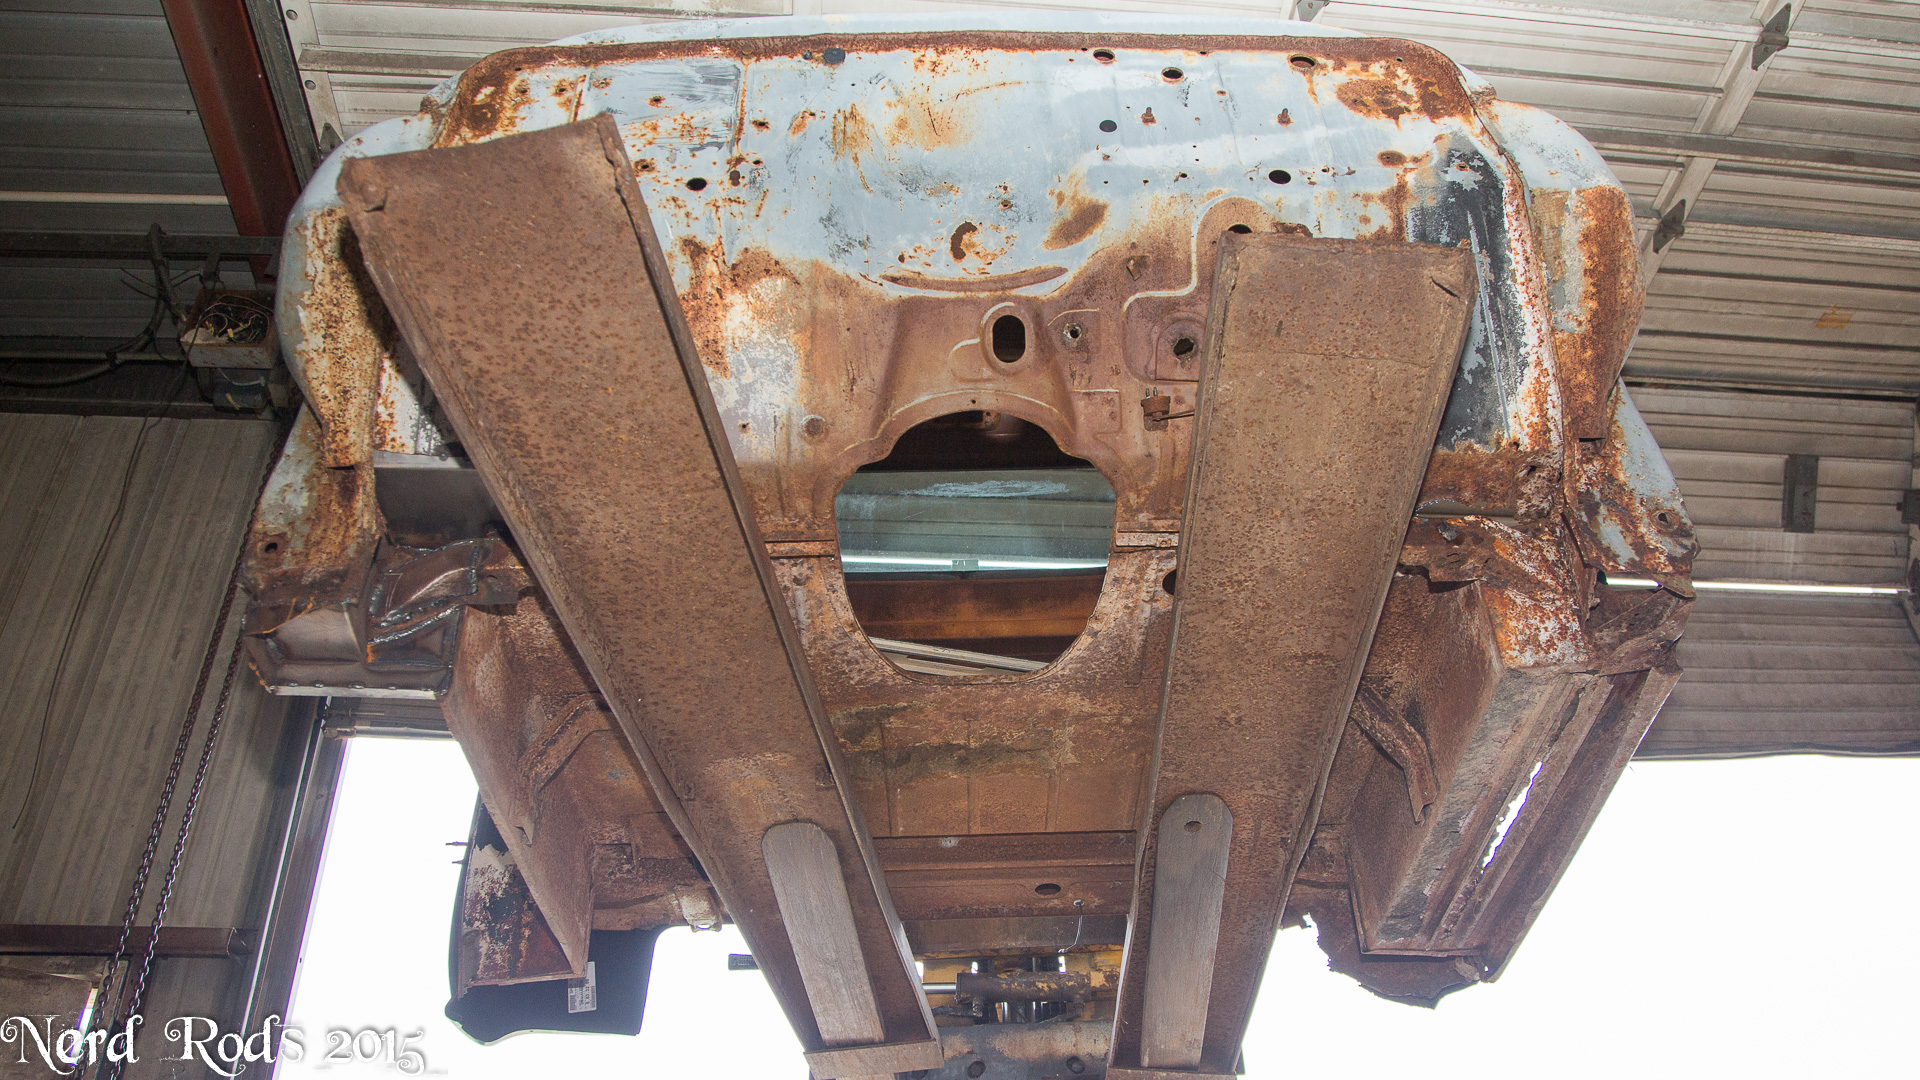
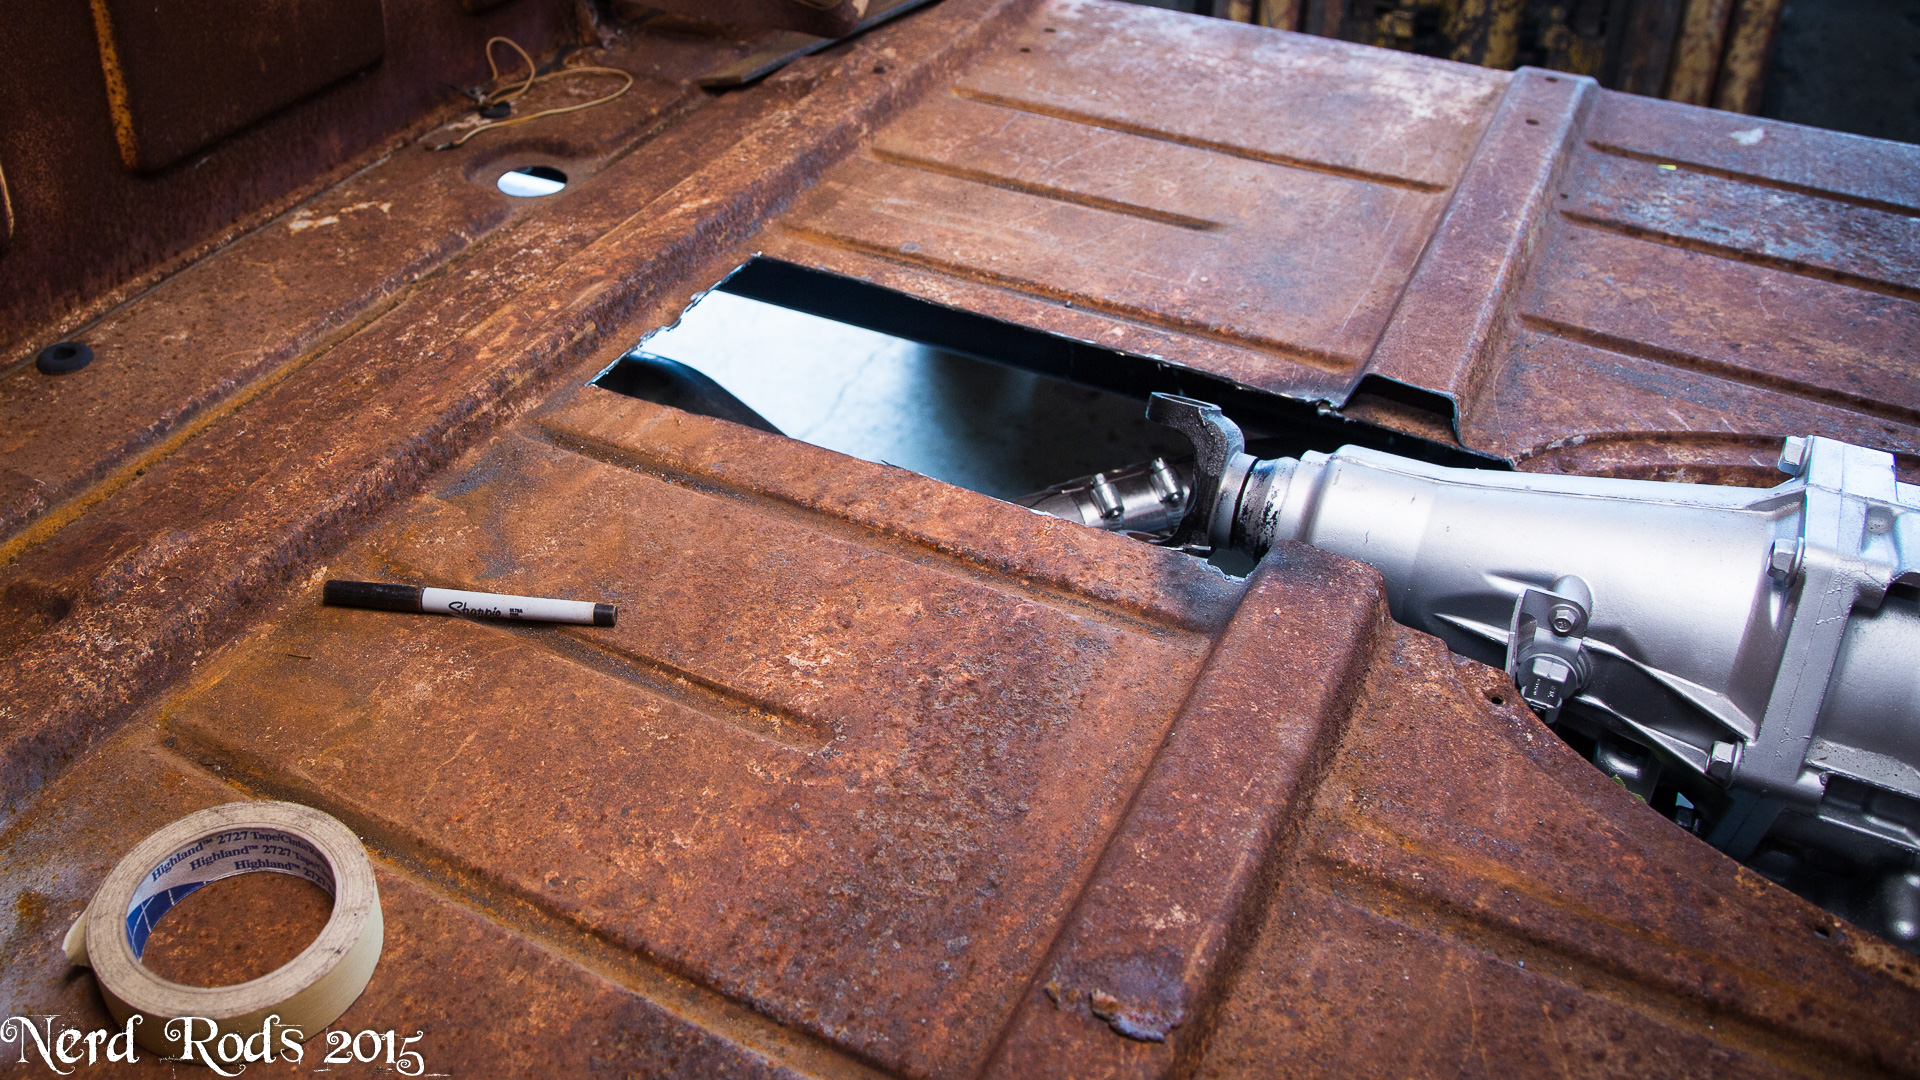
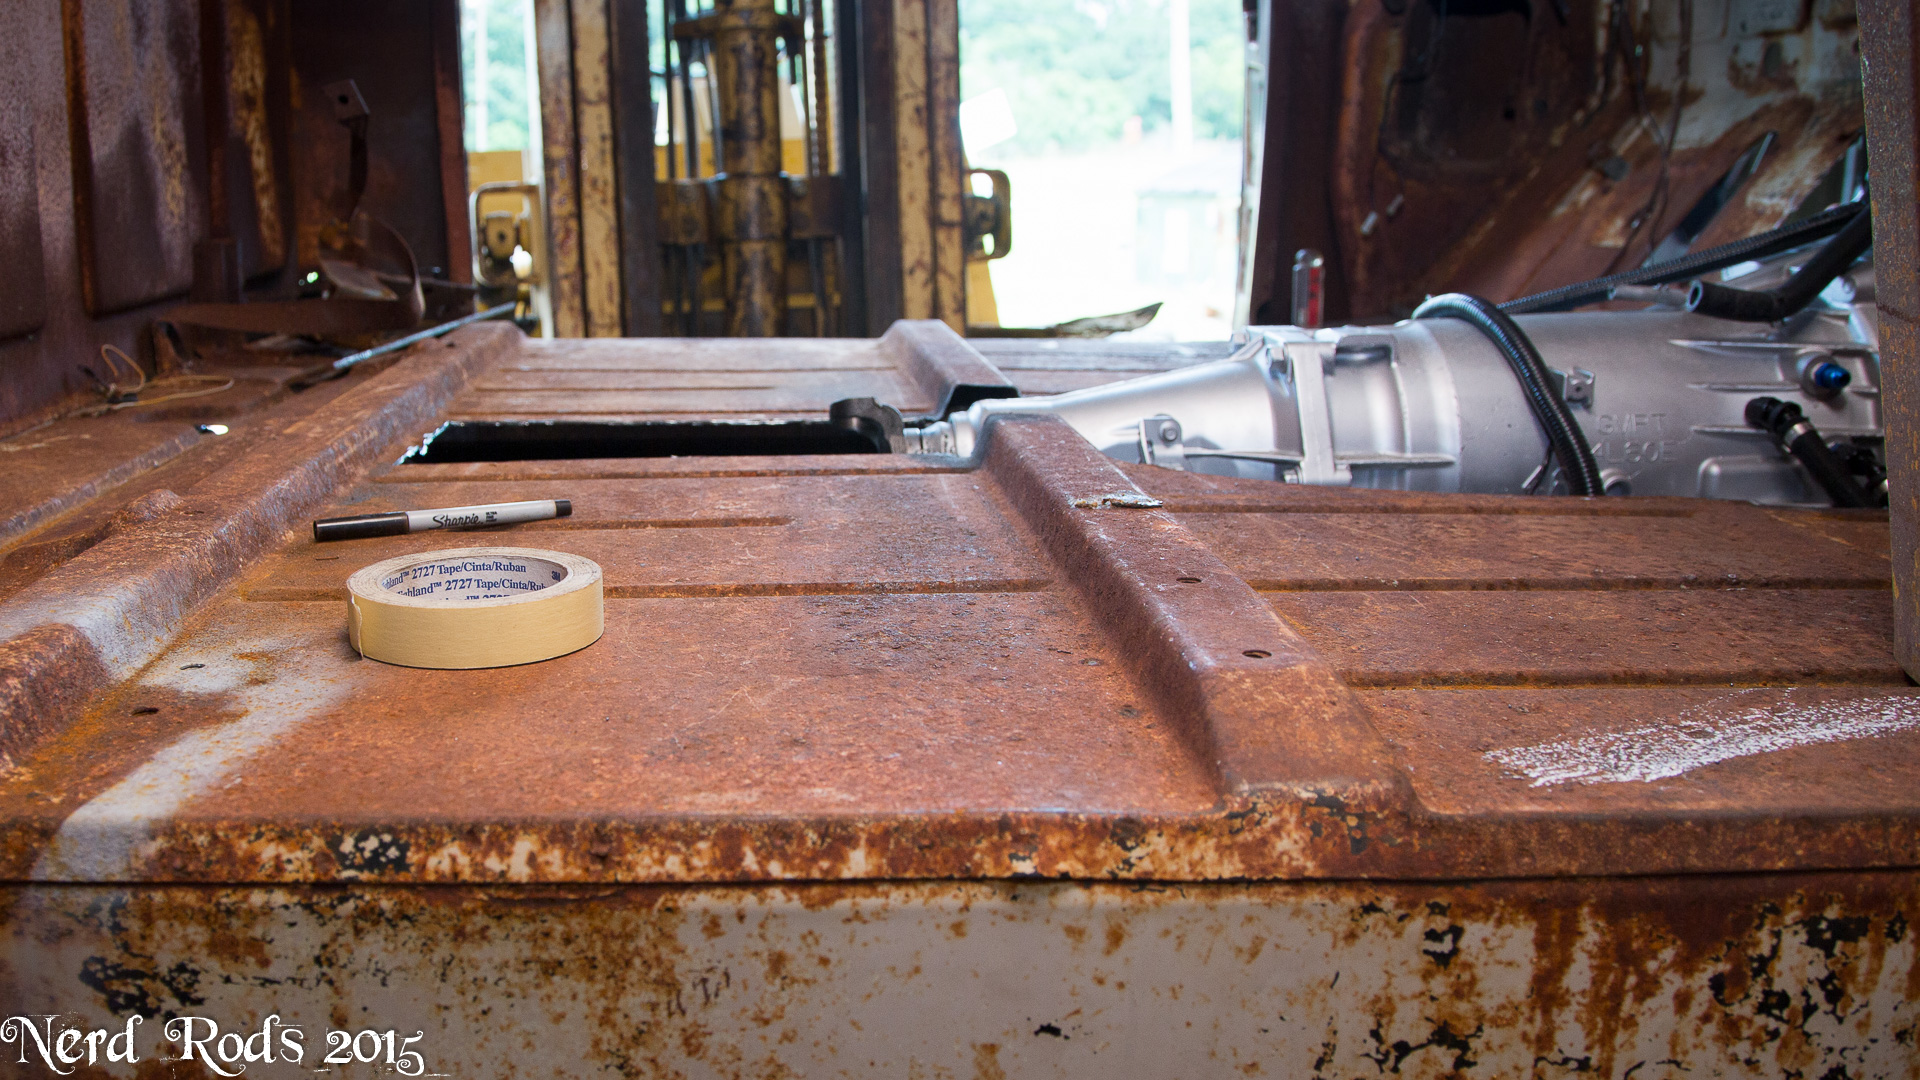
The Floor is roughed in and there are several things to note on this.
1) This is the lowest the body can sit on the chassis.
2) The Engine is higher because of the Truck oil pan so we clear the ground but still have room under the car without having to buy a new oil pan. Not good for CG but hey its a truck not a sports car. (Note: We changed to a Camaro LS1 pan on our chassis late on)
3) The drive-shaft only hit the body by a 1/4 inch so the 6" tunnel is over kill but it was easy and looks good. We might start offering all these sheet-metal parts for guys wanting to do their own slammed stance and you can use a live axle and still make it all fit and clear with this same body.
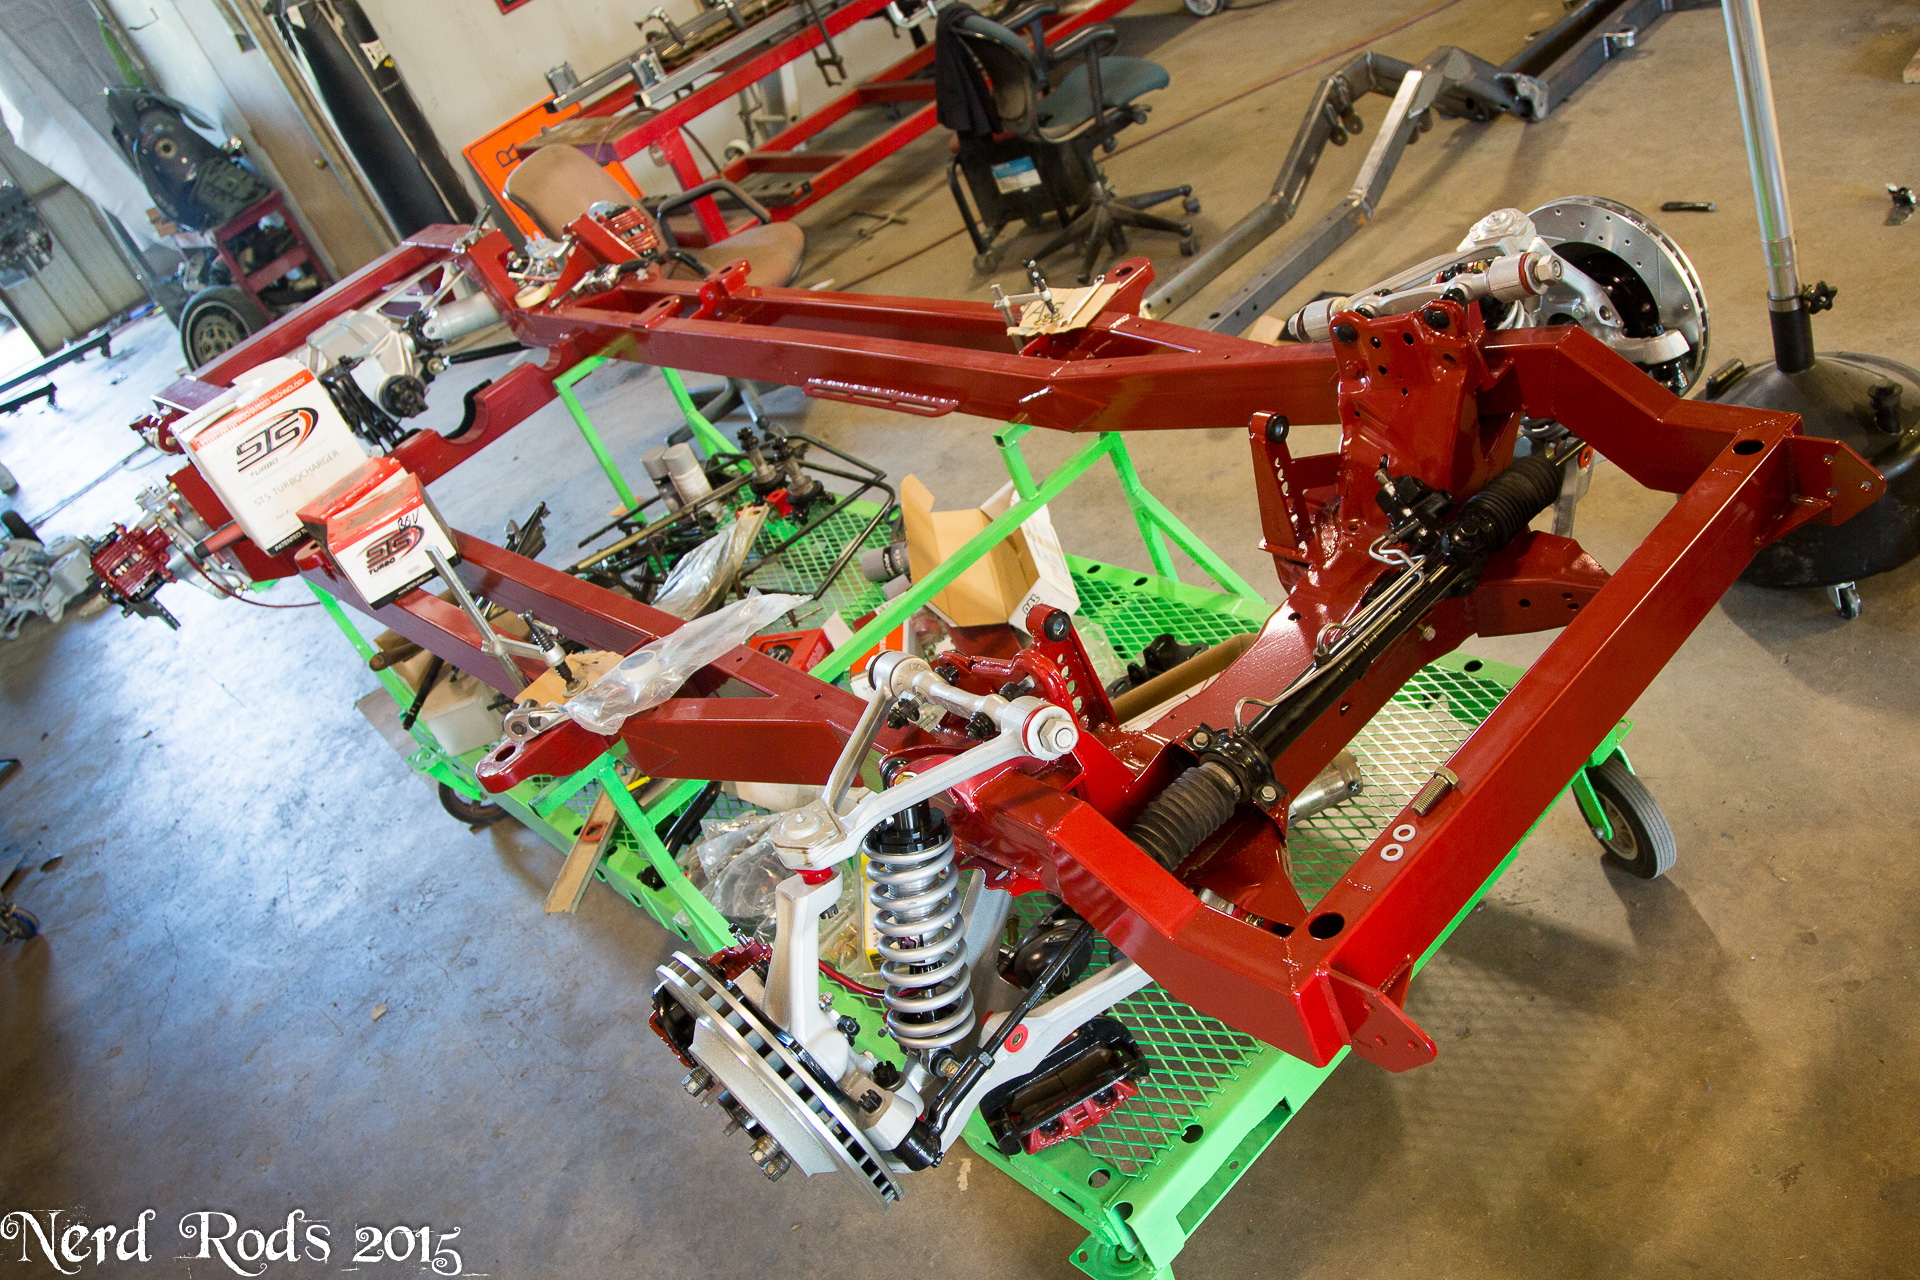
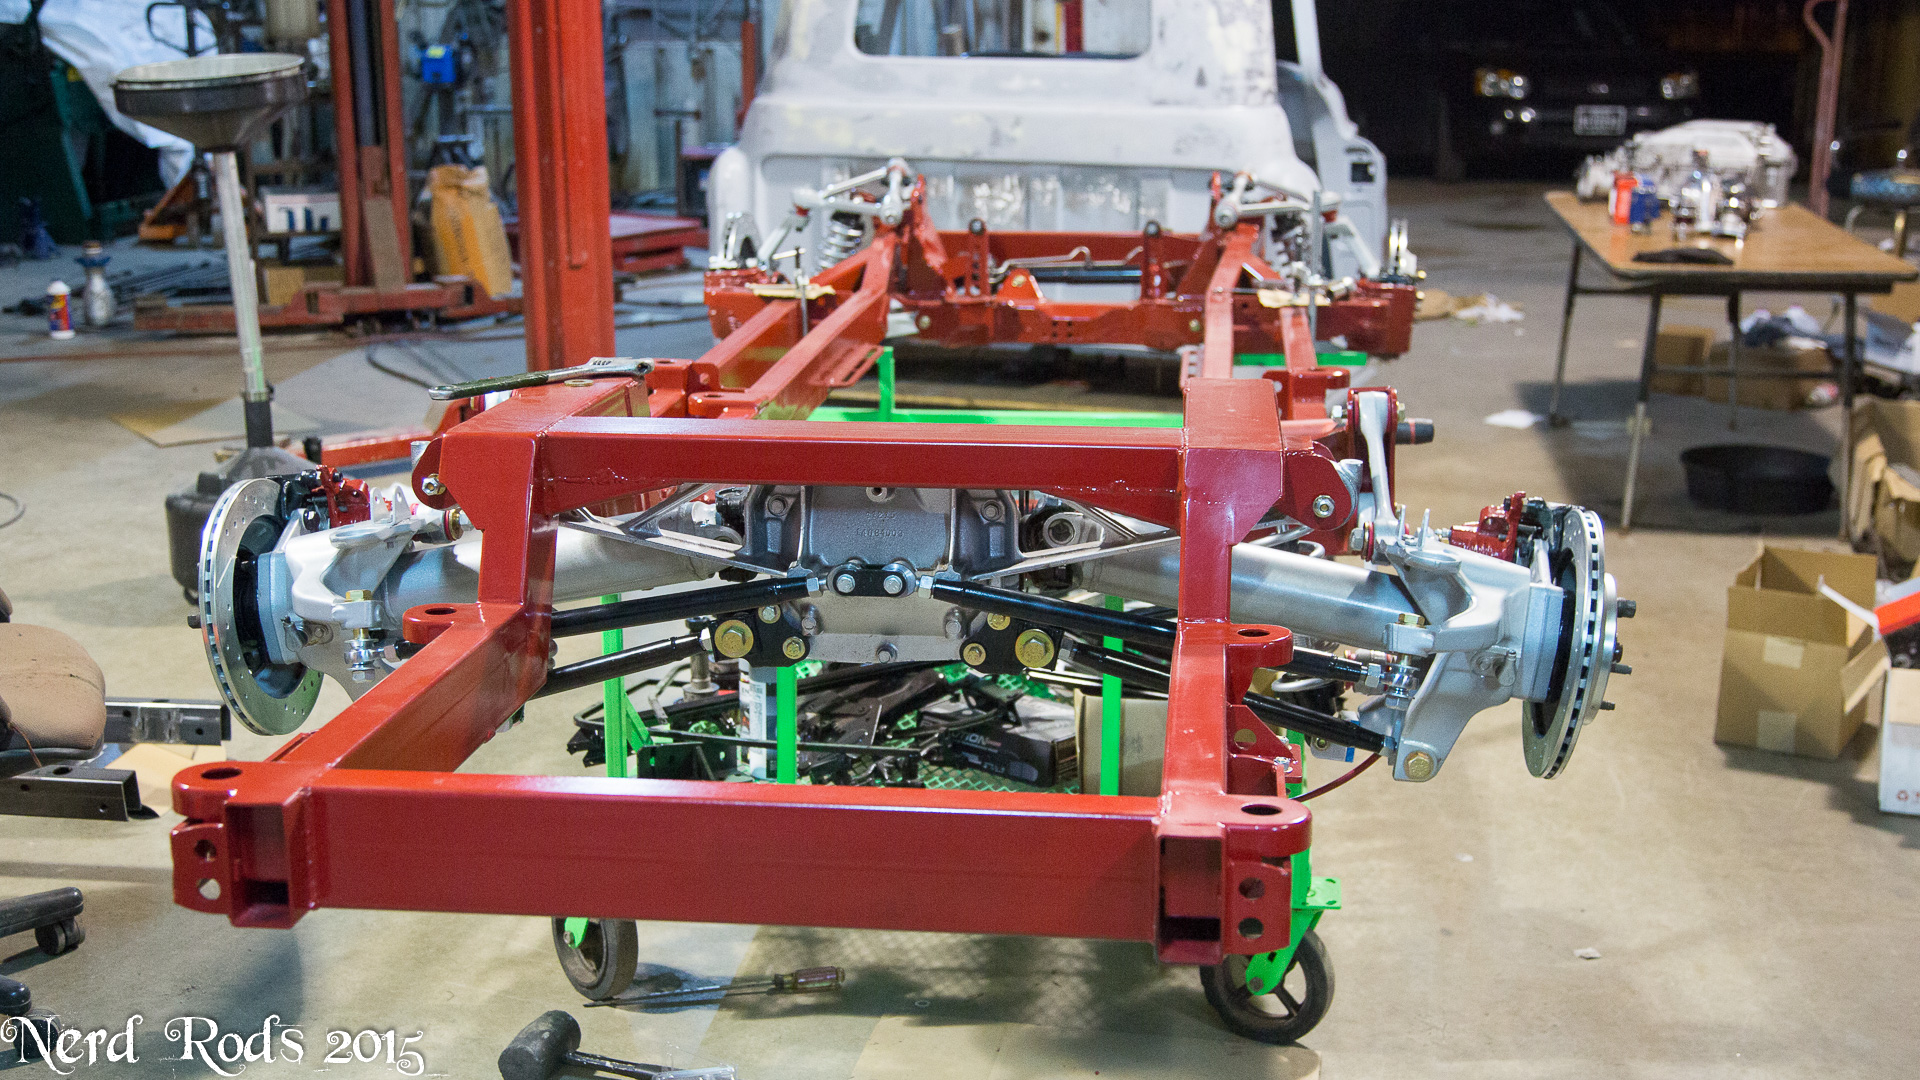
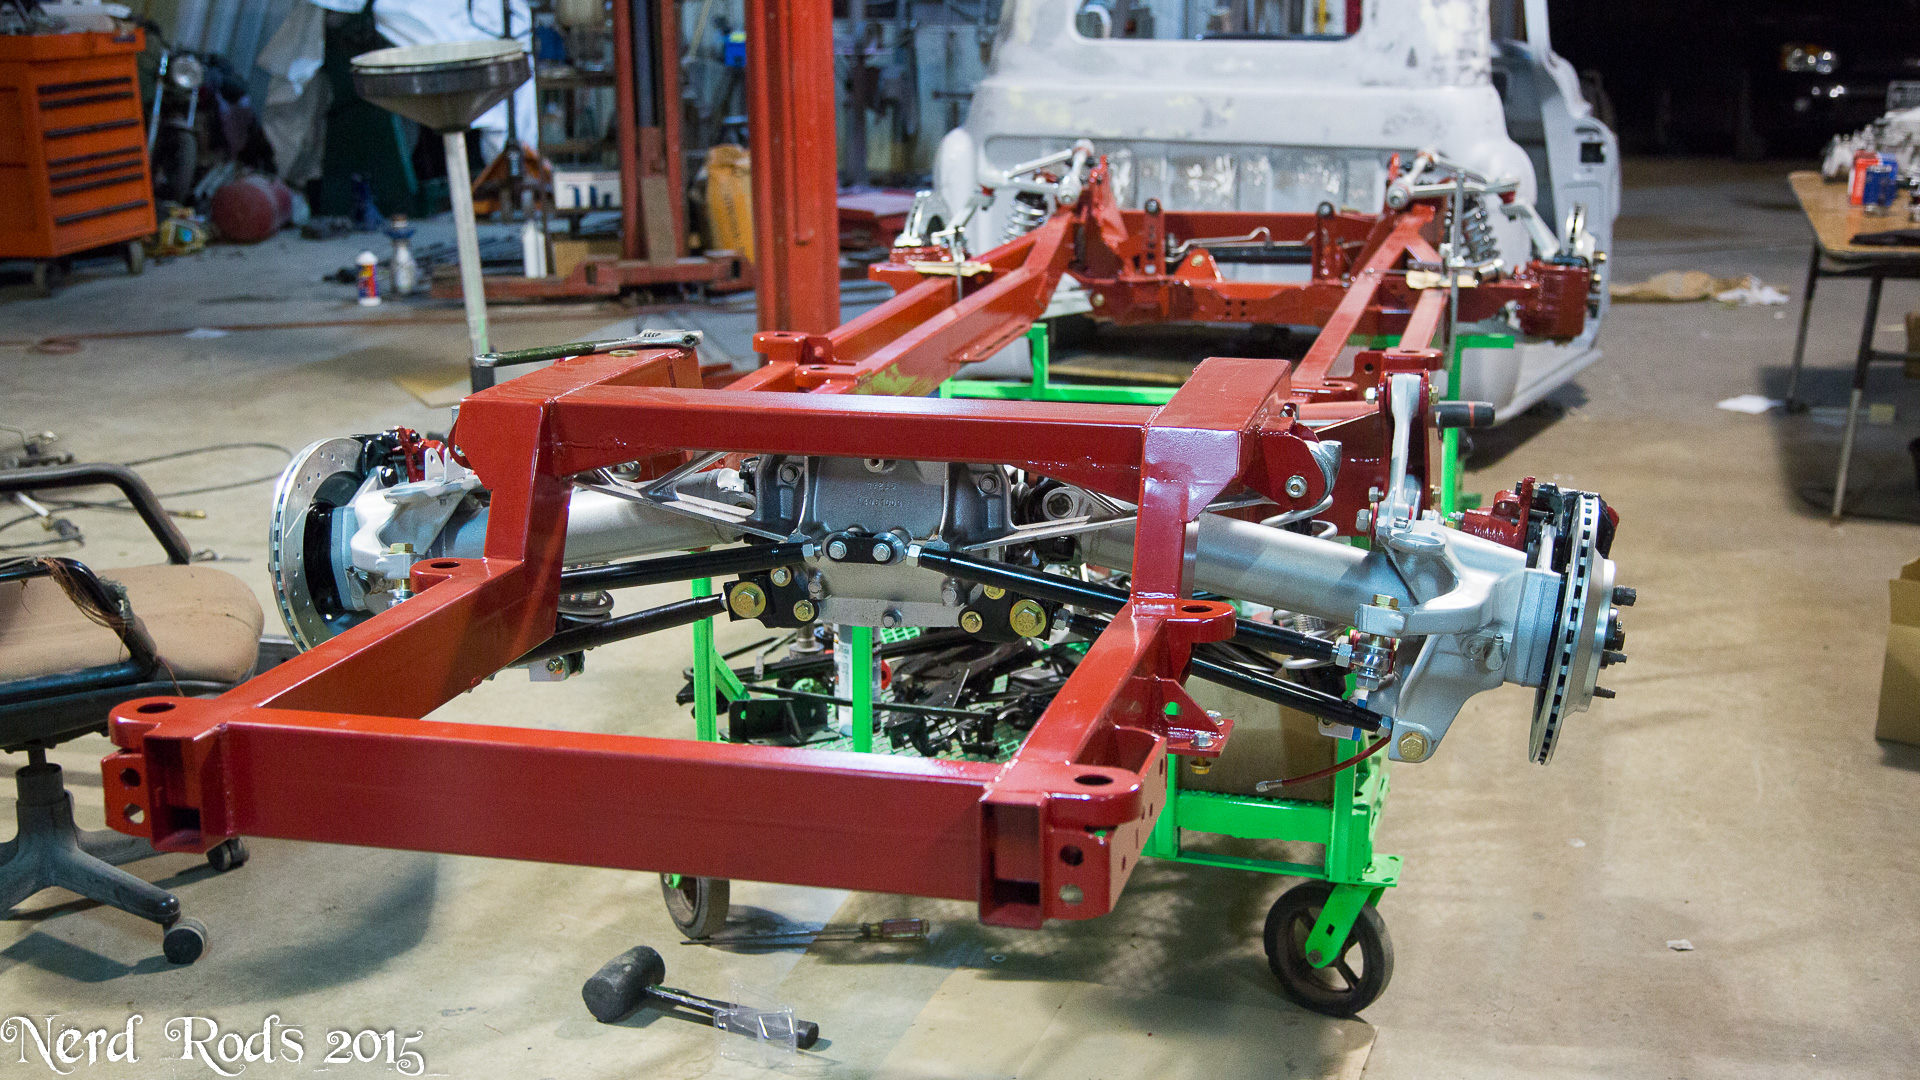
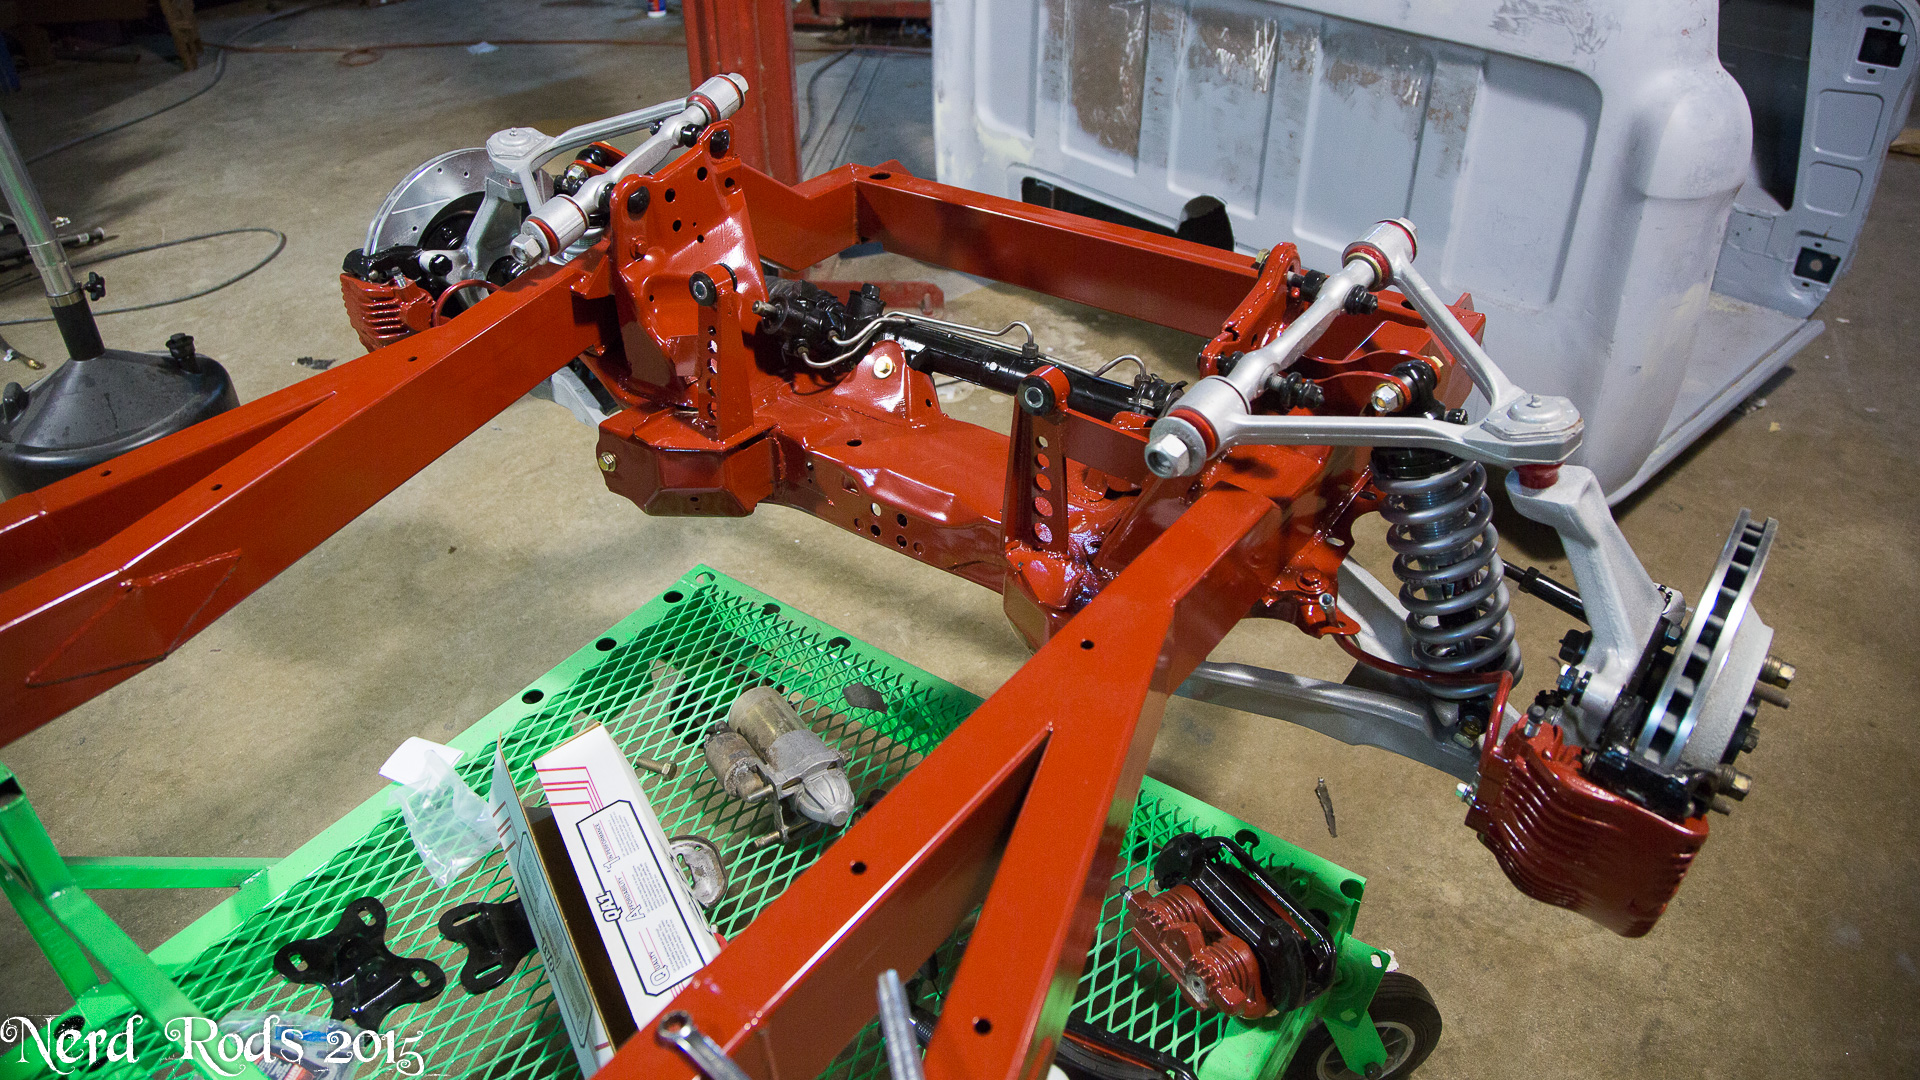
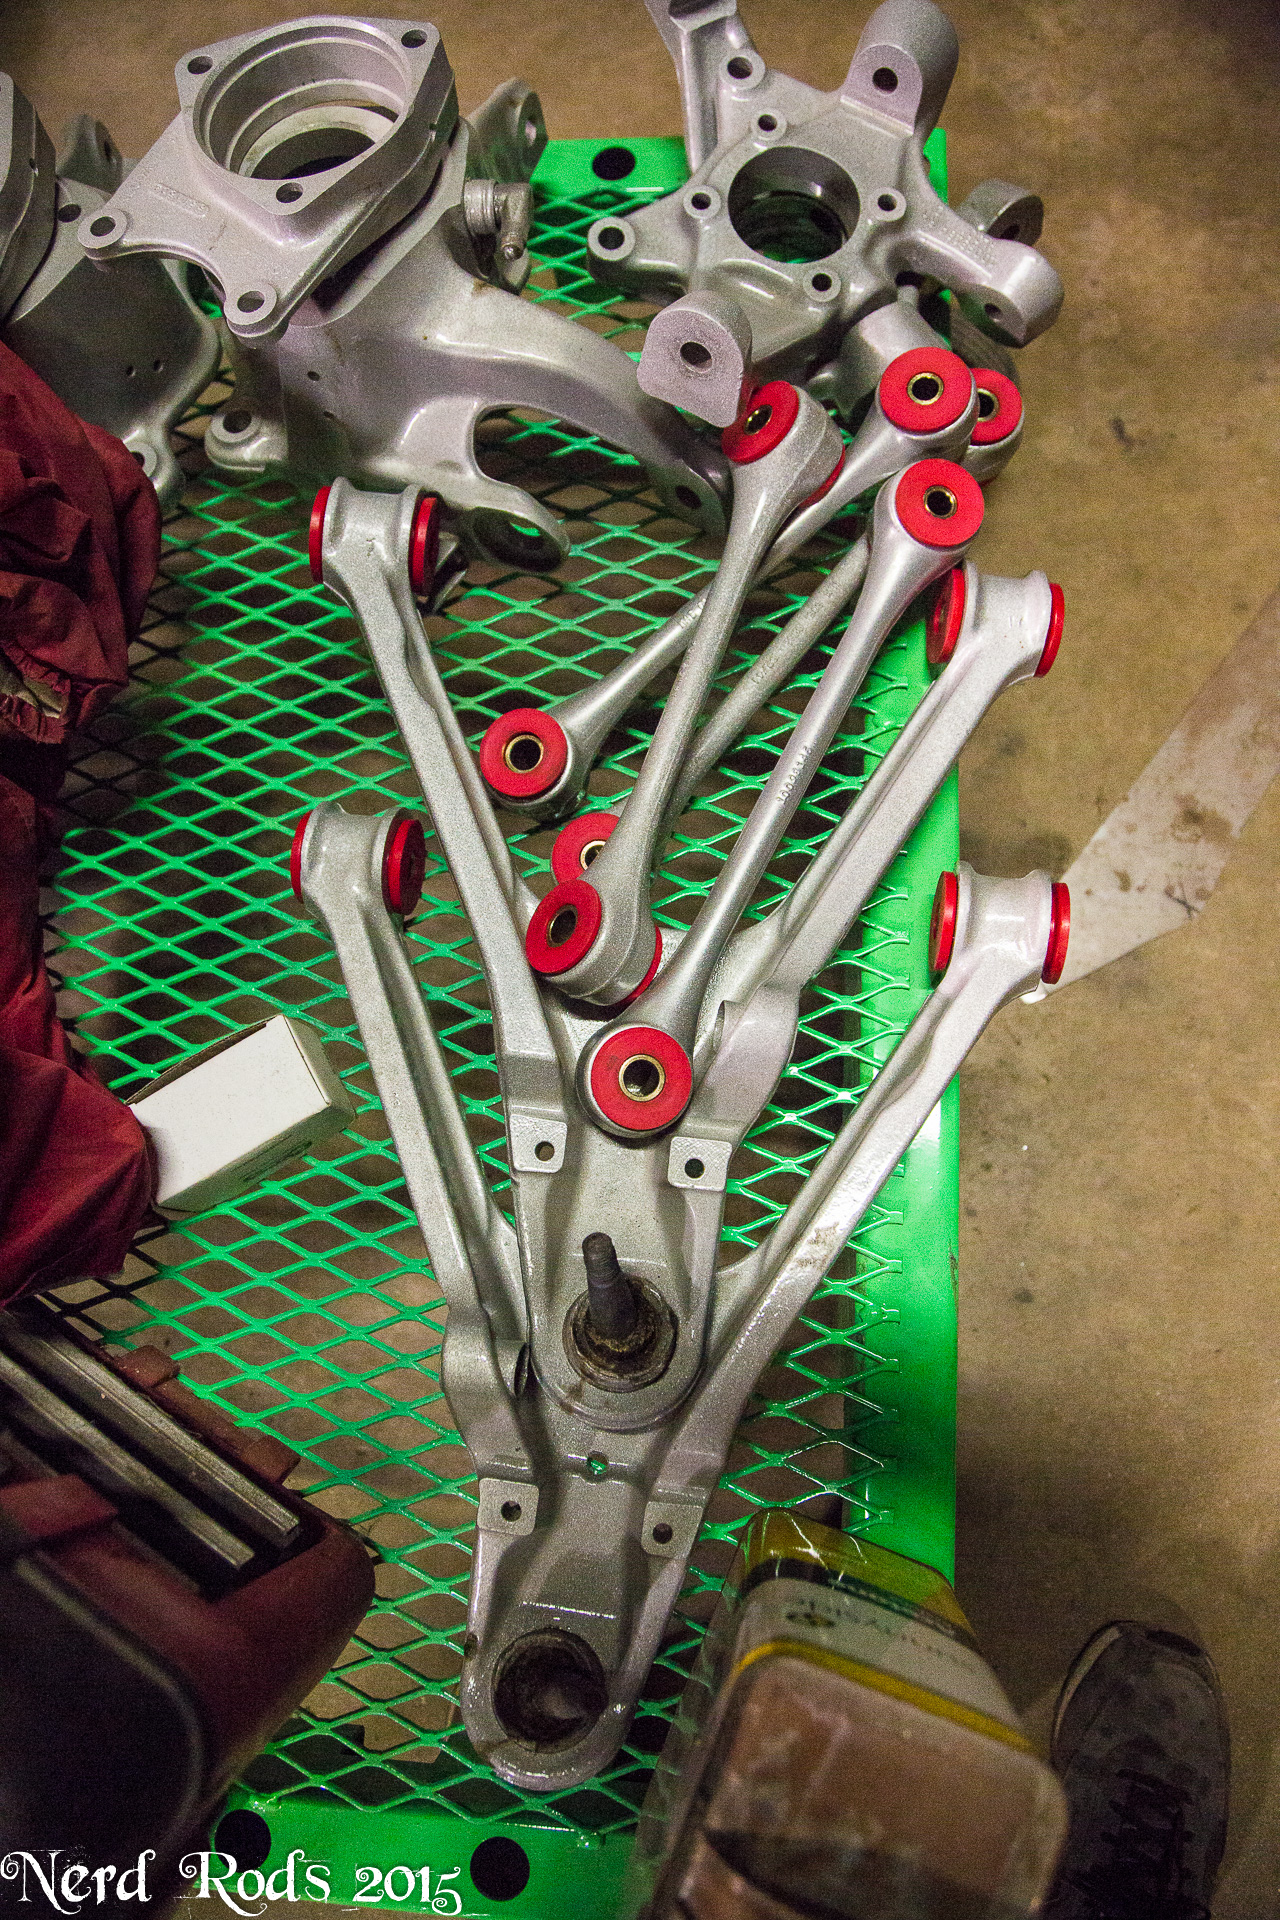
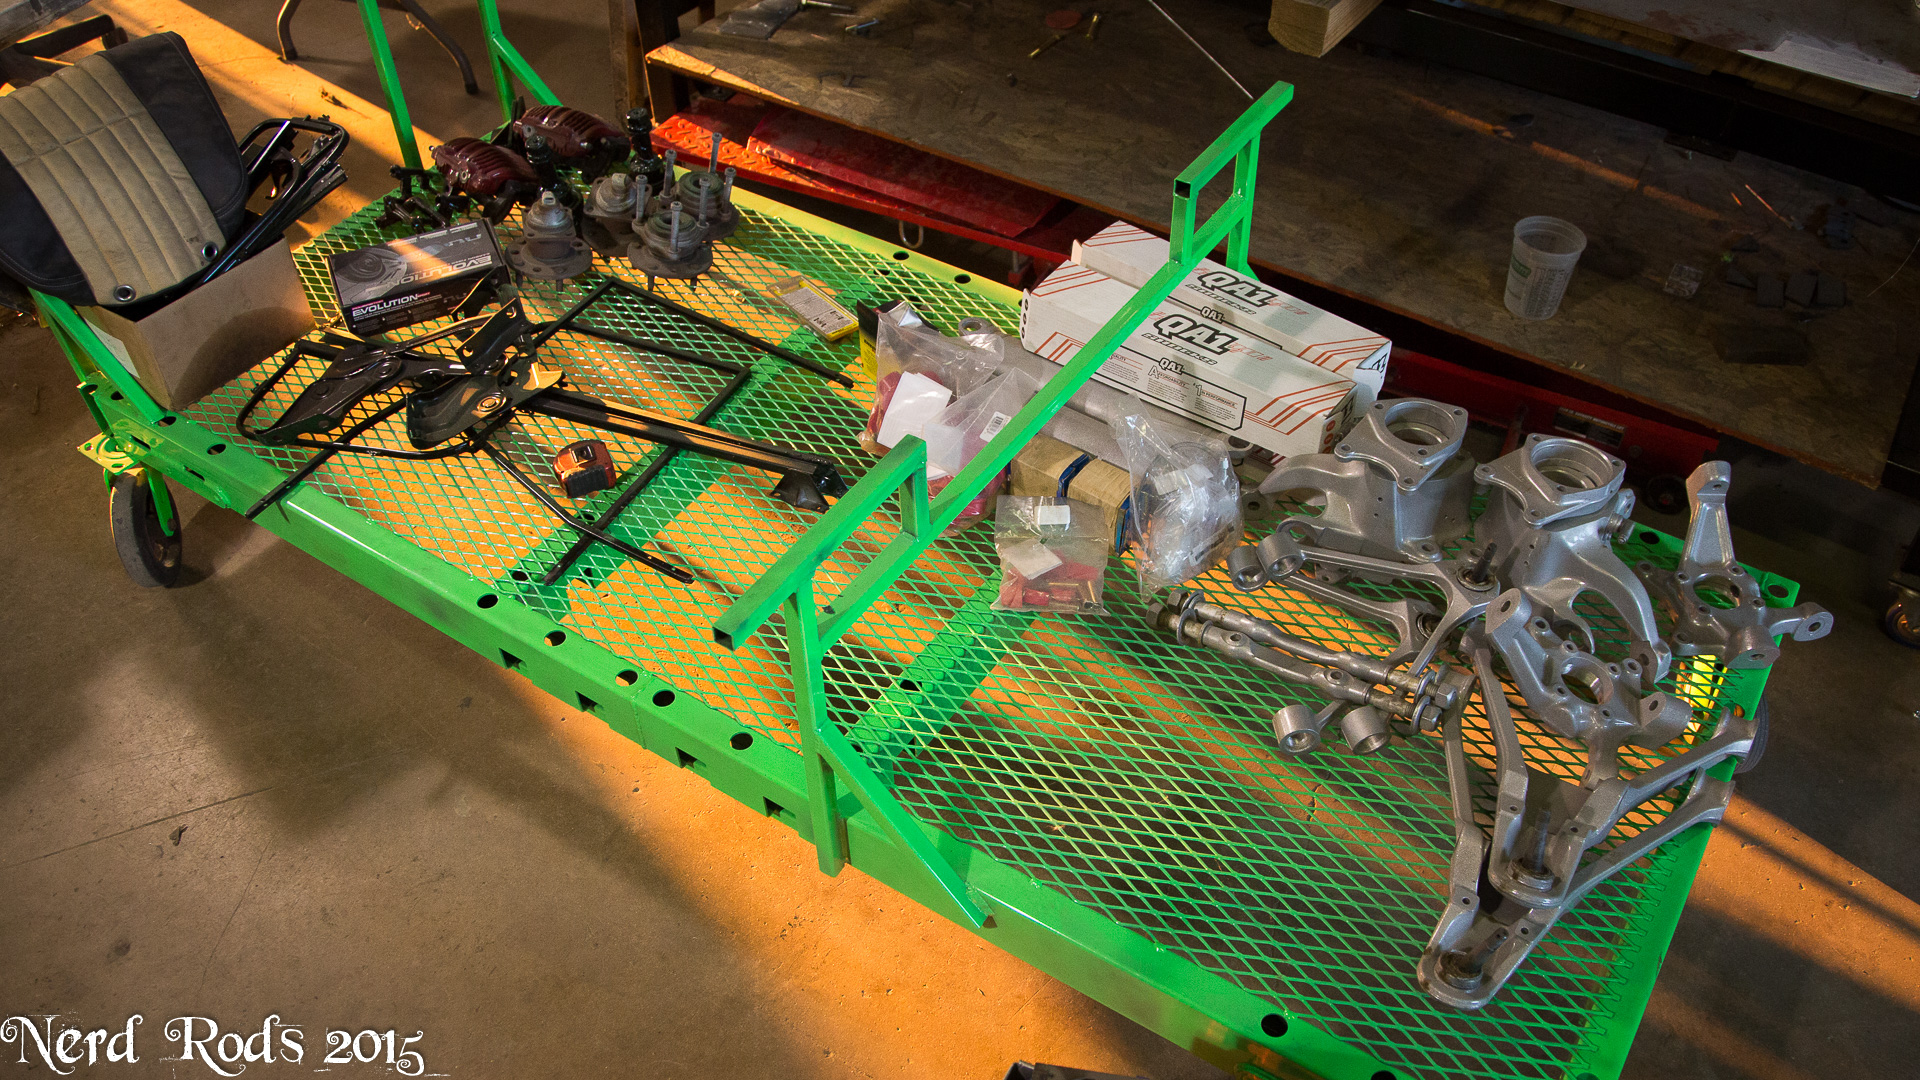
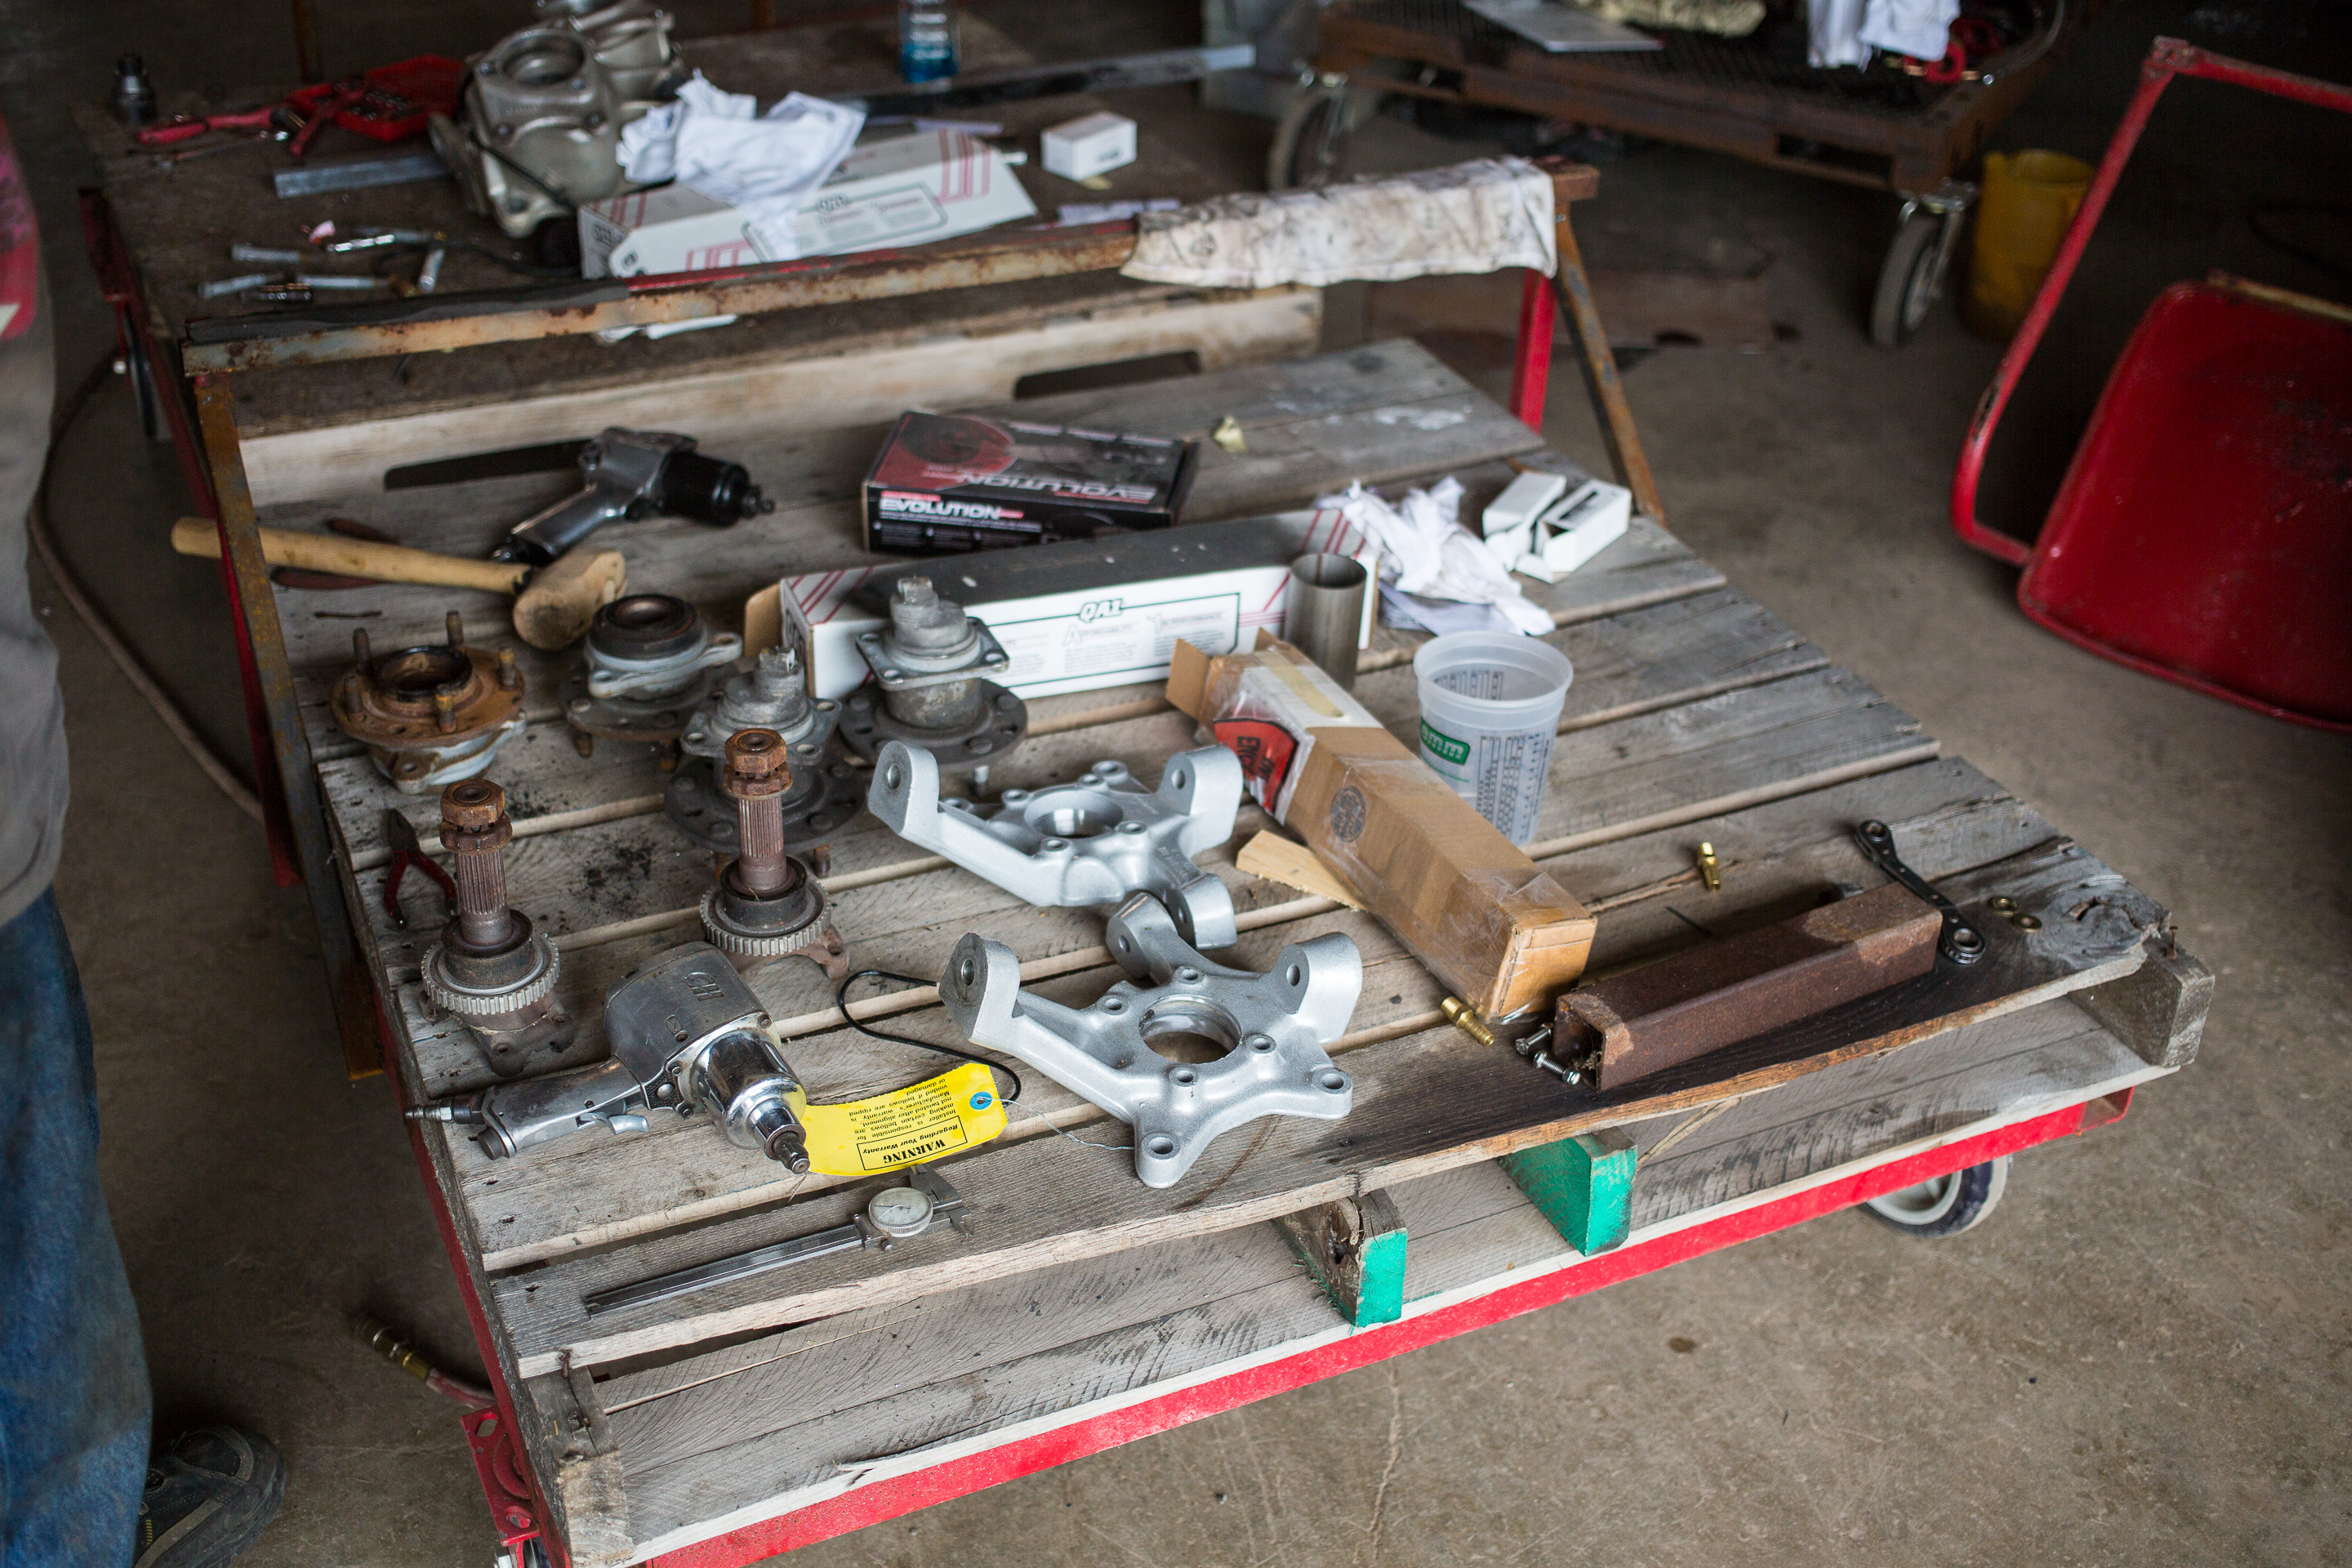
We also started piece milling our suspension from the pile, notice the 96 and 89 knuckles.
And we've got location figured out for the fuel neck through the body. I'll be right along the floor.
That's got to go.
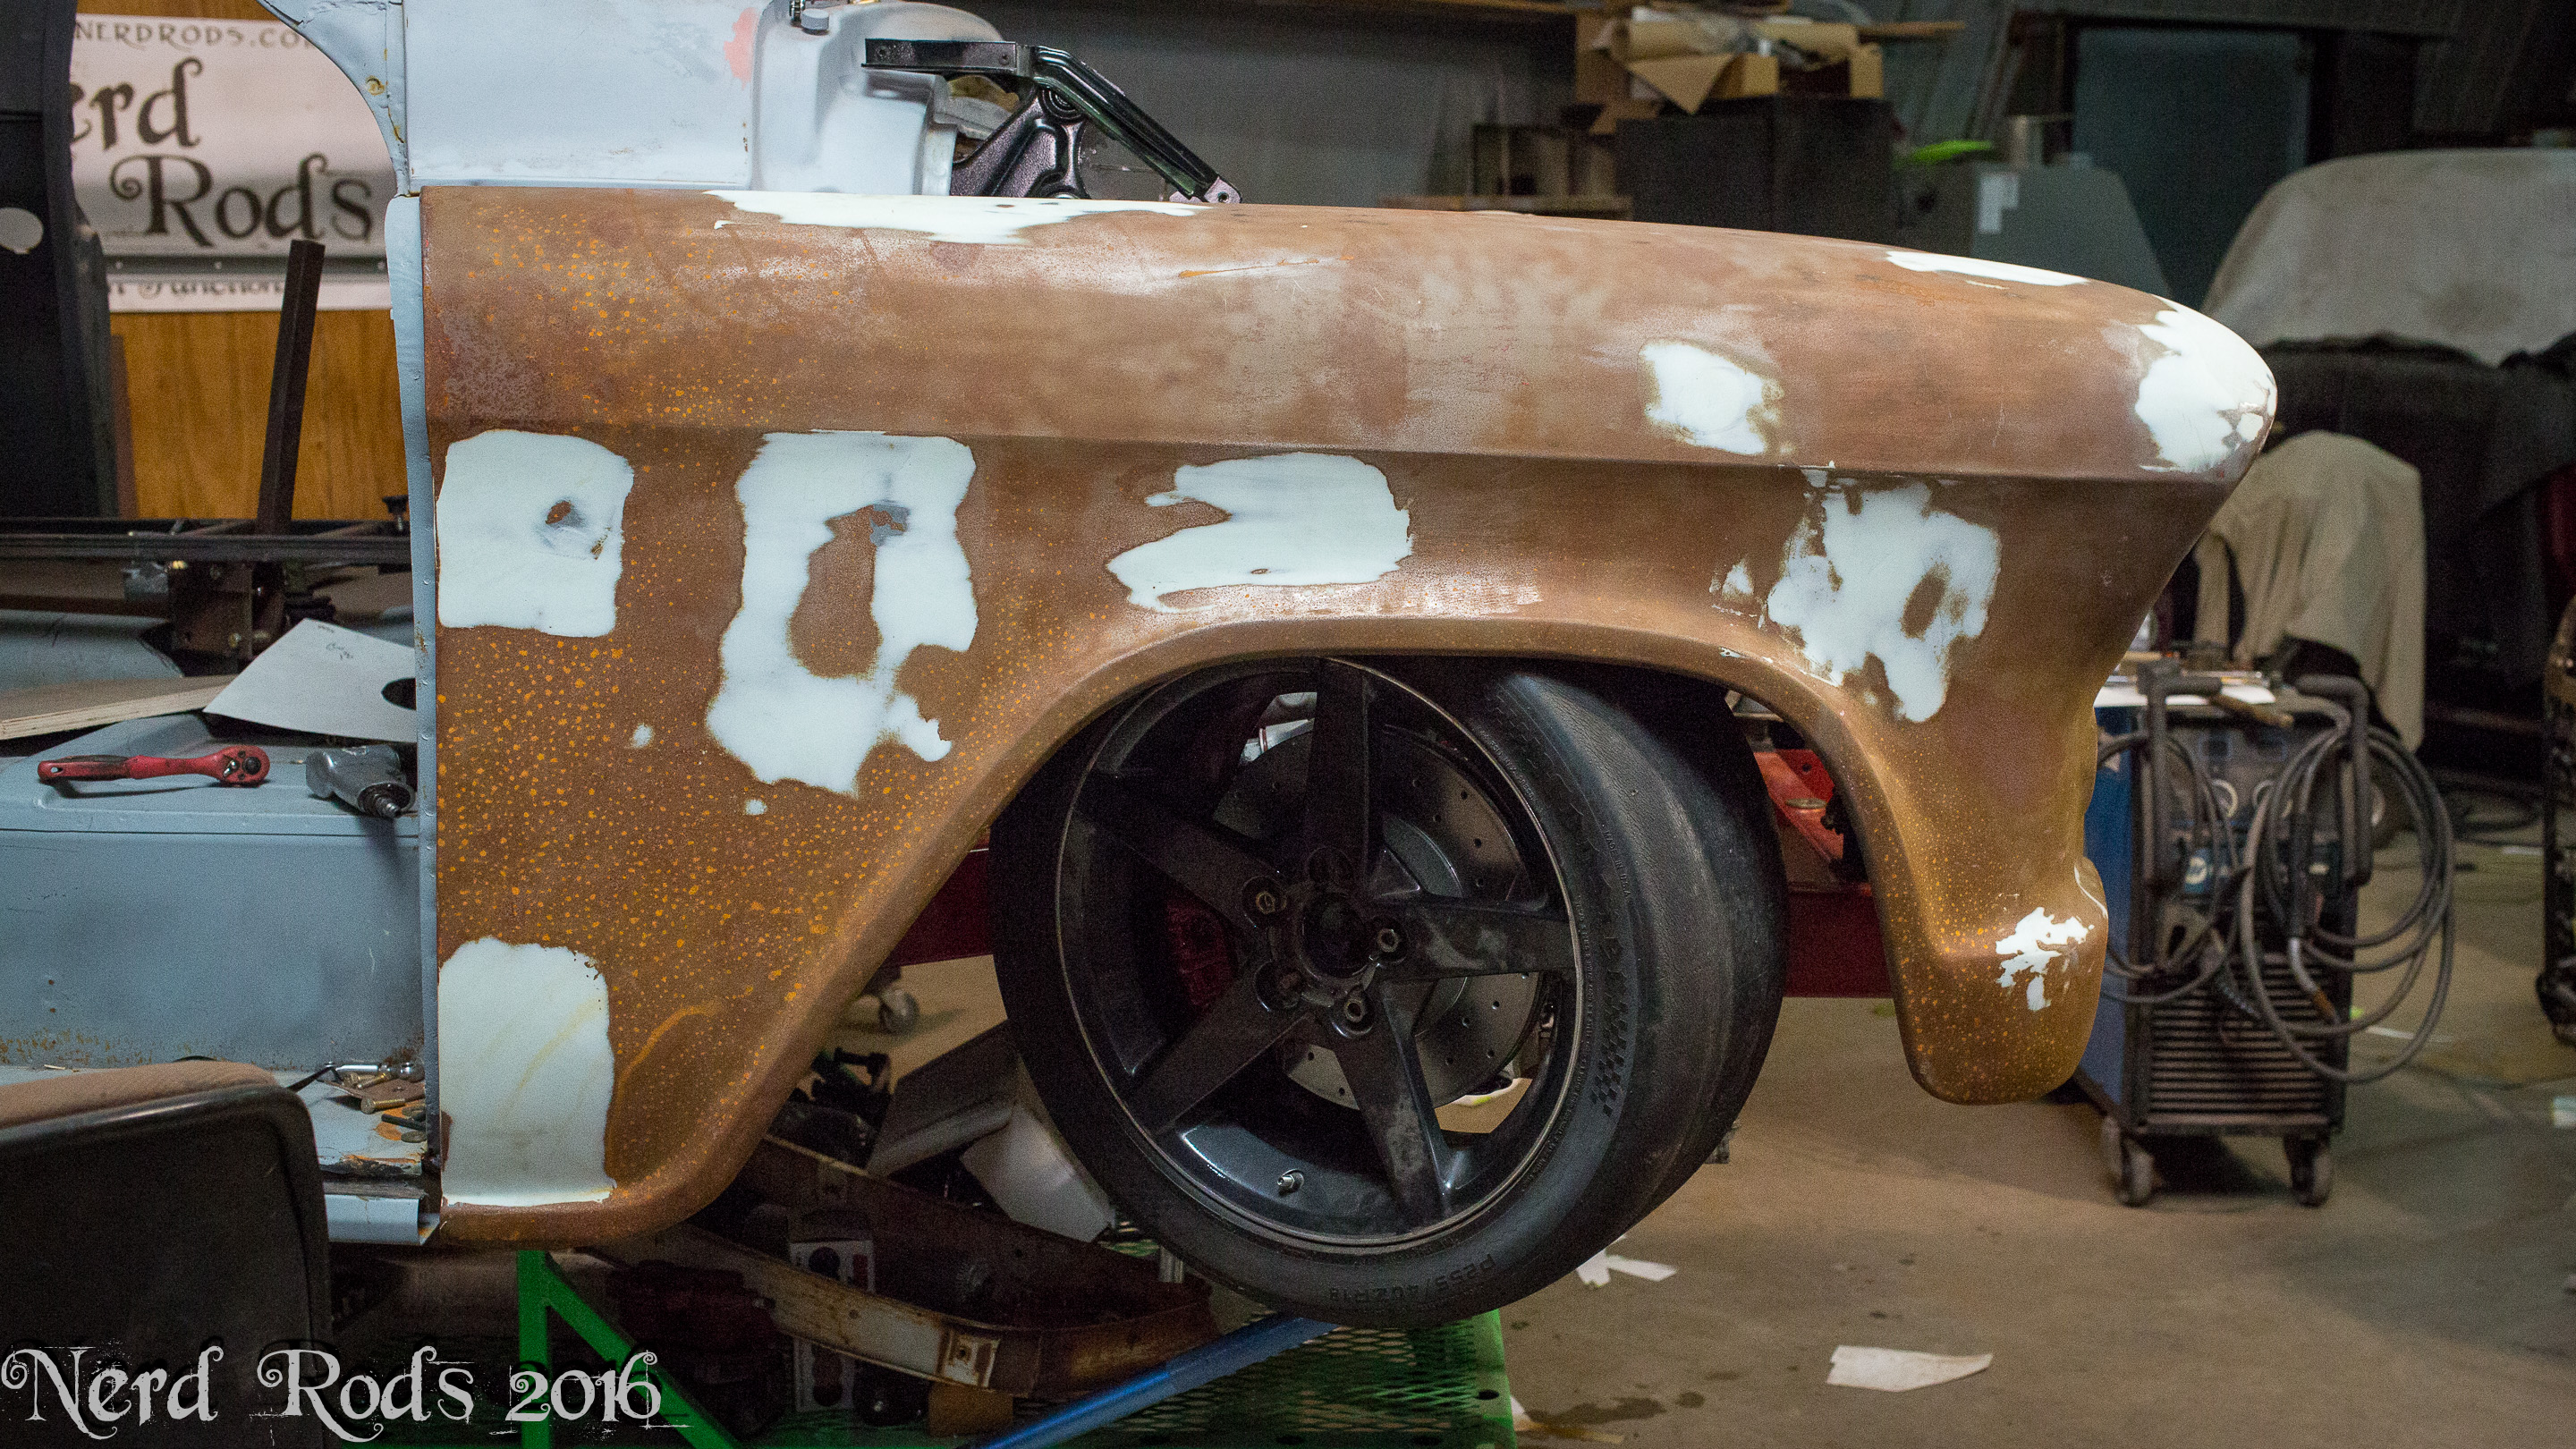
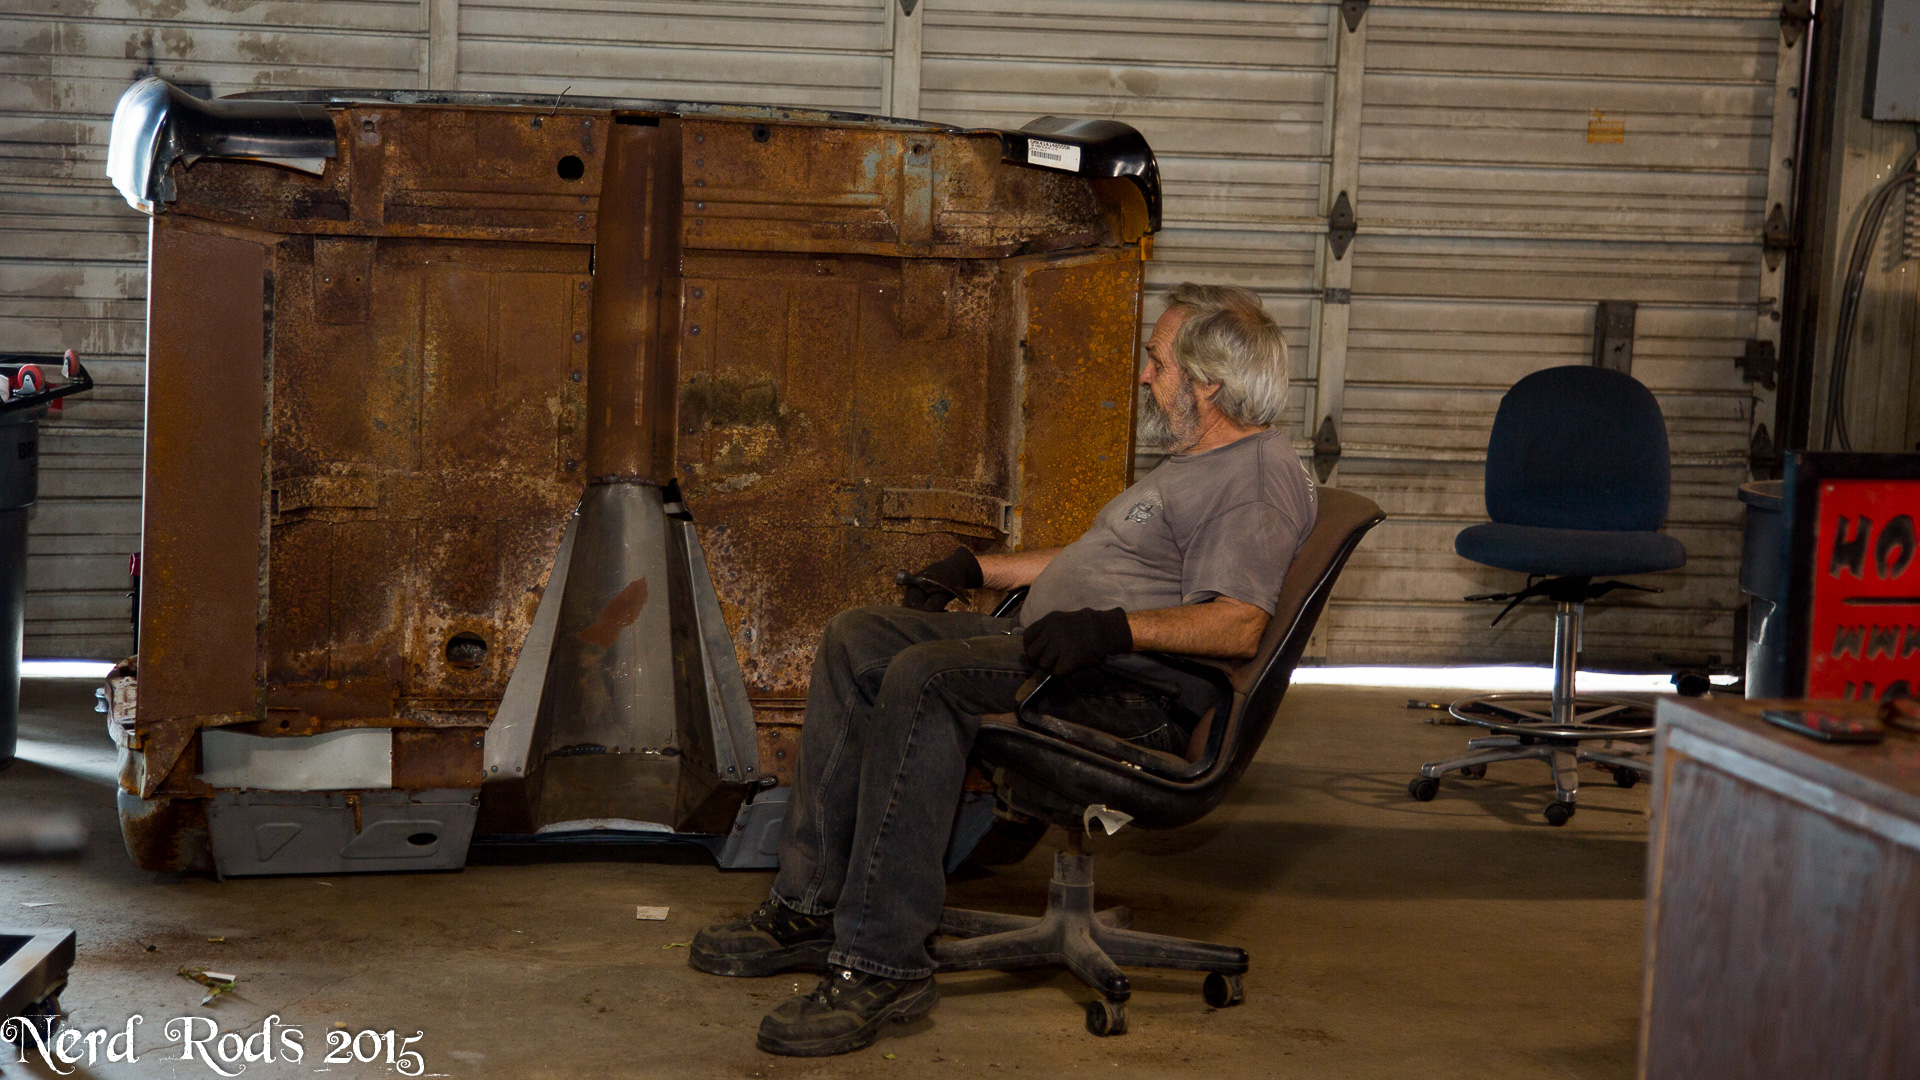
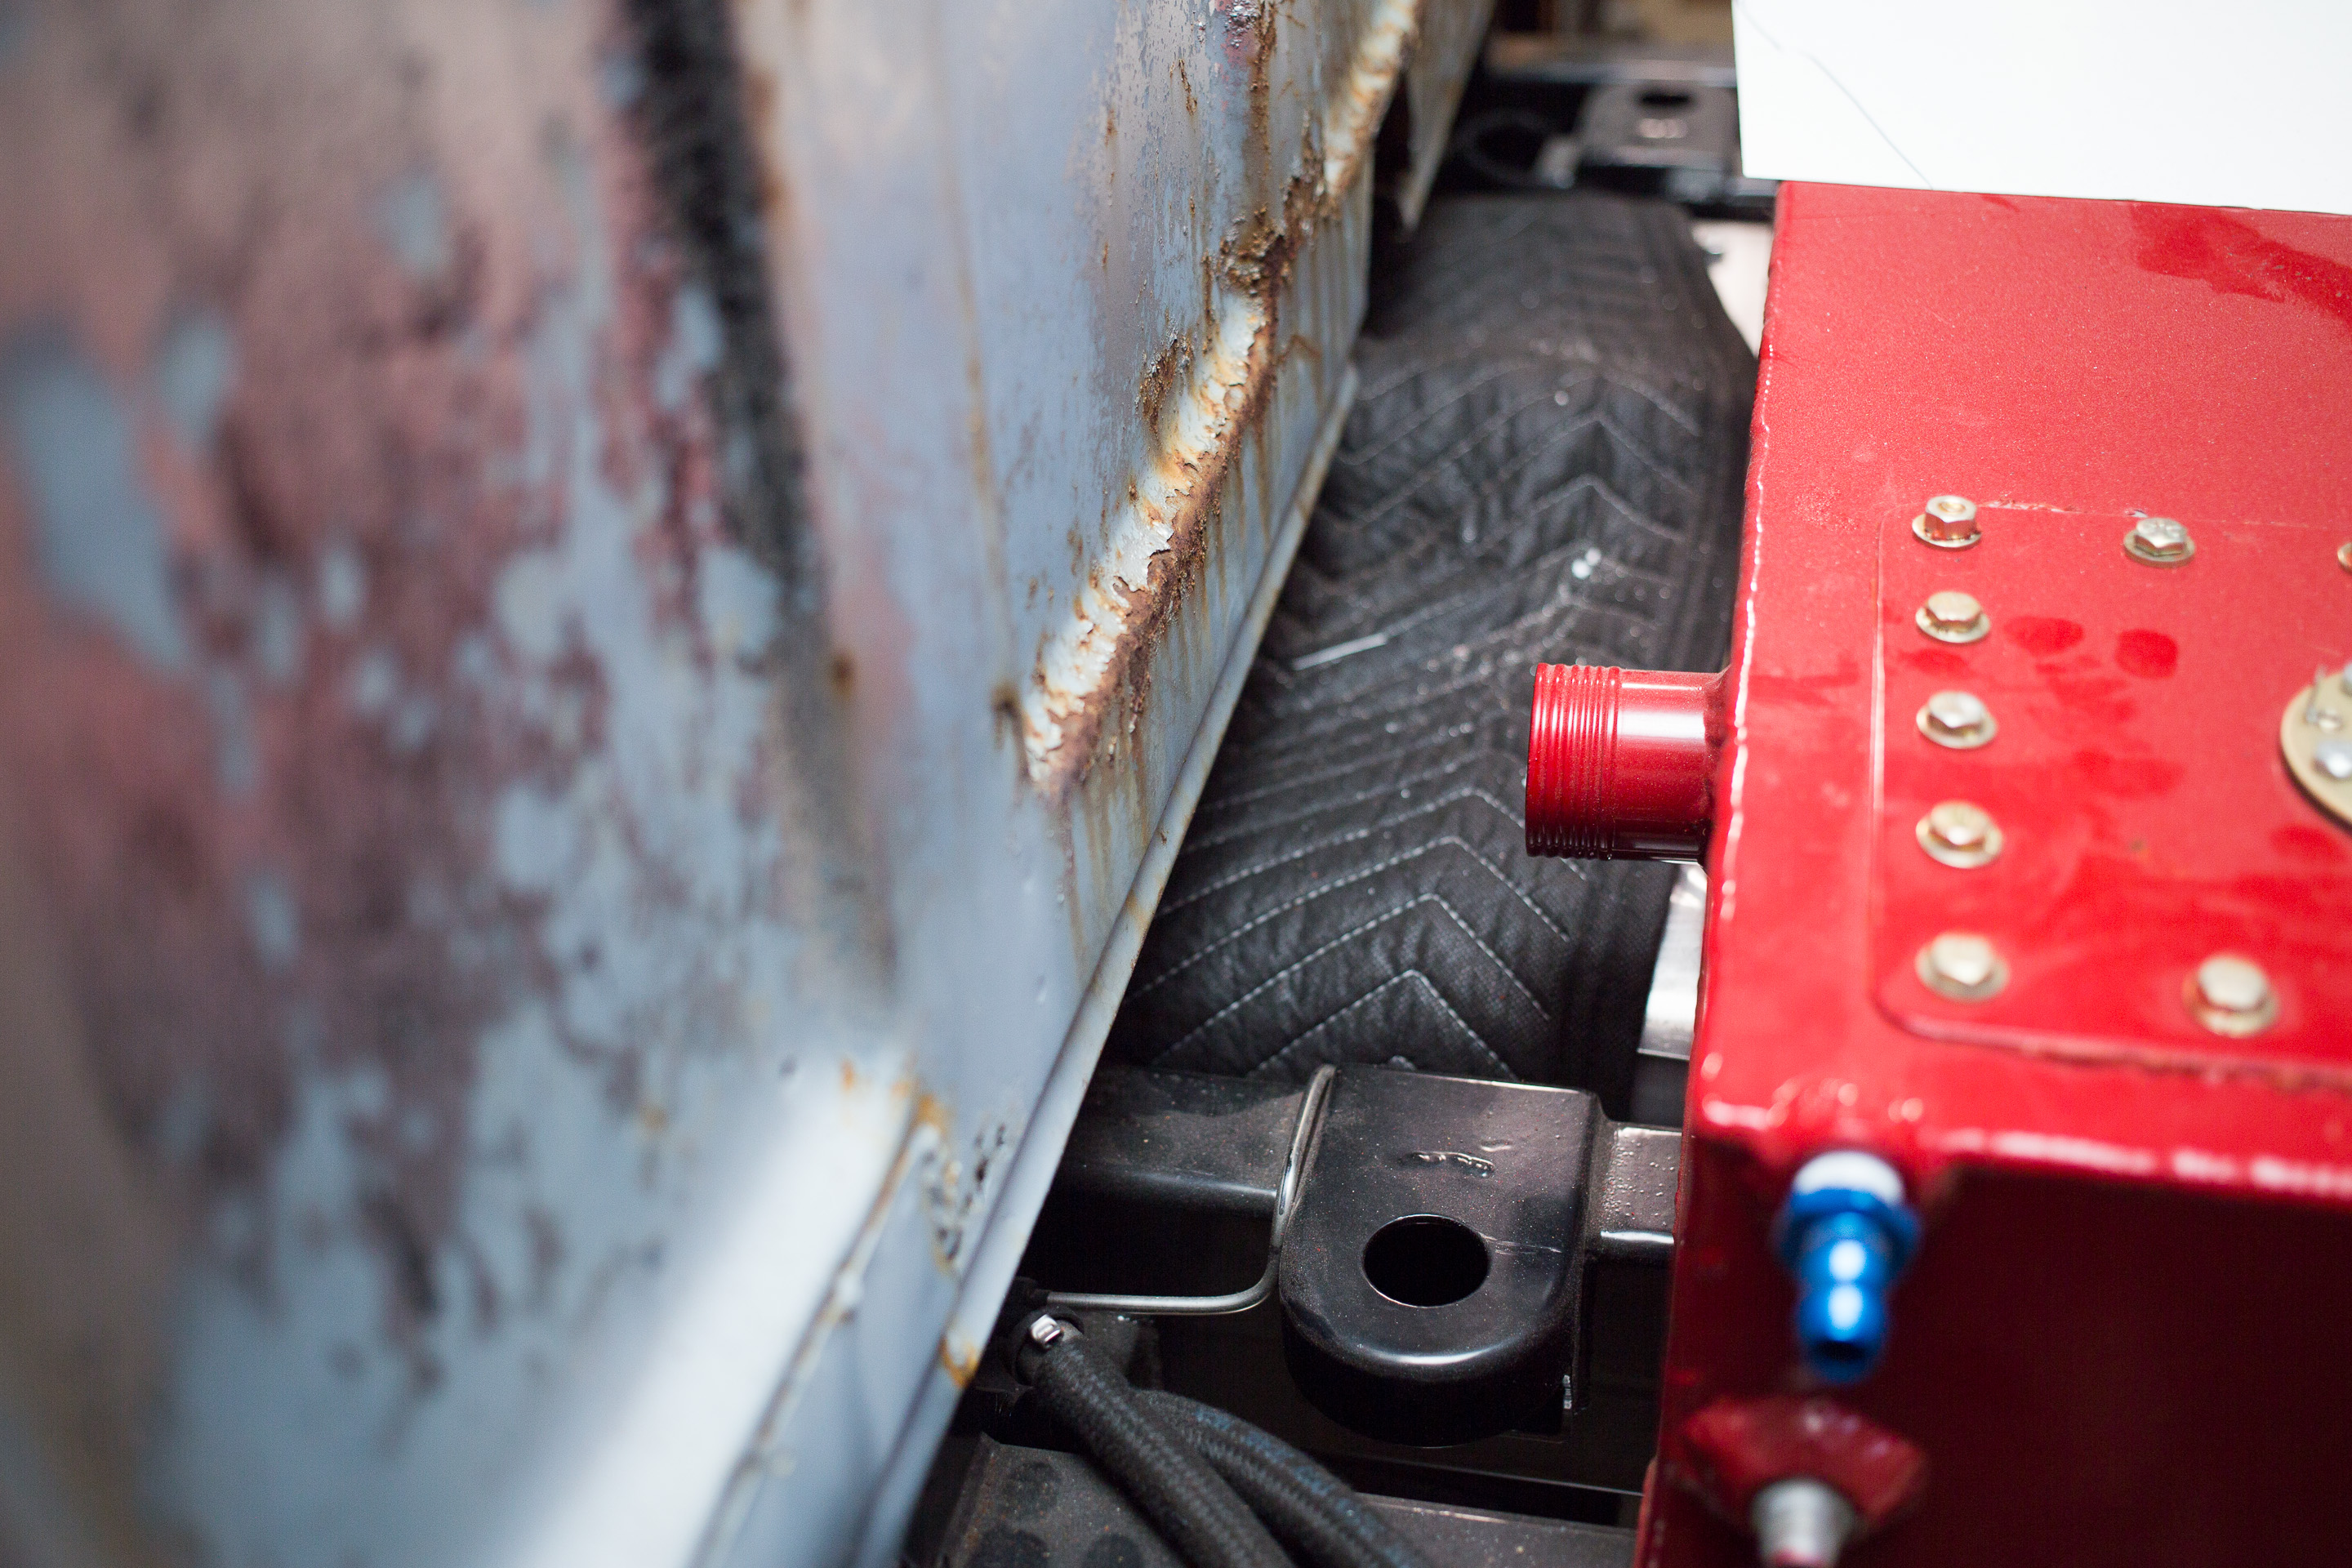
And finally, DANG Shes going to be low. With the Suspension loaded the center of the wheel will be in the center of the lower door hinge.
More soon, I've got one frame to wrap up and ship out before I can finish up the D3's frame. Also for your guys who ask about mig welding a frame, I'll MIG and time lapse as much as possible on this frame.
Updated 2015.JUN.19
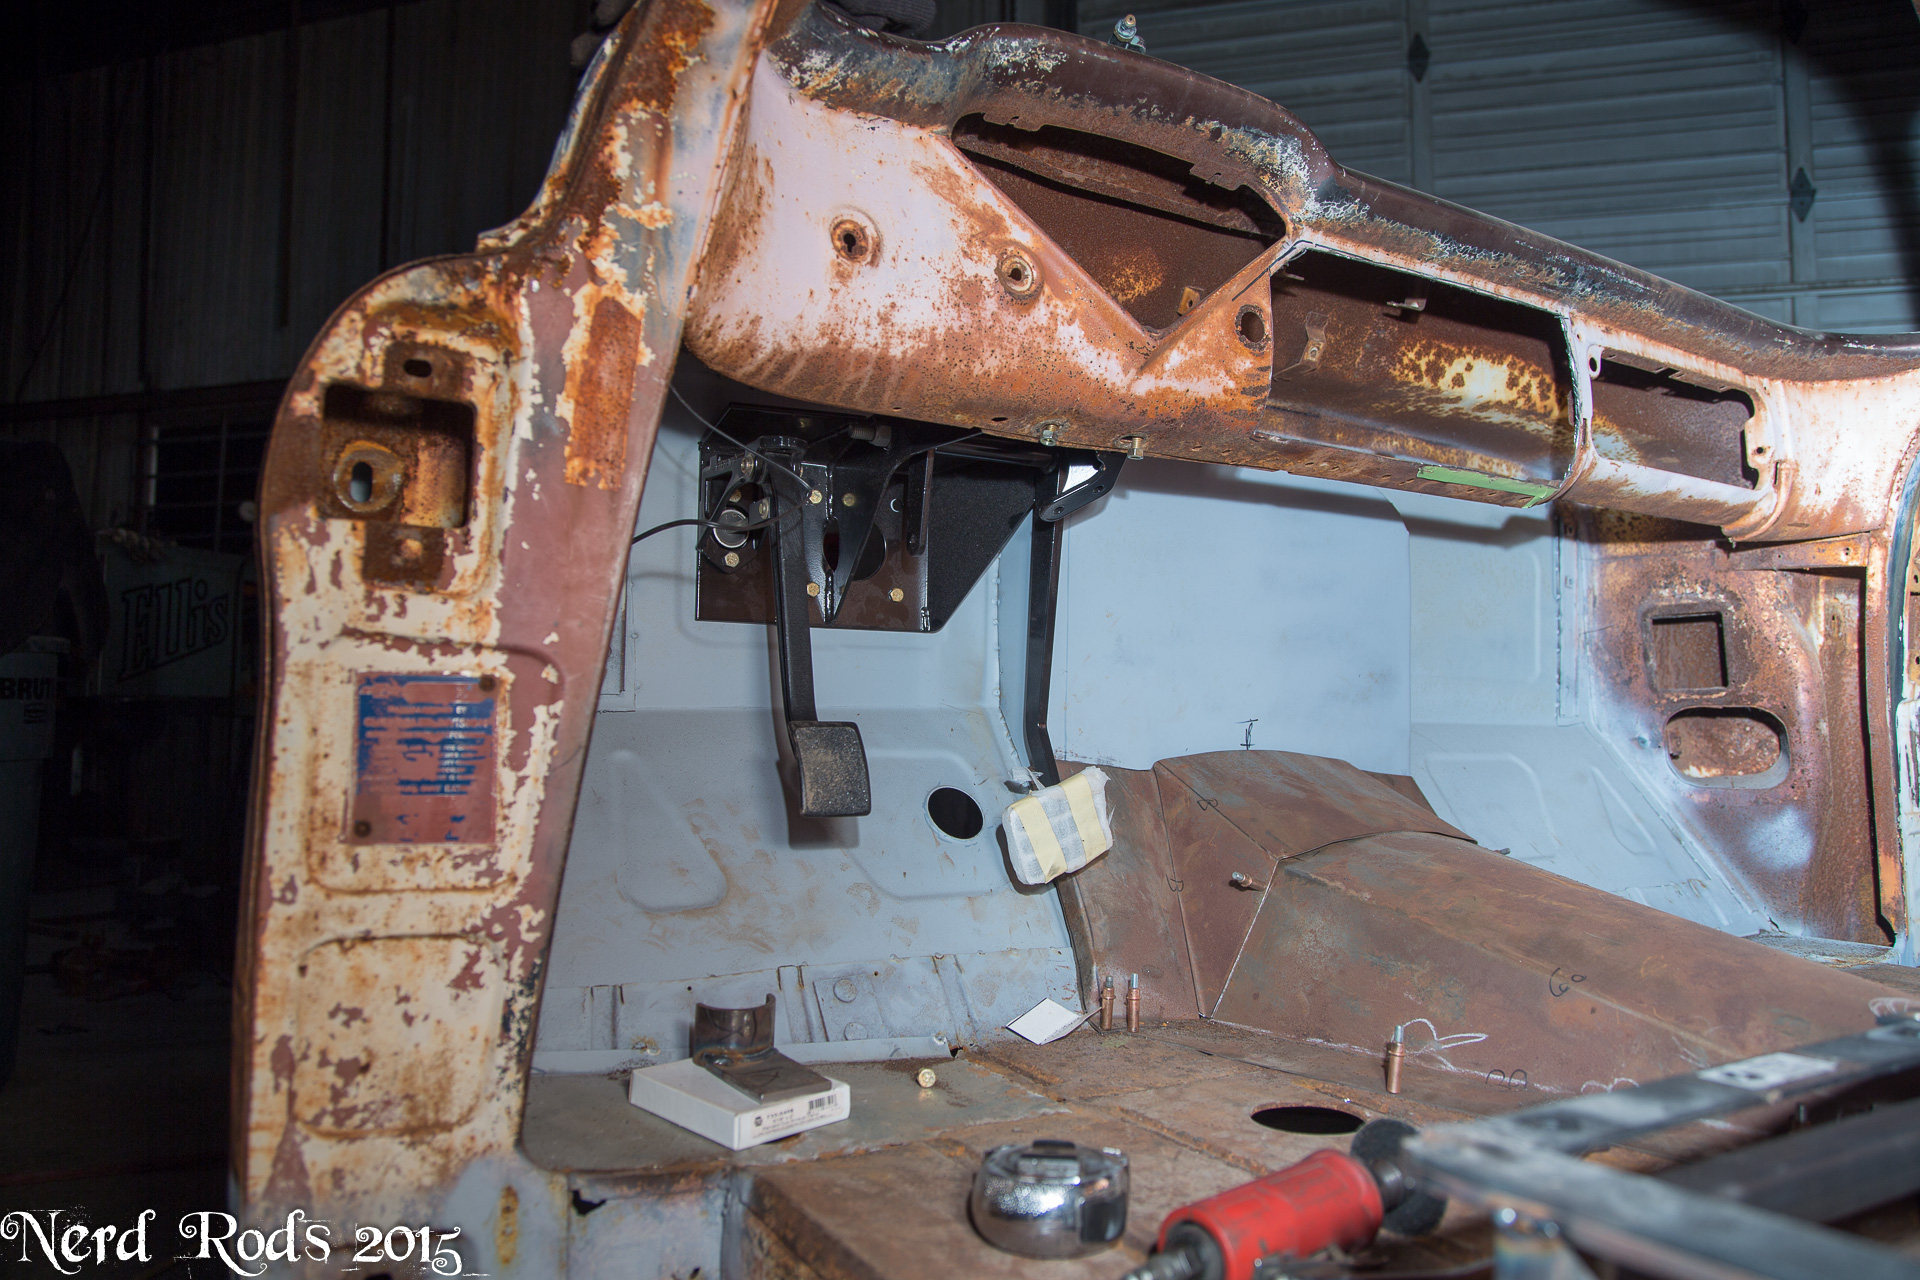
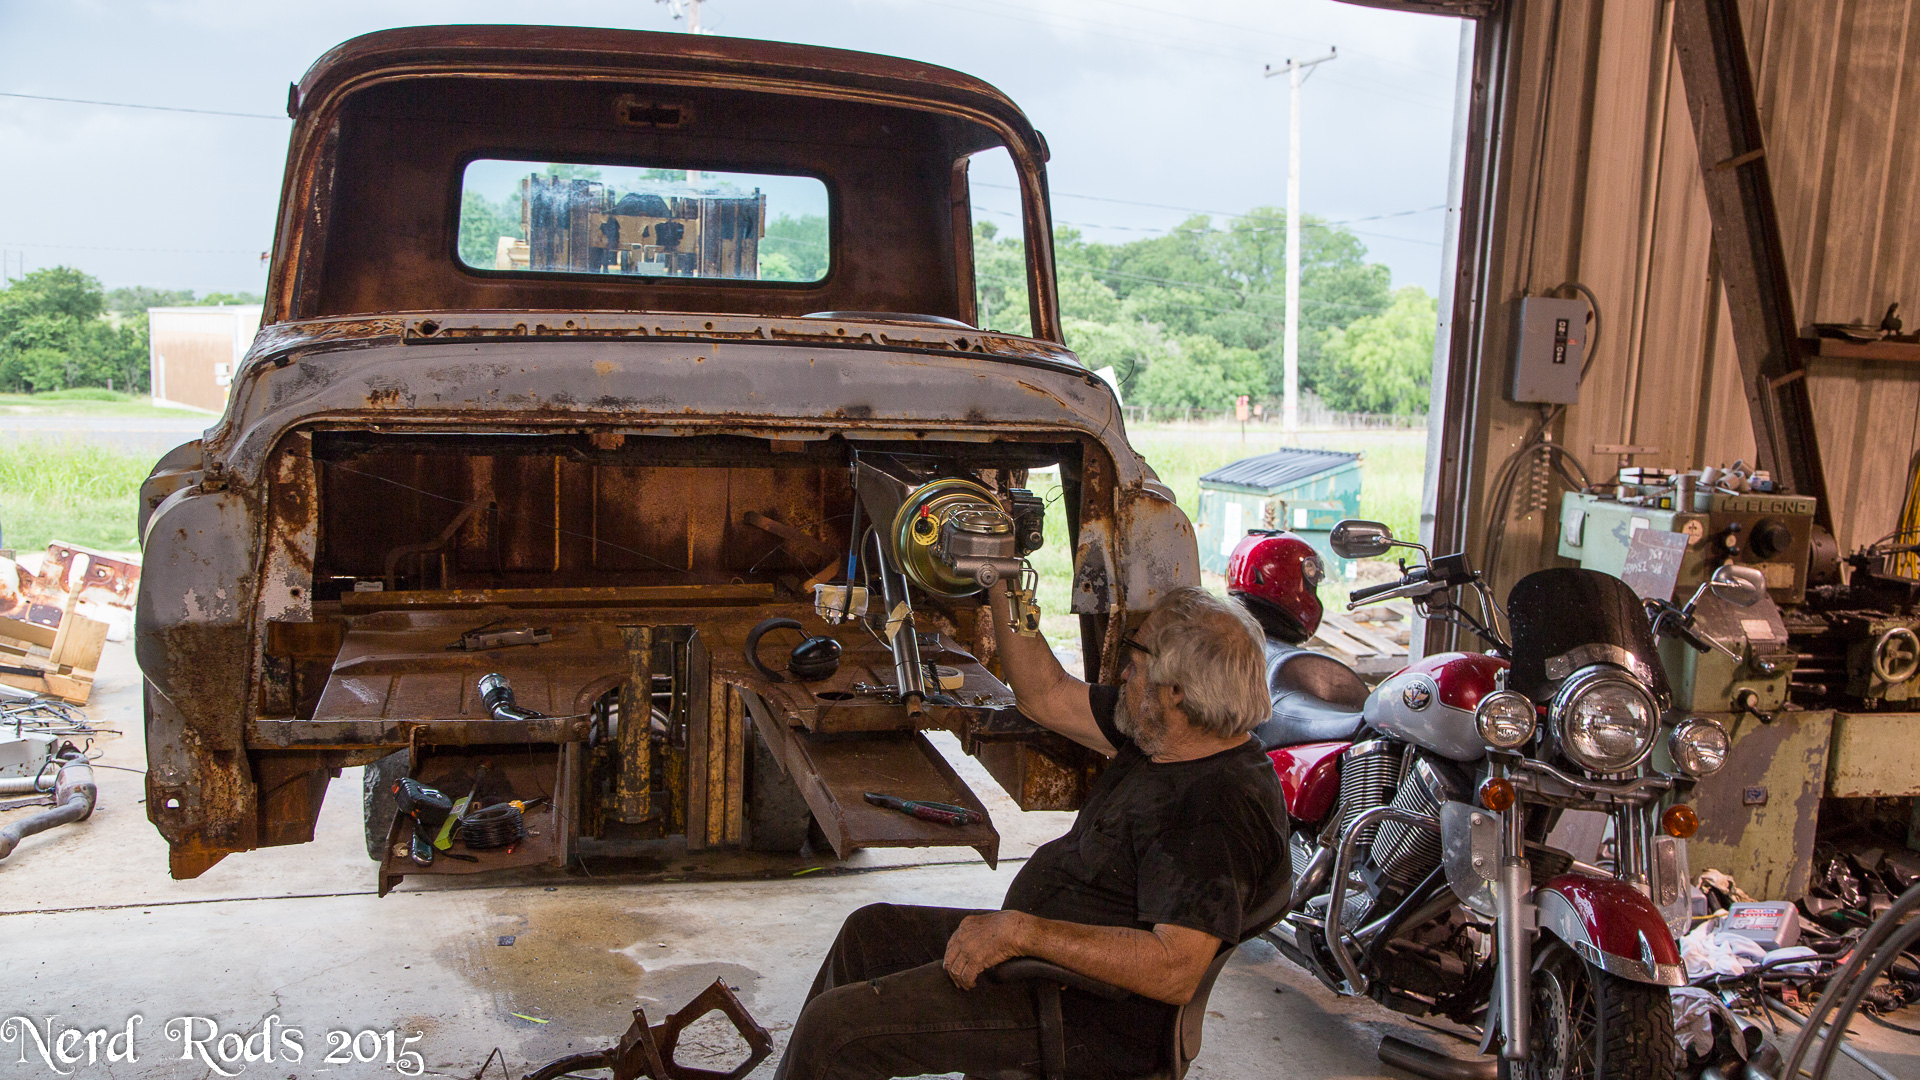
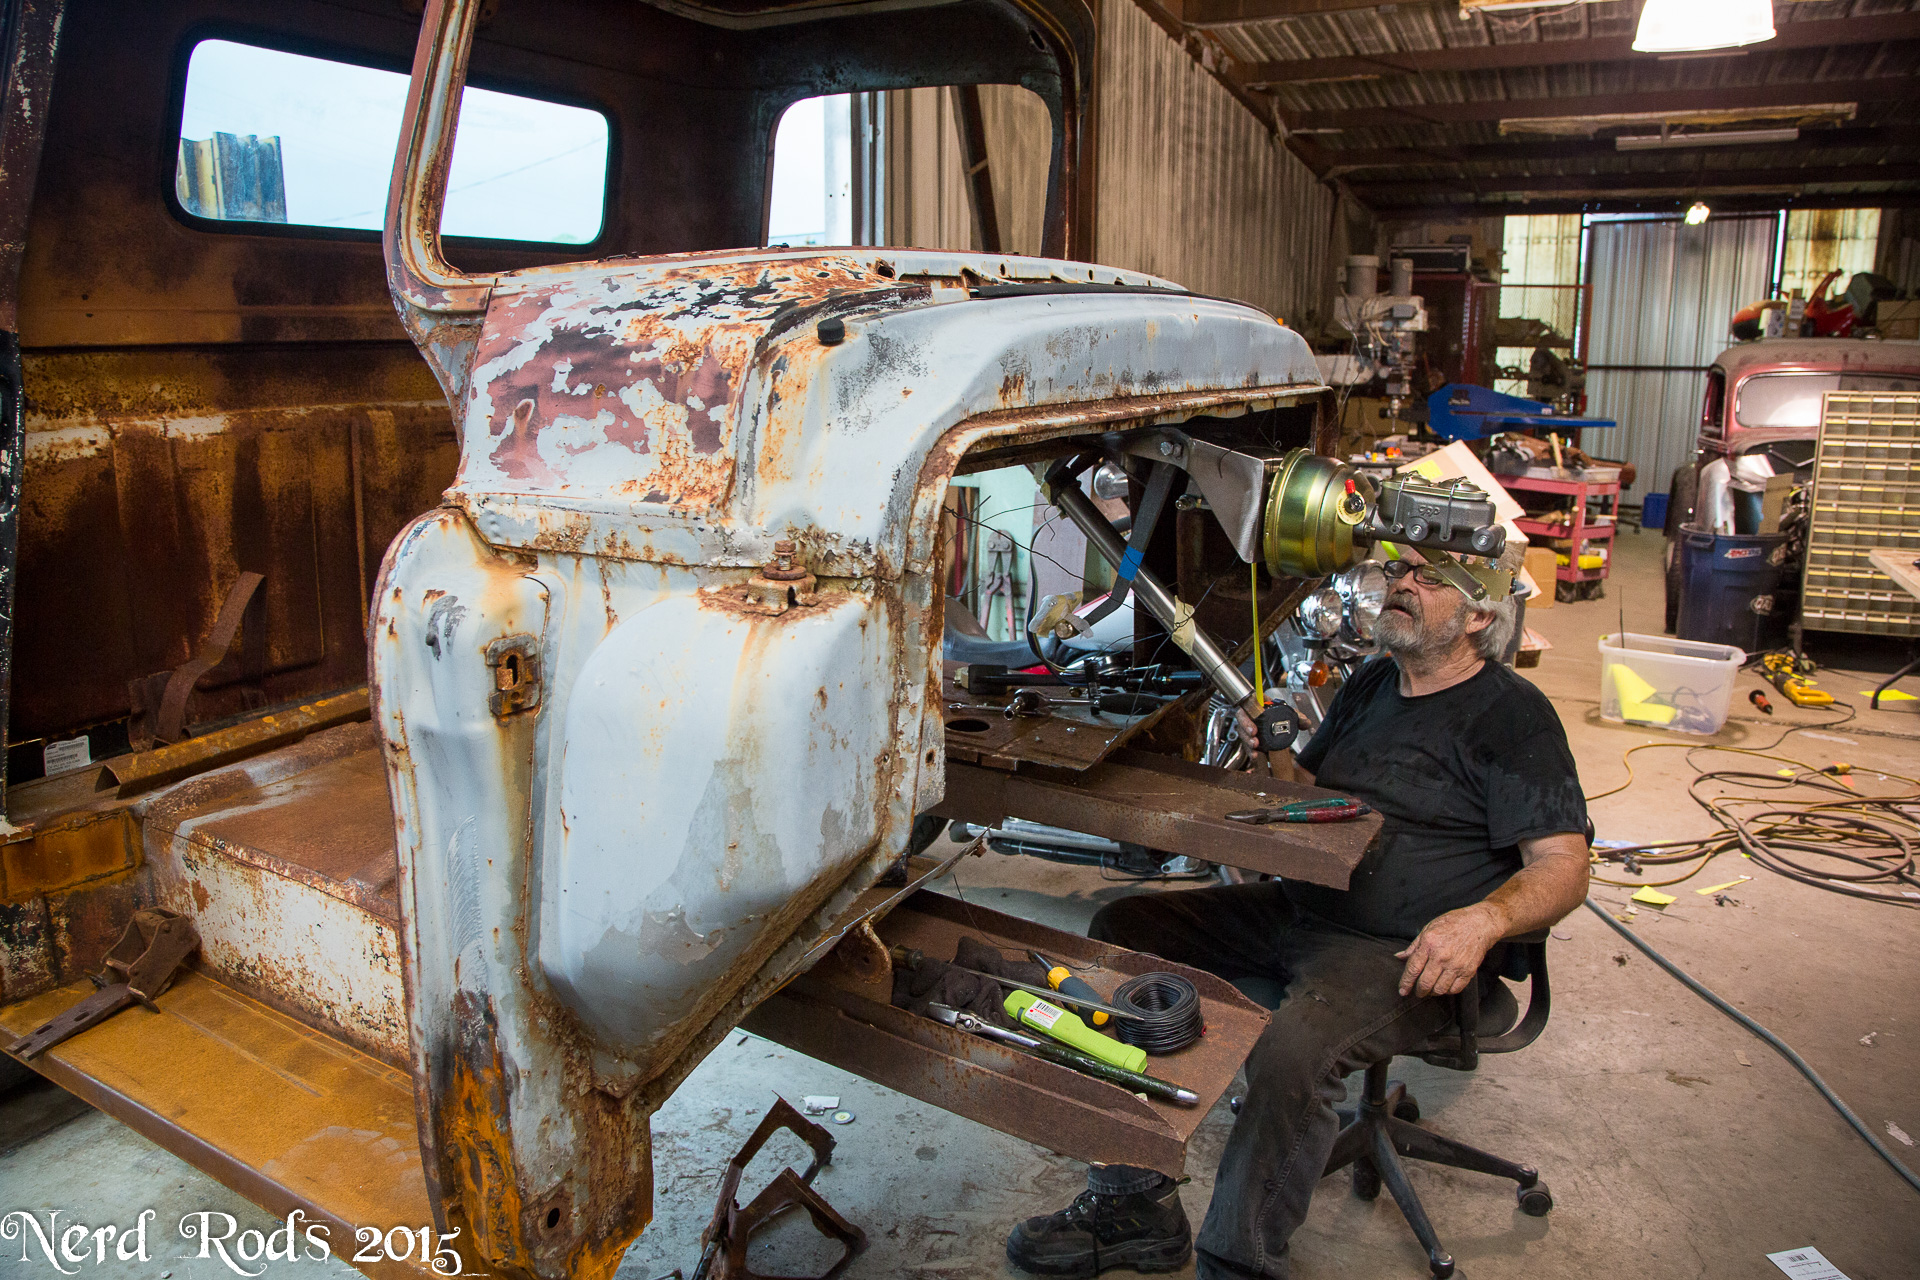
Firewall out, Master cylinder and booster with firewall mount and clutch pedal in.
Updated 2015.JUN.18
Photo Gallery Link for easy Viewing.
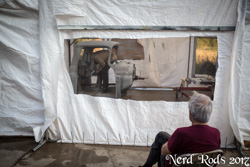
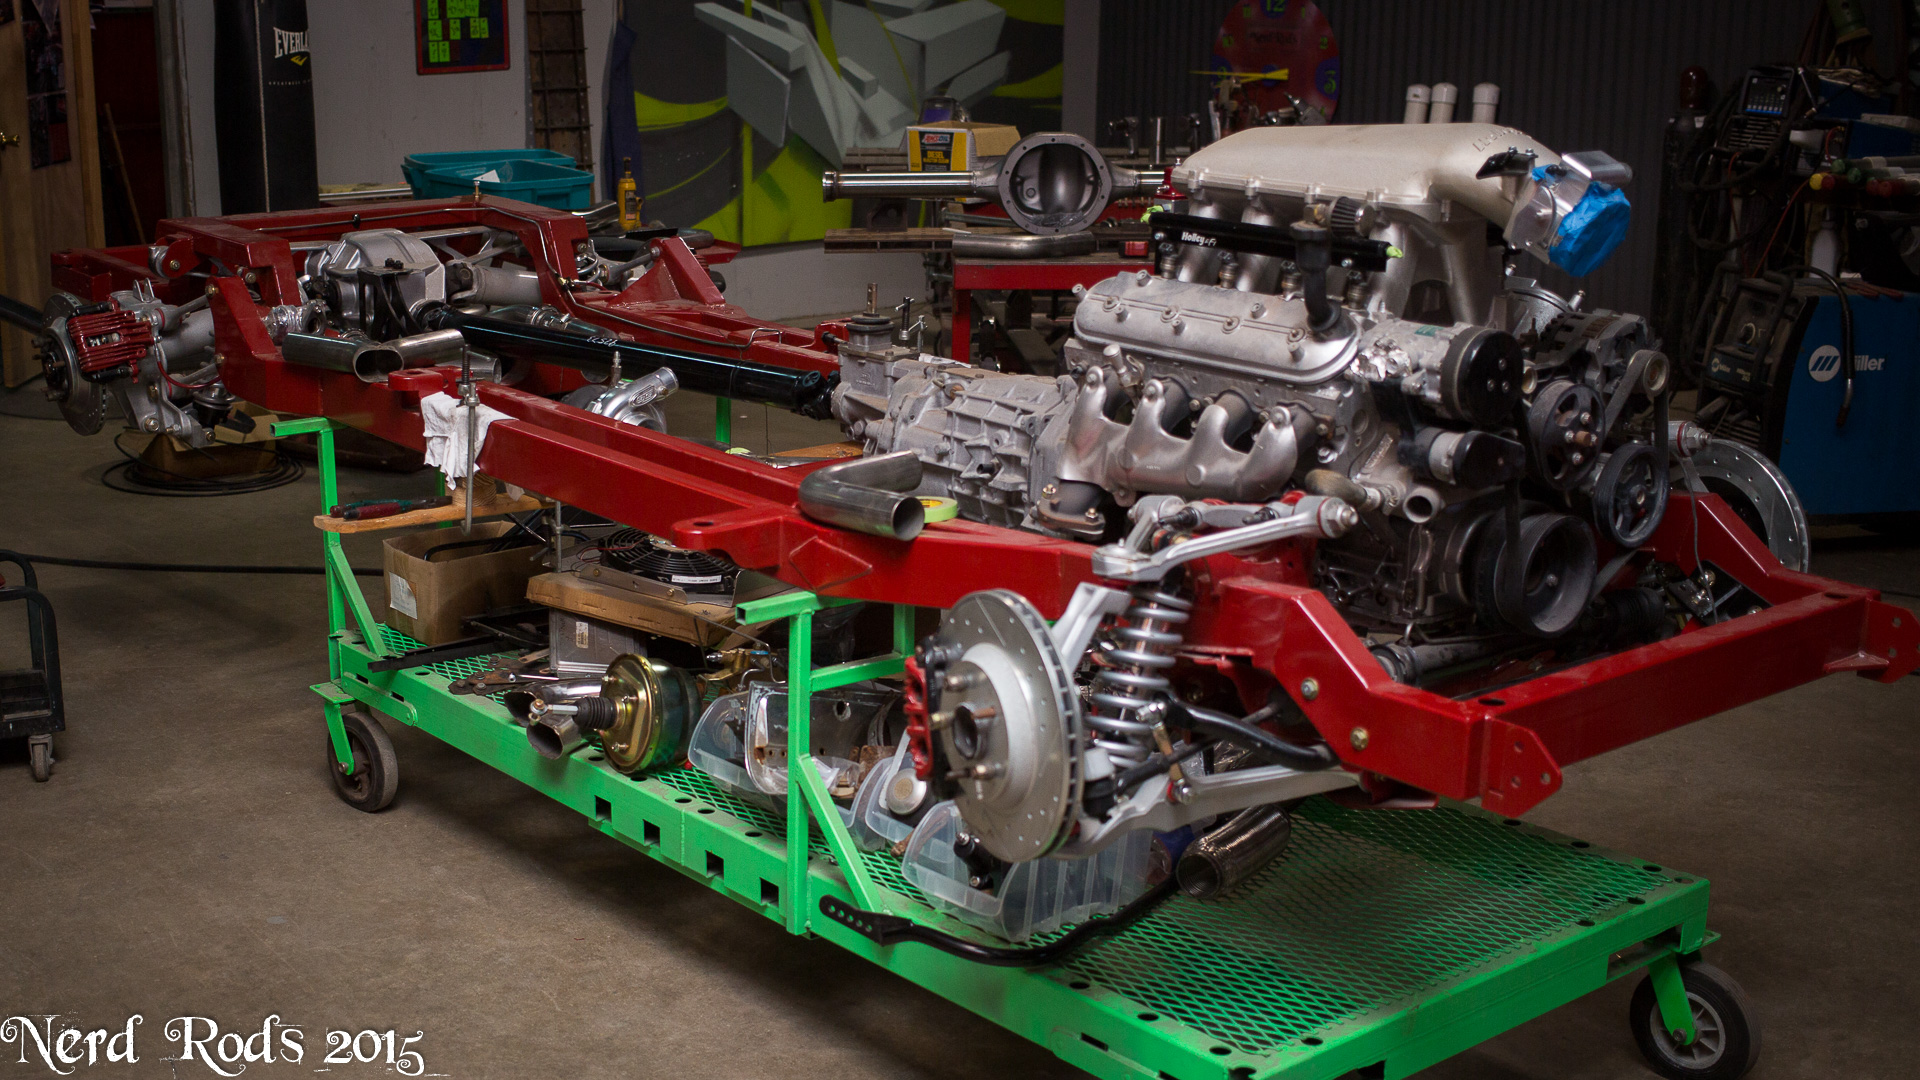
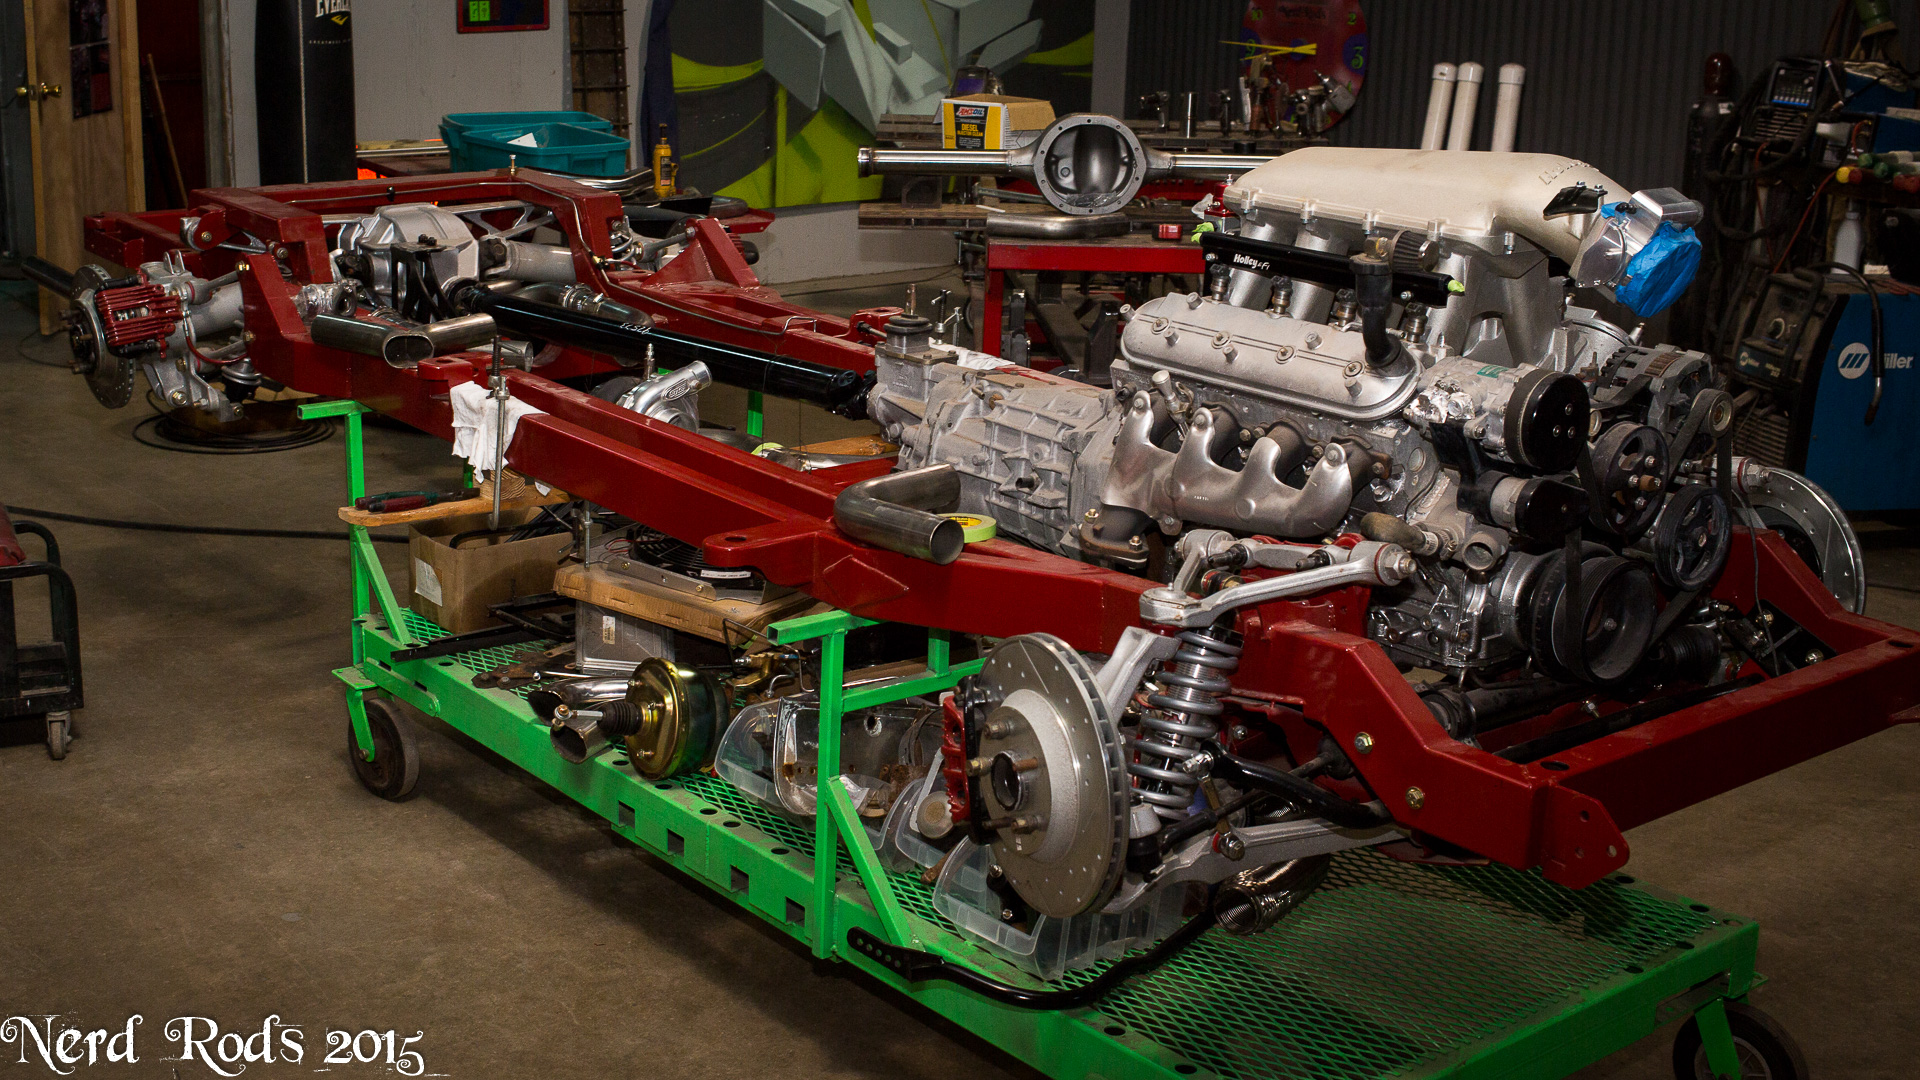
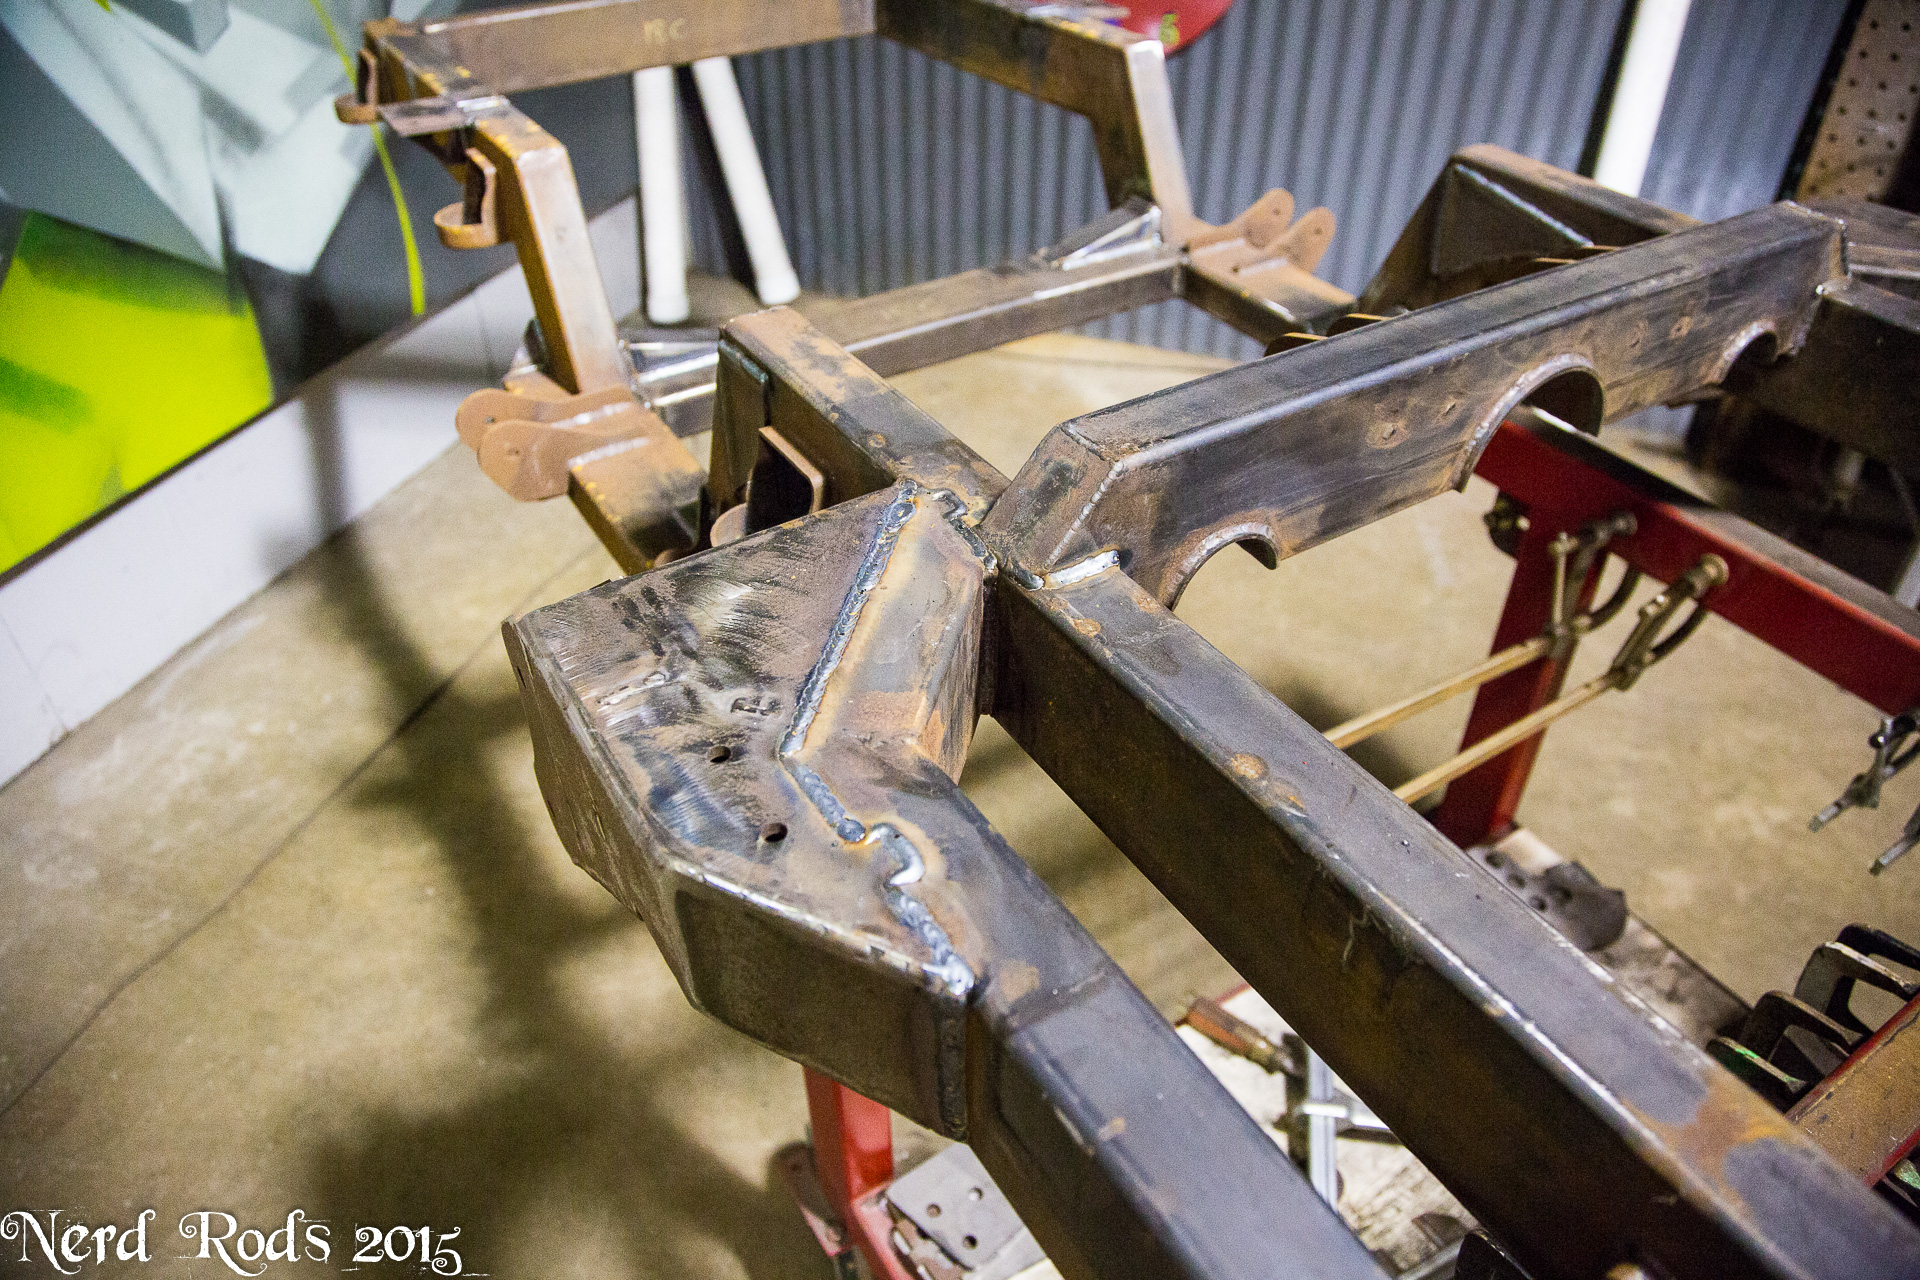
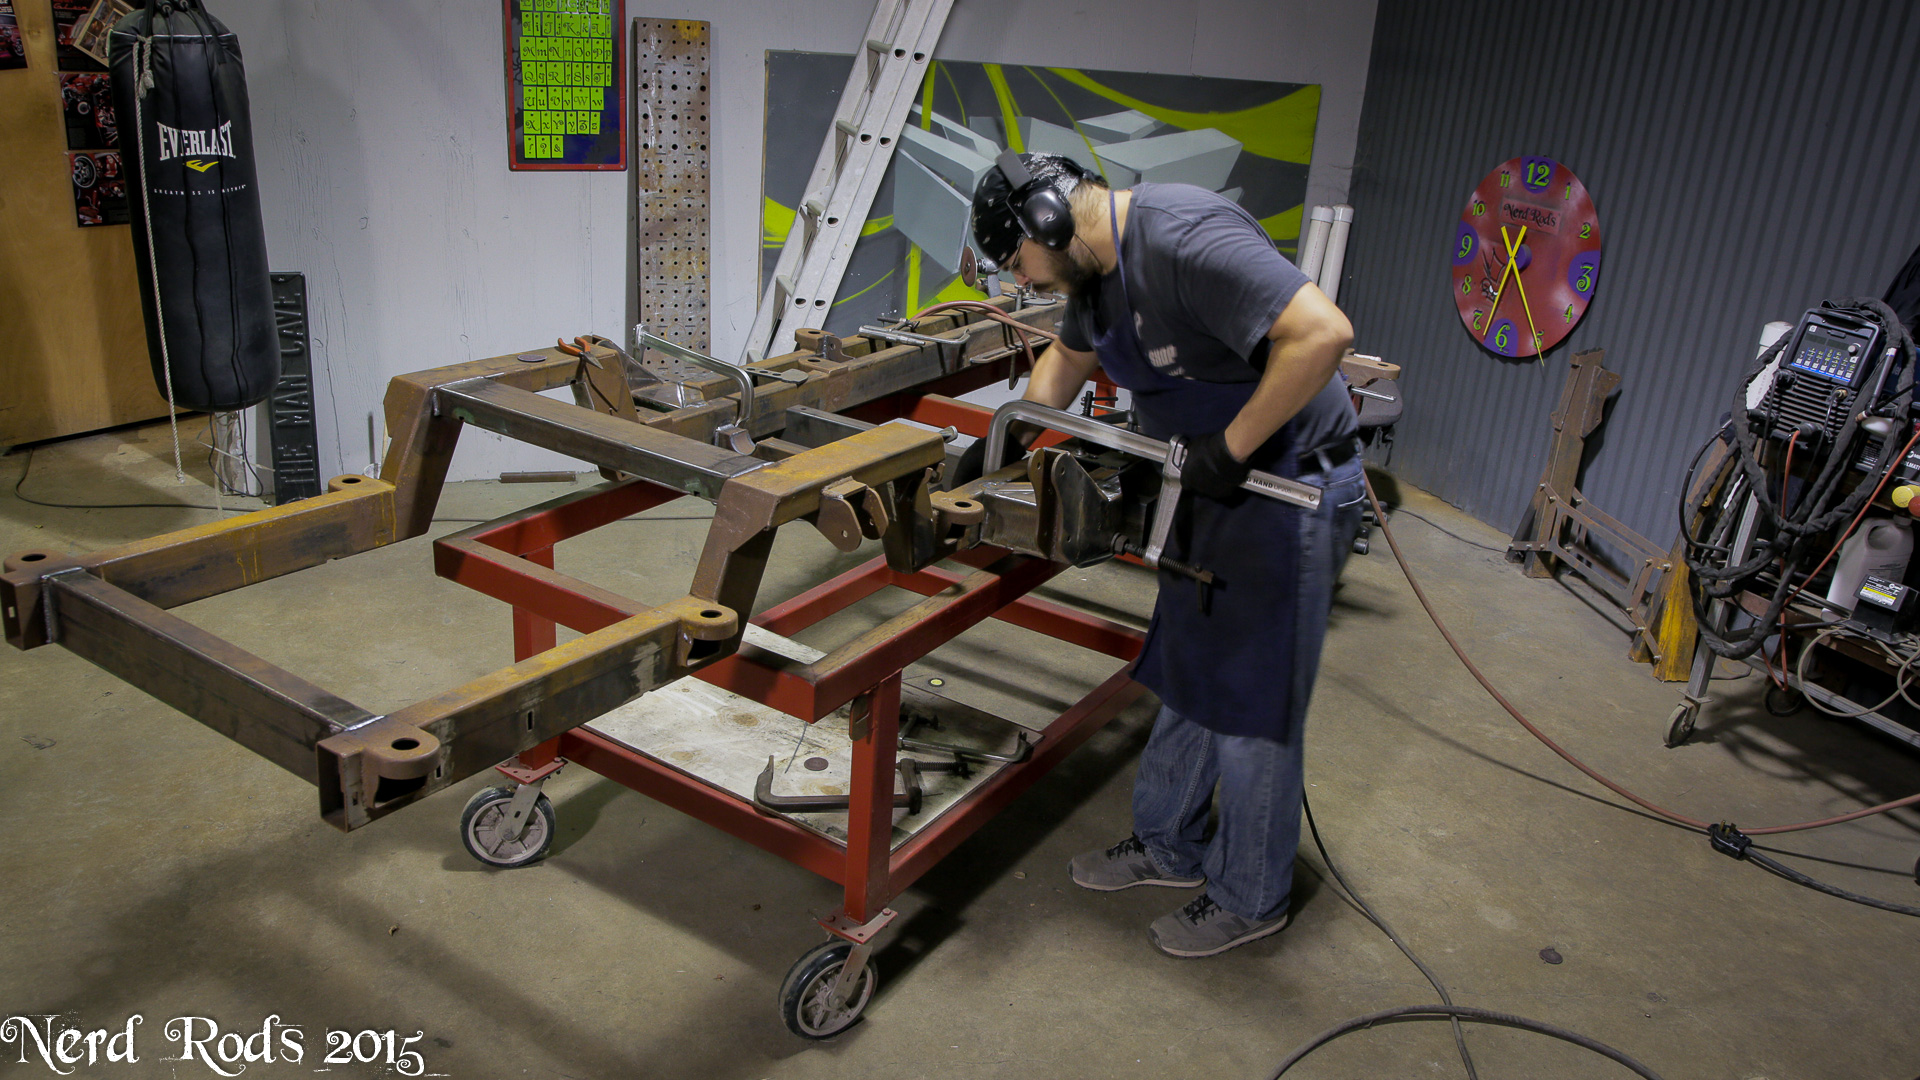
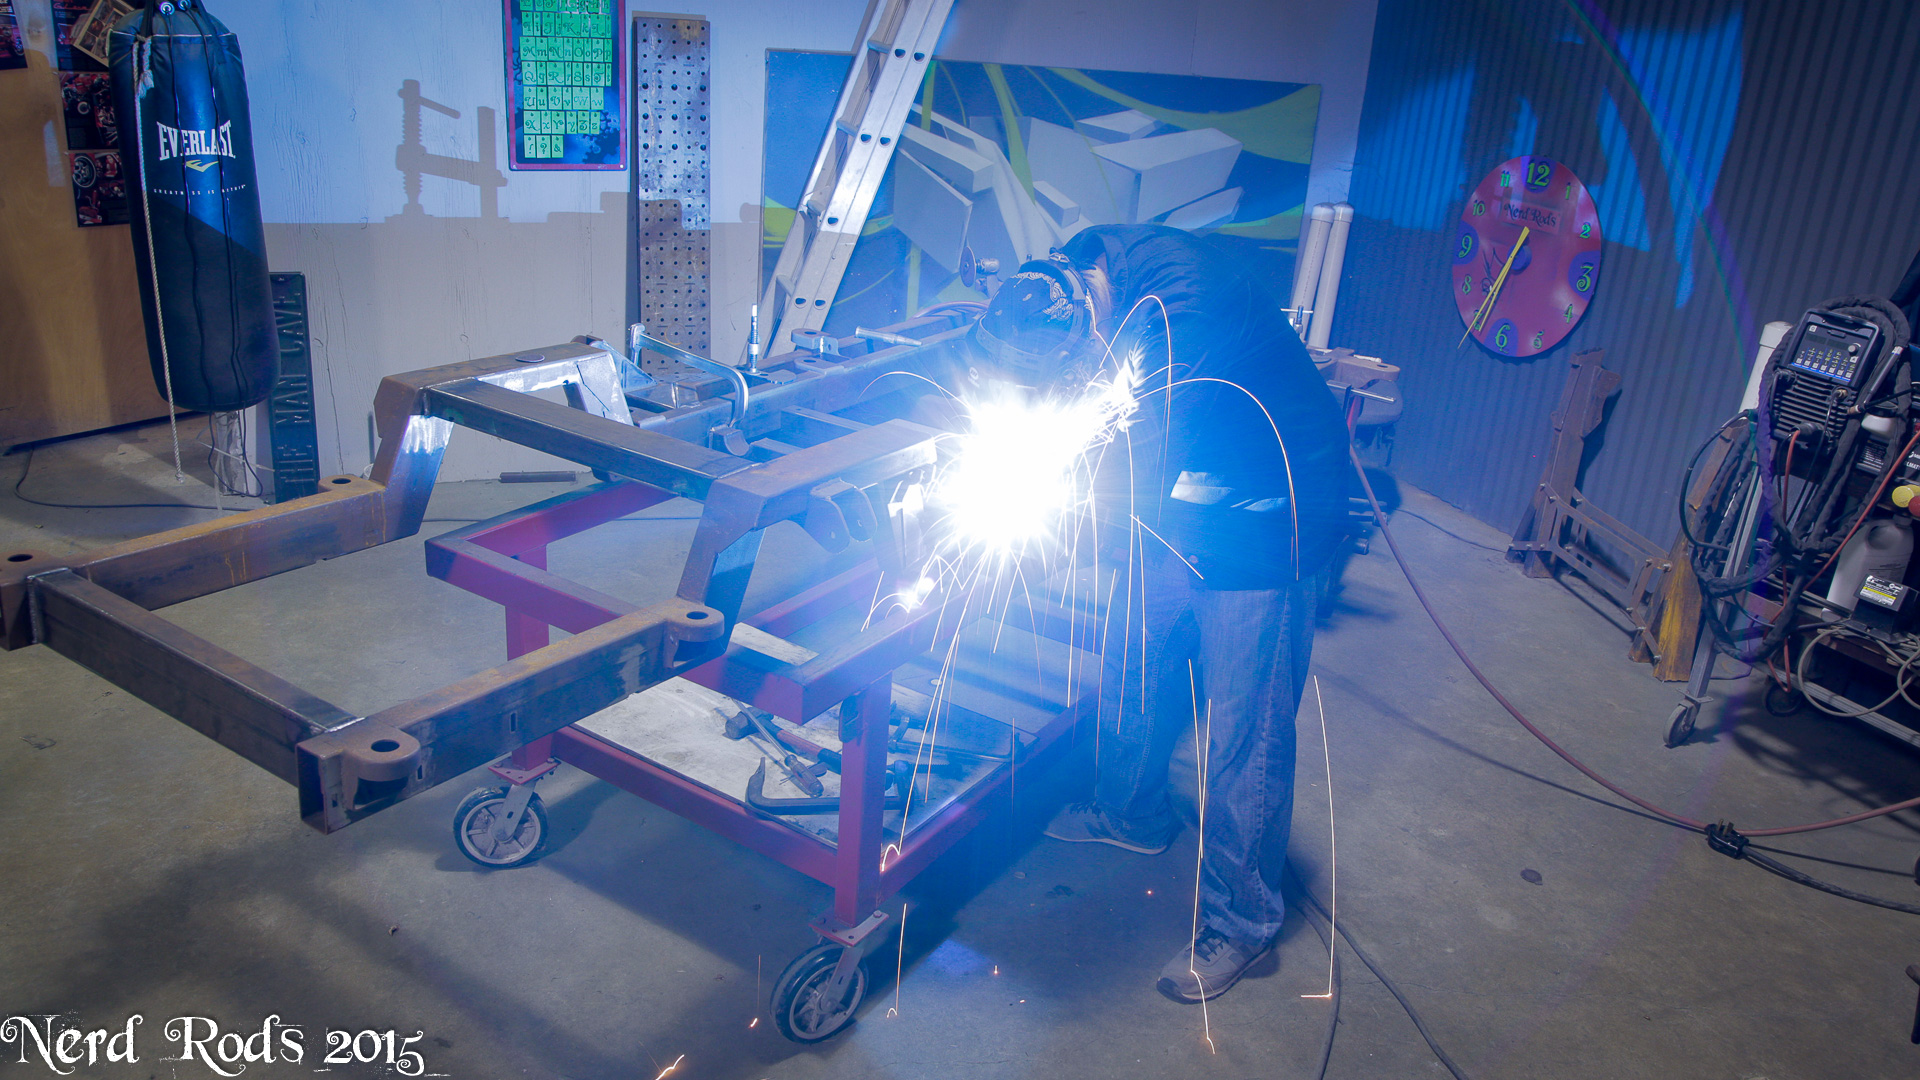
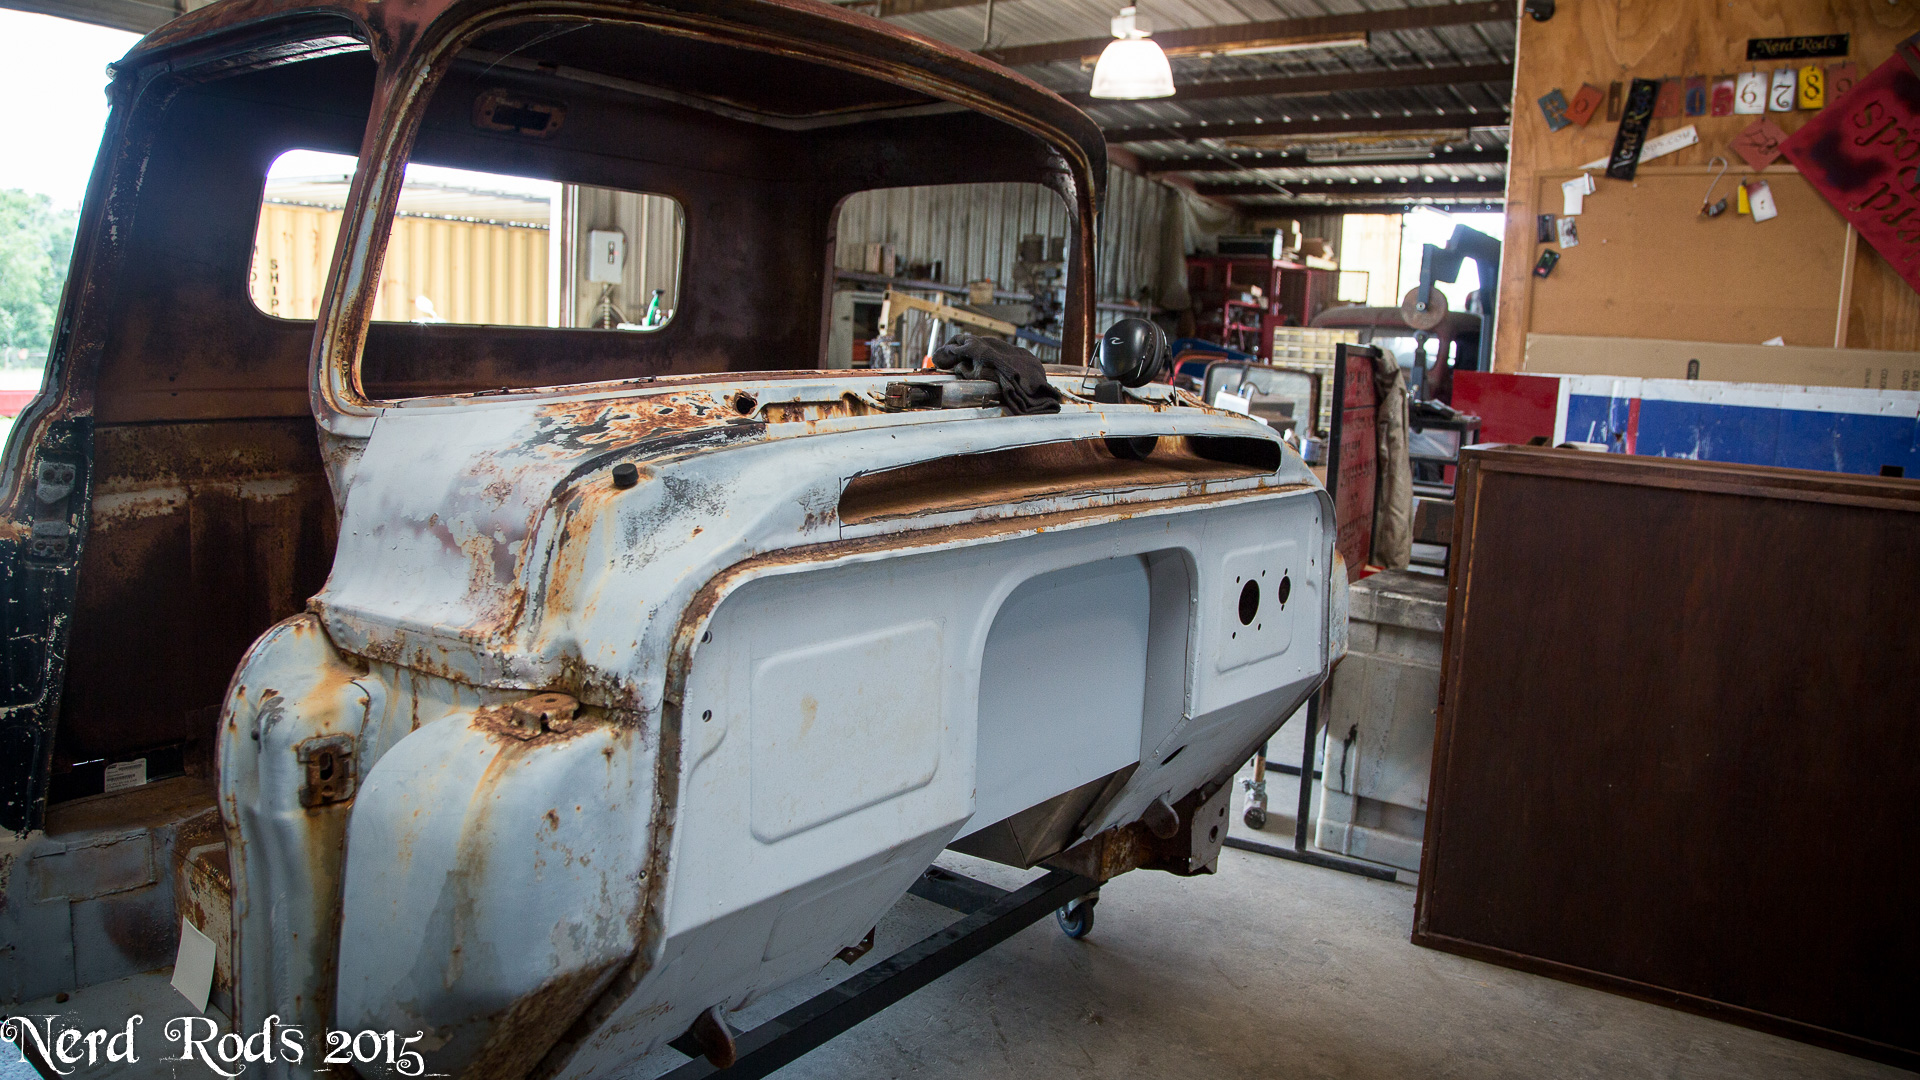
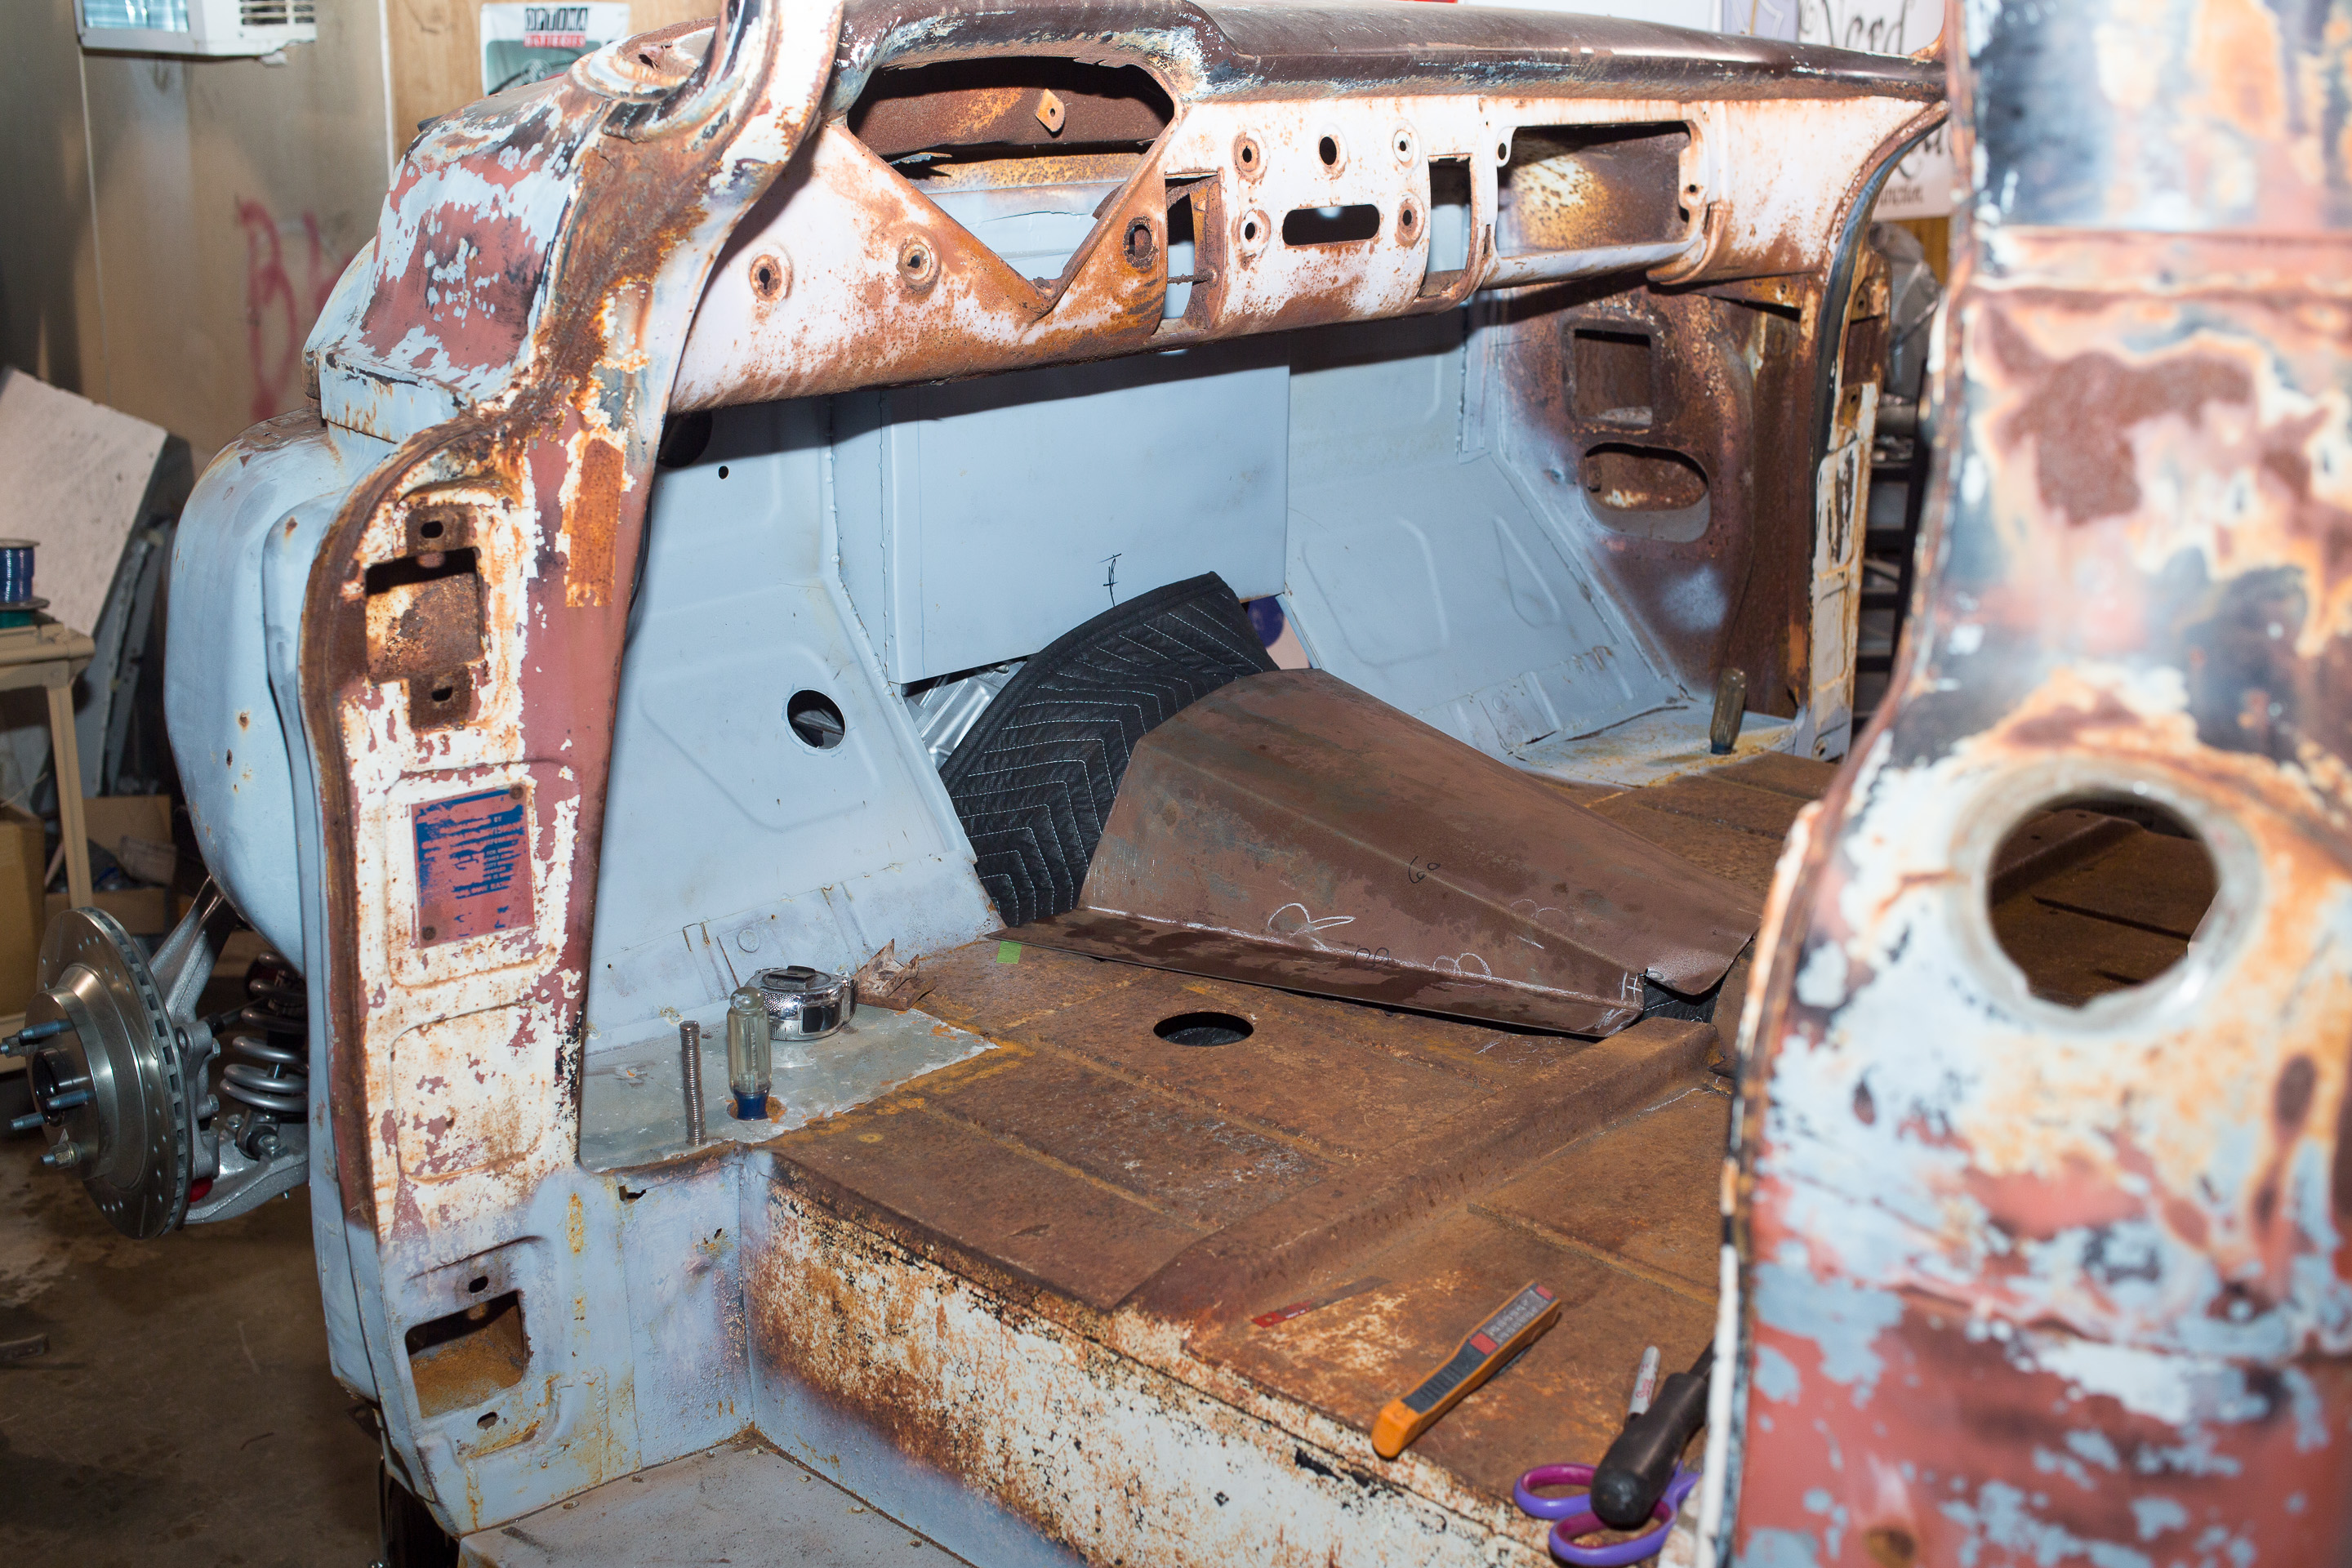
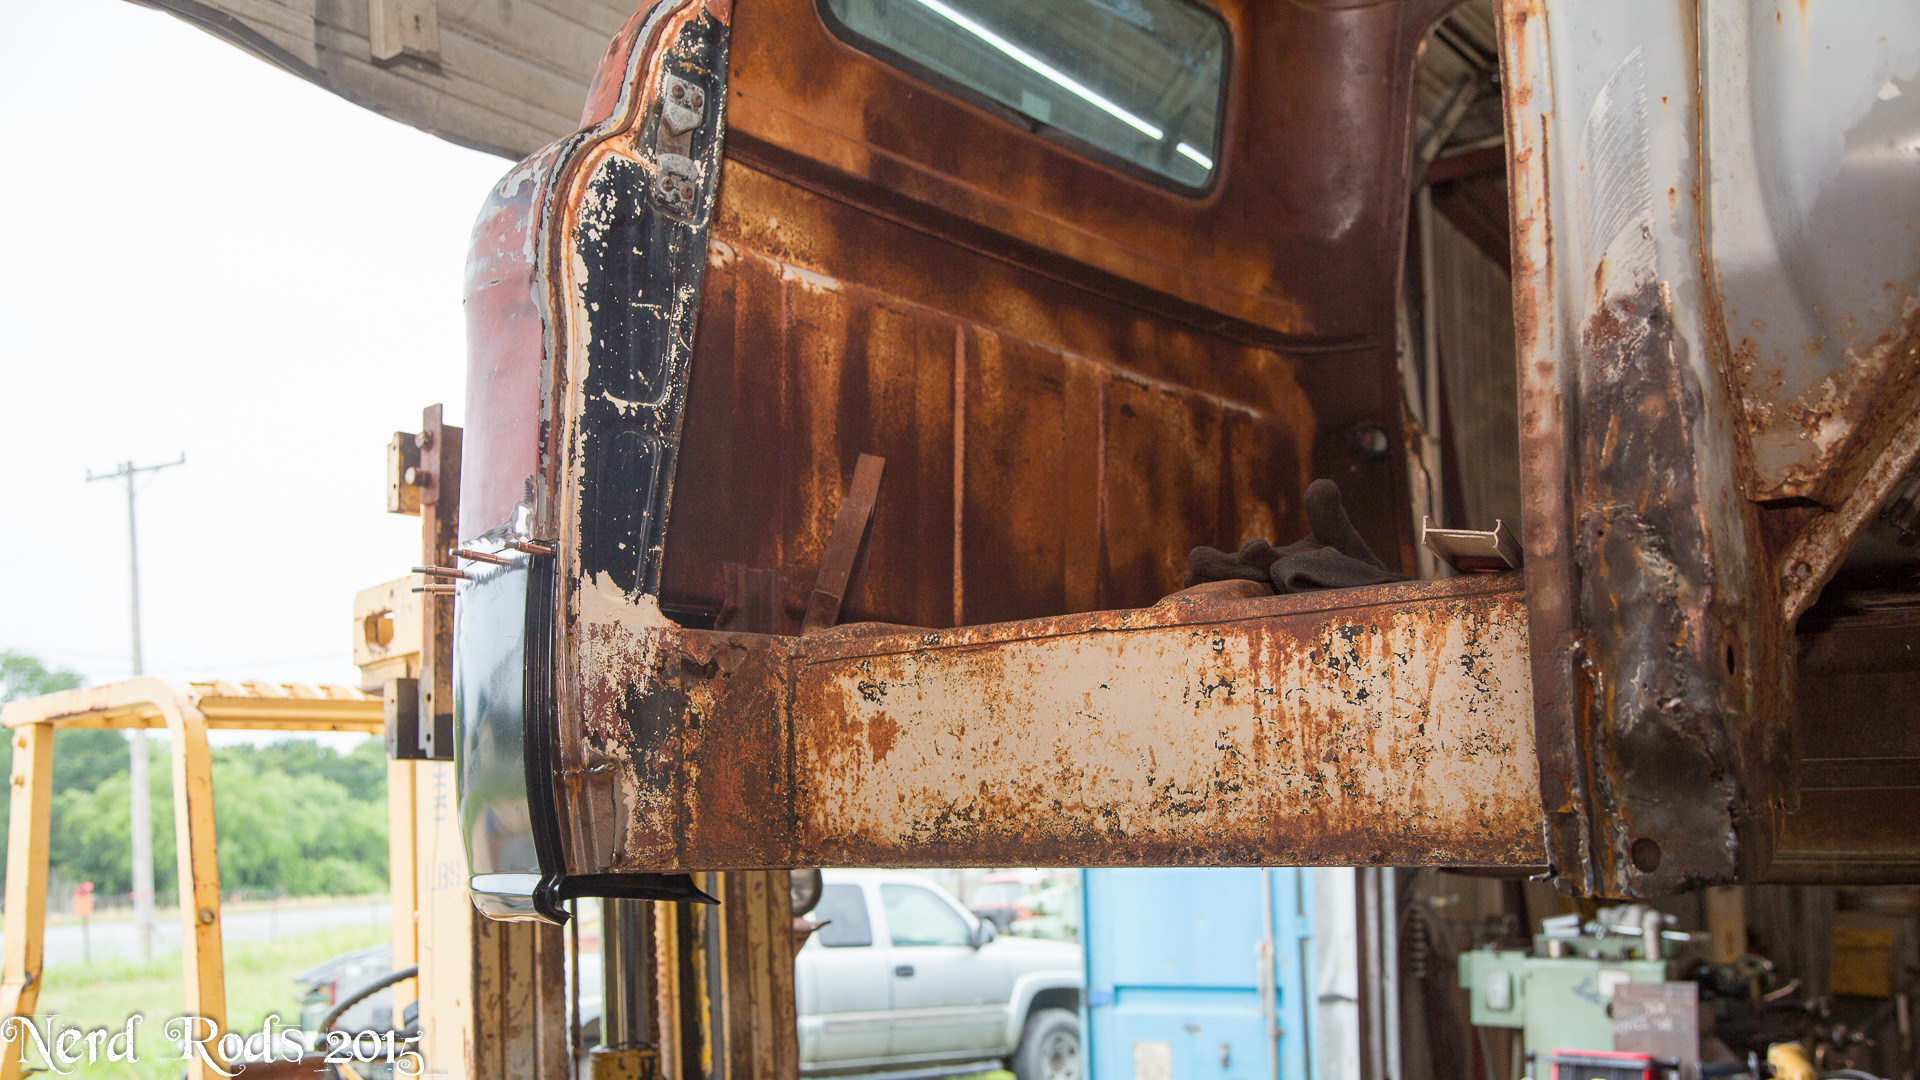
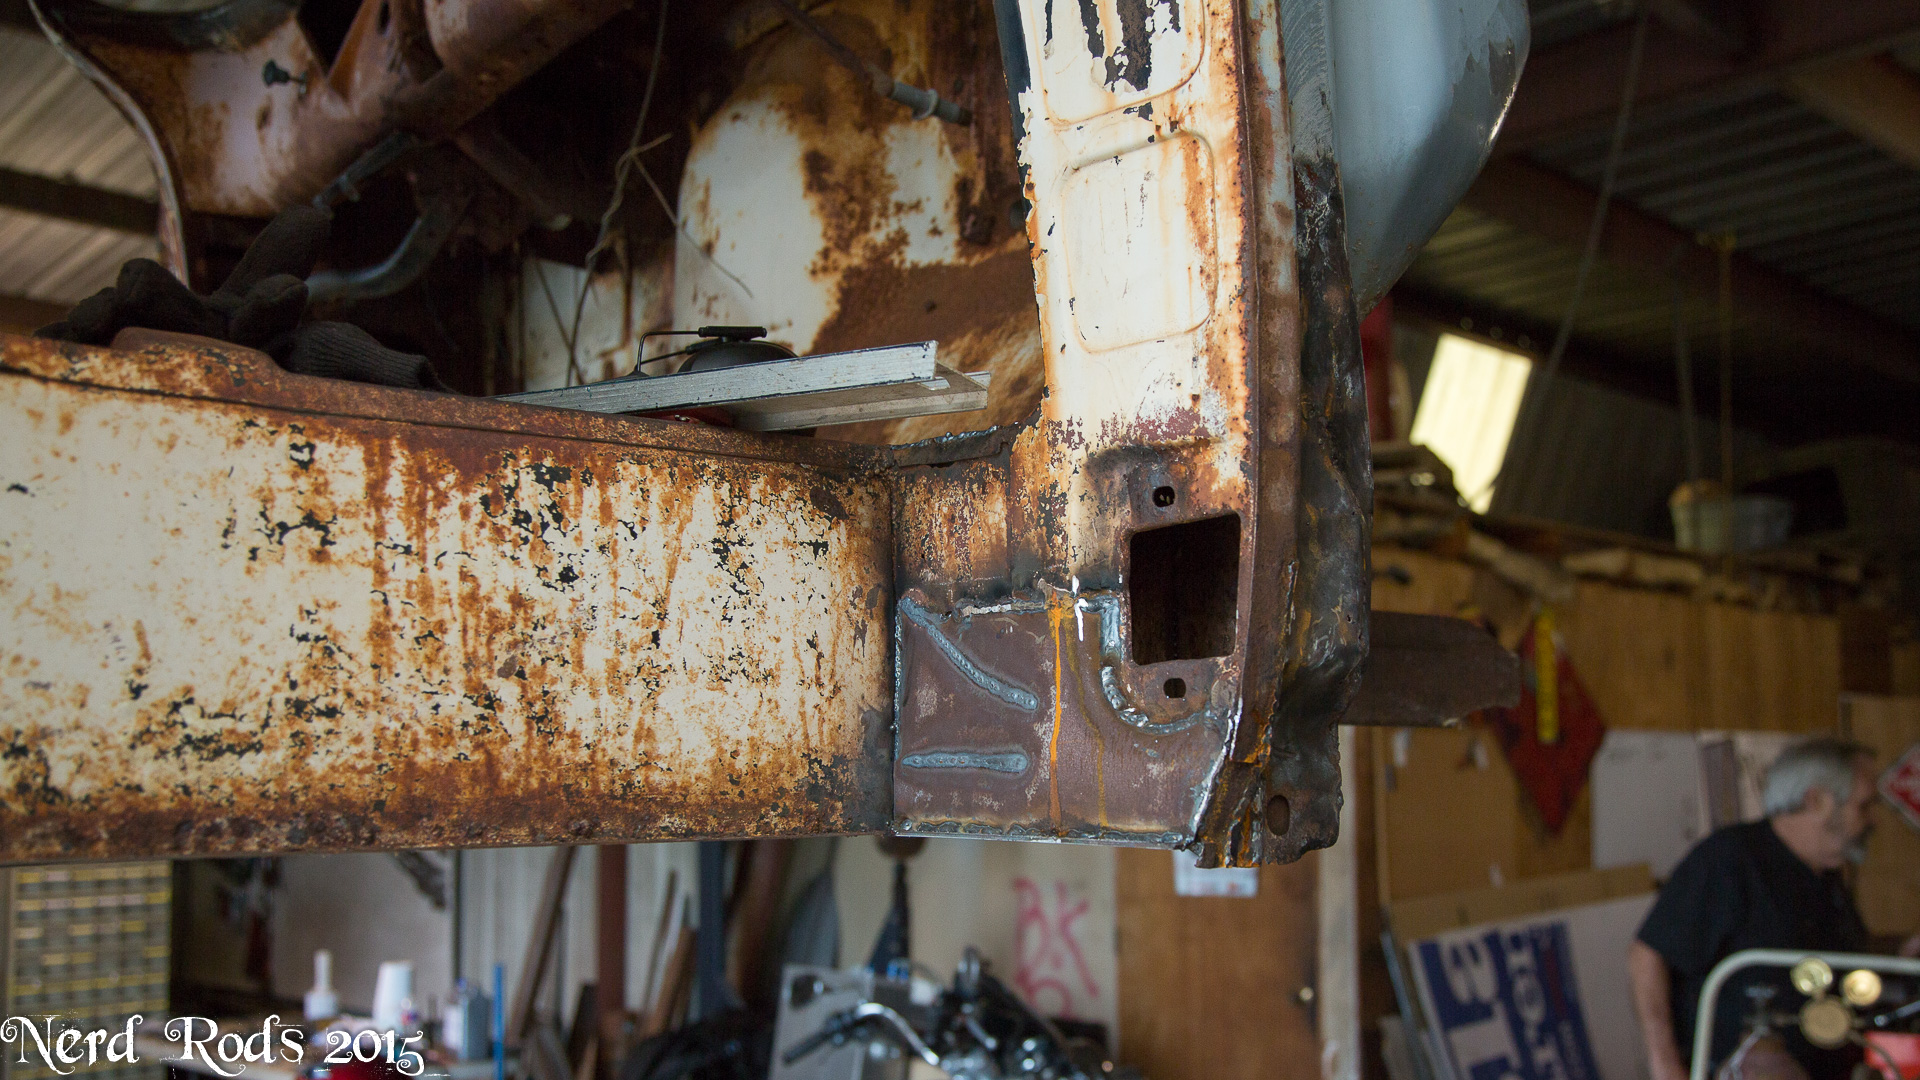
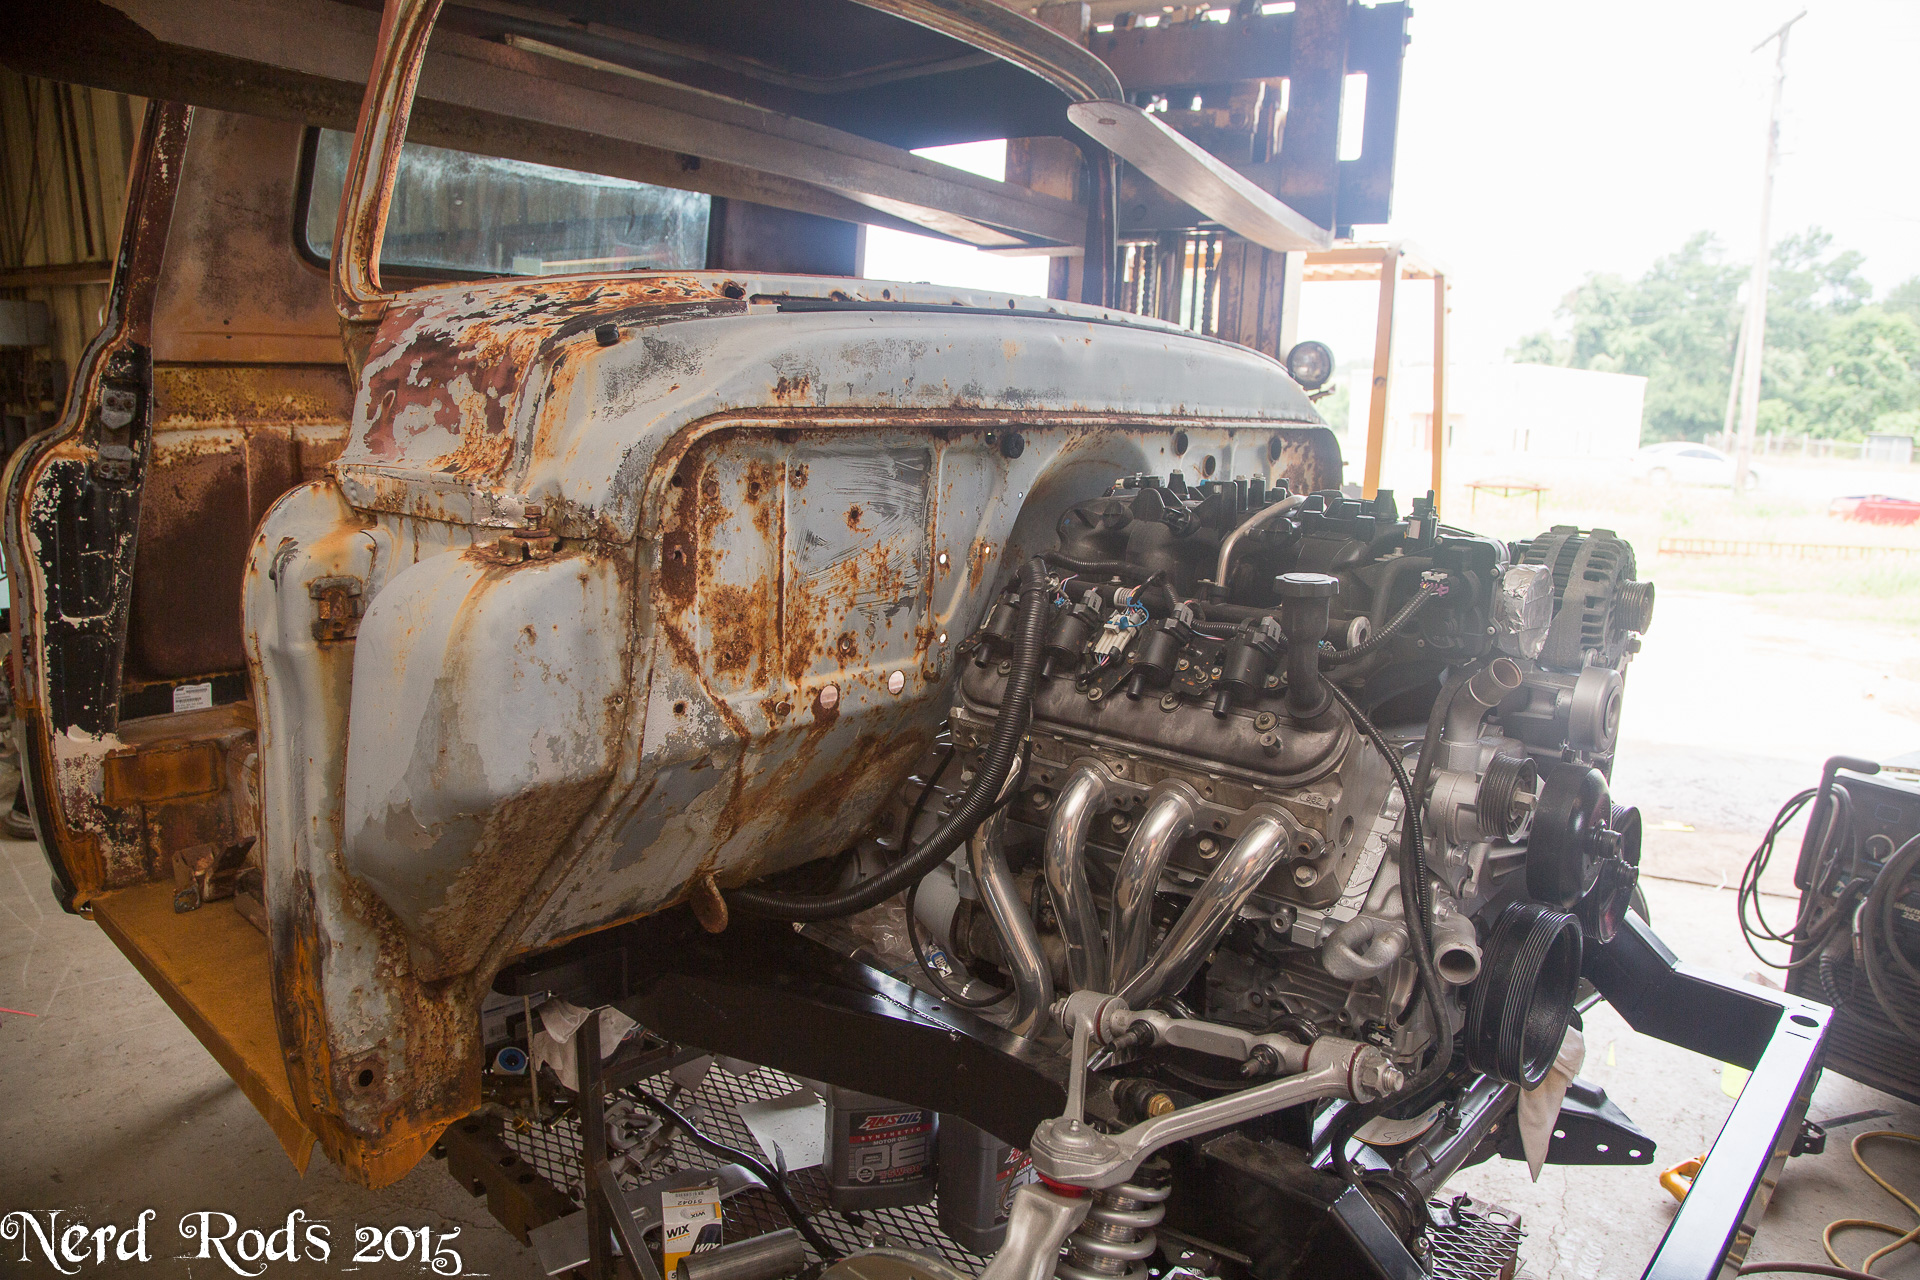
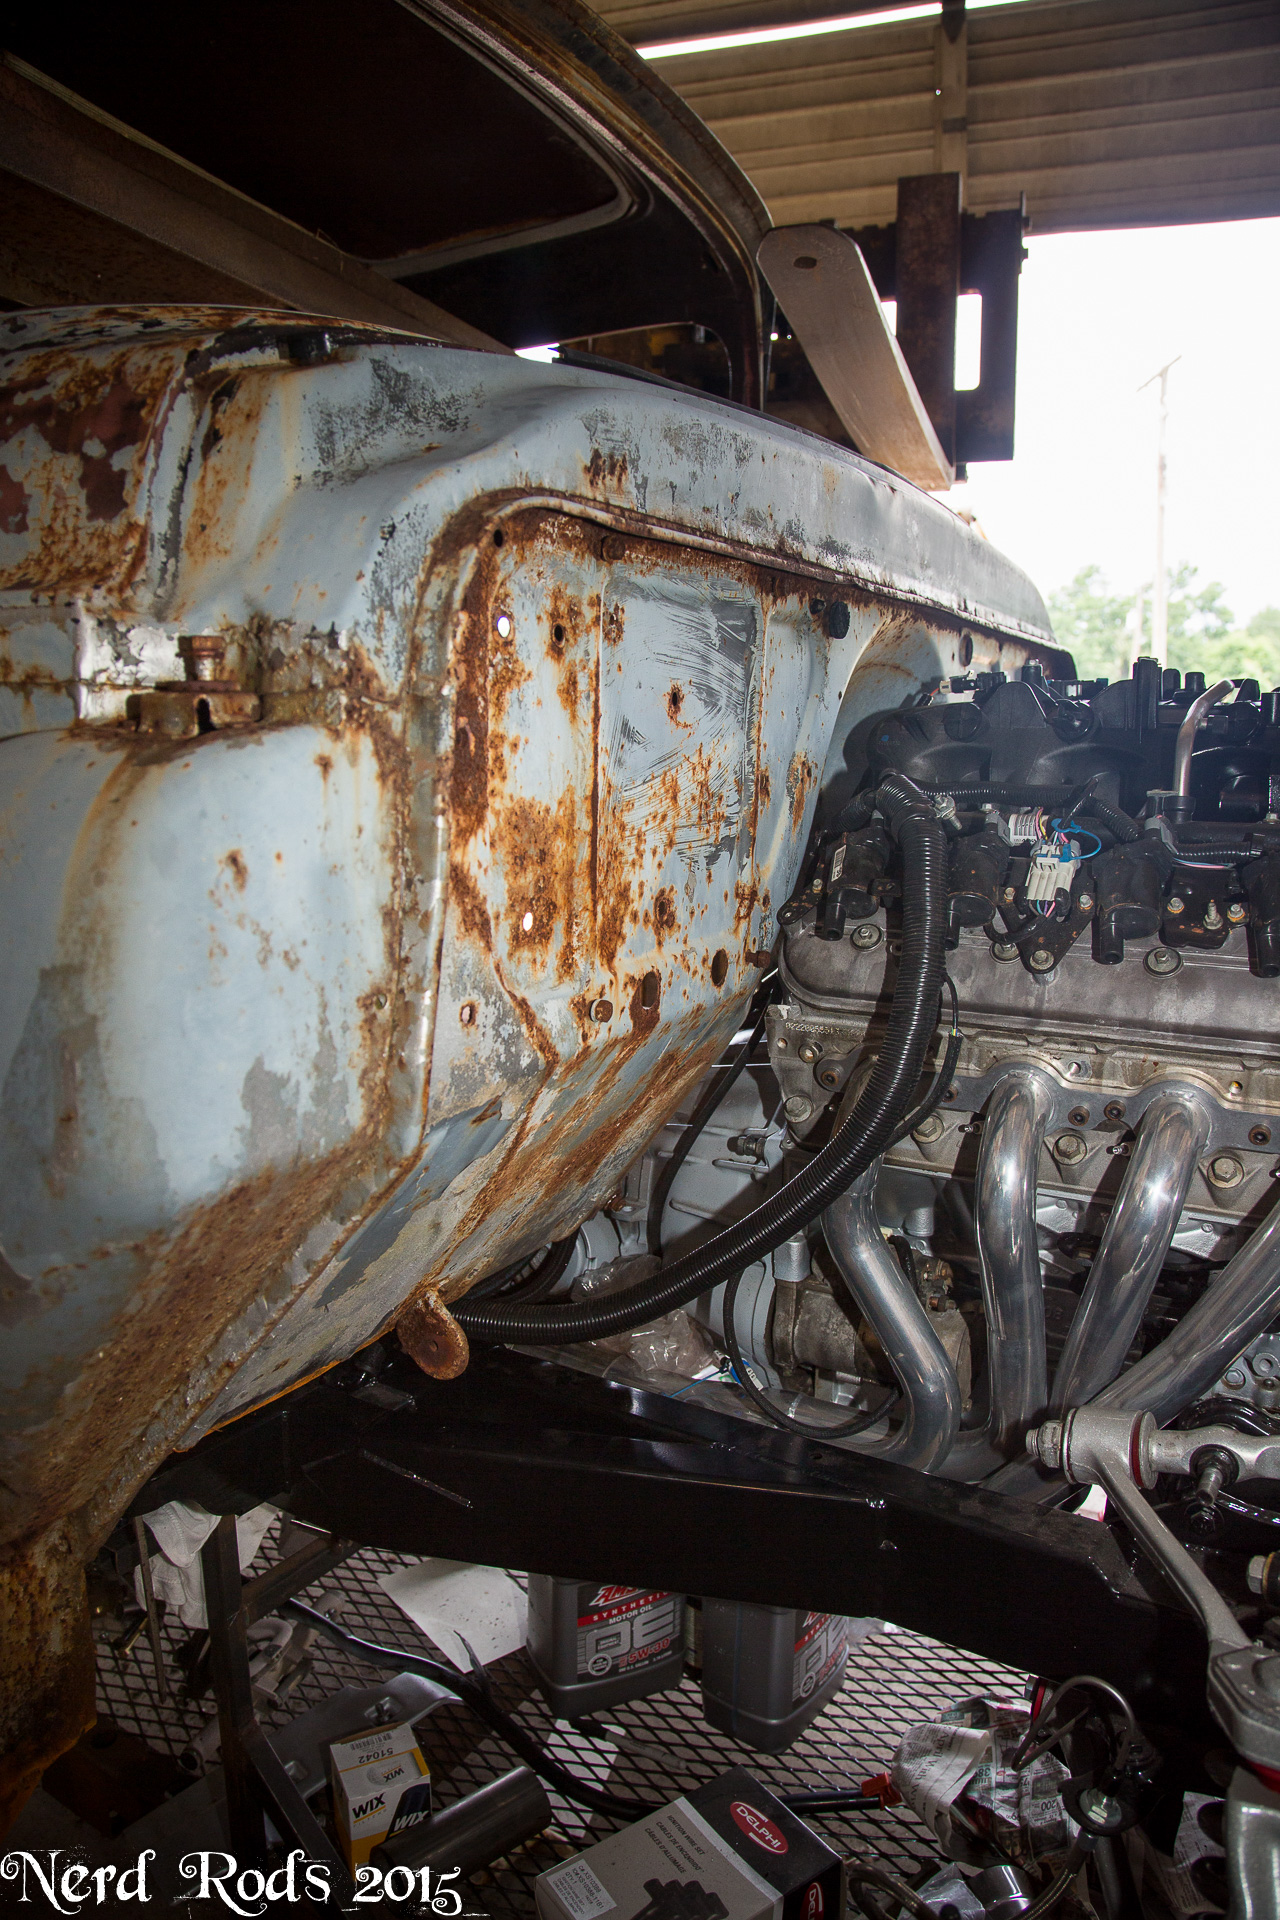
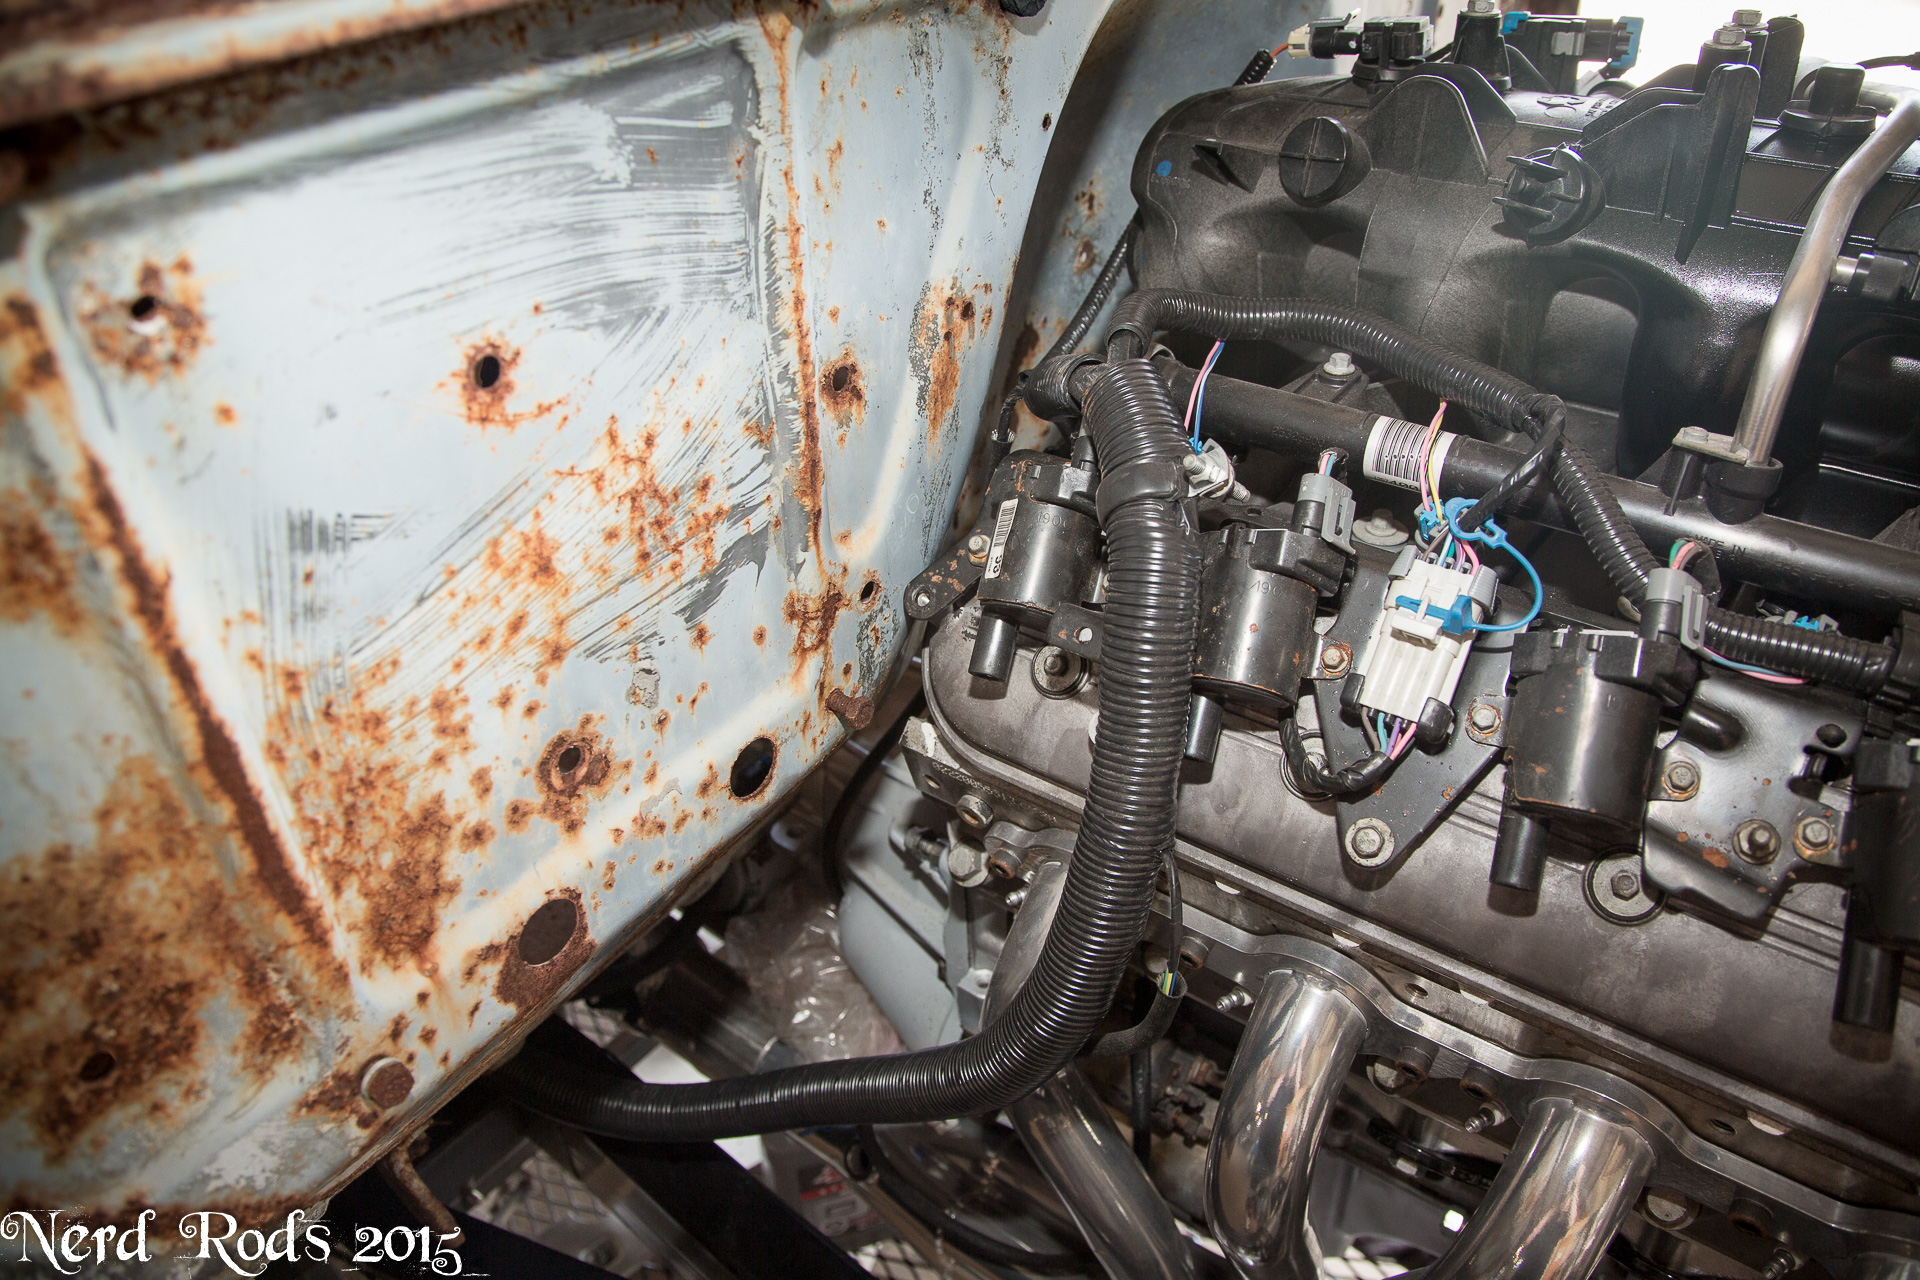
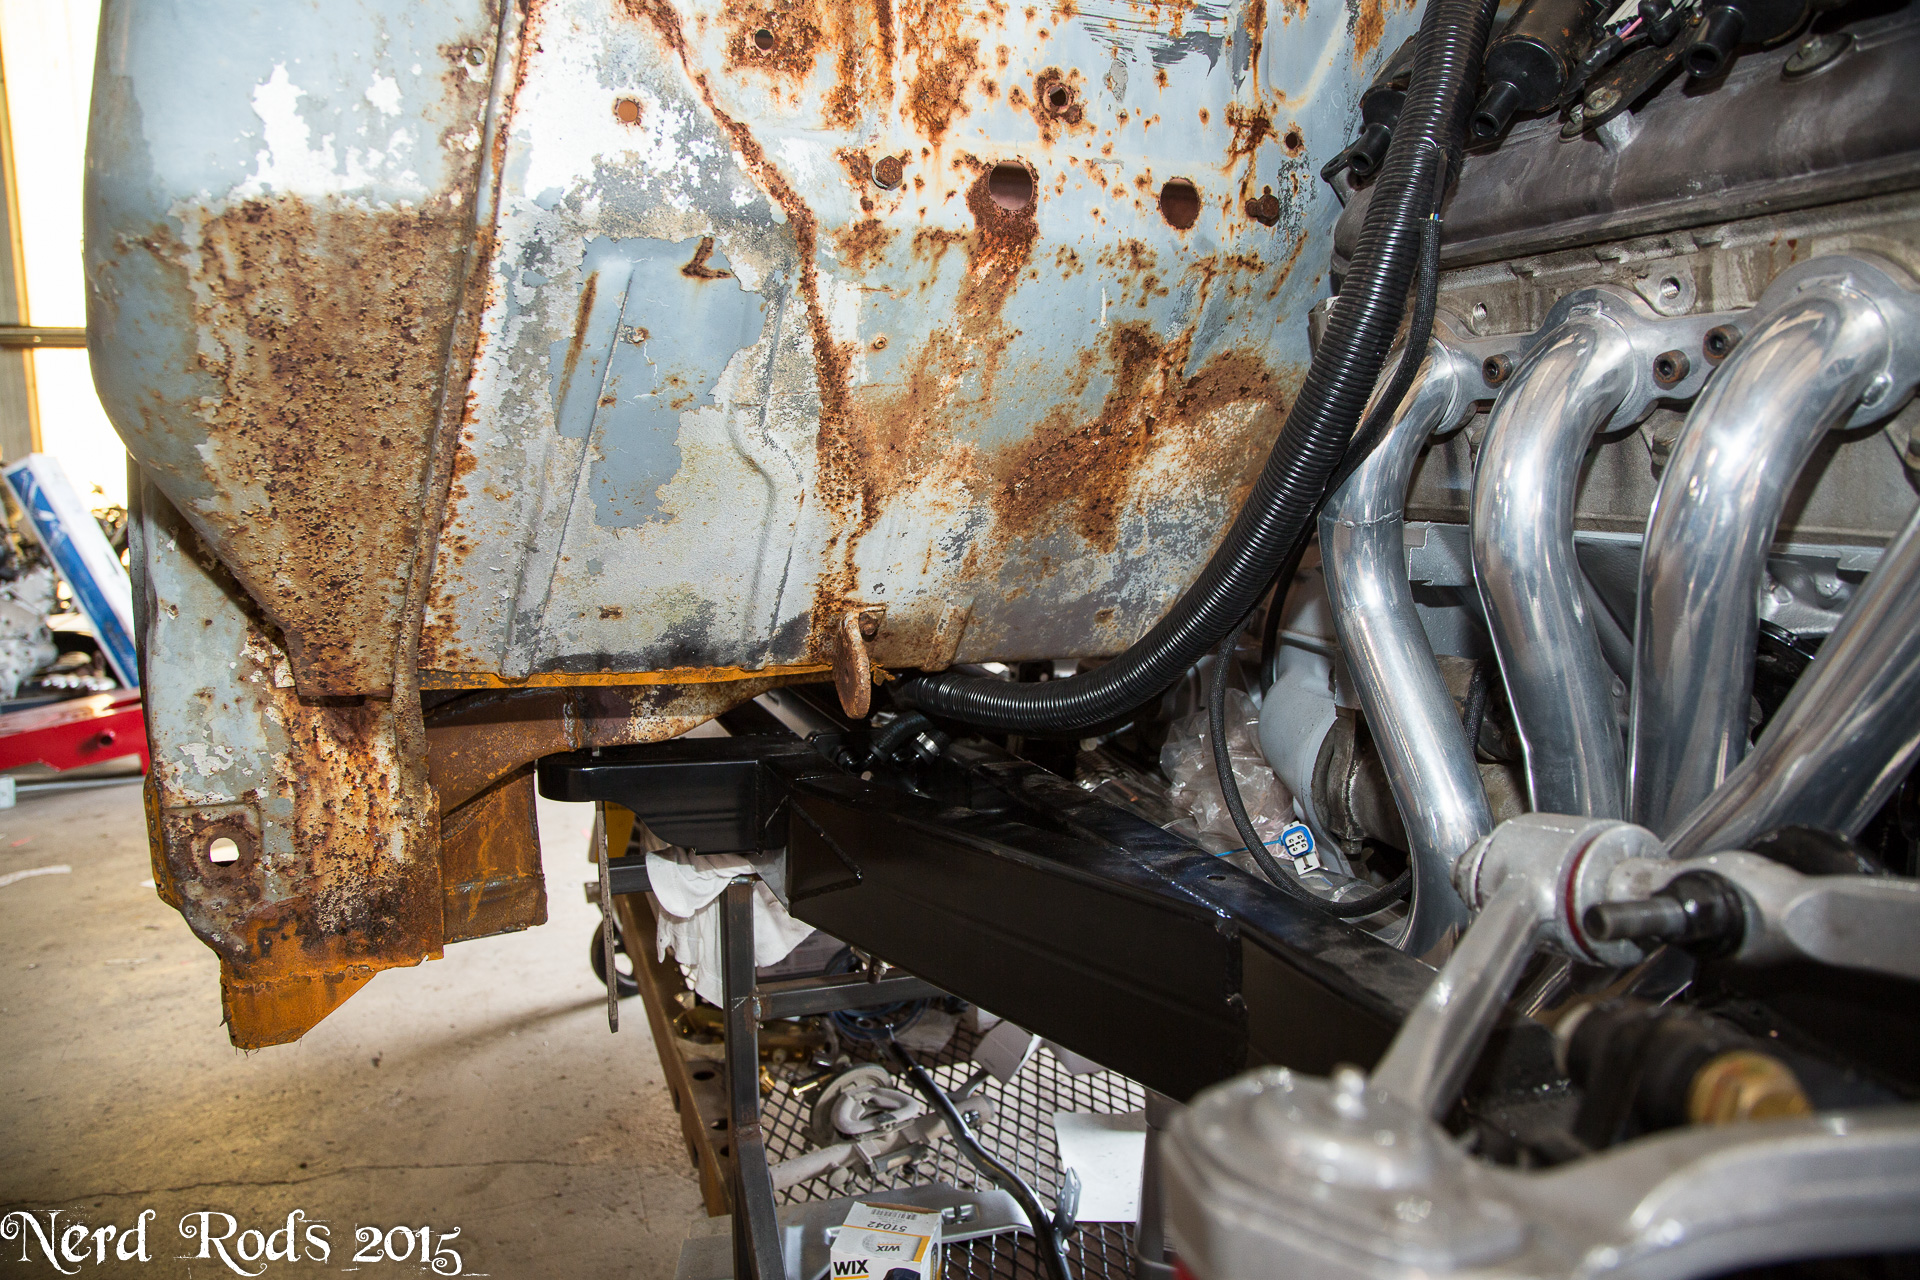
First we wanted to show customers thinking about their own low body chassis what modifications are required to make their cars fit and look good. So we used a customer’s completed chassis to check and show the firewall clearance. This shows the minimum you need to remove to make that happen and the basic patch work on the cab.
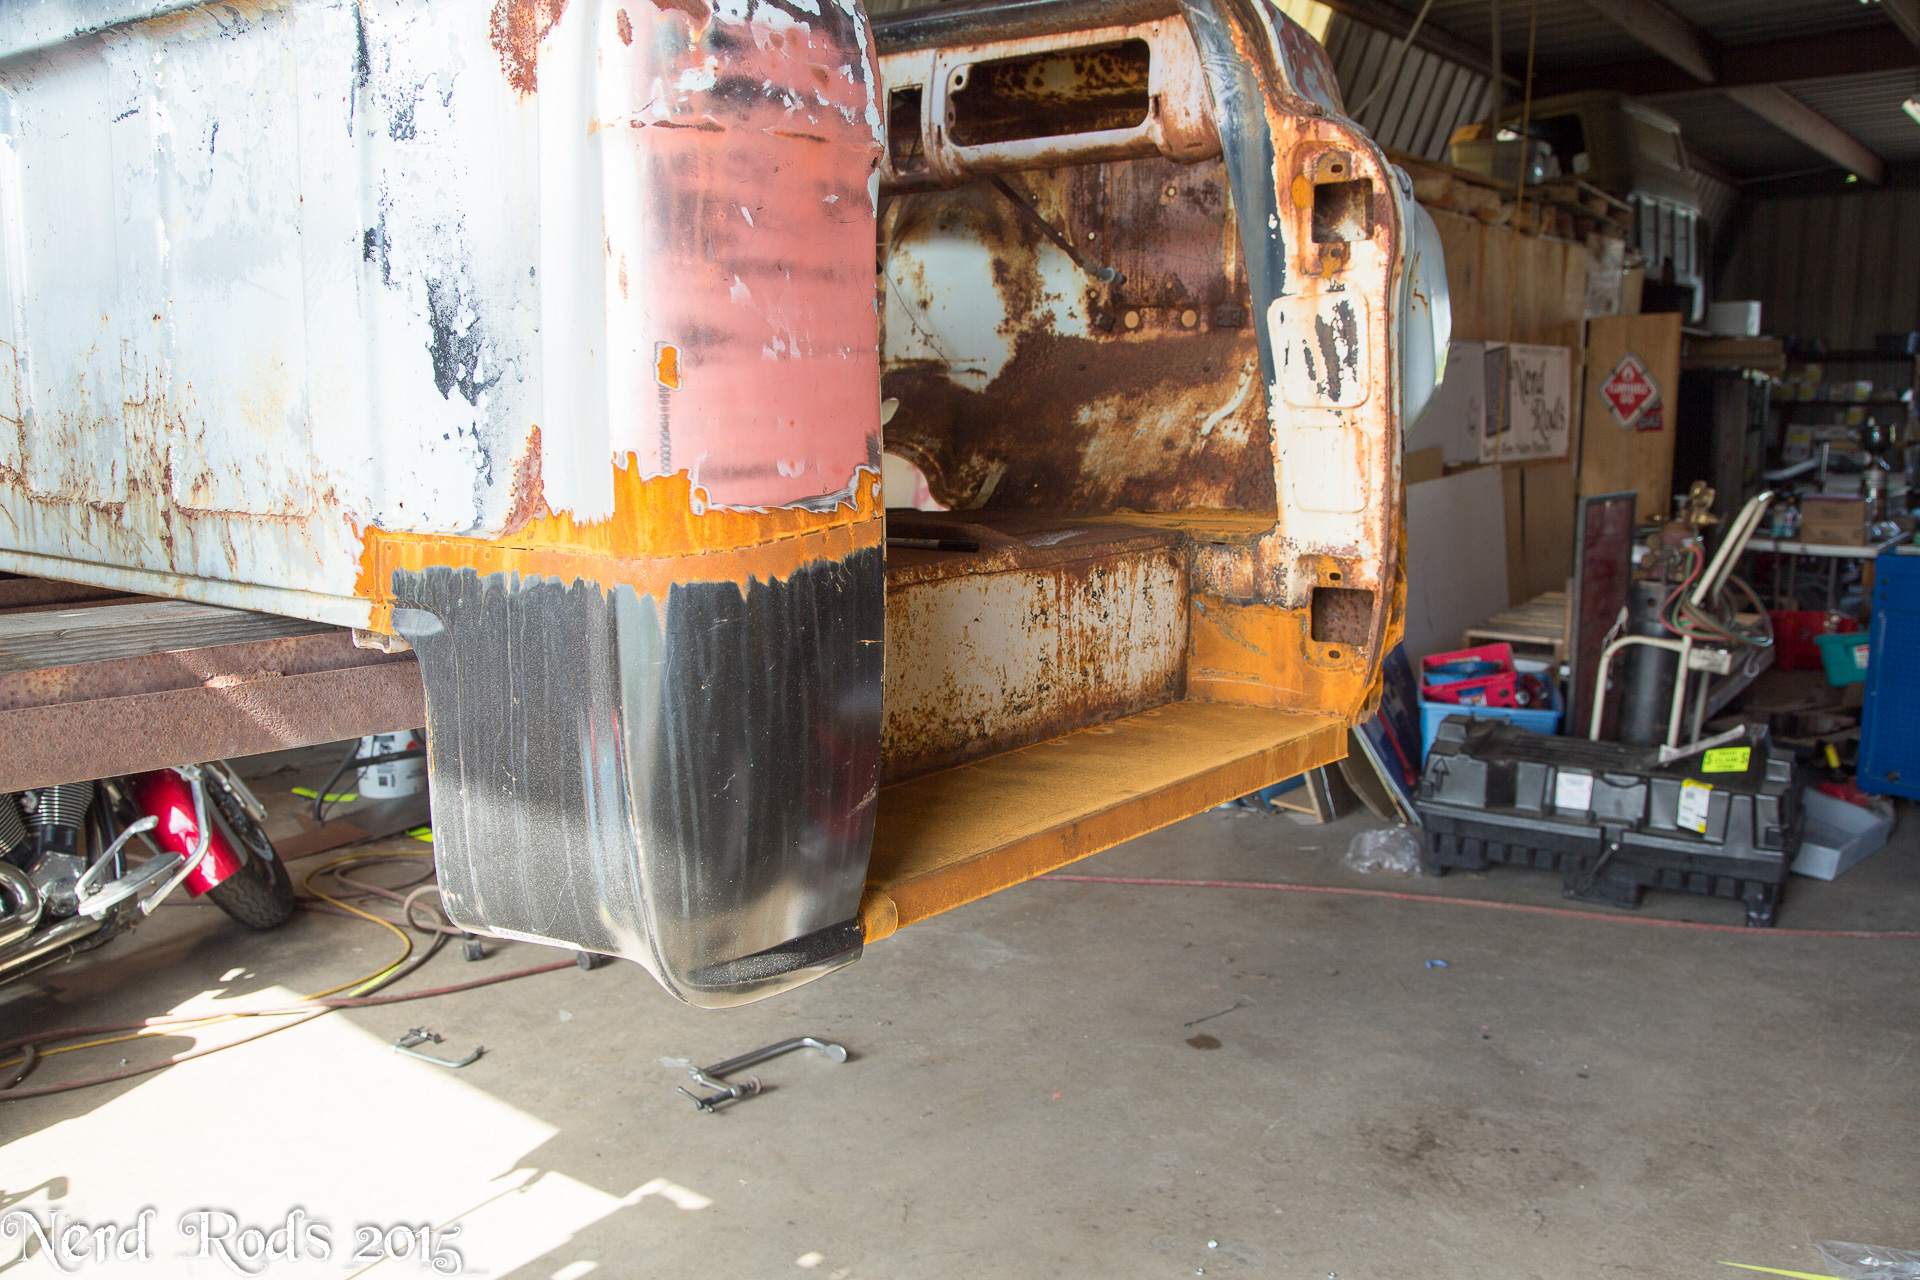

Updated 2015.JUN.18
Photo Gallery Link for easy Viewing.
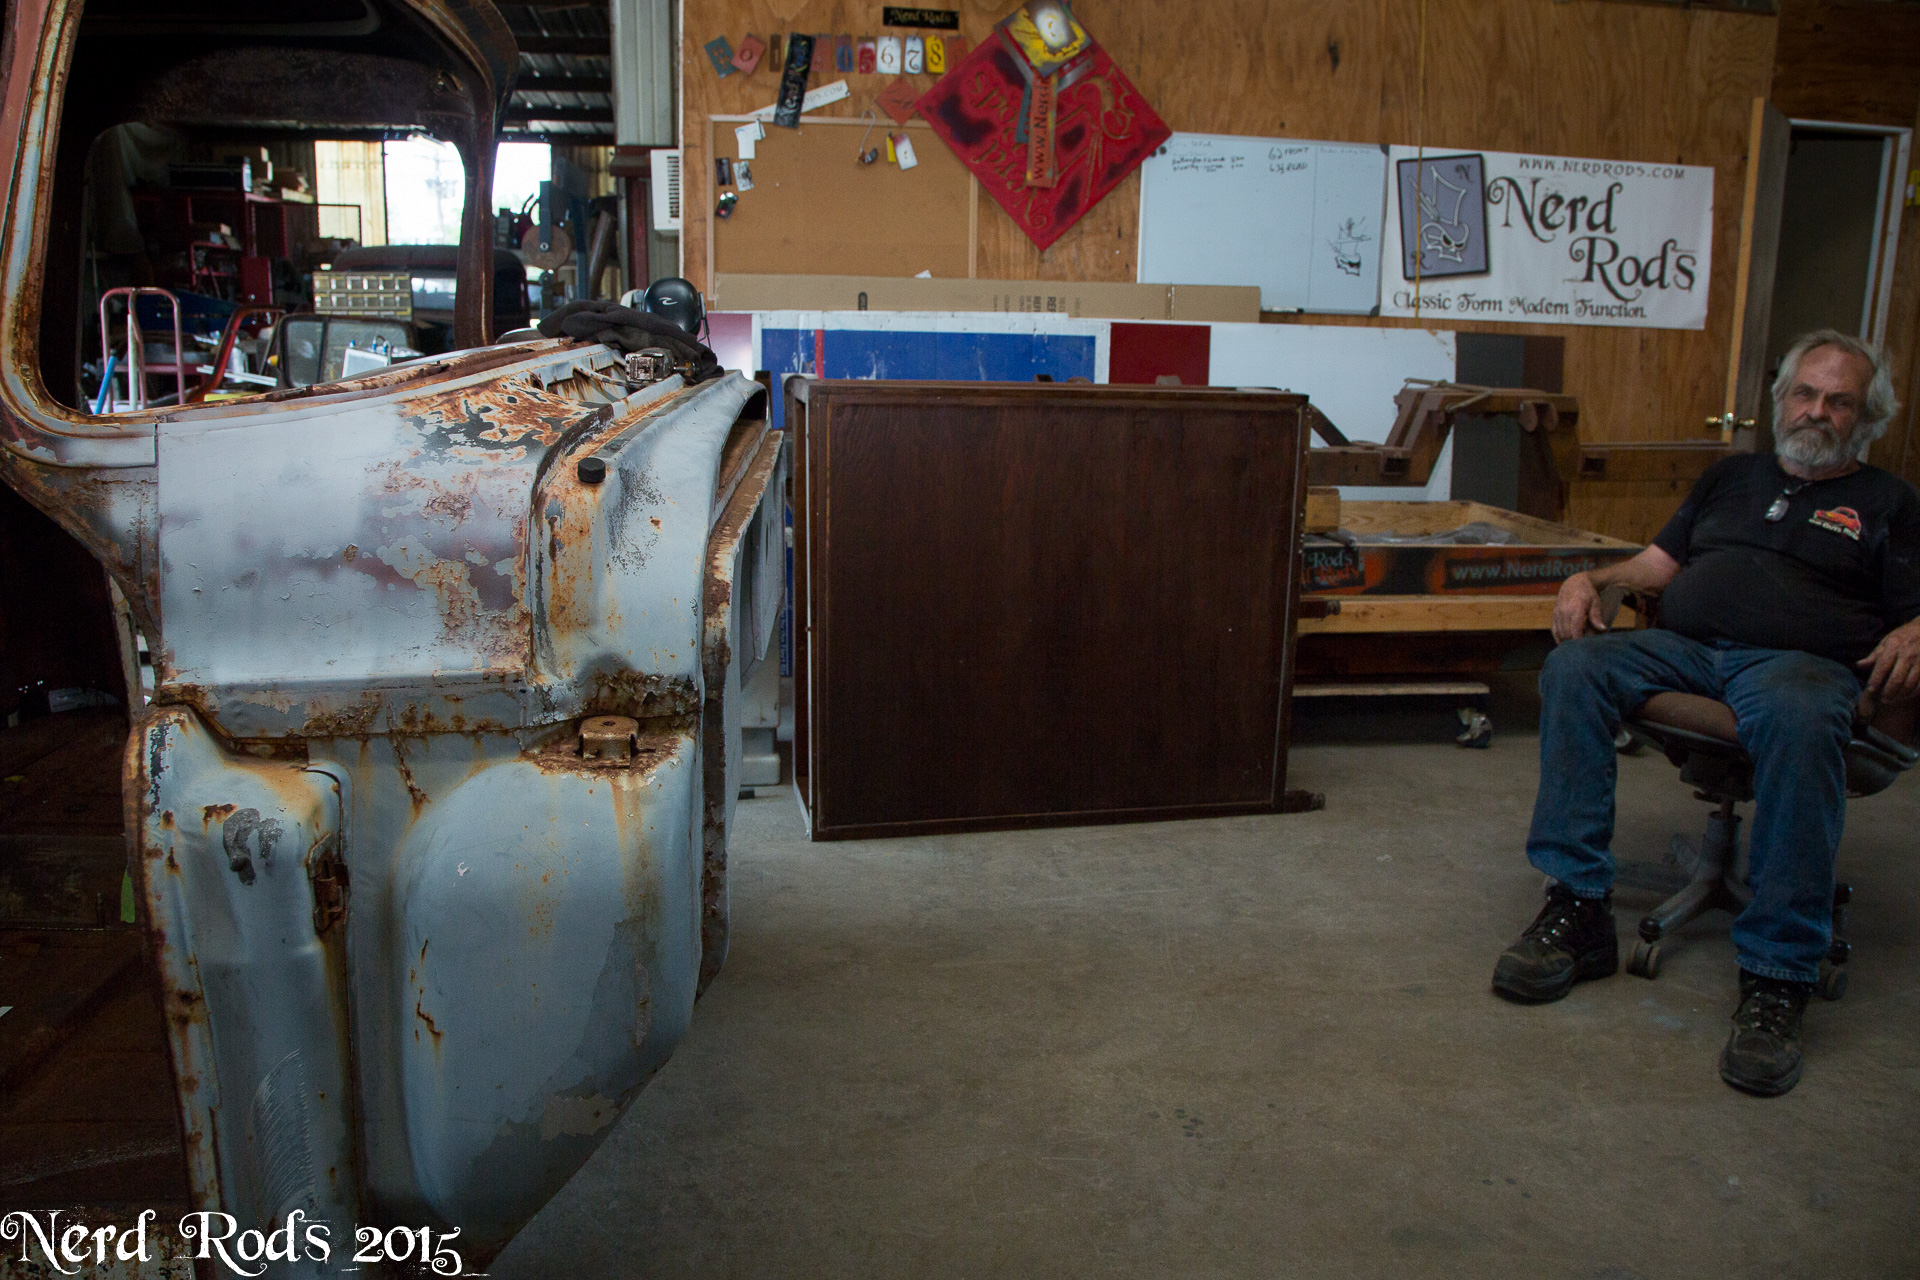
So it’s been an interesting few years for our little shop, once also known as Hot Rod Jim’s now Nerd Rods to better reflect what’s actually going on here. Dad, My little Brother Billy and I are the bulk of the work force with a few friends doing some part time work for us. To sum it up Dad had cancer, Mom had cancer, Little brother messed his back up pretty bad, Dad broke his leg and that upset his already messed up back resulting in back surgery followed shortly after that. Cross that all with spending way too much money going to the SEMA show that ultimately flopped and the bad economy and you’ll get a basic understanding as to why we’ve not had a finished shop car in quite some time. Everyone is good now and the kit frames have been a real hit with the DIY guys but we are tight on space in our little shop with all the projects going on and a real high quality build take up space we don’t have so we brain stormed what would be the best thing to do and we started looking at our collection in the front yard.
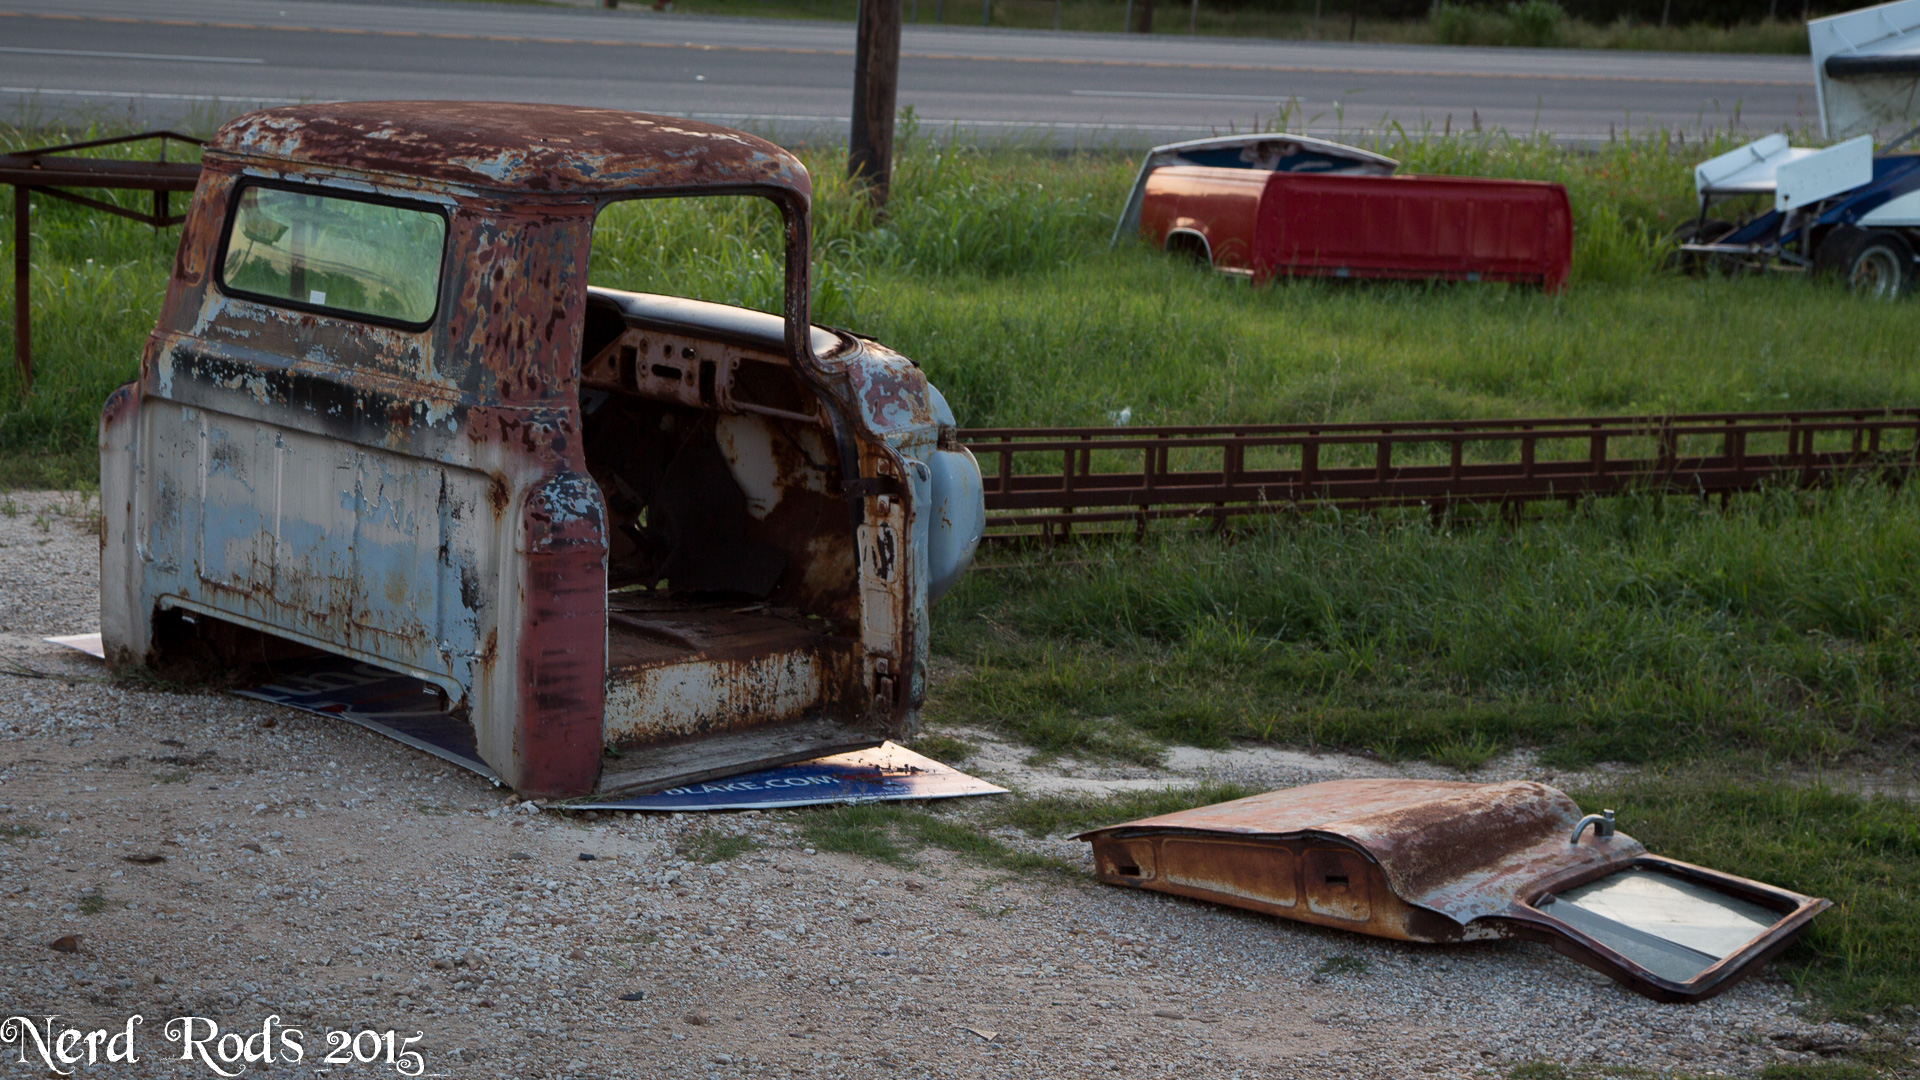
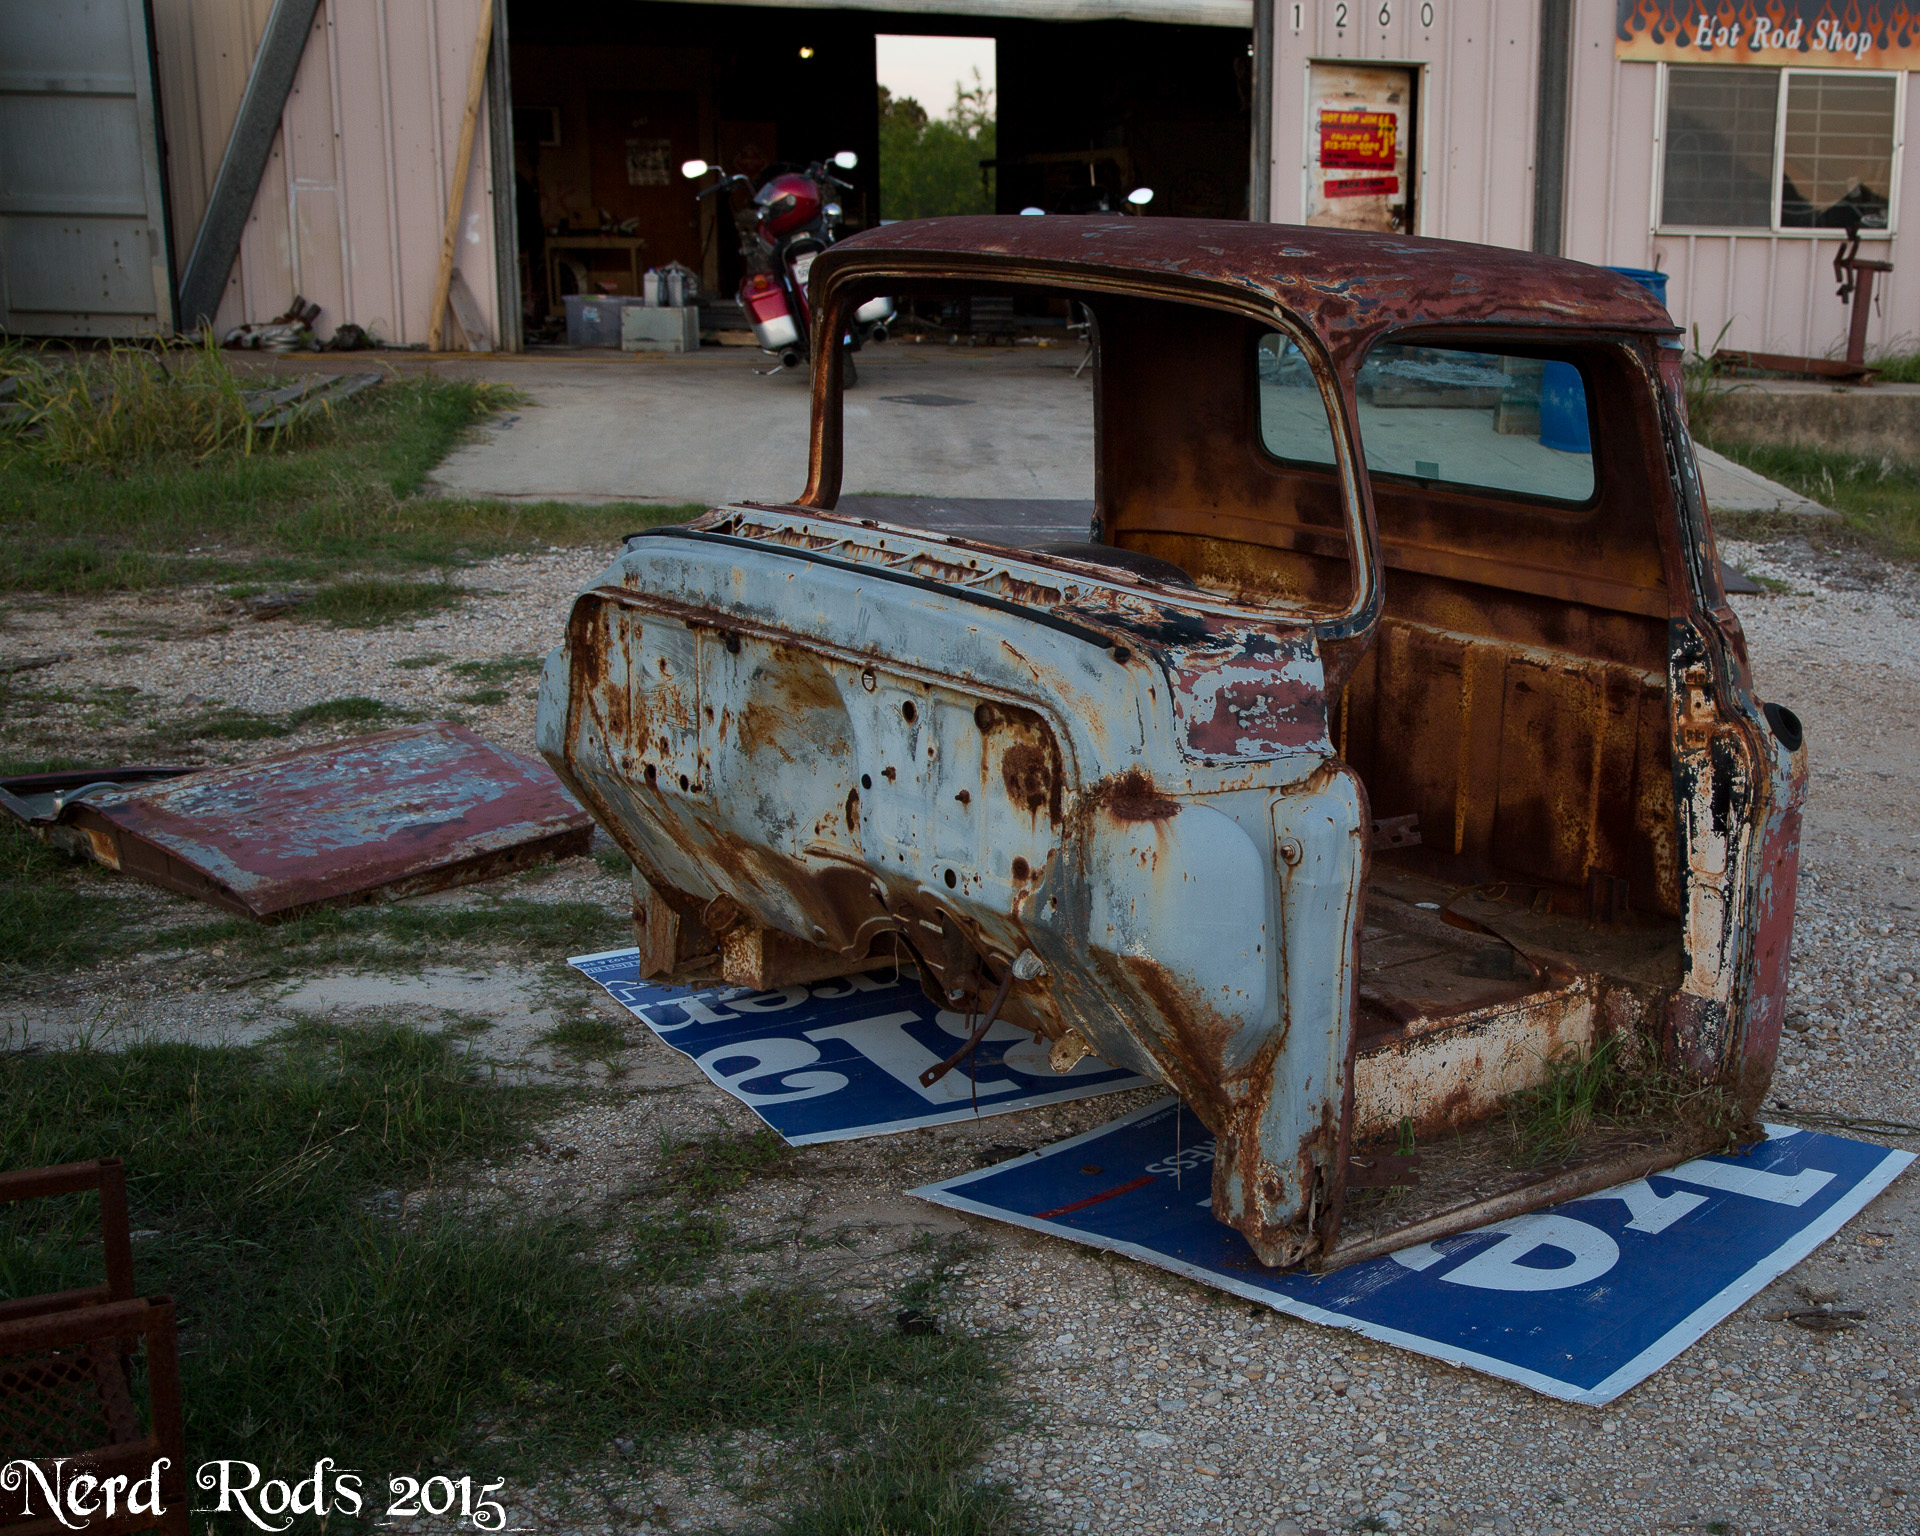
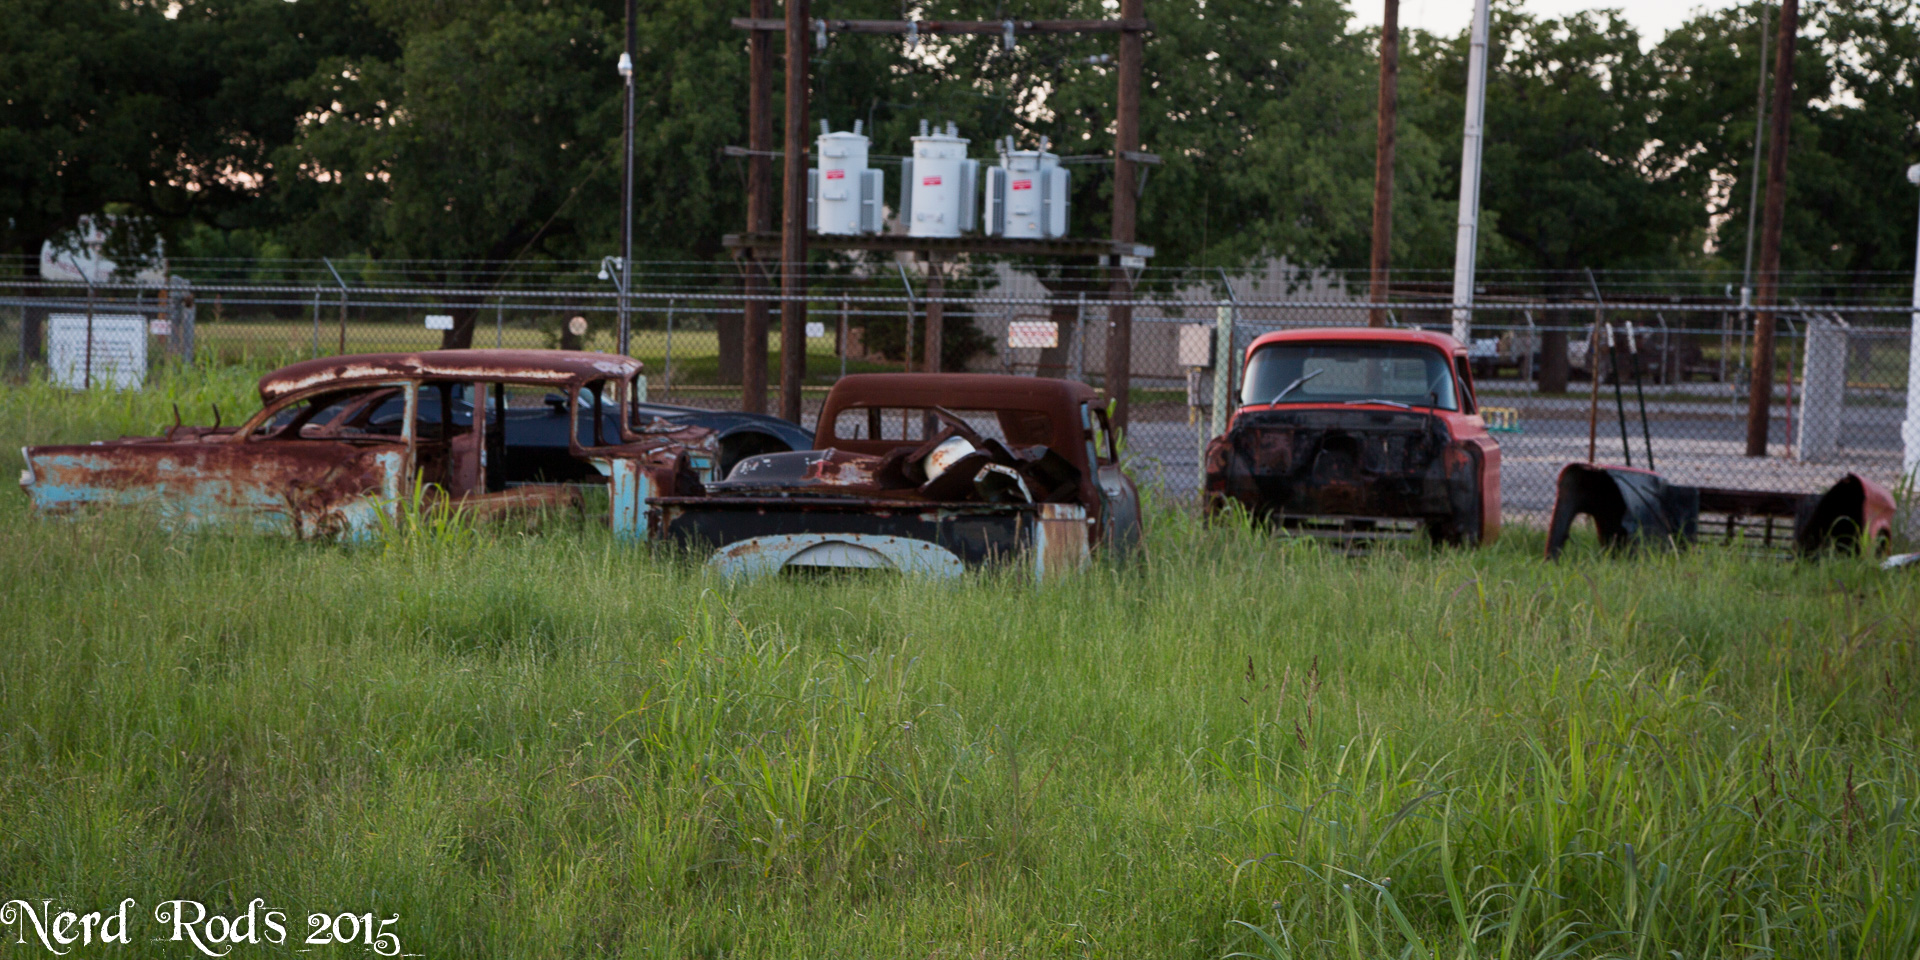
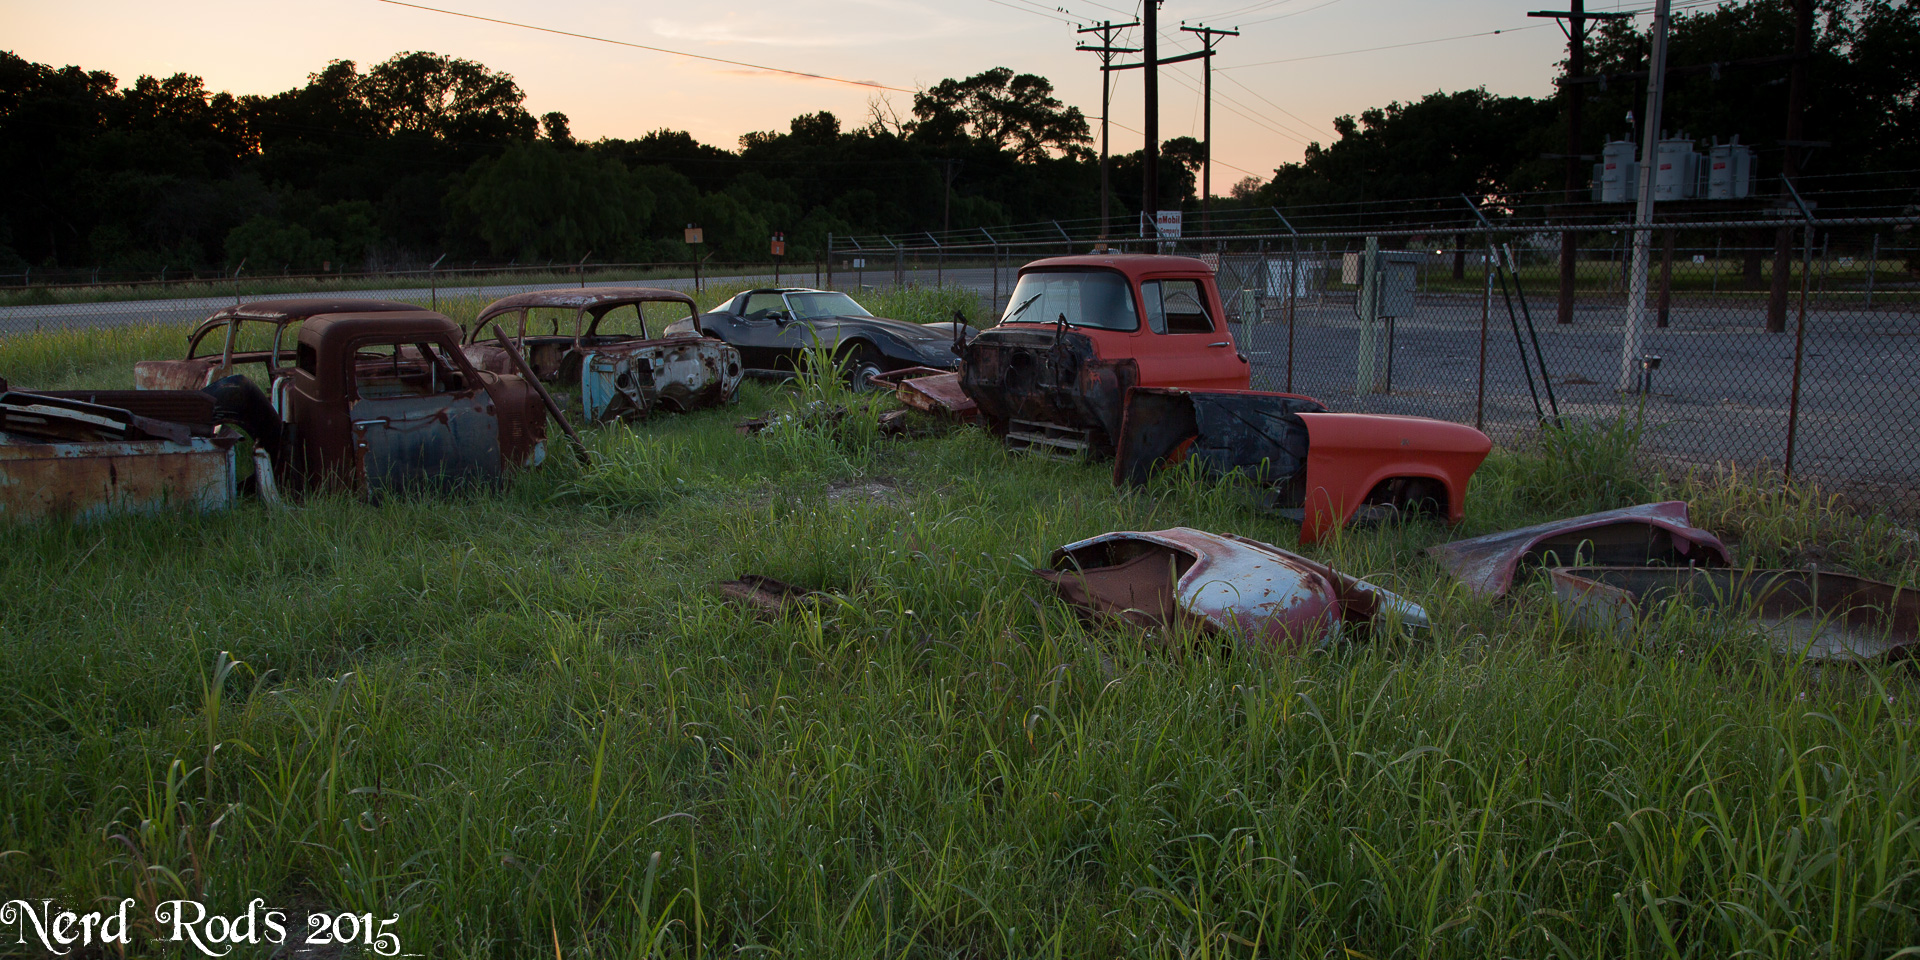
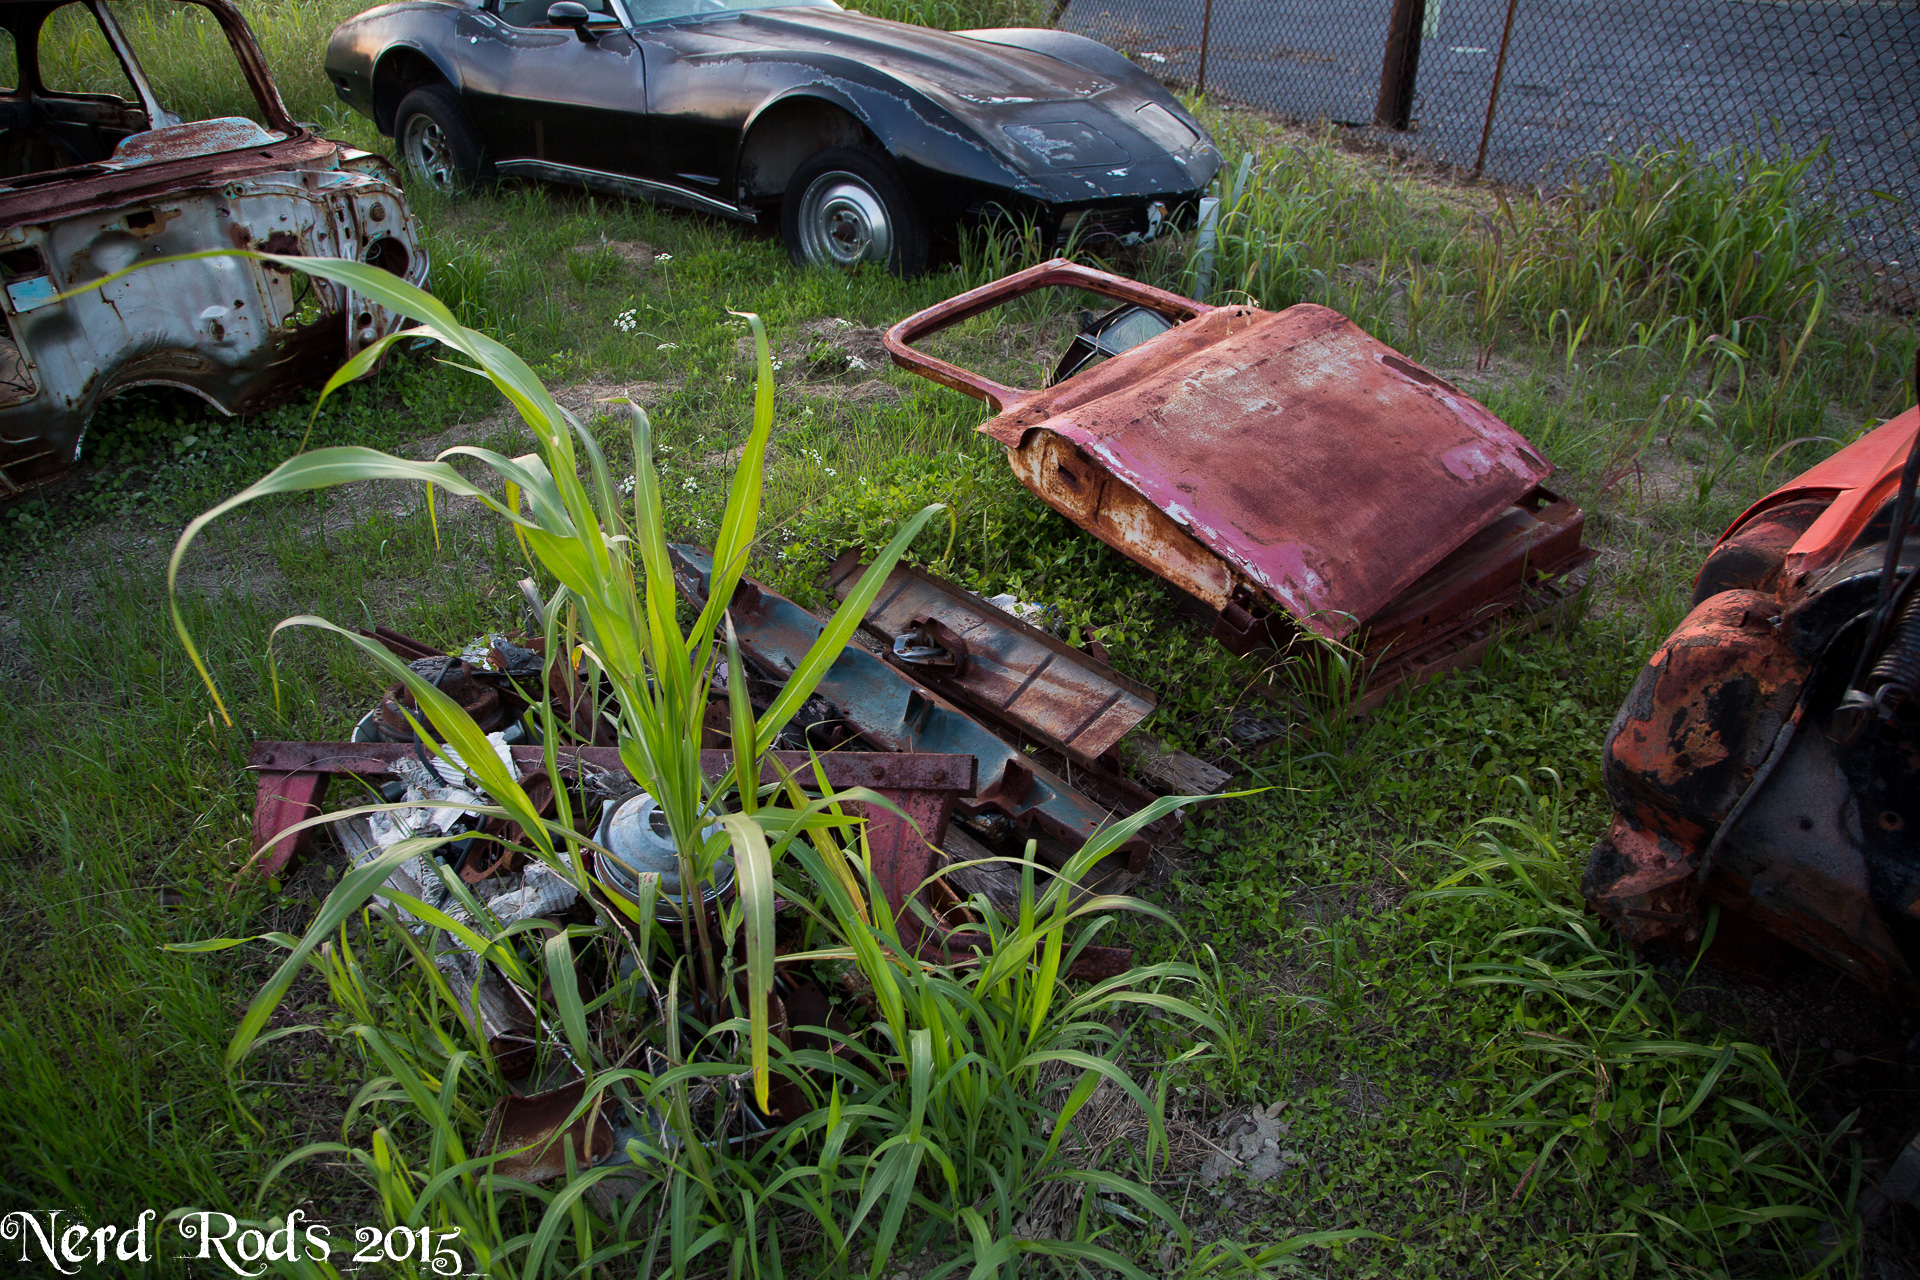
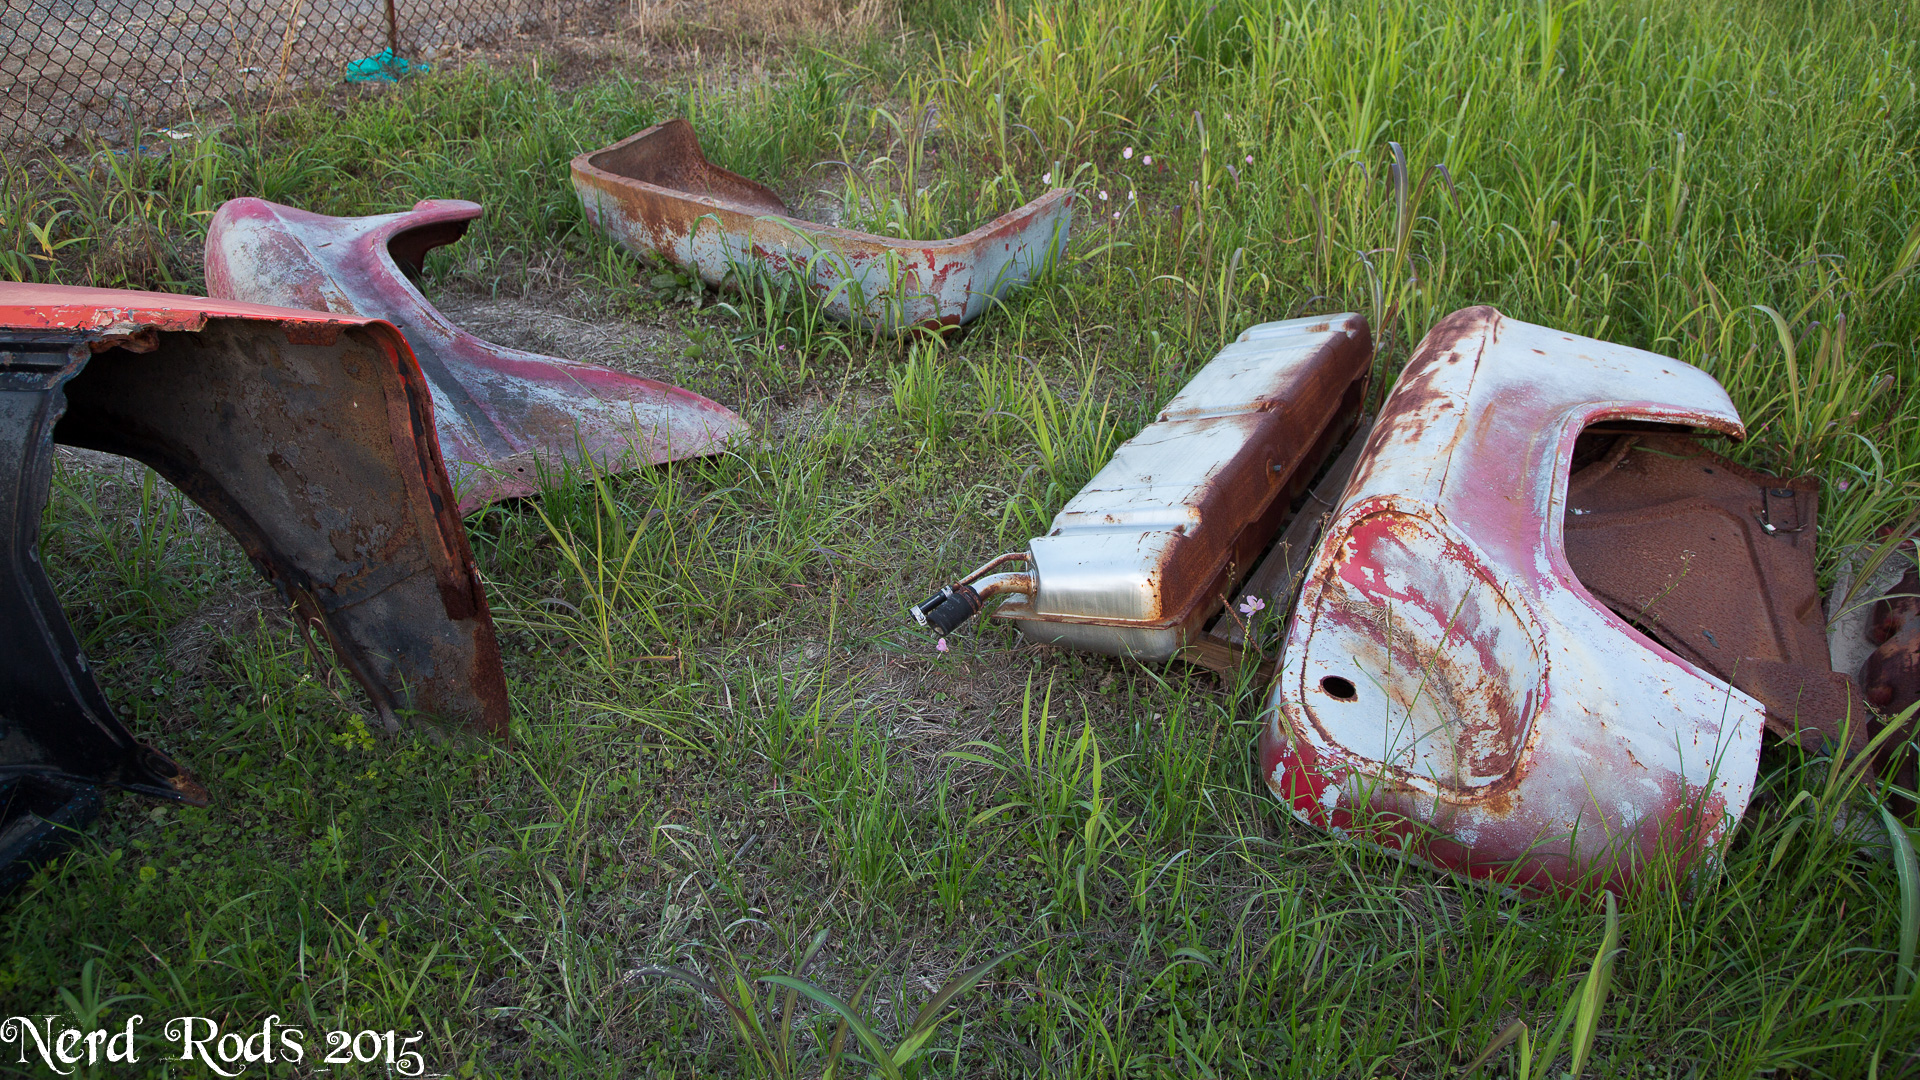

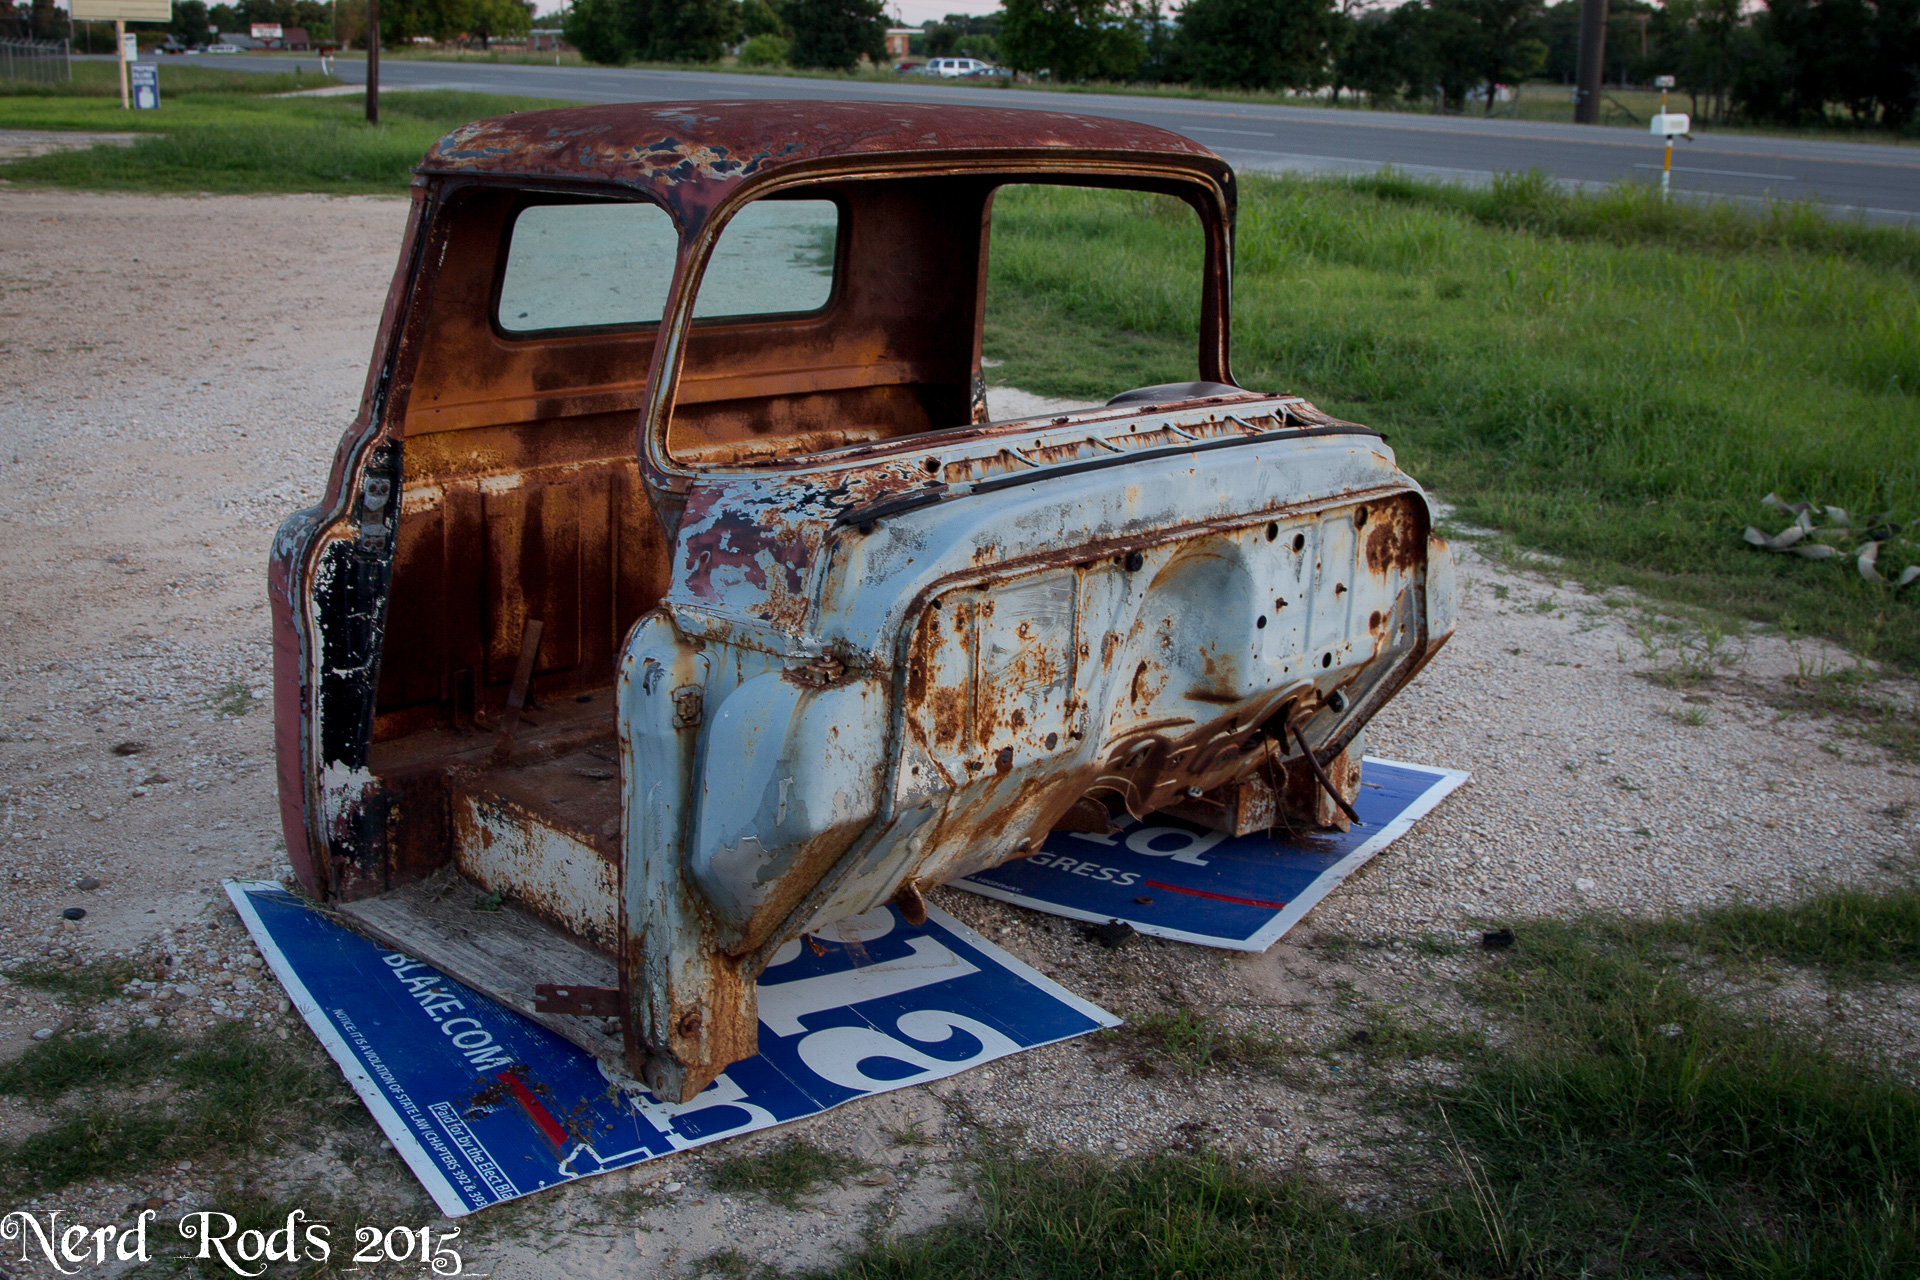
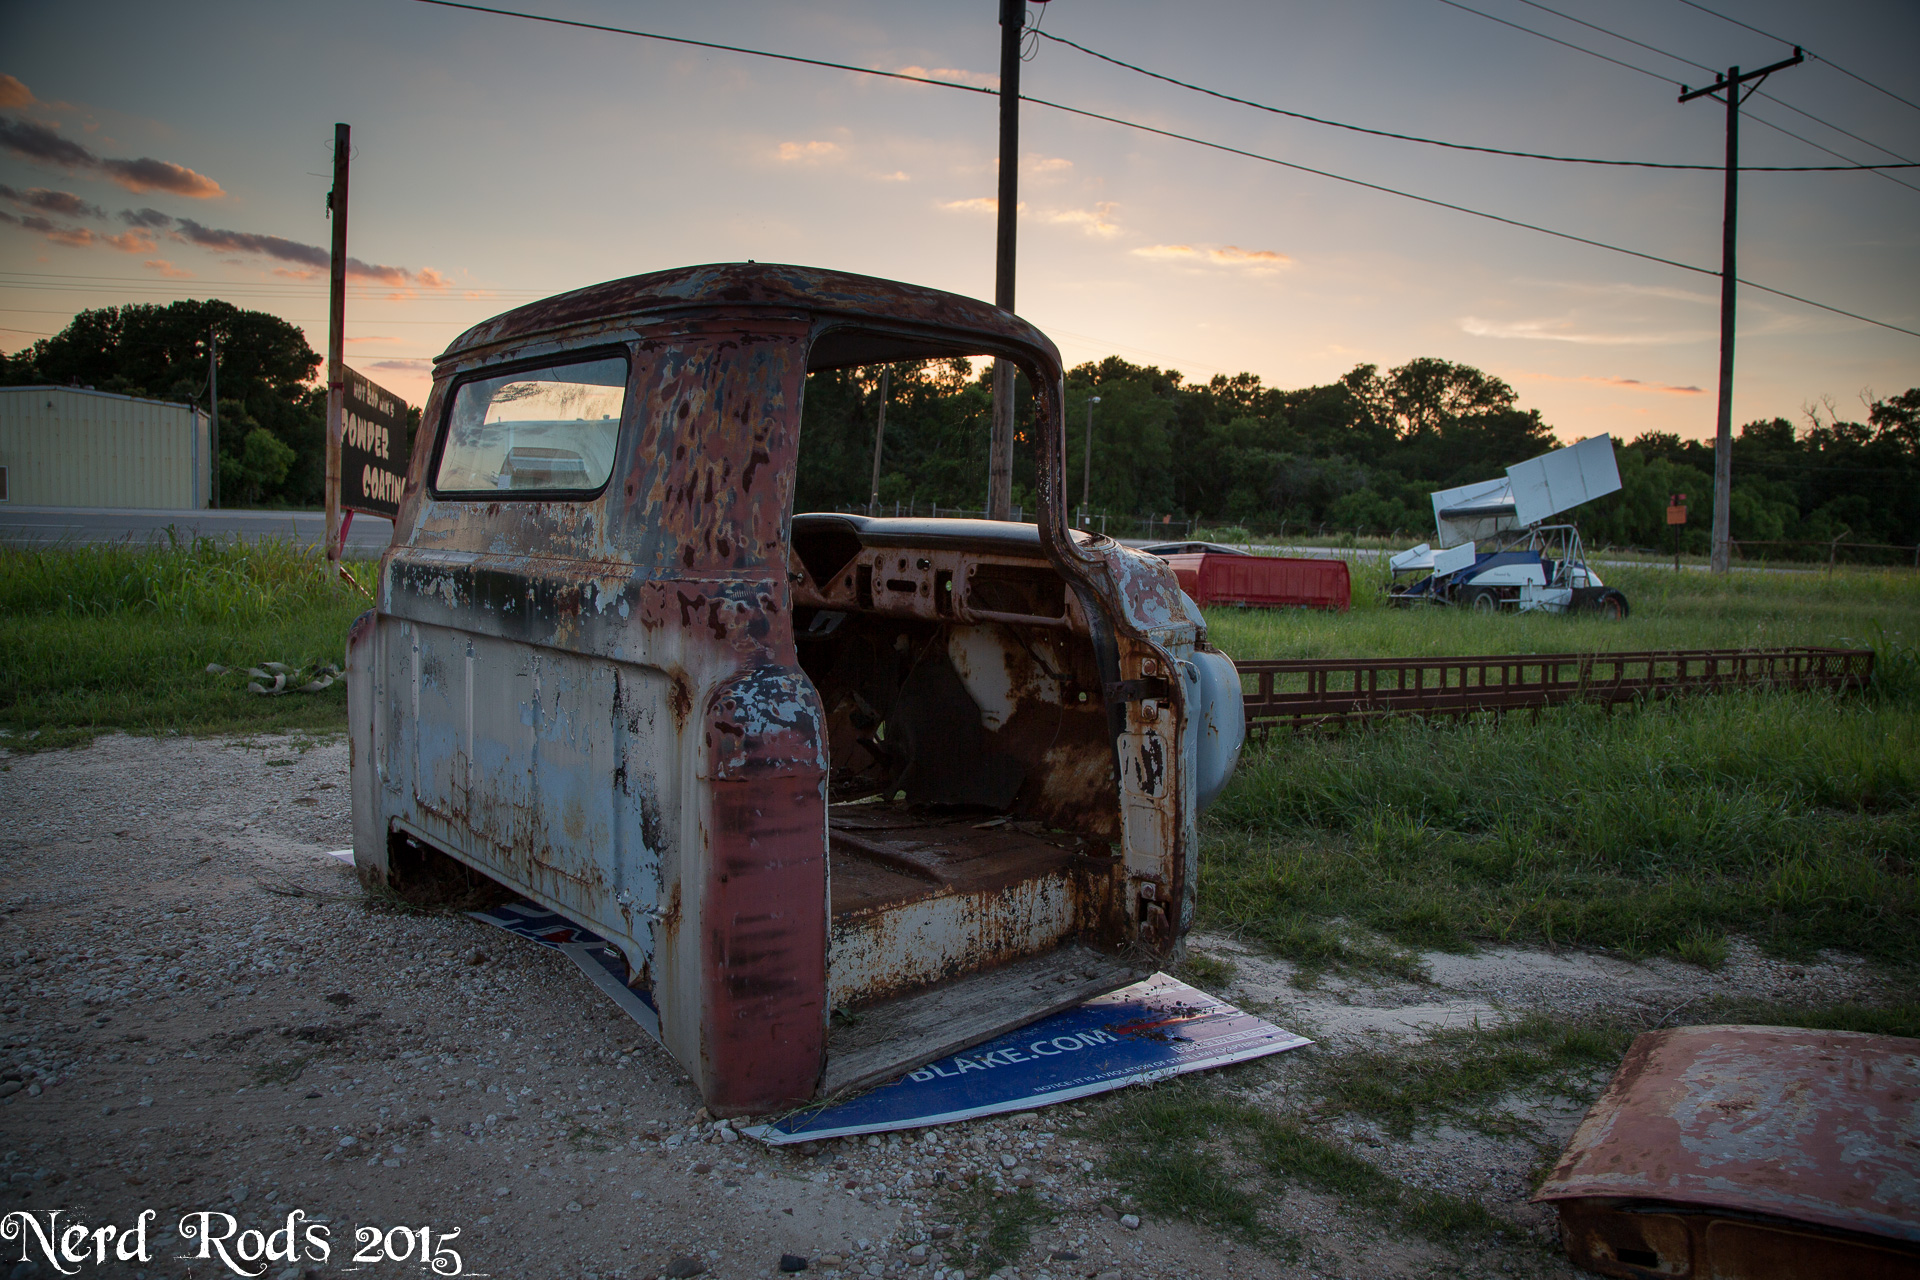
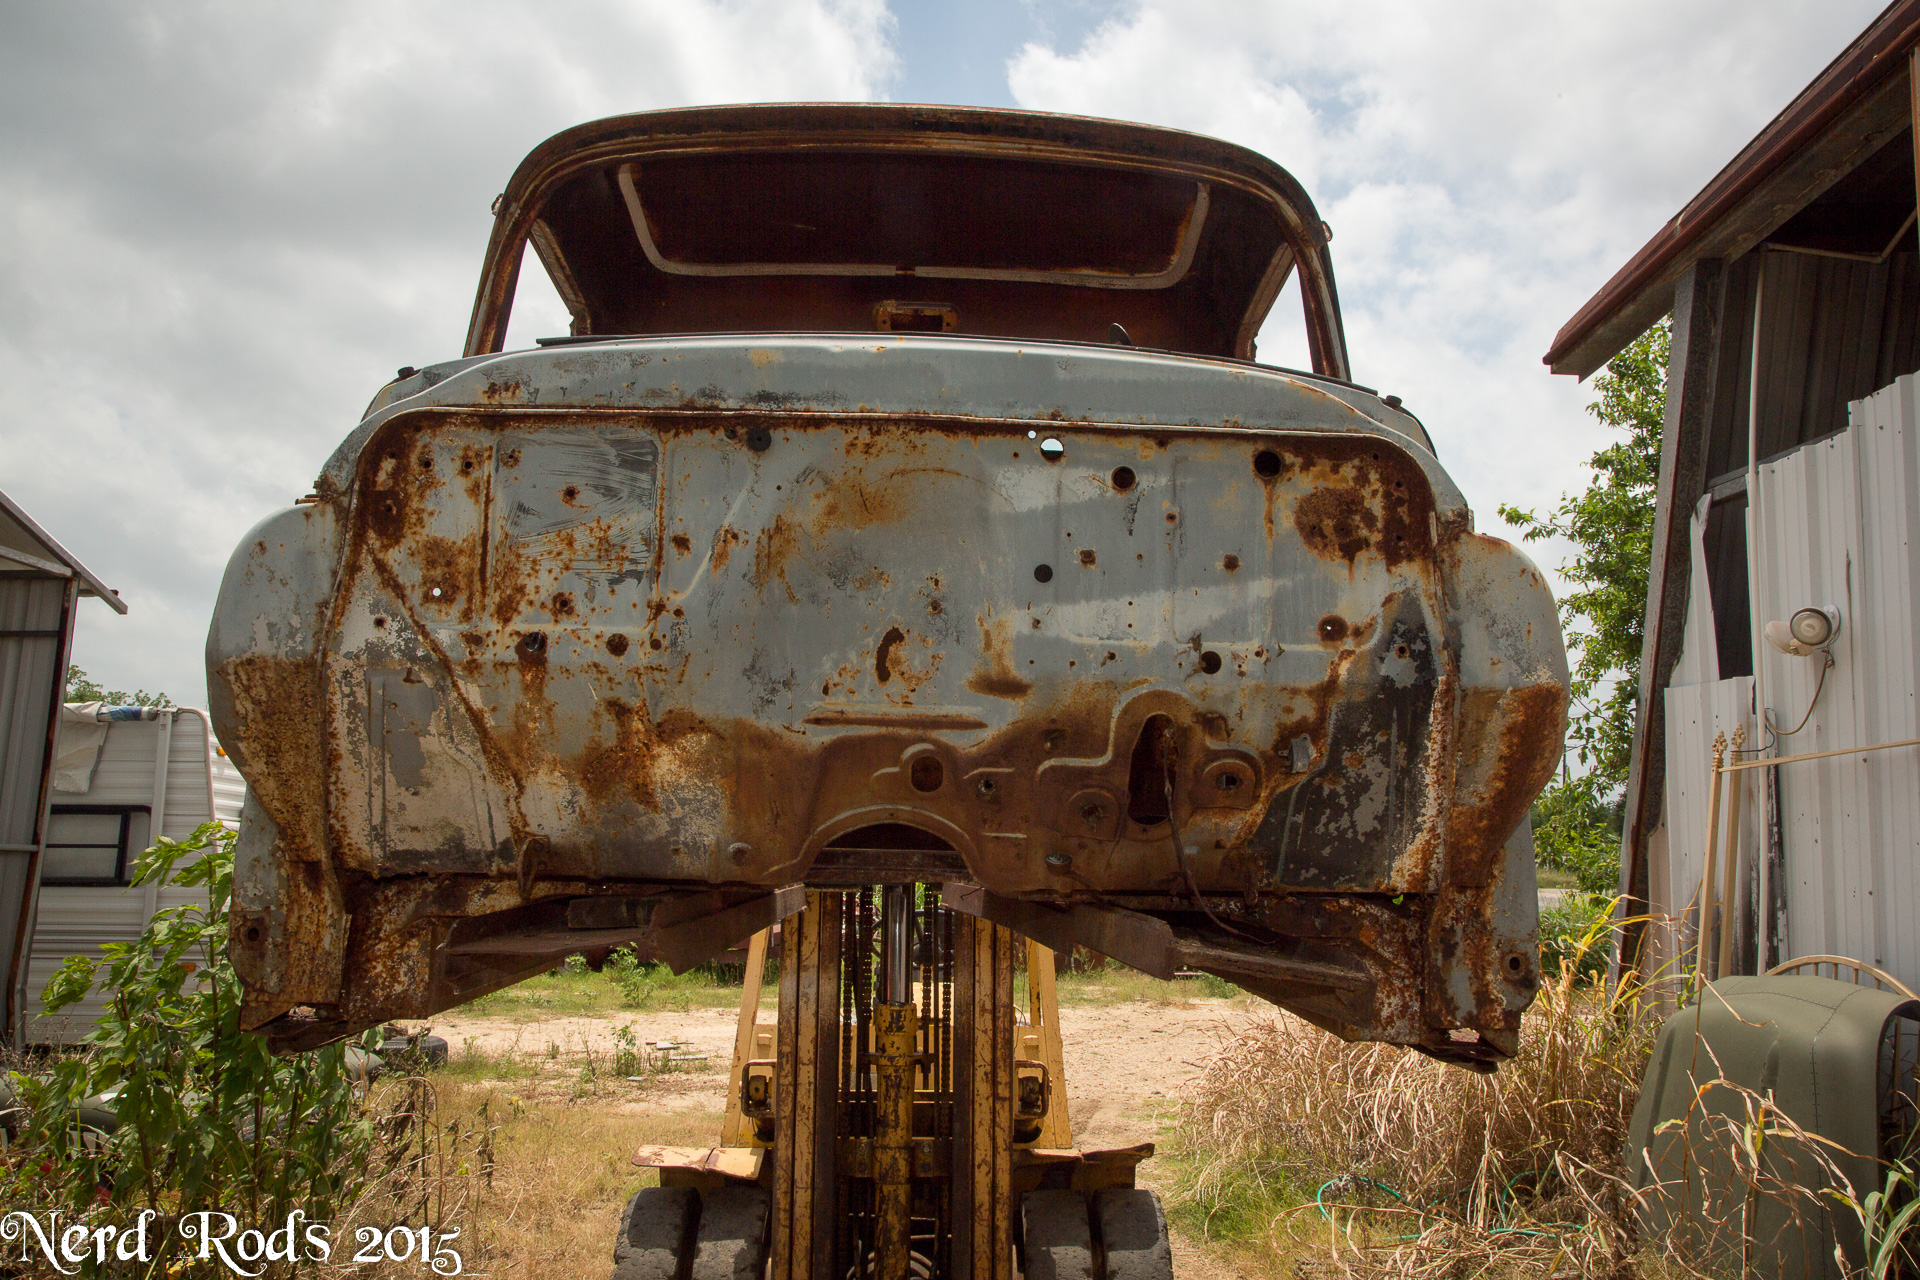
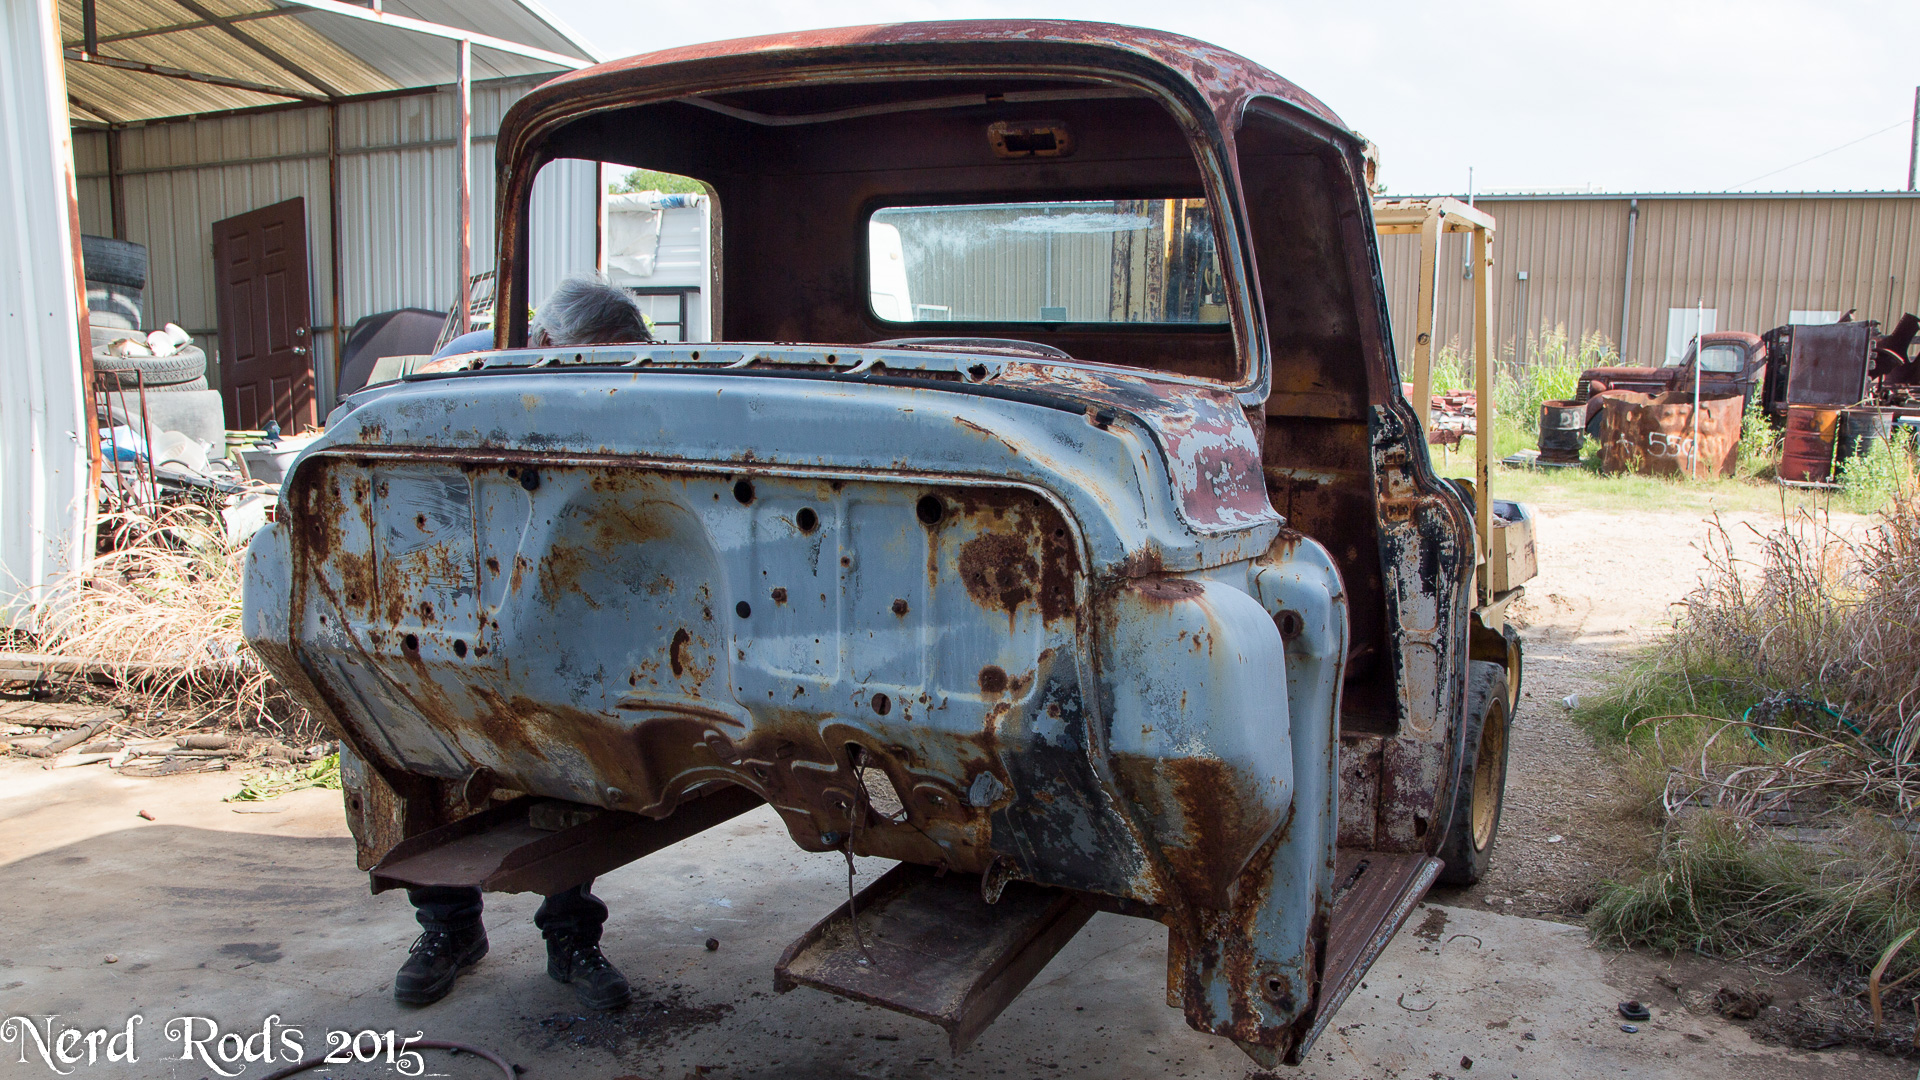
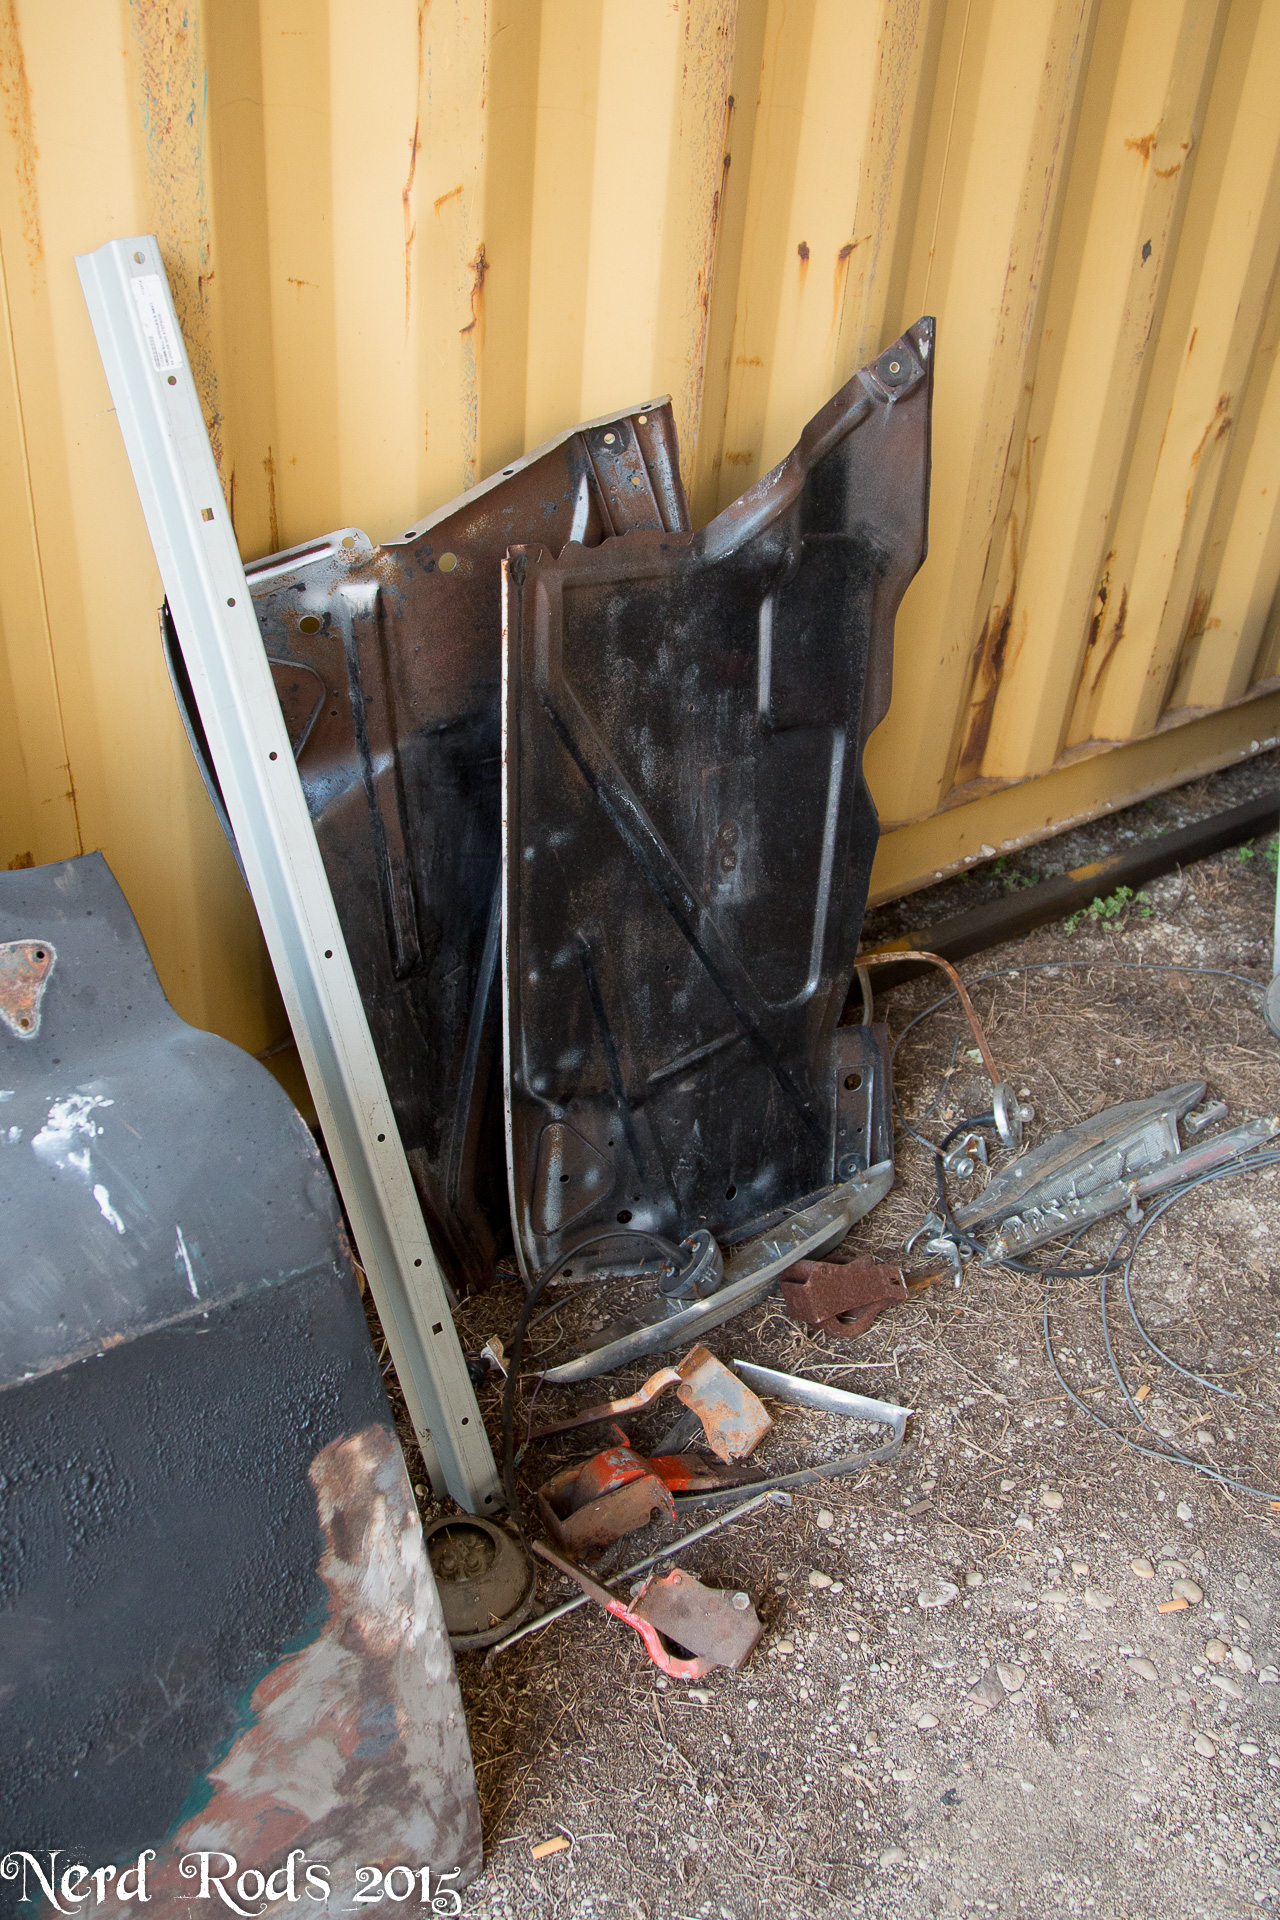
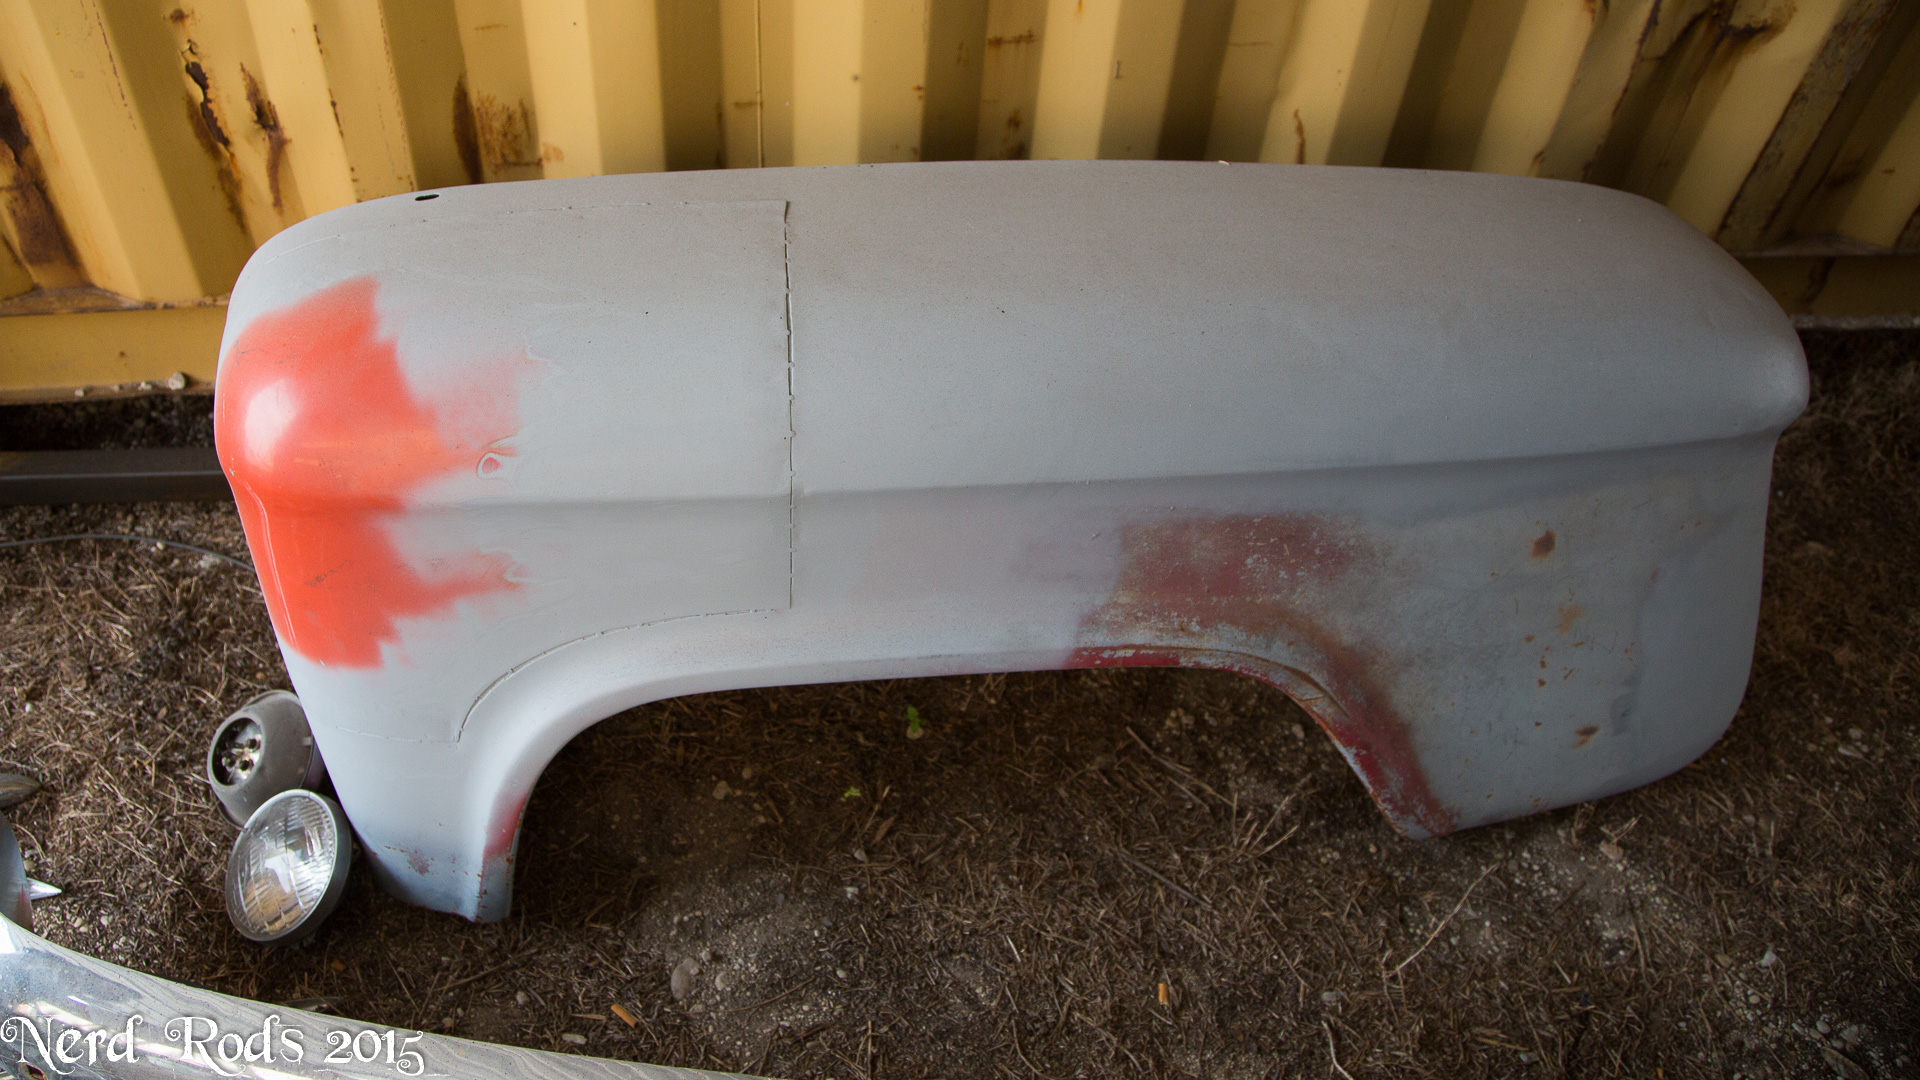
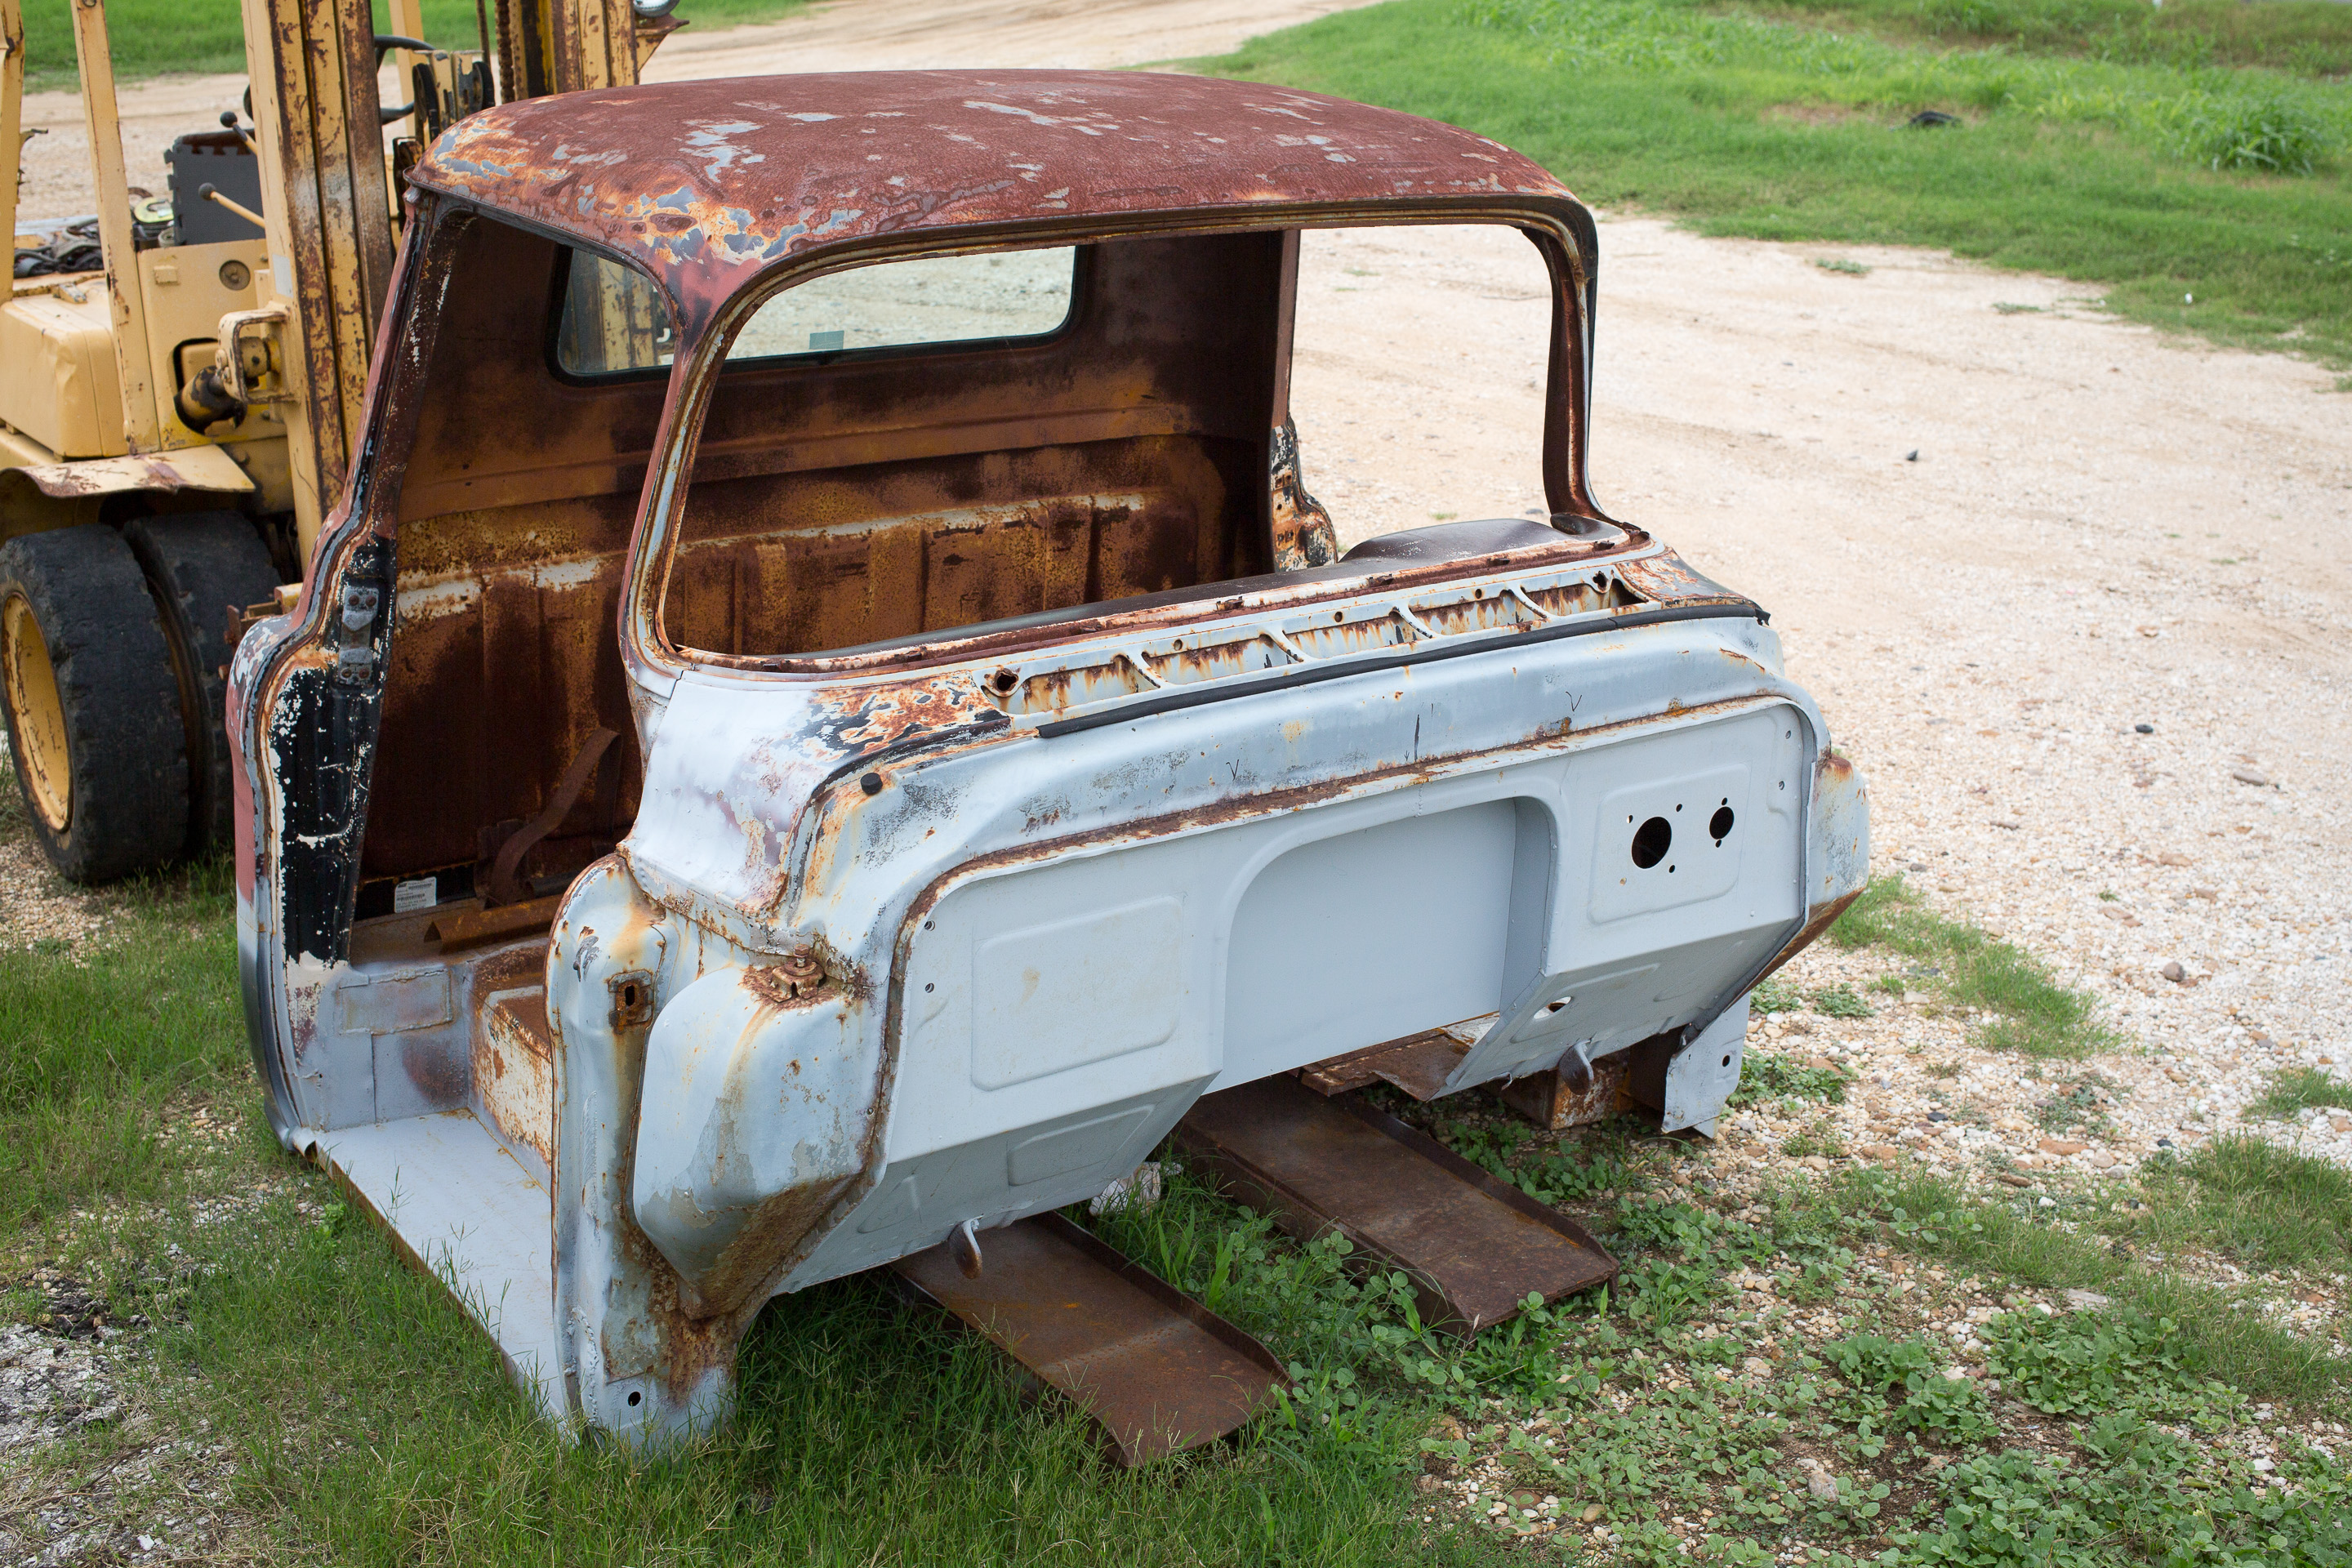
Turns out from our pile of crap out front we are only one finder shy of a complete 1955-56 truck. So with Dad’s Subaru on the frits and we want to show what someone can do on a budget we going to build Dad’s Down and Dirty 1955 Pickup, loving shortened to the D^3 project. I want to keep a running total on everything for guys to get an idea of what this actually takes
The Goal, no frills daily driver for dad on the cheap.
• 5.3L LS and 4L60E (800.00) but we can sell the transmission and make some of that back
• C4 Corvette Suspension (1200.00)
• QA1 Coil Over shocks (1352.00)
• C6 Corvette Wheels (450.00)
I do have some goodies that we’ve been stock piling and will be installing in dad’s project just to make it a bit more fun that would normally blow the budget up on a project like this but the way I see it this stuff it just taking up space at the moment so why not use it.
• Dana 44 with 4.10 Gears (+1800.00)
• T56 – 2002 Camaro Transmission (+1200.00)